Ingredients and steps on one page. Print it, or choose “Save as PDF” in the print dialog.
Sekai Gohan
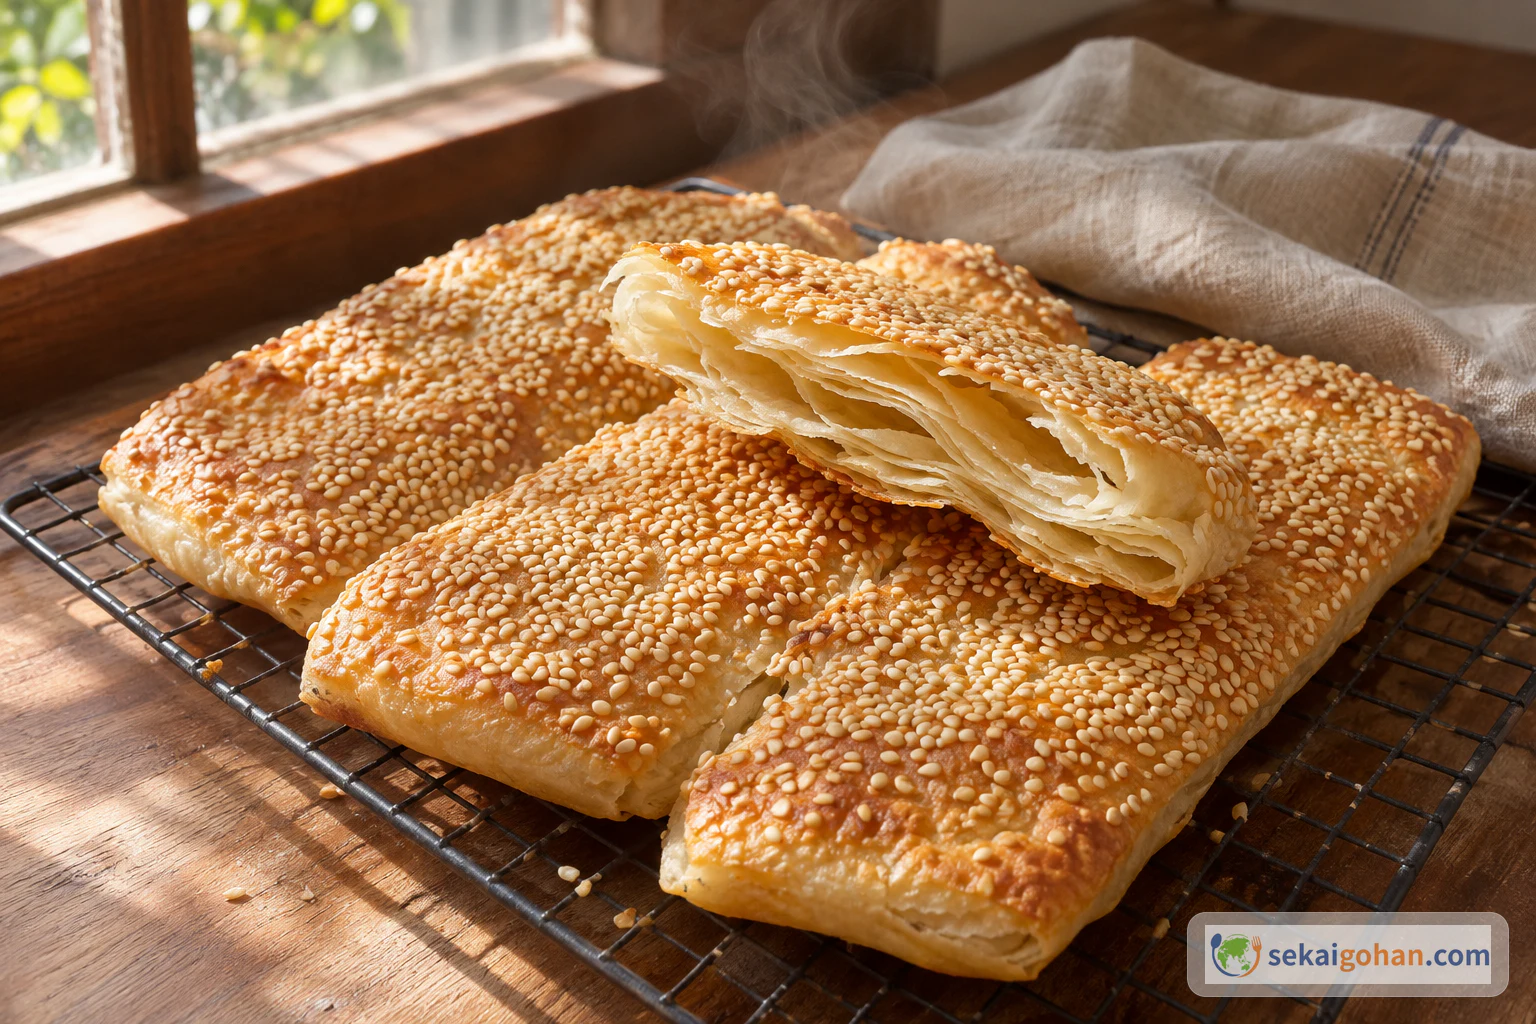
Shaobing: Northern Chinese Layered Sesame Flatbread
Ingredients
| Ingredient | Amount | Role |
|---|---|---|
| Filling: cake flour (低筋面粉, low-gluten flour) | 1¾ oz (50 g) | Base of the paste, cooked by the hot oil |
| Filling: sesame paste (芝麻醤) | ¾ oz (20 g) | The main aroma of the layers |
| Filling: five-spice powder (五香粉) | ¼ tsp | Warm spice through the layers |
| Filling: salt | ¼ tsp | Seasons the paste |
| Filling: oil, heated until it starts to smoke | ¾ oz (20 g) | Binds flour and sesame into a smooth paste |
| Dough: cake flour (低筋面粉, low-gluten flour) | 14 oz (400 g) | Body of the bread |
| Dough: salt | ¾ tsp | Seasons the dough |
| Dough: sugar | ¼ tsp | Mixed into the dry flour |
| Dough: baking soda | ¼ tsp | Mixed into the dry flour |
| Dough: boiling water | 1 cup (250 ml) | Brings the flour together into a soft dough |
| Dough: oil | 1 tbsp | Kneaded into the dough |
| All-purpose flour, for dusting | as needed | Keeps the dough from sticking while rolling |
| Topping: soy sauce | ⅓ cup (80 ml) | Dipping liquid that holds the seeds |
| Topping: water | 2 tbsp (30 ml) | Thins the soy sauce |
| Topping: raw white sesame seeds | ½ cup (120 ml) | The crust |
Steps
1Make the sesame filling paste
In a heatproof bowl, combine the 1¾ oz (50 g) cake flour, ¾ oz (20 g) sesame paste, ¼ tsp five-spice powder and ¼ tsp salt. Heat the ¾ oz (20 g) oil in a small pan until it starts to smoke. Carefully pour the hot oil into the bowl and stir with a spatula. It is ready when it is a smooth, spreadable tan paste with no dry flour left.
2Mix the hot-water dough
In a large bowl, combine the 14 oz (400 g) cake flour, ¾ tsp salt, ¼ tsp sugar and ¼ tsp baking soda. Add the 1 cup (250 ml) boiling water a little at a time, stirring with a wooden spatula as you pour. When the flour has gathered into one shaggy mass, add the 1 tbsp oil and work it in. Move on when the dough holds together in a single lump on the spatula.
3Knead and give the first rest
Turn the dough out onto the counter and knead for 5 minutes. It should stay slightly sticky, just a bit; that is how it should feel. Return it to the bowl, cover it and let it rest for 20 minutes. Do not skip this rest. The dough is ready for the next knead when it has relaxed and softened under the cover.
4Knead again and give the second rest
Knead the rested dough for another 3 to 5 minutes. You will feel it come together more easily than the first time. Return it to the bowl, cover it and rest it for 20 minutes more. After this rest the dough is noticeably smoother than before and ready to roll.
5Roll out an even rectangle
Dust the work surface and the dough with all-purpose flour. Roll the dough into a large rectangle about ⅛ to just under ¼ inch (⅓–½ cm) thick. Work from the center outward and keep checking the corners. The sheet is ready when it is the same thickness from edge to edge.
6Spread, roll up and cut
Spread the filling paste over the whole rectangle, leaving a border of about ½ inch (1.3 cm) bare. Starting from a long edge, roll the dough up tightly like a Swiss roll. Cut the log into 8 equal pieces with a serrated knife. Cover the pieces so they do not dry out, and work with one at a time; each cut face should show a tight spiral of paste and dough.
7Re-roll each piece into a cylinder
Set a piece with its rolled spiral facing up and press it lightly with your palm. With the rolling pin, roll it from the center upward into a strip. Roll the strip up tightly from the bottom into a small cylinder. It is ready when it is firm and compact with no gaps in the roll.
8Fold to stack the layers
Turn the cylinder 90 degrees. Roll out the top third, then fold the rest of the dough over onto it. Roll and fold once more the same way, and return the finished piece under the cover while you work through the rest. Each piece should end as a small, neat rectangle with its folds lying squarely on top of one another.
9Dip in soy and press into sesame
Mix the ⅓ cup (80 ml) soy sauce with the 2 tbsp (30 ml) water in a small bowl, and spread the sesame seeds on a plate. Dip the top of each piece into the soy liquid, then press it firmly into the seeds. Set the pieces sesame side down on a tray, cover them and let them rest for 15 minutes. Meanwhile, put the baking sheet in the oven and preheat both to 475°F (246°C); for a convection oven, set it about 20 degrees lower. The tops are ready when they are fully coated in seeds with no bare patches.
10Roll to size and load the hot sheet
Working one at a time, roll each piece sesame side down into a rectangle about 8 × 4 inches (20 × 10 cm). With oven mitts on, take the hot baking sheet out of the oven. Lay the pieces on it sesame side down and put the sheet back in the oven.
11Bake, flip and cool
Bake for 10 minutes. Flip each one with a metal spatula so the sesame faces up, and bake for 4 to 6 minutes more, until they are light golden brown. They puff up dramatically in the oven and sink as they cool; that is how they should behave. Move them to a wire rack to cool.