Ingredients and steps on one page. Print it, or choose “Save as PDF” in the print dialog.
Sekai Gohan
Karaage: Japanese Flour-Coated Fried Chicken Thighs
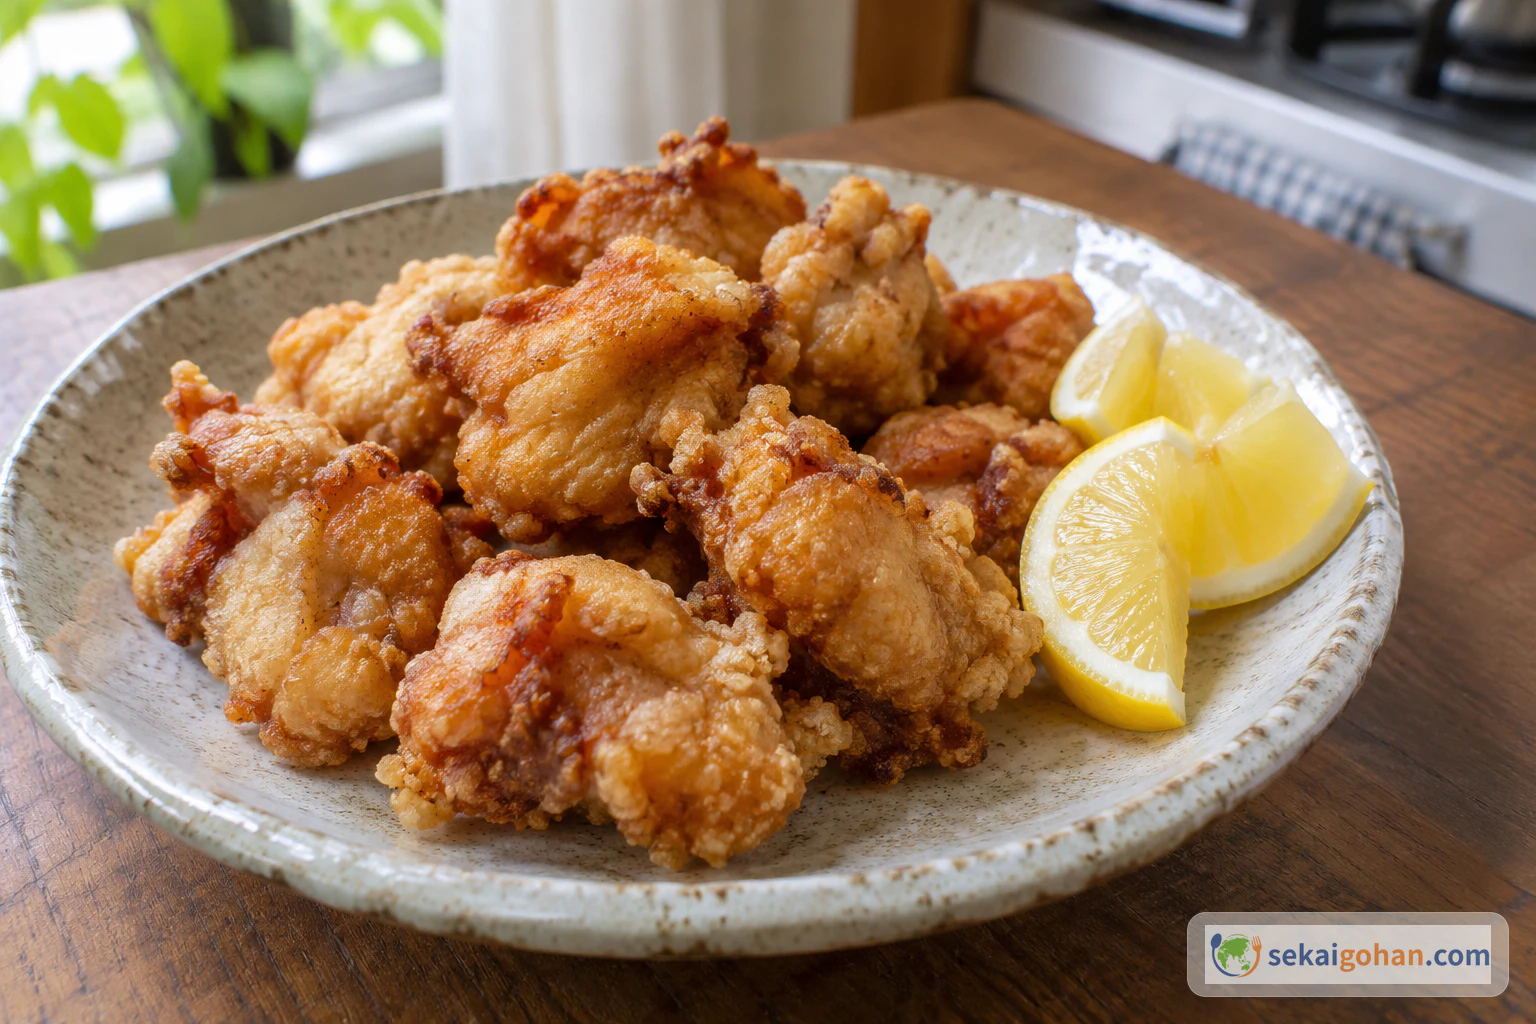
Ingredients
| Ingredient | Amount | Role |
|---|---|---|
| Chicken thigh, boneless, skin-on | 1⅓ lb (600 g) | The main ingredient. Thigh stays juicy through frying |
| Soy sauce (shōyu) | 2 tbsp | Saltiness, savoury depth and colour |
| Cooking sake (ryōrishu) | 1 tbsp | Seasoning liquid that helps carry the flavour into the meat |
| Fresh ginger, grated | 1 tsp | A sharp, bright aroma |
| Garlic, grated | 1 tsp | Savoury aroma |
| All-purpose wheat flour, for mixing in | 1¾ oz (50 g) | Mixed into the seasoned chicken to make the inner paste |
| All-purpose wheat flour, for coating | as needed | Kept in a separate tray for the two light outer dustings |
| Neutral-flavoured oil, for frying | as needed | Enough to fill the pan to frying depth |
| Lemon | ½, cut into wedges | Squeezed over at the table |
Steps
1Grate the ginger and garlic
Peel the ginger and grate it into its own small clean dish until you have 1 tsp of wet paste. Grate the peeled garlic into a second dish the same way. Do this before any raw chicken is out, so the grater and dishes stay clean. Stop when both are smooth, fragrant pastes, the ginger sharp and the garlic pungent.
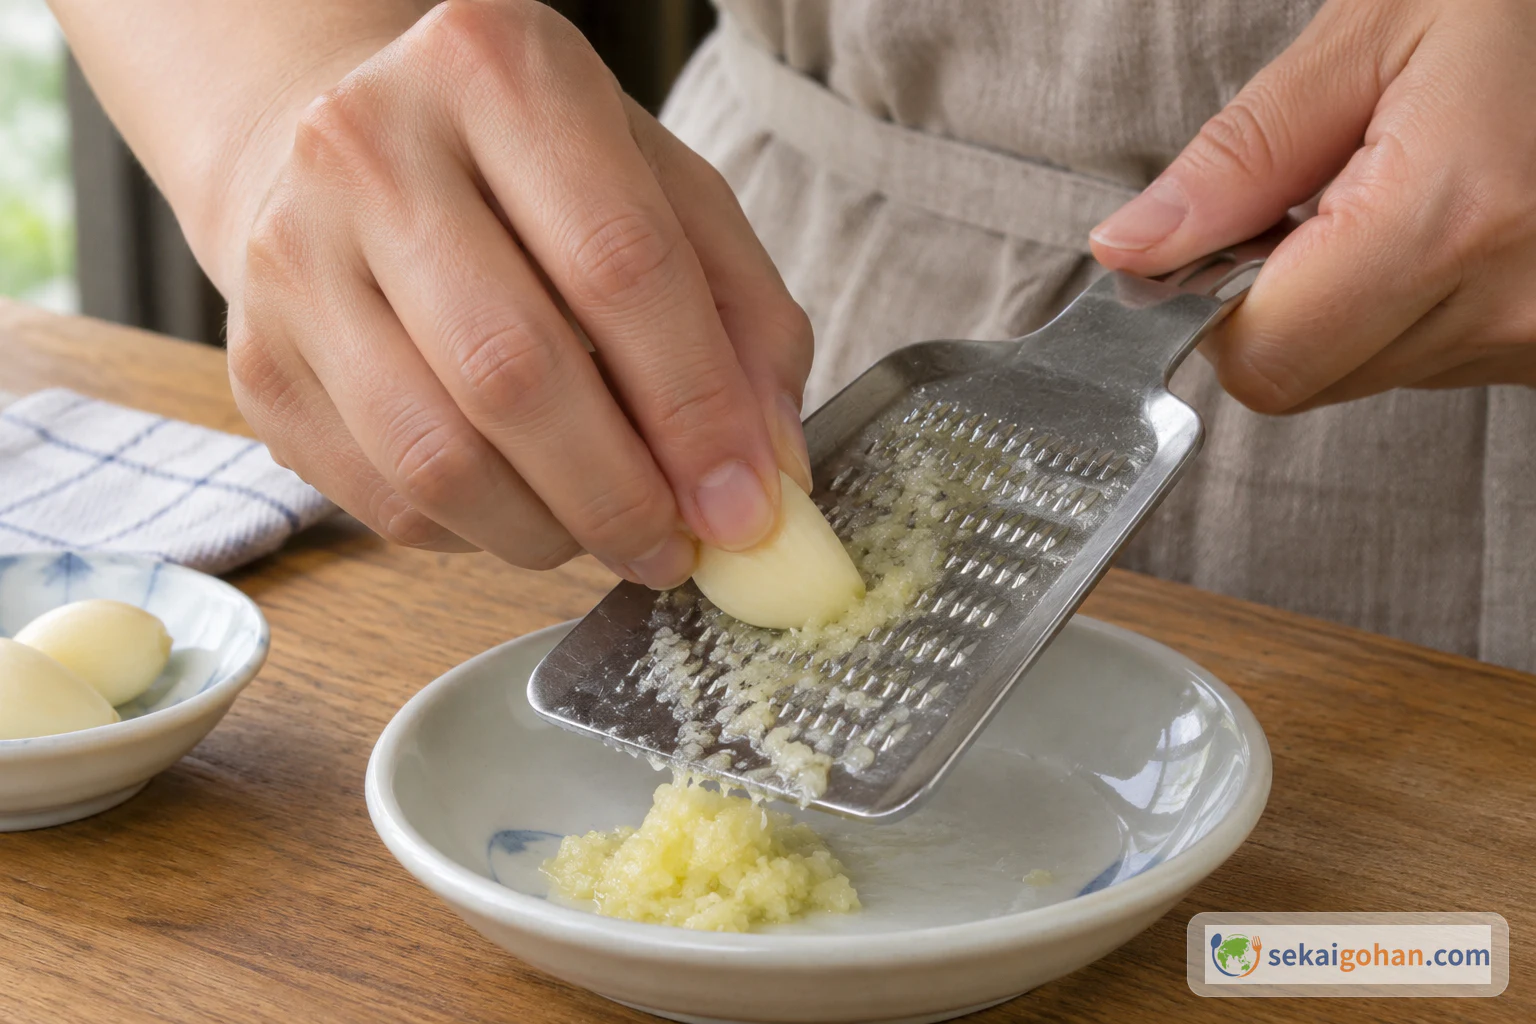
The garlic grates down to a pale, sticky paste that blends into the soy evenly 2Cut the lemon into wedges
Cut the half lemon into wedges on the clean board with the clean knife. Neither should ever touch raw chicken. Set the wedges on a ready-to-eat plate and keep it on the clean side of the counter until serving. The wedges are ready when each one has a neat cut face of juicy flesh.
3Cut the chicken into even pieces
Lay the thighs skin-side down on the raw-meat board. Cut them into pieces about 1½ inches (4 cm) across. Pieces of the same size cook at the same pace. Thigh pieces come out a little irregular, and that is fine as long as they are close in size. The board is done when the pieces look like one even batch, then wash your hands.
4Season and massage
Put the chicken in the raw-food bowl. Add the soy sauce, cooking sake, grated ginger and grated garlic together. Massage everything into the meat with your hands, squeezing and turning the pieces. Keep going until the liquid is absorbed and almost nothing pools at the bottom of the bowl. The pieces should look glossy and evenly tinted brown.
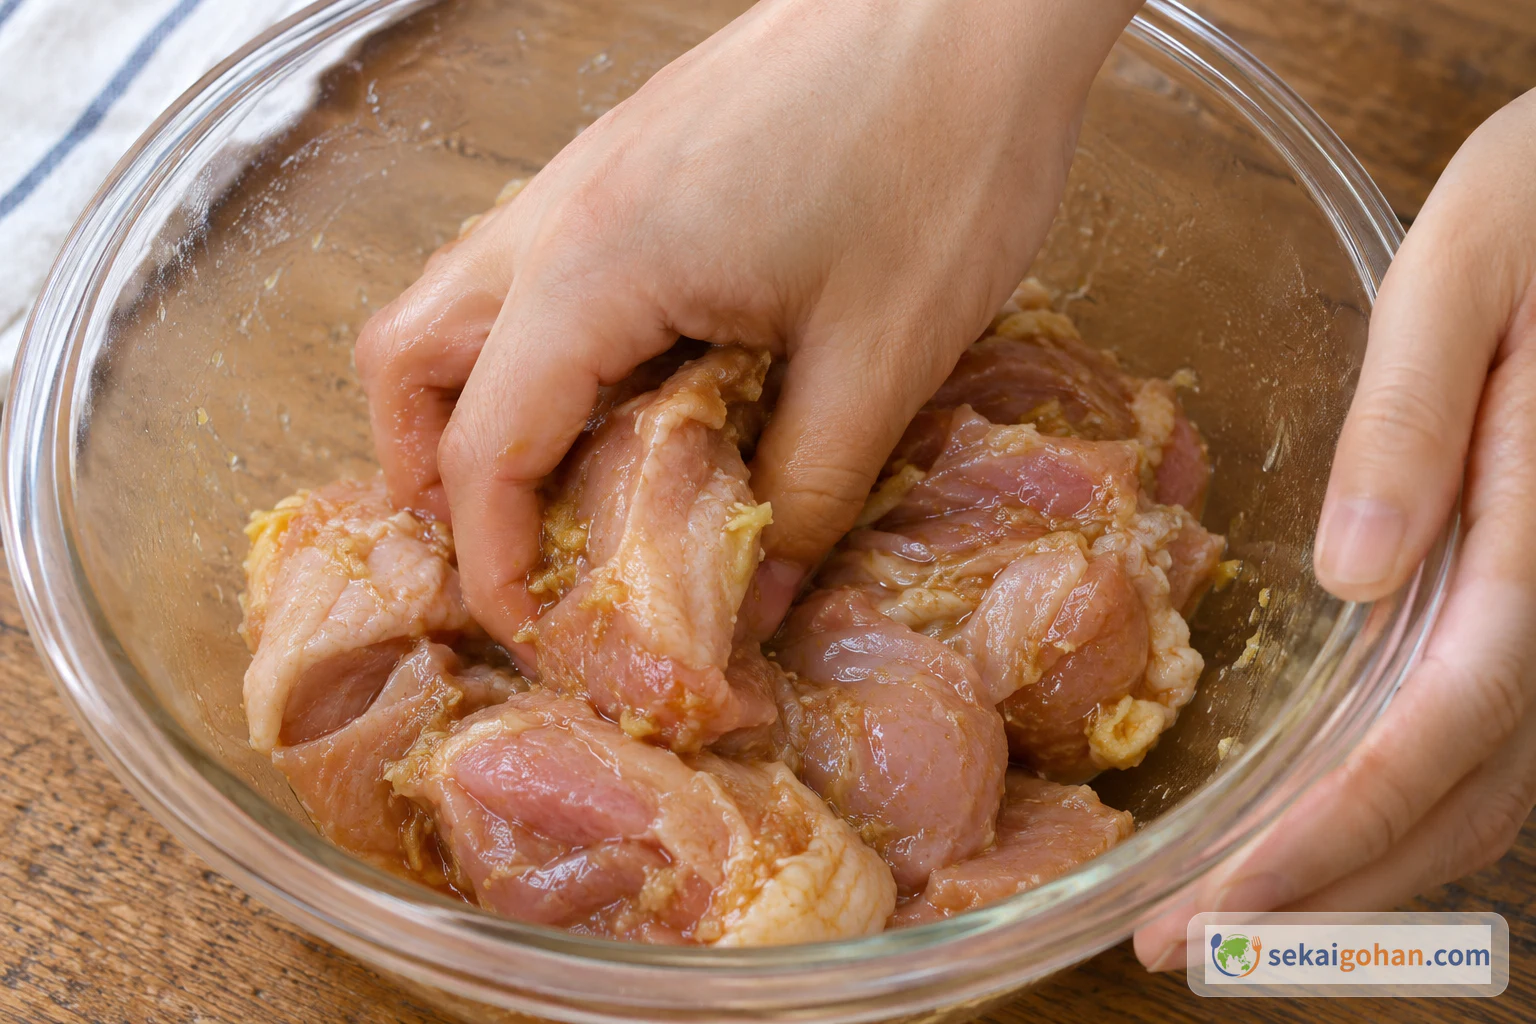
Squeeze and turn the pieces until the liquid soaks in and stops collecting in the bowl 5Rest the chicken covered in the refrigerator
Put a clean lid on the bowl and set it in the refrigerator for 10 minutes, away from ready-to-eat food. While it rests, wash your hands with soap and clean and disinfect the raw-meat board and knife. Set out the shallow tray of coating flour and the long chopsticks. When you take the bowl out, the surface of the meat looks moist and evenly coloured.
6Mix in the first flour
Tip the 1¾ oz (50 g) of mixing flour over the seasoned chicken. Stir with long chopsticks, lifting the pieces up from the bottom of the bowl so the flour meets the marinade everywhere. Keep mixing until almost no dry flour shows. Each piece should be tacky and wrapped in a thin, beige paste.
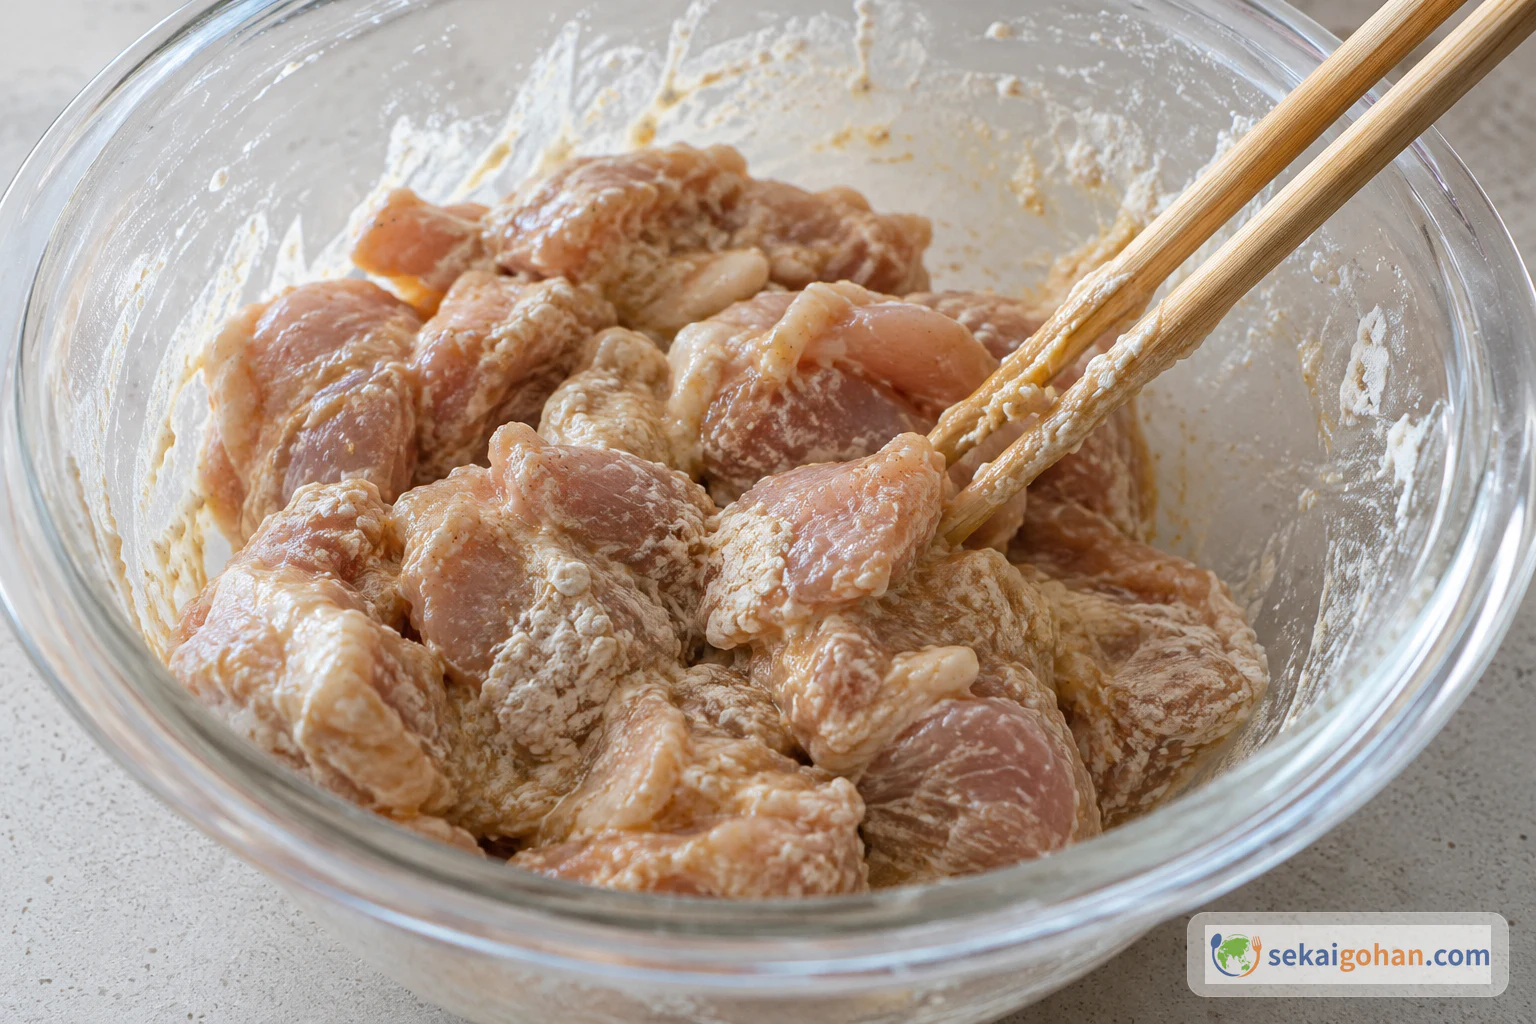
Stop when the flour has turned into a sticky paste and only a few white traces are left 7Give the pieces a light outer coat
Working a few pieces at a time, roll them in the separate tray of coating flour. Use one hand for the raw chicken. Tap off the excess so the coat stays thin. Set the coated pieces to one side of the tray. They are ready when each one has a dry, matte white film and you can still see its shape.
8Heat the oil
Pour the oil into the deep-sided frying pan to a depth of about ¾ inch (2 cm). Set the pan over the heat and clip or hold the oil thermometer in the oil. Heat it to 340°F (170°C), watching the thermometer instead of guessing. The oil is ready when the thermometer holds steady at that temperature.
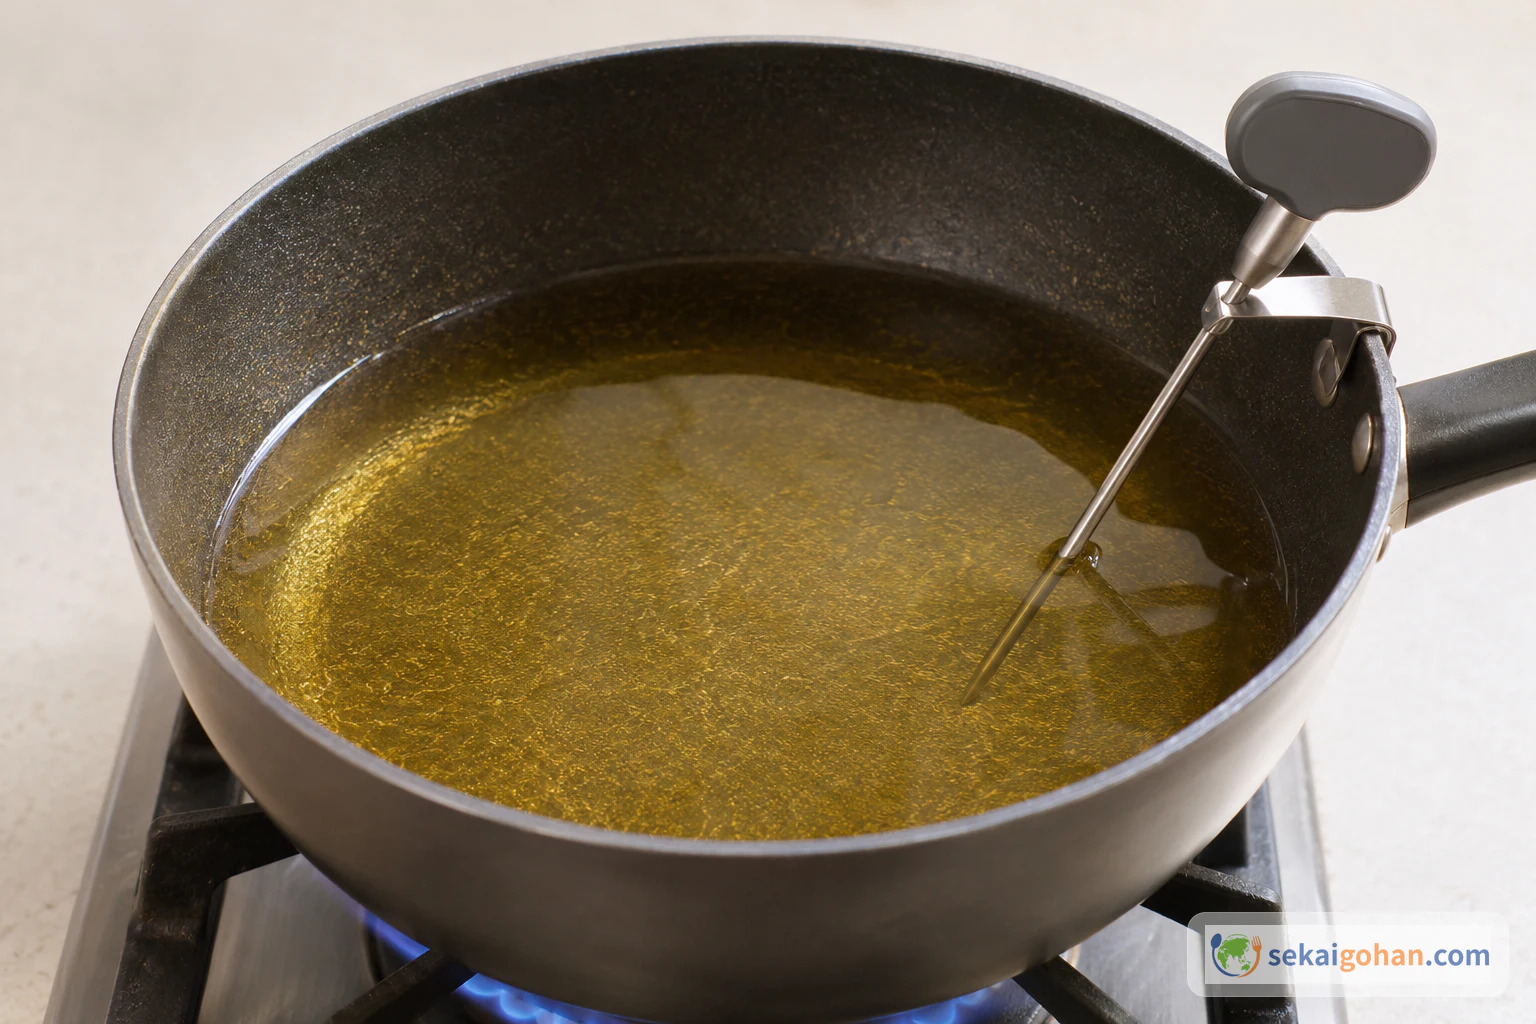
Keep the probe in the oil as it heats and trust its reading, not how the oil looks 9Dust again and round each piece
Just before frying, dust each piece lightly in the coating flour once more. Then cup it gently in your fingers and press it into a compact, rounded shape, tucking any loose skin or edges underneath. Work over the raw-food tray and keep your hands away from the pan. Each piece is ready when it is a neat, evenly white little bundle.
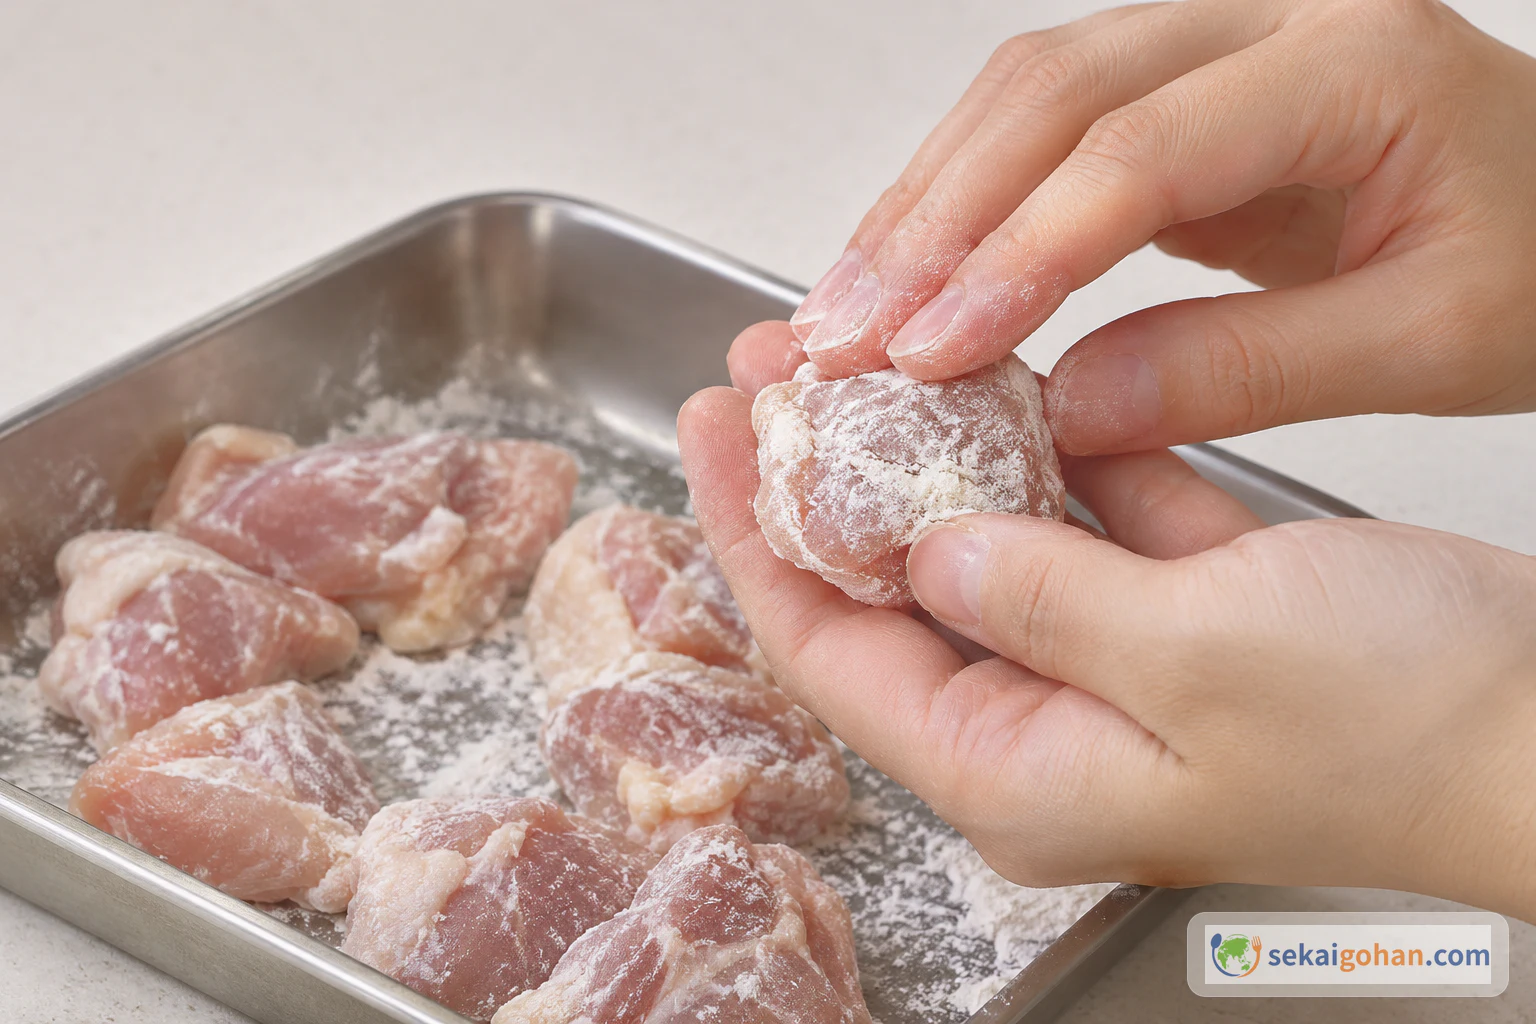
Press gently. You only want to tighten the shape, not squeeze out the seasoning 10Lower the pieces into the oil
Pick up each rounded piece with the clean tongs. Lower it to the surface of the oil and let it go gently, away from you. Put in all the pieces this way, spacing them across the pan. Each piece should hiss at once and send out a ring of small, steady bubbles.
11Fry undisturbed for the first 2 minutes
Once the last piece is in, leave the pan alone for 2 minutes so the coat can set. Keep the heat steady and watch the thermometer. Small bubbles keep rising around each piece. The stage is done after the 2 minutes, when the coat looks firm and the edges are turning pale gold.
12Turn and fry 3 minutes more
Turn each piece over with chopsticks or tongs. Fry for 3 minutes more, turning the pieces now and then so they colour evenly. The bubbling gets quieter as the coat dries out. Lift the pieces out after the 3 minutes. They should be golden all over, with a coat that feels crisp against the chopsticks. Colour does not show that the inside is cooked; the check in step 14 does.
13Lift and drain on the rack
Lift the pieces out of the oil one at a time with the clean tongs. Hold each one over the pan for a moment, then set it on the wire rack over the tray. Leave space between the pieces so steam can escape and the coat stays crisp. They are drained when oil no longer drips from the bottoms.
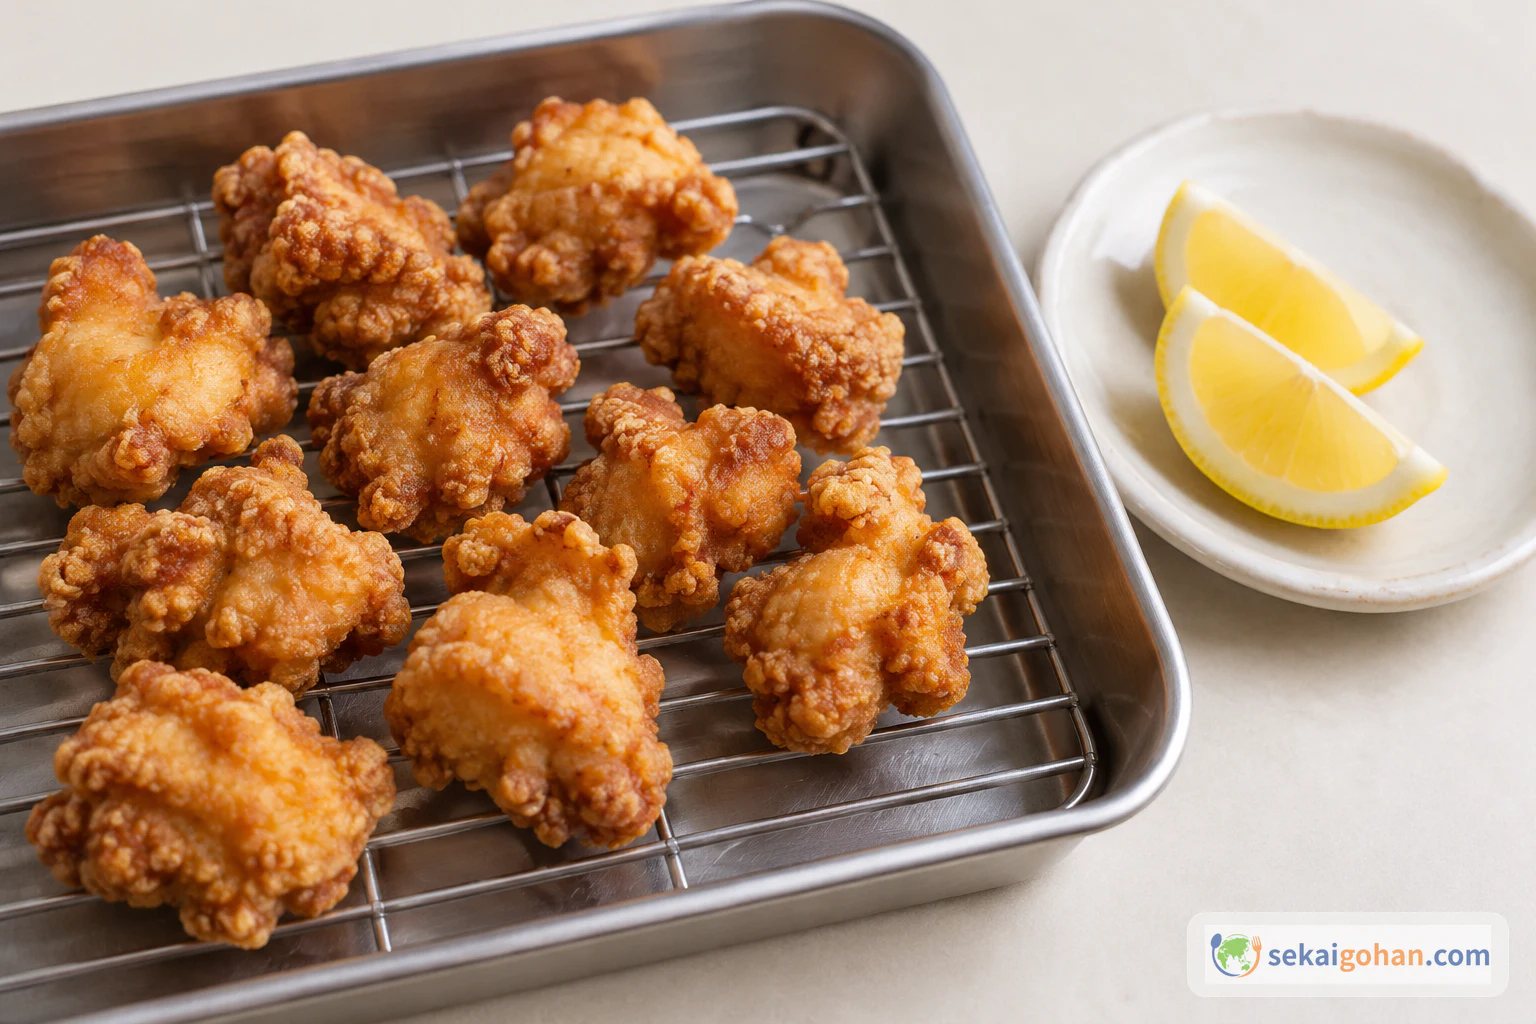
The rack stays with the cooked chicken and the lemon stays on its clean plate 14Check the center of the thickest piece
Choose the thickest piece. Hold it with the clean tongs and push the clean probe thermometer into its very center. The center must reach 167°F (75°C) or above and stay there for at least 1 minute. If it does not, put the pieces back in the 340°F (170°C) oil, fry longer, and check again the same way. The chicken is done only when the thermometer shows that temperature at the center.
15Plate and squeeze the lemon at the table
Move the checked karaage to the serving plate with clean tongs, never with the chopsticks or tray used for raw chicken. Put the lemon wedges beside it. Bring it to the table while the coat is still crackling. Everyone squeezes a wedge over their own pieces as they eat, and the lemon is right when you can smell it as you bite in.
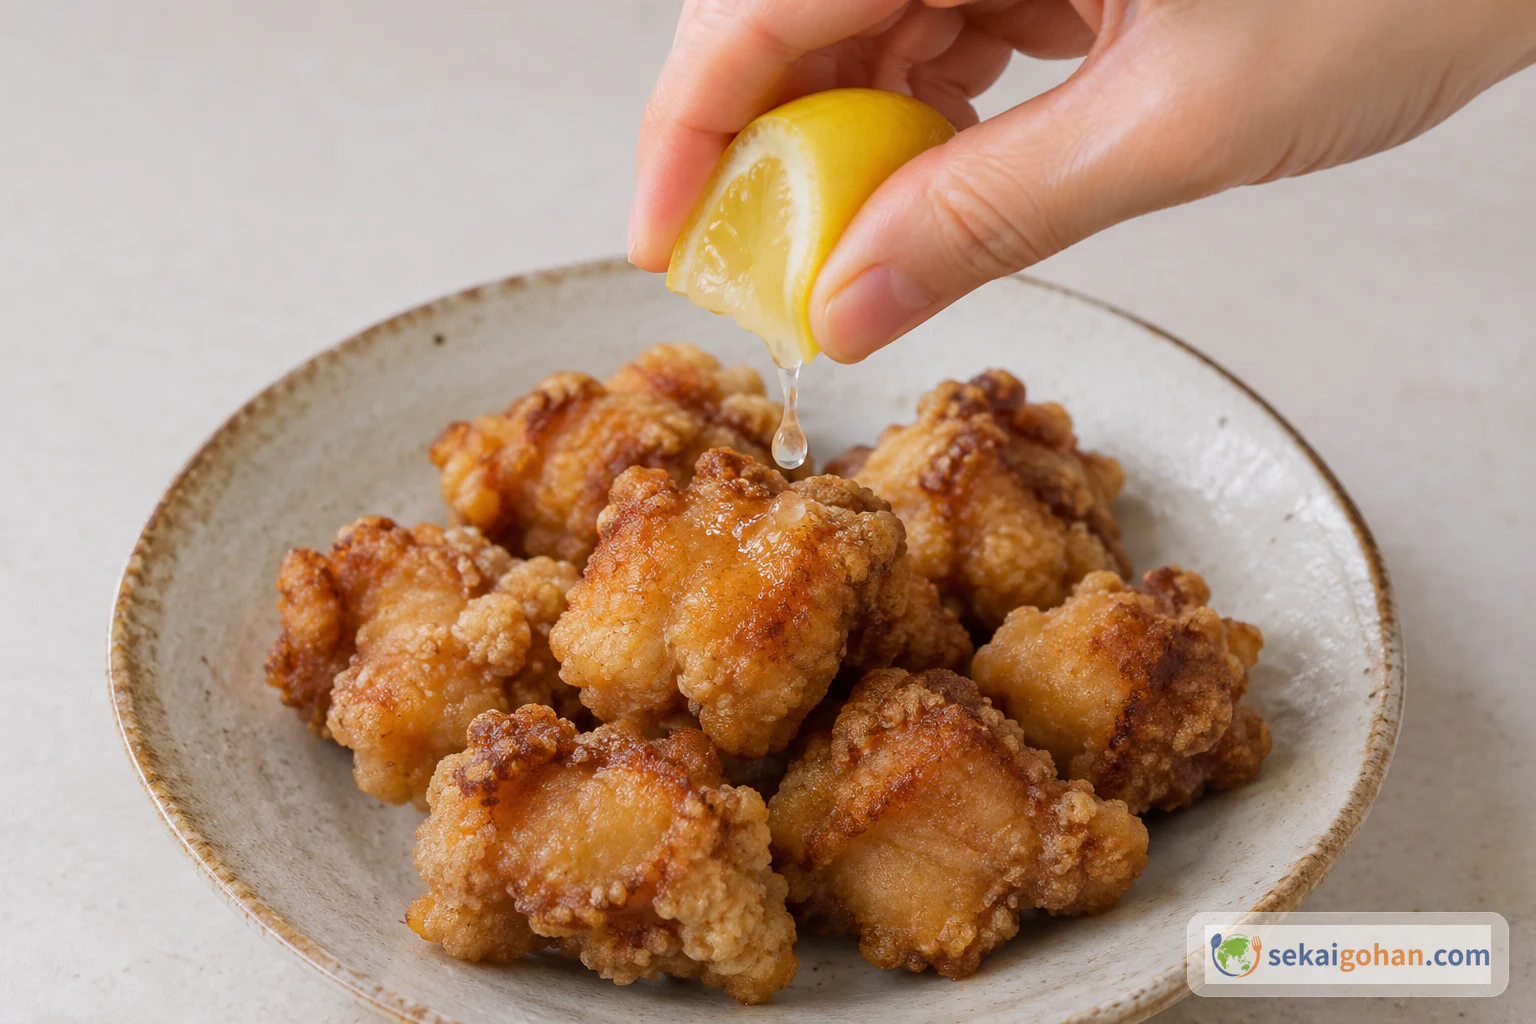
Squeeze the lemon at the moment you eat, a few drops at a time