Karaage: Japanese Flour-Coated Fried Chicken Thighs

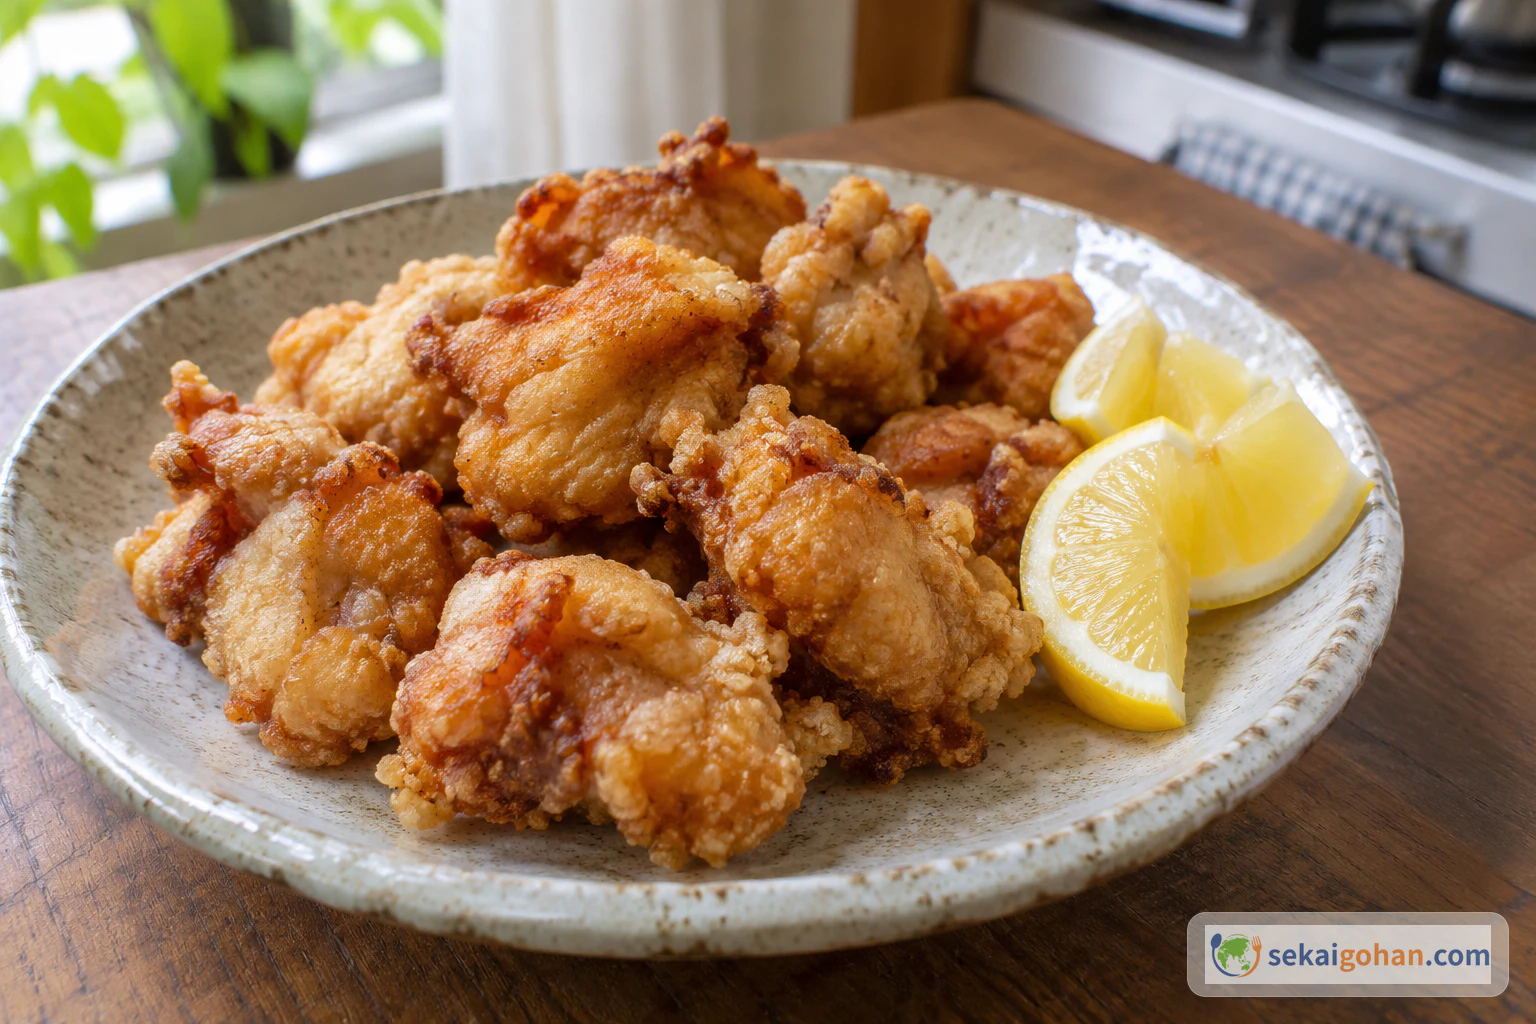
Japanese chicken karaage fried in a thin wheat-flour coat, served with lemon wedges
Serves
3–4 servings
Level
Intermediate
Cuisine
Japanese

Japanese chicken karaage with a light wheat-flour coat, fried in a frying pan. Learn the two flour stages, the two-minute rule and the core temperature check.

Cooking flow

Cooking steps

STEP 11 / 15

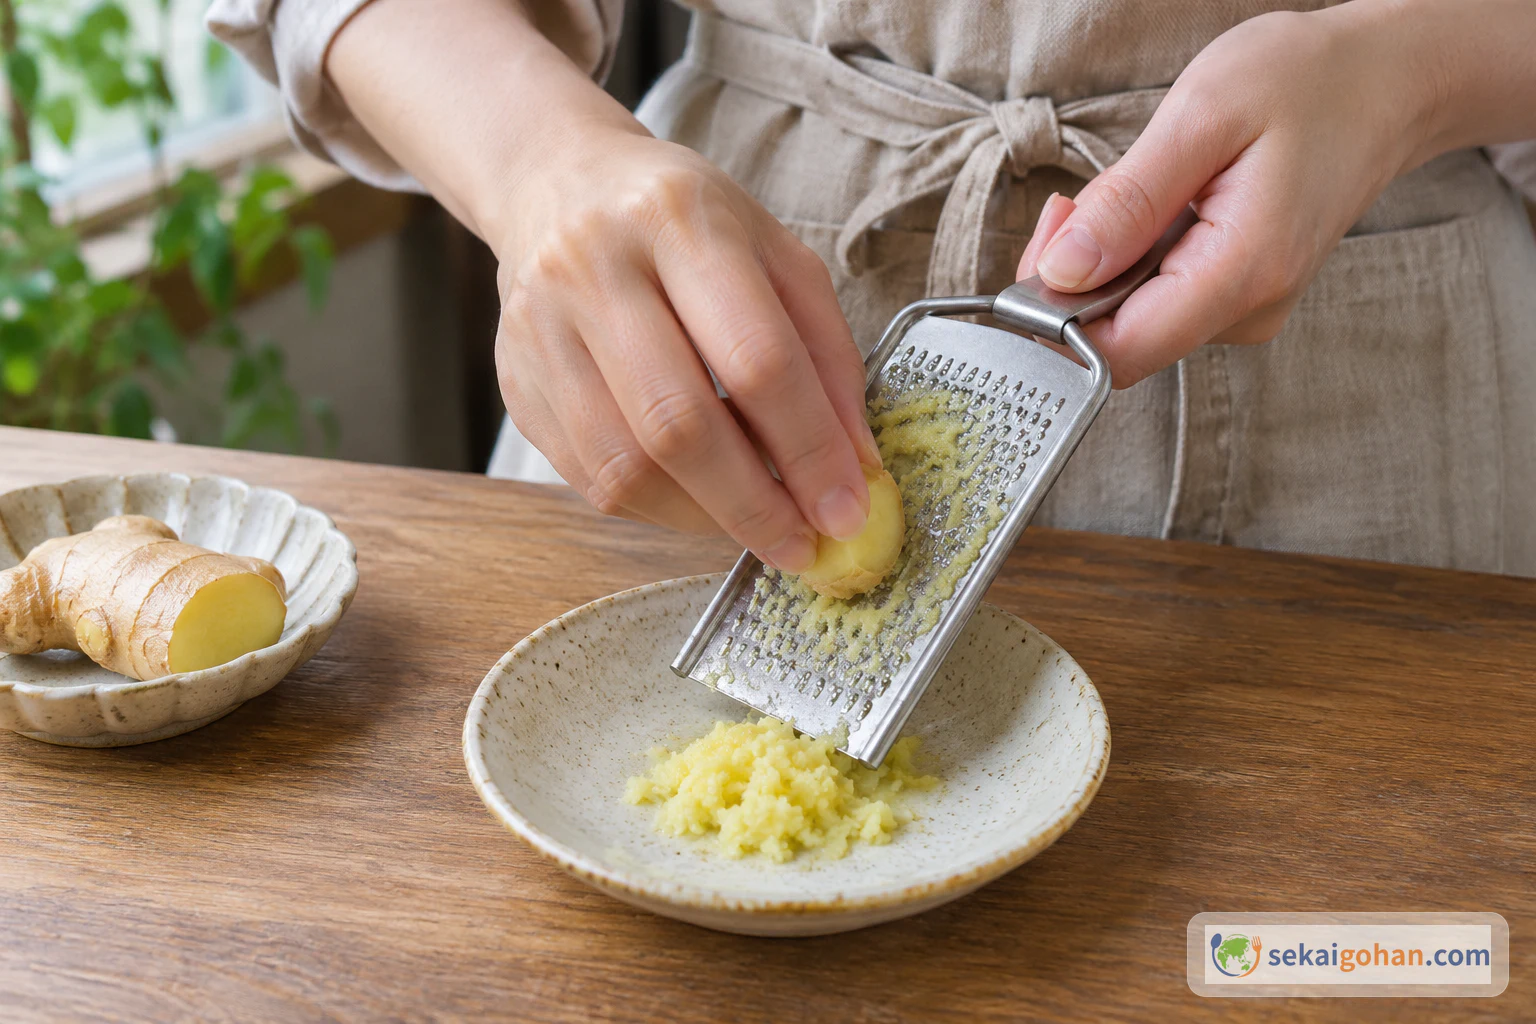
Grate the ginger and garlic

Fresh ginger being grated over a separate small prep dish
Grate the ginger straight into its own dish, well away from where the raw chicken will be cut

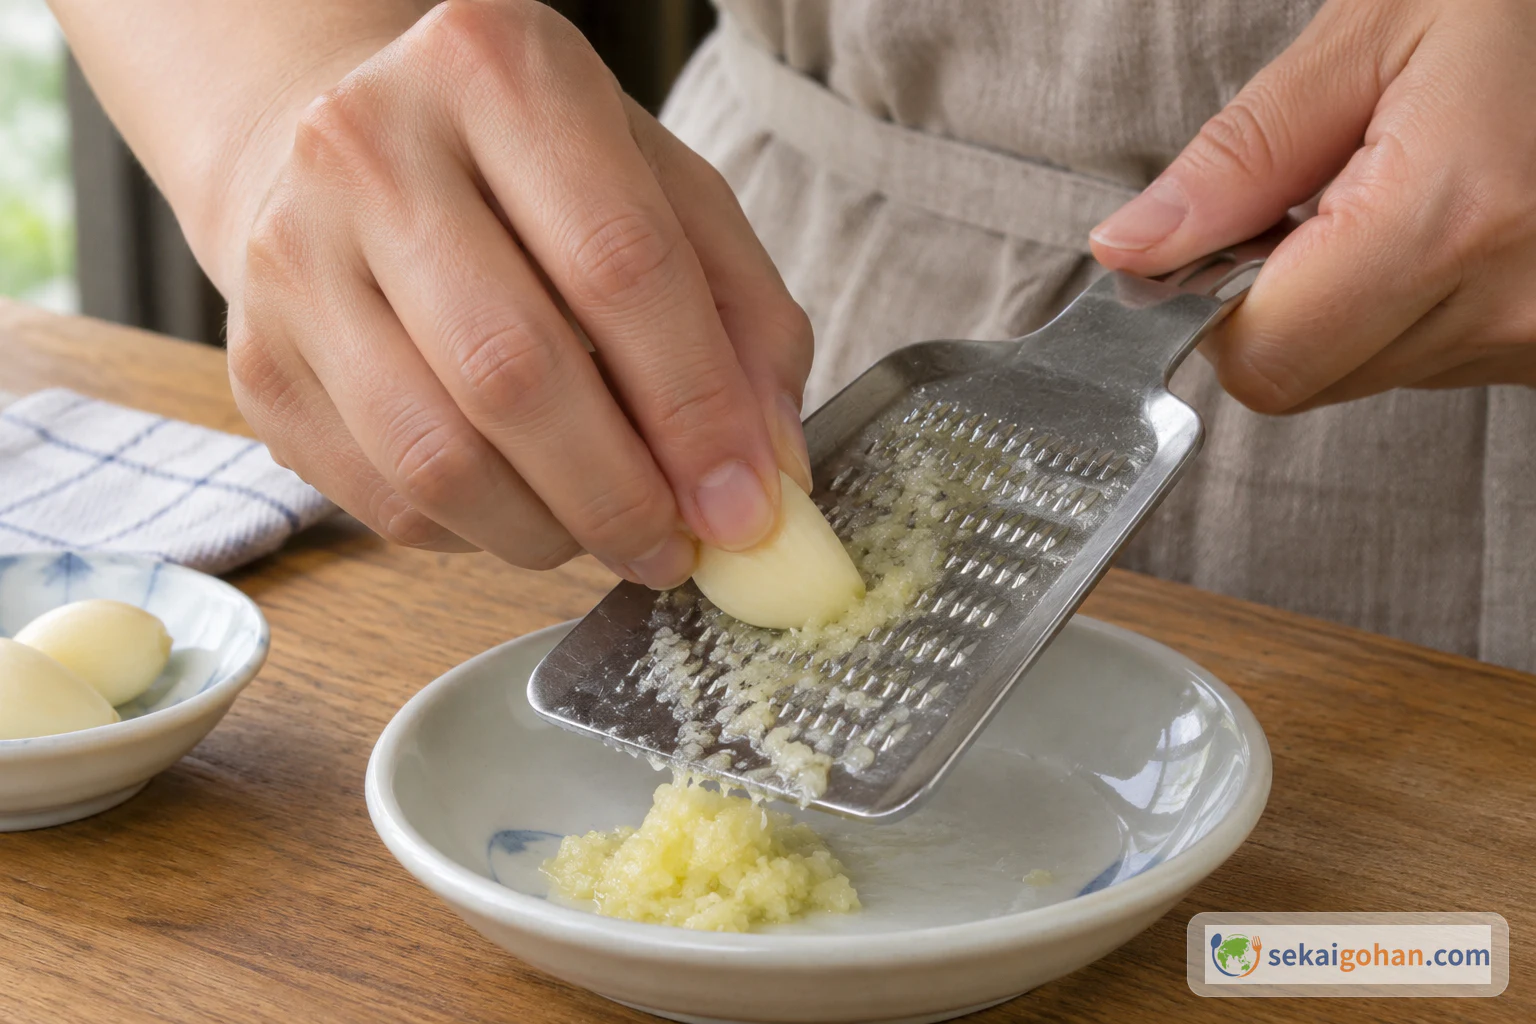
Peel the ginger and grate it into its own small clean dish until you have 1 tsp of wet paste. Grate the peeled garlic into a second dish the same way. Do this before any raw chicken is out, so the grater and dishes stay clean. Stop when both are smooth, fragrant pastes, the ginger sharp and the garlic pungent.

A peeled garlic clove being grated into a small prep dish
The garlic grates down to a pale, sticky paste that blends into the soy evenly
STEP 22 / 15

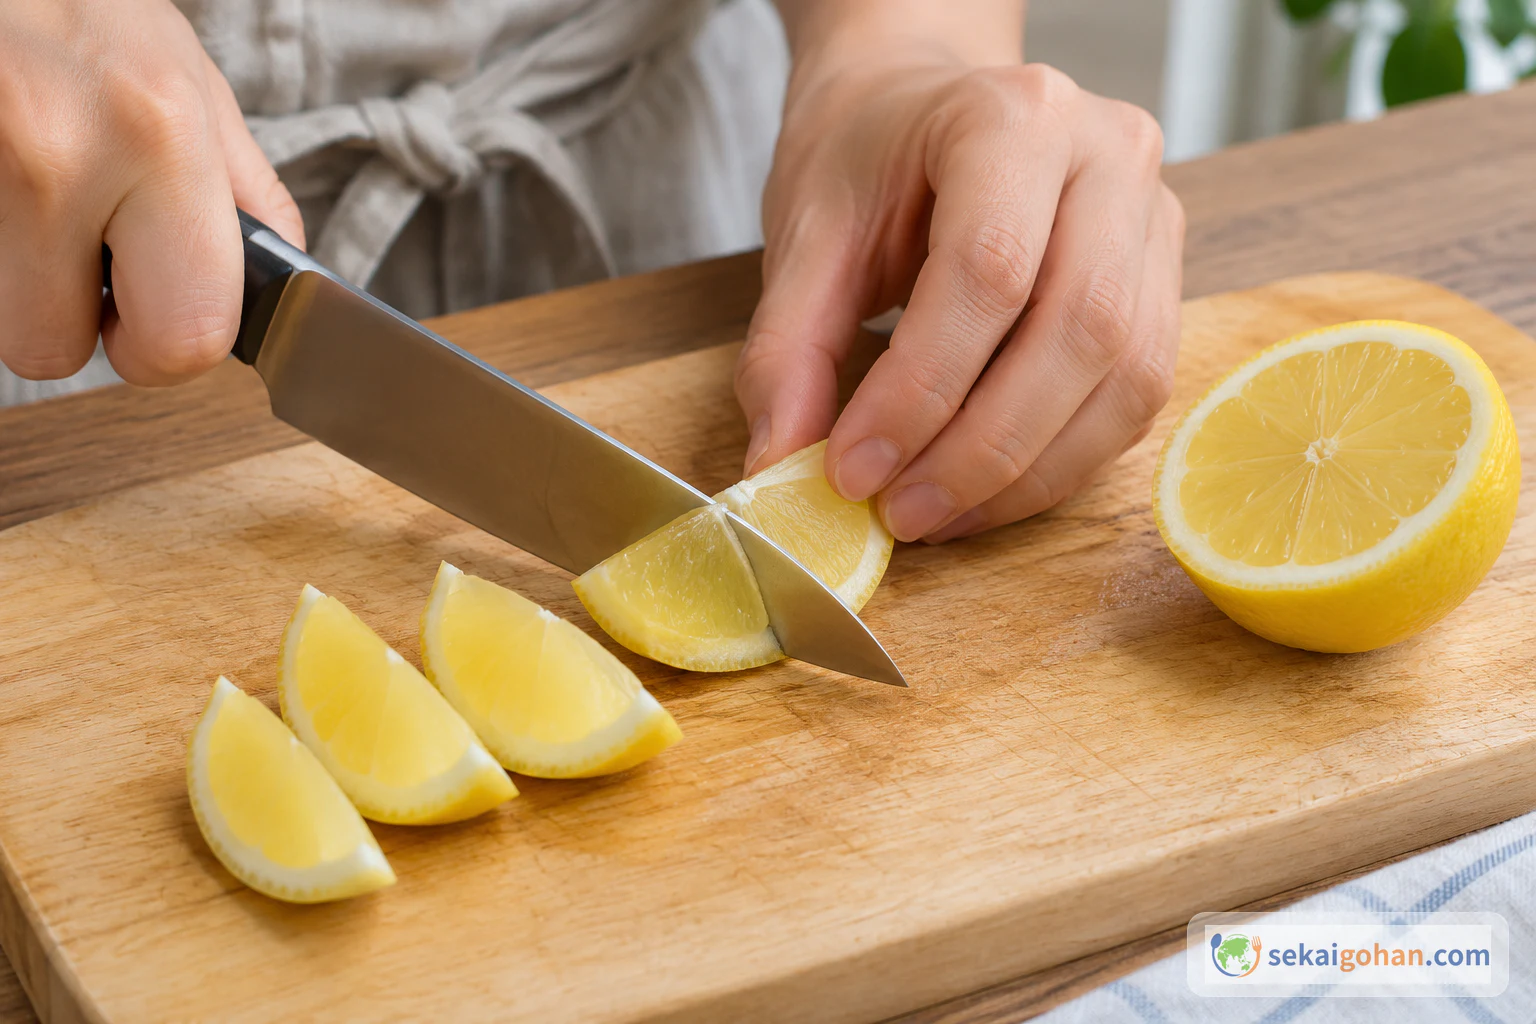
Cut the lemon into wedges

A knife cutting half a lemon into wedges on a clean board
Cut the lemon on a board that has never touched the raw chicken

Cut the half lemon into wedges on the clean board with the clean knife. Neither should ever touch raw chicken. Set the wedges on a ready-to-eat plate and keep it on the clean side of the counter until serving. The wedges are ready when each one has a neat cut face of juicy flesh.

STEP 33 / 15

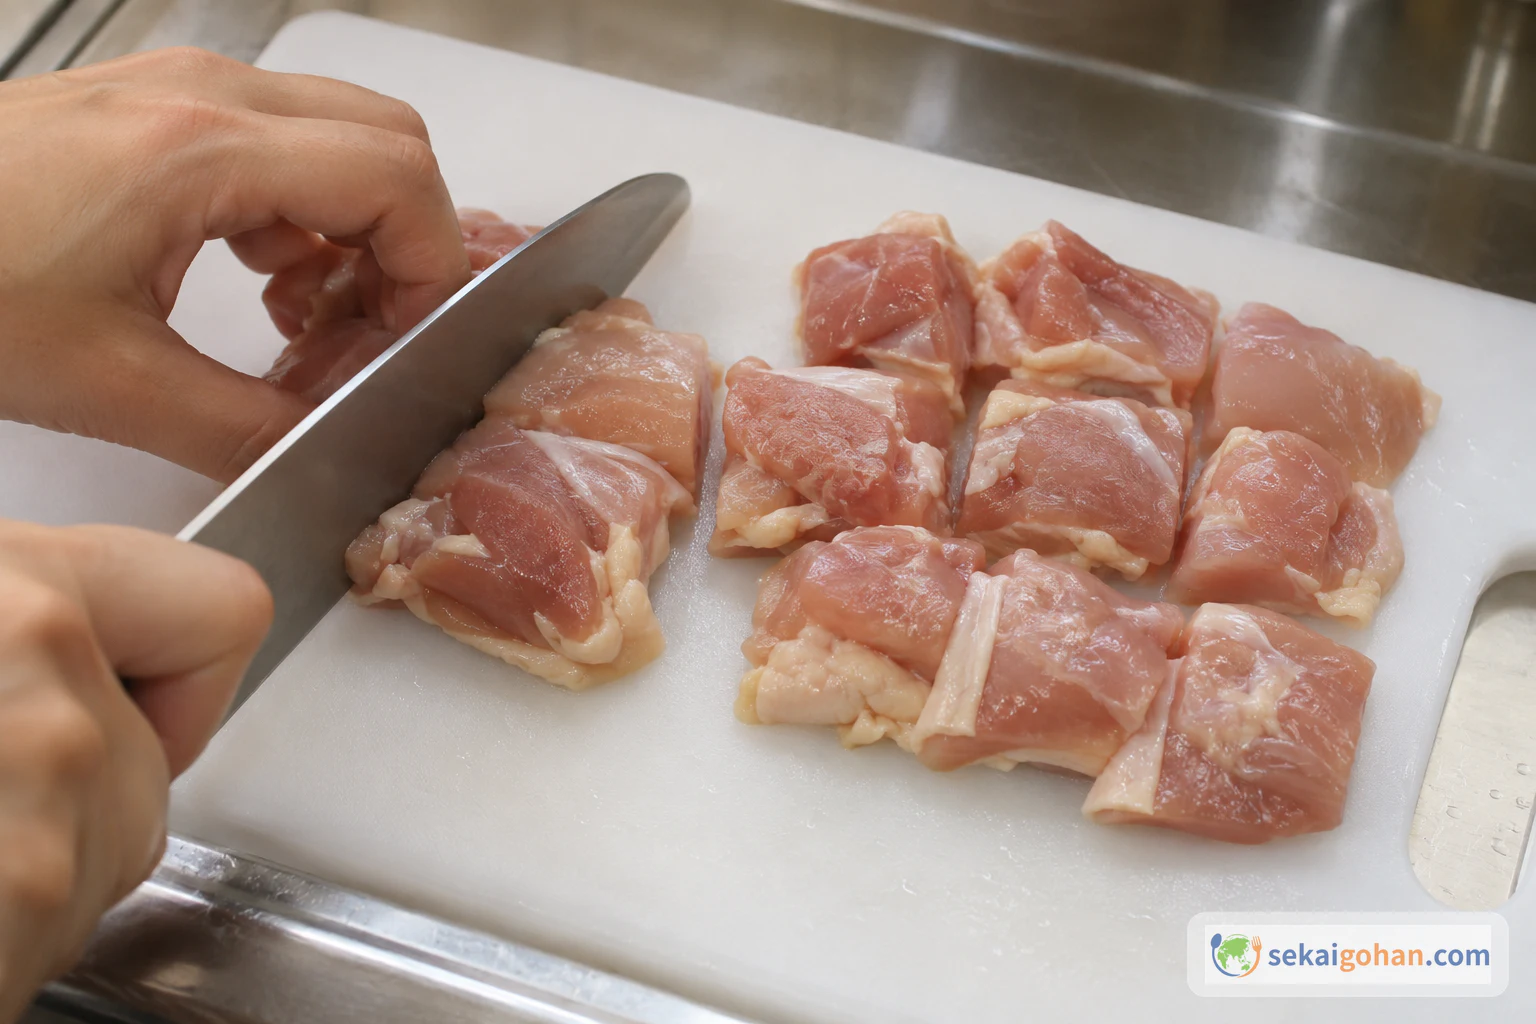
Cut the chicken into even pieces

Boneless chicken thigh cut into roughly 4 cm pieces on a raw-meat board
Aim for pieces of the same size, even if the shapes are uneven

Lay the thighs skin-side down on the raw-meat board. Cut them into pieces about 1½ inches (4 cm) across. Pieces of the same size cook at the same pace. Thigh pieces come out a little irregular, and that is fine as long as they are close in size. The board is done when the pieces look like one even batch, then wash your hands.

STEP 44 / 15

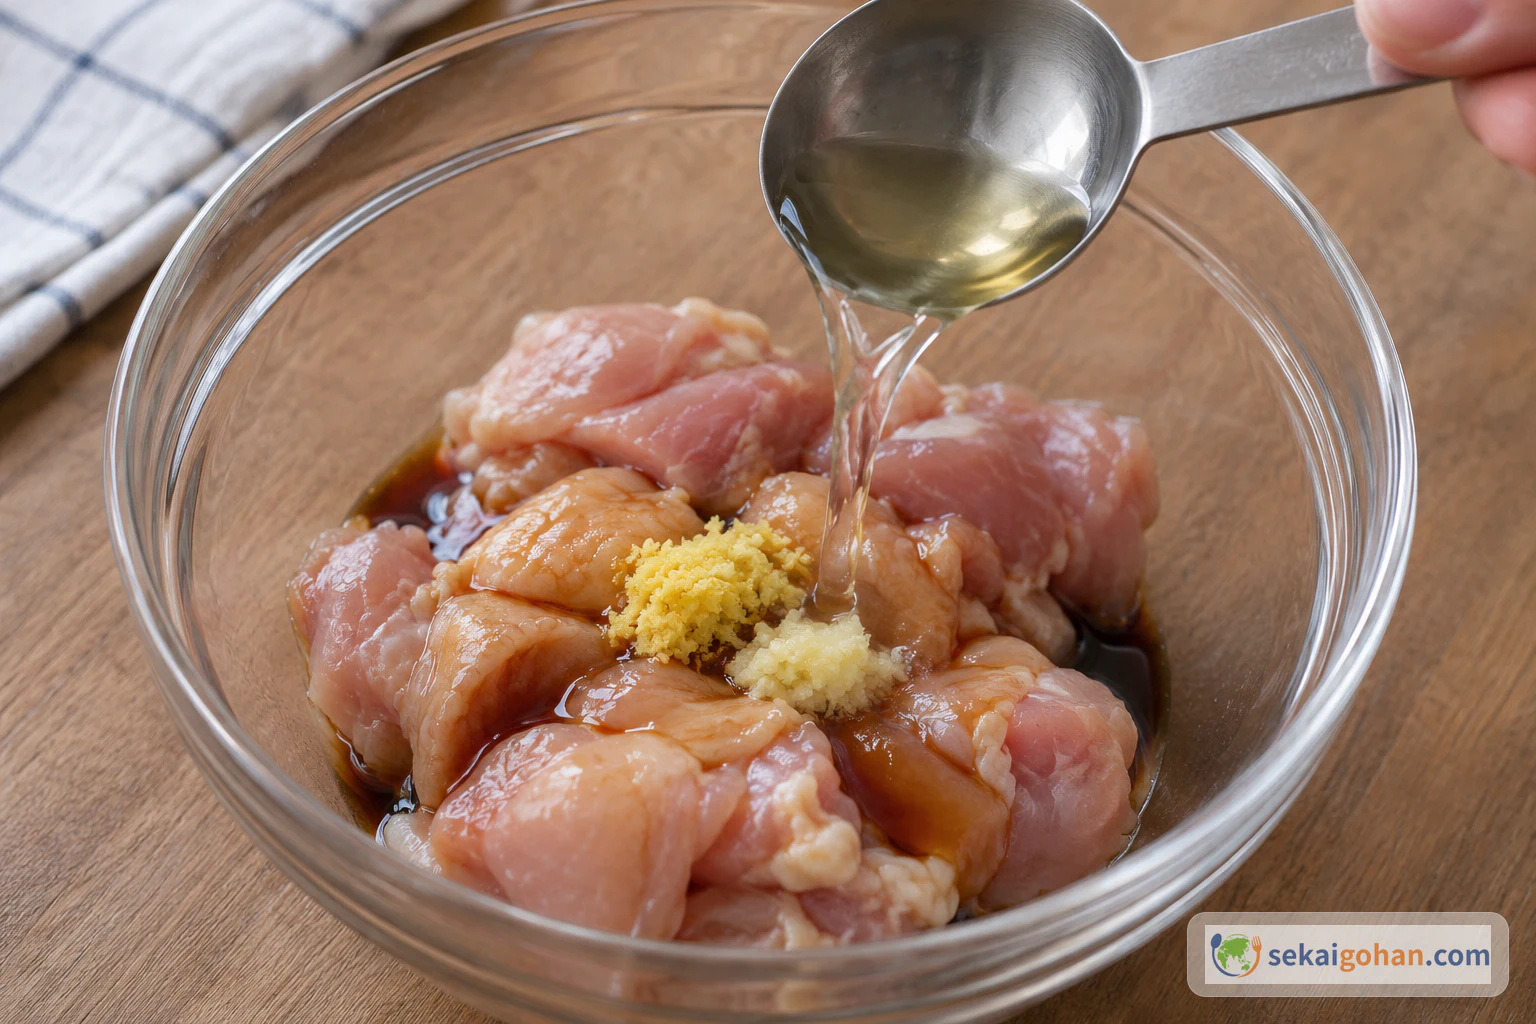
Season and massage

Cooking sake being spooned into raw chicken that already has soy sauce and grated aromatics on it
All the seasonings go into the bowl at the same stage, then into your hands

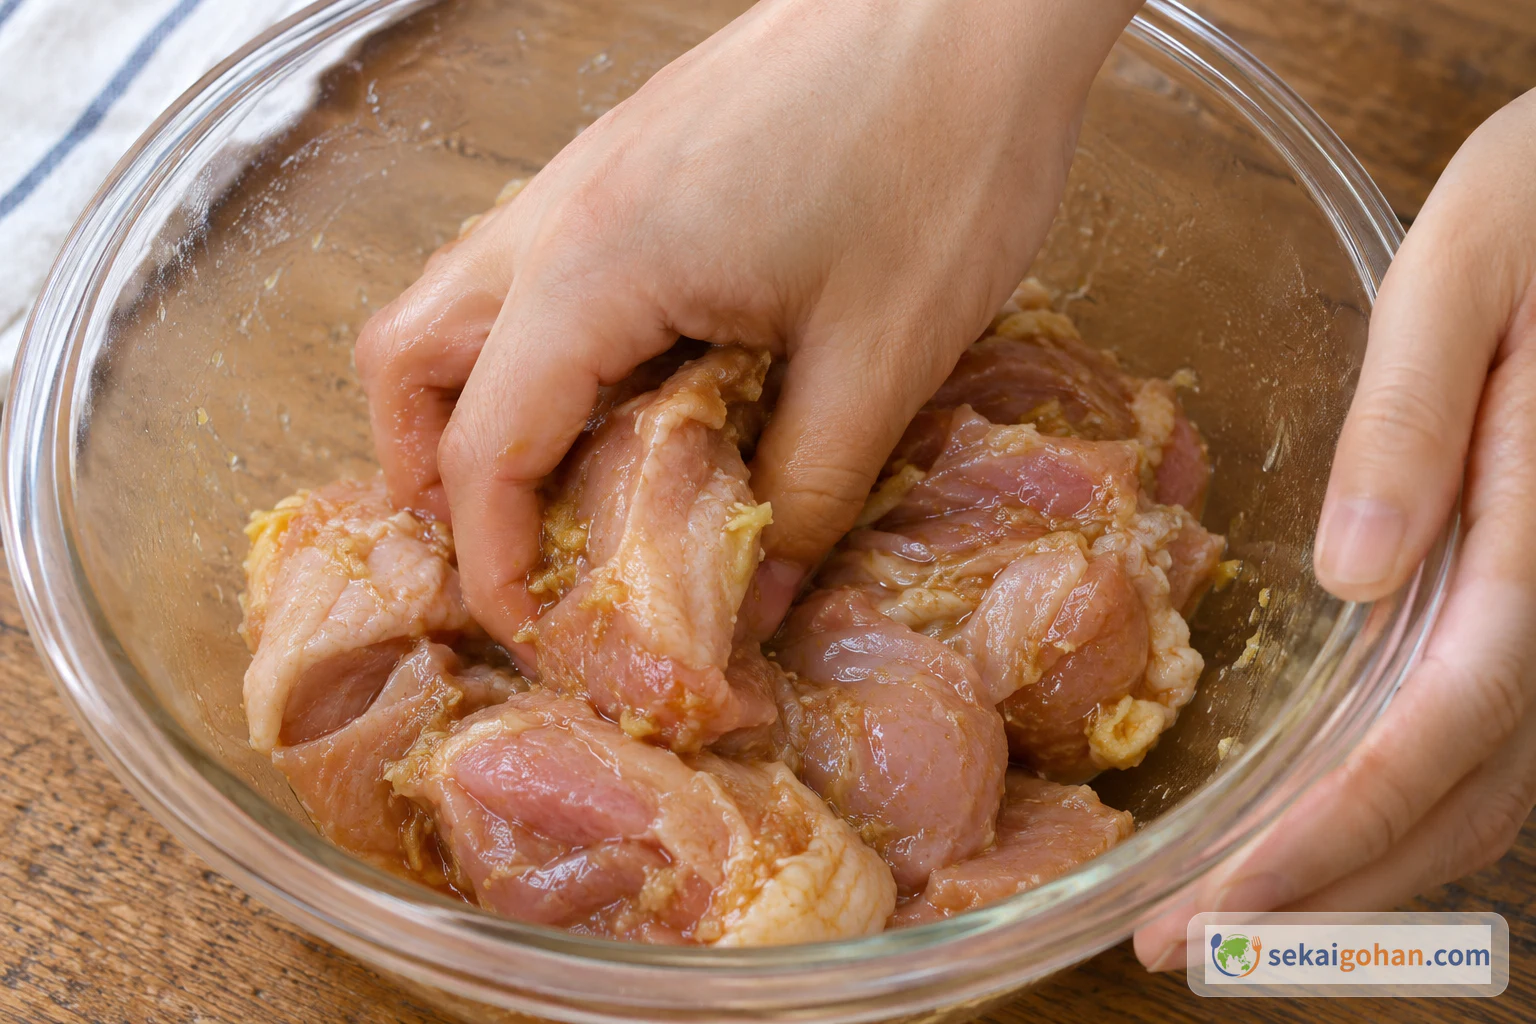
Put the chicken in the raw-food bowl. Add the soy sauce, cooking sake, grated ginger and grated garlic together. Massage everything into the meat with your hands, squeezing and turning the pieces. Keep going until the liquid is absorbed and almost nothing pools at the bottom of the bowl. The pieces should look glossy and evenly tinted brown.

Hands massaging soy sauce, sake, ginger and garlic into chicken thigh pieces
Squeeze and turn the pieces until the liquid soaks in and stops collecting in the bowl
STEP 55 / 15

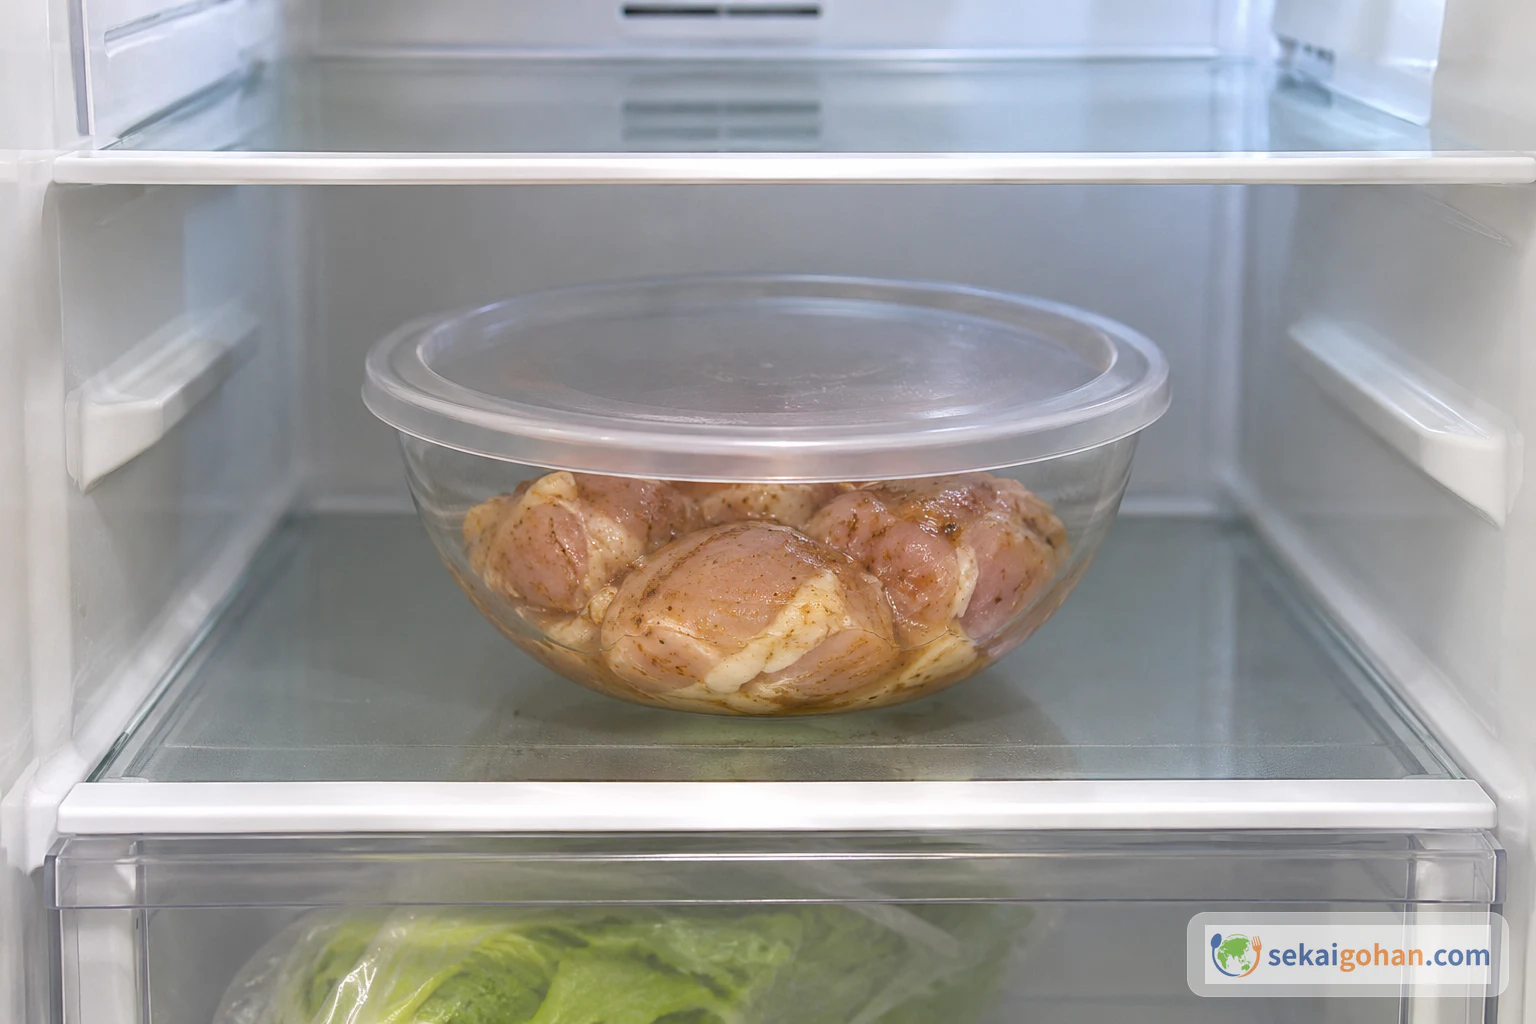
Rest the chicken covered in the refrigerator

Seasoned chicken resting in a covered bowl on a refrigerator shelf
Covered and on its own shelf, the raw chicken stays clear of everything else in the fridge

Put a clean lid on the bowl and set it in the refrigerator for 10 minutes, away from ready-to-eat food. While it rests, wash your hands with soap and clean and disinfect the raw-meat board and knife. Set out the shallow tray of coating flour and the long chopsticks. When you take the bowl out, the surface of the meat looks moist and evenly coloured.

STEP 66 / 15

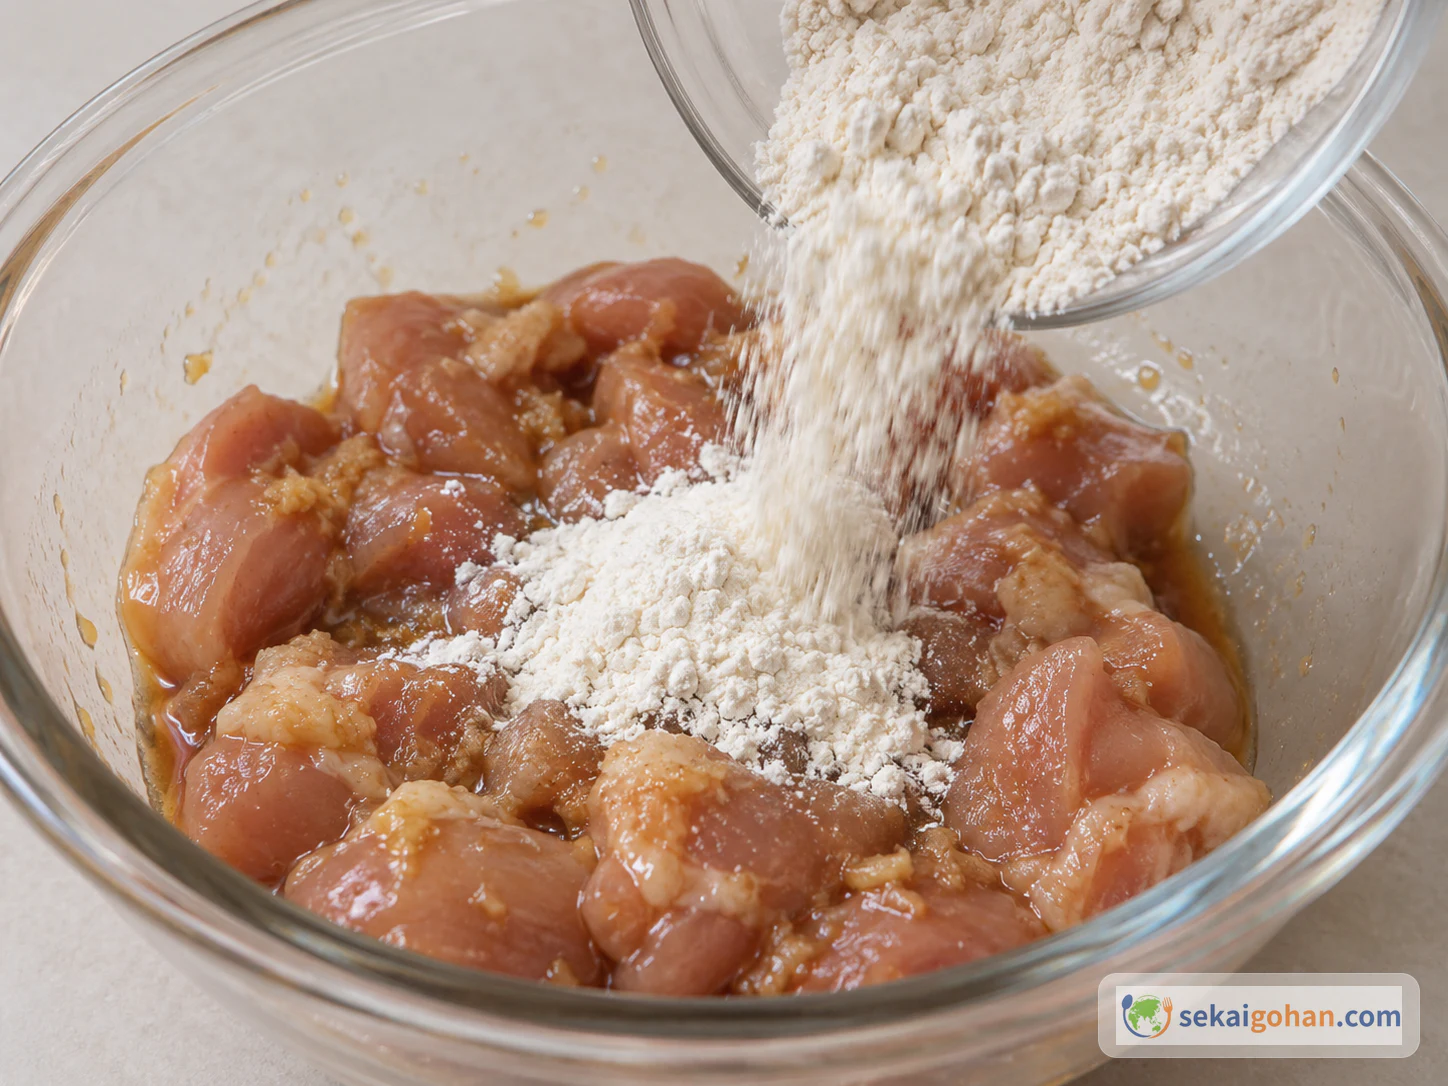
Mix in the first flour

The first portion of flour being poured into the seasoned chicken
Pour all of the measured mixing flour in at once, before you start stirring

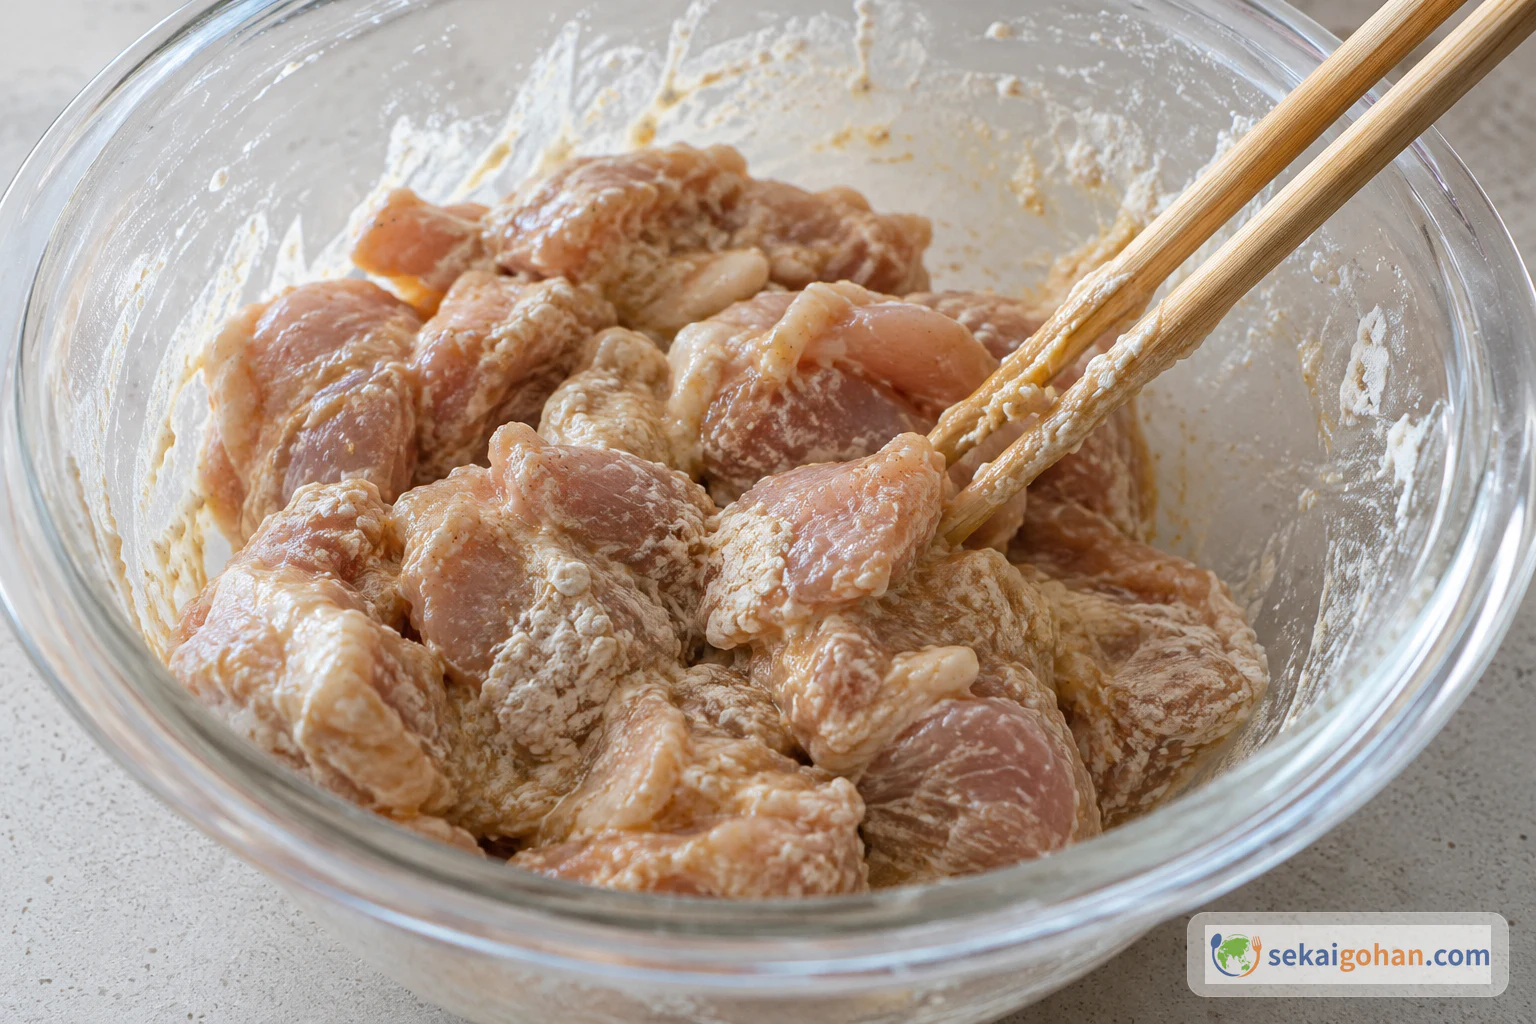
Tip the 1¾ oz (50 g) of mixing flour over the seasoned chicken. Stir with long chopsticks, lifting the pieces up from the bottom of the bowl so the flour meets the marinade everywhere. Keep mixing until almost no dry flour shows. Each piece should be tacky and wrapped in a thin, beige paste.

Long chopsticks mixing flour into the seasoned chicken until little dry flour remains
Stop when the flour has turned into a sticky paste and only a few white traces are left
STEP 77 / 15

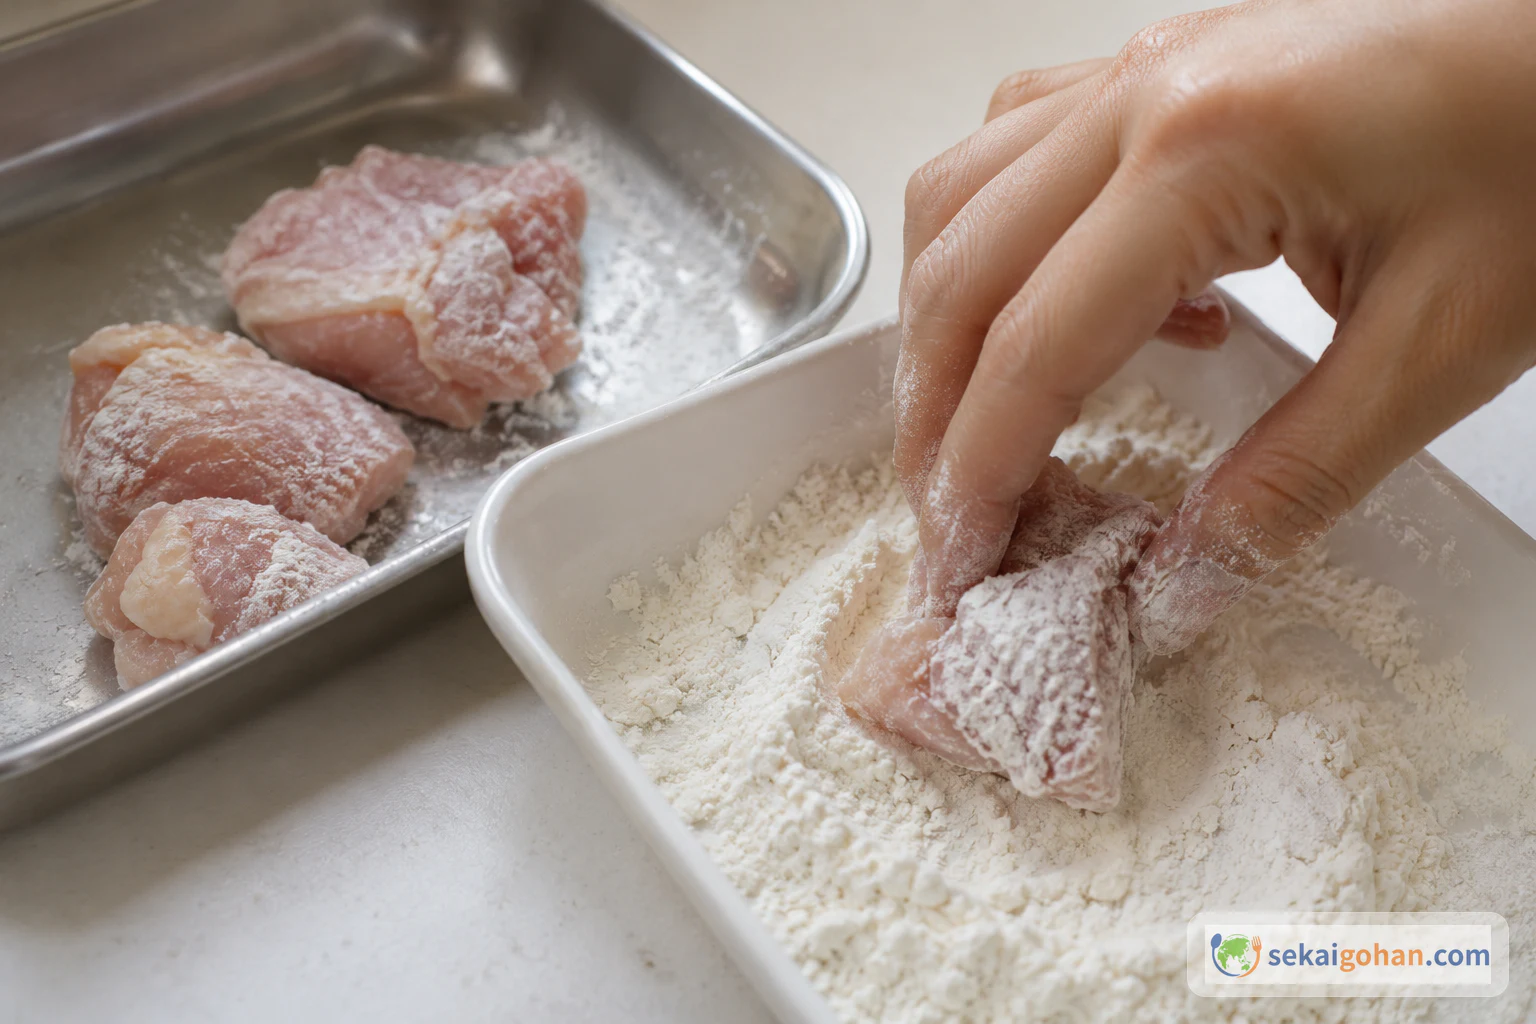
Give the pieces a light outer coat

A hand lightly coating one bite-size chicken piece in a separate tray of flour
A light dusting is all you need. The pieces should still look like chicken, with no thick shell

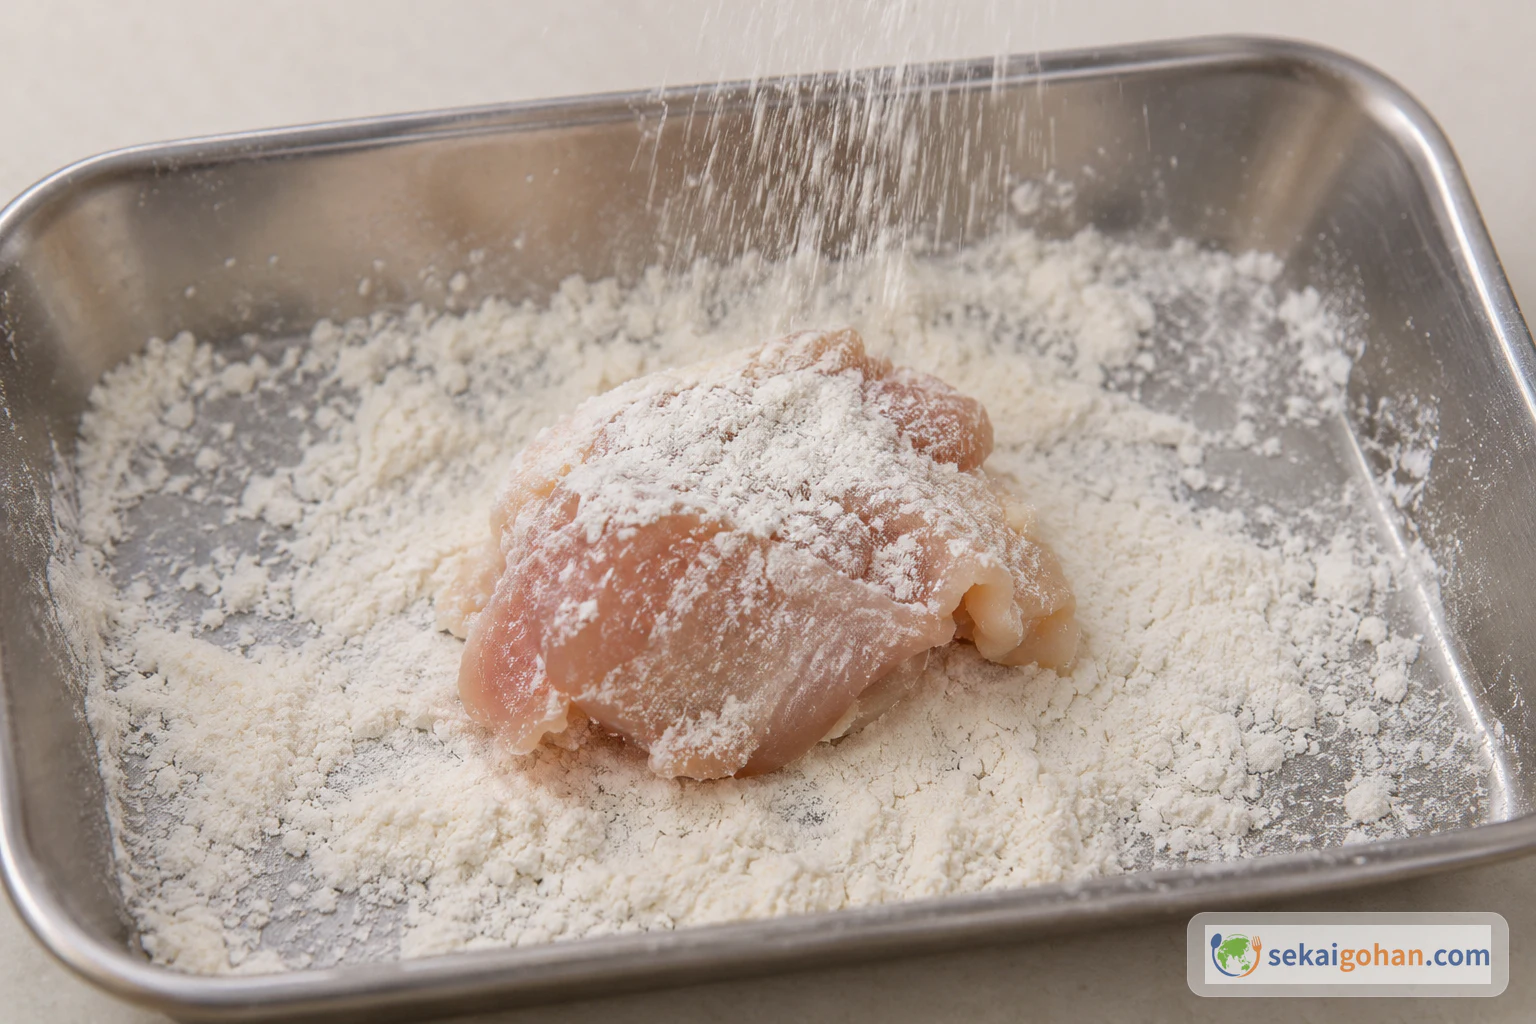
Working a few pieces at a time, roll them in the separate tray of coating flour. Use one hand for the raw chicken. Tap off the excess so the coat stays thin. Set the coated pieces to one side of the tray. They are ready when each one has a dry, matte white film and you can still see its shape.

STEP 88 / 15

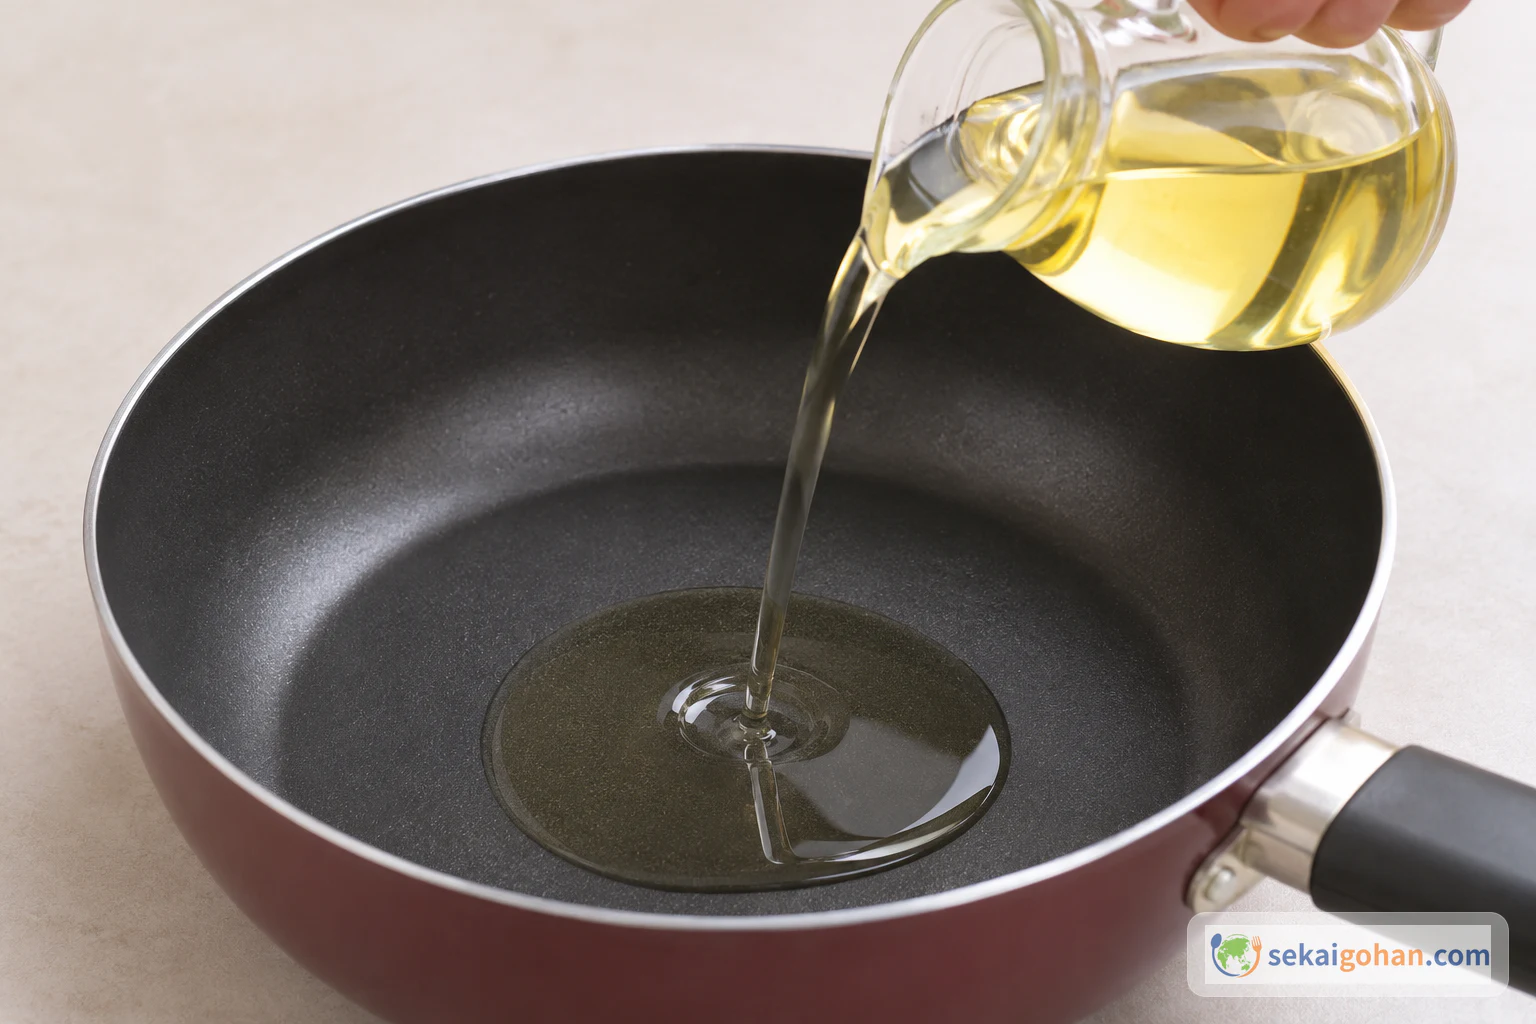
Heat the oil

Neutral oil being poured from a jug into an empty deep-sided frying pan
Pour the oil into a cold, dry pan before the heat goes on

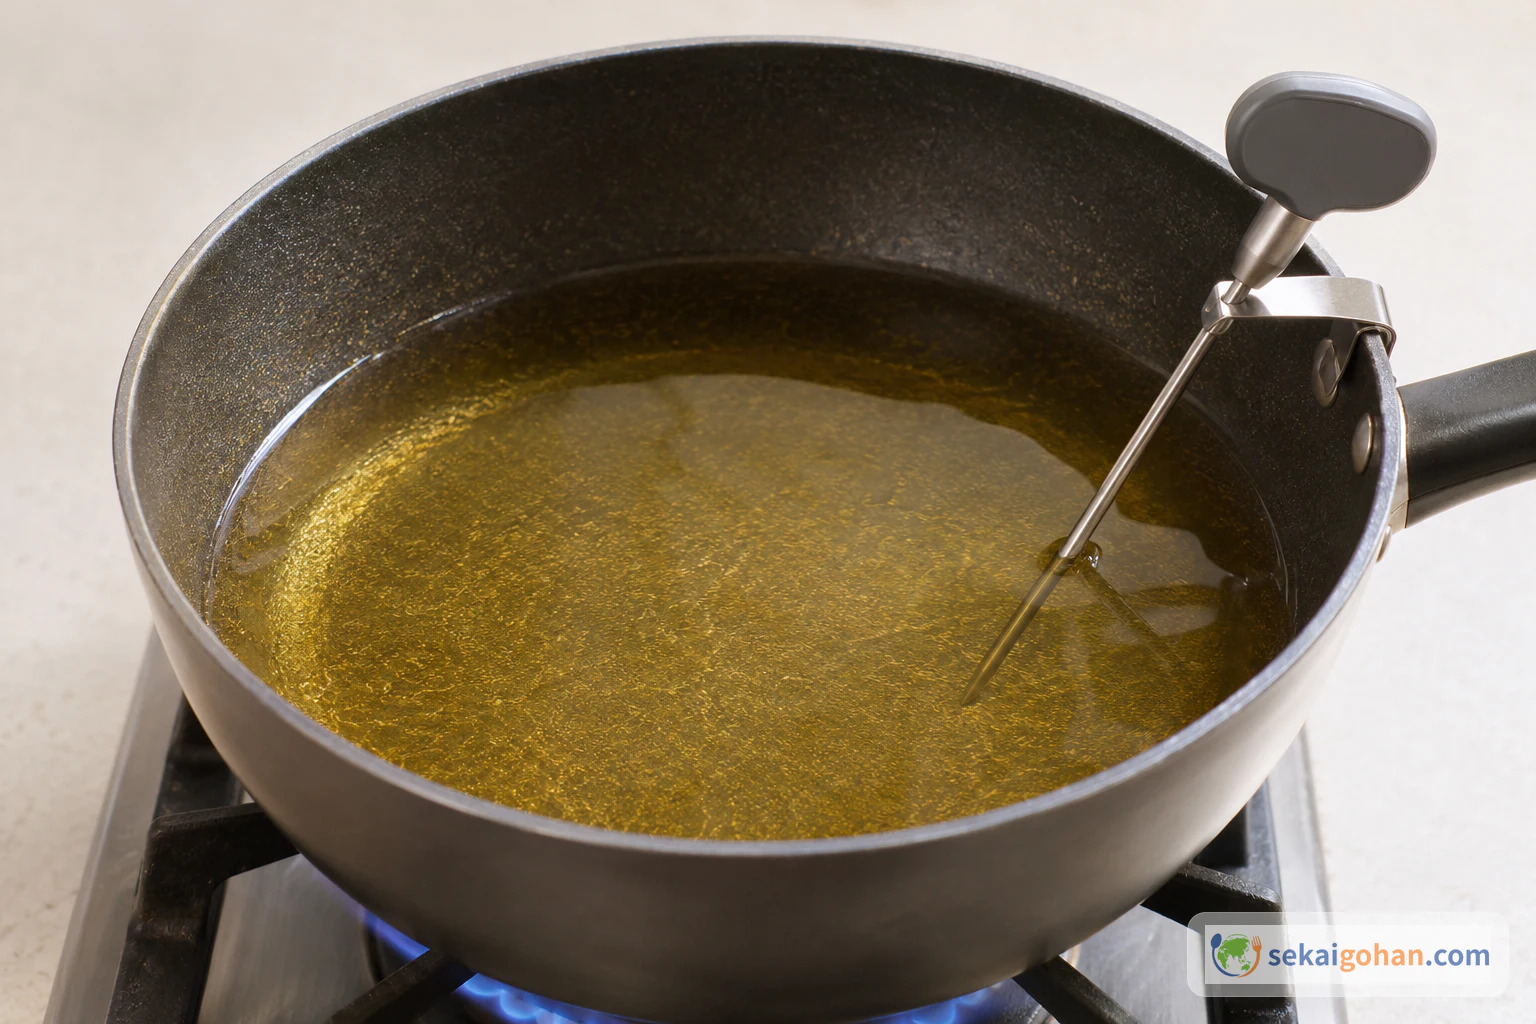
Pour the oil into the deep-sided frying pan to a depth of about ¾ inch (2 cm). Set the pan over the heat and clip or hold the oil thermometer in the oil. Heat it to 340°F (170°C), watching the thermometer instead of guessing. The oil is ready when the thermometer holds steady at that temperature.

Oil heating in a deep-sided pan over a flame with a thermometer probe in it
Keep the probe in the oil as it heats and trust its reading, not how the oil looks
STEP 99 / 15

Dust again and round each piece

One raw chicken piece getting a second light dusting of flour in a tray
The second dusting covers the damp spots left from the first coat

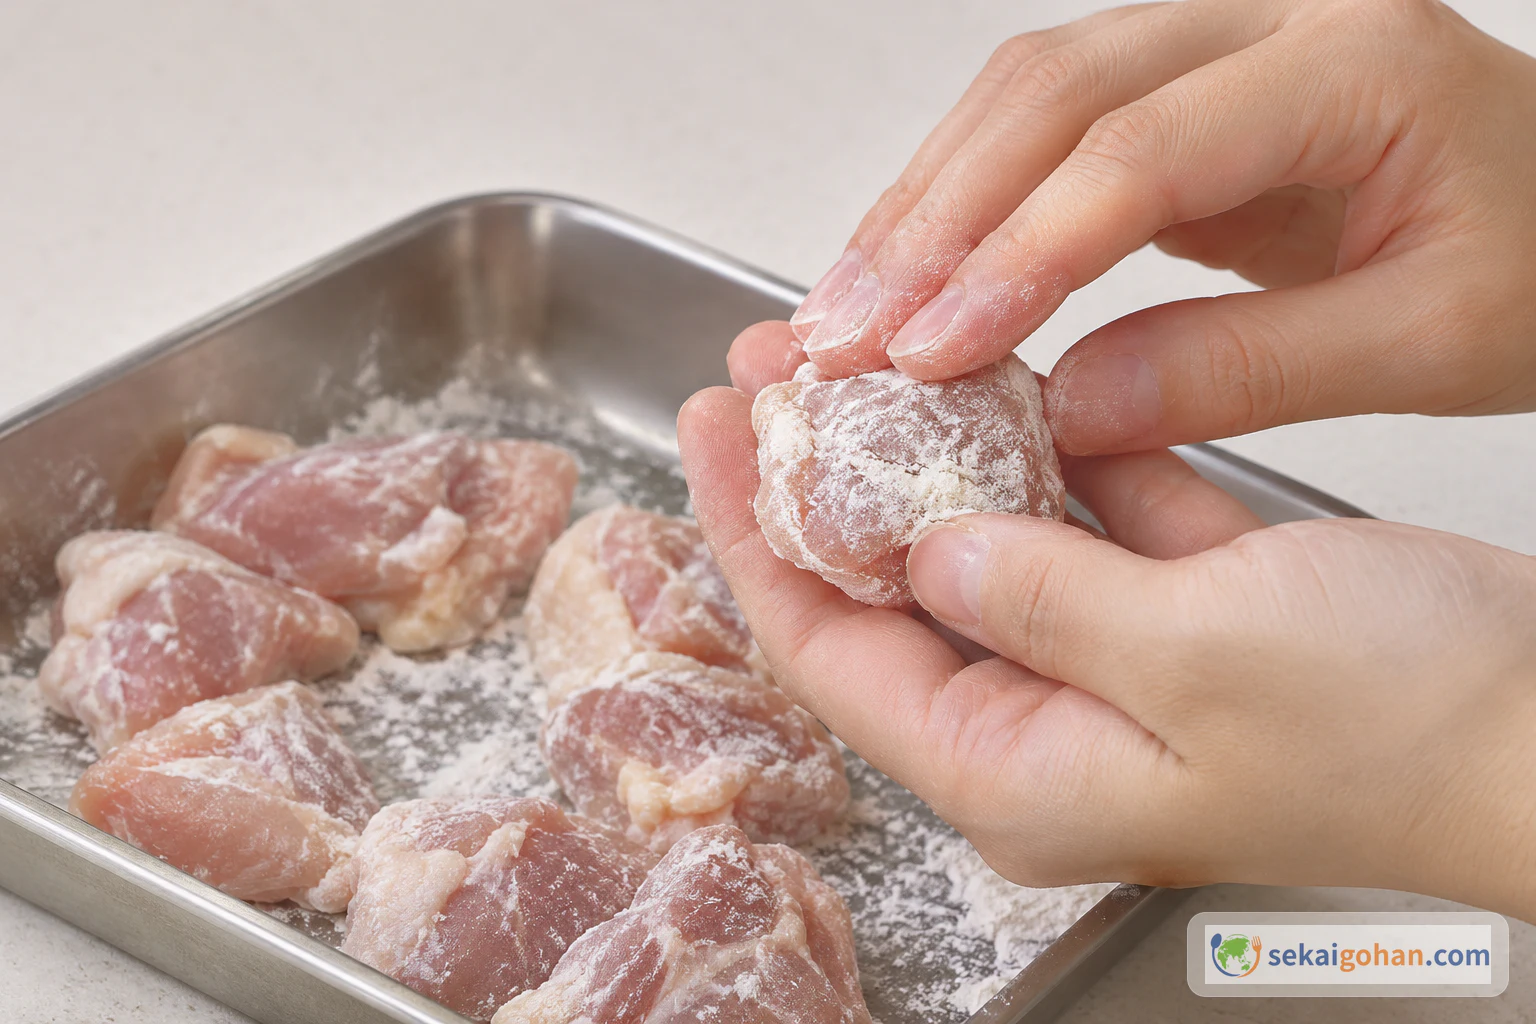
Just before frying, dust each piece lightly in the coating flour once more. Then cup it gently in your fingers and press it into a compact, rounded shape, tucking any loose skin or edges underneath. Work over the raw-food tray and keep your hands away from the pan. Each piece is ready when it is a neat, evenly white little bundle.

Fingers gently shaping a floured chicken piece into a compact round
Press gently. You only want to tighten the shape, not squeeze out the seasoning
STEP 1010 / 15

Lower the pieces into the oil

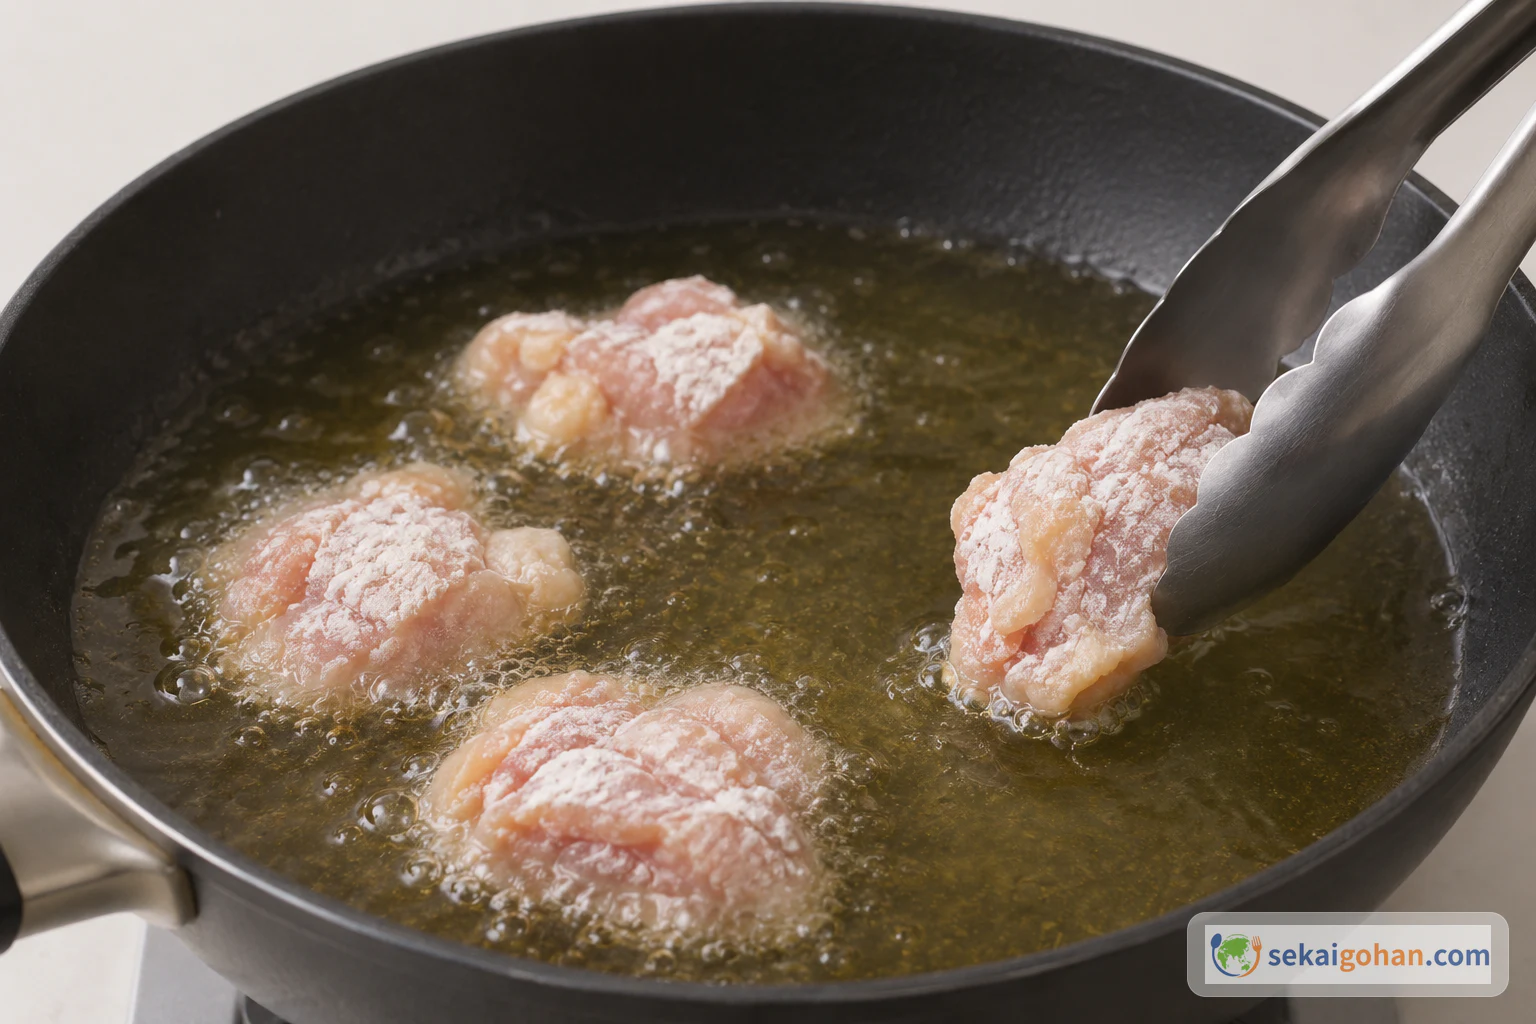
Clean tongs lowering one floured, rounded chicken piece into the oil
Let go right at the oil surface so the piece slips in instead of dropping

Pick up each rounded piece with the clean tongs. Lower it to the surface of the oil and let it go gently, away from you. Put in all the pieces this way, spacing them across the pan. Each piece should hiss at once and send out a ring of small, steady bubbles.

STEP 1111 / 15

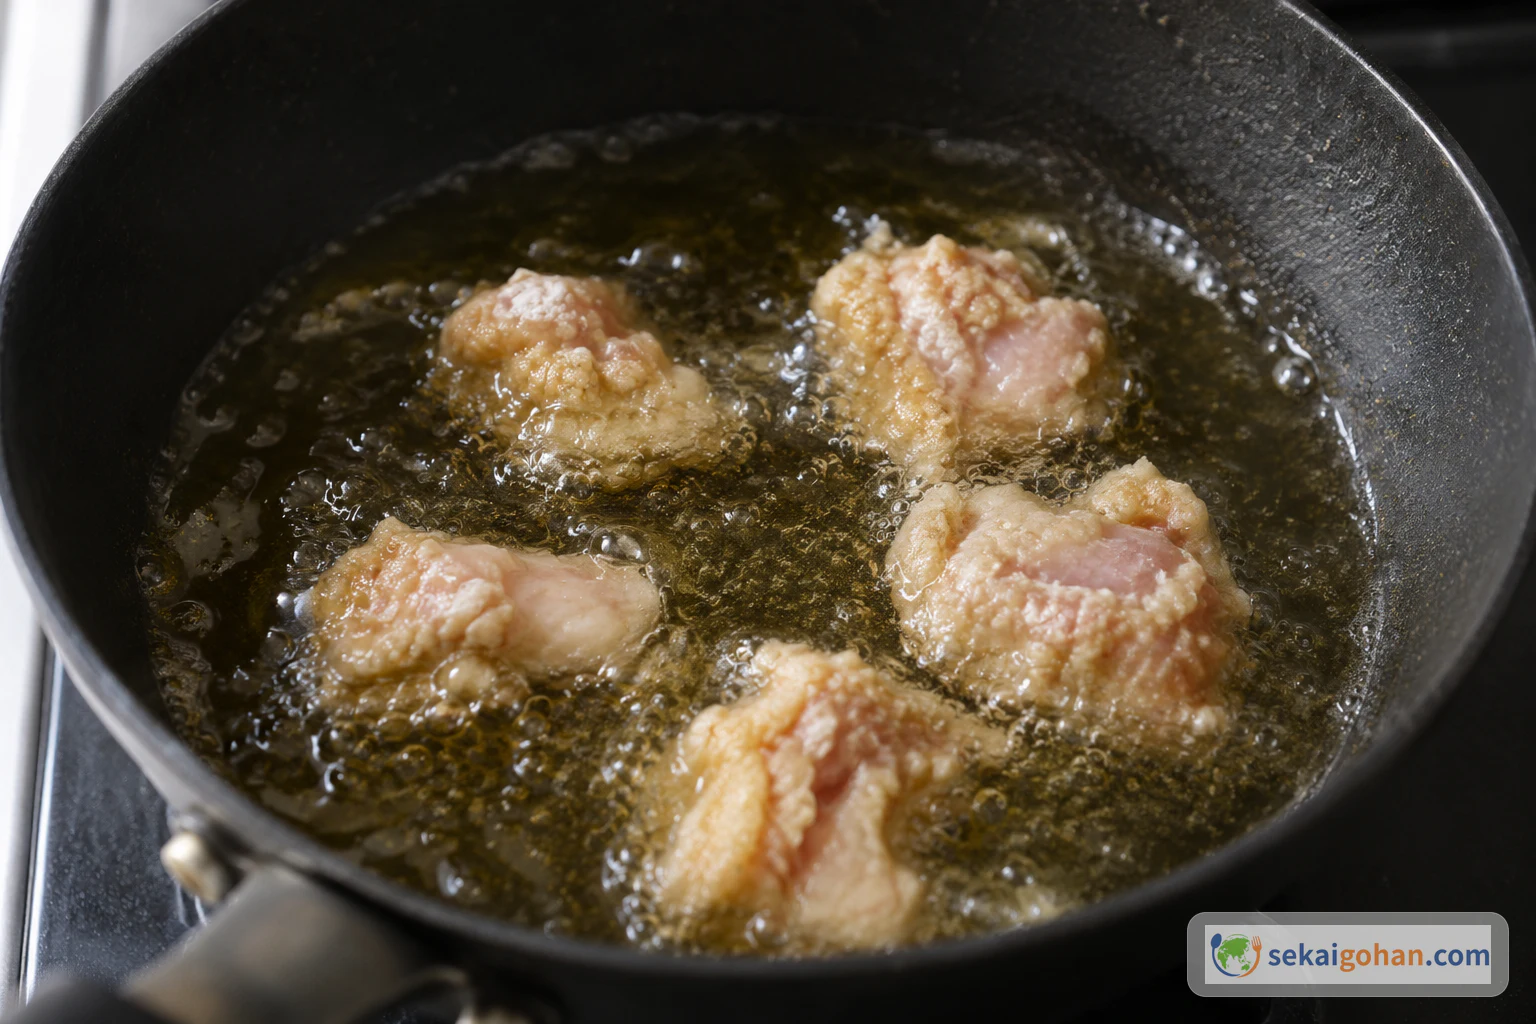
Fry undisturbed for the first 2 minutes

Chicken pieces sitting undisturbed in oil with small bubbles around them
Steady small bubbles and no utensils in the pan: this is how the first two minutes should look

Once the last piece is in, leave the pan alone for 2 minutes so the coat can set. Keep the heat steady and watch the thermometer. Small bubbles keep rising around each piece. The stage is done after the 2 minutes, when the coat looks firm and the edges are turning pale gold.

STEP 1212 / 15

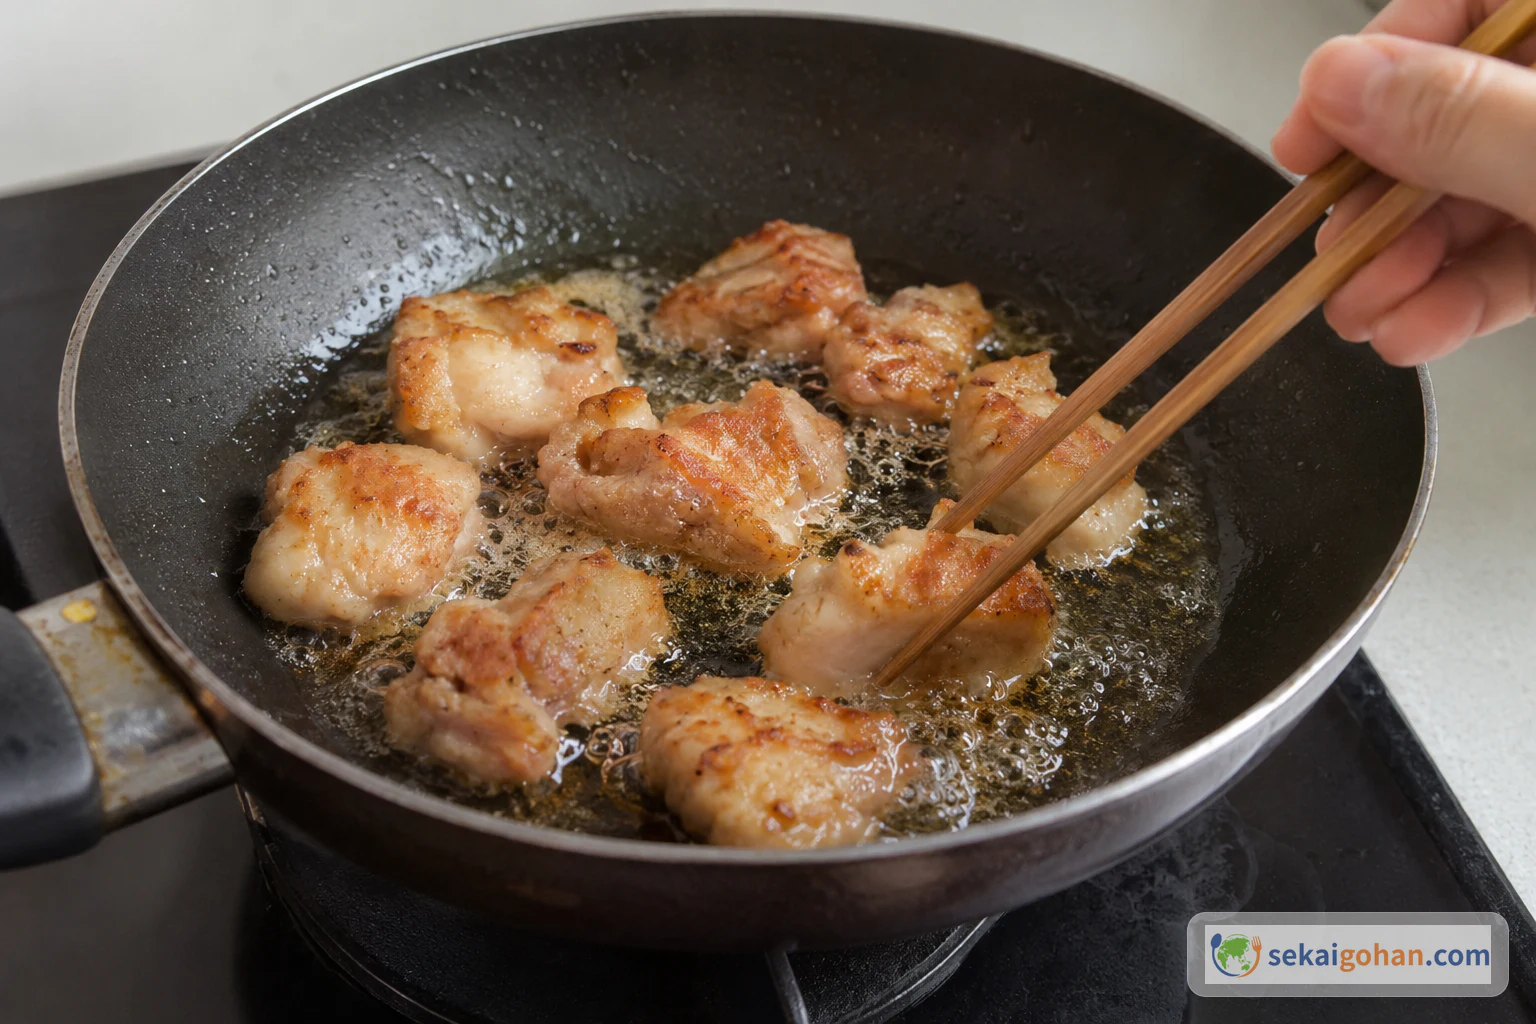
Turn and fry 3 minutes more

Chopsticks turning one piece of karaage in the oil
After the first turn, keep the pieces moving now and then so no side gets too dark

Turn each piece over with chopsticks or tongs. Fry for 3 minutes more, turning the pieces now and then so they colour evenly. The bubbling gets quieter as the coat dries out. Lift the pieces out after the 3 minutes. They should be golden all over, with a coat that feels crisp against the chopsticks. Colour does not show that the inside is cooked; the check in step 14 does.

STEP 1313 / 15

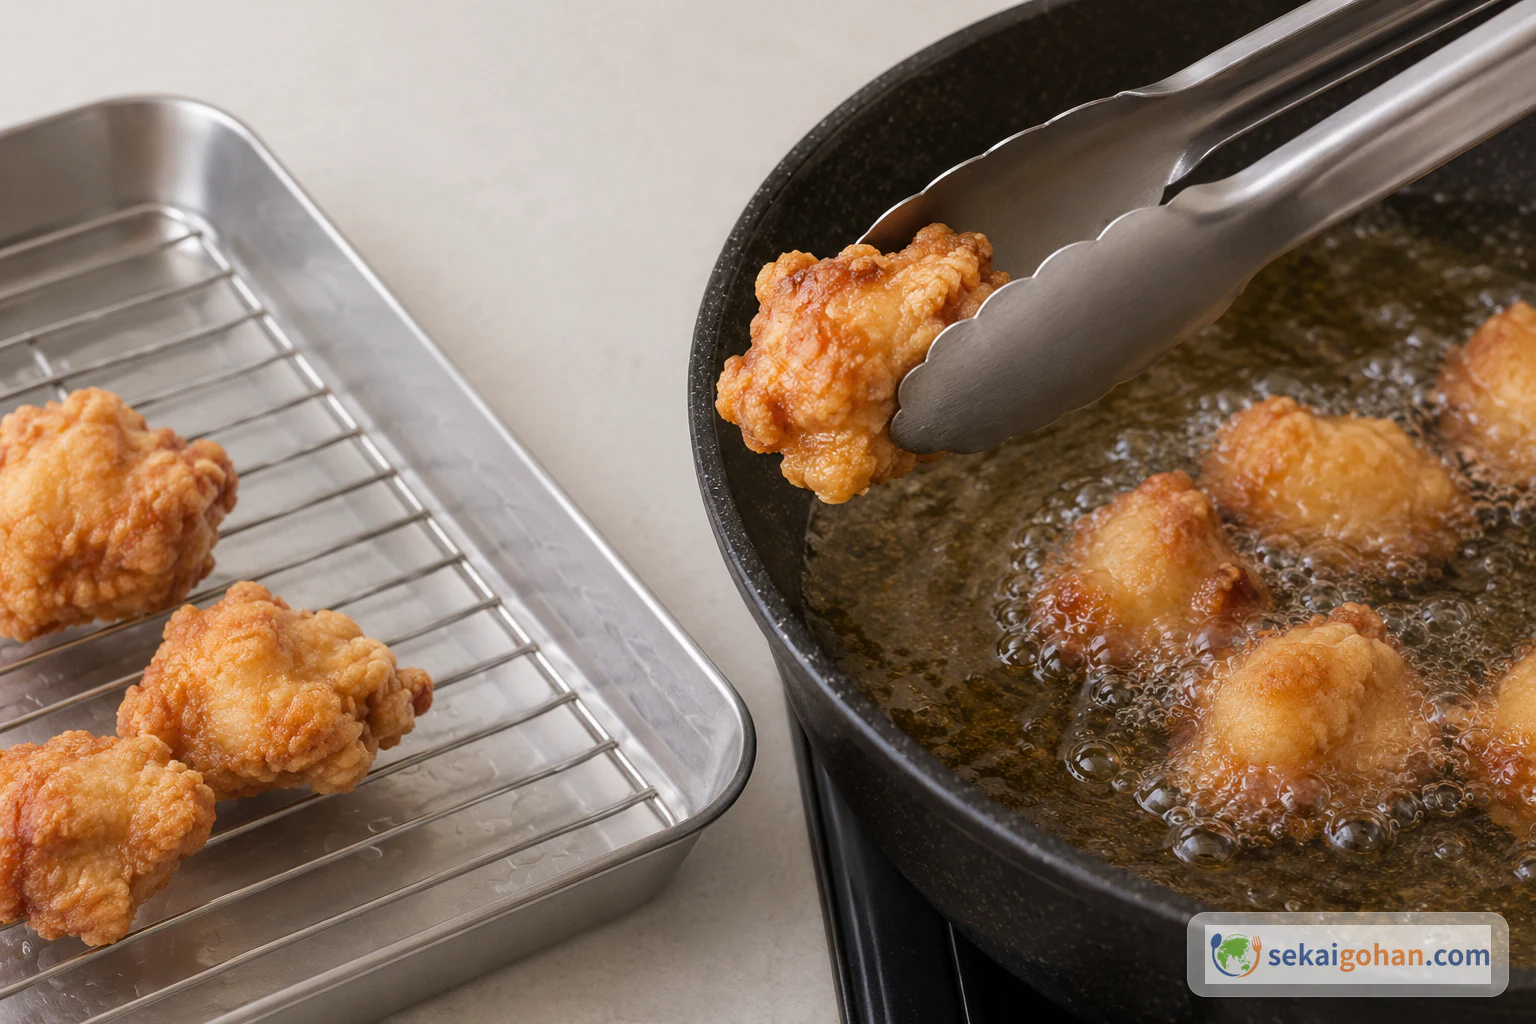
Lift and drain on the rack

Clean tongs lifting a fried karaage piece from the oil toward a wire rack
Let the oil run back into the pan before the piece goes onto the rack

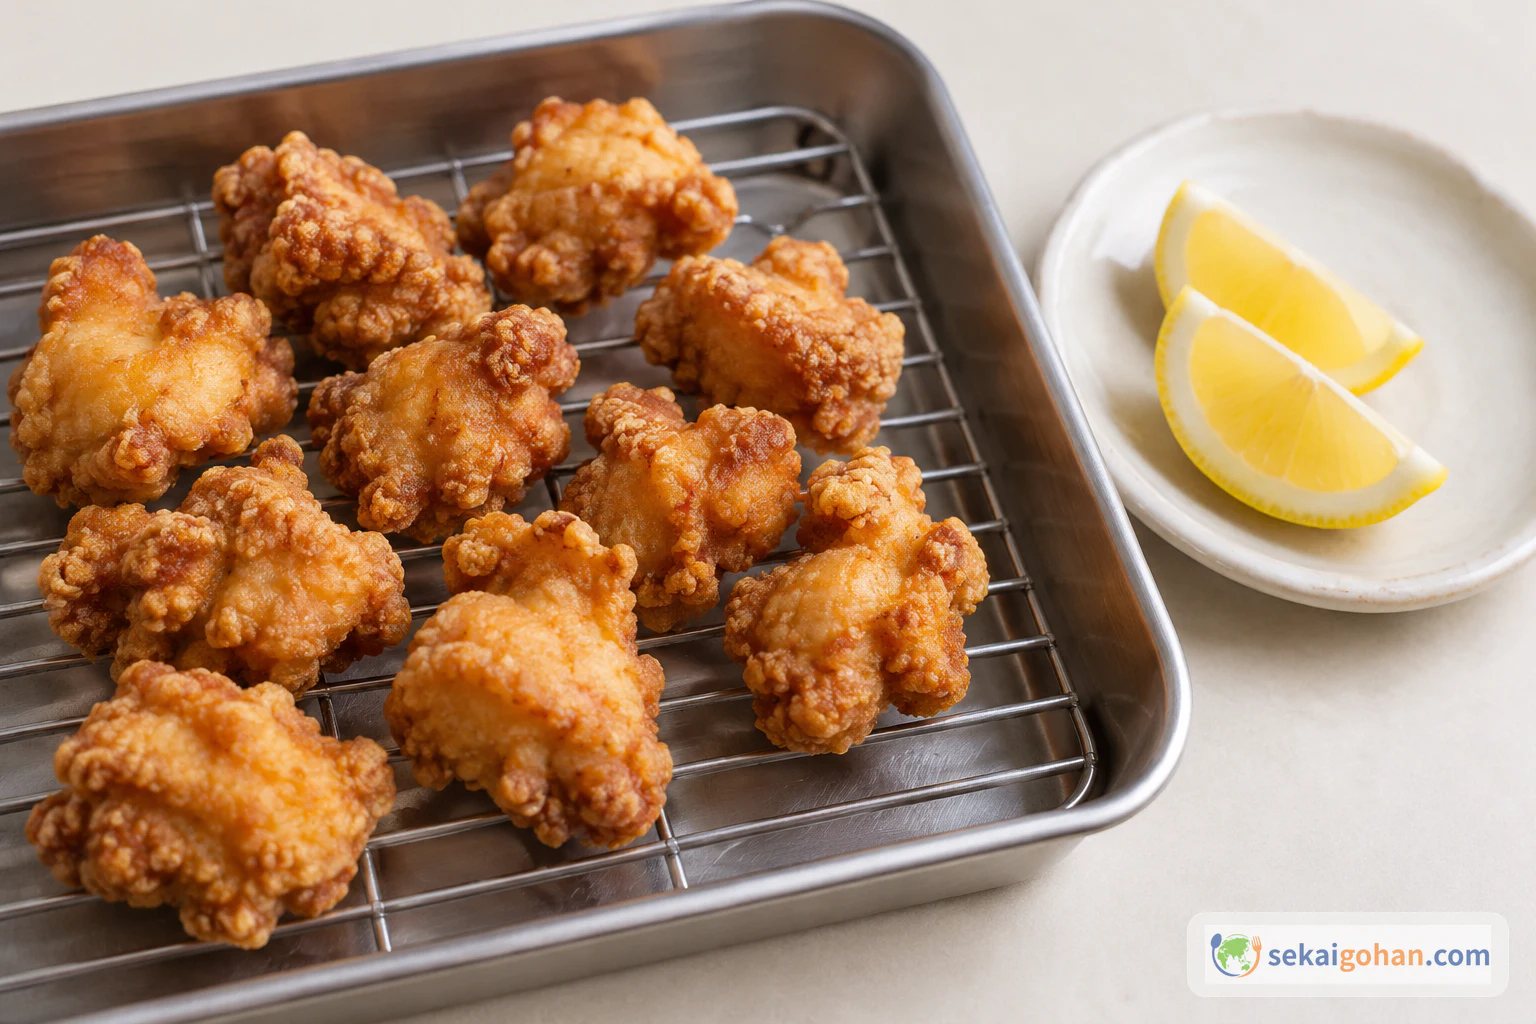
Lift the pieces out of the oil one at a time with the clean tongs. Hold each one over the pan for a moment, then set it on the wire rack over the tray. Leave space between the pieces so steam can escape and the coat stays crisp. They are drained when oil no longer drips from the bottoms.

Fried karaage draining on a wire rack, with lemon wedges on a separate clean plate
The rack stays with the cooked chicken and the lemon stays on its clean plate
STEP 1414 / 15

Check the center of the thickest piece

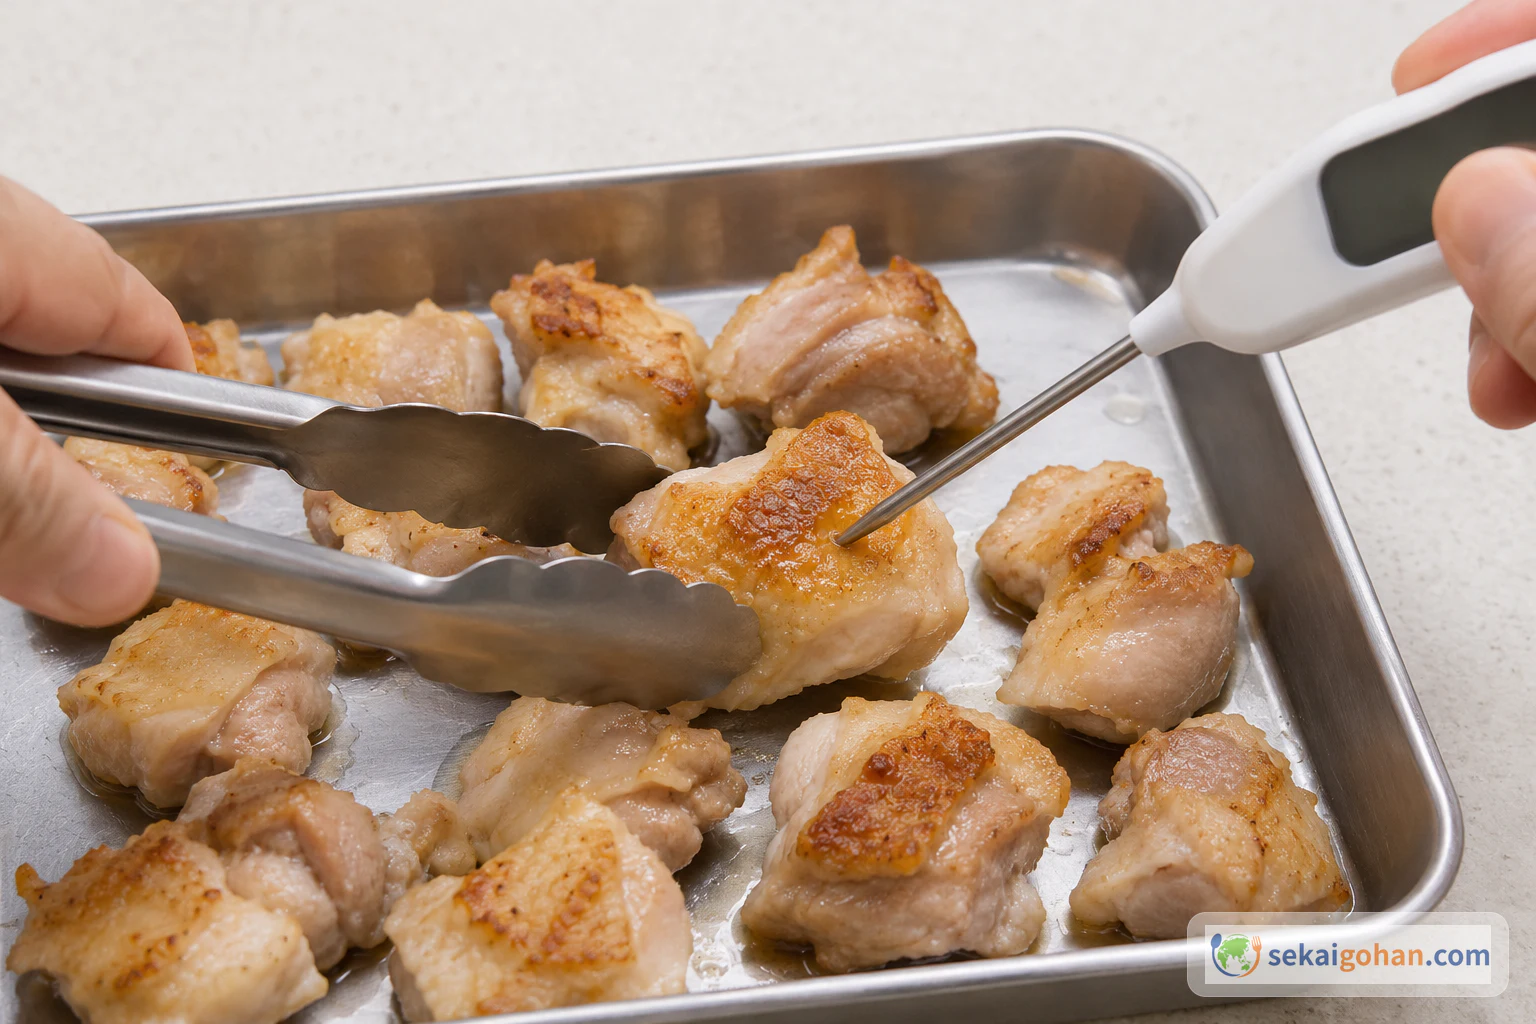
A clean probe thermometer inserted into the thickest piece of fried chicken
Push the probe tip into the middle of the thickest piece, not just under the coat

Choose the thickest piece. Hold it with the clean tongs and push the clean probe thermometer into its very center. The center must reach 167°F (75°C) or above and stay there for at least 1 minute. If it does not, put the pieces back in the 340°F (170°C) oil, fry longer, and check again the same way. The chicken is done only when the thermometer shows that temperature at the center.

STEP 1515 / 15

Plate and squeeze the lemon at the table

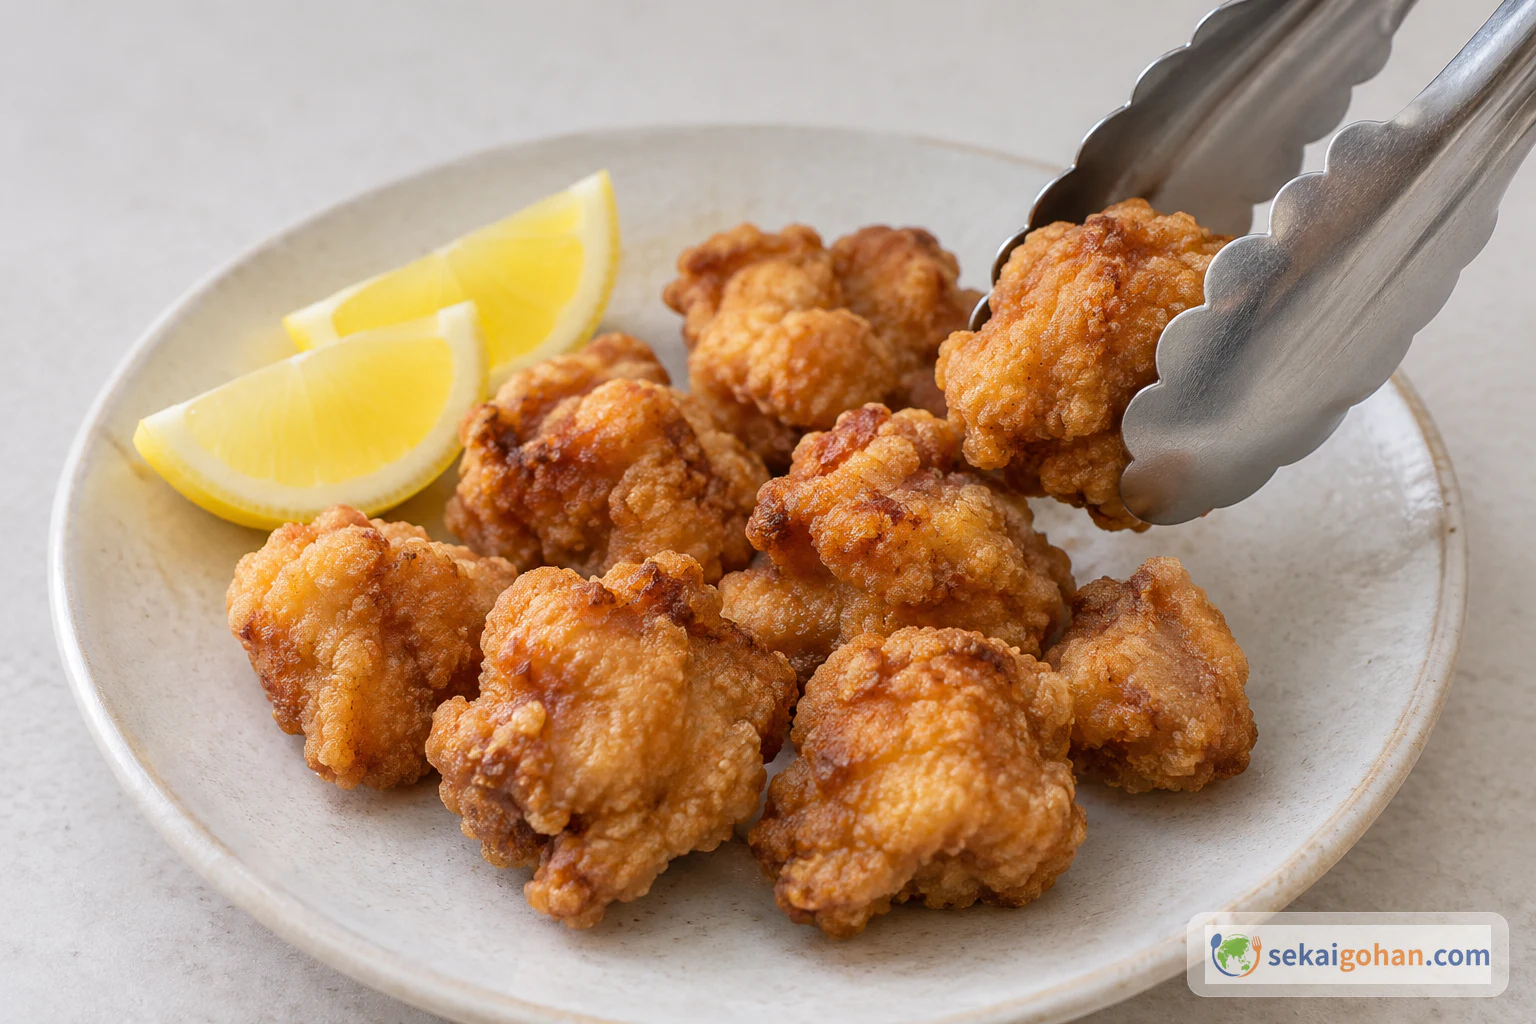
Clean tongs placing fried karaage on a plate with lemon wedges
Plate with clean tongs. The cooked chicken should never meet the raw-meat tools

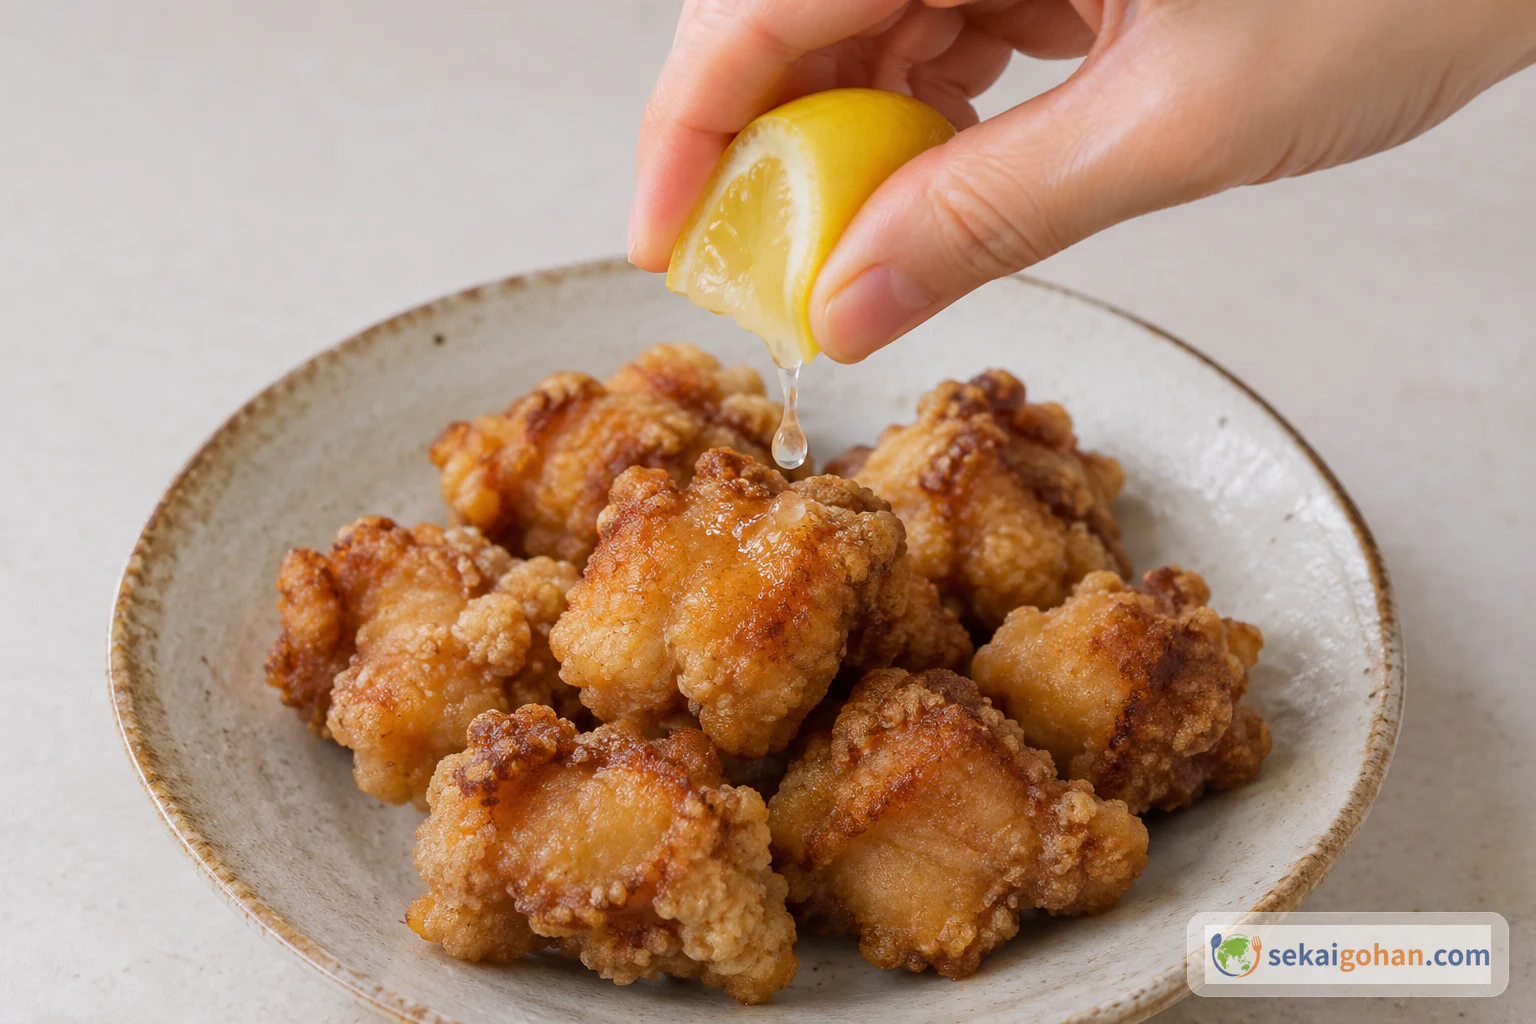
Move the checked karaage to the serving plate with clean tongs, never with the chopsticks or tray used for raw chicken. Put the lemon wedges beside it. Bring it to the table while the coat is still crackling. Everyone squeezes a wedge over their own pieces as they eat, and the lemon is right when you can smell it as you bite in.

A hand squeezing a lemon wedge over plated karaage
Squeeze the lemon at the moment you eat, a few drops at a time
0 / 0
Ingredients

Ingredients

1 / 1

Ingredients

Ingredient Amount Role
Chicken thigh, boneless, skin-on 1⅓ lb (600 g) The main ingredient. Thigh stays juicy through frying
Soy sauce (shōyu) 2 tbsp Saltiness, savoury depth and colour
Cooking sake (ryōrishu) 1 tbsp Seasoning liquid that helps carry the flavour into the meat
Fresh ginger, grated 1 tsp A sharp, bright aroma
Garlic, grated 1 tsp Savoury aroma
All-purpose wheat flour, for mixing in 1¾ oz (50 g) Mixed into the seasoned chicken to make the inner paste
All-purpose wheat flour, for coating as needed Kept in a separate tray for the two light outer dustings
Neutral-flavoured oil, for frying as needed Enough to fill the pan to frying depth
Lemon ½, cut into wedges Squeezed over at the table
0 / 0

The first piece slides off the tongs and the oil answers with a steady hiss. More pieces follow, small rounded knots of floured thigh, and then comes the hard part: leaving them alone while the coat sets. When you finally turn them, the undersides have gone gold, and the kitchen smells of soy, ginger and garlic hitting hot fat. This is chicken karaage, the fried chicken Japanese cooks make at home and order in izakaya and neighbourhood diners. You get juicy thigh meat seasoned all the way through, a thin coat that crackles, and a squeeze of lemon at the moment you eat.

Soy, Ginger and a Light Flour Coat

In Japan, karaage means meat or fish that is seasoned, coated in flour and deep-fried. Chicken karaage is the version this recipe makes. You will see it on a weeknight family table, and you will see it on a small plate in an izakaya next to a cold drink, eaten hot with fingers or chopsticks while the talk goes on. If you are planning a whole meal around it, the Japan country page has more dishes from the same kitchens.

Every household's karaage is a little different, and most of the difference is in the seasoning and the coat. Some cooks mix potato starch in with the flour, bind the marinade with egg, or add sesame oil and pepper. Others sweeten the soy with sweet sake. This recipe keeps it plain. The seasoning is soy sauce, cooking sake, ginger and garlic, and the coat is wheat flour only, added in two stages. Soy sauce gives the meat its depth and savoury richness, and it works together with the ginger and garlic. Ginger keeps the flavour bright. Garlic makes it smell like something you want to eat right away.

The two flour stages decide the texture. First, a measured amount of flour gets mixed straight into the seasoned chicken. It soaks up the marinade and turns into a thin, tacky paste that grips the meat. Then the pieces get a dry dusting from a separate tray, and another light dusting just before they go into the oil. You end up with a coat thin enough to show the shape of each piece, crisp at the edges, and well seasoned under the surface.

The name on the menu

In Japanese, chicken karaage is often written tori karaage. Tori means chicken. Karaage covers both meat and fish, so the word in front of it tells you which one you are ordering.


Ingredients (serves 3–4)
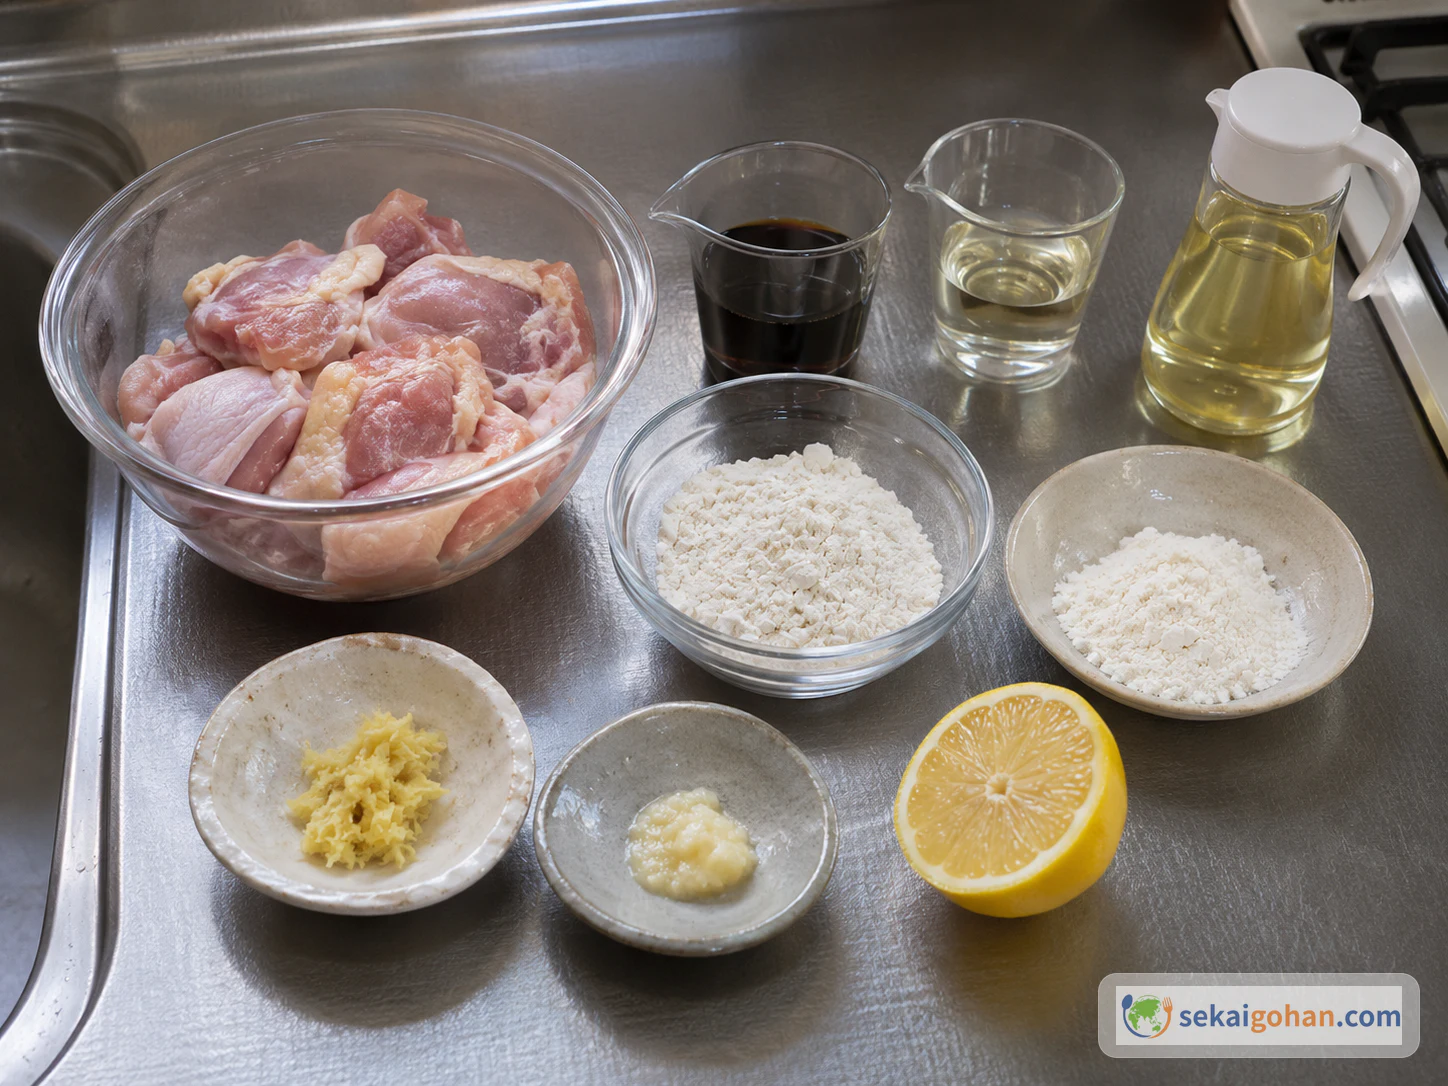
Chicken thigh, soy sauce, cooking sake, ginger, garlic, two separate portions of flour, frying oil and half a lemon laid out separately
Keep the two flours in separate bowls from the start. One gets mixed in, the other is only for dusting
Two flours, two jobs

The 1¾ oz (50 g) of mixing flour all goes into the chicken. The coating flour stays dry in its own tray and only ever gets dusted on. Never put leftover mixing paste into the dusting tray. Wet clumps there turn into thick, uneven patches on the fried coat.

Allergen information

This recipe contains wheat (flour) and soy (soy sauce). Soy sauce and cooking sake can also contain other allergens, and cooking sake contains alcohol. Read the labels on the exact bottles you buy.

Equipment

  • Cutting board and knife used only for raw meat
  • A separate clean board and knife for the lemon
  • Grater and two small dishes for the ginger and garlic
  • Bowl with a clean lid for seasoning and resting the raw chicken
  • Long cooking chopsticks
  • Shallow tray for the coating flour
  • Deep-sided frying pan
  • Oil thermometer
  • Clean tongs that never touch raw chicken
  • Wire rack set over a tray
  • Probe thermometer for checking the inside of the chicken
  • Serving plate
Raw chicken stays on its own side

Raw chicken gets its own board, knife, bowl, tray and chopsticks. Wash your hands after you handle it, and clean and disinfect every tool it touched. Cooked karaage and the lemon wedges should only ever touch clean hands, clean tongs and clean plates. Keep the raw chicken in the refrigerator until you are ready to cut it.

Choosing and Substituting

Buy boneless, skin-on chicken thigh. The skin crisps in the oil and the thigh meat stays moist. A whole thigh is also easy to cut into pieces of even size. Any supermarket thigh works, so look for meat that is evenly thick and pink, with no dry edges.

Look for cooking sake (ryōrishu) at Japanese or Asian grocers or online. For soy sauce, pick a Japanese-style one. Grate the ginger and garlic fresh, because their aroma is the top note of the dish. For the oil, choose anything neutral, so the soy and ginger are what you taste.

Keep the coat to plain all-purpose wheat flour. Potato starch, egg, sesame oil and pepper belong to other karaage, and mixing them in here makes a different dish with a different coat. On the plate, the lemon is the only addition. Skip the extra sauces and mayonnaise and let each person squeeze their own wedge.


Method

The work runs in a clear order. Do the clean prep first: grate the ginger and garlic and cut the lemon before any raw chicken comes out. Then cut and season the chicken. It gets a short covered rest in the refrigerator, and that is your hands-off time to clean the raw-meat tools and set out the coating tray and the pan. After that everything moves fast: two rounds of flour, the oil heats, the pieces go in, two frying stages, the rack, and a thermometer check on the thickest piece before anything goes on the plate.

The coat sets when you leave it alone

After the last piece goes in, do not touch the pan for 2 minutes. If you poke or turn the pieces before the flour has set, the coat sticks to the chopsticks and tears away from the meat. Turn them only once the undersides feel firm.

Hot oil and a doneness check you cannot skip

Lower each piece into the oil with clean tongs, close to the surface and away from you, so the oil does not splash. Keep your hands and any water away from the pan. Frying time, colour and bubbles do not tell you the inside is cooked. The center of the thickest piece must reach 167°F (75°C) or above and stay there for at least 1 minute. If it has not, fry it longer and check again.

When It Goes Wrong

What you see Why What to do
The thickest piece is below 167°F (75°C) at the center Thick pieces, or the oil temperature dropped Put the pieces back in the oil at 340°F (170°C), fry longer and check again until the center holds that temperature for at least 1 minute
The coat tears off when you turn the pieces They were moved before the coat had set Next time, leave them untouched for the full first 2 minutes. Turn the pieces you have gently and fry them to the same doneness check
Pale, powdery white patches after frying Dry flour left over from the mixing stage, or too heavy an outer dusting Mix the first flour until almost no dry flour shows, and tap off the excess at both dustings
Some pieces are dark while others are still pale Pieces were cut to different sizes Cut evenly at about 1½ inches (4 cm). For this batch, take the small pieces out when they are golden and check the large ones with the thermometer
Bland meat under the coat The marinade was not massaged in, and it stayed in the bowl Massage until the liquid is absorbed and almost nothing pools at the bottom before the rest

Serving and Leftovers

At the table

Karaage is best straight off the rack, when the coat still crackles. Put it on the table in a single pile with the lemon wedges and let people help themselves, at a family dinner or as a shared small plate with drinks. The only thing that goes on it is lemon, squeezed by each person at the moment they eat. Serve with clean tongs or chopsticks and keep the cooked plate well away from anything that touched raw chicken.

Leftovers

Do not leave leftovers sitting out. Divide them into shallow containers so they cool quickly, cover them, and refrigerate promptly. To eat them again, reheat thoroughly until hot all the way through. Keep the leftover lemon wedges on their own covered plate.

Frequently asked questions

Do I need to fry karaage twice?

Not for this recipe. The pieces are fried once, in two stages, without coming out of the oil in between. What decides when they are done is the thermometer in the thickest piece. If the center is below 167°F (75°C), they go back into the oil until it holds that temperature for at least 1 minute.

Can I let the chicken marinate on the counter instead?

Keep it covered in the refrigerator for the whole rest. The massage has already worked the seasoning into the meat, so the short rest is all it needs. Raw chicken belongs cold until it goes into the flour.

Can I reuse the leftover coating flour?

No. Once raw chicken has been rolled in it, the tray counts as a raw-meat tool. Throw the leftover flour away, then clean and disinfect the tray with the rest of the raw-chicken equipment.

Why squeeze the lemon at the table instead of over the whole platter?

Everyone gets to decide how much they want. The coat stays dry until the moment someone bites into it. It also keeps the lemon on the clean side of the kitchen until the very end.
Sources