Ingredients and steps on one page. Print it, or choose “Save as PDF” in the print dialog.
Sekai Gohan
Damper: Australian Yeast-Free Bread for Oven or Campfire
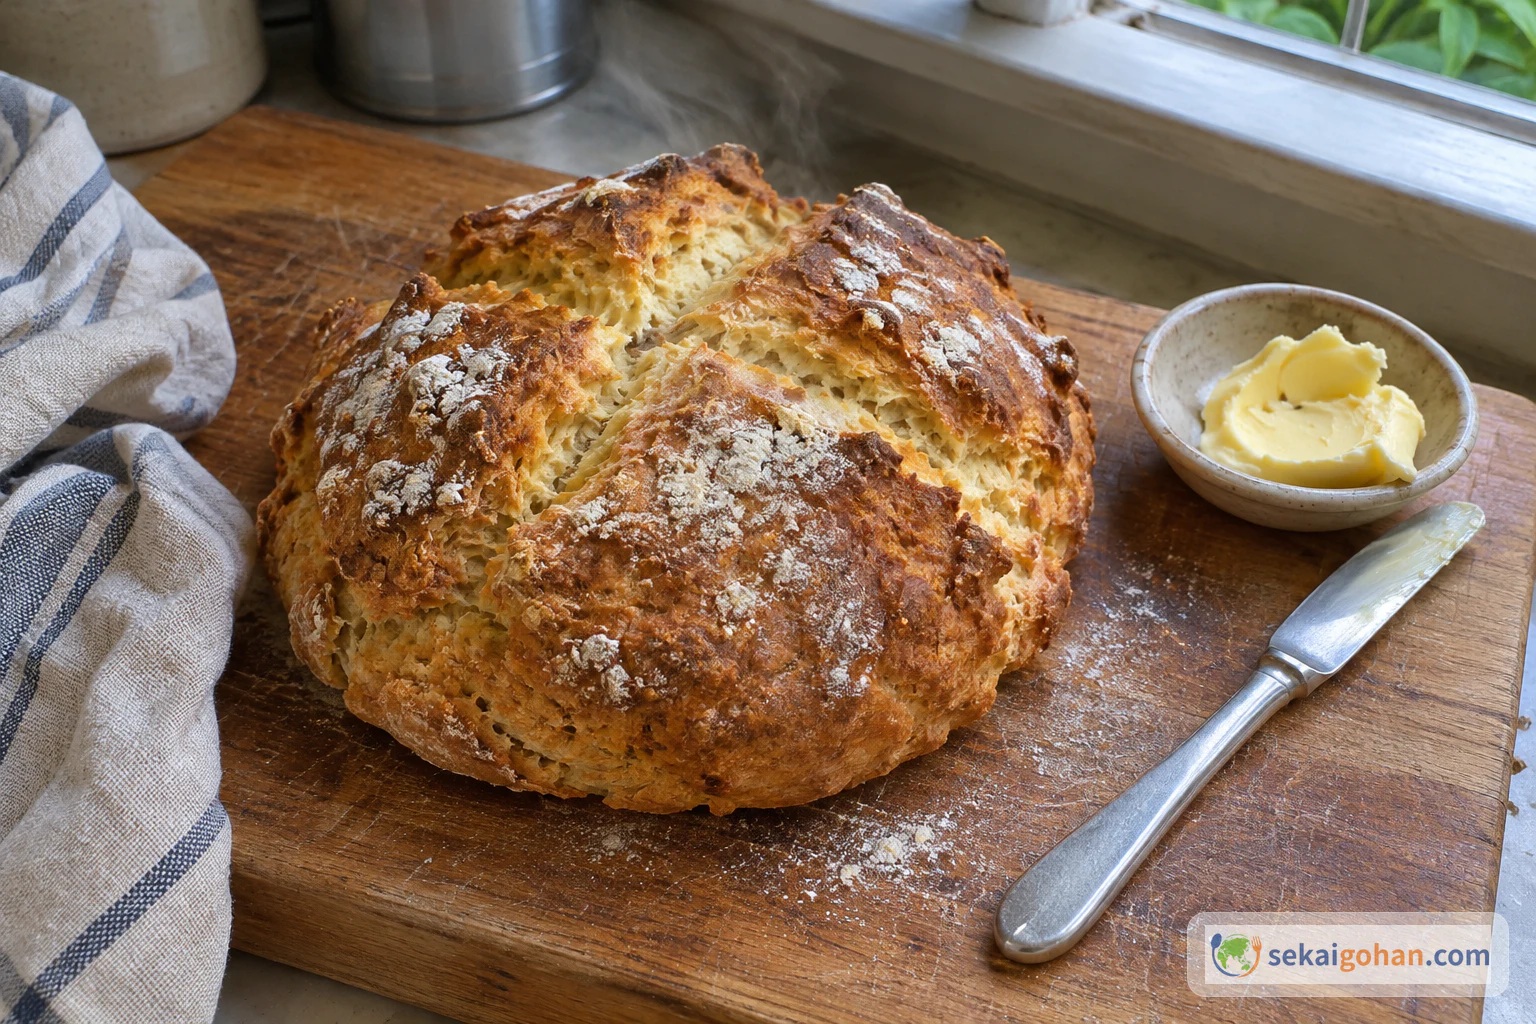
Ingredients
| Ingredient | Amount | Role |
|---|---|---|
| Self-raising flour | 1 lb 2 oz (500 g) | The body of the loaf; its raising agent gives the lift |
| Extra self-raising flour, for dusting | as needed | Keeps the dough off the bench and dusts the top |
| Water | 1¼–1½ cups (300–350 ml) | Brings the flour together; use as much of the range as the flour takes |
| Macadamia oil or lemon myrtle–infused oil | 2 tbsp + 2 tsp (40 ml) | Softness in the crumb and a gentle nutty or citrus scent |
| Salt | a pinch | Seasons the flour |
| Roasted ground wattleseed | 2 tbsp + 2 tsp (40 ml) | Optional; a toasty, dark-roasted flavour and dark flecks |
| Butter, to serve | as needed | Spread thickly on the hot bread |
Steps
1Heat the oven and mix the dry ingredients
Heat the oven to 425°F (220°C). When the preheat signal goes off, wait another 5 minutes so the whole oven is properly hot. While it heats, sift the self-raising flour into a large bowl, then add the salt and wattleseed. If you are leaving out the wattleseed, stir in the salt alone. Keep stirring until there are no lumps and the dark specks are spread evenly through the white.
2Pour in the oil and water
In a jug, stir the oil into 1¼ cups (300 ml) of the water. Pour it into the flour a little at a time, stirring with the wooden spoon as you go. If dry flour is still sitting in the bottom of the bowl, add more water, up to 1½ cups (350 ml) in total. Stir only until everything comes together, without kneading. The dough is ready when it forms one shaggy mass and the bowl is clean. If it is sticky, leave it that way and save the extra flour for the bench.
3Knead just until smooth
Dust the bench with flour and tip the dough out. Knead until it turns smooth, then stop. Overkneading makes the bread springy and tough, so stop the moment the surface is even. Done looks like this: the surface is smooth, and a fingertip pressed into it leaves a dent that slowly springs back.
4Shape and score
Dust the dough with flour and set it on the baking tray. If you like, press it into a round about 6 inches (16 cm) across. Cut a cross about ½ inch (1 cm) deep into the top, which gives the loaf room to rise. The shaping is ready when the round sits evenly on the tray and the cuts show clean, pale dough.
5Bake and test
Bake at 425°F (220°C) for 15 to 20 minutes. Baking times for damper vary a lot, and some loaves of this size take 30 to 40 minutes, so start checking at 15 minutes. If the crust is still pale, bake for 5 more minutes at a time, and once it goes past 20 minutes, lay foil over the top so the crust does not burn. It is done when it is golden on top and underneath, the base sounds lightly hollow when you knock it, and a skewer pushed into the middle comes out with no wet dough. A loaf that feels heavy for its size is still raw in the centre.
6Rest, break and butter
Move the loaf from the tray to a wire rack and let it stand for about 10 minutes. Break it open by hand. The broken face should steam, with no white, floury patch in the centre. Spread butter on it while it is still hot.
7Bake it in a camp oven over coals
Let the fire burn down until there are no flames and the coals glow. Set a trivet in the base of the cast-iron camp oven, put the dough on it, and position the oven about 2 inches (5 cm) above the coals. Pile hot coals on the lid so that most of the heat comes from above. Bake for 20 minutes, turn the oven, and bake for 15 minutes more. Coals give no temperature reading, so finish with the knock and the skewer. The loaf is done when it is golden, the base sounds hollow and the skewer comes out clean.