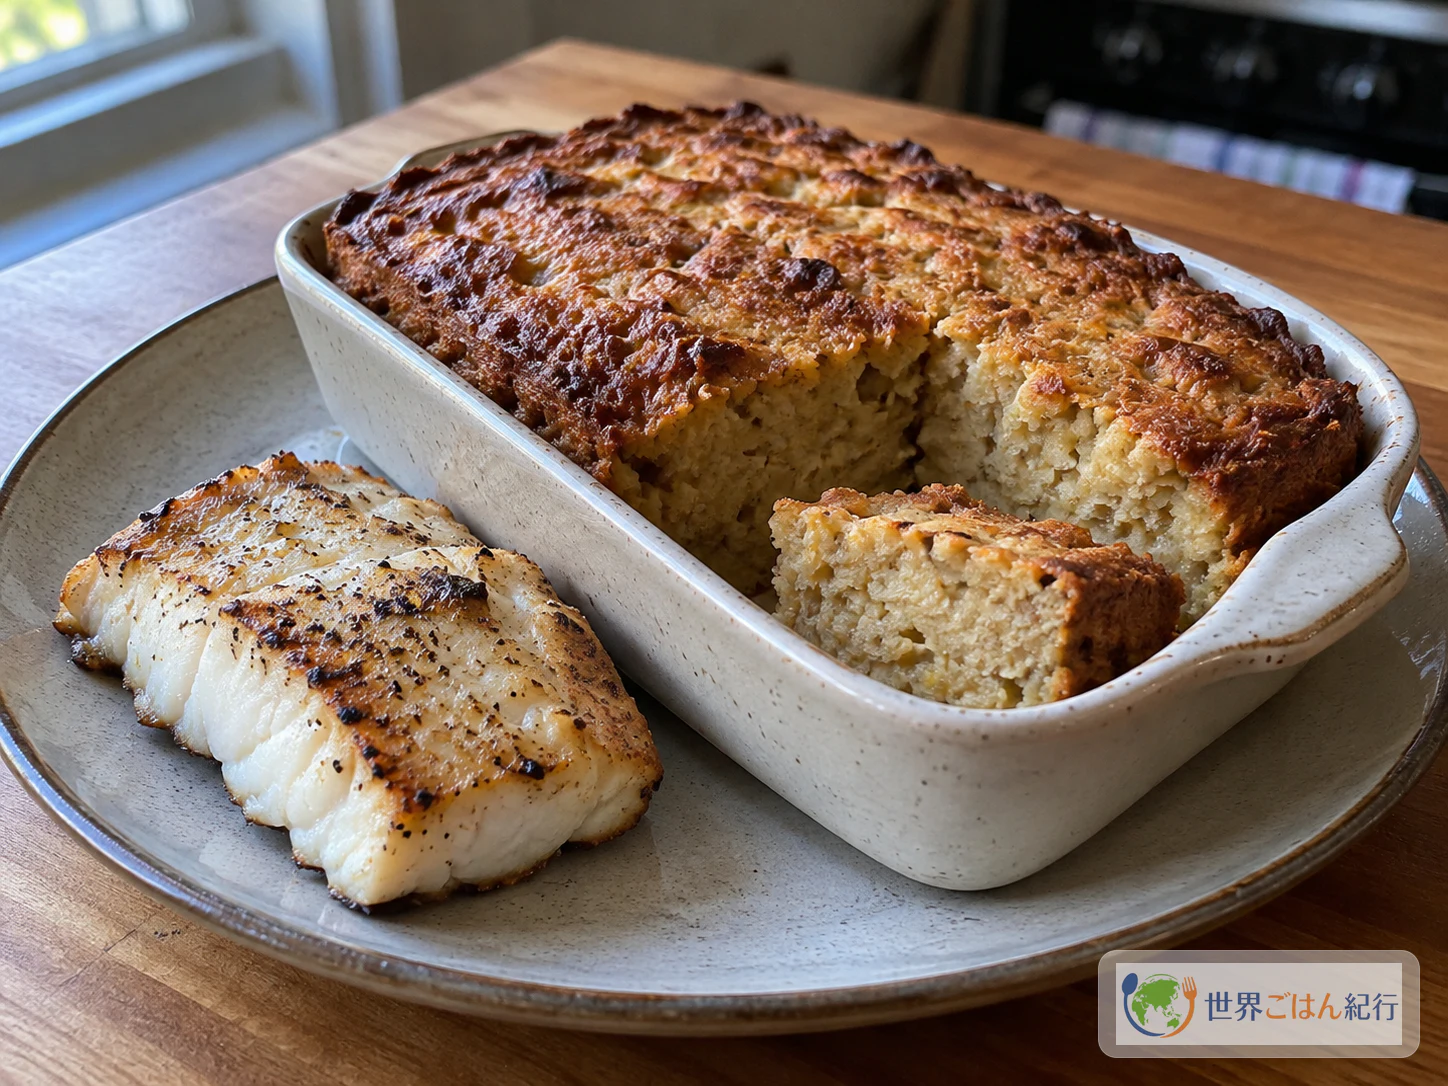
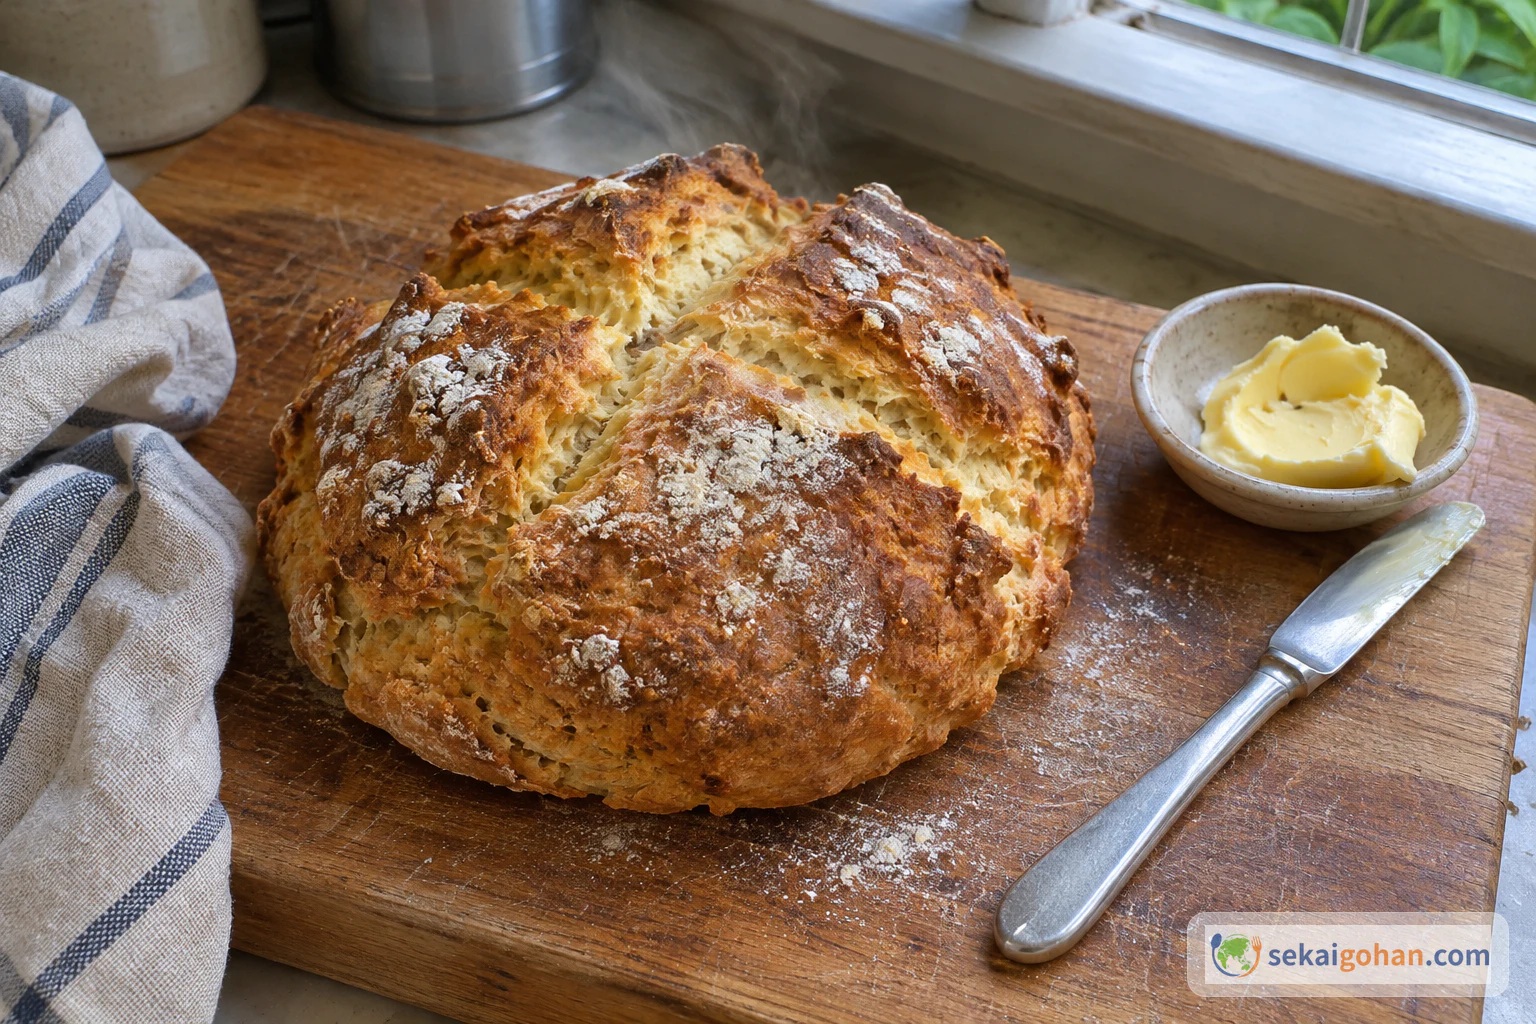
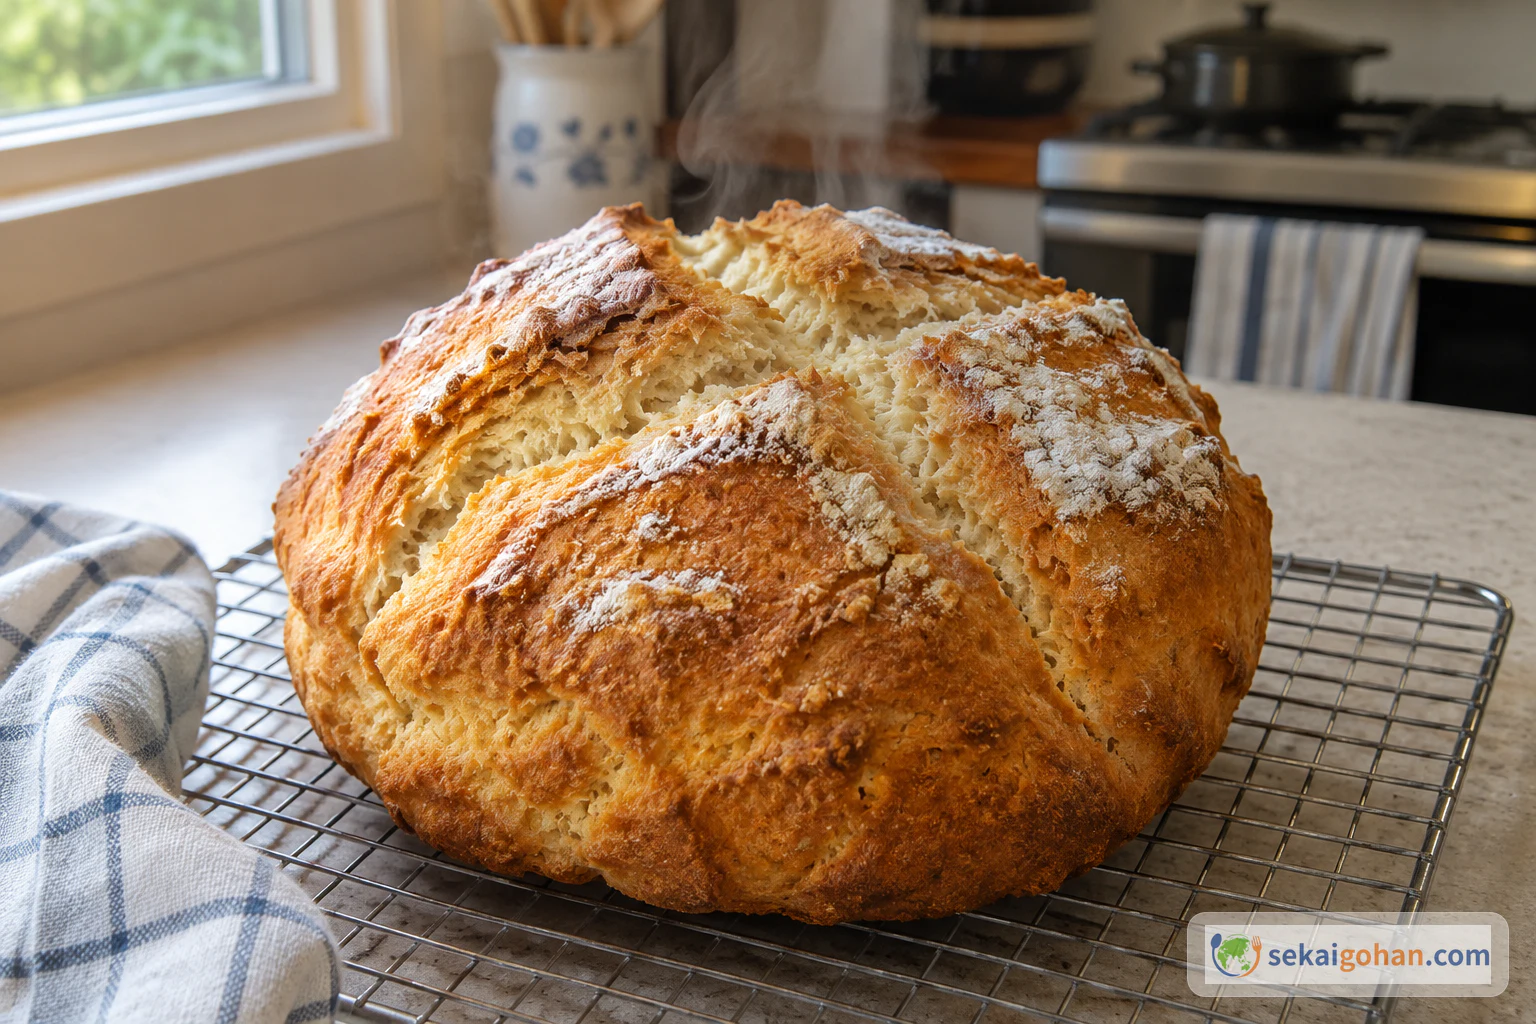
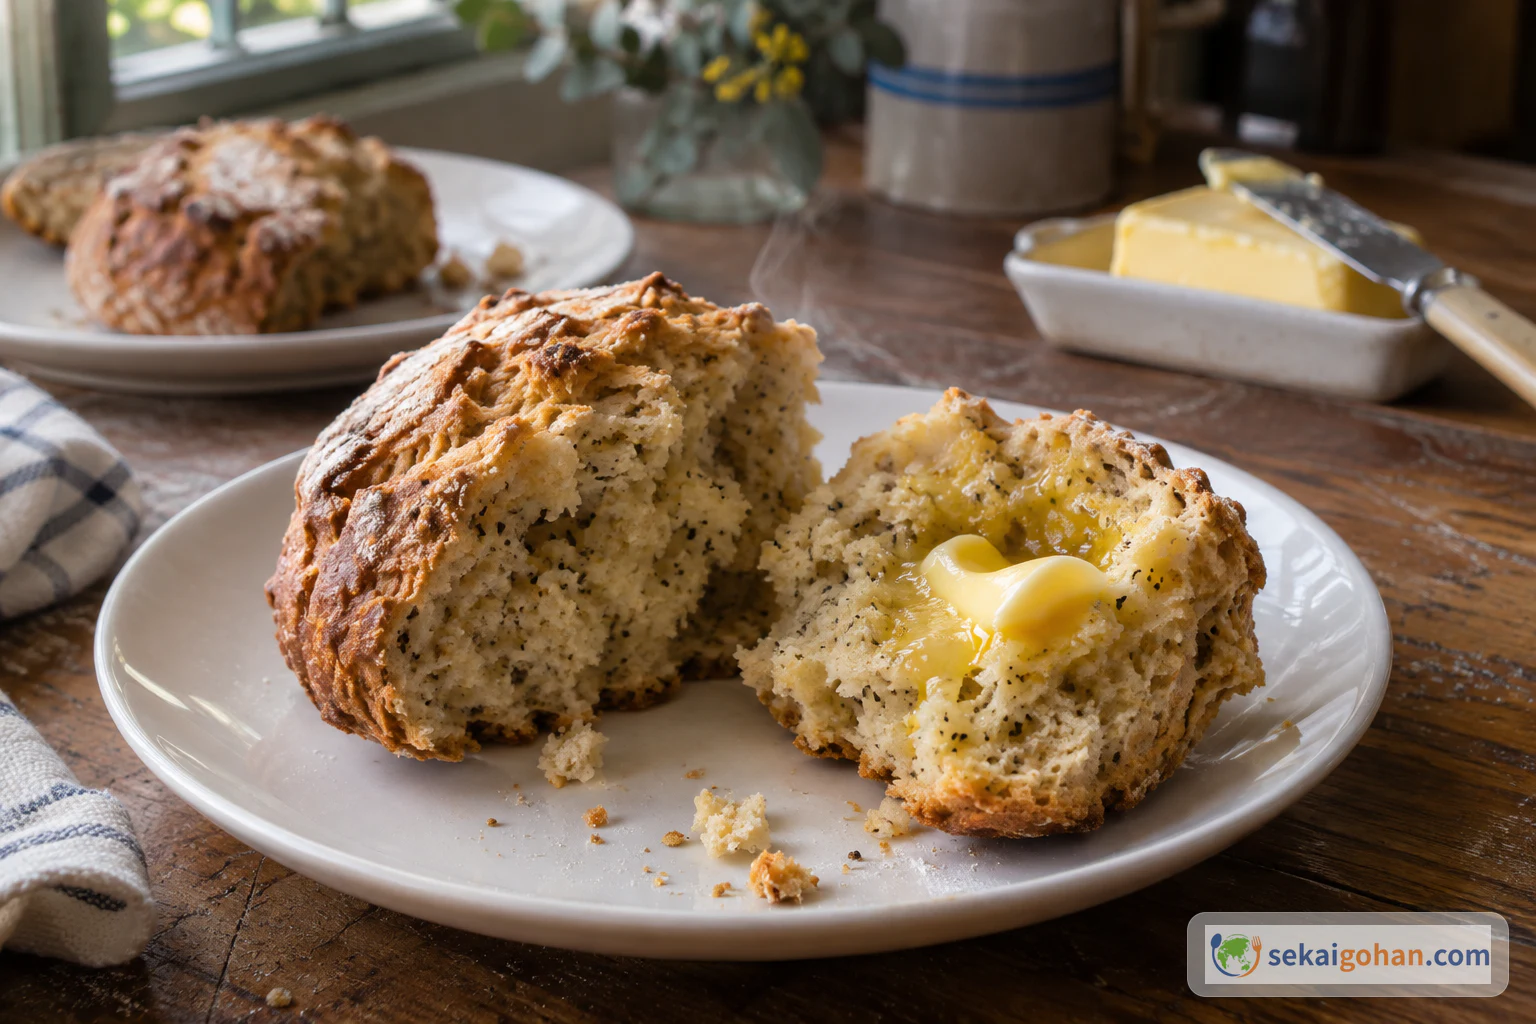
You know a damper is done when you turn it over, knock on the base and hear a light, hollow sound. Then it gets broken open while it is still steaming, and the butter goes on so thickly that it melts straight into the crumb. Around a campfire, someone brushes the ash off the crust first. Damper is Australia's yeast-free bread. It is one round loaf of flour, water, oil and salt that rises on the raising agent in self-raising flour, and it goes into the oven, a camp oven or the ashes as soon as it is mixed. The crust bakes golden and thin, the inside is close-textured and a little cake-like, and the bread tastes of flour and salt until the butter goes on.
Flour Rations, Ancient Grindstones and a Bread Shared Again
The First Fleet settlers received flour as part of a weekly ration. At first it was 12 pounds (about 5.5 kg), then a third less when stores ran low, and in the famine of 1790 it was cut in half. Some people carried their flour to the public bakehouse. Others baked their own hearth breads in the ashes or in a Dutch oven. An account from Hobart in 1829 describes flour, water and salt mixed on a box lid or in the bottom of an iron pot, with a piece of the previous dough worked in. The loaf then baked in the ashes for an hour. It is one cook's method from one moment, and it shows how little the bread needed: a fire, a vessel and the ration.
Damper was usually made with no yeast and no raising agent at all. If the dough had life in it, it sometimes lightened by itself overnight. Some cooks made soda bread with bicarbonate of soda instead, which gives a texture closer to cake. The damper on this page is the quick kind. Self-raising flour lifts it, and it goes straight into the heat with no rising time.
Seeds and grindstones
Long before the ration flour arrived, Aboriginal people were grinding seed and baking bread. At Cuddie Springs and other sites, grindstones about 30,000 years old have been found. In central Australia the flour came from native millet (Panicum) and spinifex (Triodia), with wattleseed added. It took about two hours on the stone to grind roughly 1 lb (0.5 kg) of flour, and in arid country bread was baked on about 90 days of the year on average. The dough was cooked on ashes or coals. That method resembles damper, while the flat shape is closer to pita. It is a separate tradition with its own grains, and the two are not the same bread. People have long argued about whether the settlers learned ash-baking from Aboriginal people. Breads made the same way exist in other places too, such as the American johnny cake, and where damper began is not settled.
Damper now
Today damper is an iconic Australian bread, tied to the image of early settler life. For Aboriginal cooks, bush damper is a food tradition shared for thousands of years and an expression of cultural identity, and baking it is a way of renewing culture through food. That is why the loaf often carries native flavours: wattleseed, strawberry gum, lemon myrtle, bush tomato or pepperberry. One plain round holds both histories, the ration flour and the much older grindstone. For more of the country's food, see the Australia page.
Damper is often compared with Scottish bannock and Irish soda bread. Their recipes and baking methods are different, so they are separate breads.
Ingredients (serves 6)
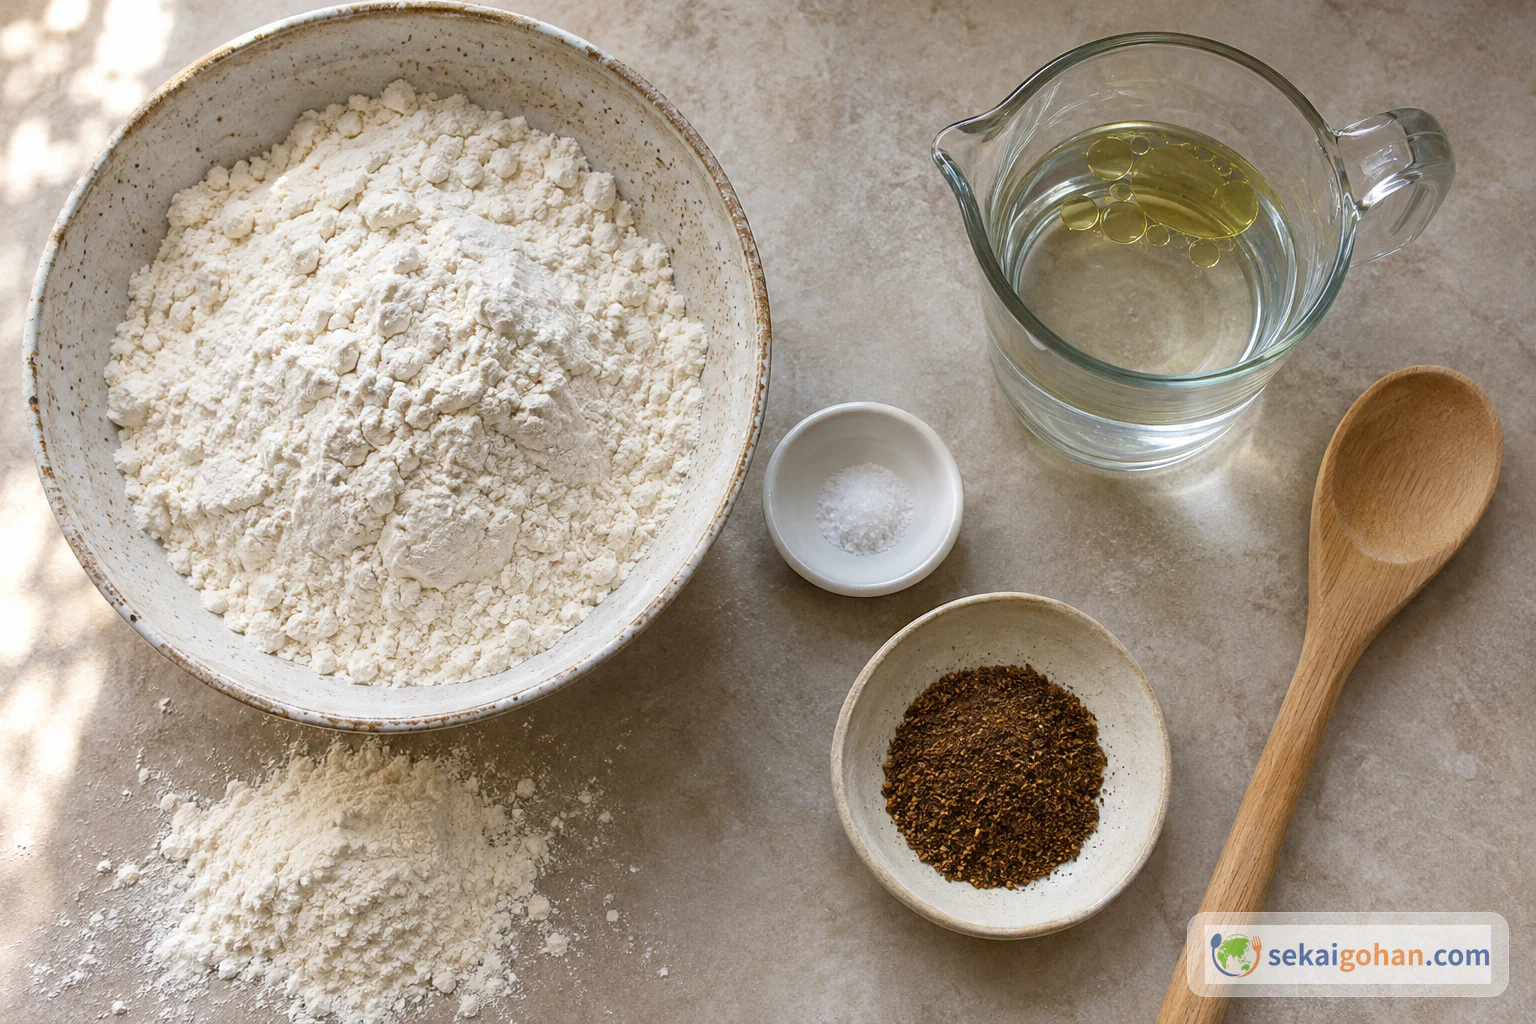
Damper contains wheat (gluten). The dough itself has no dairy or egg, but serving it with butter adds dairy. Wattleseed is the seed of a plant in the legume family, so anyone with a legume allergy should take care with it.
Equipment
- Large mixing bowl
- Sieve
- Measuring jug and measuring spoons
- Wooden spoon
- Baking tray
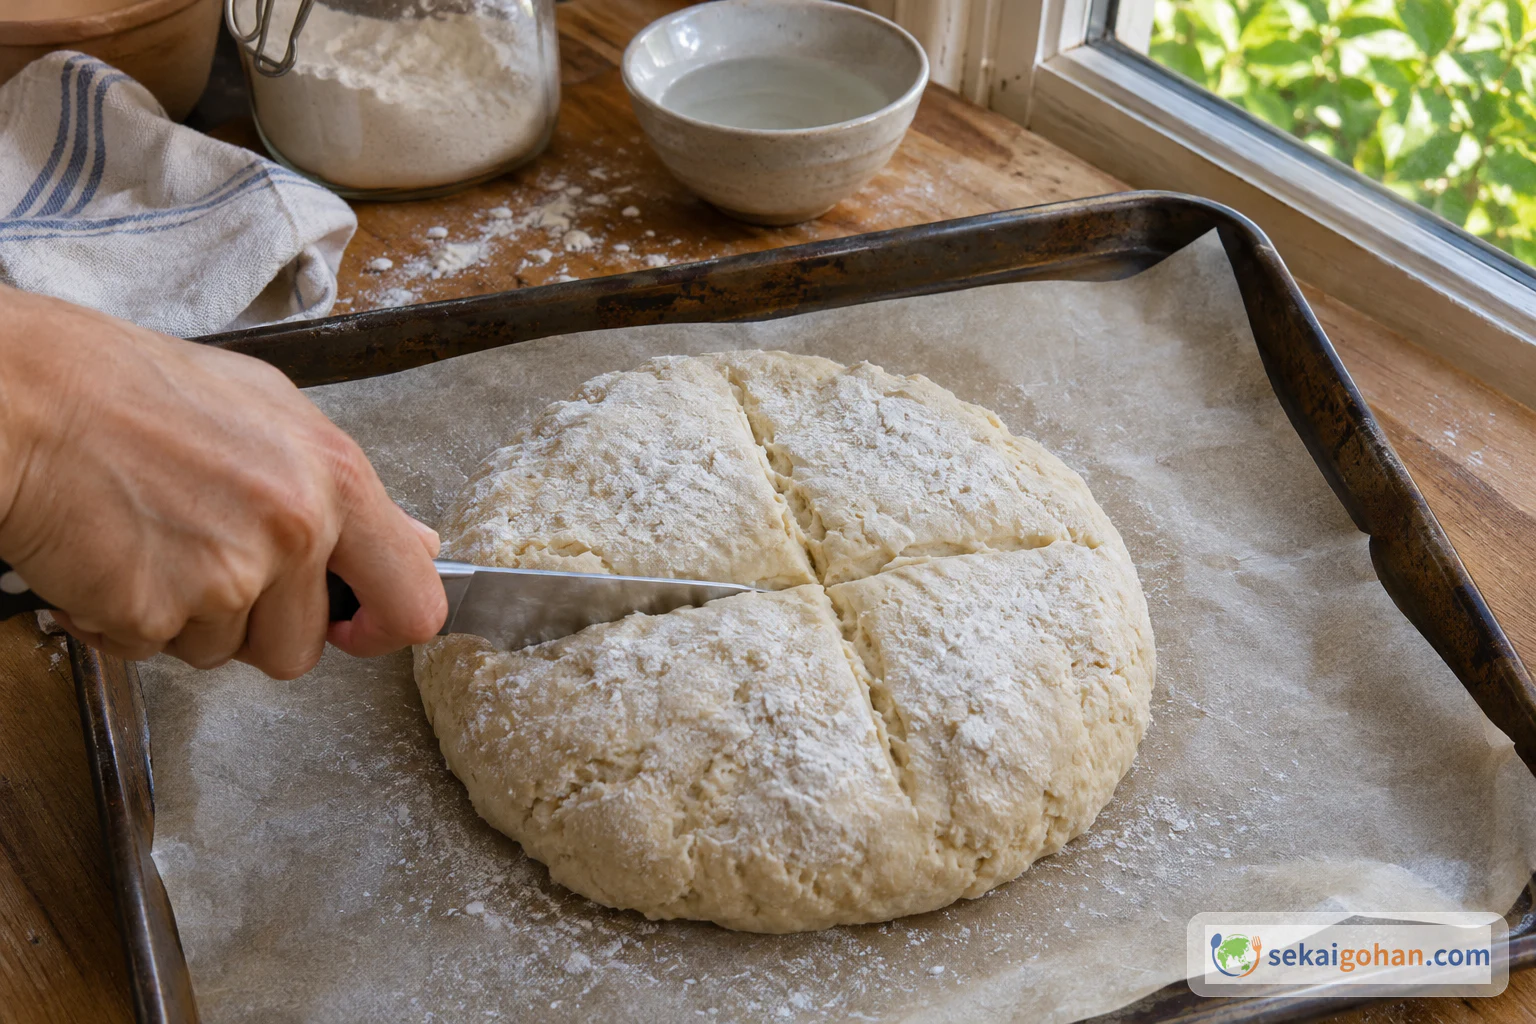
- Sharp knife (for the optional cross)
- Wire rack
- Skewer
- Aluminum foil
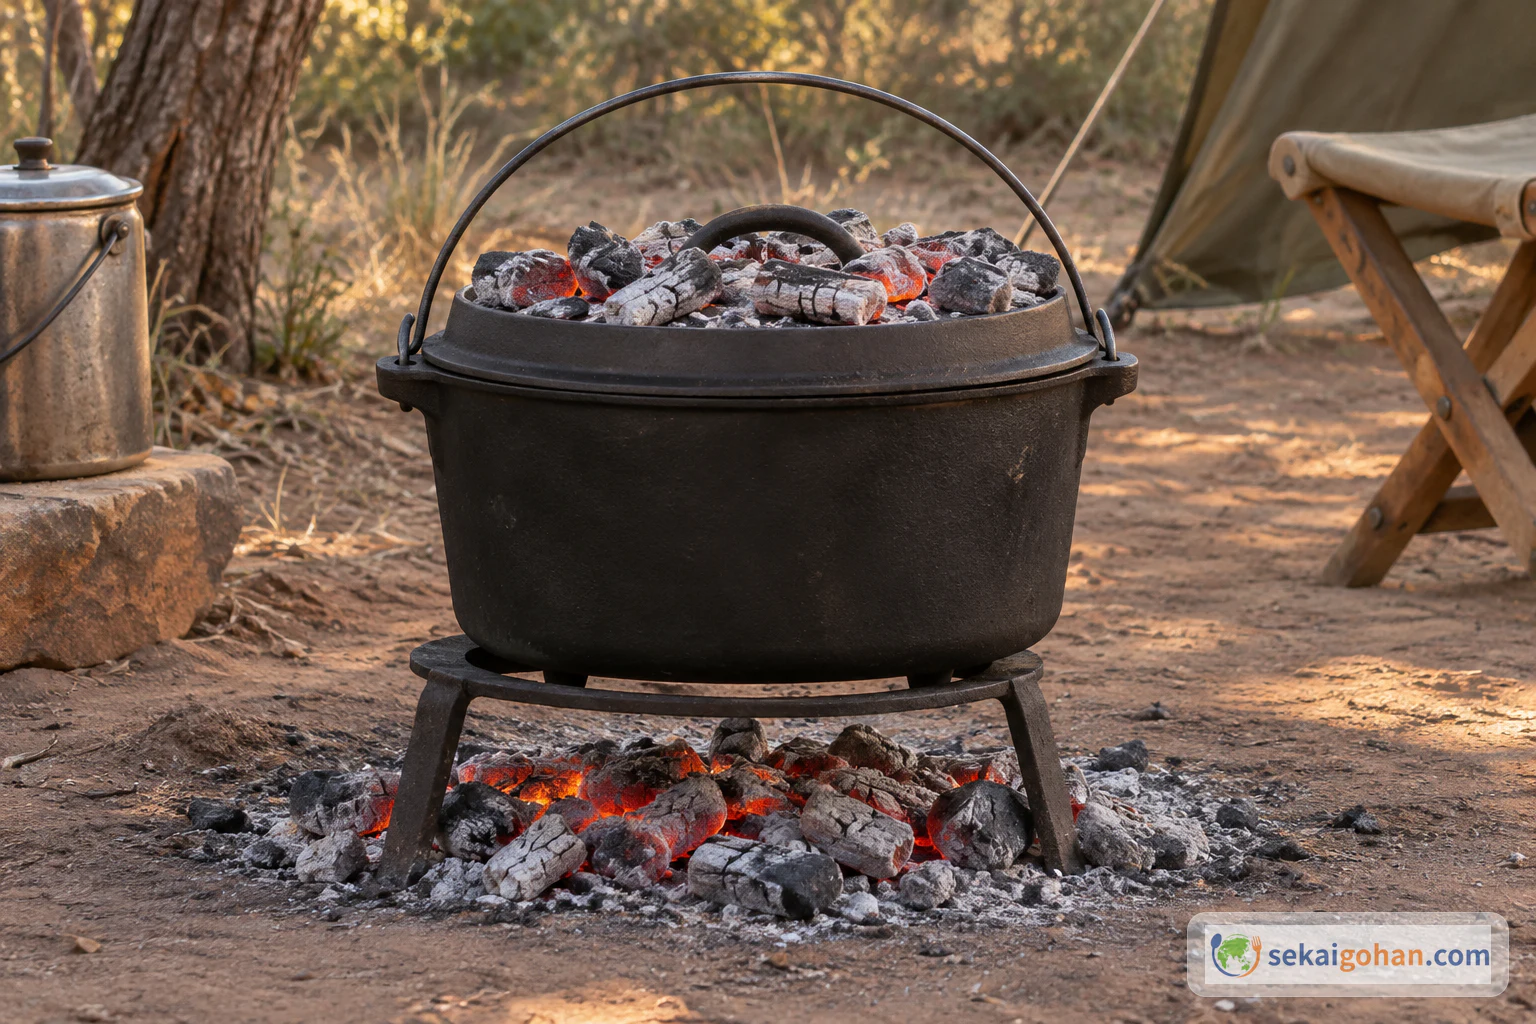
- For a campfire: a cast-iron camp oven and a trivet to set in its base
Choosing and Substituting
The bread rests on three things: the flour, the salt and the butter at the table. Keep those right and the loaf tastes like damper wherever you bake it. The native flavours are where it shifts most from kitchen to kitchen.
- Self-raising flour → plain flour plus baking powder. Use 1 lb 2 oz (500 g) plain flour with 1 tablespoon baking powder, sifted together. The rise is the same in kind. Mix and bake straight away, because the baking powder starts working as soon as it gets wet.
- Macadamia or lemon myrtle oil → a neutral vegetable oil, 40 ml. The crumb stays soft, but you lose the oil's fragrance, so the bread tastes plainer and more of the flour.
- Wattleseed → lemon myrtle, strawberry gum, bush tomato or saltbush. Each takes the place of the wattleseed and changes the character of the loaf. You can also leave the flavouring out and make a plain flour-and-salt damper. Specialty shops and online sellers carry roasted ground wattleseed and the other bush flavours.
- First time with wattleseed or another native flavour? These are strong, so start with less. Half the amount, 1 tbsp + 1 tsp (20 ml), lets you taste how it sits with the flour before you go to the full measure.
Method: Mix, Knead Briefly, Bake at Once
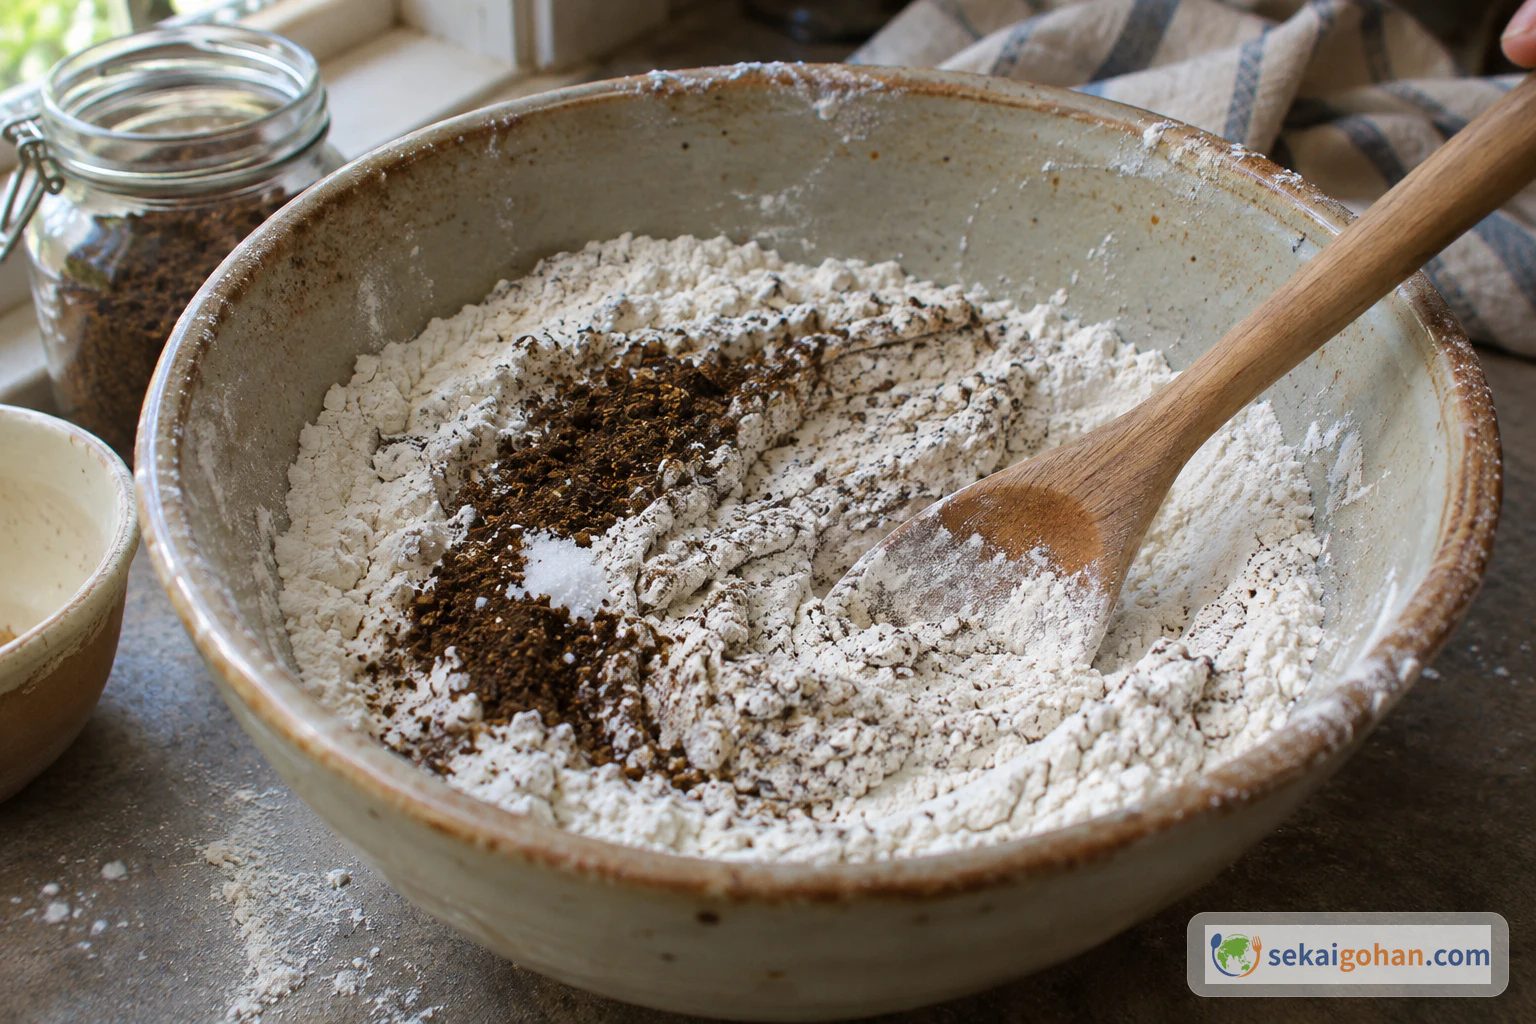
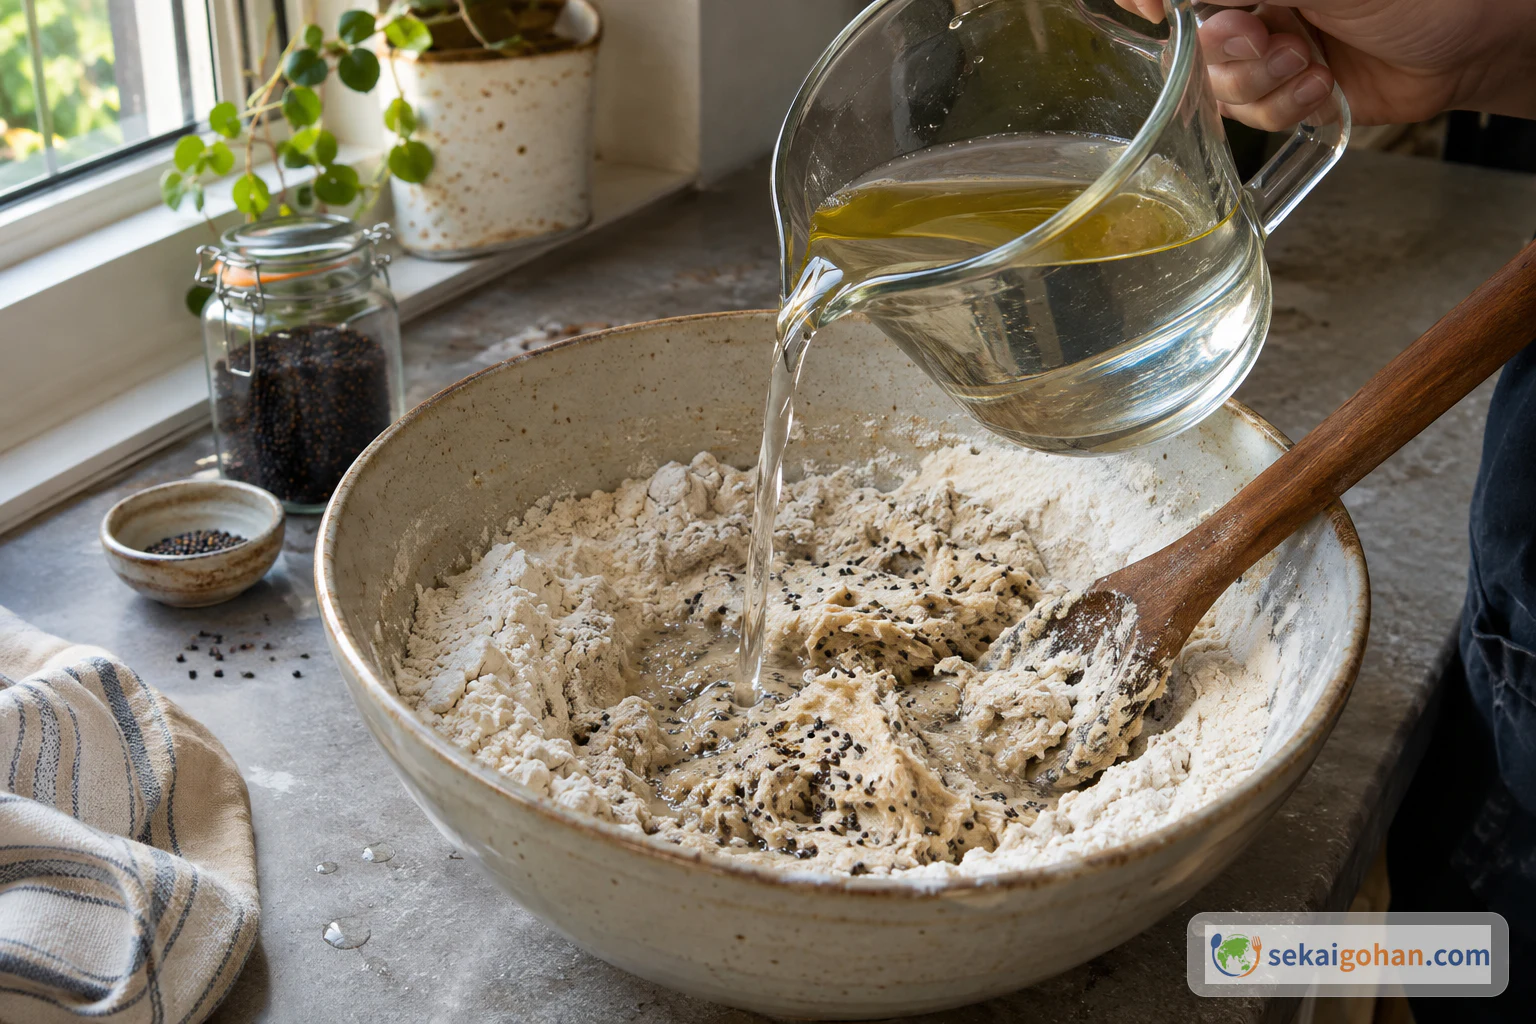
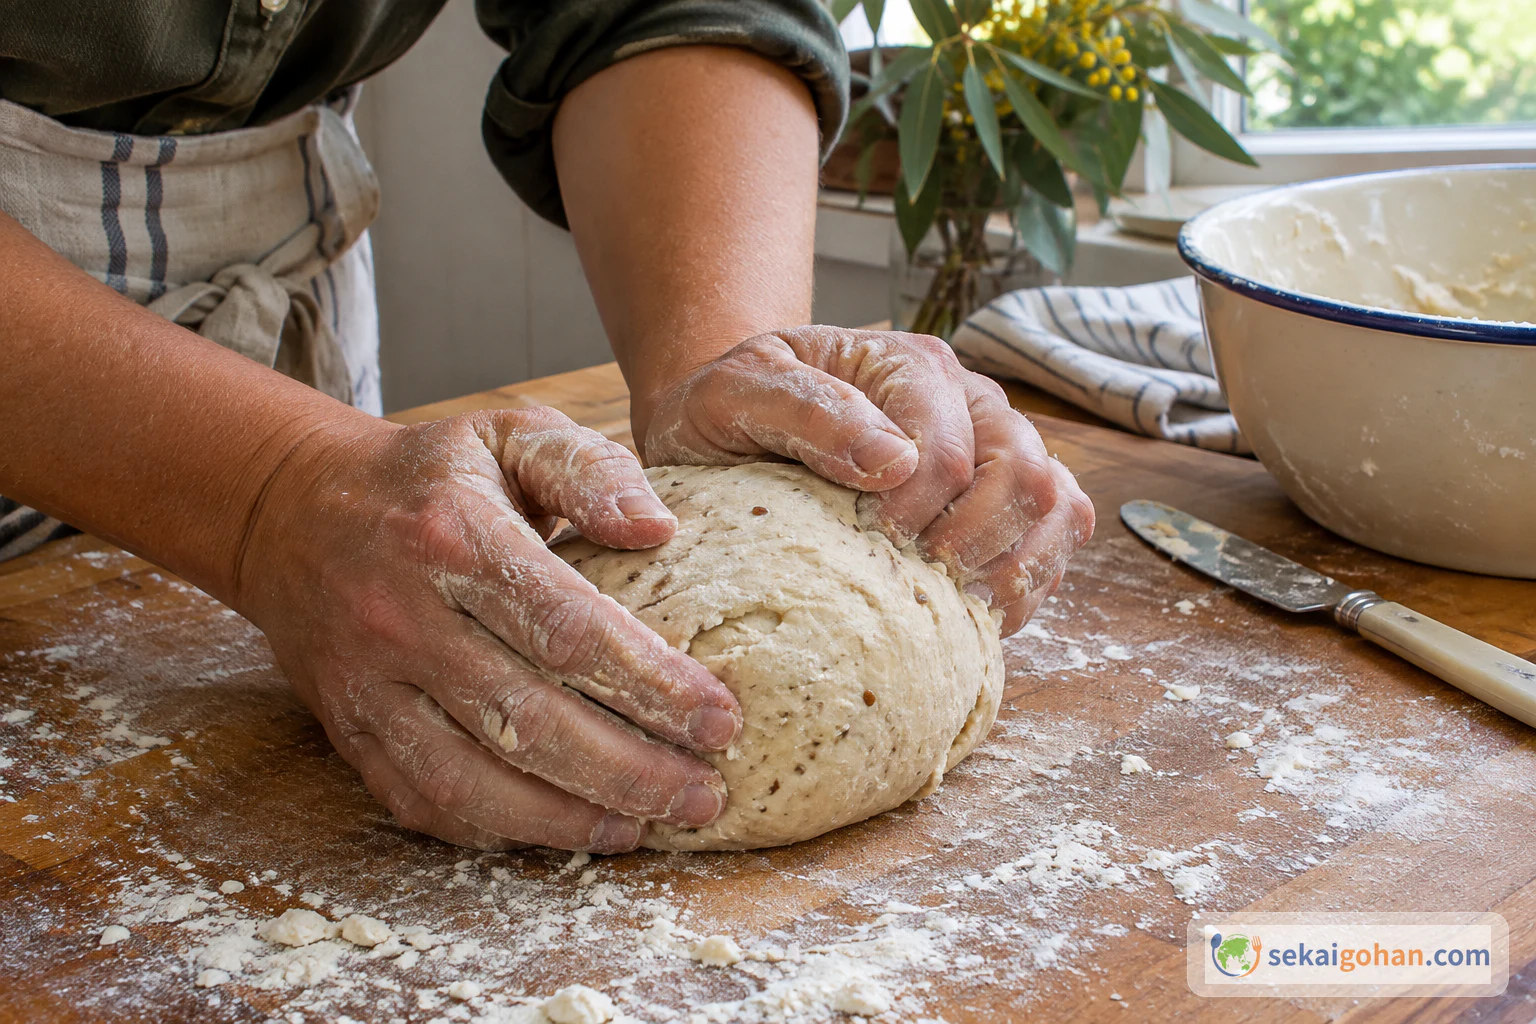
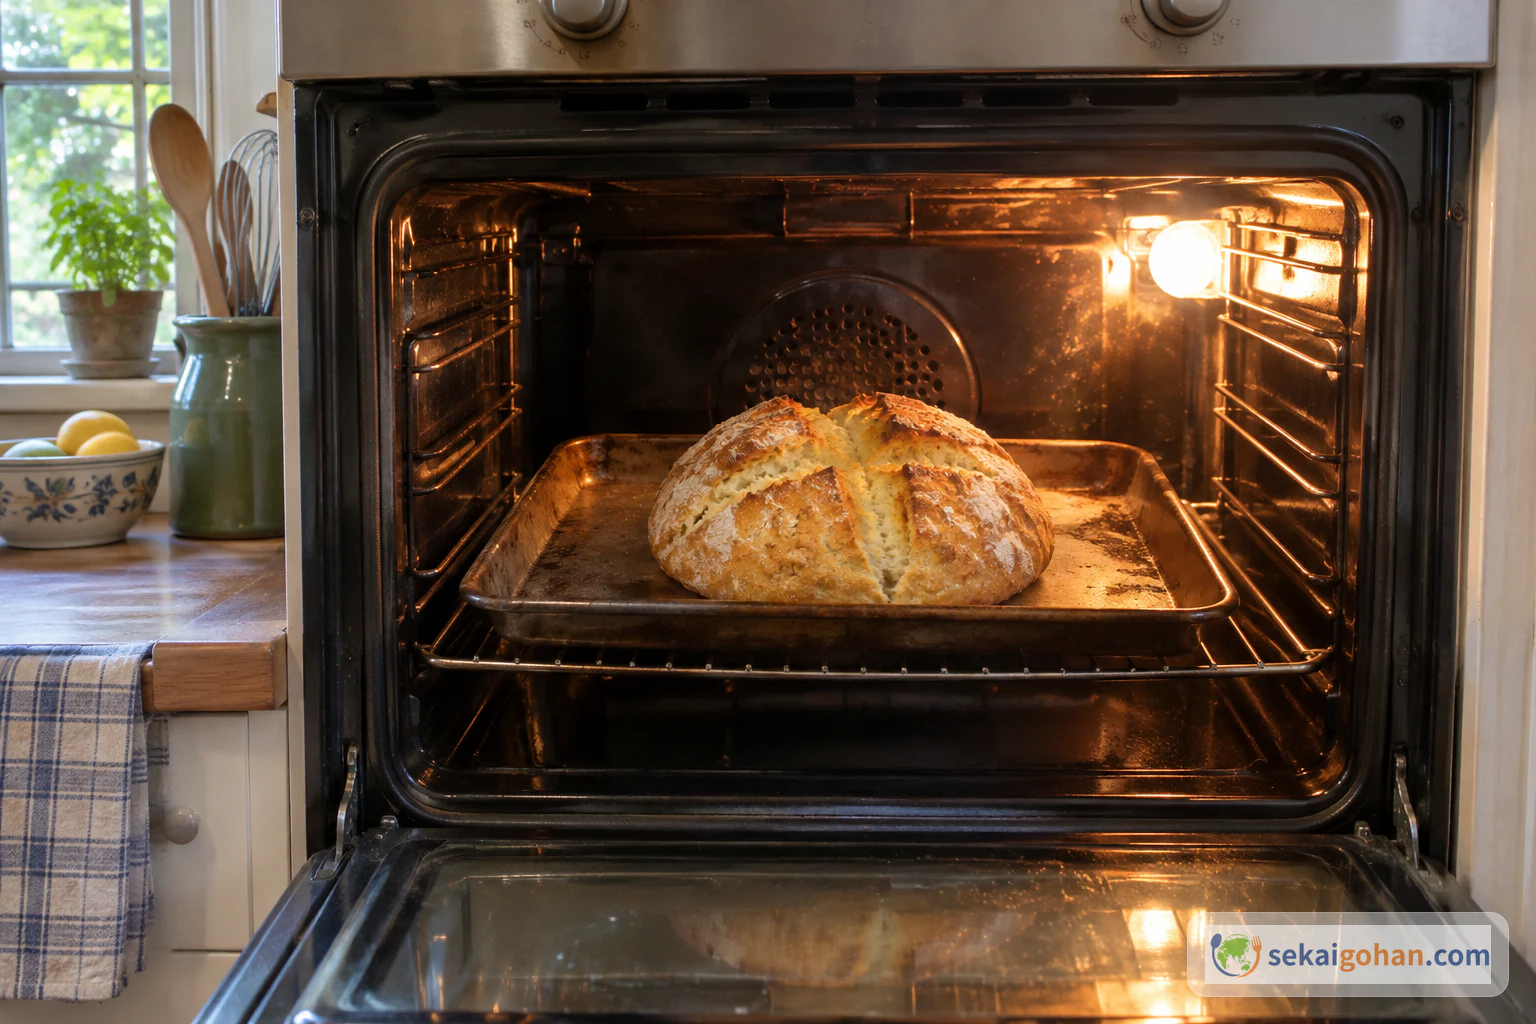
The work moves fast. Get the oven heating first, mix the dry ingredients while it heats, and have the oil and water measured in a jug. Once the liquid goes in, the dough moves from bowl to bench to tray with no waiting. The only hands-off time is the bake and the short rest after it. Step 7 is the campfire method, using a camp oven set over coals.
Self-raising flour starts to lift as soon as it meets water. Mix, knead and bake in one go. A dough left standing on the bench loses some of its lift before it reaches the heat.
Raw dough and batter made with raw flour carry a high risk of food poisoning. Do not taste the dough, and wash your hands after handling flour. When children shape the loaf, the tasting waits until it is baked.
Bake over glowing coals, never in live flames. The heat in coals and ashes cannot be measured, so check every loaf with the knock and the skewer, whatever the clock says. Before eating, brush off the ash and pull away any dirty or charred crust. Never eat bread with bits of charcoal still on it.
When It Goes Wrong
| What you see | Why | What to do |
|---|---|---|
| The loaf stays low and dense | The baking powder in the flour was old, or the dough stood too long before baking | Use fresh self-raising flour or baking powder, and get the dough into the heat as soon as it is mixed |
| The crumb is springy and tough | Too much kneading | Knead only until the surface is smooth, then stop |
| The centre is wet or heavy | It needed more time in this oven | Return it for 5 minutes at a time, with foil on top, until the skewer comes out clean and the base sounds hollow |
| The base burns before the top colours | The bottom heat is too strong | In the oven, move the tray up a shelf or slide a second tray under it. In a camp oven, use fewer coals underneath and put more heat on the lid |
| The wattleseed tastes harsh | Too much for a first try | Next time use half, 1 tbsp + 1 tsp (20 ml) |
| The bread tastes flat | Too little salt for your taste | Add a bigger pinch of salt next time, and serve it with plenty of butter |
Serving, Variations and Keeping
At the table
Damper is always best eaten hot. The usual way is to break it open and add lashings of butter with a drizzle of golden syrup. Jam, honey and Vegemite all go on the table too, so everyone can tear off a piece and top it their own way. Around a campfire it gets passed hand to hand straight out of the camp oven, once the ash has been brushed off.
Variations
- Another bush flavour. Use lemon myrtle, strawberry gum, bush tomato or saltbush in place of the wattleseed, or add pepperberry. Each one changes the aroma of the whole loaf, so start with a small amount.
- Milk instead of water. Swap the water for milk and the crumb turns creamier and softer.
- A richer, sweeter damper. Some home recipes work sugar and butter into the dough and use milk with the water. Those loaves are baked longer at a lower heat, about 45 minutes at 390°F (200°C), and the top is brushed with milk and dusted with flour before baking. The result is a sweeter, softer bread with a deeper crust.
Keeping
Leftovers dry out quickly. Wrap the damper well so it stays moist, keep it at room temperature and eat it the same day. If it has to last past that day, freeze it.
Frequently asked questions
I have a fan-forced oven. What temperature should I use?
Set it 35°F (20°C) lower, at 390°F (200°C). The fan moves hot air around the loaf, so the crust colours faster at the same setting. Check it with the knock and the skewer, the same as in a regular oven.
How long does a foil-wrapped damper take in the ashes?
Wrapping the dough in foil and baking it in the ashes of the fire is the classic campfire method, and it has no fixed time. Ashes vary in heat from fire to fire, and even across one fire. Unwrap the loaf, knock the base and test it with a skewer. If it still feels heavy, wrap it again and put it back.
Can I leave the dough overnight or add a piece of old dough, the way early settlers did?
Not for this loaf. This damper rises on the raising agent in self-raising flour alone, and it goes into the heat as soon as it is mixed. Old dough and overnight rising belong to the history of the bread. Bake the dough fresh every time.