Ingredients and steps on one page. Print it, or choose “Save as PDF” in the print dialog.
Sekai Gohan
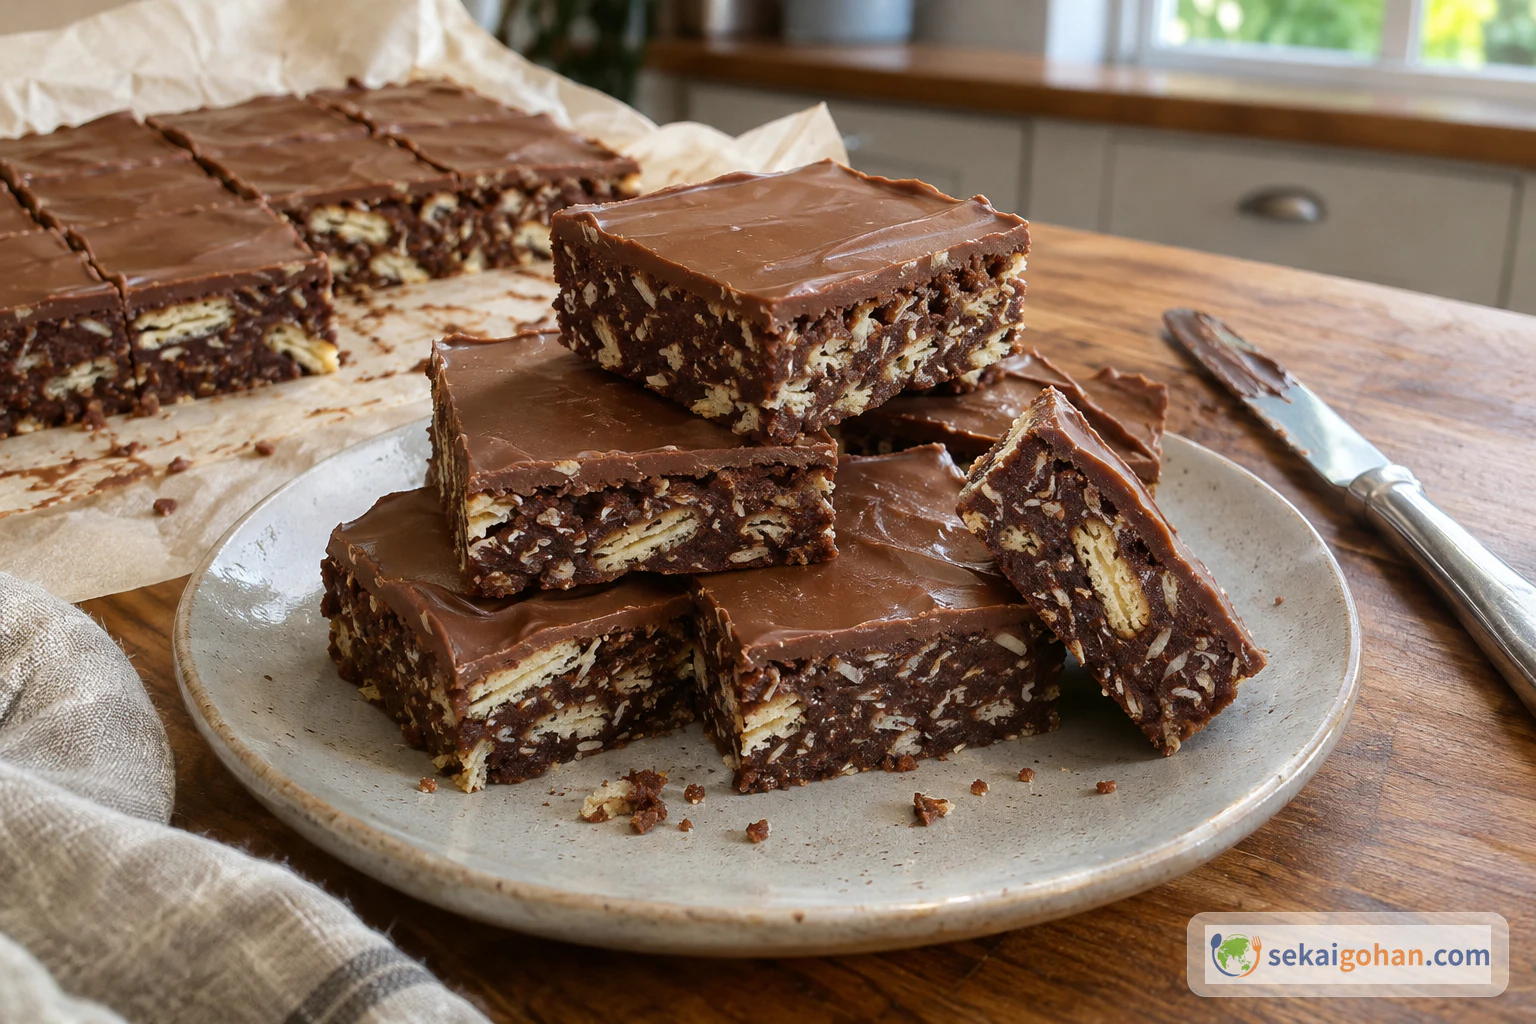
Hedgehog Slice: Australian No-Bake Chocolate Biscuit Squares
Ingredients
Base
| Ingredient | Amount | Role |
|---|---|---|
| Dark chocolate, roughly chopped | 9½ oz (270 g) | The main fat and colour of the base; it binds everything as it sets |
| Sweetened condensed milk | 1 can, 14 oz (395 g) | Sweetness and moisture that holds the biscuits together |
| Unsalted butter | 4½ oz (125 g) | Melt-in-the-mouth texture and a firm set when cold |
| Golden syrup | 2 Australian tbsp (40 ml); with US spoons, 2 tbsp + 2 tsp | Sweetness, moistness and gloss |
| Scotch Finger biscuits (or other plain sweet biscuits), roughly broken | 1 lb 2 oz (500 g) | The structure; the broken corners are the "spines" in the cut face |
| Desiccated coconut | ½ cup (125 ml) | Soaks up moisture, lightens the texture and adds flavour |
Topping
| Ingredient | Amount | Role |
|---|---|---|
| Milk chocolate, chopped | 9½ oz (270 g) | Glossy, sweet top that protects the cut squares |
| Unsalted butter | 1½ oz (40 g) | Makes the chocolate easier to spread and less likely to crack |
Steps
1Line the tin with paper handles
Cut baking paper to cover the base and sides of the 7½-inch (19 cm) square tin. On two opposite sides, leave the paper standing ¾ inch (2 cm) above the rim. Those flaps are the handles you will use to lift the set slab out. Fold the paper neatly into the corners. It is ready when the paper lies flat in the corners and stays put when you press on the base.
2Break the biscuits and add the coconut
Put the biscuits in a large bowl and break them roughly by hand, not into crumbs. Most pieces should be ½–¾ inch (1–2 cm), and none bigger than a thumbnail. Add the coconut and turn everything together with a spoon. If a layer of fine powder collects at the bottom of the bowl, you have broken them too far. Pieces that are too big make the slice fall apart when you cut it.
3Melt the chocolate mixture
Put the dark chocolate, condensed milk, butter and golden syrup in a saucepan. Stir over medium heat for 5 minutes, until smooth. Keep stirring the whole time, because chocolate catches and burns easily on the bottom of the pan. Take it off the heat and let it stand for 2 minutes. A mixture that is too hot breaks the biscuits down further and can split. It is ready when a spoonful falls in a glossy ribbon with no lumps or streaks.
4Coat the biscuits
Pour the warm chocolate mixture over the biscuits and coconut. Fold with a sturdy spatula, lifting from the bottom of the bowl. Keep going until no pale biscuit surfaces show and no melted chocolate is pooled in the bottom. Any patches left uncoated will crumble when you cut and look blotchy in the squares. It is ready when the mixture is evenly brown.
5Press into the tin and chill for 3 hours
Tip the mixture into the lined tin. Press it down firmly with the back of a spoon and the heel of your hand, working it into every corner so no gaps remain. Level the surface, cover with plastic wrap and refrigerate for 3 hours. It is ready when the surface does not sink under a finger and is firm all the way across.
Pressing decides the cutA slice that falls apart on the board was almost always pressed too lightly. Lean on it. A rough surface is fine because the topping will cover it. Air pockets are the real problem, since they leave weak spots that crack.
6Melt the topping and spread it
Put the milk chocolate and butter in a microwave-safe bowl. Microwave on HIGH (100%) for 1 minute, stirring once halfway through. On a lower-powered microwave, heat in 30-second bursts and stir between each. If a few lumps remain, give it 10 seconds more. Pour it over the chilled base and spread it level to the edges. It is ready when the spatula marks melt away almost at once.
7Chill again, then rest before cutting
Return the tin to the fridge for 1 hour, or until the topping has set. Take it out 15 minutes before cutting. Straight from the fridge, the top cracks and the edges go jagged. Left out too long, the base turns soft. It is ready to cut when a fingertip leaves no mark and the topping does not move when you tilt the tin.
8Lift out and cut into 25 squares
Lift the slab out by the paper handles and set it on a board. Cut it into 5 rows by 5 with a large knife, moving the blade back and forth instead of pushing straight down. Wipe the knife clean after every cut. Clean cuts show the biscuit shards and coconut clearly against the chocolate. The knife should glide through without dragging or cracking the top.