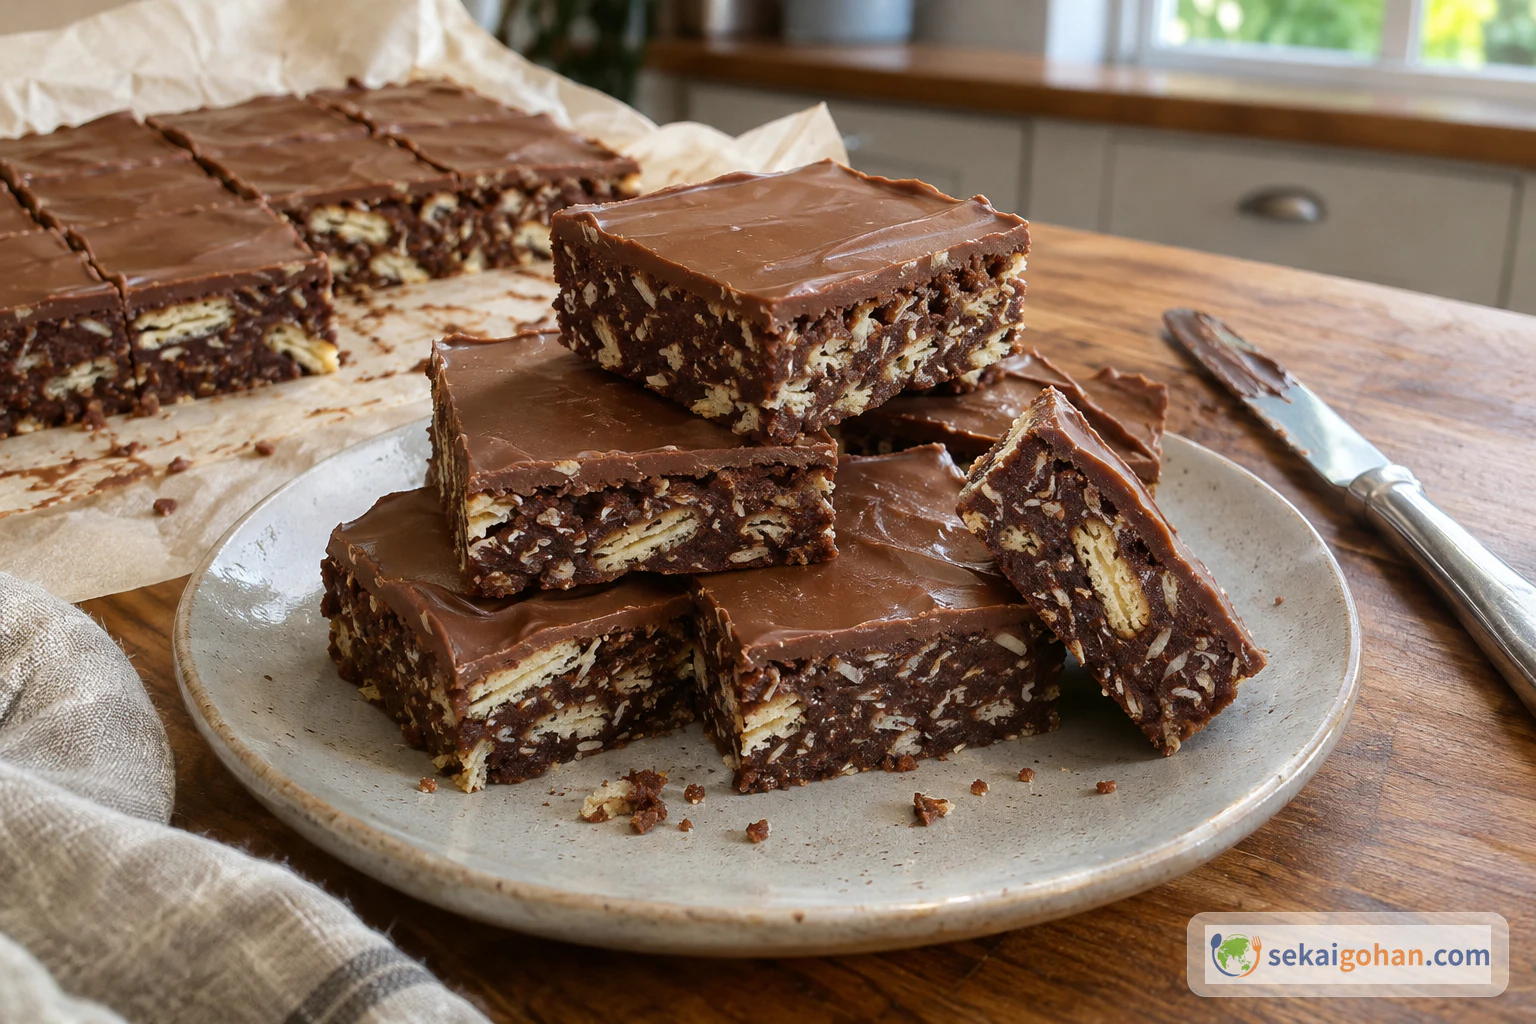
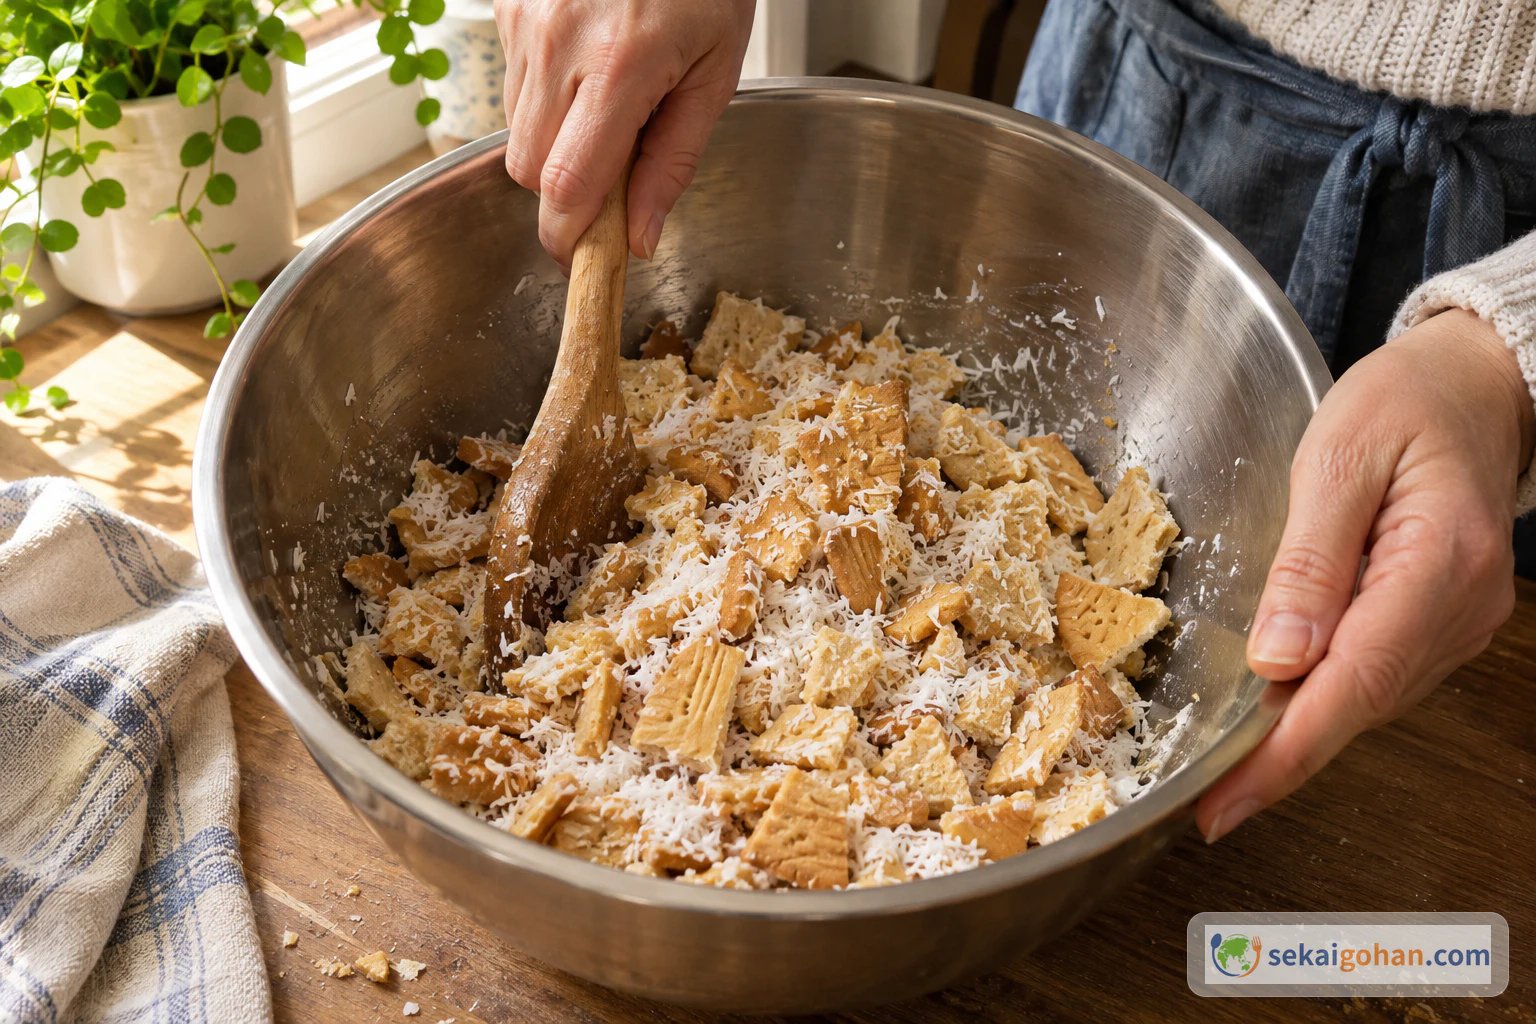
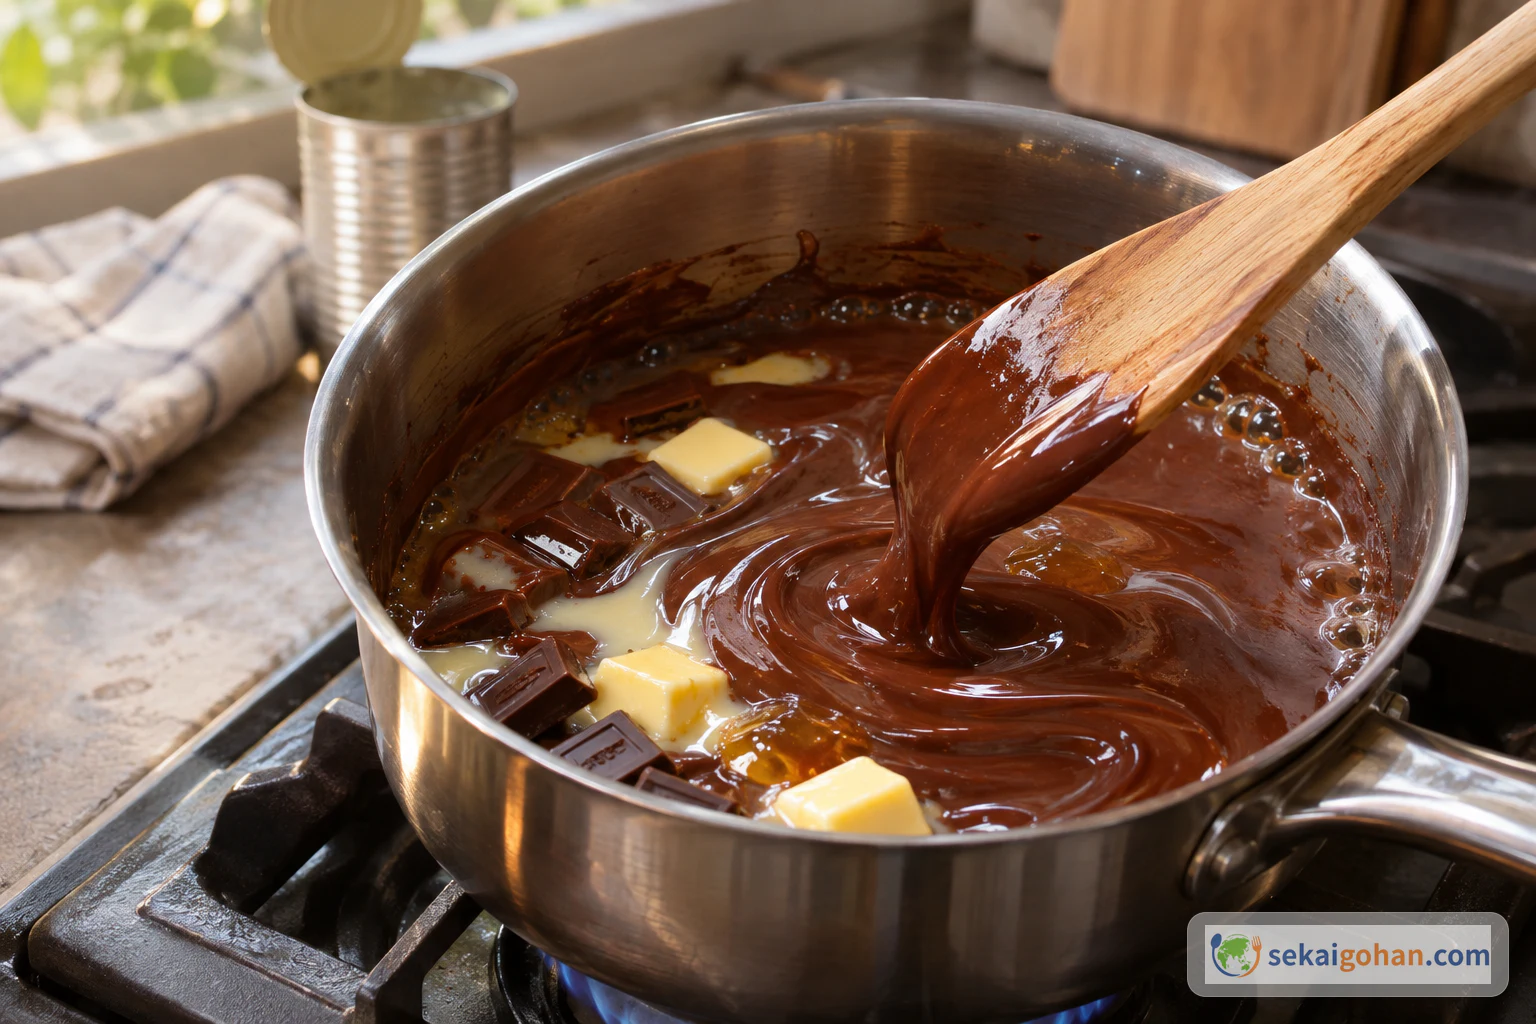
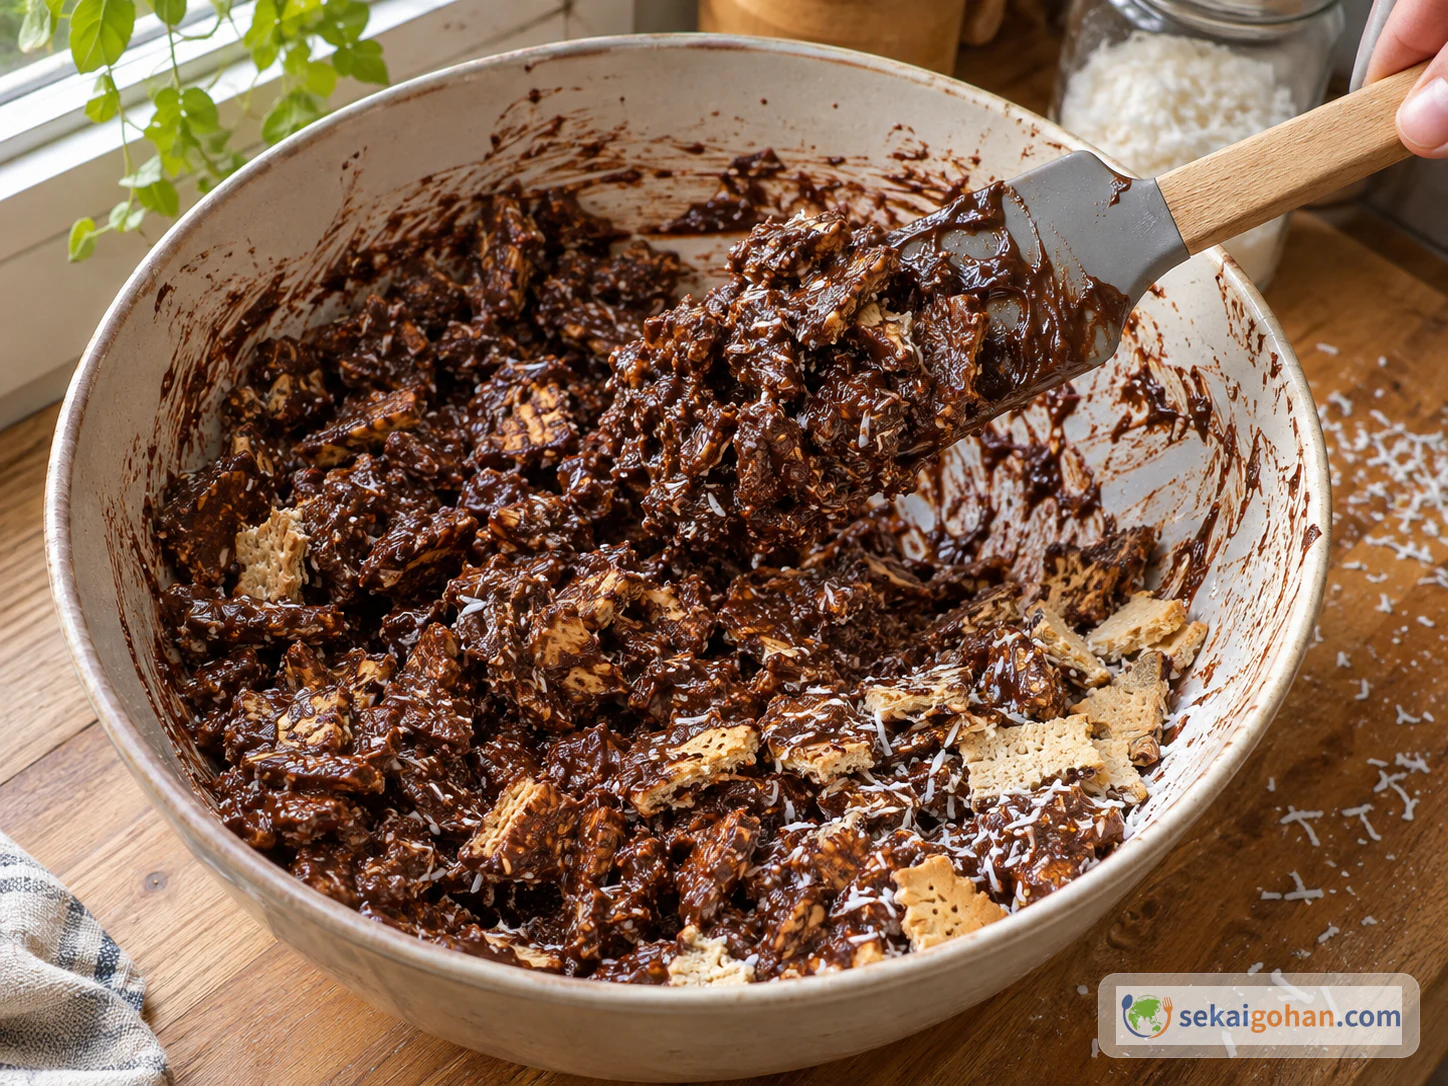
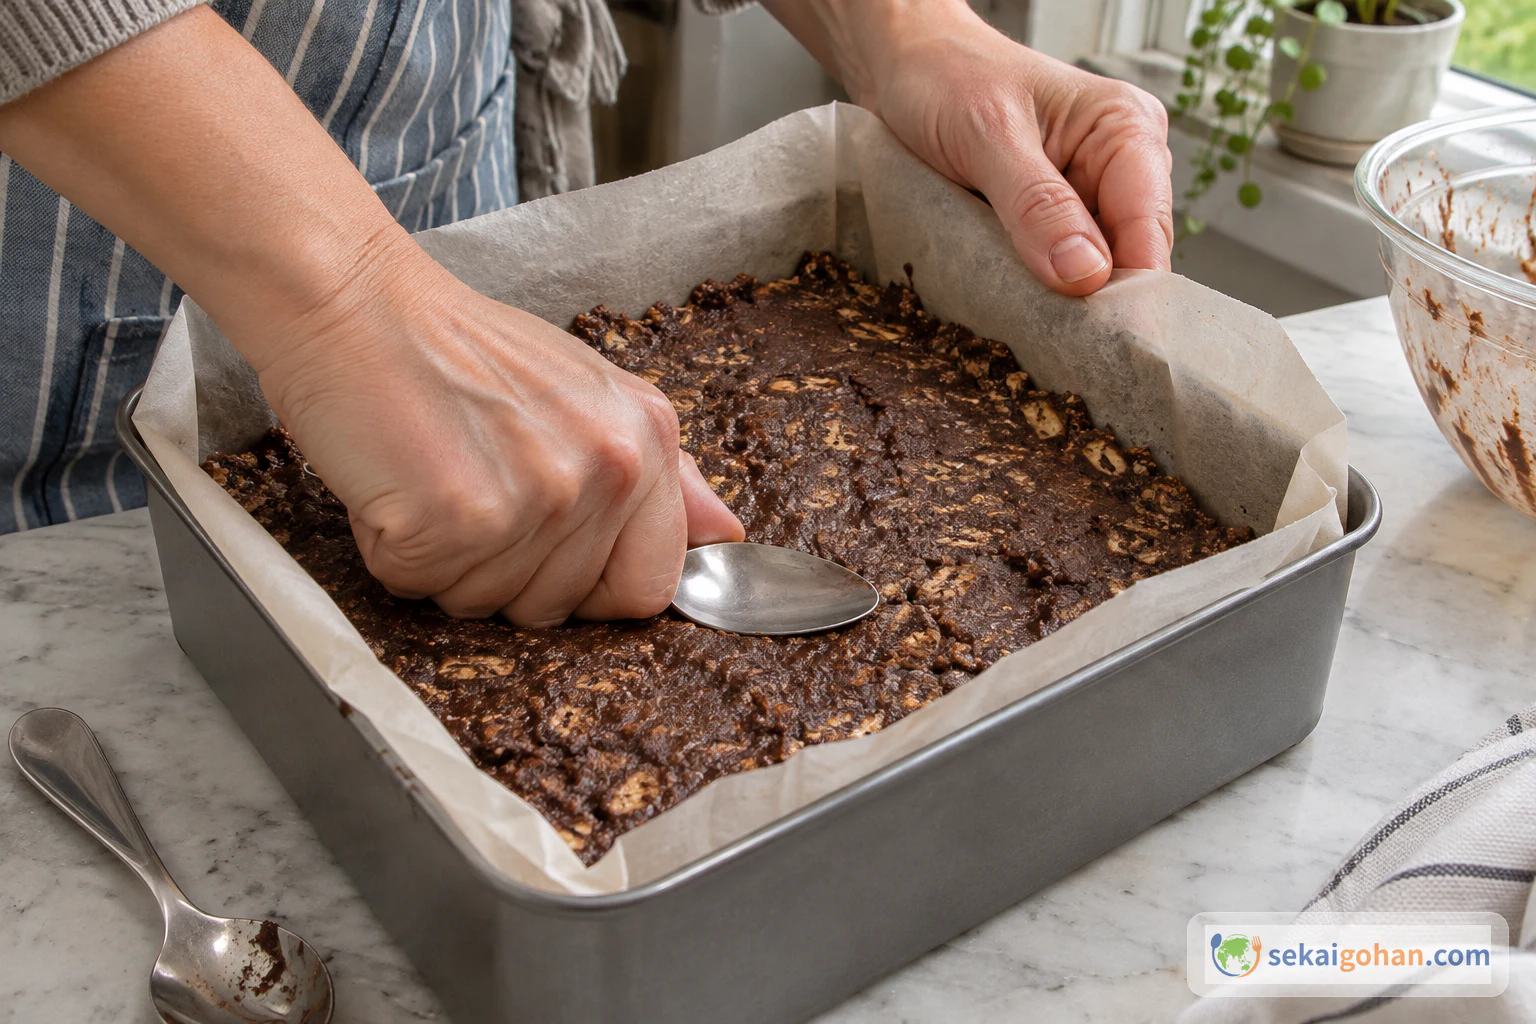
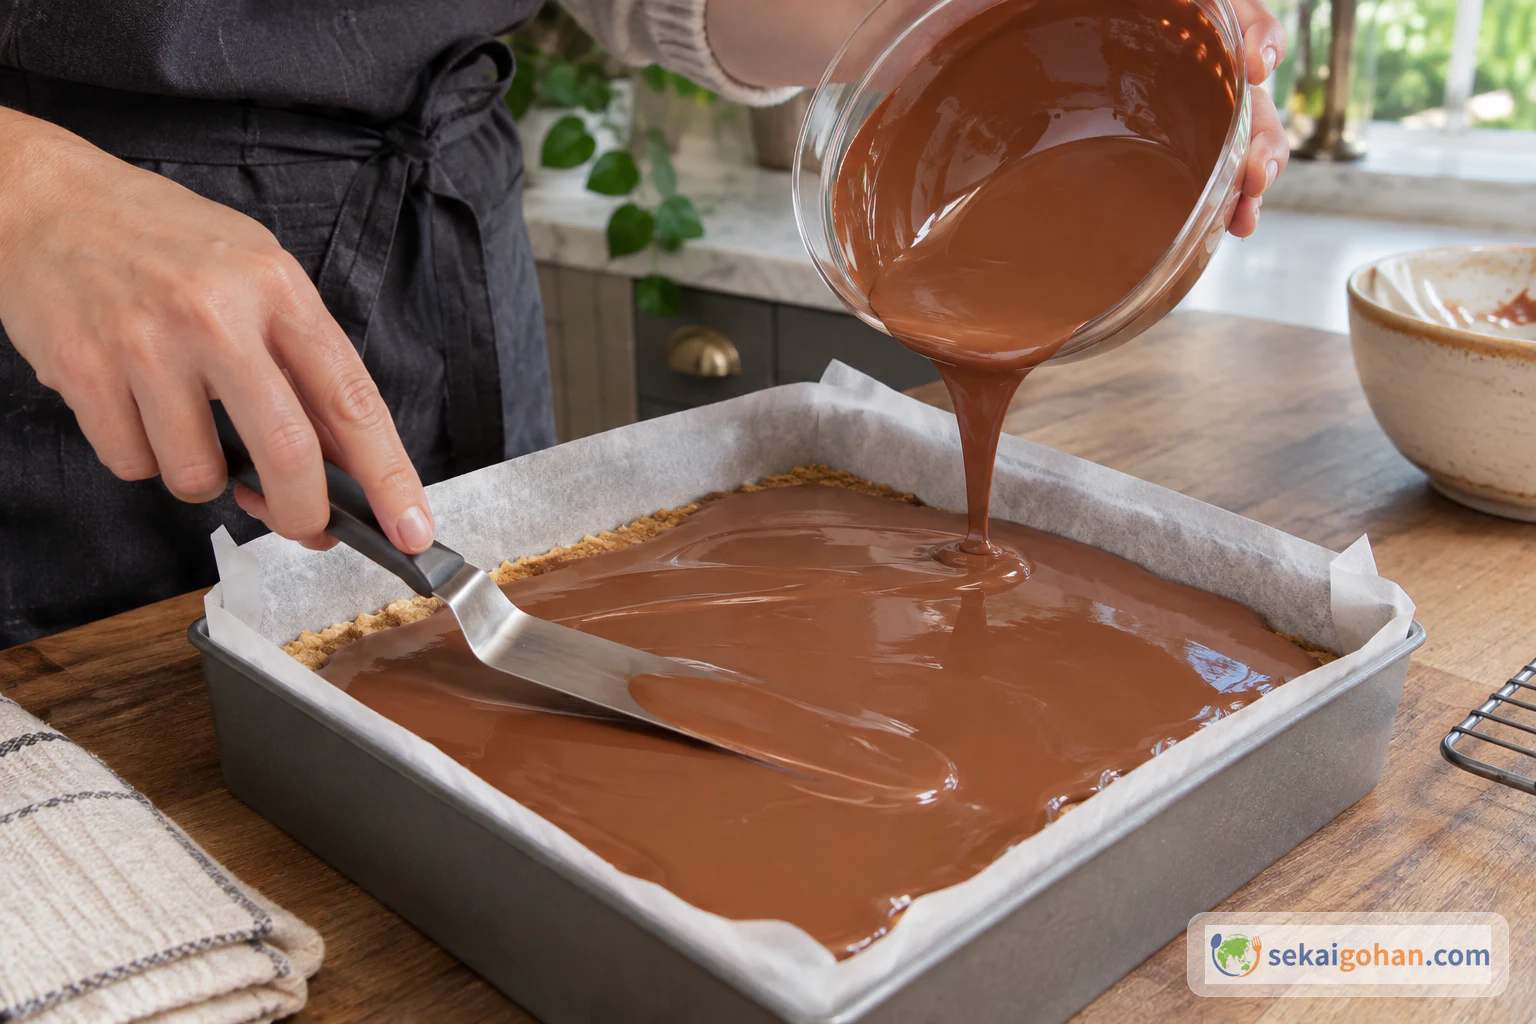
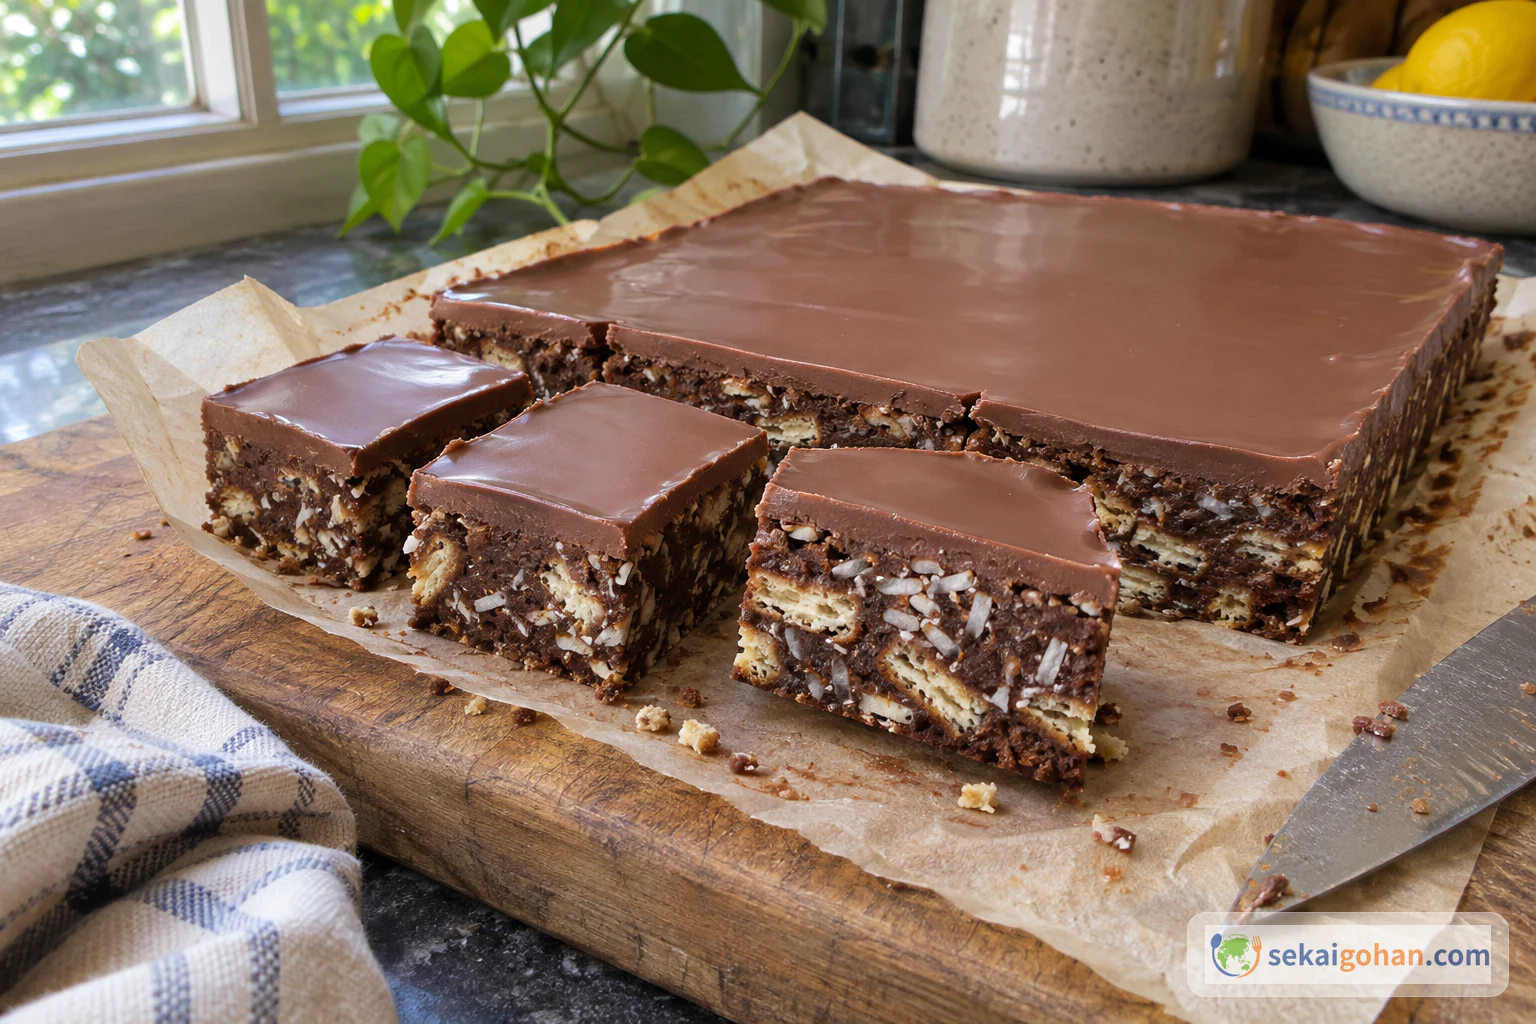
The chocolate, condensed milk, butter and golden syrup melt together into one glossy, deep-brown pool, and a spatula pulled through it leaves a slow ribbon. You pour that over a bowl of roughly broken biscuits, press everything hard into a lined tin, and close the fridge door on it. Hours later you lift out a dark, heavy slab and cut it into squares. Each cut face shows pale shards of biscuit and flecks of coconut set in dense, fudgy chocolate under a smooth chocolate top.
This is hedgehog slice, the no-bake chocolate square of Australian bakery counters, morning teas and school fairs. It is sweet and rich, with a snap from the biscuit pieces, a soft chew from the coconut, and a cold, firm bite straight from the fridge.
Bakery Counters, Show Tables and Morning Tea
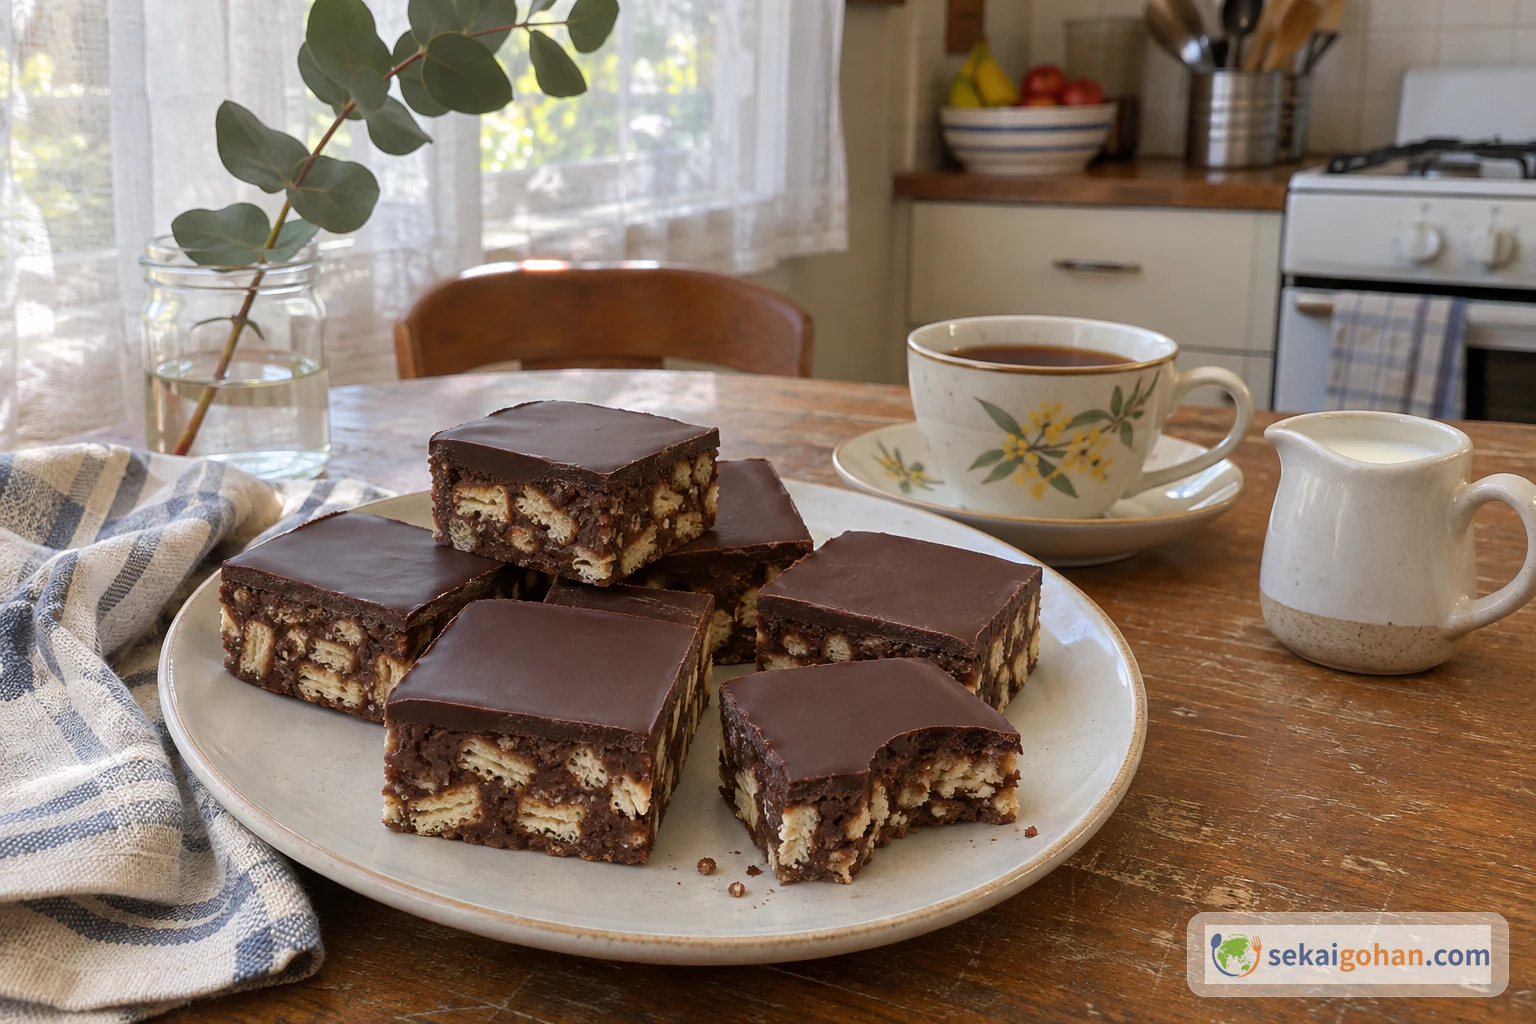
In Australia and New Zealand, a "slice" is a whole family of home sweets. You make it in a shallow tin and cut it into pieces. Hedgehog slice sits in the same lineup as ginger crunch, caramel slice and Louise cake. You find it at morning tea, on trestle tables at school fairs, at community fundraisers and in café cabinets. Nobody can say who made the first one. Slices like this travelled from kitchen to kitchen through community cookbooks, each family writing down its own amounts.
In South Australia, hedgehog is a standard of the bakery cabinet, but plenty of people will tell you the best one comes from someone's home kitchen. Prize-winning versions are entered in country show cooking competitions. One that has been handed down comes from a family in Warracknabeal, Victoria. If you'd like more of the country's food, start from Australia.
The usual explanation is that the broken biscuit corners poking out of the chocolate look like a hedgehog's spines. Nobody has settled where the name really came from, so take the spines as a good story.
People often compare it to a brownie, but the two are made quite differently. A brownie is baked and gets its structure from flour and eggs. Hedgehog slice never sees an oven: broken biscuits hold it up, and melted chocolate and condensed milk set firm around them in the fridge.
Same name, very different tins
Ask five Australian cooks for their hedgehog and you can get five different recipes. Here are the main styles:
| Style | What sets it apart |
|---|---|
| Condensed milk and melted dark chocolate (the recipe below) | Modern and easy, no eggs, milk chocolate top |
| Cocoa, butter, sugar and egg (bakery and show style) | Egg is stirred in and warmed briefly in the pan; often topped with cocoa icing and sprinkles |
| Egg, dark chocolate, almonds and dried apricot | Coconut biscuits, fruit and nuts through the base; the egg is not reheated |
| Cocoa and condensed milk | Arrowroot biscuits, with chocolate only on top |
Some households also fold in nuts, dried fruit or marshmallows. The recipe here keeps to biscuits, coconut and chocolate.
The recipe in this article uses no egg. Some hedgehog recipes stir beaten egg into chocolate that has only cooled to lukewarm and is never reheated. Others never heat the egg at all. The bakery style cooks the egg mixture for about a minute until it looks like thick gravy, but that is no guarantee the egg is safe. Do not serve egg versions to pregnant women, young children, older people or anyone with a weakened immune system.
Ingredients (makes 25 squares)
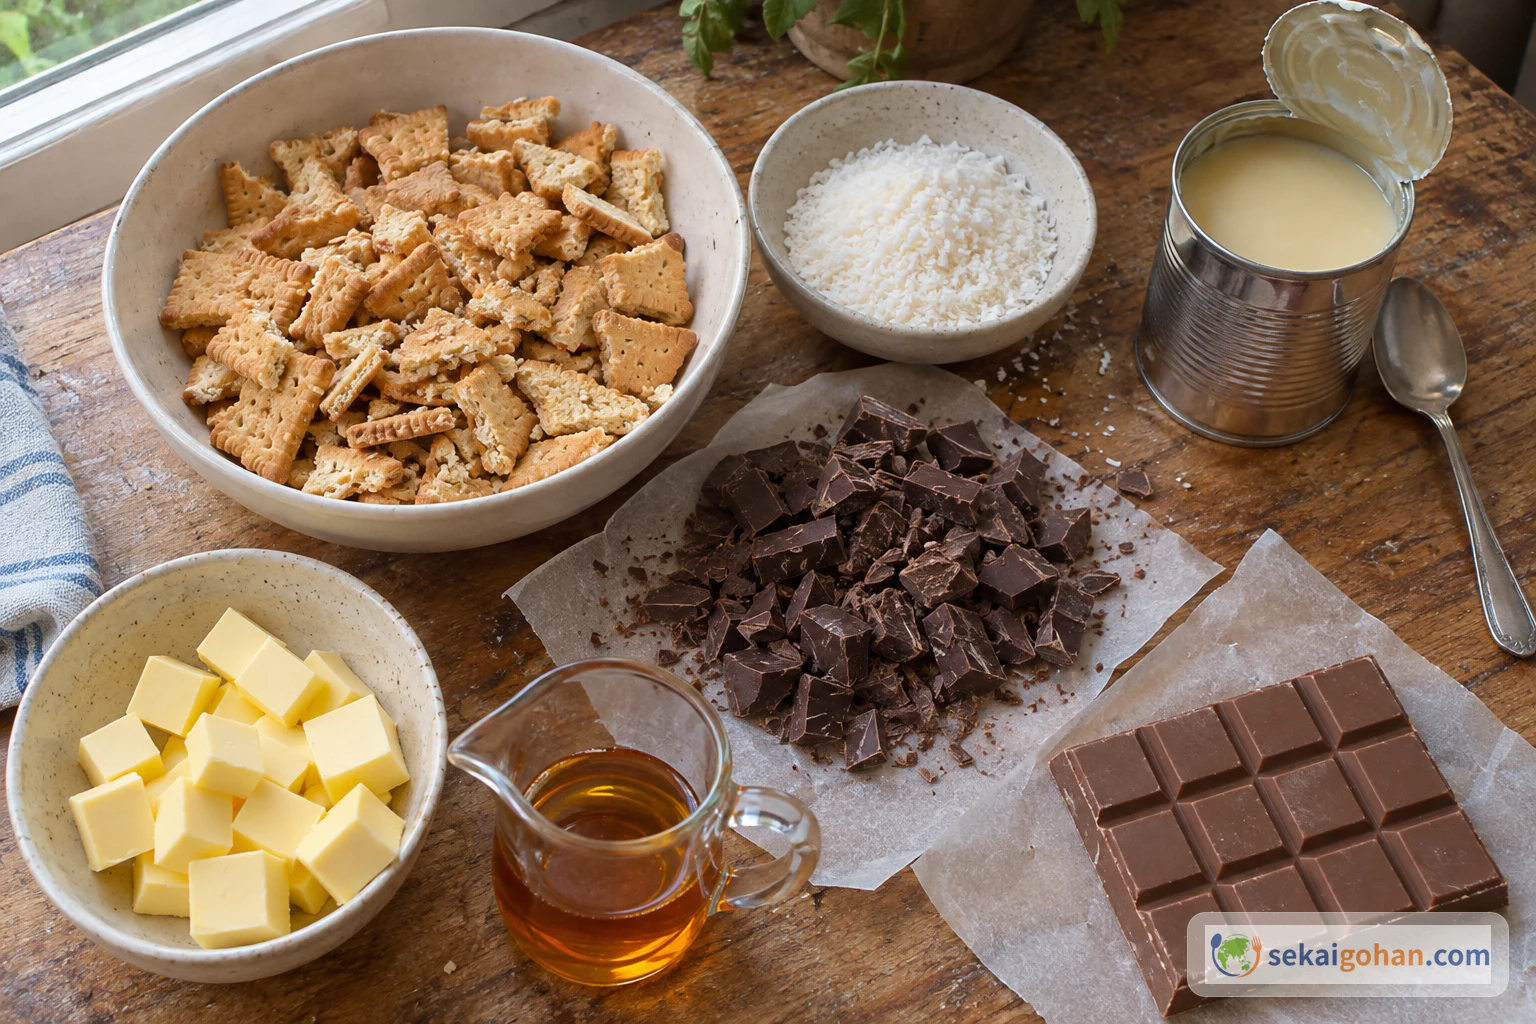
This slice contains wheat (biscuits), milk (butter, condensed milk and chocolate) and soy (lecithin in most chocolate). It also contains coconut. No nuts go into it, but check chocolate labels for "made in a facility that also processes nuts" if anyone eating it has a nut allergy. It is high in sugar and fat, so it is better shared in small squares than eaten by the slab.
Equipment
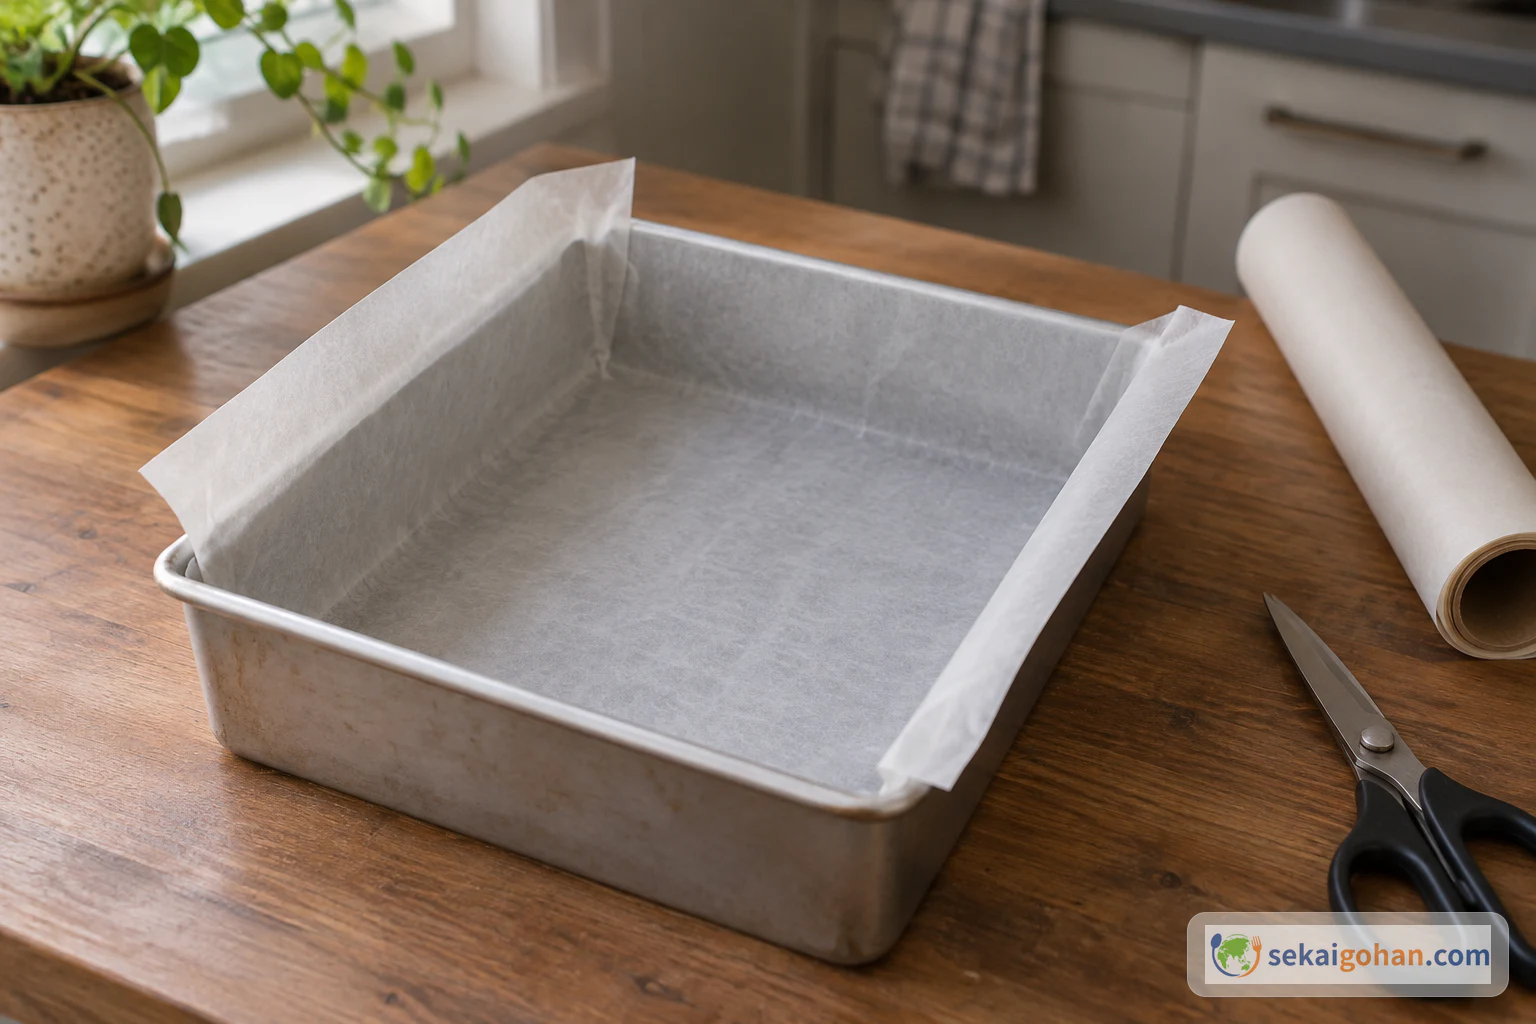
- 7½-inch (19 cm) square cake tin or shallow square pan (measured across the base)
- Baking paper
- Large mixing bowl
- Medium saucepan
- Microwave-safe heatproof bowl
- Wooden spoon or sturdy spatula, plus a flat or offset spatula for the topping
- Measuring spoons and a measuring cup or small jug
- Large sharp knife and a cloth for wiping it
- Plastic wrap, and space in the fridge for the tin to sit flat
Choosing and Substituting
The biscuit decides the texture. Scotch Finger biscuits are buttery shortbread-style fingers. Outside Australia, look for them in import shops or online. Marie biscuits, digestives and any plain sweet biscuit work well, and Weet-Bix is another option. Marie makes a lighter, sweeter slice that children love. Scotch Finger gives a richer, more buttery bite.
Golden syrup is worth tracking down. Look for imported tins, such as Lyle's, in British or Australian grocery sections or online. Light glucose syrup or honey will work in a pinch, but the flavour changes. Glucose syrup tastes flatter. Honey has a stronger aroma and adds more moisture.
For the dark chocolate, a sweet dark chocolate of about 50–60% cocoa is right. The higher the cocoa, the more bitter the slice and the harder it sets. Buy fine desiccated coconut from the baking aisle. Coarse shreds give a chewier mouthful but make the mixture harder to press into the tin.
Sweetened condensed milk cannot be swapped out. Unsweetened evaporated milk is not sweet enough. Salted butter in place of unsalted brings salt forward in every bite. To make it dairy-free, use dairy-free butter and chocolate with coconut condensed milk.
Method: Break, Melt, Press, Chill
The work happens in two short bursts with long fridge waits in between. Line the tin and break the biscuits first, so the melted chocolate has somewhere to go as soon as it is smooth. The hands-on work takes about 25 minutes. The base then chills for 3 hours, and the topping for 1 more. If you're serving it the same day, start in the morning.
Chocolate builds up on the blade quickly and smears the next cut. Keep a damp cloth beside the board and wipe after each stroke. That is how you get the sharp, clean faces that show off the spines.
When It Goes Wrong
| What you see | Why | What to do |
|---|---|---|
| Squares crumble when cut | Pressed too lightly, biscuit pieces too large, or not chilled long enough | Press hard into the corners, break the biscuits smaller, and give it the full fridge time |
| The mixture is dry and won't hold together | Not enough coating for the amount of biscuit, or not mixed thoroughly | Keep folding until everything is coated; if it is still dry, add a little melted butter |
| The chocolate top cracks | Cut straight from the fridge, or the topping went on too thick | Let it rest the full 15 minutes out of the fridge; saw gently and wipe the knife between cuts |
| The melted chocolate turns grainy or oily | Heat too high, or water got into it (for example from steam, or a bowl over simmering water touching the water) | Stay at medium heat and stir constantly; keep it away from water and steam |
| Too sweet for your taste | Milk chocolate topping on top of a condensed milk base | Next time, use dark chocolate for the topping |
Serving, Variations and Storage
At the table
Hedgehog slice goes on a plate at morning tea next to a pot of black tea with milk. It also travels to school fairs, fundraisers and anywhere a tin of something sweet is expected. Serve it cool from the fridge, when the base is firm and the biscuit still snaps.
Variations
- Dark chocolate topping. Use the same amount of dark chocolate with the same butter. The slice tastes less sweet and more grown-up.
- Marie biscuits. They give a lighter base and a sweeter, child-friendly slice.
- Coarser coconut. It adds more chew, but the mixture takes more effort to press. Spend extra time on step 5.
- Smaller squares for lunchboxes. Cut 6 rows by 6 to get 36 pieces, and wipe the knife after every stroke.
Storage
Even though nothing is baked, hedgehog slice must stay in the fridge. Butter, condensed milk and chocolate do not keep at room temperature, and on a hot day the slice softens fast. Keep it in an airtight container in the fridge for up to 1 week. To freeze, wrap each square in baking paper, pack them in a zip-lock bag and freeze for up to 2 months. Thaw in the fridge.
Frequently asked questions
Can I use graham crackers?
Start with Marie biscuits instead. American graham crackers are made with wholemeal flour and have a different sweetness, so they are further from the plain sweet biscuits this slice is built on. Marie and digestive biscuits are the closest easy swaps outside Australia.
What if my square tin is 7 inches (18 cm)?
Use the same amounts. The slab will come out a little thicker, so give it a little longer in the fridge. Check that it is firm all the way across before adding the topping and before cutting.
Can I make it dairy-free?
Yes. Use dairy-free butter and dairy-free chocolate for both the base and the topping, and swap in coconut condensed milk. The coconut flavour gets stronger, which suits the desiccated coconut already in the base.
Can I add nuts, dried fruit or marshmallows?
Plenty of households do, and other versions are built around almonds and dried apricot. The recipe here sticks to biscuits and coconut, so the chocolate stays in balance with the biscuit pieces. If you add extras, check that every piece is still fully coated before you press the mixture in.