Ingredients and steps on one page. Print it, or choose “Save as PDF” in the print dialog.
Sekai Gohan
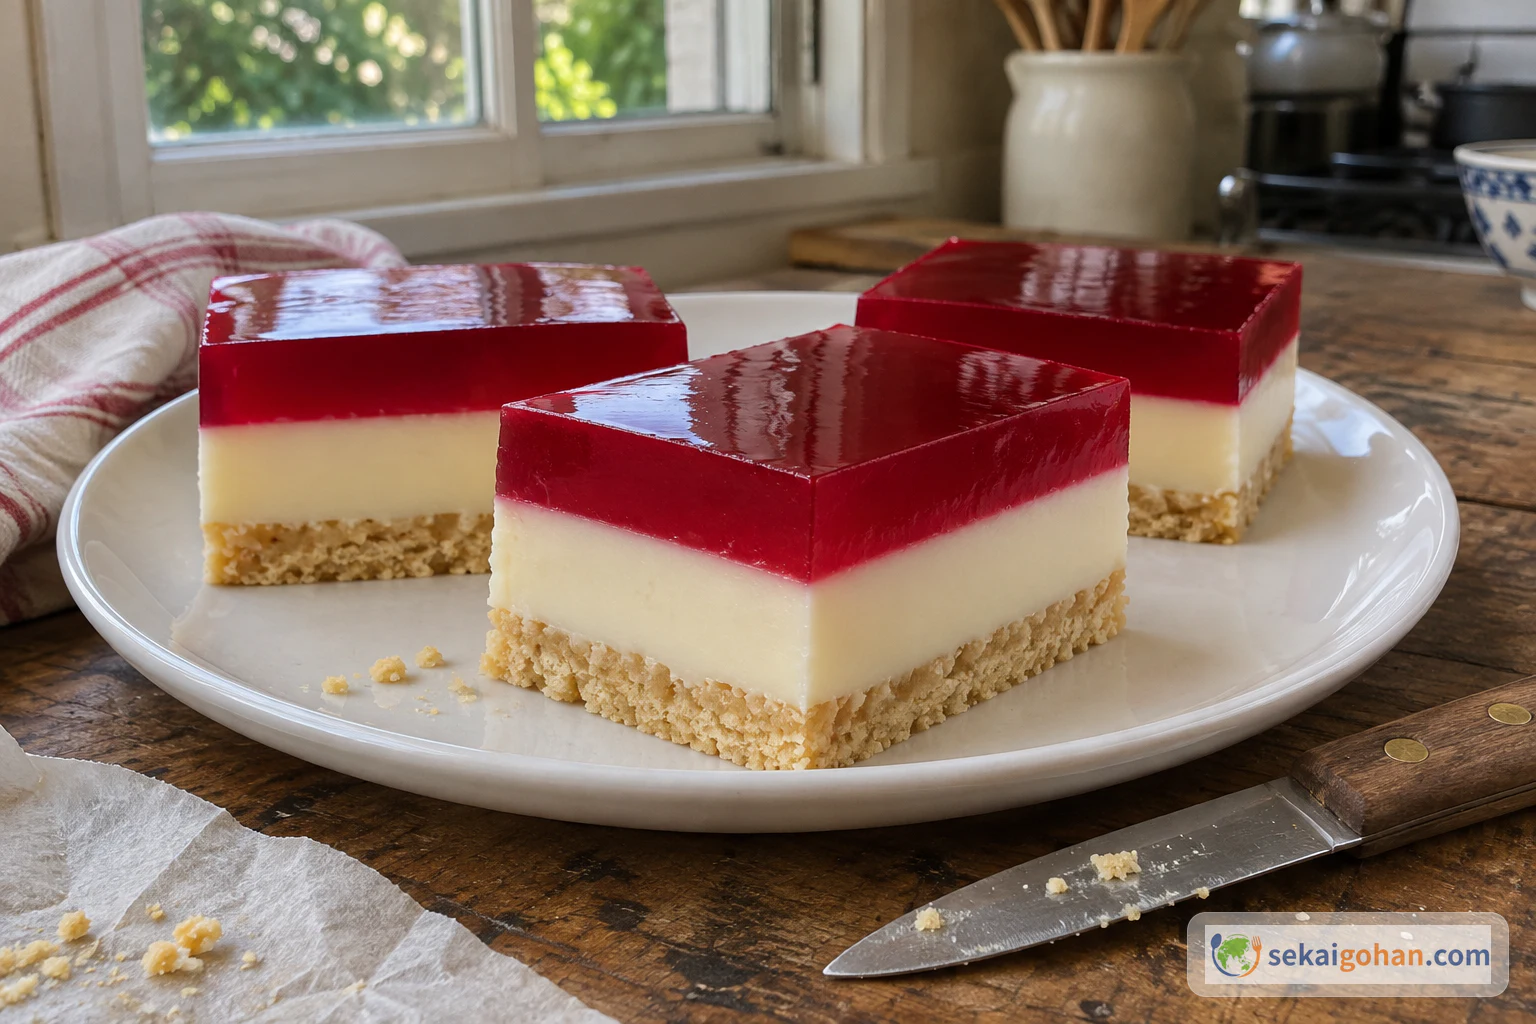
Jelly Slice: Australia's No-Bake Three-Layer Raspberry and Condensed Milk Slice
Ingredients
| Ingredient | Amount | Role |
|---|---|---|
| Plain sweet biscuits | 9 oz (250 g), one pack | The base. Milk arrowroot, morning coffee or Marie-style biscuits |
| Butter, melted | 6½ oz (180 g) | Binds the crumbs and sets firm in the fridge |
| Powdered gelatine | 2 tsp | Sets the condensed milk layer |
| Boiling water | ¾ cup | Dissolves the gelatine |
| Lemons | Juice of 2 | Cuts the sweetness of the condensed milk |
| Sweetened condensed milk | 14 oz (395 g), one can | The white middle layer, rich and sweet |
| Raspberry jelly crystals | 3 oz (85 g), one pack | The red top layer |
Steps
1Line the tin and press in the biscuit base
Line the tin with baking paper so it stands ¾ to 1 inch (2–3 cm) above the rim on the long sides. Later you will use it as handles to lift the set slice out. Pulse the biscuits in the food processor until coarsely crushed, then pour in the melted butter and process until fine and evenly damp. With no processor, crush the biscuits in a sealed bag with a rolling pin and stir in the butter. Tip the crumbs into the tin and press them down hard with the back of a spoon, especially into the corners. Chill for 30 minutes, until a finger pressed on the surface leaves no mark and the base does not shift when you tilt the tin.
Press harder than feels necessaryA loosely packed base is what makes pieces break apart on the plate. Go over the whole surface with the back of the spoon. The crumb should look compact and slightly glossy with butter, with no loose crumbs at the edges.
2Dissolve the gelatine
Measure ¾ cup of water just off the boil into a heatproof jug. Sprinkle the gelatine over the surface and stir straight away with a spoon. Keep stirring until the liquid is completely clear. Hold the jug up to the light and look at the bottom and the sides. You are done when there are no grains or lumps left, only clear liquid.
3Mix the condensed milk layer
Scrape the condensed milk into a large bowl and pour in the gelatine liquid. Squeeze in the juice of the two lemons and catch the pips. Stir with a spatula, scraping the sides and bottom of the bowl, until the mixture is one colour. It thickens slightly as the lemon goes in. Stop when the mixture is smooth, glossy and ivory white, with no streaks of clear gelatine.
4Pour it over the base and chill until set
Take the tin from the fridge and pour the white mixture over the cold base. Level it with an offset spatula so it reaches every corner. Chill for 1 hour 30 minutes. The layer is ready when the surface is smooth, it no longer flows when you tilt the tin gently, and a light touch leaves a soft dent. If a fingertip breaks the surface or leaves a hole, the layer has not set yet. Give it more time, because jelly poured onto an unset layer soaks in and the layers disappear.
5Make the jelly and let it cool
Dissolve the raspberry jelly crystals as the pack directs, in a heatproof bowl. Leave the jelly to cool for at least 5 minutes, and until no more steam rises. Jelly at room temperature is the safest for the white layer, since warm jelly melts condensed milk on contact. Check that it is still fully liquid. It should run off a spoon in a thin stream, with no thickening at the edges of the bowl.
Cool the jelly, keep it liquidThe cooling time decides whether you get a straight line. Steaming jelly melts into the white layer. Jelly left too long starts to set in the bowl and pours in lumps. Pour it once it is cool to the touch and still runs freely.
6Pour the jelly layer and chill
Move the tin onto the counter right beside the fridge, so the full tin only has to travel a short way. Hold the jug low over the white layer and pour the jelly slowly, moving along the tin so it spreads flat. Slide the tin carefully onto a level shelf and chill for 2 to 3 hours. It is ready when the jelly is firm across the whole surface and the line between red and white is straight, with no pink seeping down.
7Lift out, cut and plate
Use the paper as handles to lift the set slab out onto a board. Cut it into 24 pieces with a large sharp knife, pressing straight down. Wipe the blade clean after every cut, and if it starts to drag, dip it in hot water and dry it before the next cut. Peel the paper away and move the pieces to a plate. Every cut face should show a brown base, a white middle and a red top in three straight bands. Serve the pieces cold.