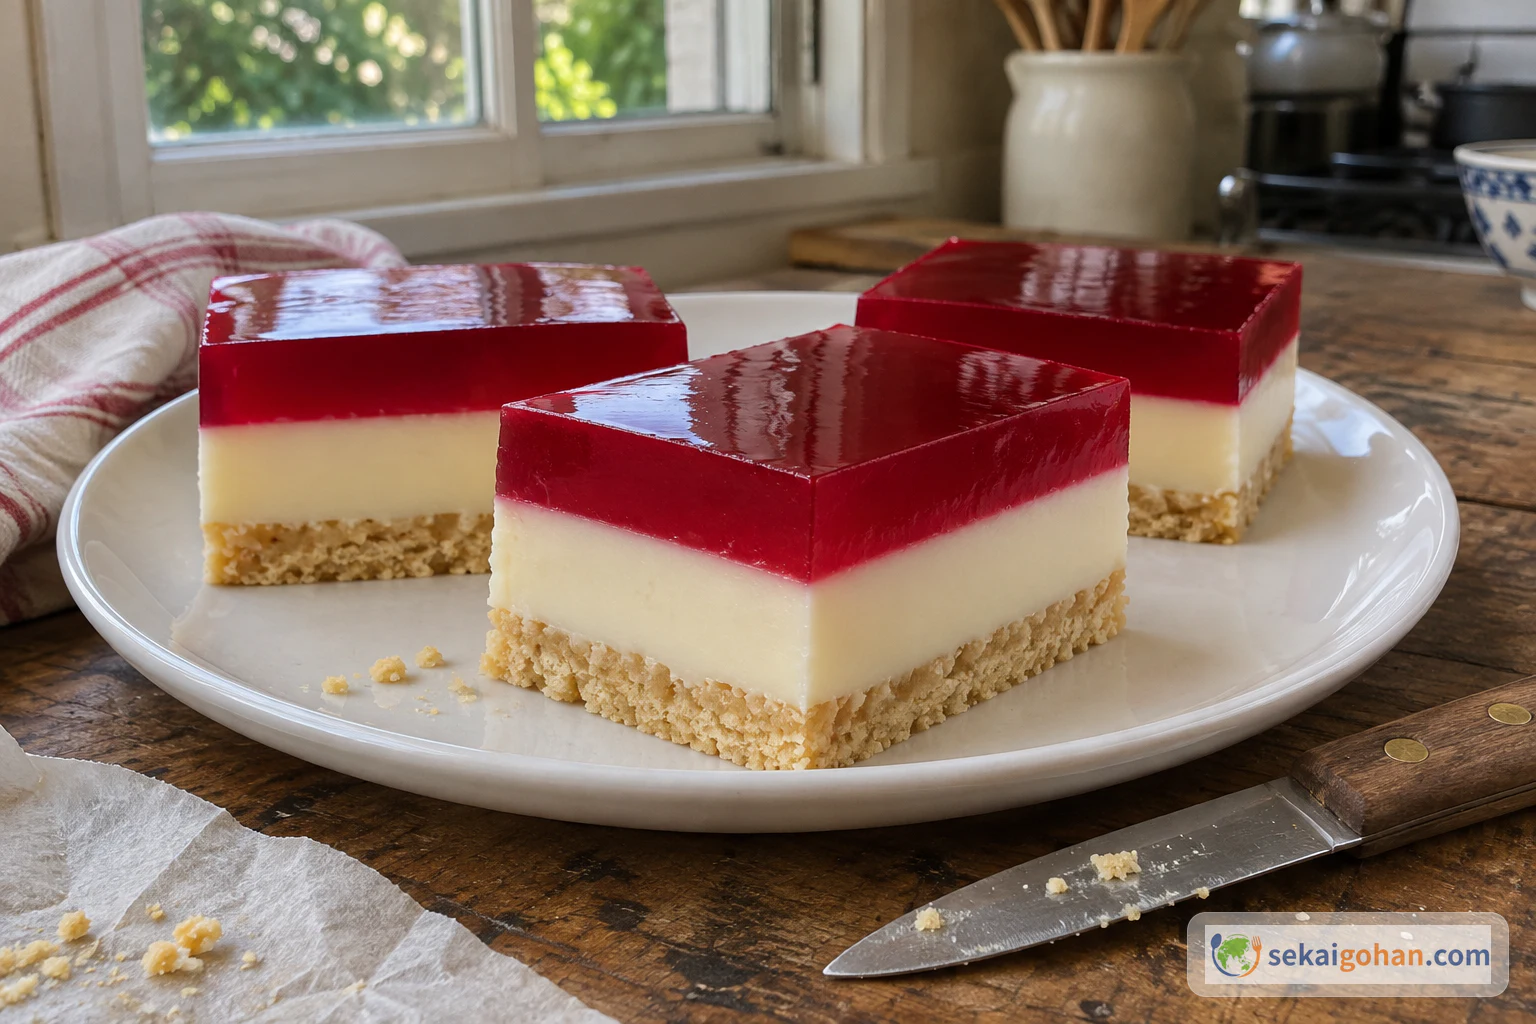
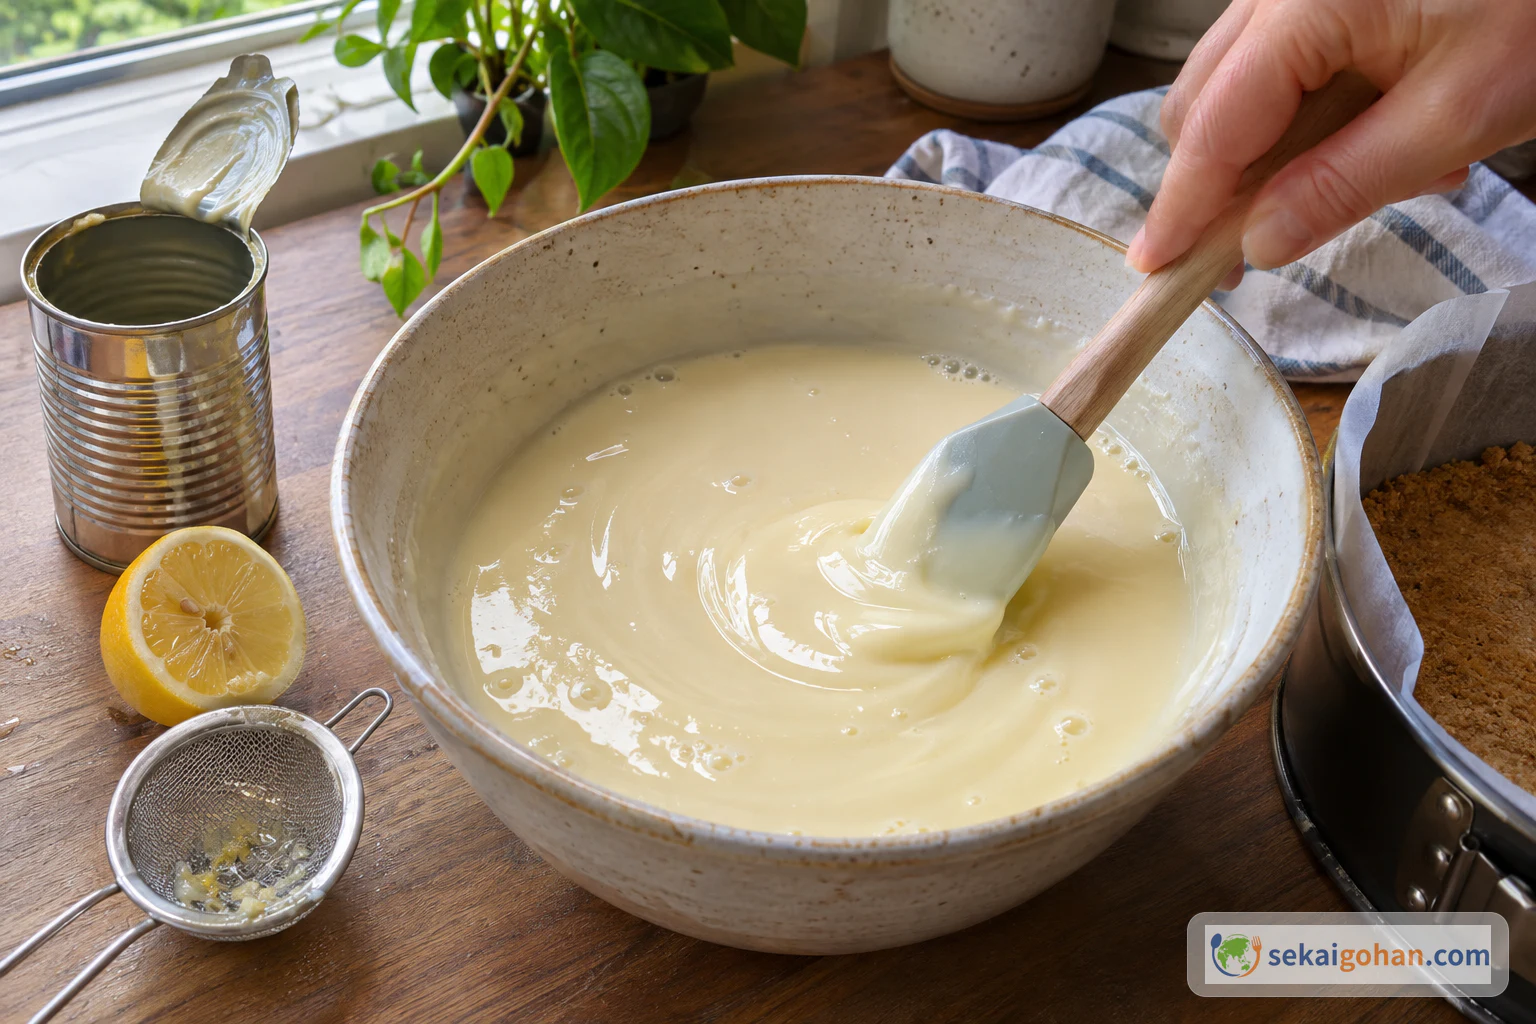
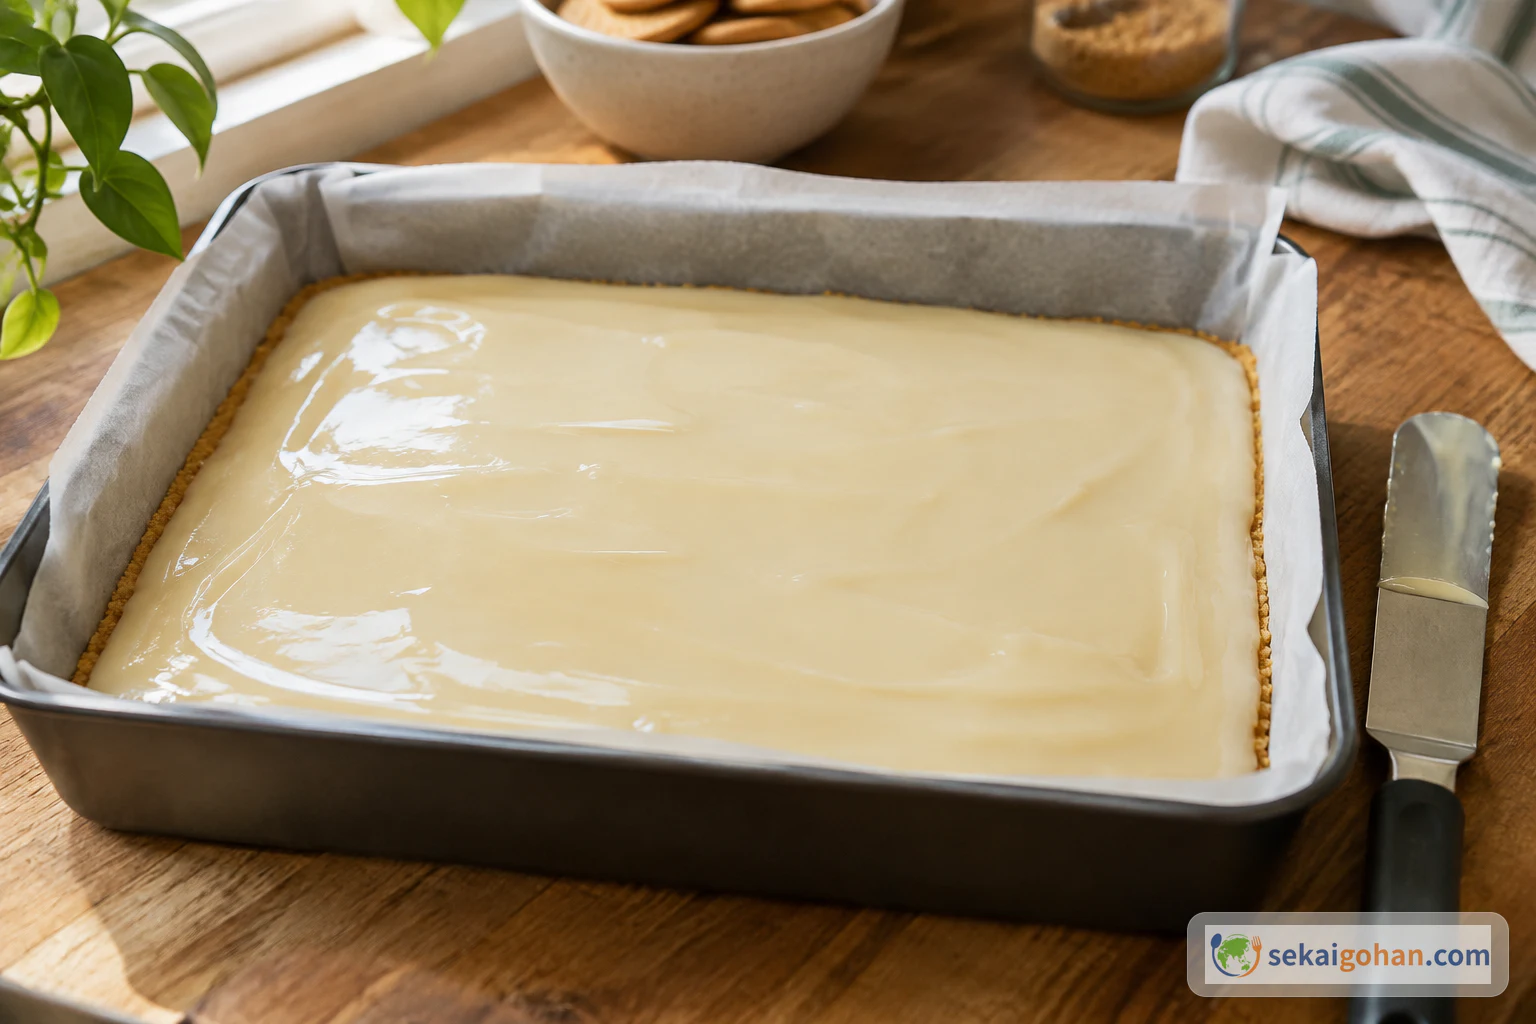
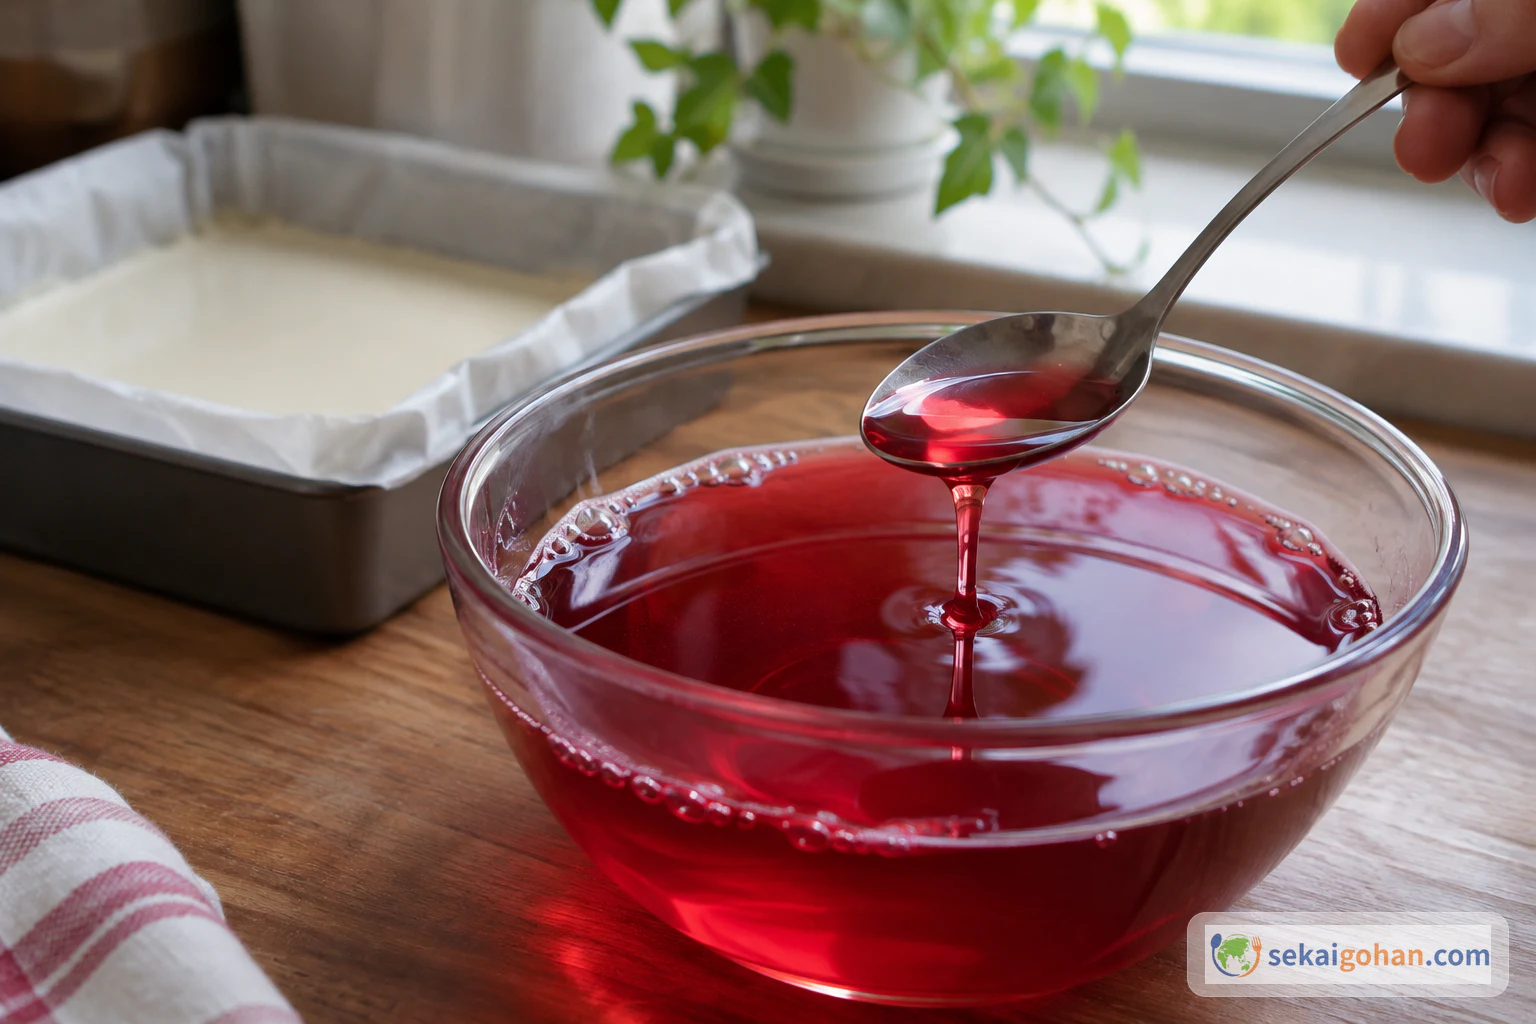
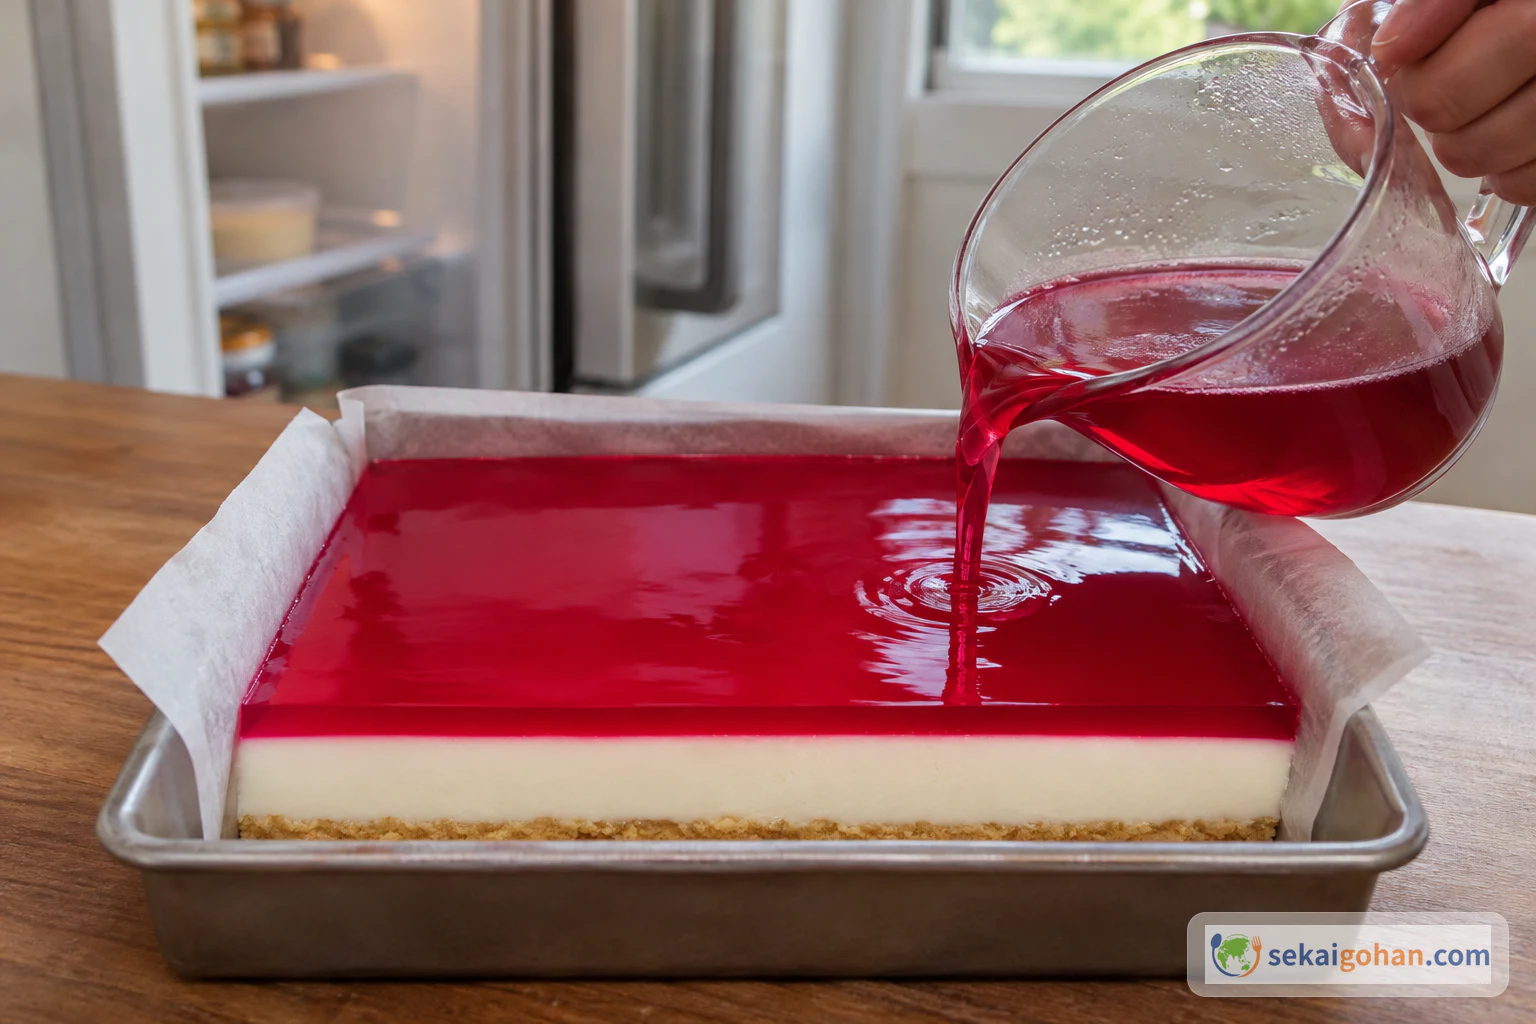
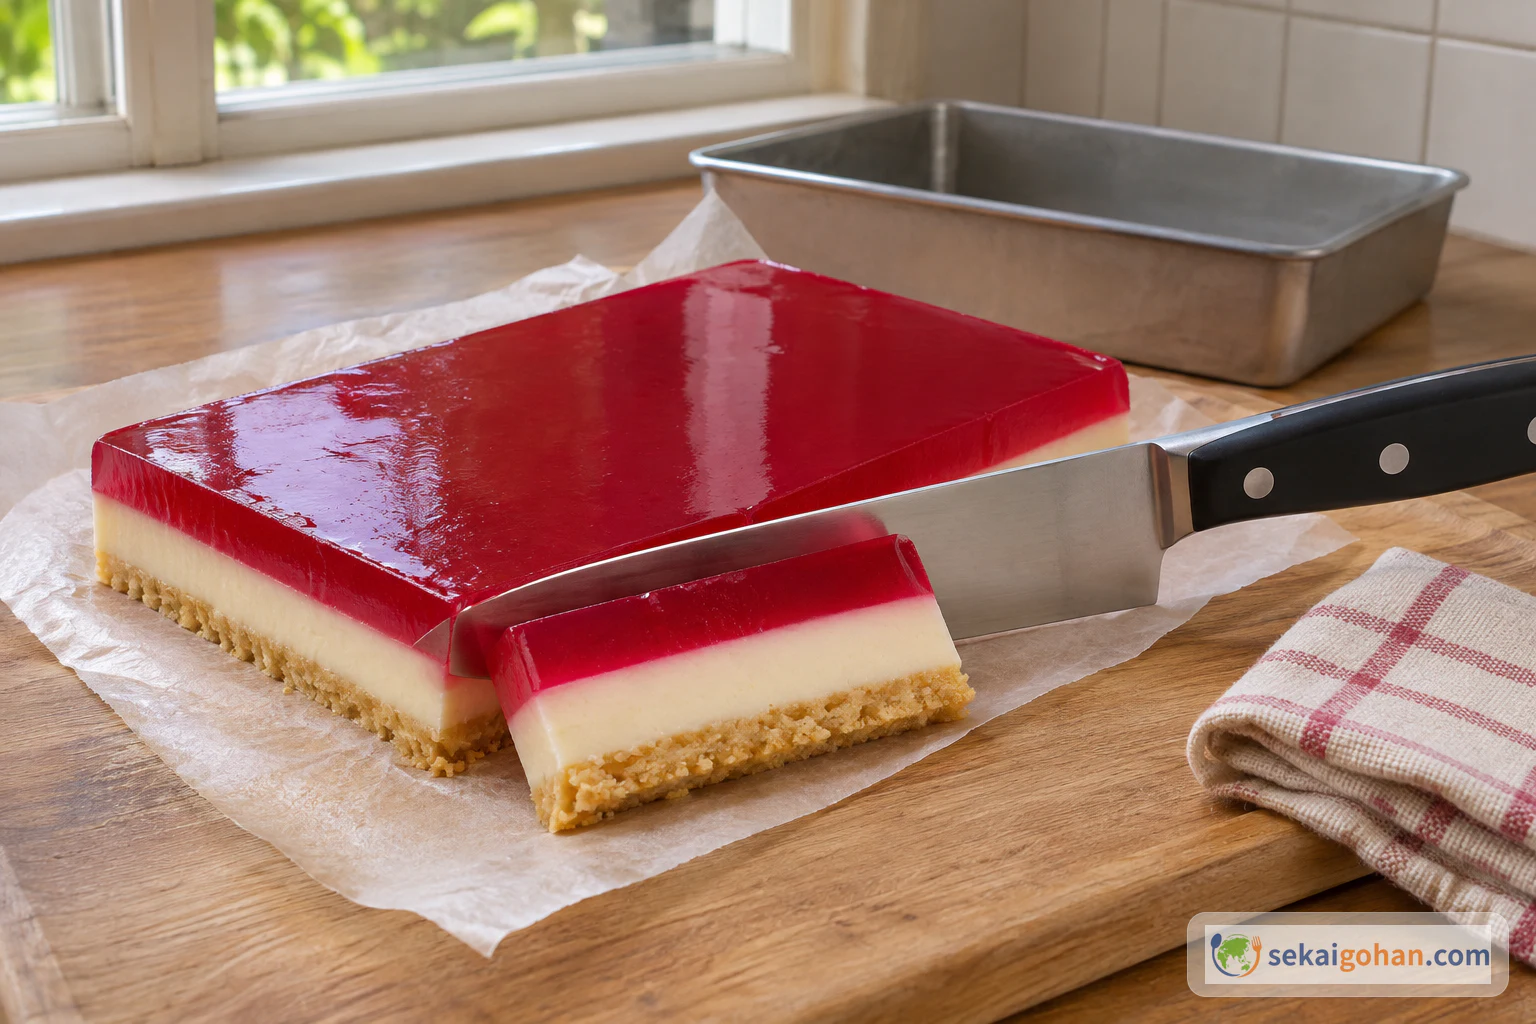
The moment that decides a jelly slice happens next to the fridge door. You tip a jug of cooled raspberry jelly low over a white layer that has set just firm enough to hold it, and the red spreads out flat with one straight edge between the two colours. A few hours later you cut the slab into small squares, and every cut face shows the same three bands: a firm, buttery biscuit base, a soft white layer of sweetened condensed milk sharpened with lemon, and a glossy red jelly on top. It is an Australian no-bake slice. Everything sets in the fridge, it is served cold, and the bite moves from rich sweetness to lemon to bright fruit jelly.
Slices, School Fetes and a Quiet Contest
What Australians mean by a slice
In Australia, a slice is a whole category of sweet things. You set it in a rectangular tin, cut it into small pieces and hand it round, and many slices never see an oven. Because each piece is small, one tin feeds a crowd. That is why jelly slice is a school fete favourite and the kind of tray people carry over to a neighbour's or a gathering. If you want to see where it sits among the country's other dishes, start from our Australia page.
The slice tray belongs to communal occasions. In small country towns such as Smithton in Tasmania, a place of about 4,000 people, a plate of slices came out for celebrations and funerals alike, and there was an unspoken contest over whose slice was best. Jelly slice was one of the regulars. One Tasmanian cookbook author, who grew up with it, found as an adult that jelly slice is now seen as a retro creation. Where and when it was first made is not settled, and nobody owns the recipe.
In Australia, "jelly" means the wobbly dessert set with gelatine, made from a pack of jelly crystals dissolved in boiling water. In American English, jelly usually means a clear fruit spread. When an Australian says jelly slice, they mean a slice topped with a layer of set, gelatine-based jelly.
How it differs from its neighbours
Other Australian and New Zealand sweets share the same tables, but they are built differently. A lamington is sponge cake rolled in coconut. Pavlova is a meringue. White Christmas is a mix of white chocolate and dried fruit. Vanilla slice, also called custard slice, uses a layer made with custard powder. Jelly slice is the one with three layers and condensed milk.
Households also make the middle layer in two different ways under the same name. The method here sets condensed milk with lemon juice and powdered gelatine. The other method dissolves a pack of jelly crystals straight into the condensed milk, with no lemon, and then pours a second pack of jelly on top. The two use different proportions, so pick one method and keep its amounts together.
Ingredients (one 8 x 12-inch tin, 24 pieces)
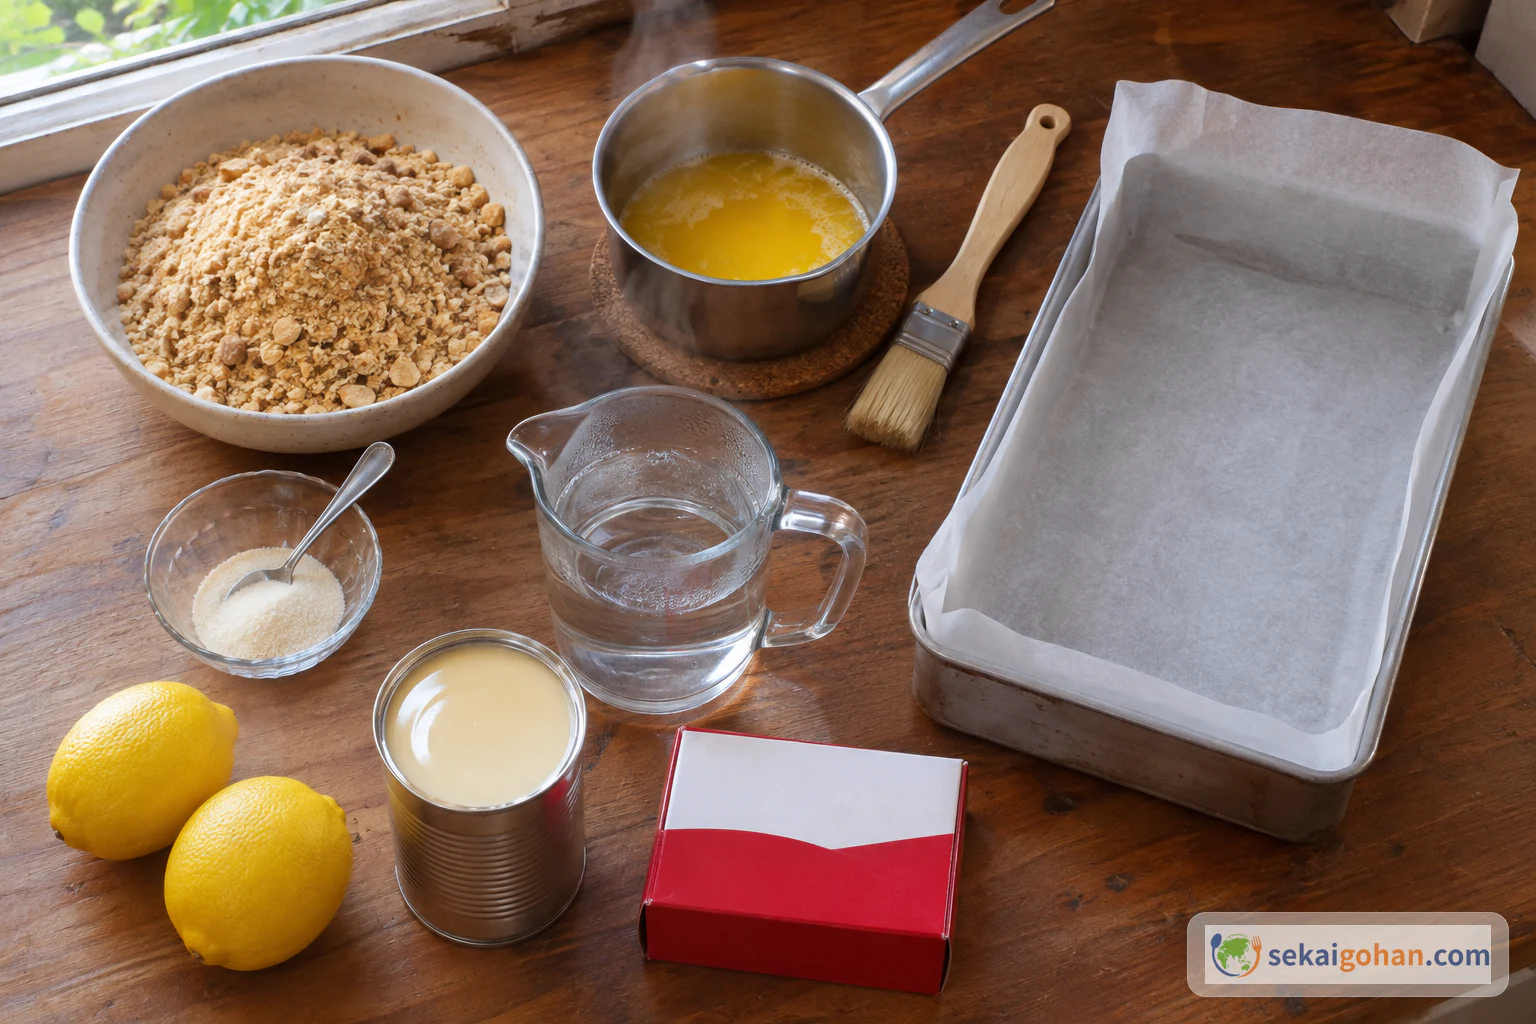
This slice contains wheat (biscuits) and milk (butter and condensed milk). Some biscuits also contain soy or extra milk, so read the pack. Gelatine is an animal product. The slice is not suitable for vegetarians or vegans, and if you avoid beef- or pork-derived ingredients, check the labels on both the gelatine and the jelly crystals.
Equipment
- 8 x 12-inch (20 x 30 cm) slice tin or lamington tin
- Baking paper
- Food processor, or a sealable bag and a rolling pin
- Measuring cup and measuring spoons
- Heatproof jug or bowl for the gelatine
- Large mixing bowl
- Heatproof bowl for the jelly
- Spatula or offset spatula and a metal spoon
- Large sharp knife and a cloth for wiping the blade
Choosing and Substituting
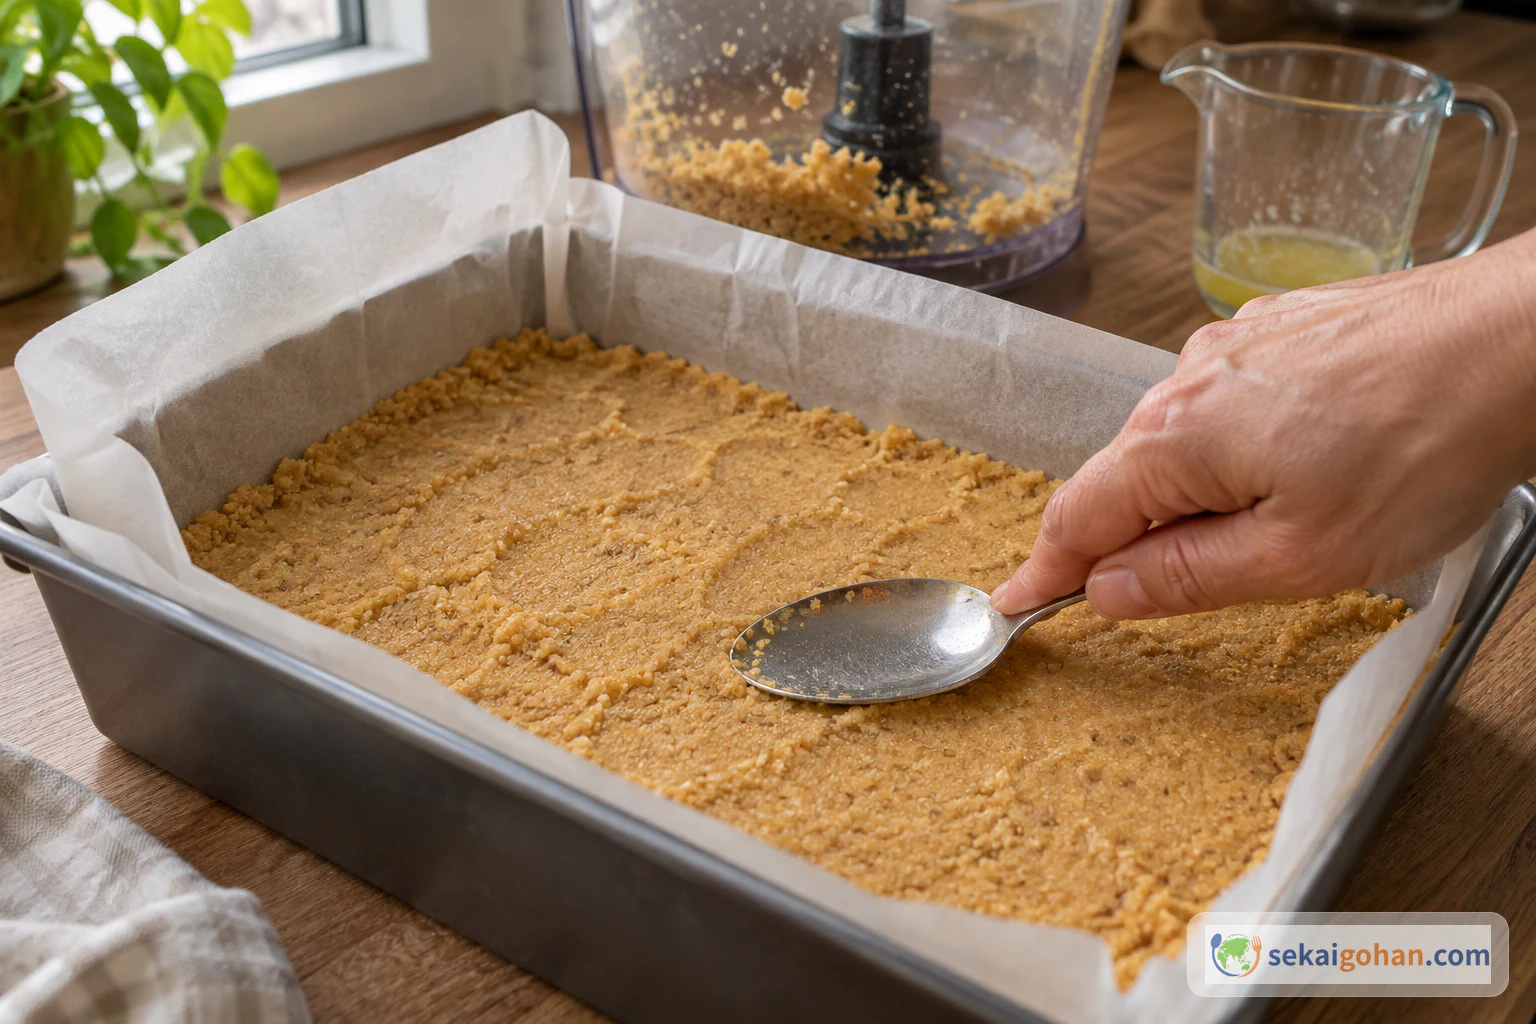
The biscuits should be plain, dry and lightly sweet. Milk arrowroot and morning coffee biscuits are the Australian choices, and Marie-style biscuits from any supermarket work the same way. Soft or chewy cookies turn into a paste when crushed and give a heavy, clumpy base. Use butter, not oil. Oil stays liquid in the fridge and the base never firms up, while melted butter sets cold and holds the crumbs together. If your base keeps crumbling, aim for about three parts biscuit to two parts butter by weight. Unsalted butter keeps the base tasting clean. Salted butter leaves a faint salty edge, which some people like against the sweet middle.
Use sweetened condensed milk. Evaporated milk is unsweetened and is a different product, so it makes a different dessert. Lemon acid weakens gelatine, so use the juice of two ordinary lemons and no extra. Australian jelly crystals come in 3 oz (85 g) packs and are sold online and in shops that stock Australian groceries. Any gelatine dessert mix can stand in for them. Follow the pack's own water amount, because mixes differ in size, sweetness and firmness. Measure the water for the gelatine in a real measuring cup, not a mug, since the amount of water decides how firm the middle layer sets.
Agar can replace gelatine for a vegetarian version, but it makes a different slice. Agar sets firmer and springier, it stays solid in the mouth instead of melting, and it cuts with a harder edge. Work out the agar amount from its own pack.
| Keep this for an Australian result | Free to change |
|---|---|
| Three clean, straight layers | The jelly flavour and colour |
| Condensed milk sweetness against lemon | The brand of plain biscuit |
| Jelly firm enough to cut cleanly | How small you cut the pieces |
| A base pressed hard and set cold | Salted or unsalted butter |
| Served cold from the fridge |
If you want a top layer that slices with sharp edges, make the jelly with a scant ½ cup (100 ml) less cold water than the pack asks for. It sets firmer and holds a square edge on the plate.
Method
Nothing goes in the oven. You build the slice from the bottom up, and each layer must set in the fridge before the next goes on, so most of the time is hands-off chilling. Mix the white layer while the base chills, and leave the jelly until the white layer has set. Judge each layer by how it looks and feels as well as by the clock.
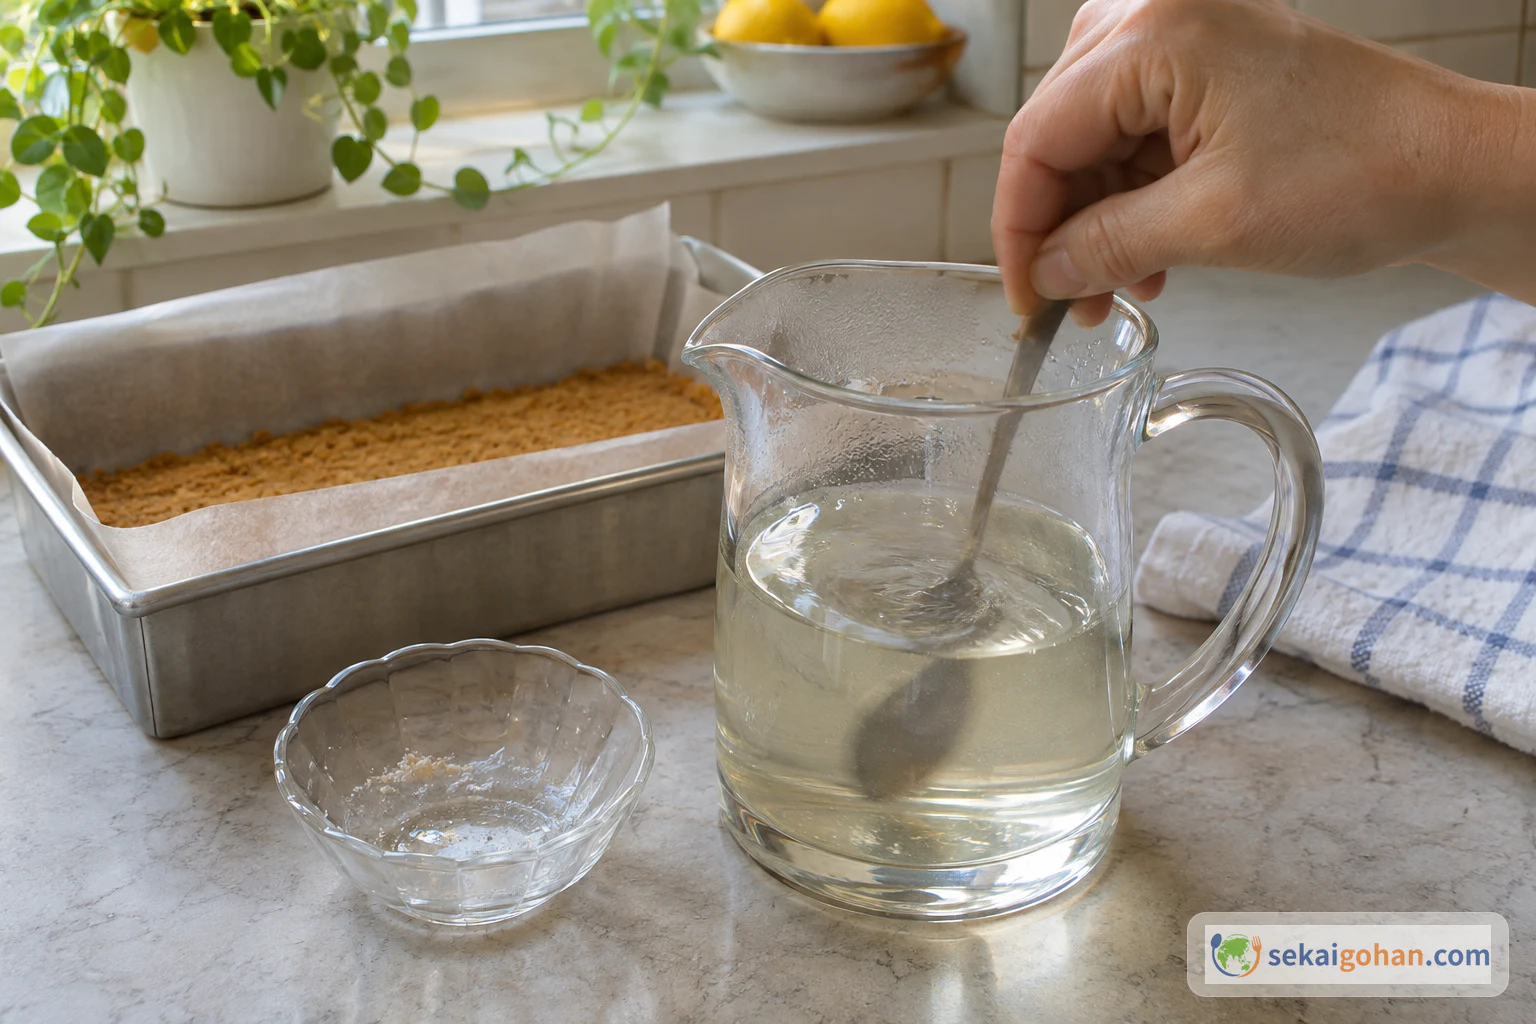
You dissolve the gelatine in just-boiled water and the jelly crystals as their pack directs. Use a heatproof jug, keep the handle turned away from the counter edge, and pour slowly. Once the layers are poured, everything stays in the fridge.
When It Goes Wrong
| What you see | Why | What to do |
|---|---|---|
| The white layer stays soft and will not set | Too much liquid or acid for the gelatine. Lemon juice weakens the set | Measure the water, use the juice of two lemons only, and never pour the jelly until the white layer has set. Give it more time in the fridge |
| Grains or lumps of gelatine in the white layer | The water was not hot enough, or the gelatine clumped before it dissolved | Sprinkle the gelatine over just-boiled water and stir until clear before adding it to the condensed milk |
| Red bleeds into the white, or the line is blurred | The white layer was not set, or the jelly went on warm | Wait for the white layer to set and the jelly to stop steaming, then pour low and slowly |
| The base crumbles when cut | Pressed too lightly, too little butter, or the crumbs were too coarse | Process to fine crumbs, keep about three parts biscuit to two of butter, and press hard |
| The base is soggy | The white layer went onto a base that was not cold | Chill the base until the butter has set before pouring |
| The slice will not come out of the tin | The paper was too short | Leave ¾ to 1 inch (2–3 cm) of paper above the rim to lift with |
| Layers come apart when cut | Thin or soft jelly, or a dirty blade | Wipe the knife after each cut. Next time, make the jelly with less cold water so it sets firmer |
Serving, Variations and Storage
At the table
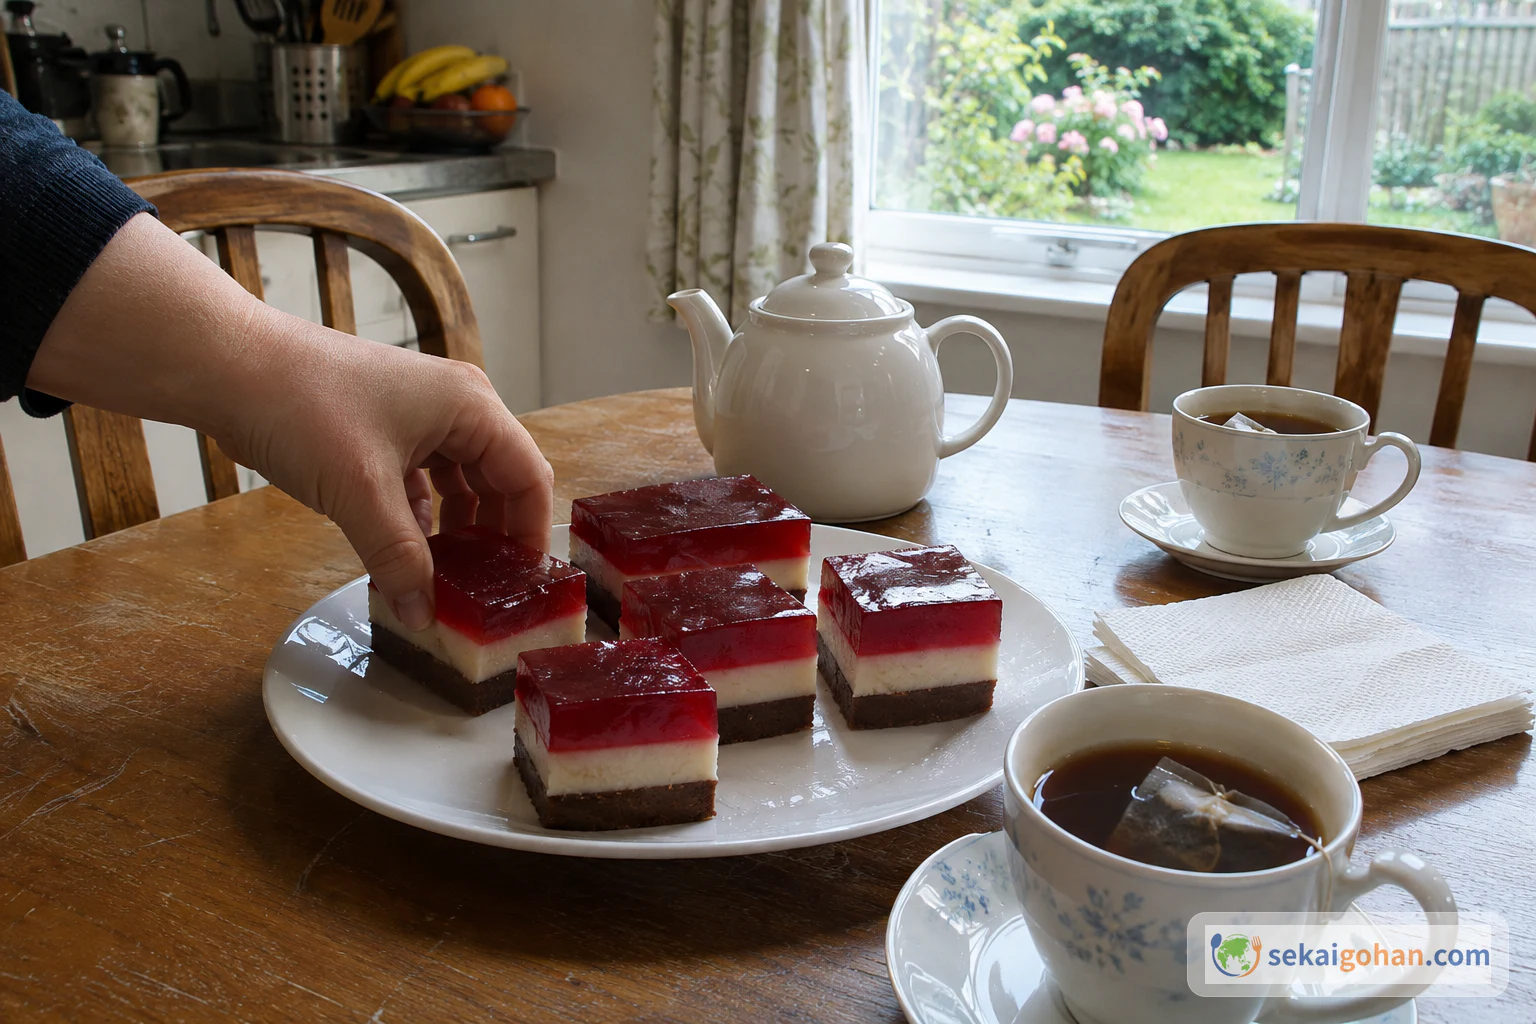
Serve jelly slice cold, straight from the fridge, stacked on a plain plate so the layers show. It belongs at afternoon tea with a pot of black tea, on the cake table at a school fete, and on a tray you carry to someone's house. The small squares are meant to be eaten in two or three bites, and the plate goes round more than once.
Variations
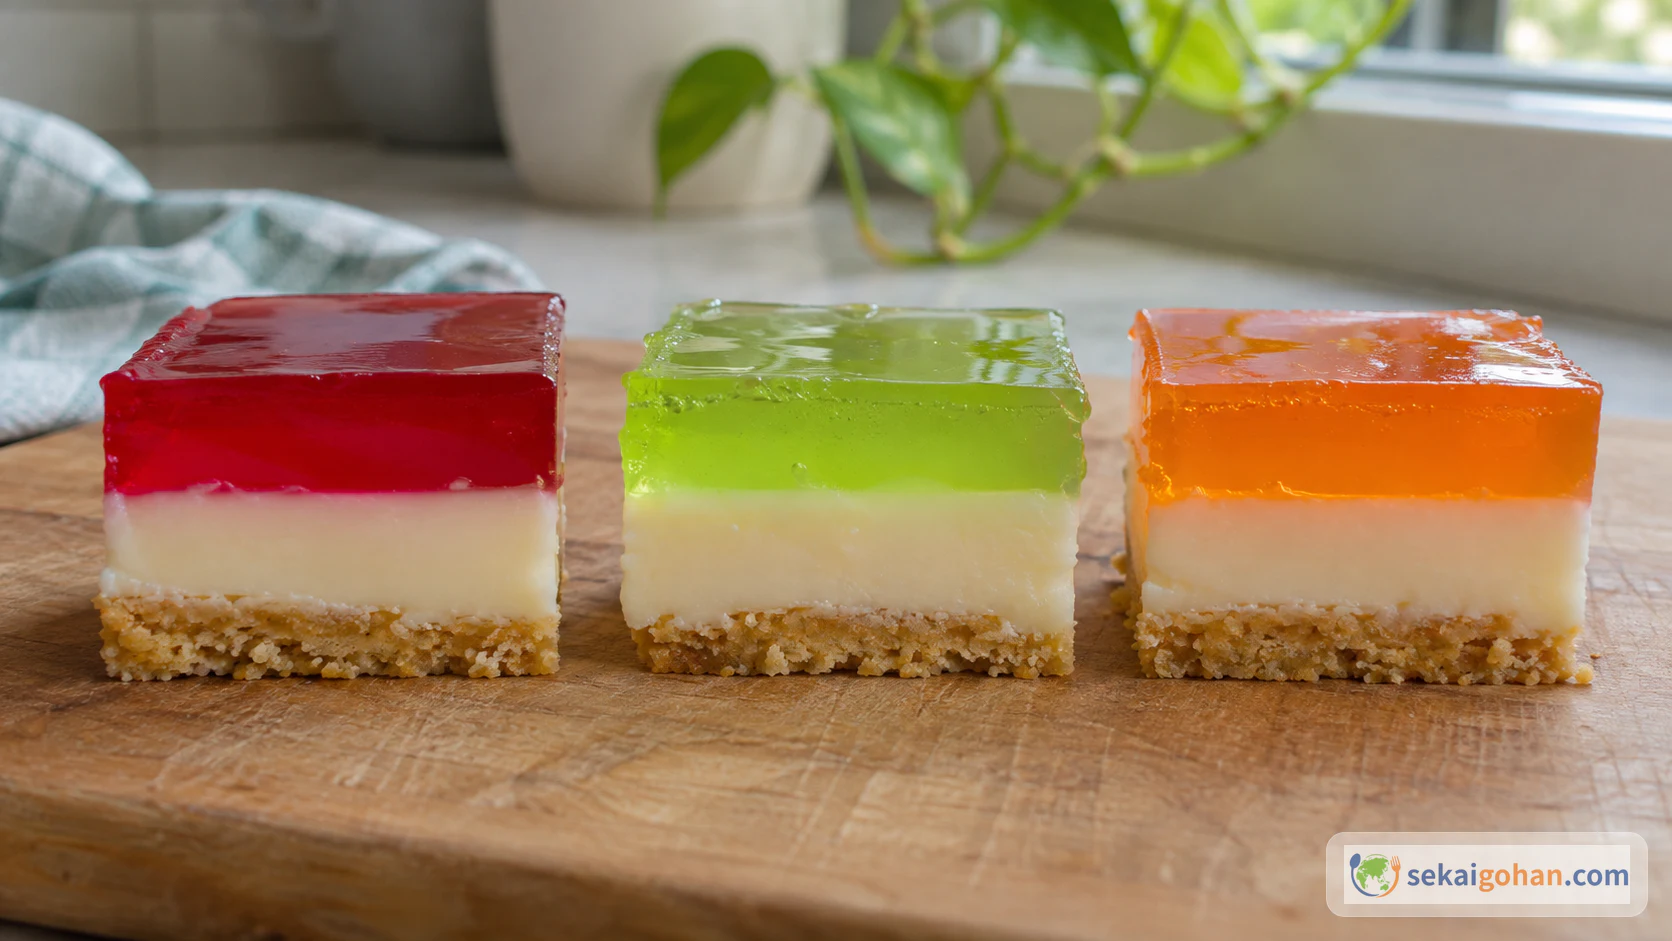
- Another colour. The condensed milk layer goes with any jelly flavour. Lime gives a sharper, greener finish, and strawberry is softer and sweeter. Changing the colour is also an easy way to match the slice to a season or an occasion.
- Two colours on top. Set one colour, then pour a second one over it, making each from its own pack as directed and cooling each one fully before pouring. Check that your tin is deep enough for the extra layer.
- Less lemon. Some households use the juice of just one lemon. The middle turns sweeter and richer, and it sets a little more firmly with less acid.
- Bite-size pieces. Cut the slab into 36 squares instead of 24 for parties. The ingredient amounts stay the same.
Storage
Keep jelly slice in a covered, airtight container in the fridge for up to 3 days. Do not leave it out at room temperature, because the gelatine softens as it warms and the layers slump. When you take it to a fete or a gathering, carry it chilled in a cool bag and put it back in the fridge as soon as you arrive.
Frequently Asked Questions
Can I float fresh fruit in the jelly?
Not raw kiwi, pineapple, fresh fig, papaya, mango or peach, because jelly will not set around them. Gelatine is a protein made from collagen, and enzymes in some of these fruits, such as bromelain in pineapple, papain in papaya and actinidin in kiwi, break it down so it cannot form a gel. Canned fruit works, because the heat of canning destroys the enzymes.
Can I make it the day before?
Yes. Overnight in the fridge works well for the jelly layer, and the slice cuts neatly the next day. Keep it covered in the fridge and cut it shortly before serving so the cut faces stay sharp.
What happens if I use a different-sized tin?
A smaller tin makes thicker layers that take longer to set, and a larger tin makes thin layers that are harder to cut cleanly. If you change the tin, go by the set cues in each step, such as no flow when tilted and a soft dent under a fingertip, and not by the clock alone.
Why put lemon in such a sweet layer?
Condensed milk on its own is very sweet. Lemon juice cuts through the richness, so the middle tastes fresh against the fruit jelly and the buttery base. The acid also softens the set, which is why the lemon amount stays at two.