Ingredients and steps on one page. Print it, or choose “Save as PDF” in the print dialog.
Sekai Gohan
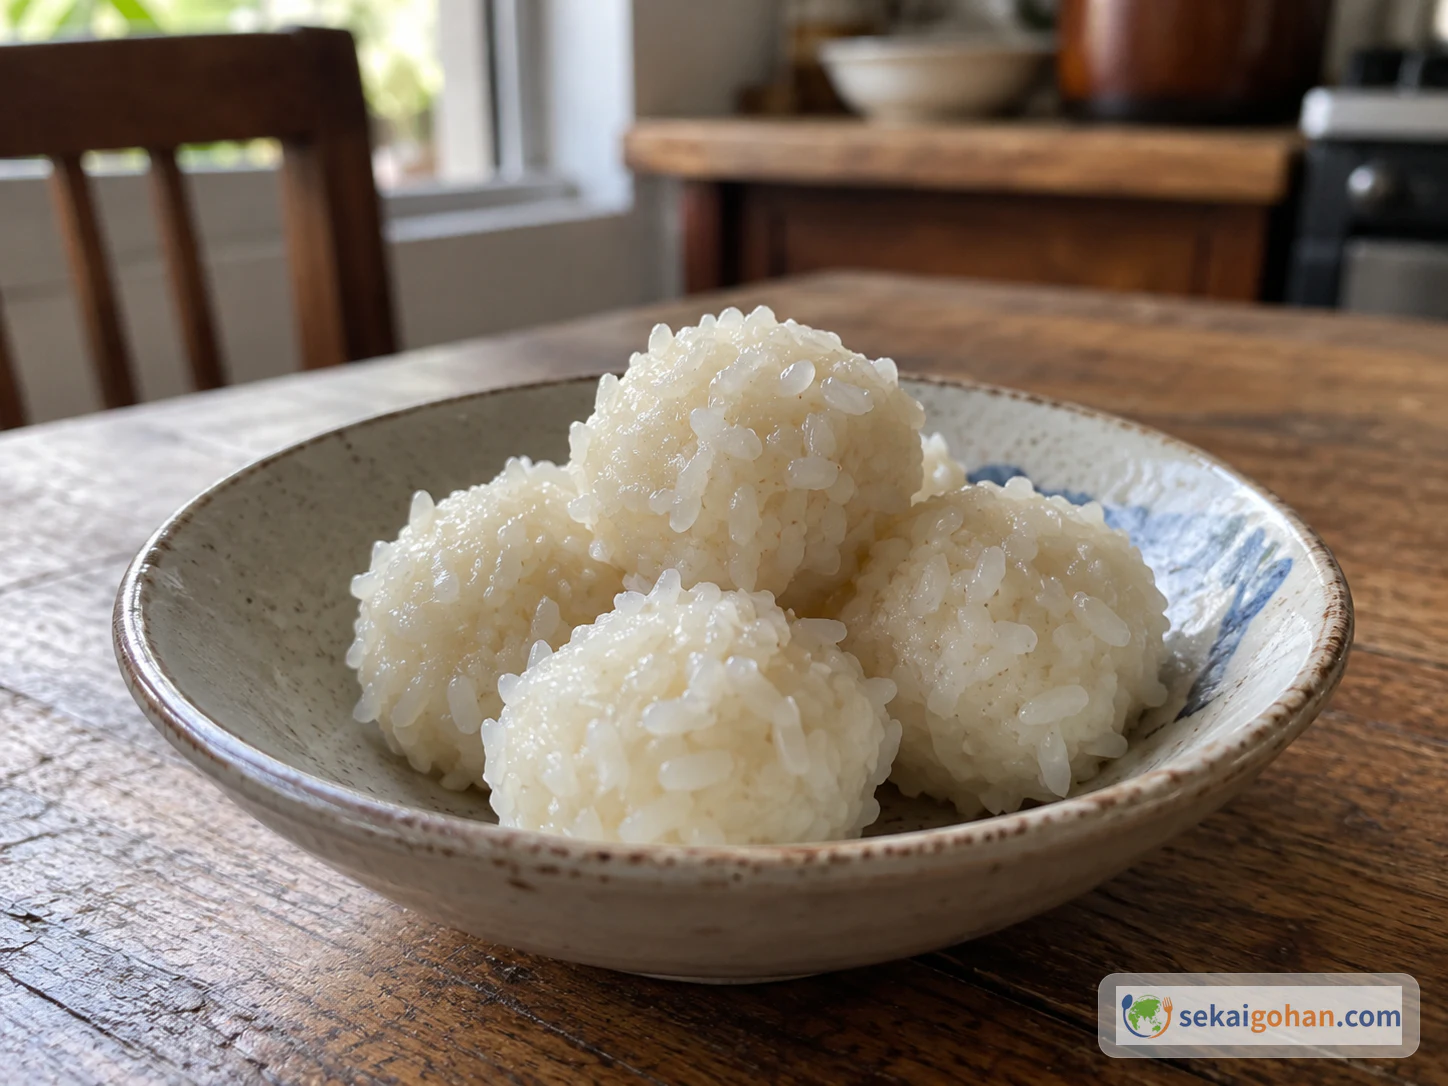
Cơm rượu: Southern Vietnamese Fermented Sticky Rice Balls
Ingredients
| Ingredient | Amount | Role |
|---|---|---|
| White glutinous rice (sticky rice) | 10½ oz (300 g) | The body of the dish, cooked moist and shaped into balls |
| Starter balls (men ngọt) | 3 small balls, each about the size of a fingertip | The fermenting starter, crushed fine and sifted over the cooled rice |
| Coarse salt, for soaking | about 1 tsp | Goes into the soaking water only |
| Water, for soaking | as needed | Covers the rice during the soak |
| Water, for cooking | ½ cup plus 4 tsp (140 ml) | Goes into the rice cooker with the soaked rice |
| Water, for wetting hands | as needed | Fills the separate small bowl for shaping |
| Salt, for the hand water | a little | Stirred into the hand water; separate from the soaking salt |
Steps
1Rinse the sticky rice
Put the glutinous rice in a bowl and cover it with water. Swish the grains between your fingers and rub them gently, then tip the cloudy water away. Repeat with fresh water.
2Soak in salted water for about two hours
Pour fresh water over the rinsed rice until it is covered. Add the coarse salt for soaking and give the bowl a stir. Leave the rice to soak for about 2 hours.
3Cook in the rice cooker
Move the soaked rice into the rice cooker. Add ½ cup plus 4 tsp (140 ml) of water for cooking and start the cooker. Let it run its full cycle. The rice is done when the grains are cooked through and cling together with a glossy sheen, still a little moist but not soupy.
4Crush the men ngọt
Drop the three starter balls into the mortar. Pound them with the pestle until they break apart. Keep working the crumbs against the bowl of the mortar. Stop when the starter is a fine, pale powder with no hard pieces left.
5Make the separate hand water
Fill the small separate bowl with water. Add a little salt and stir it in with your fingers. Set the bowl beside the tray where you will shape the rice. It is ready when the salt has dissolved and the water is clear.
6Spread the cooked rice on the tray
Scoop the cooked rice out of the cooker onto the clean tray. Push it outward with the rice paddle. Break up the thickest clumps as you go. Stop when the rice covers the tray in a thin, even layer.
7Let the rice cool
Leave the tray of rice alone. Do not add the starter yet. Let the thin layer give up its heat. Move on only when the rice has cooled completely.
8Sift the starter over the cooled rice
Tip the crushed men ngọt into the fine sieve. Hold it over the tray and tap it as you move across the rice. Cover the whole surface, corners included. The starter sits on top as an even pale dusting, without stirring it into the rice.
9Wet your hands in the salt water
Dip your fingertips into the hand-water bowl. Spread the water over your palms. Shake off the excess so your hands are damp, not dripping. Your hands are ready when the rice no longer sticks to them as you pick it up.
10Shape small, firm balls
Take a small amount of the dusted rice from the tray. Press it between your palms into a ball, squeezing firmly so it holds together. Set it aside on a clean surface and repeat with the rest, wetting your hands again whenever the rice starts to stick. Each ball is done when it keeps its round shape when you set it down.
11Add a few drops of salt water to each ball
Dip your fingertips into the hand water again. Let a few drops fall onto each ball. Go ball by ball so none is missed. Stop once every ball has had its drops, with no puddles on the tray.
12Arrange the balls in the container
Set the open ceramic, porcelain or glass container beside the tray. Lift the balls in one at a time. Place them side by side in the container. The step is done when every ball is in the pot and the rim is clear of rice.
13Close the lid tightly
Set the lid in place. Press it down so it closes tightly all the way round. The pot is sealed when the lid sits firm and level with no gap at the rim.
14Ferment for about three days
Set the closed container somewhere warm in the kitchen. Leave it closed and undisturbed. Let it ferment for about 3 days. It is ready to move when lifting the lid releases a fragrance.
15Refrigerate once it is fragrant
When the fragrance has come up, close the lid again. Carry the container to the refrigerator and set it on a shelf. Keep it there, lid on, until serving. The cơm rượu is finished once the closed pot is in the refrigerator.