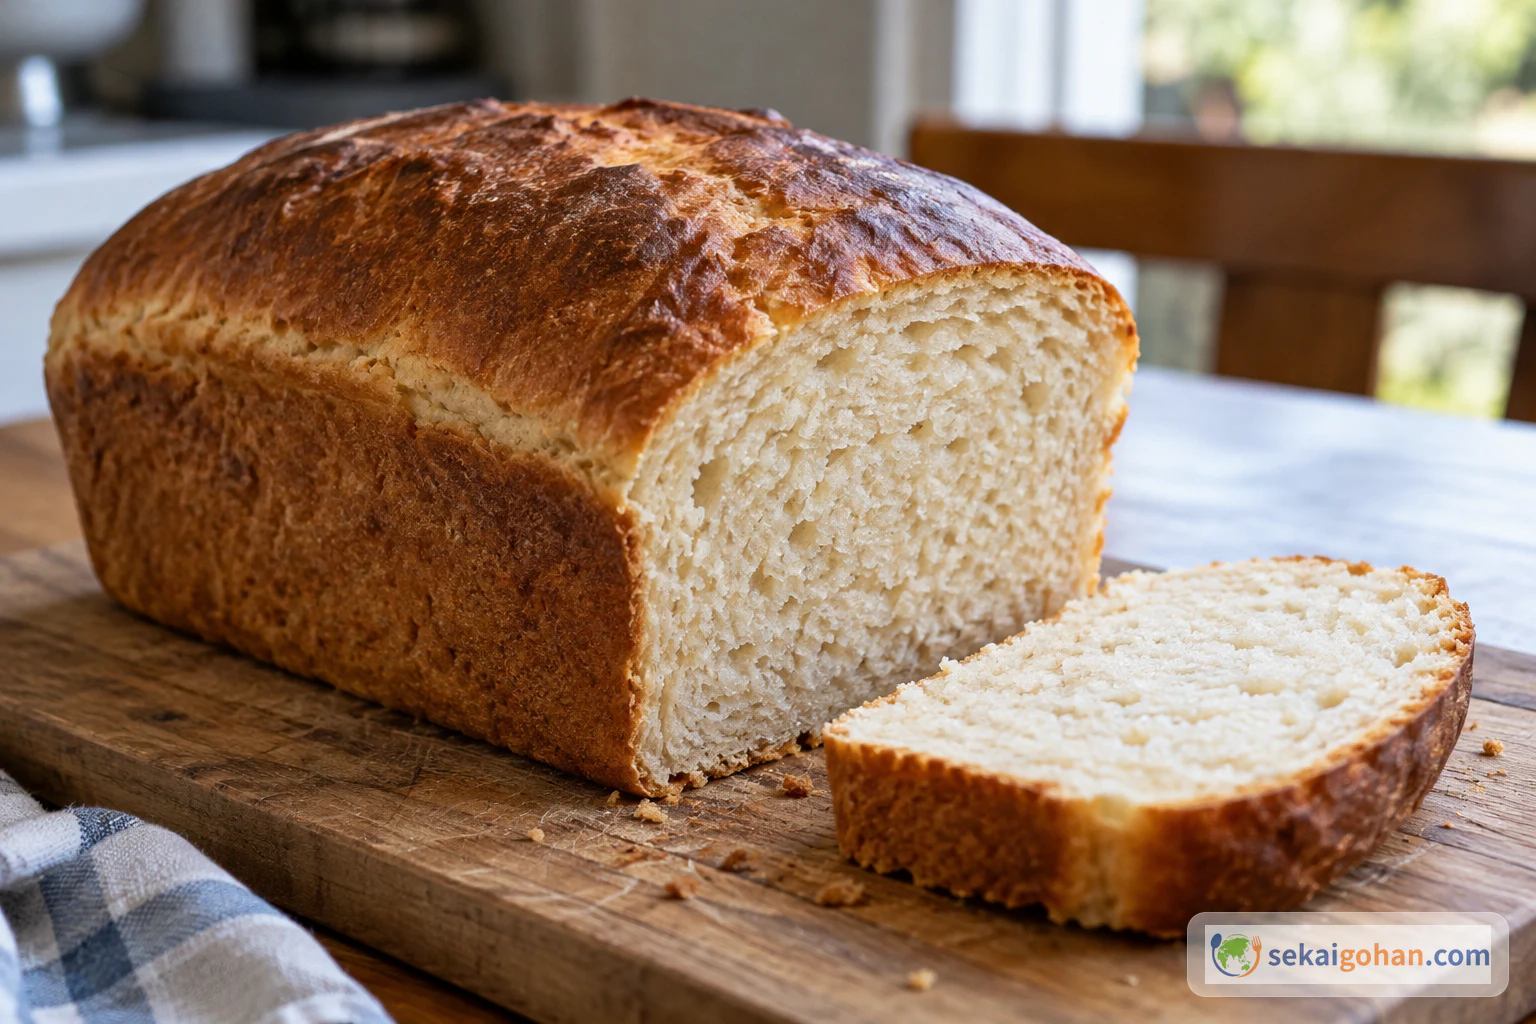
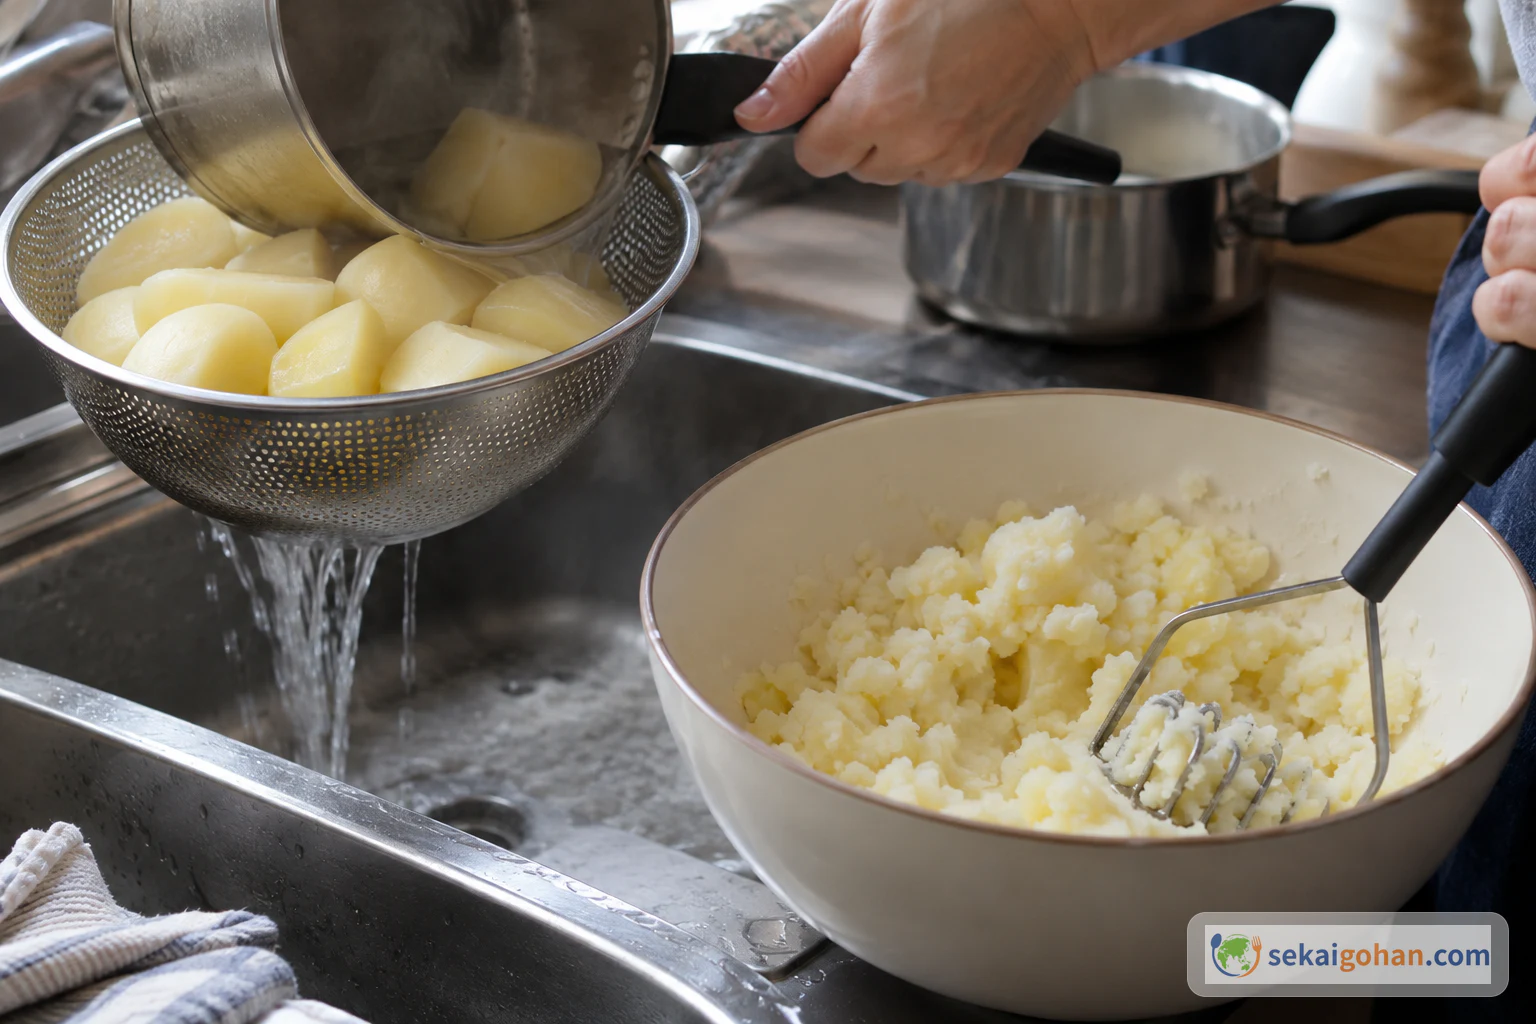
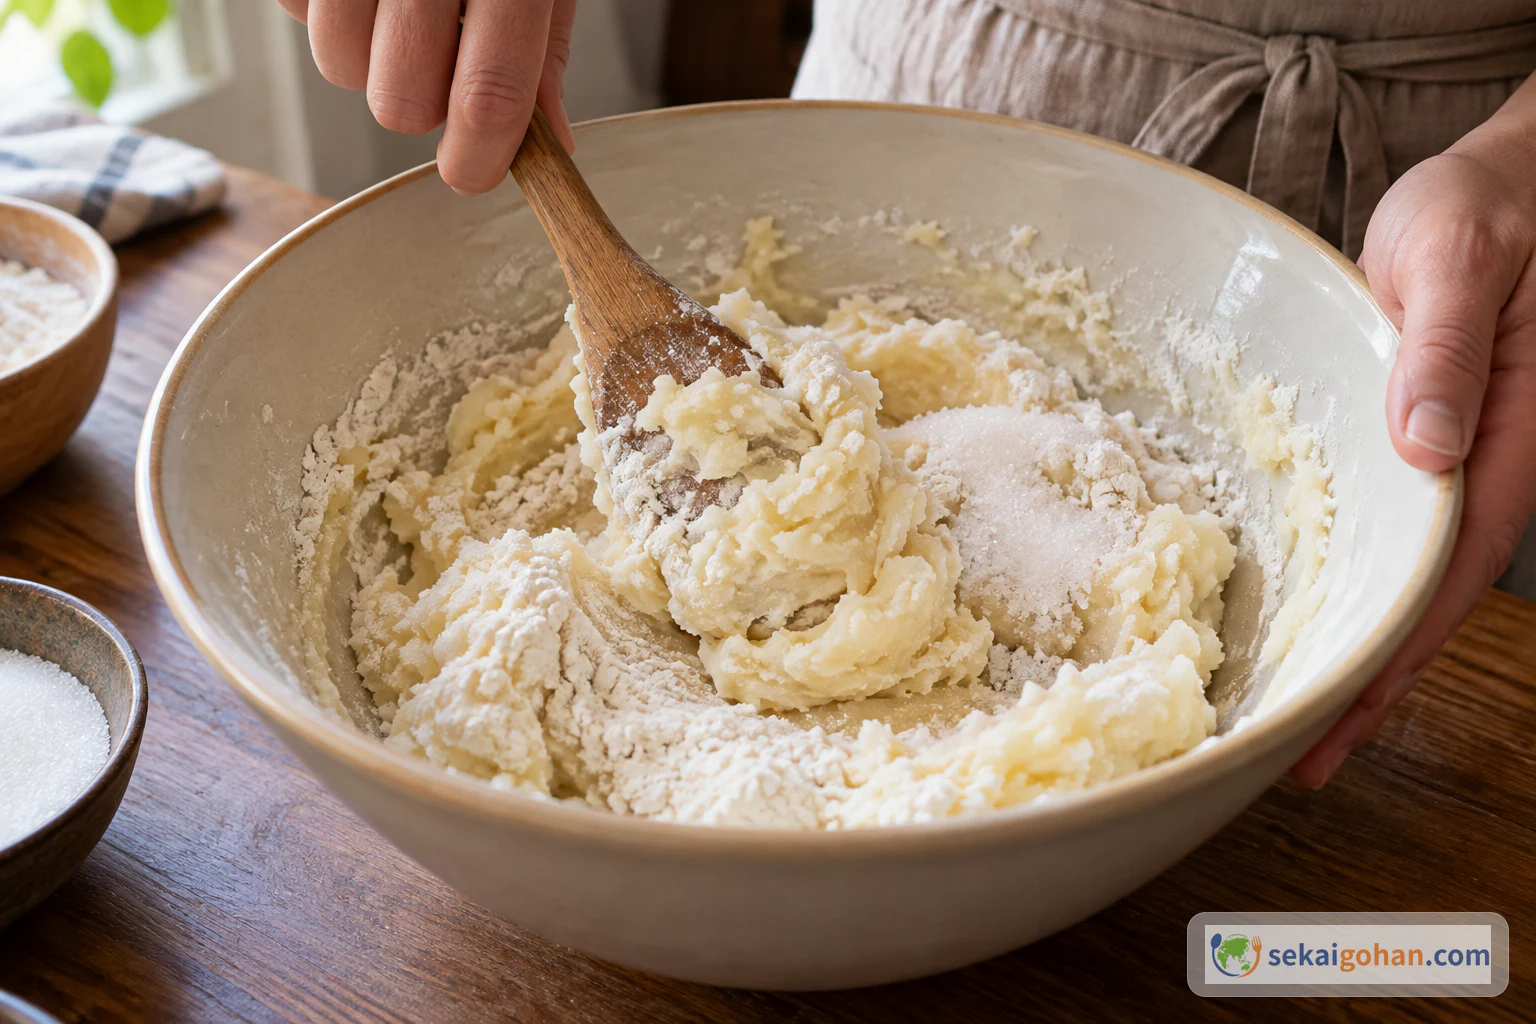
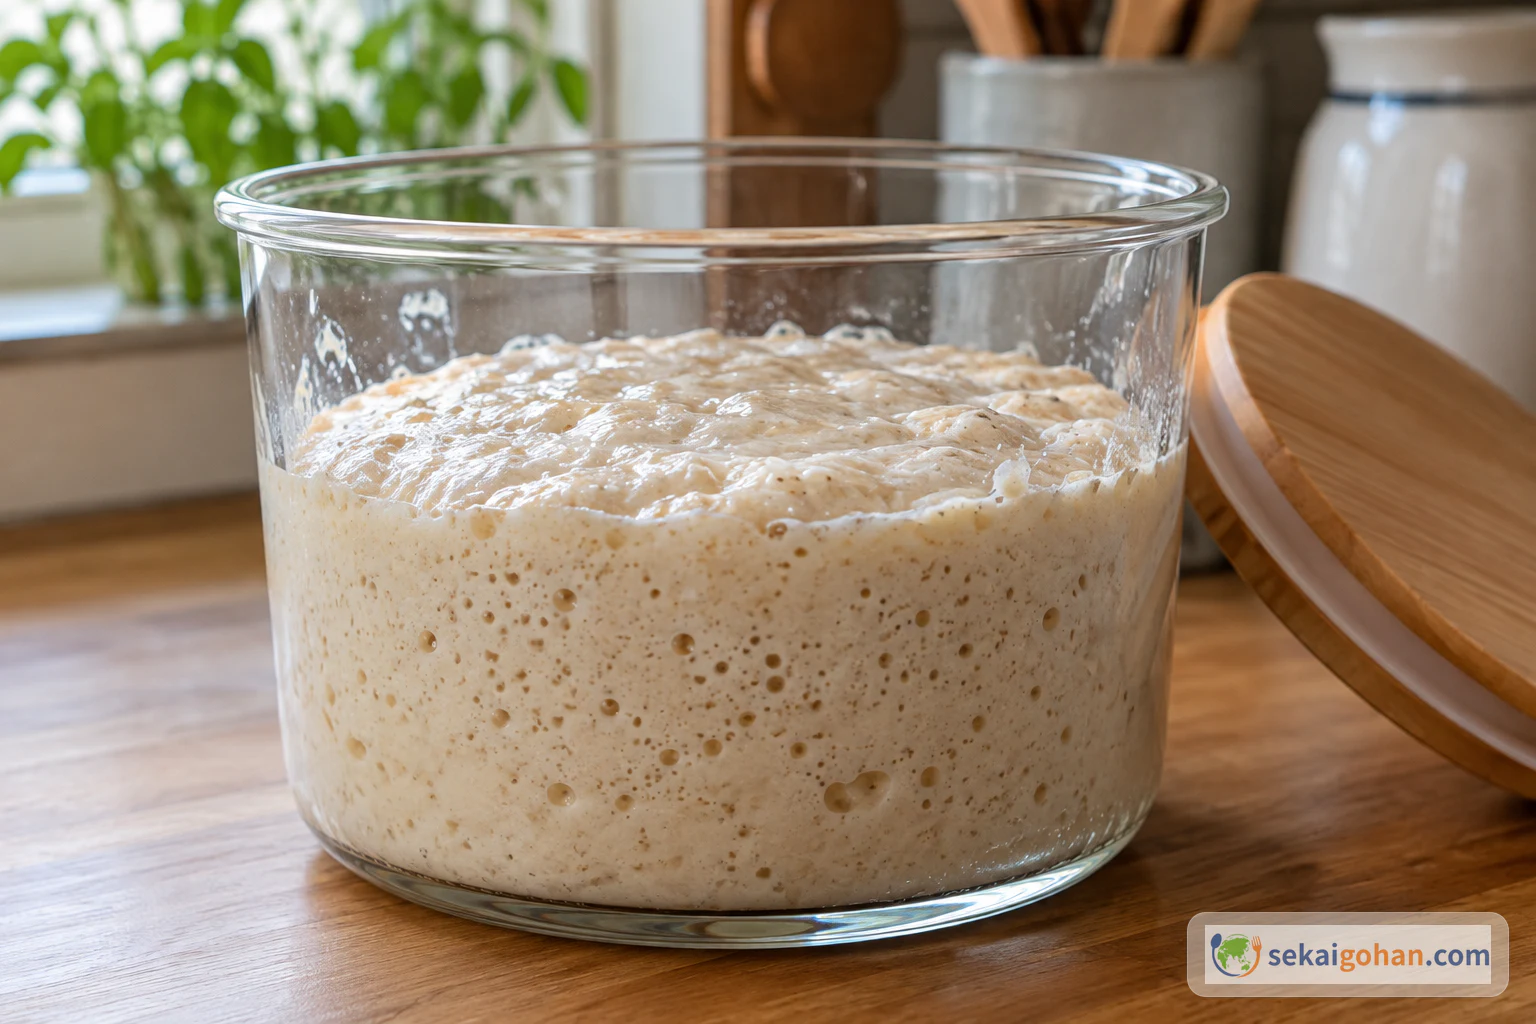
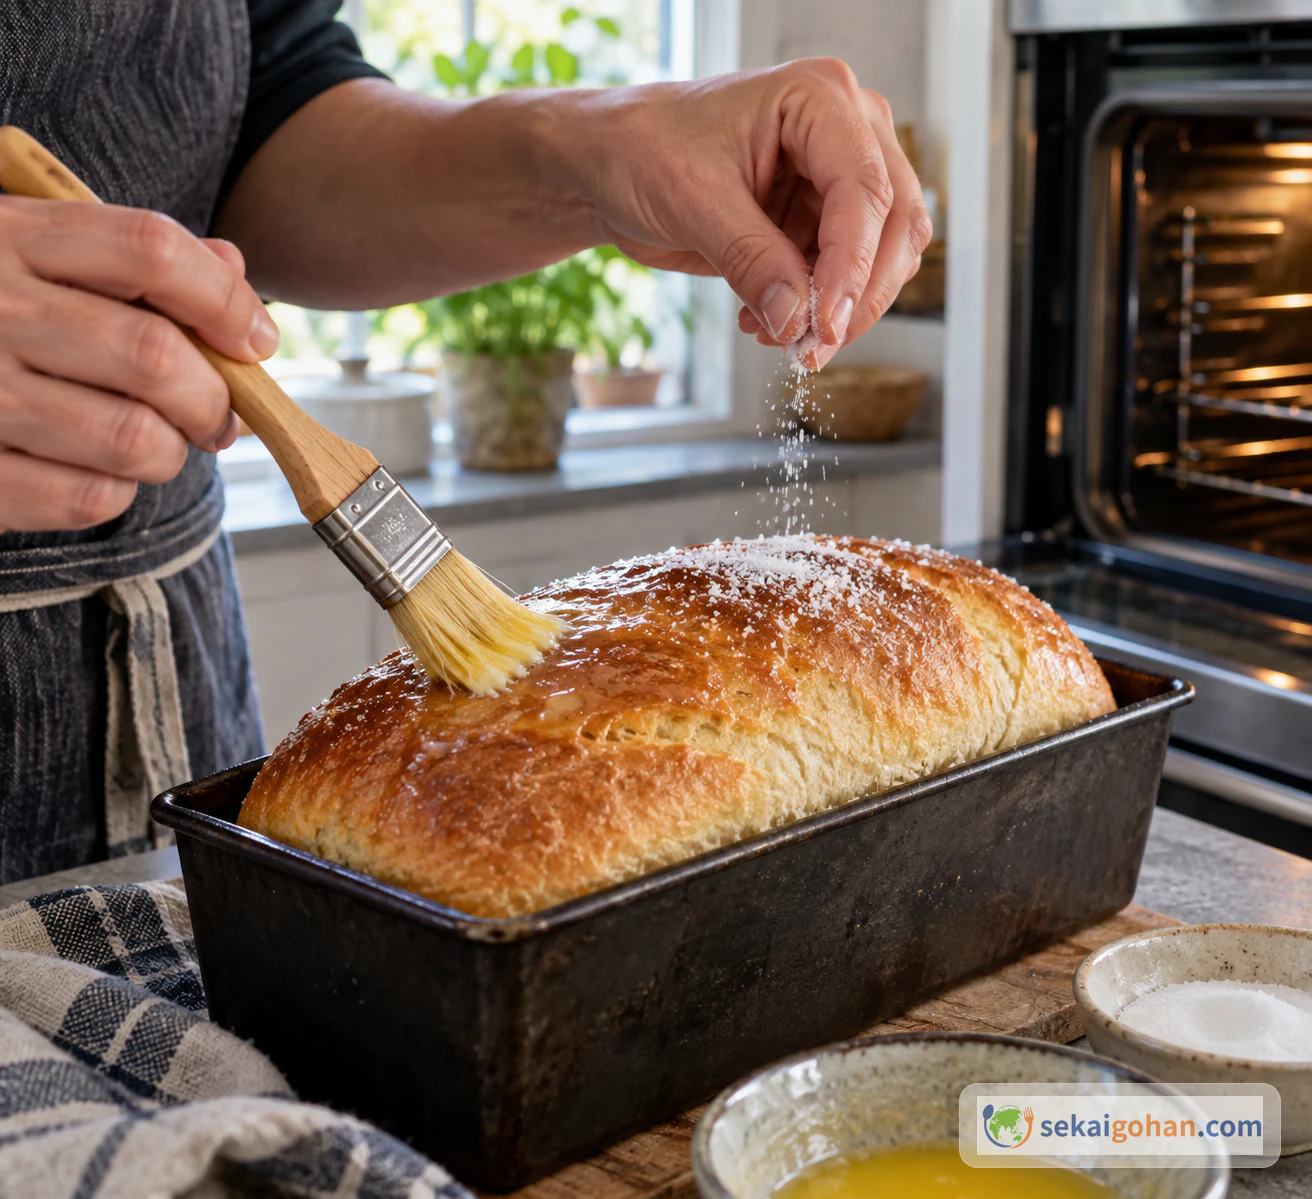
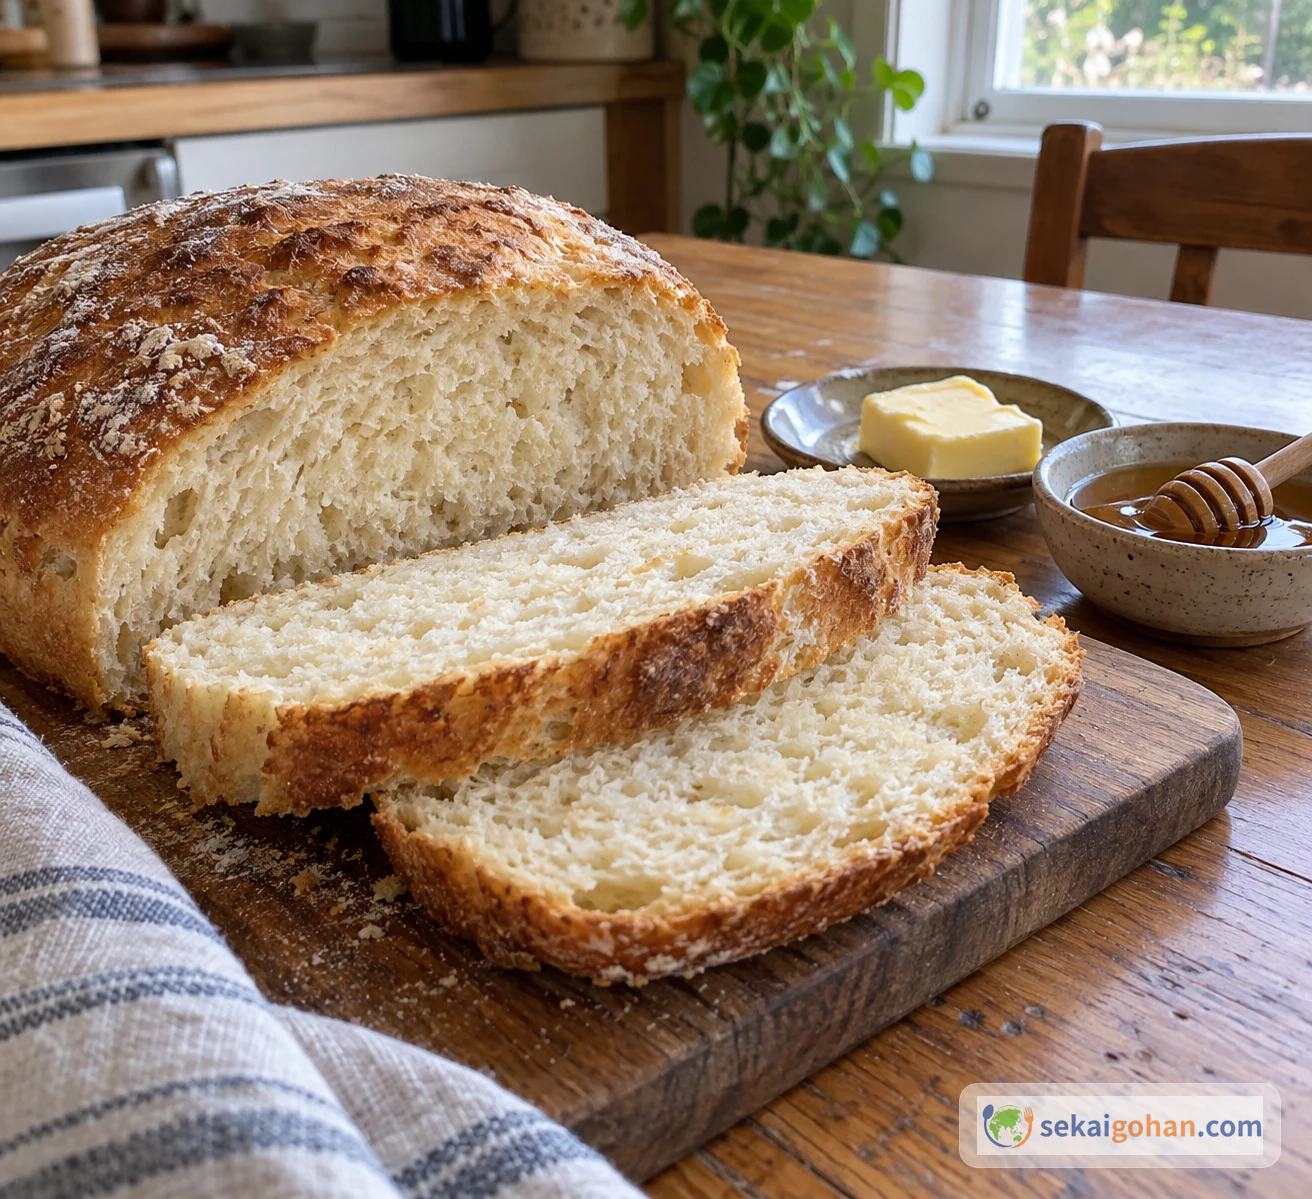
A jar of mashed potato, flour and sugar sits in a warm corner of the kitchen. When it is ready, the paste has crept up the glass, and small bubbles break the surface and cling to the sides. That jar is the bug, and it is what raises rēwena paraoa, the Māori potato bread of New Zealand. The loaf that comes out of the oven has a soft crumb that is gently sweet, with a slight sour edge from the long ferment, under a top brushed with butter and sugar and baked until it just begins to caramelize.
A bread that starts days before the oven
Rēwena paraoa belongs to Māori cooking. It is a potato bread, and its sweetness and faint tang come from the long fermentation of the bug. Most bread is mixed and baked on the same day. Rēwena puts its waiting up front. The bug sets the calendar, and the dough waits until the bug shows it is alive.
That stretched-out rhythm is part of how the bread is shared. In New Zealand classrooms, rēwena turns up in Matariki lessons as work spread over several days. One session prepares the bug, a later one mixes and bakes, and then the bread is served. These lessons sometimes involve local elders and the wider community. They are one setting where the bread gets made together, with the bug passed from one day's hands to the next.
How households differ
Every rēwena starts from potato, but bugs vary from kitchen to kitchen. Some cooks keep the potato cooking water in the bug and feed it day by day. This loaf takes a simpler path: the potatoes are drained, mashed, mixed with flour and sugar, and the bug goes into the dough as soon as it has risen and bubbled. Taewa, the Māori potatoes of New Zealand, appear in rēwena making alongside ordinary aged potatoes. Where and when the bread was first made is not settled, and the name does not point to a single origin story.
On a New Zealand table, rēwena sits a long way from the meringue and cream of pavlova, though both are sweet. Across the Pacific, Samoa's panipopo is another sweet bread worth tasting beside it. It is a separate dish, and tasting the two side by side is one way to compare Pacific sweet breads.
You will see both rēwena paraoa and parāoa rēwena. In English it goes by rēwena bread or Māori potato bread. The fermented potato starter is called "the bug."
Ingredients (one loaf)
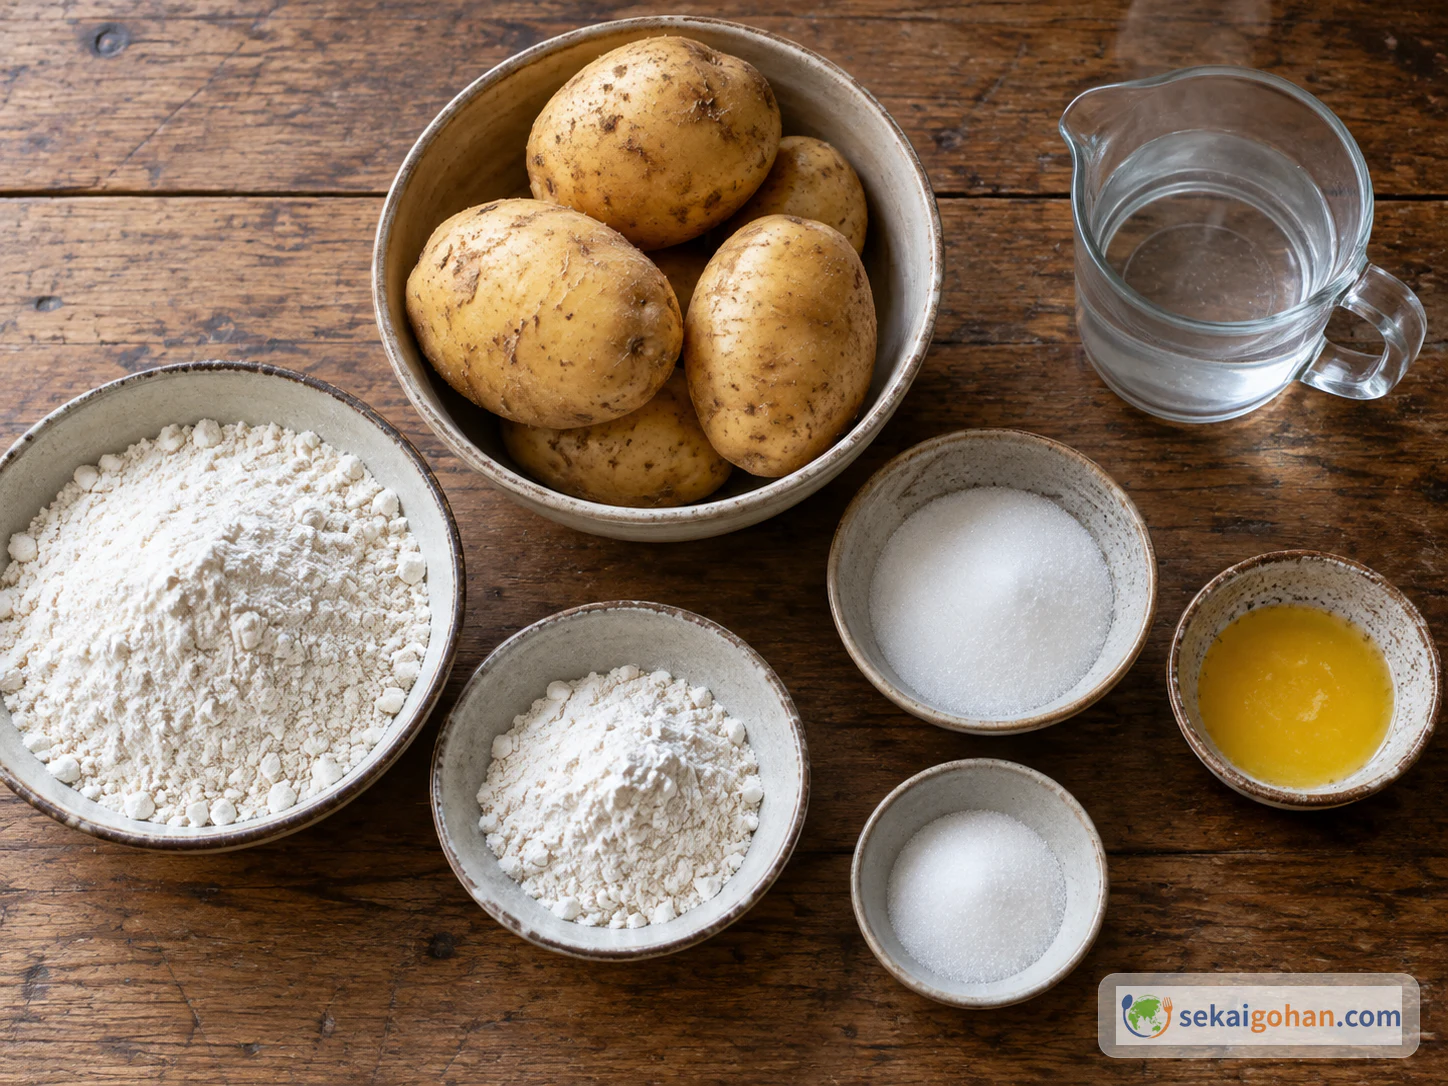
The recipe has three stages: the bug, the dough and the finish. Weigh the flour and sugar for the bug and the dough separately before you start, because the dough day comes days after the bug is mixed.
Spoon the risen bug onto the scale rather than judging by eye. A bubbly bug is full of air, so a scooped "cupful" holds less than it looks. Weighing it gives the dough the same strength every time.
This bread contains wheat (gluten) and milk (butter in the pan, on the crust and at the table).
Equipment
- Saucepan
- Colander
- Potato masher
- Mixing bowls
- A roomy container with a cover, large enough for the bug to rise without reaching the top
- Wooden spoon
- Kitchen scale
- 1-quart (1 L) loaf pan
- Clean tea towel
- Pastry brush
- Oven gloves
Choosing and substituting
Floury potatoes are what you want, the dry, mealy kind that mash smooth. In New Zealand, taewa are part of rēwena making, but elsewhere an ordinary floury potato from the supermarket is the practical choice. It makes a smooth mash for the bug, though it will not taste exactly like a taewa.
Plain flour means ordinary all-purpose wheat flour. Caster sugar is fine-grained and blends quickly into the mash and dough. Regular granulated sugar works in its place. It is coarser, so stir a little longer until no grains show. For the pan and the crust, salted or unsalted butter both work, so use whichever you keep. Mānuka honey and golden syrup belong at the table, not in the loaf. If you cannot find either, a good butter on a hot slice is enough.
Method
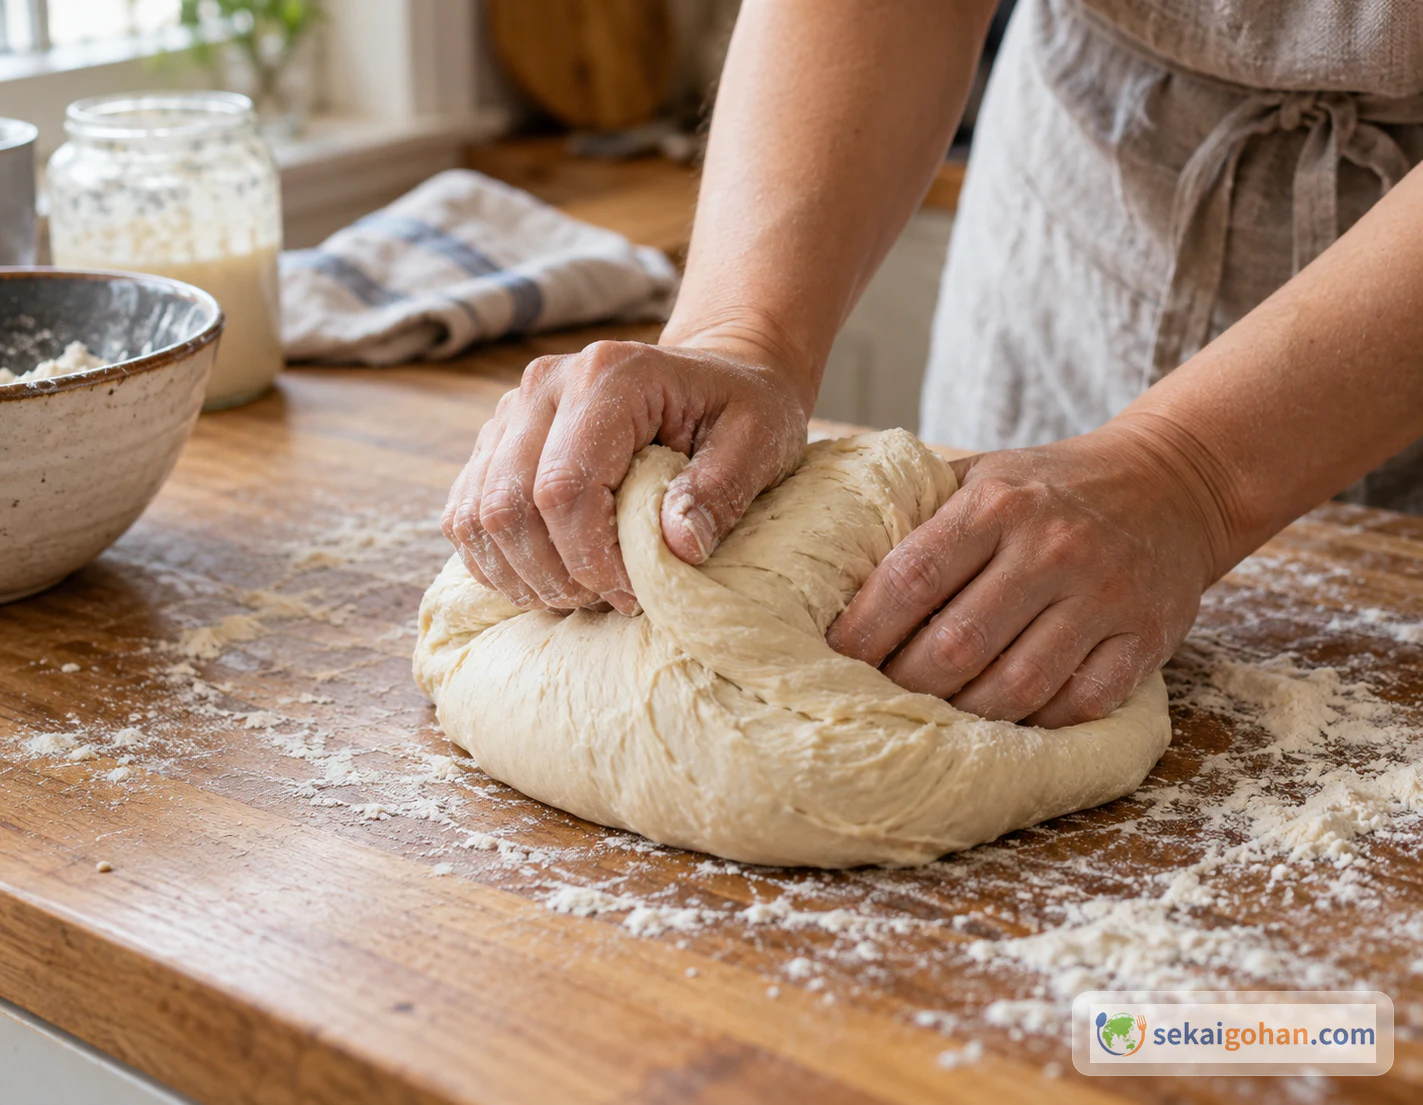
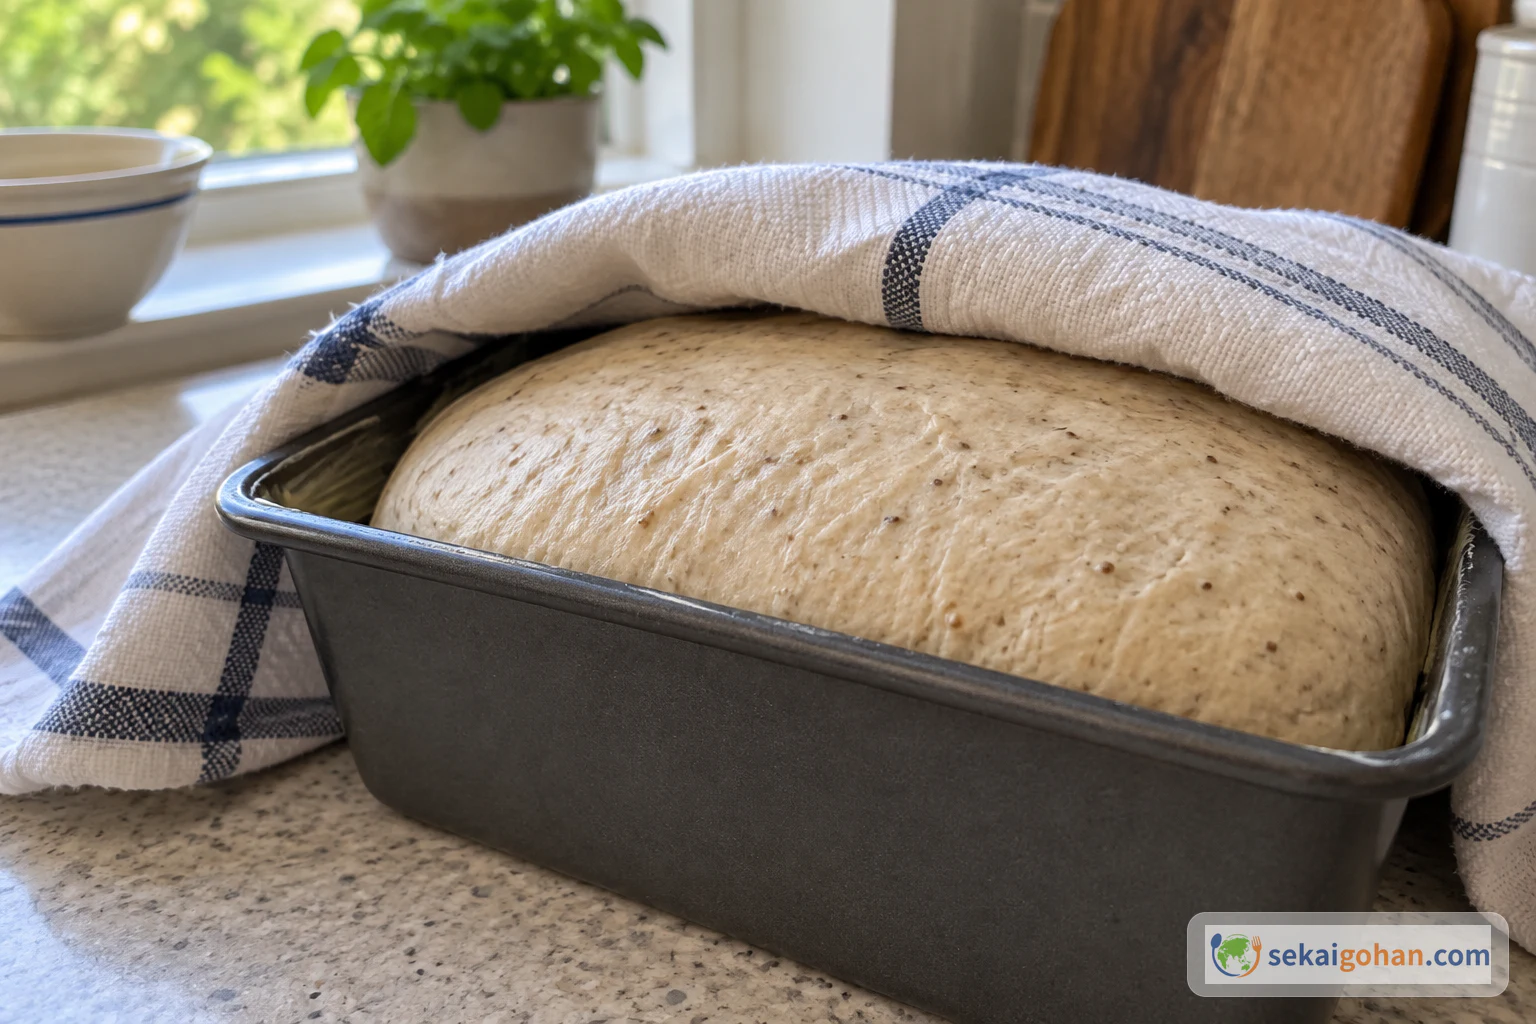
The bug comes first, and it takes most of the time. Mix it, cover it and leave it somewhere warm while it works. The dough day is short and hands-on: a quick knead, one proof in the pan, then a bake that pauses halfway for butter and sugar. Plan the dough day for when the bug is ready, not for a fixed date.
When it goes wrong
| What you see | Why | What to do |
|---|---|---|
| The bug shows no bubbles after a day | The spot is too cool | Move it somewhere warmer and give it up to 3 days. Use it once it rises and bubbles |
| The bug smells wrong, grows mold or changes color | The batch has gone off | Throw it away, wash the container well and start a new bug |
| The bug climbs to the top or over the rim | The container is too small | Use a roomier container next time and fill it only partway |
| The bug is a gluey, heavy paste | The flour went into hot mash | Let the mash cool completely before adding flour and sugar |
| The dough has not doubled in the pan | The room is cool or drafty | Move it to a warmer, draft-free place and wait until it doubles |
| The top colors too fast | A fan oven at the conventional setting | Bake fan ovens at 320°F |
Most of these problems start with the bug. A lively, bubbly bug gives a dough that rises well and bakes with the right sweet-sour flavor.
Serving rēwena
Rēwena is at its best hot from the oven, cut into thick slices while the crumb is still steaming. Butter melts straight into it. A spoonful of mānuka honey or a trickle of golden syrup on top meets the bread's own sweetness and the faint sourness underneath, and the sugared top gives each slice a thin, crackly edge. These are all optional additions at the table. The loaf already carries its sweetness, so a plain buttered slice is a full experience of the bread.
Frequently asked questions
Can I use commercial yeast instead of the bug?
Rēwena is built on the potato bug, and its sweet, faintly sour flavor comes from that slow ferment. A yeasted potato loaf is a different bread with its own amounts and timing. Make the bug when you want rēwena.
Should I keep the potato cooking water or feed the bug every day?
Some households do both, with their own amounts. For this loaf, drain the potatoes completely and use the bug as soon as it has risen and bubbled. No feeding is needed. Mixing methods changes the balance of the dough.
Why is there so much sugar?
Rēwena is meant to taste gently sweet. The sugar goes into the bug, into the dough and onto the crust, and each stage plays a part in the finished loaf. The final butter and sugar give the caramelized top that sets this bread apart from a plain sandwich loaf.