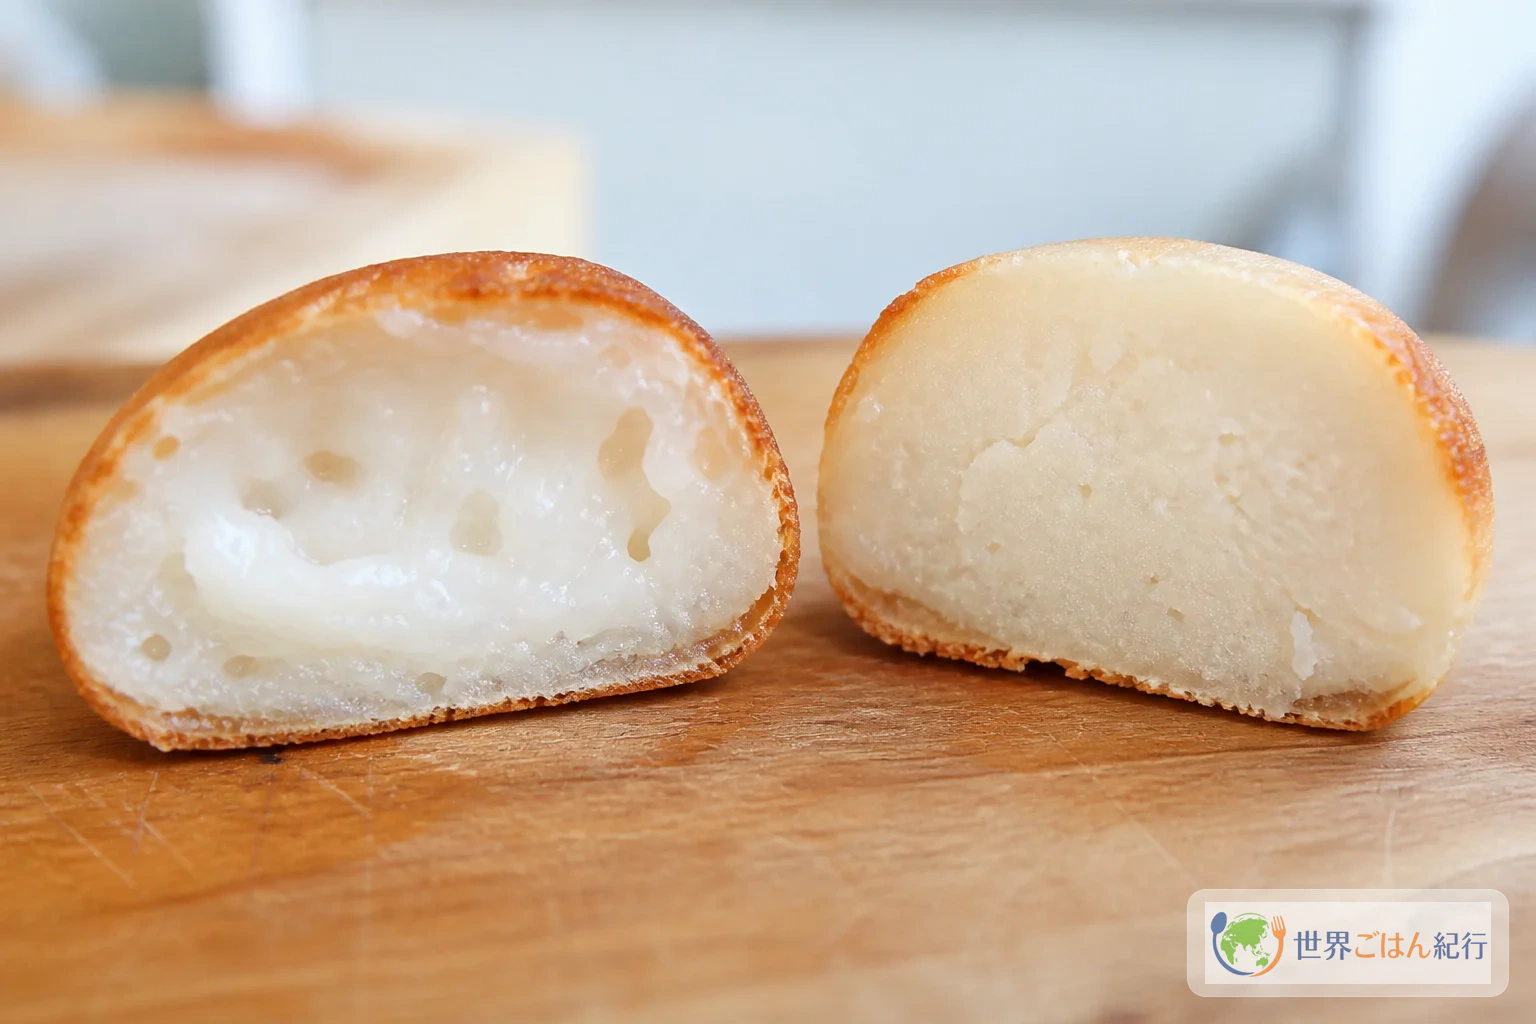
Sweet steam from the hollows: the story of khanom krok
When you take the takoyaki pan out of the cupboard, the next thing to look for isn't octopus. It's rice flour and coconut milk.
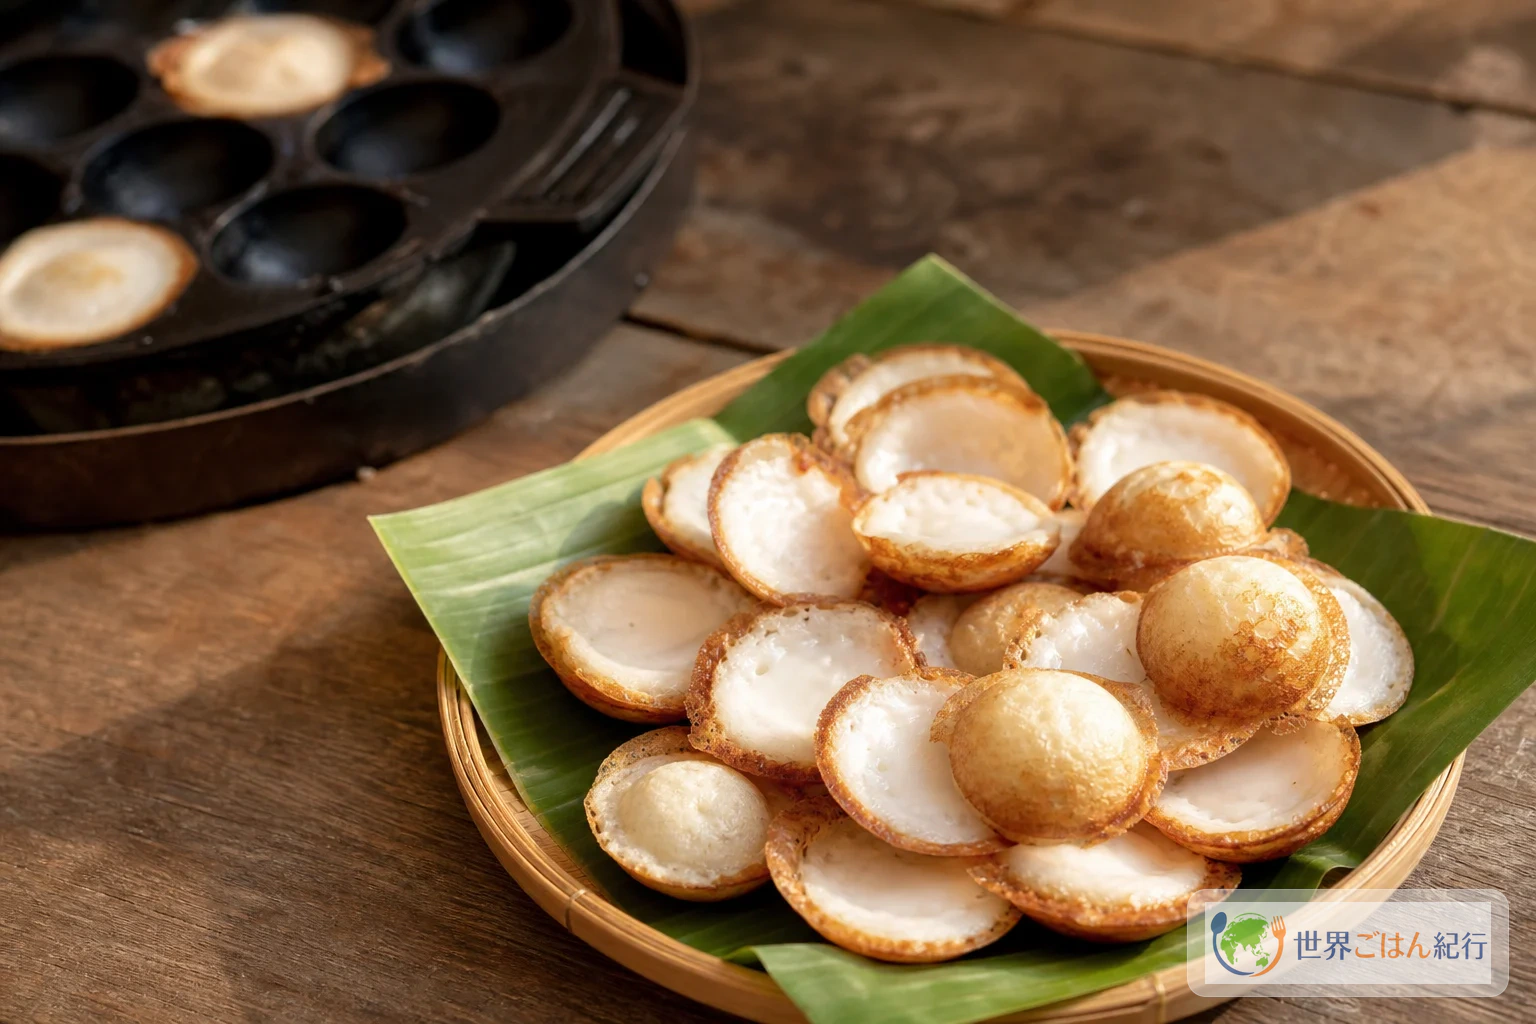
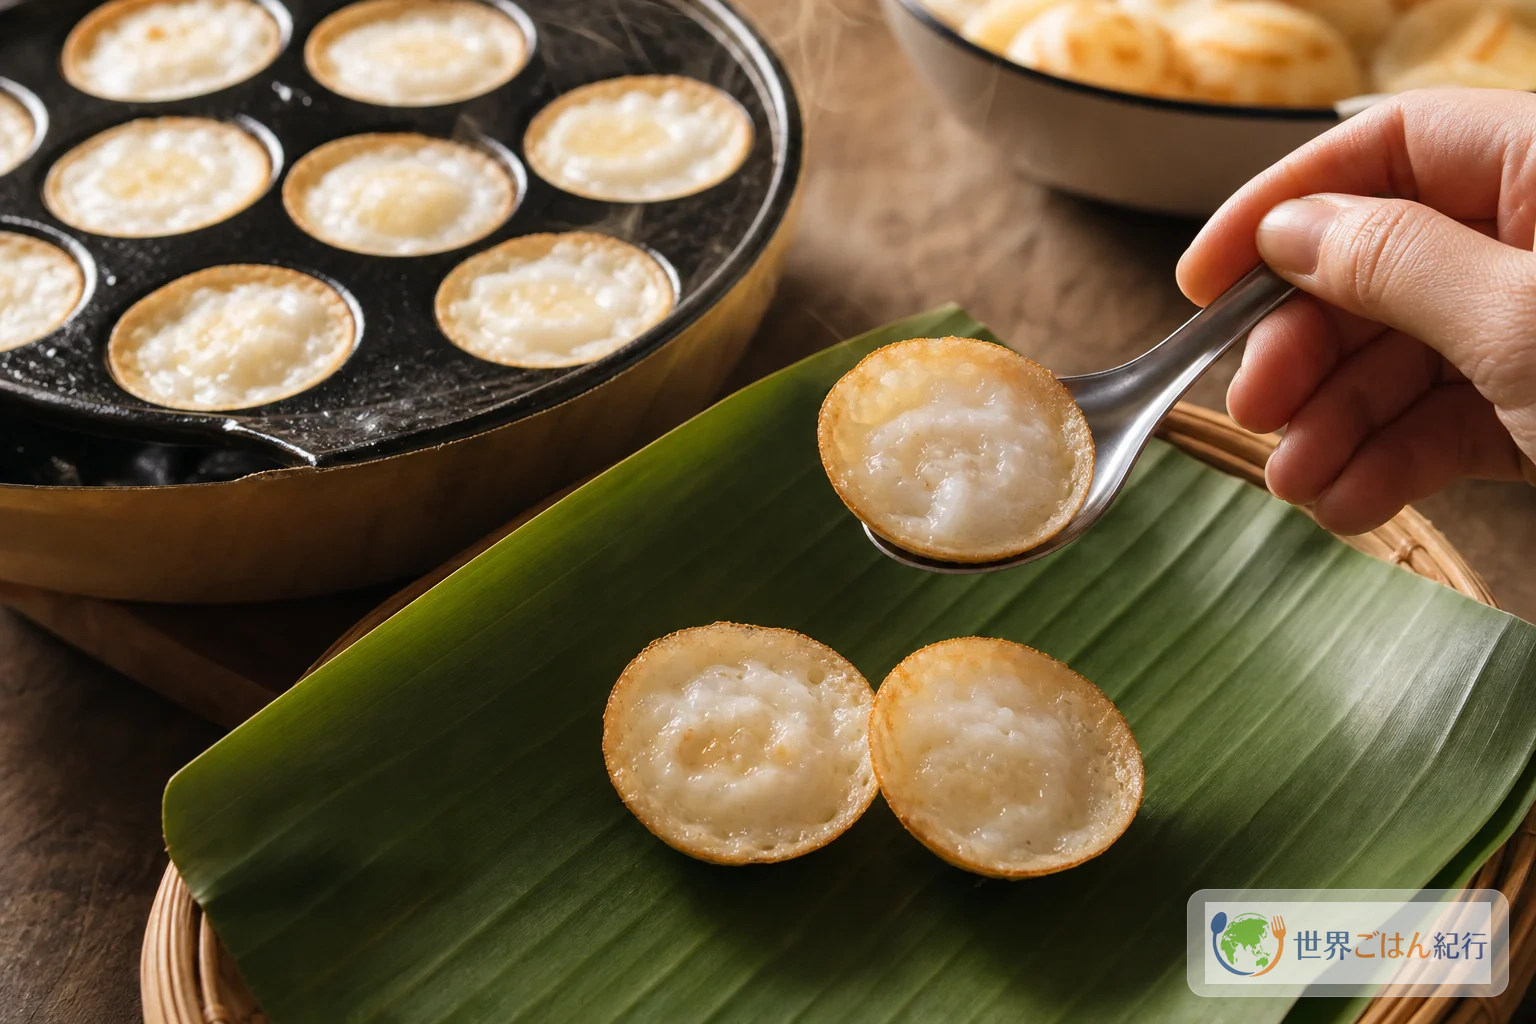
Khanom krok (ขนมครก / khanom krok) is a small coconut sweet that has long been cooked at Thai street stalls. Rice flour batter is poured into hot hollows, and a lightly salted coconut batter is layered on top. When done, the edges are thin and crisp, and only the center still trembles a little. It is sweet, yet with scallions or corn on top, the salt arrives first. That range is what sets it apart from an ordinary pancake.
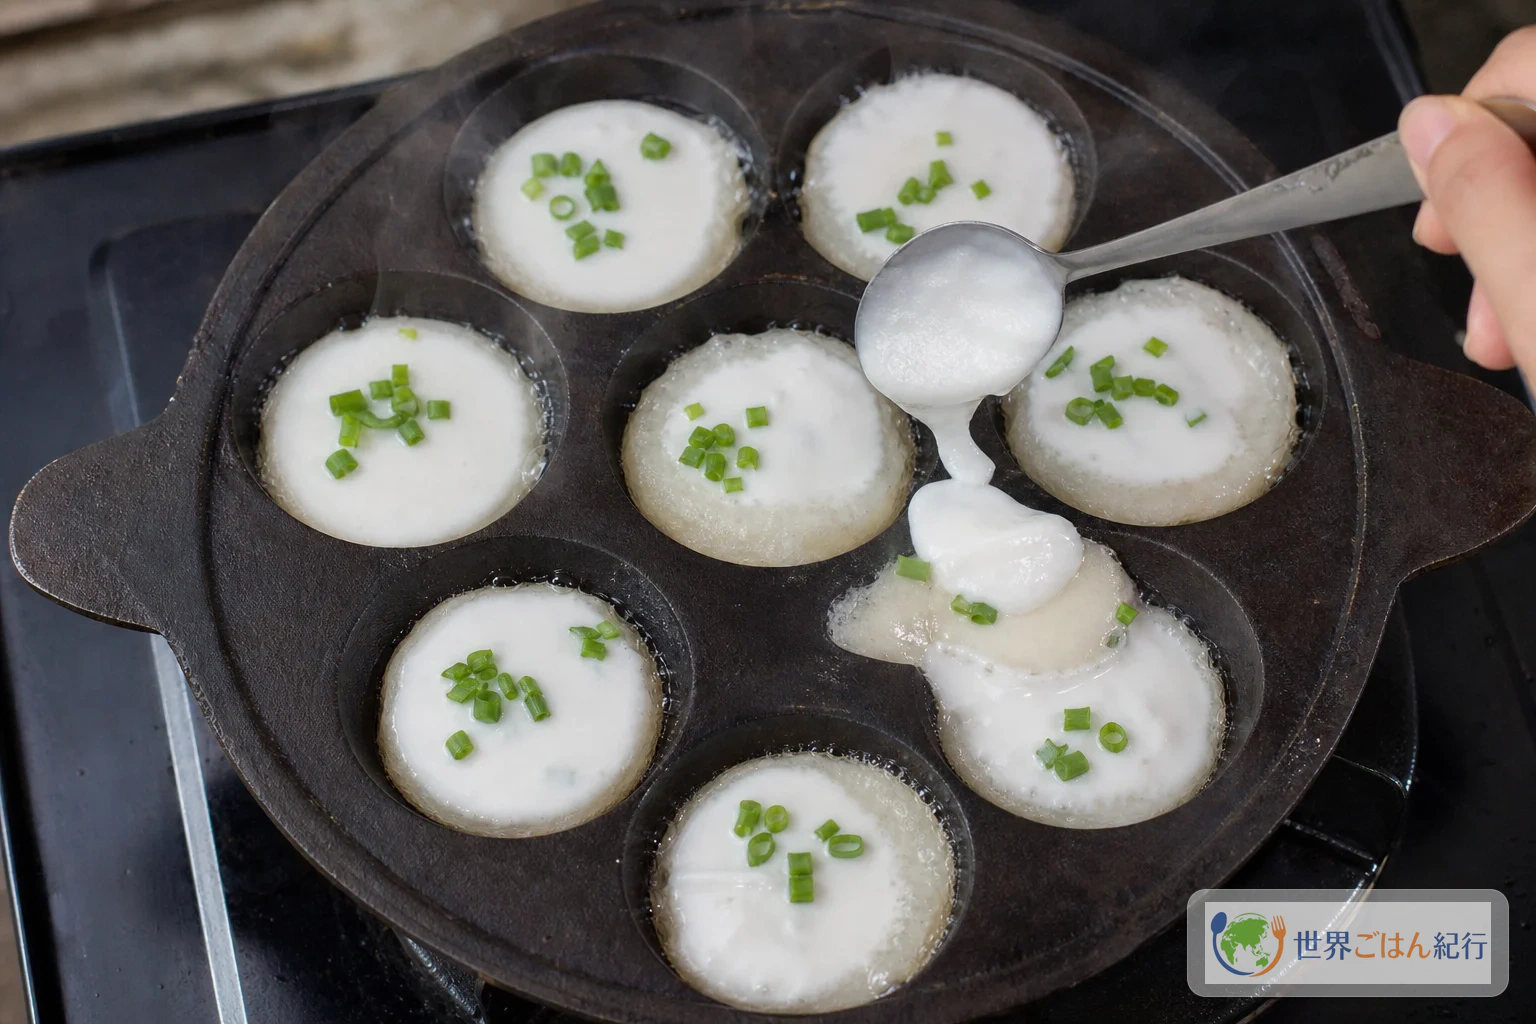
If you are making it just once on an evening, for instance, the realistic way is to try it in the takoyaki pan you already have rather than buying a special pan. But if you fill the batter to the brim as you would for takoyaki, the edges burn before the center sets. Khanom krok is a sweet in which the base batter in the hollow is thin, the coconut batter is layered on top, and the heat under the lid slowly sets the center.
The Tourism Authority of Thailand introduces khanom krok as a sweet in which the charm of the stall is the very work of ladling batter onto a hot griddle and pressing two half-spheres together once they are cooked. It is thought to have been eaten since the late Ayutthaya period, and today toppings such as scallion, corn, taro and pumpkin are used. Tourism Authority of Thailand's local explanation
What to protect at home is not sourcing every ingredient from Thailand. It is the light aroma of rice flour and the fat of coconut. Pour the base thin, and eat it fresh from the pan. If you keep this order, even a takoyaki pan can approach the khanom krok texture of "cooked on the outside, creamy in the middle."
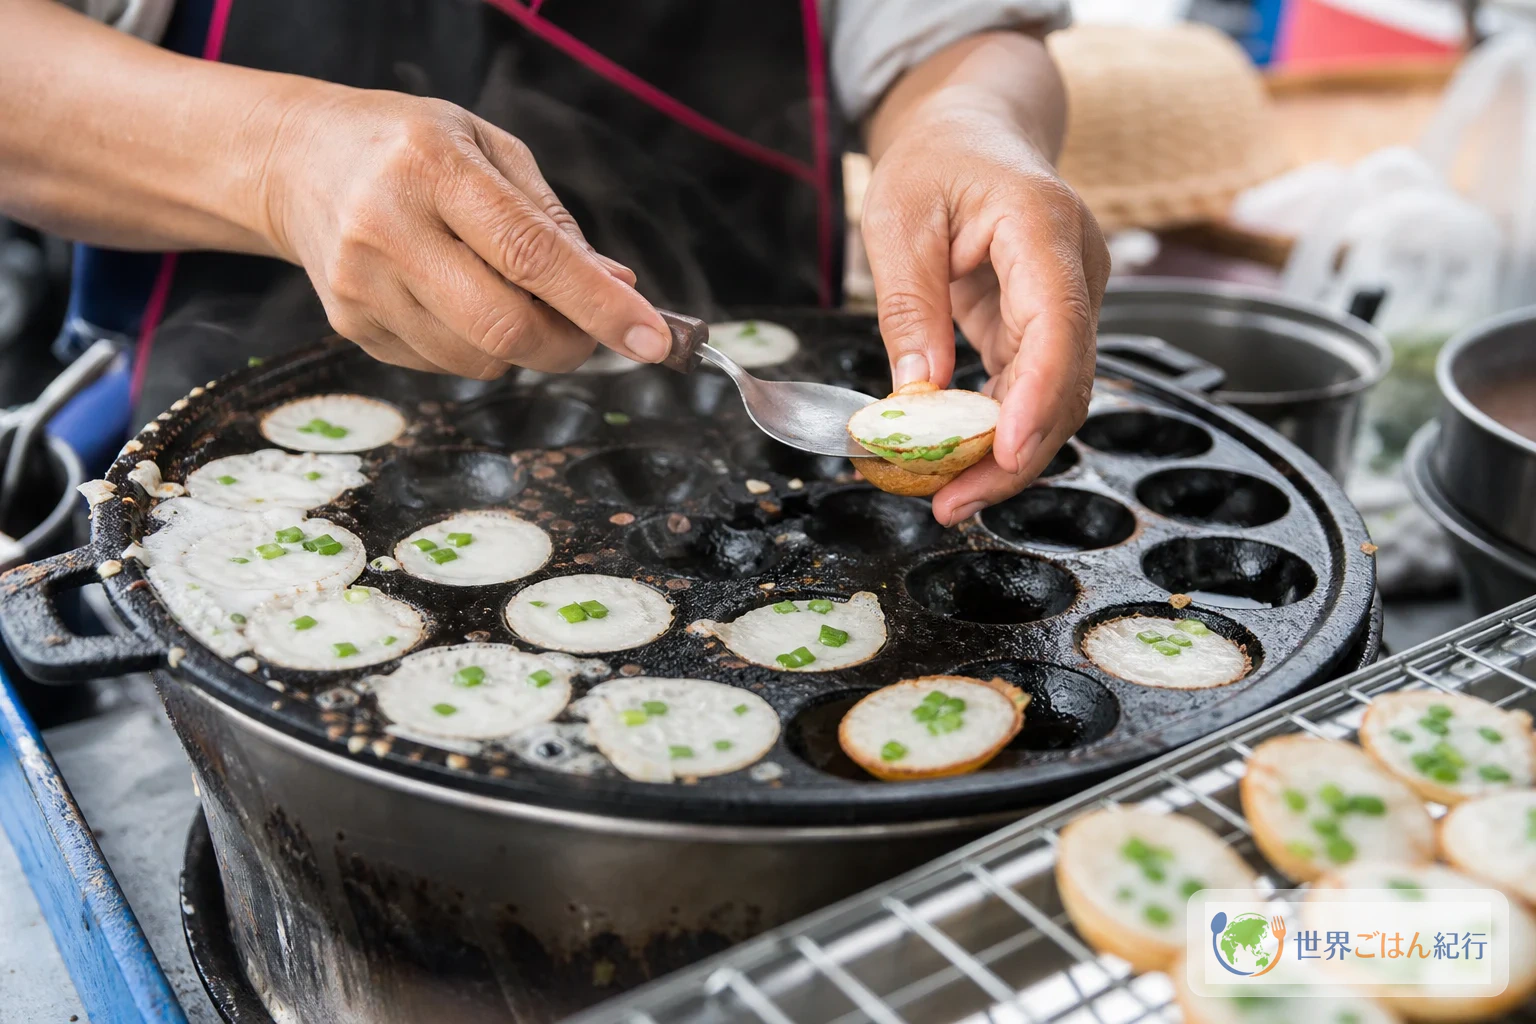
In Thai homes and at stalls, there are also versions using a batter made from ground soaked rice and a dedicated pan with shallow hollows. This article centers on rice flour that is easy to find, and adds a little tapioca flour to supplement the crispness of the edge. If you use a takoyaki pan, pour less batter to suit its hollows, which are deeper than a dedicated pan's.
Ingredients (serves 4, 20 to 24 pieces)
Rice flour base batter
Coconut topping batter and other ingredients
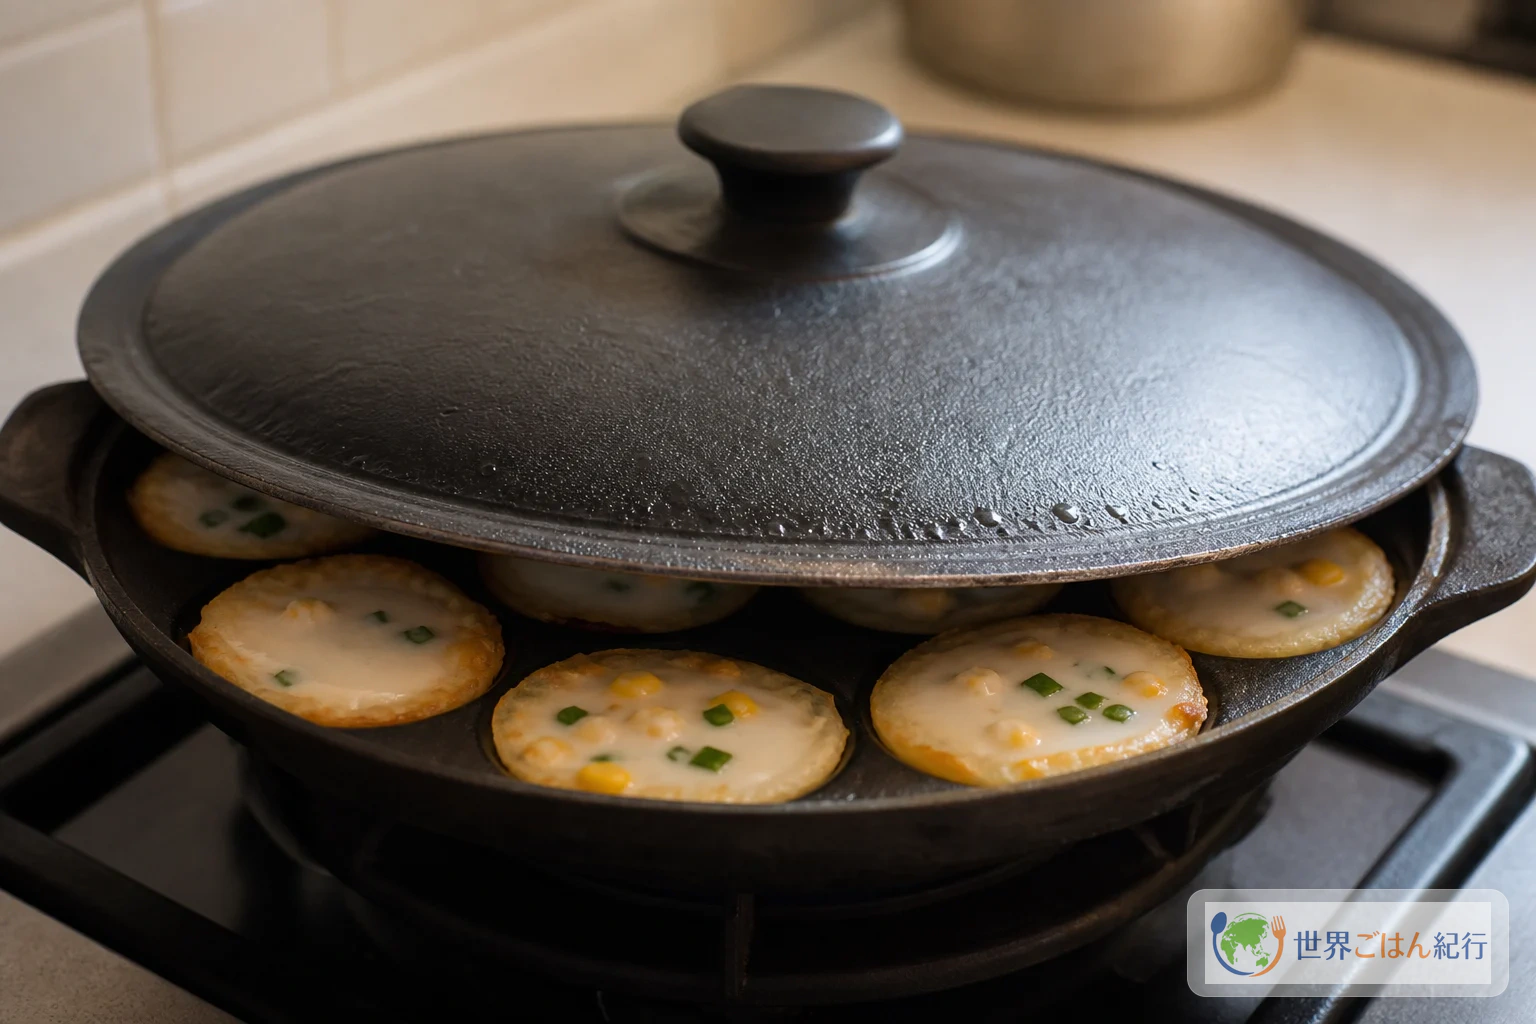
These amounts are based on the combination of rice flour, glutinous rice flour, coconut milk, sugar and salt used in Thai cooking sources. A Thai university journal gives the steps: rest the base batter for 20 minutes, put about 1 tablespoon in a heated pan and about 1 teaspoon of the topping batter, and cook covered. A university journal studying frozen storage of khanom krok
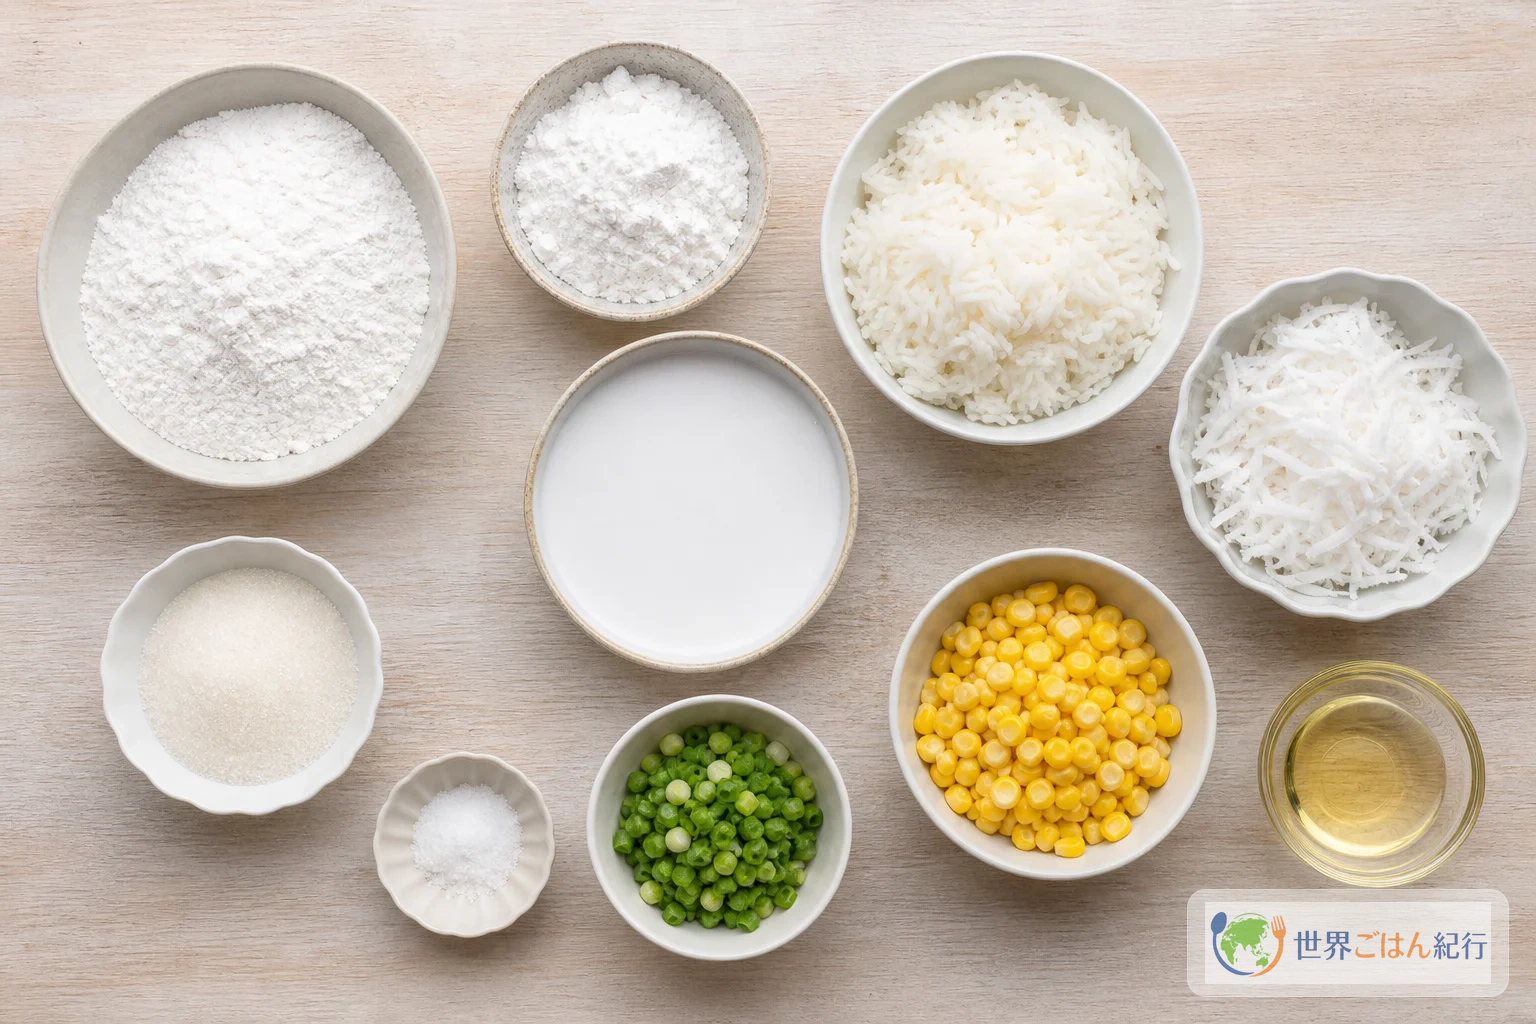
The basic ingredients use no wheat, egg or dairy, but production-line labeling of rice flour and tapioca flour differs by product. Coconut is classified separately from tree nuts, but if you have a coconut allergy, do not use it. When serving someone with a serious allergy, check the package labels, including the substitutes.
Ingredients to think about when shopping
Only 30 g of tapioca flour is used. The reason to buy it is that you want a lighter edge on the khanom krok and can use the rest for other recipes such as pão de queijo. If you make this only once and don't plan to use up a bag, substitute 30 g of glutinous rice flour and skip it.
Coconut milk is fine to buy at a nearby supermarket if you find it there. What to check is whether it is unsweetened, around 400 ml in size, and thick enough to use including the separated fat. One can makes both the base and the topping batter, so avoid sweetened types. If you plan to keep making Thai dishes such as pad thai and green curry, a larger supply makes sense, but for a one-time khanom krok a single can from the store is easier.
A dedicated khanom krok pan has the advantage in the shallowness of the result and in ease of removal. But you don't need to buy one the first time. If you have a takoyaki pan at home and want to check the texture first, a substitute is enough. It is worth looking for a dedicated pan only when you meet all of these conditions: you make it at least once a month, you want even shallow half-spheres, and you want to cook scallion and coconut versions separately.
Method: thin outside, still trembling inside
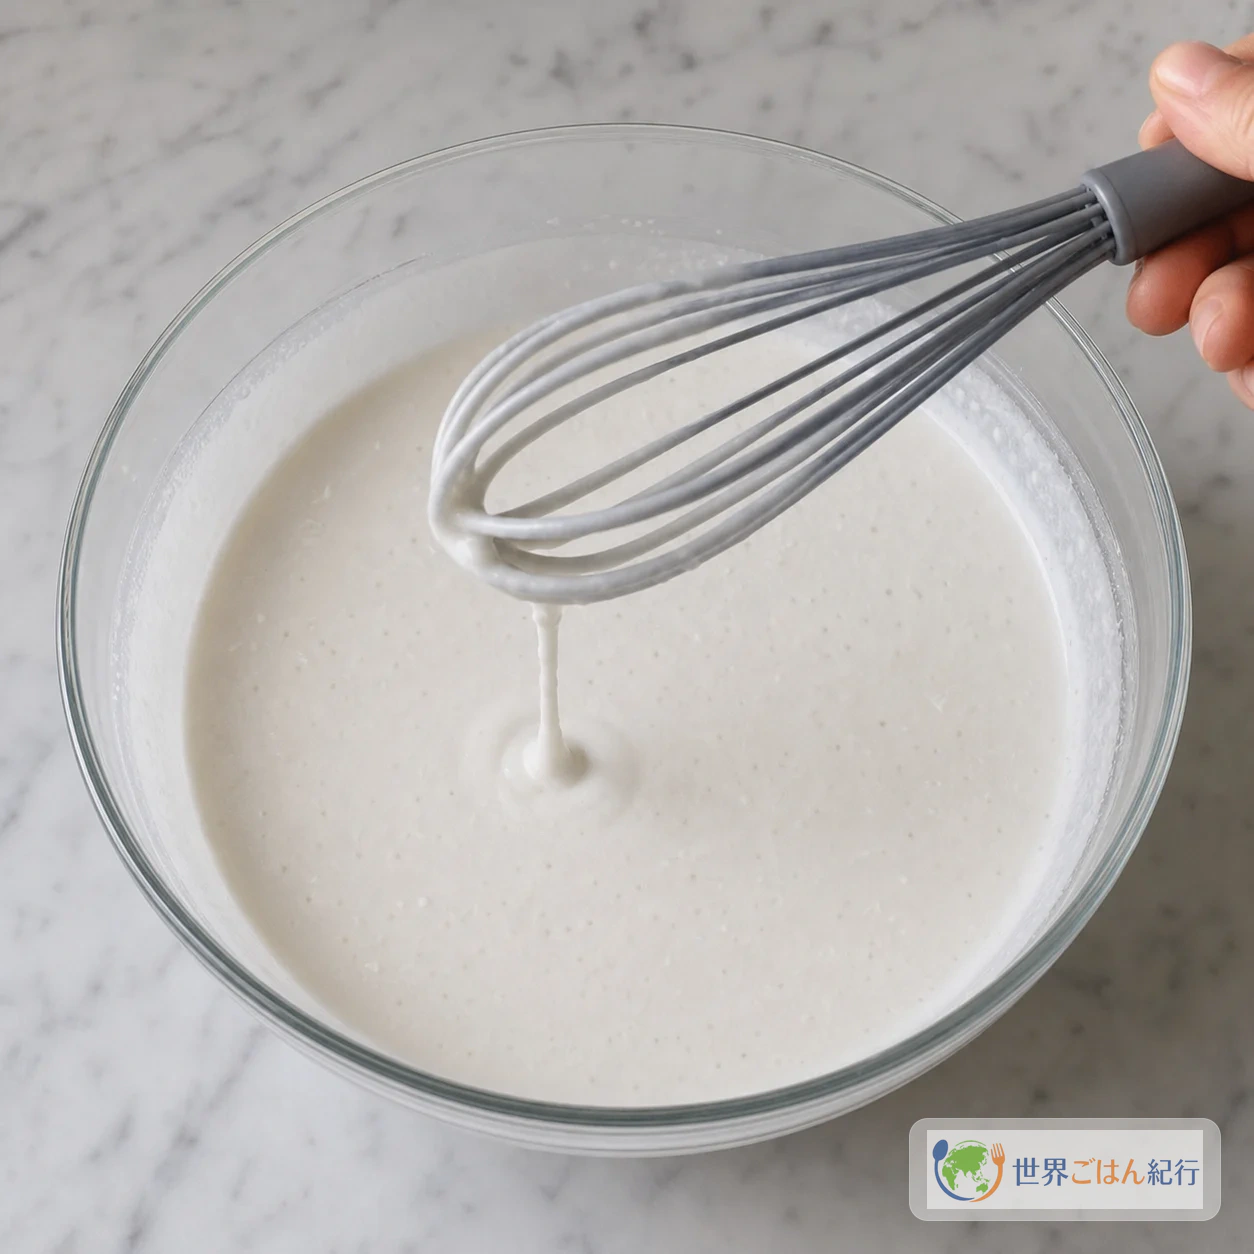
Preparing the batter (20 min)
Cooking (35 to 40 min)
Cooking tips: fix the way you pour before the heat
Don't fill the takoyaki pan
A takoyaki pan is deeper than a dedicated pan and heat tends to gather toward the center. Keeping the base to one-third, and base plus topping to half or two-thirds, reduces the failure in which the edge burns before the center sets. You may want them bigger, but small is easier for building the texture of khanom krok.
Stir the base batter every time
Rice flour sinks to the bottom of the bowl. Even if the first one cooks well, after a few in a row you pour only the watery supernatant, and the edge cracks or collapses when you take it out. Stir from the bottom 3 times for each row, and once more right before scooping. There is no need to stir so much that it foams.
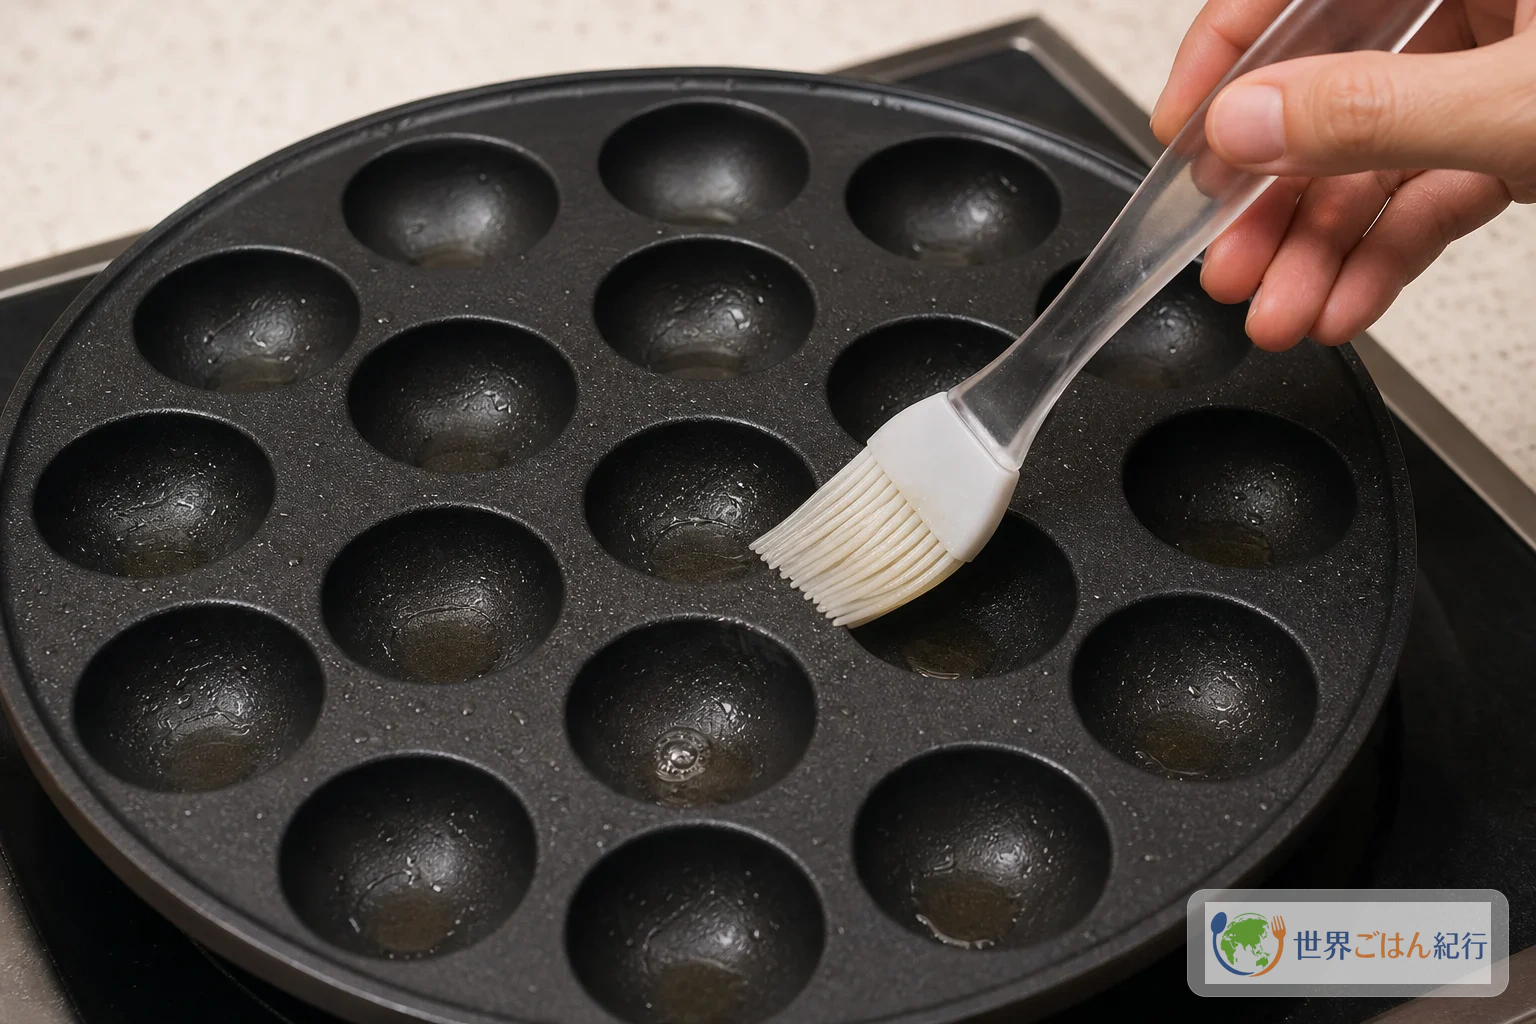
The oil should be an amount you can't tell you applied
Too little oil makes the rice flour stick to the pan, and too much makes the edge past crisp into oily. Brush with paper towel; the standard is an amount where the surface shines just once. If using a new cast-iron pan, season it with oil as the product instructions say before cooking.
Put the color of the browning before the time
Some sources give a 15-minute method, but it varies with the thickness of the pan, how tightly the lid seals and the burner's power. Lift the lid once at 5 minutes and look at whether the edge is coloring and whether there is a large puddle at the center. At home, stopping by the color of the edge and the tremble of the center is steadier than keeping to the time alone.
Forcing a skewer in leaves only the base on the pan. Lower the heat, cover and steam for just 1 minute, drop a drop of oil at the edge and run the spoon around. If they still fall apart, scoop that batch onto a plate and eat it as coconut pudding, and pour a smaller base from the next batch on.
Changing the toppings, and home substitutes
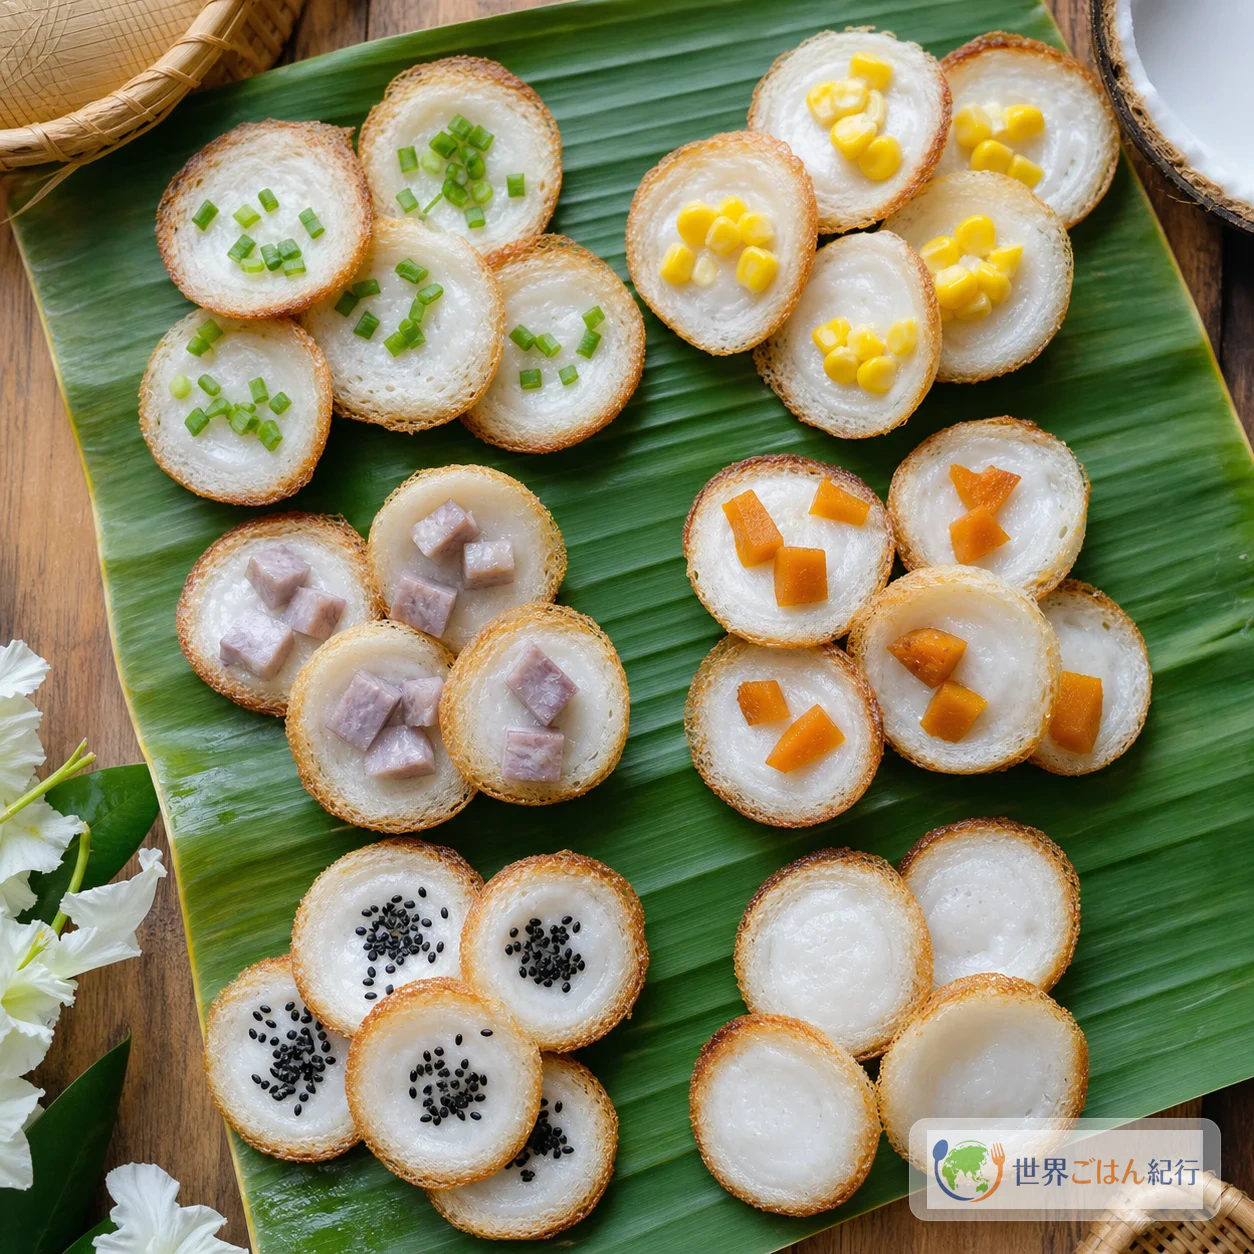
The scallion, corn, taro and pumpkin introduced by the Tourism Authority of Thailand are easy toppings to try from the first batch. Putting them all on at once mixes moisture and aroma, so splitting by row, scallion in the first batch and corn in the second, shows the differences.
| Topping | Prep | Taste and texture |
|---|---|---|
| Scallion | 20 g thinly sliced | A green aroma and salt enter the sweet coconut |
| Corn | 50 g, patted dry | The sweetness of the kernels comes forward and is easy for children |
| Taro | 30 g, 1 cm cubes, boiled | Goes well with a sticky center |
| Pumpkin | 40 g, 1 cm cubes, steamed | Adds sweetness and suits an afternoon snack |
| Pandan | Tie a leaf in a thin knot and infuse its aroma into the coconut milk | A green, sweet aroma. Omit if you can't find it |
| Black sesame | Scatter a pinch on top | A little away from Thai sweets, but adds savoriness |
Heat taro and pumpkin until a bamboo skewer passes through without resistance, then cut small. If you put them on raw, only the topping stays hard even after the khanom krok is cooked. Pandan is an aroma ingredient, so you don't need to hunt for it from the first batch. Checking the outline of the coconut milk and salt first, and adding it next, is enough.
For a sweet version, leave out the scallion and put on small amounts of corn and pumpkin. If you want to keep some salt, rather than reducing the sugar, keep the salt and add a little scallion. Reducing only the sugar can make the oil of the coconut milk come forward and blur the taste.
Background: from a street sweet to today's Thai table
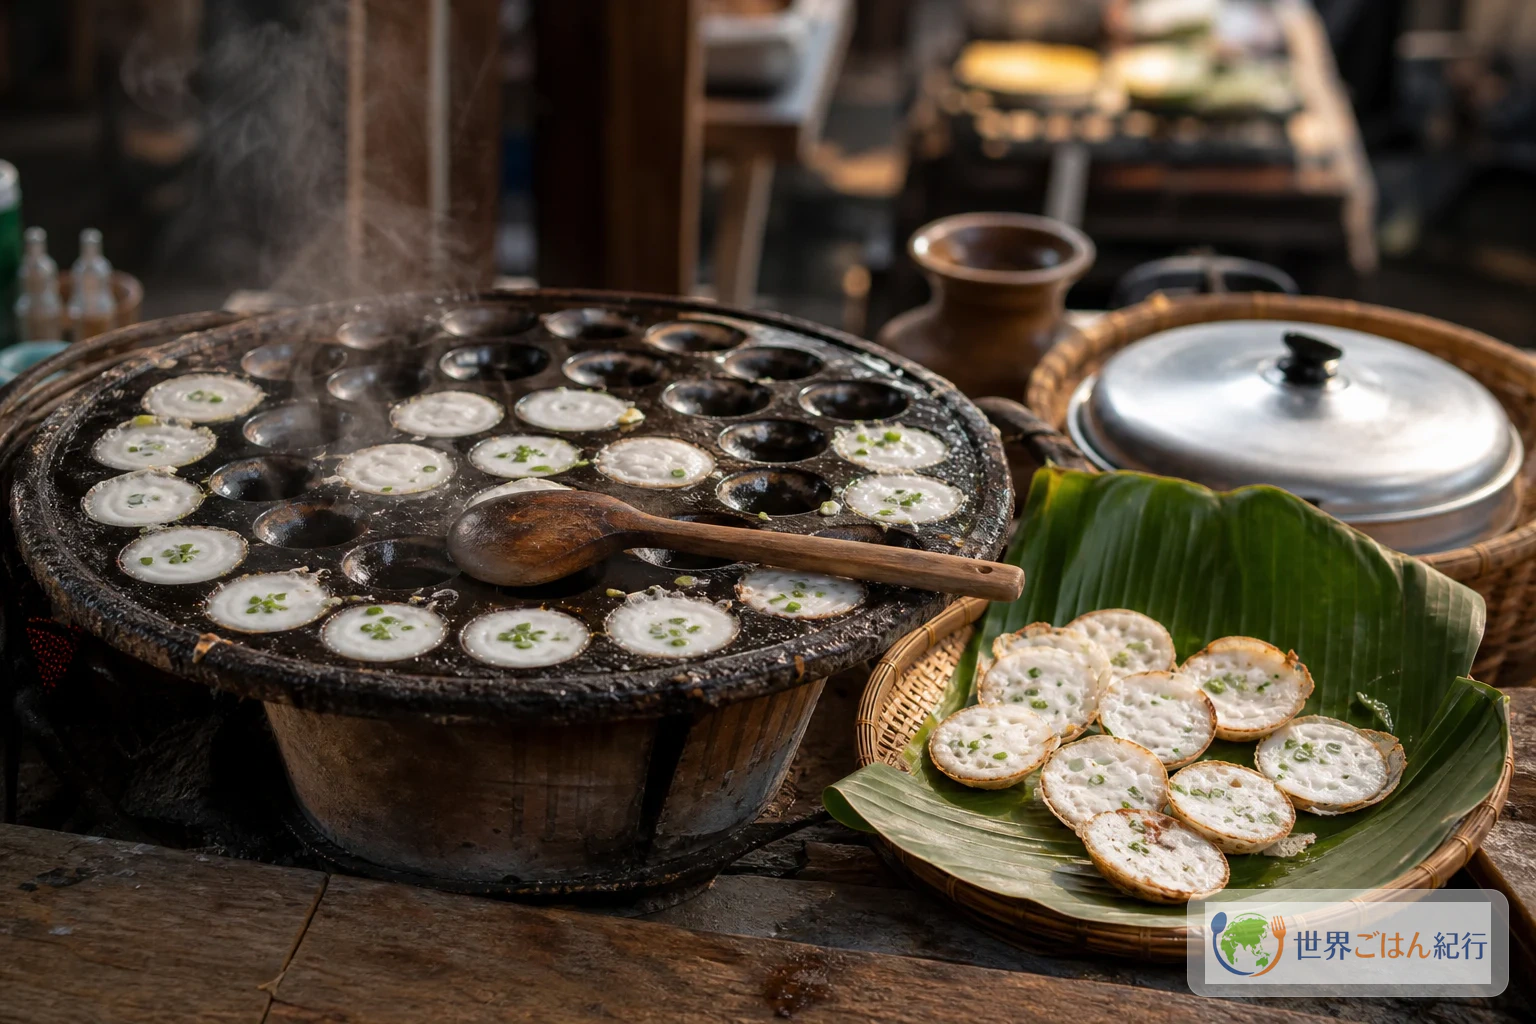
The history of khanom krok cannot be traced in a straight line to one origin. The Tourism Authority of Thailand explains that it is thought to have been eaten since the late Ayutthaya period and appears in old literature and documents. Modern cooking sources, meanwhile, present it as a method handed down at Thai stalls and homes, with a two-layer batter and a shallow-hollow pan. What can be said with confidence is that khanom krok has long remained not only as a special court dish, but as a small food cooked in front of you and handed over.
In Thai sweets, rice flour, palm sugar and coconut milk are combined again and again. In khanom krok, the interesting thing is that the aroma of the flour and the richness of the coconut are tightened with salt. The idea of putting scallion or corn into sweetness can also be understood as typical of Thai stalls, which do not sharply divide dessert and snack. The Thai university journal also summarizes khanom krok as a combination of the aroma from coconut milk, the soft center when hot and the cooked edge.
The form is not confined to Thailand. The university journal explains that there are similar sweets in Bangladesh, Myanmar and Laos, and in Indonesia a dish close to serabi. It does not mean the ingredients are the same, but that foods heating rice flour and coconut in hollows or on flat griddles are seen across Southeast Asia. Compared to its neighbors, the characteristic of khanom krok lies in layering two layers and in the finish of joining two half-spheres into one.
A Thai PBS program covers the old way of making it in Samut Songkhram province and the custom of merit-making with khanom krok. What this shows is that khanom krok is not just a sweet dish, but is also tied to local handwork and temple events. Thai PBS program page
In a home kitchen, you can try this dish without buying a dedicated pan. A takoyaki pan is not the same tool as the stall's, but the judgments of waiting for the edge to cook, watching the tremble in the center and scooping while hot do not change. If you can get as far as this reading, the core of khanom krok remains even in a takoyaki pan.
Storage and frequently asked questions
Can khanom krok be made ahead?
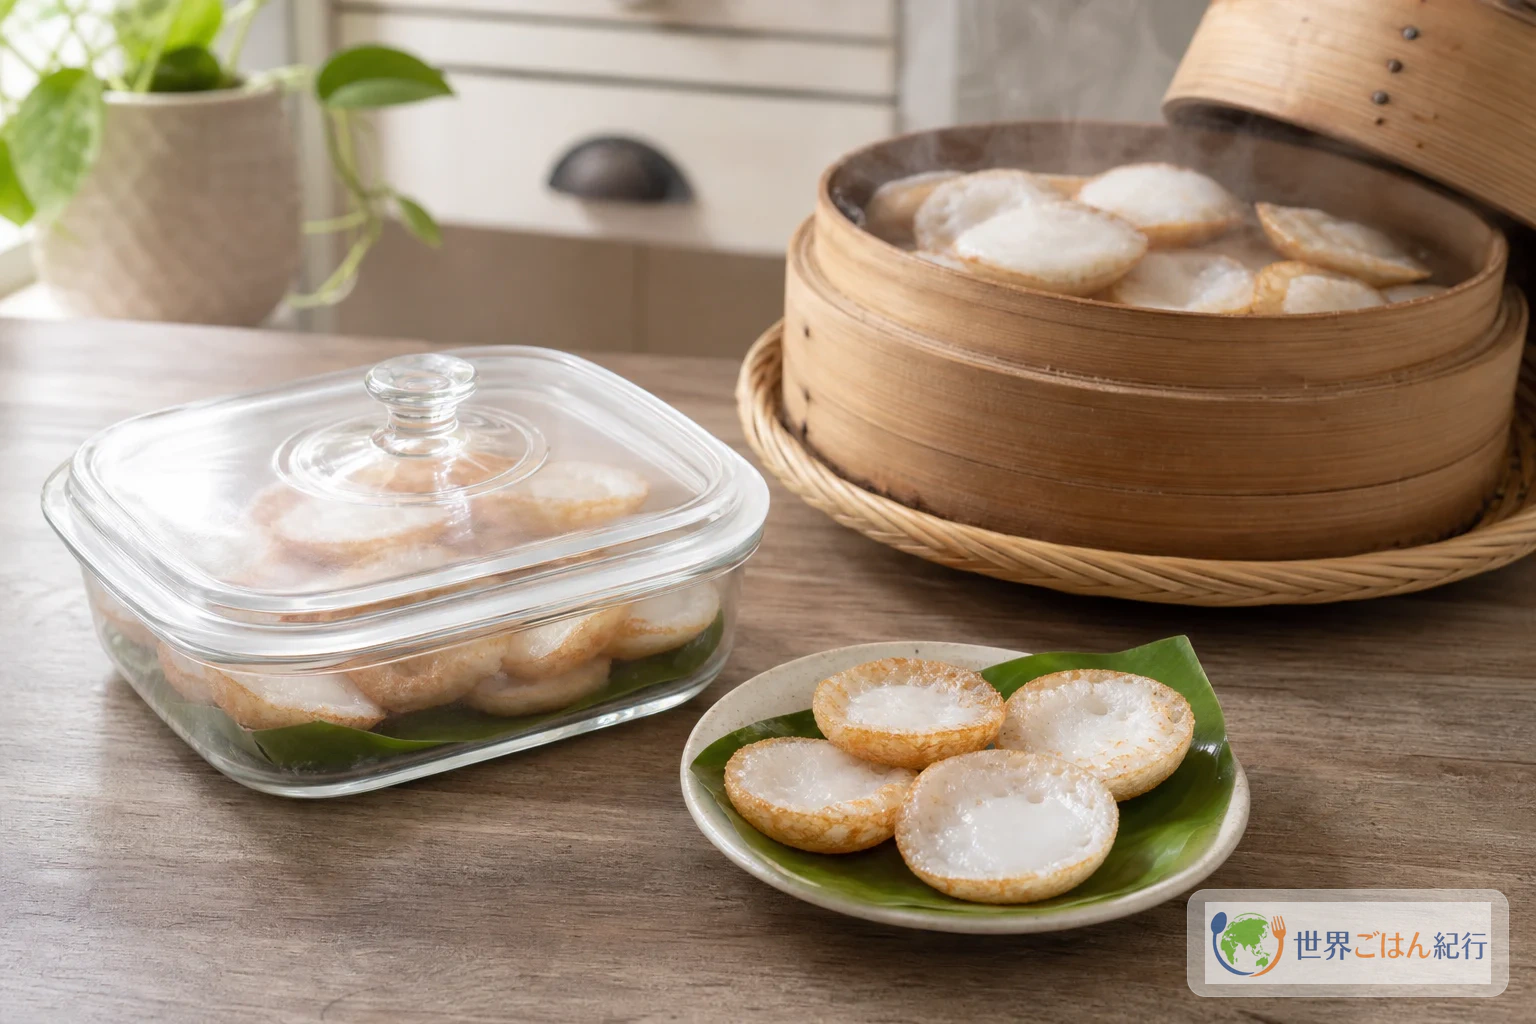
Fresh is best. Cool leftovers, wrap them one by one in plastic wrap, refrigerate, and eat them by the next day. To eat, warm them in a steamer over medium-low heat for 3 to 4 minutes and stop when the center is warm. In a microwave at 600 W it is 20 to 30 seconds, but the savoriness of the edge is hard to bring back. The university journal also shows that in frozen storage the texture score drops over time.
Can I make it without a dedicated pan?
You can make it in a takoyaki pan. The hollows are deeper than a dedicated pan, so keep the base to one-third and, with the topping added, half to two-thirds. There is also a method of using a mini muffin tin in the oven, but it is hard to get a cooked edge like the stall's, and the center gets closer to a steamed sweet. The least wasteful order is to check the texture first with a takoyaki pan you already have, and choose a dedicated pan only if you will make it often.
Can I substitute wheat flour?
You can, but it becomes a different sweet. Wheat flour has a strong stickiness and aroma, and the light crispness of rice flour disappears. If you are short of rice flour, use 90 g rice flour, 30 g tapioca flour and 30 g glutinous rice flour, and don't increase the liquid in the topping batter. If you can gather rice flour and tapioca flour, that keeps more of the outline of khanom krok.
Is it spicy?
Basic khanom krok uses no chile, so it isn't spicy. The savory type with scallion or corn on top is easy to eat, and for a sweet sweet, leave out the toppings. Even when serving it after a spicy dish, eating it without a sauce lets you notice the coconut aroma.
What if the center is watery and only the edge has burned?
From the next batch, halve the base batter and lower the heat. For ones already cooked, scoop them onto a plate and warm in a covered skillet over low heat for 1 minute, or in a steamer for 2 minutes, and the center sets a little. If it is completely liquid, don't force yourself to eat it; keep heating. Taking them out early by the color of the edge alone causes this failure.
Can I replace coconut milk with another plant milk?
You can for allergies or availability, but the fat and aroma of the coconut decrease, and the khanom krok character weakens. If you use unsweetened oat milk, add just 1 teaspoon of neutral oil to the topping batter and keep the salt. Deciding that you are making a coconut-free version makes the difference in taste easier to accept.
What can I make with it?
To continue the Thai table, putting the sourness of pad thai next to the sweet coconut of khanom krok keeps the flavors from overlapping. For a soup, serving a small portion after khao soi (in Japanese) also works. If you want to keep making rice flour sweets, comparing with khanom tan (in Japanese), made with ripe palmyra palm, shows the difference between a steamed sweet and a griddled one.
Sources
- Tourism Authority of Thailand. "Khanom Krok: The Charm of Taste and Memory Paired with Thailand." Accessed 17 October 2025. https://www.tourismthailand.org/Articles/khanom-krok-en
- Suwan, S. et al. "Development of Frozen Thai Dessert Kanom Krok Made from Sangyod Brown Rice Flour." วารสารมหาวิทยาลัยศรีนครินทรวิโรฒ สาขาวิทยาศาสตร์และเทคโนโลยี, 2020. https://ejournals.swu.ac.th/index.php/SWUJournal/article/download/12721/10671/40171
- Temple of Thai. "Kanom Krok Coconut Pancakes Recipe." Accessed July 2026. https://www.templeofthai.com/recipes/kanom_krok.php
- ImportFood. "Recipe Thai Coconut Pudding, 'Khanom Krok'." Accessed July 2026. https://importfood.com/recipes/recipe/10-thai-coconut-pudding-khanom-krok
- Thai PBS. "หม้อข้าวหม้อแกง: ขนมครก." 2014. https://www.thaipbs.or.th/program/MhoKhaoMhoGang/episodes/31905
Nutrition information is an approximate per-serving value calculated from the listed ingredients. It varies with the nutrition labels of products and the richness of the coconut milk.