Imagawayaki: Two Layers of Batter Around a Center of Bean Paste
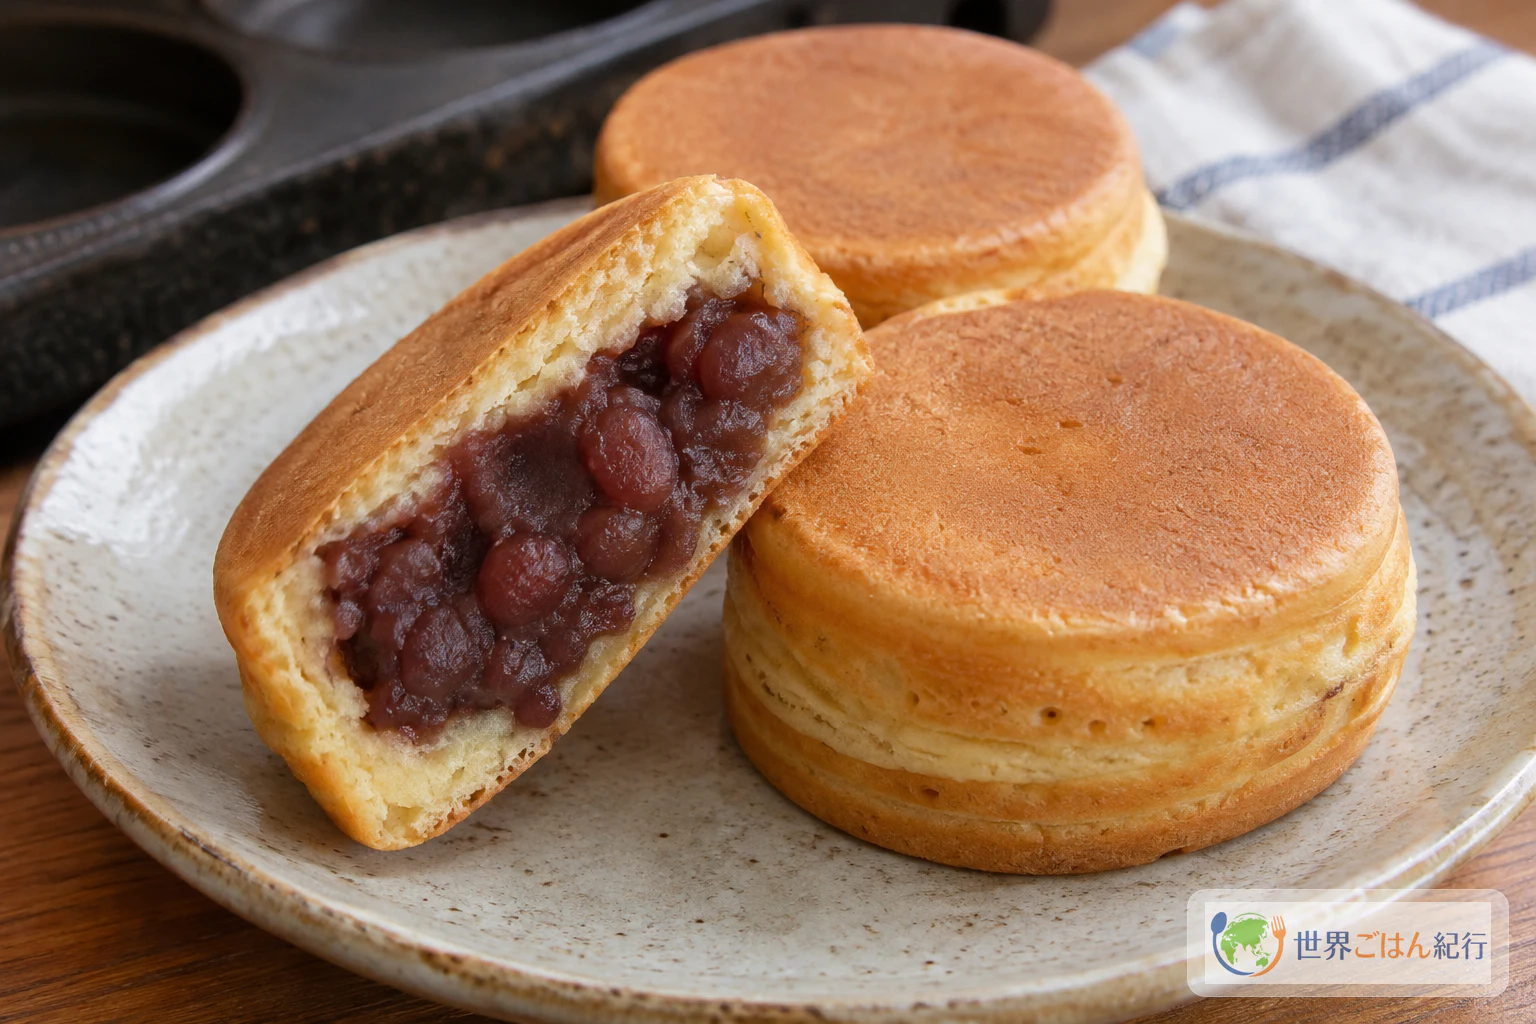
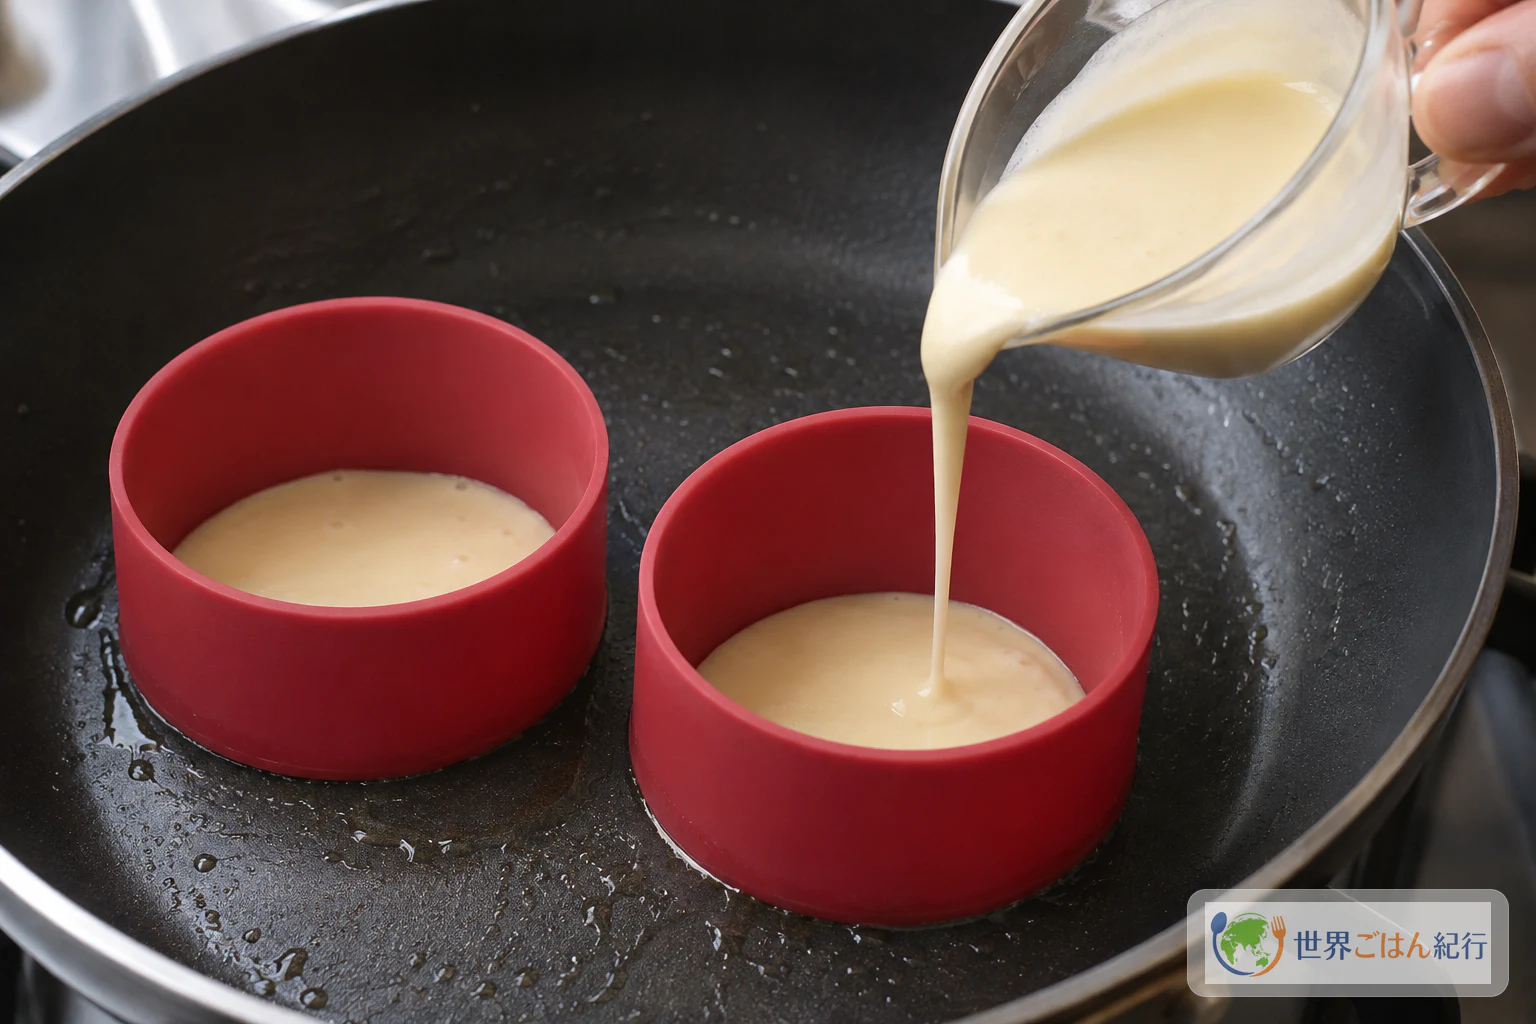
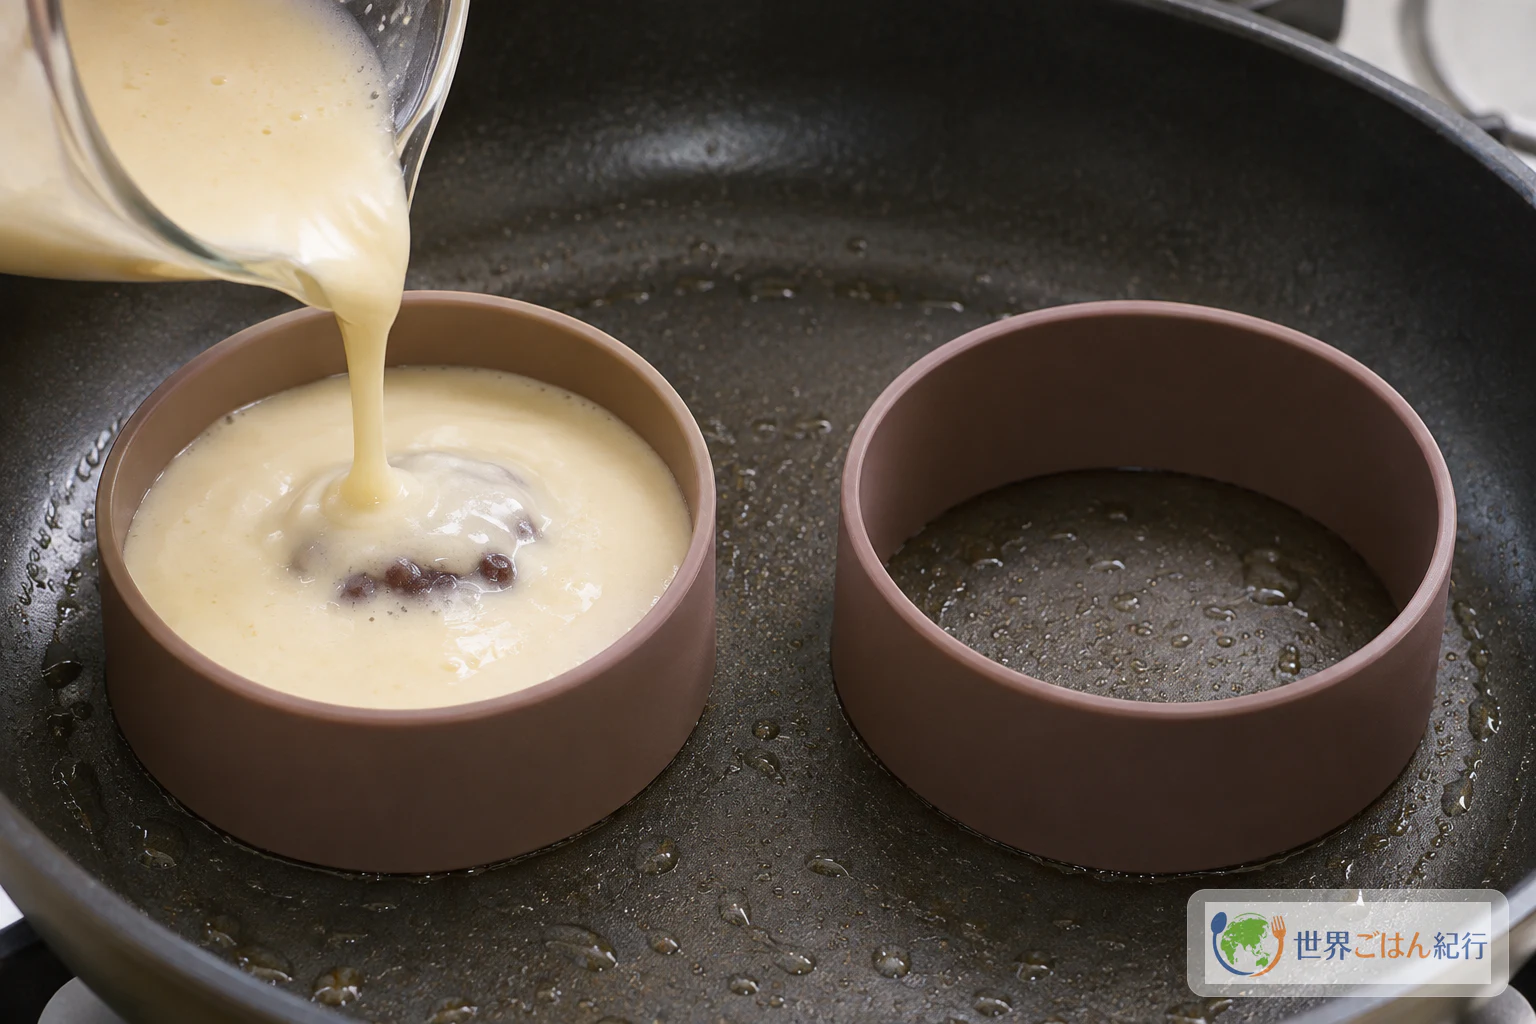
A thin first layer of batter, a mound of chunky bean paste set in the middle, and a second layer poured over the top. The bean paste stays enclosed in the center, and the cake is round.
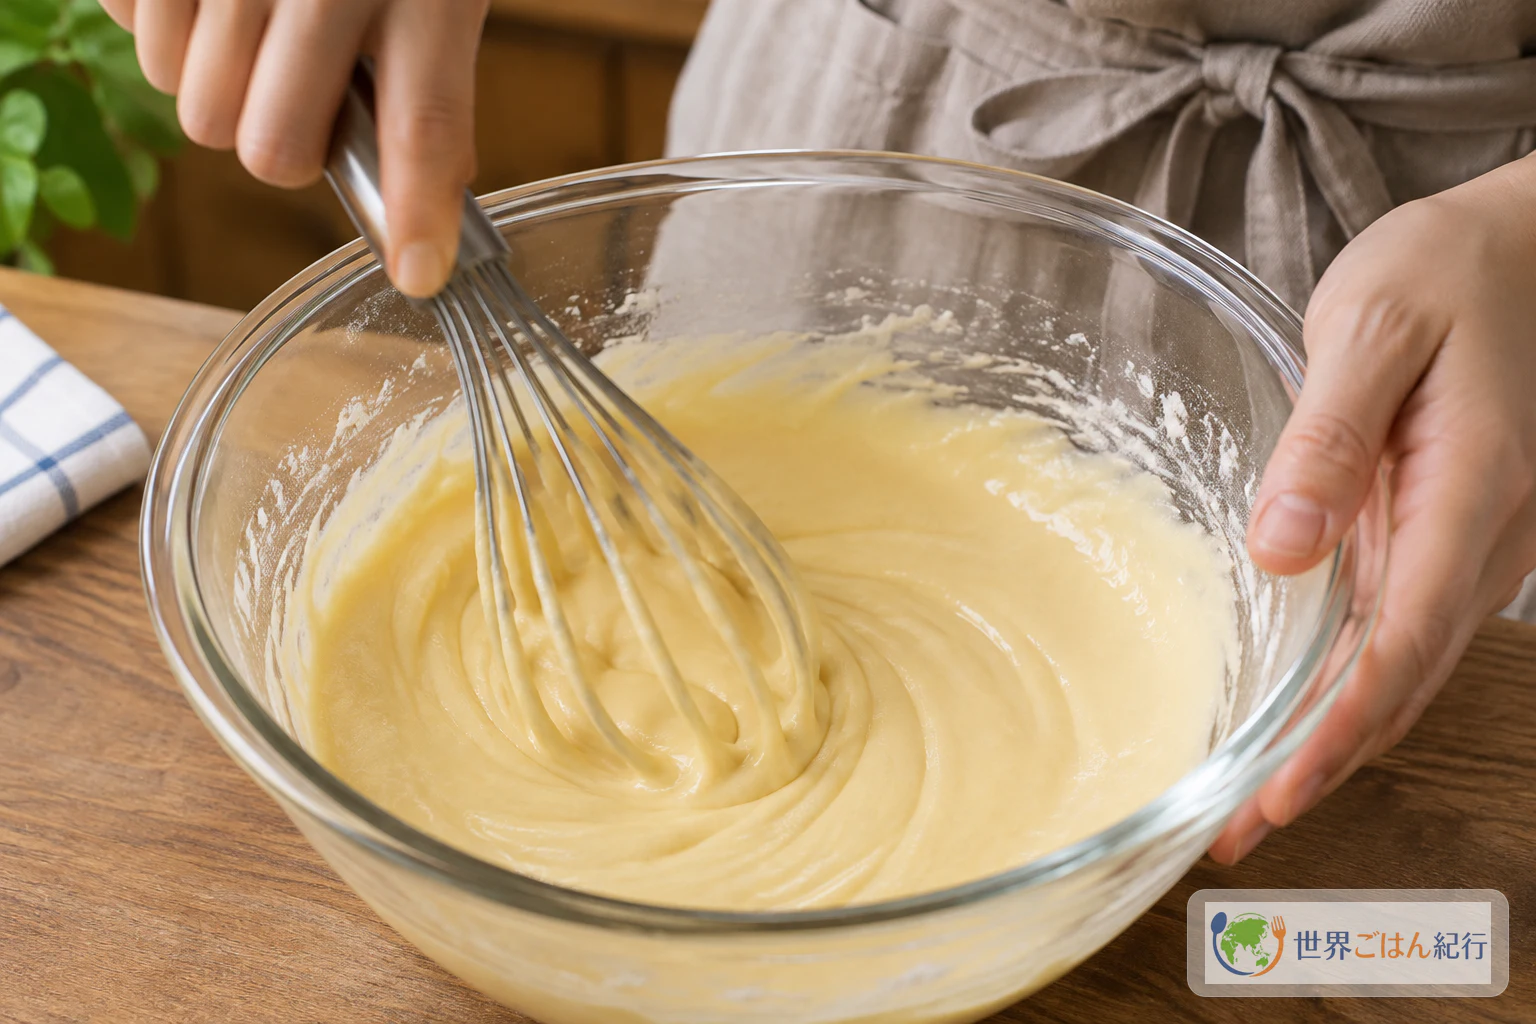
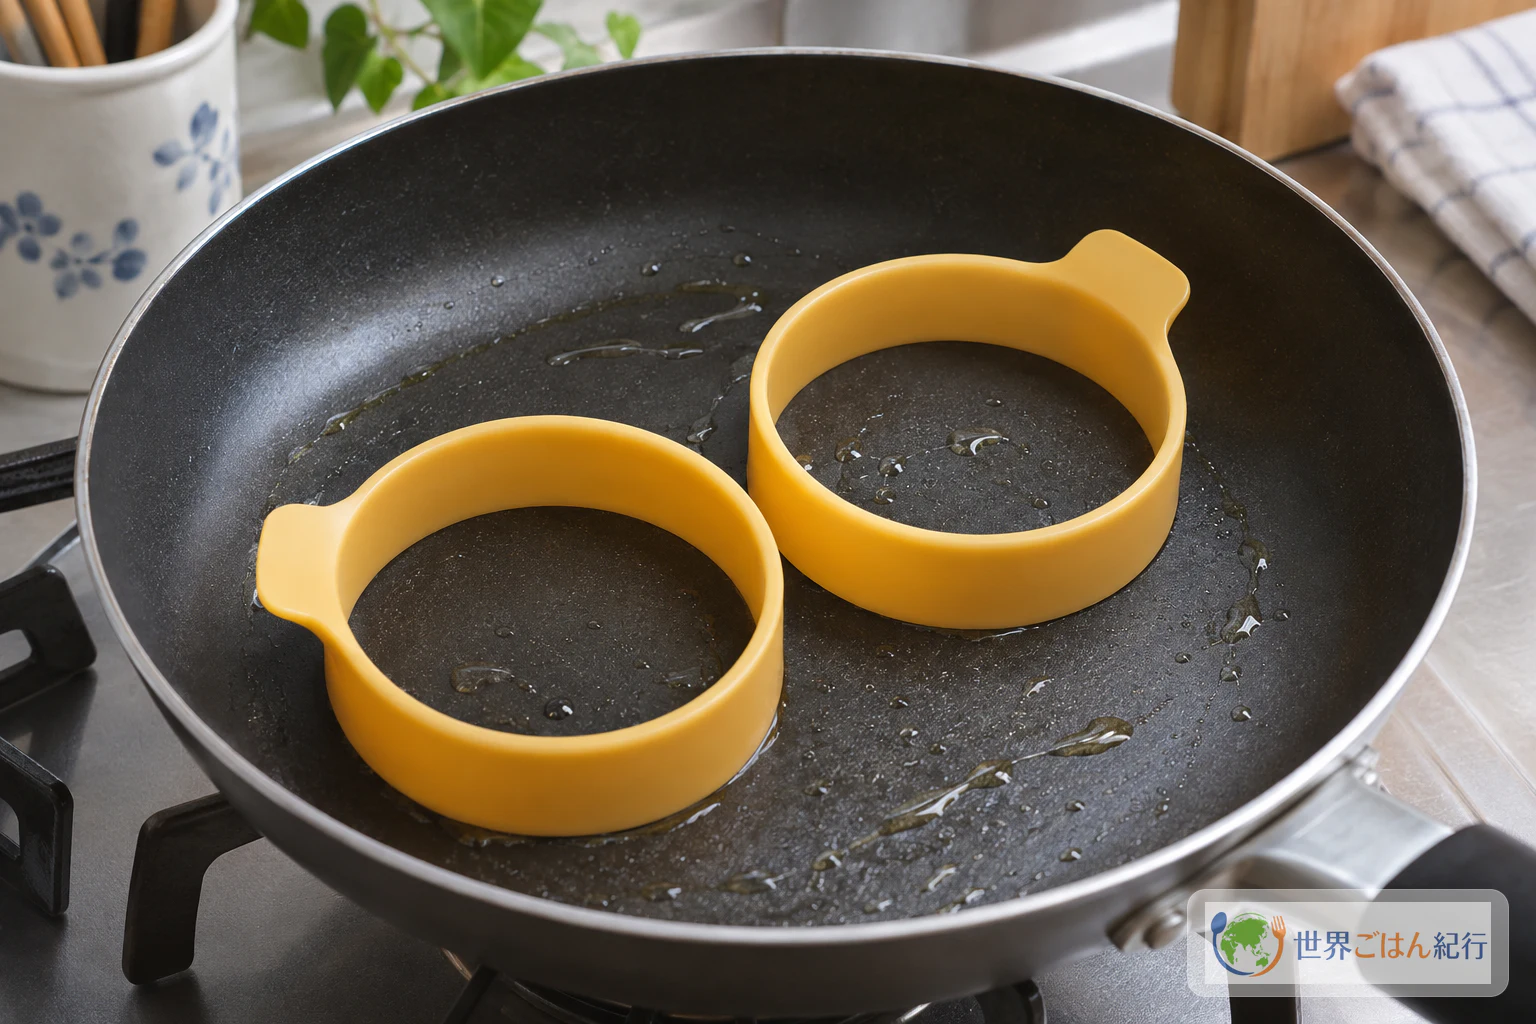
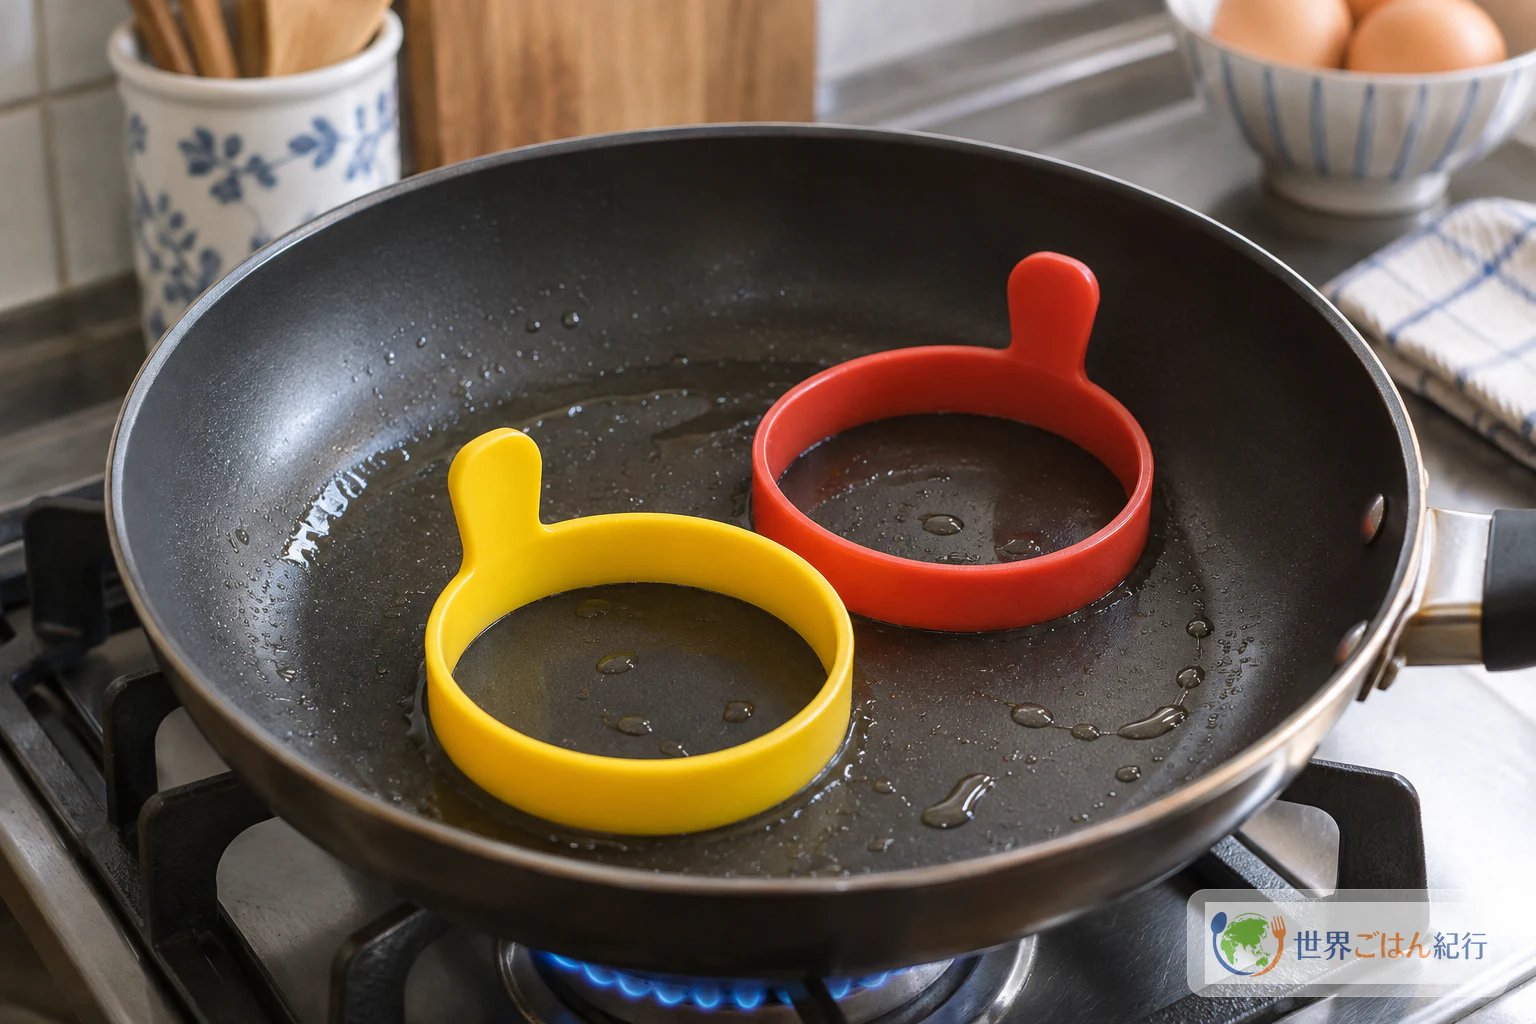
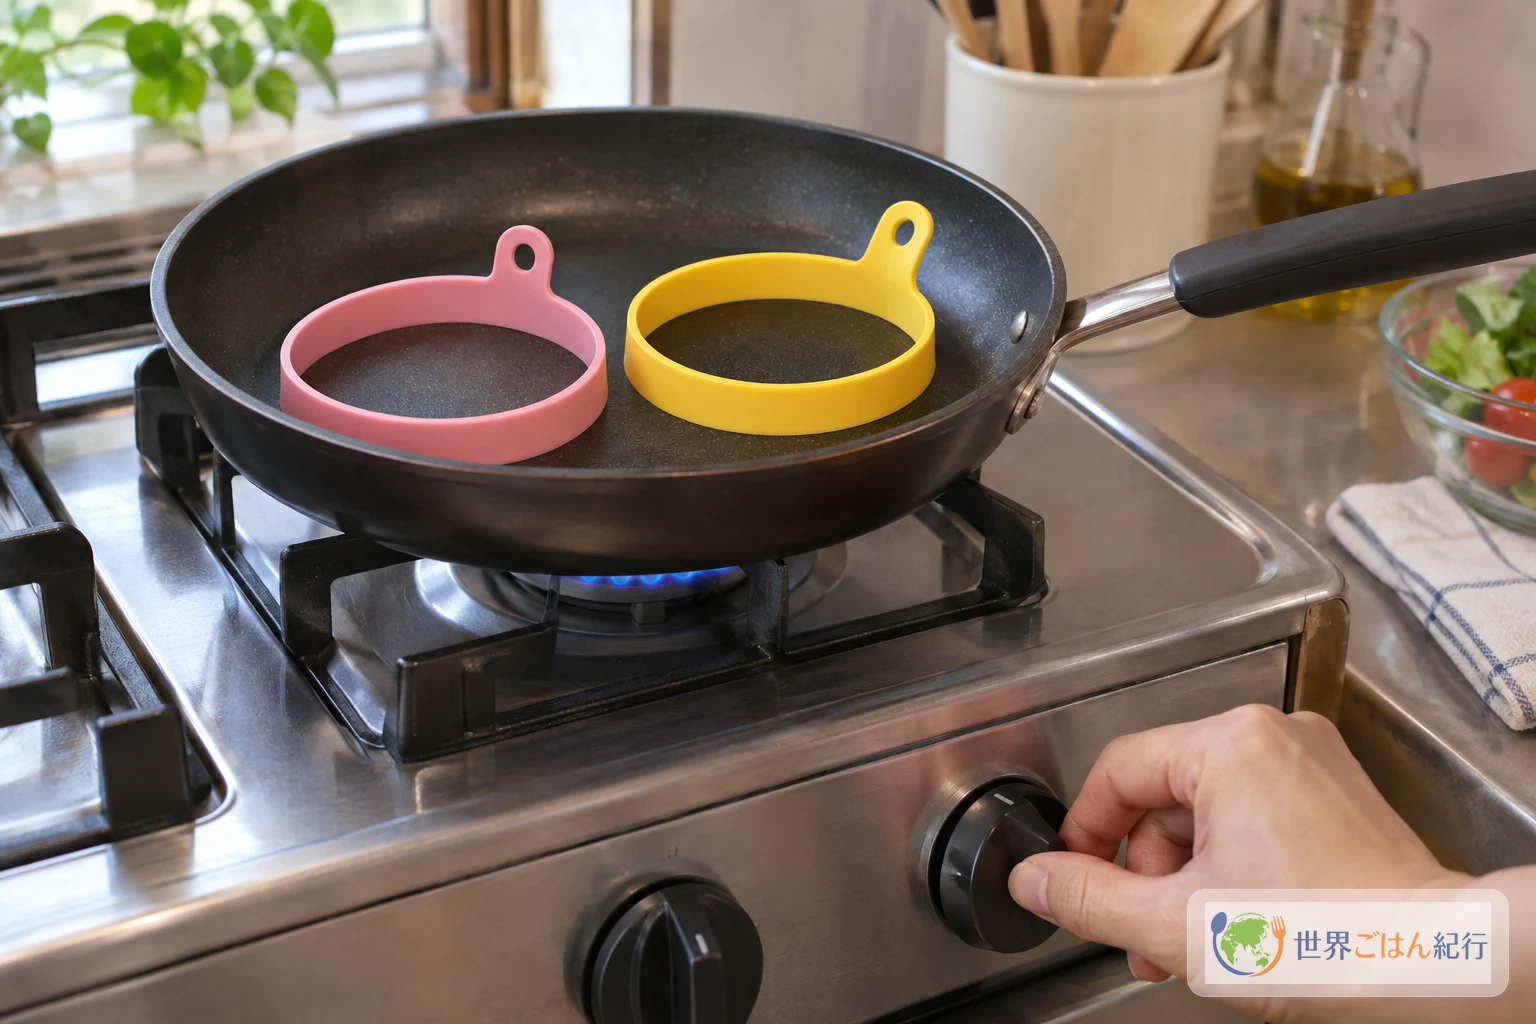
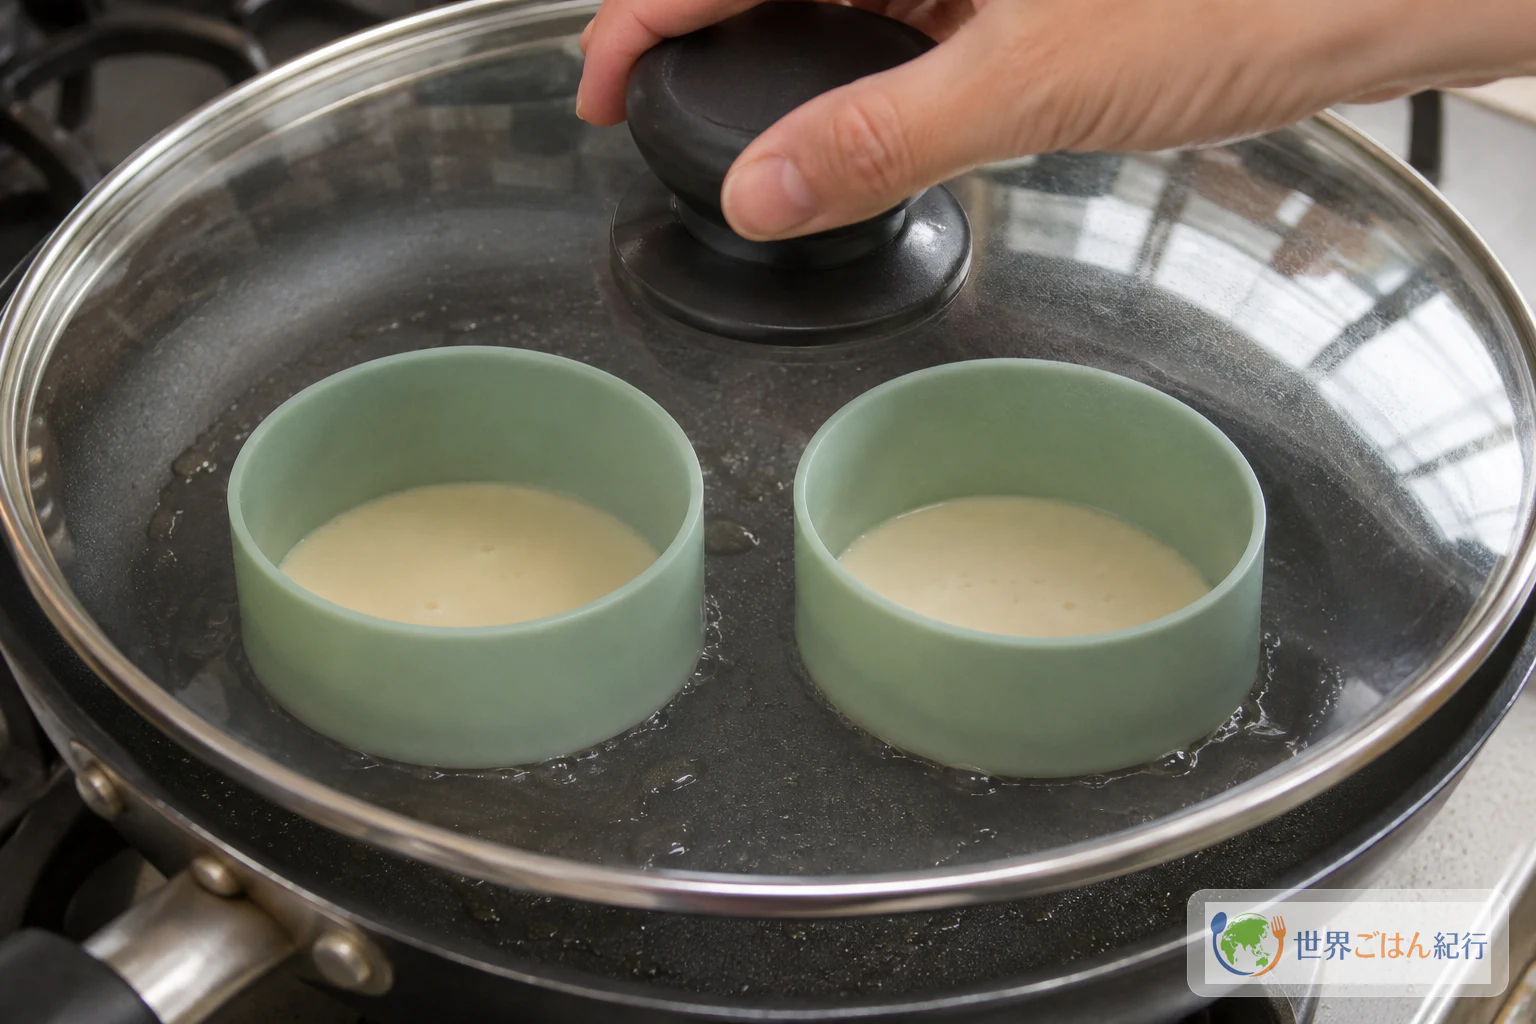
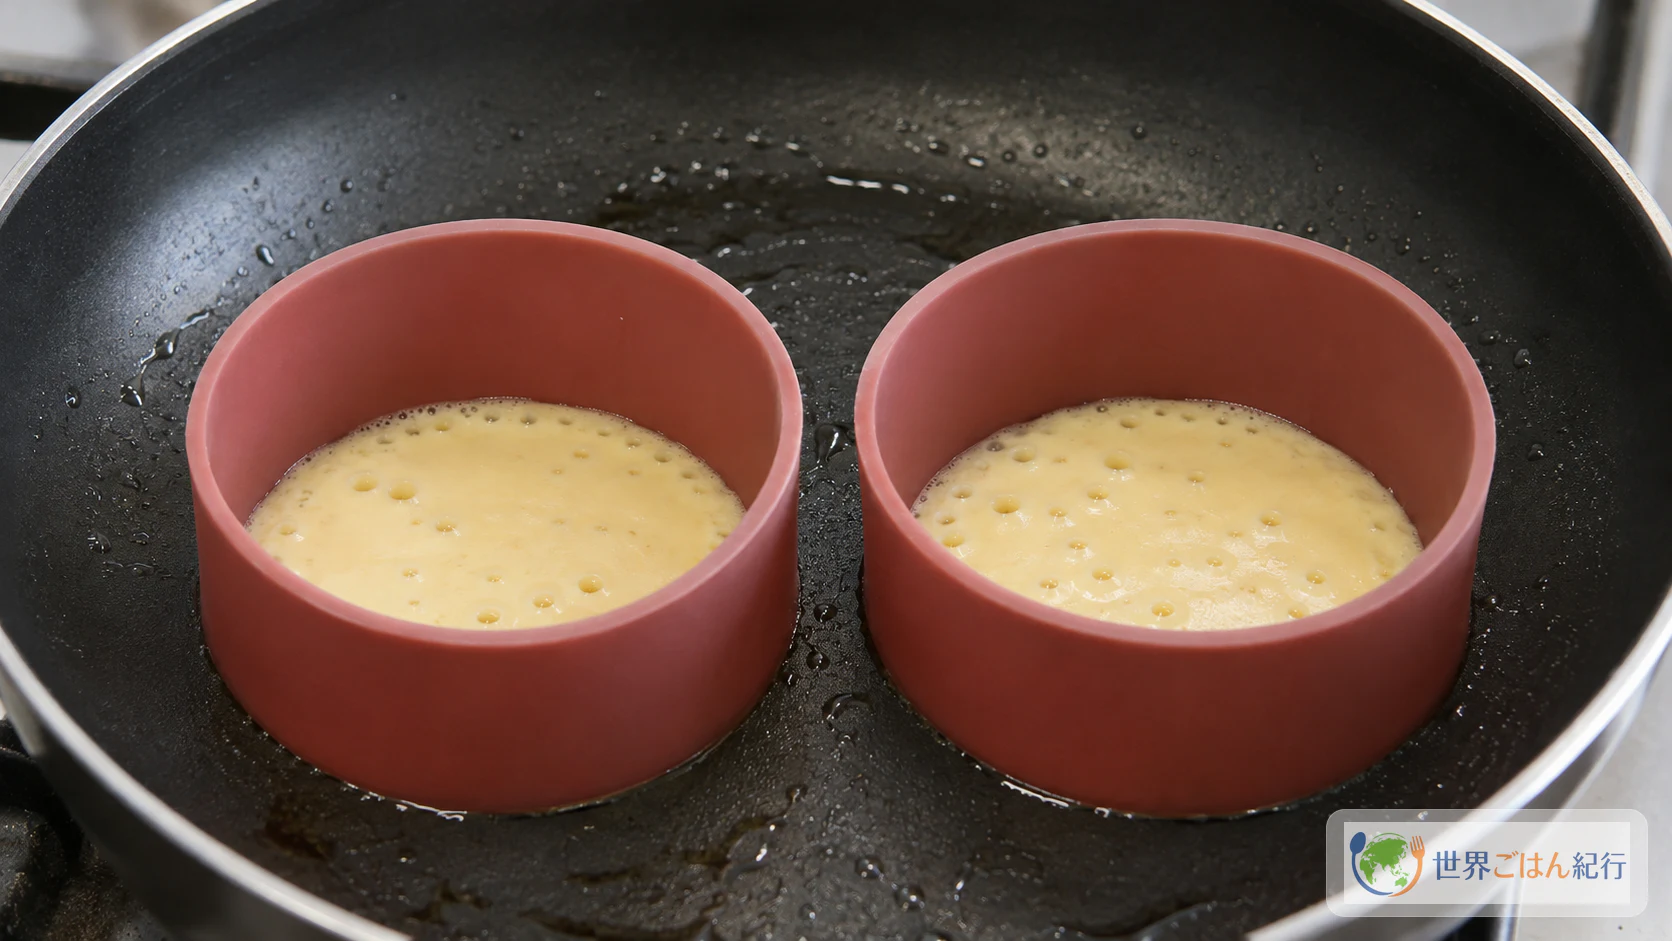
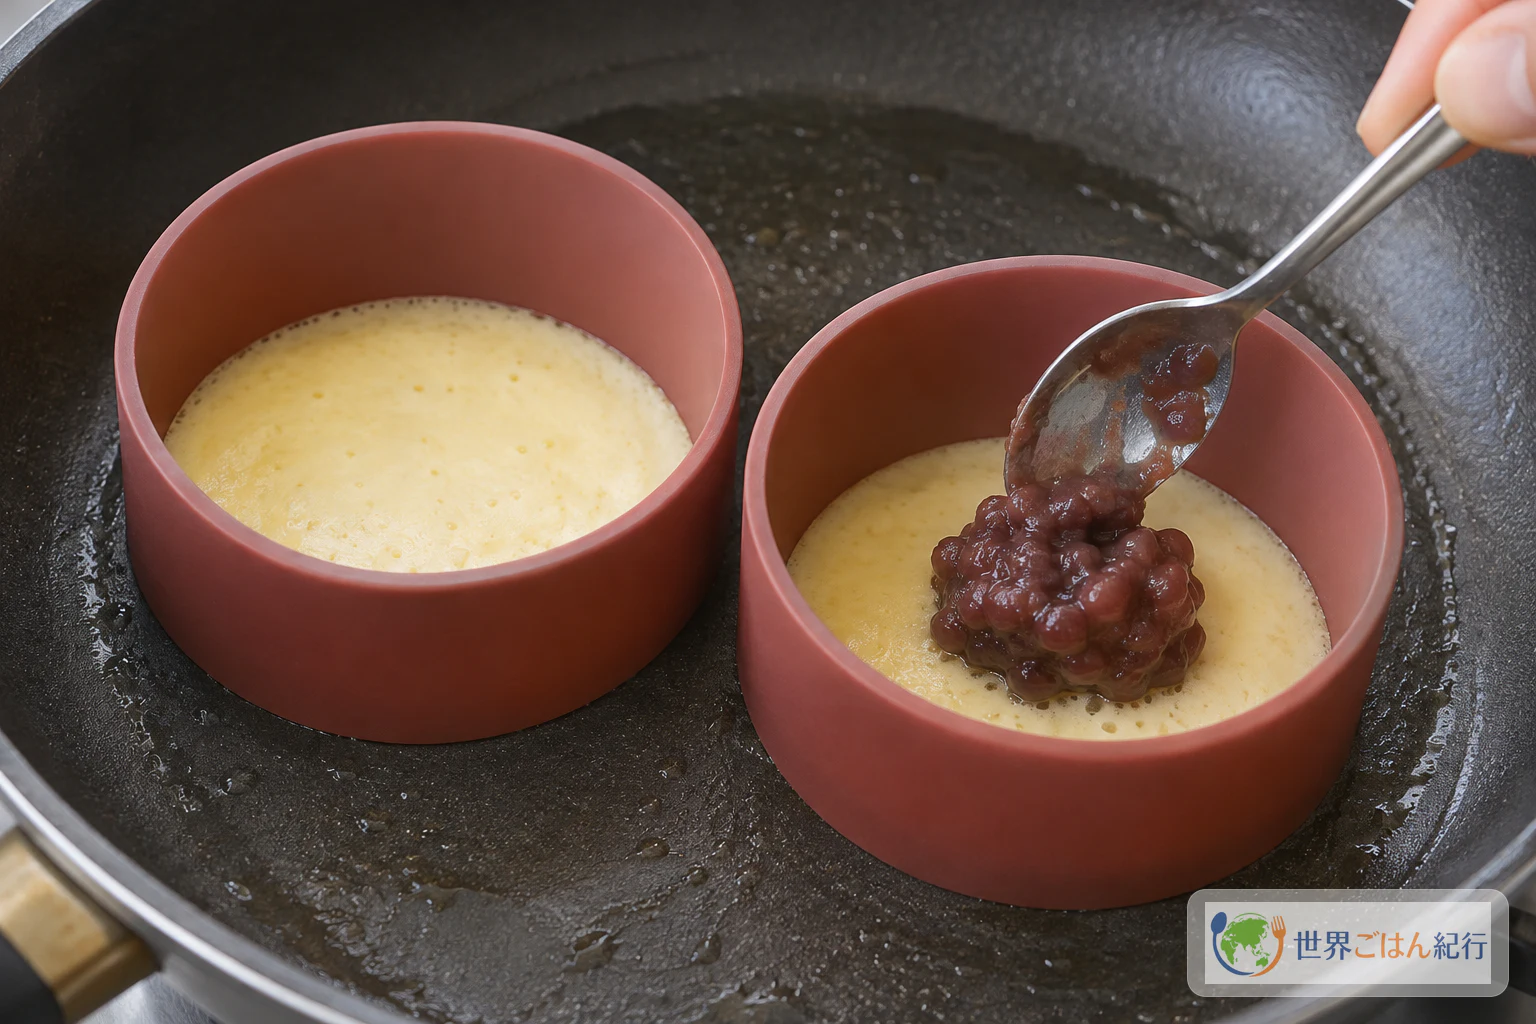
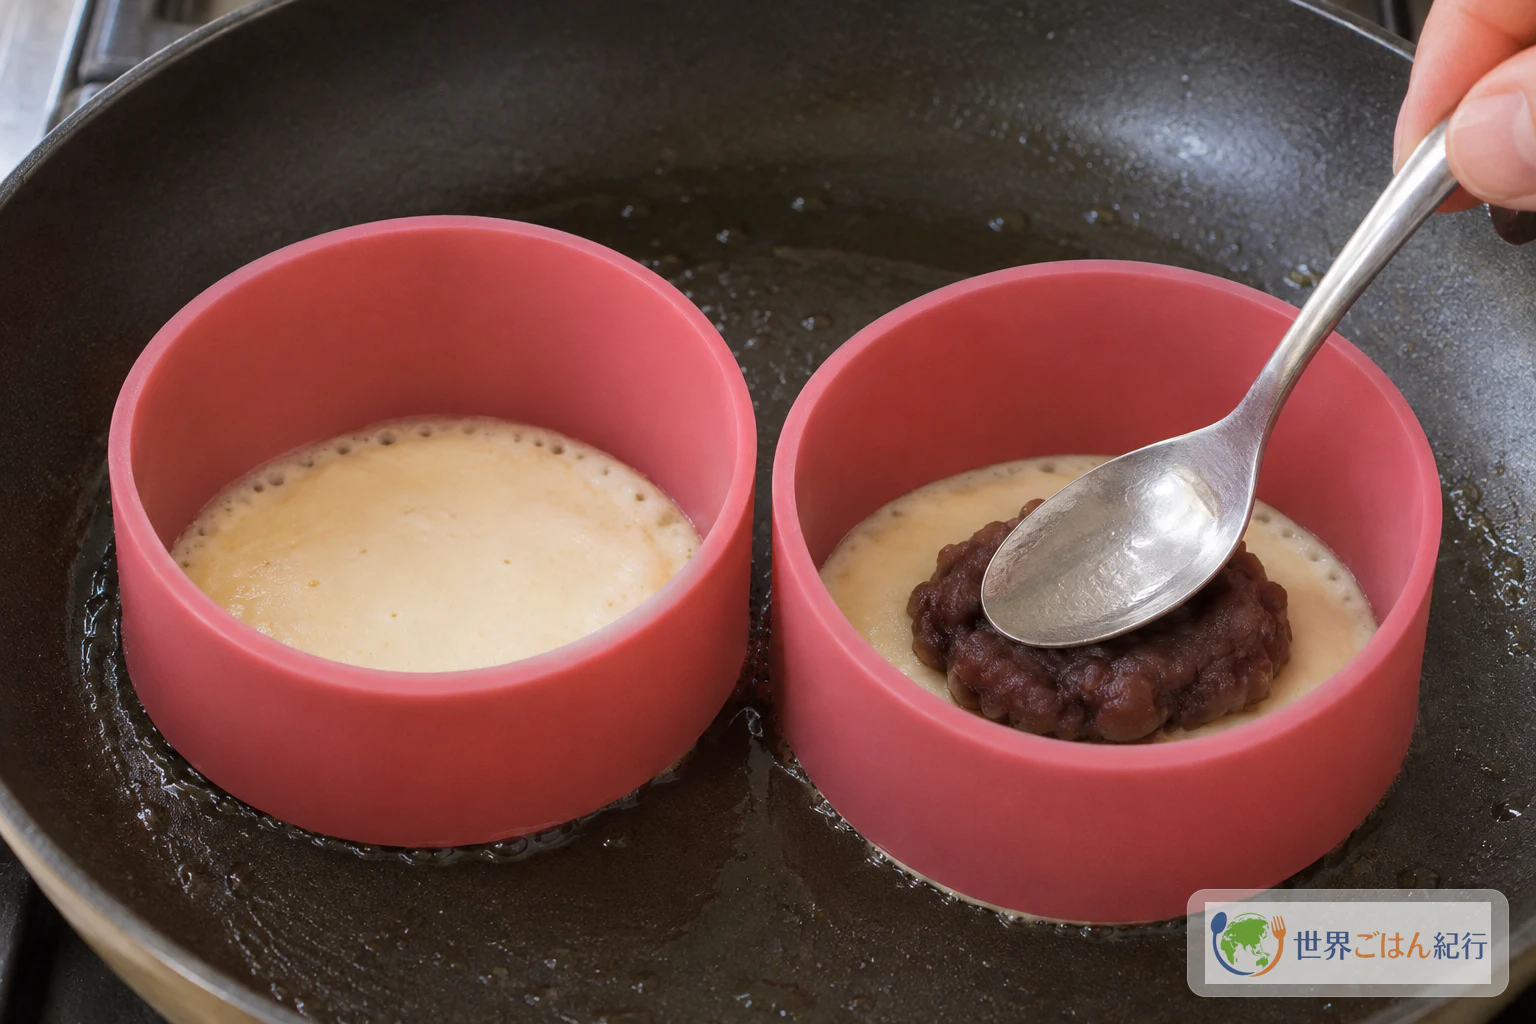
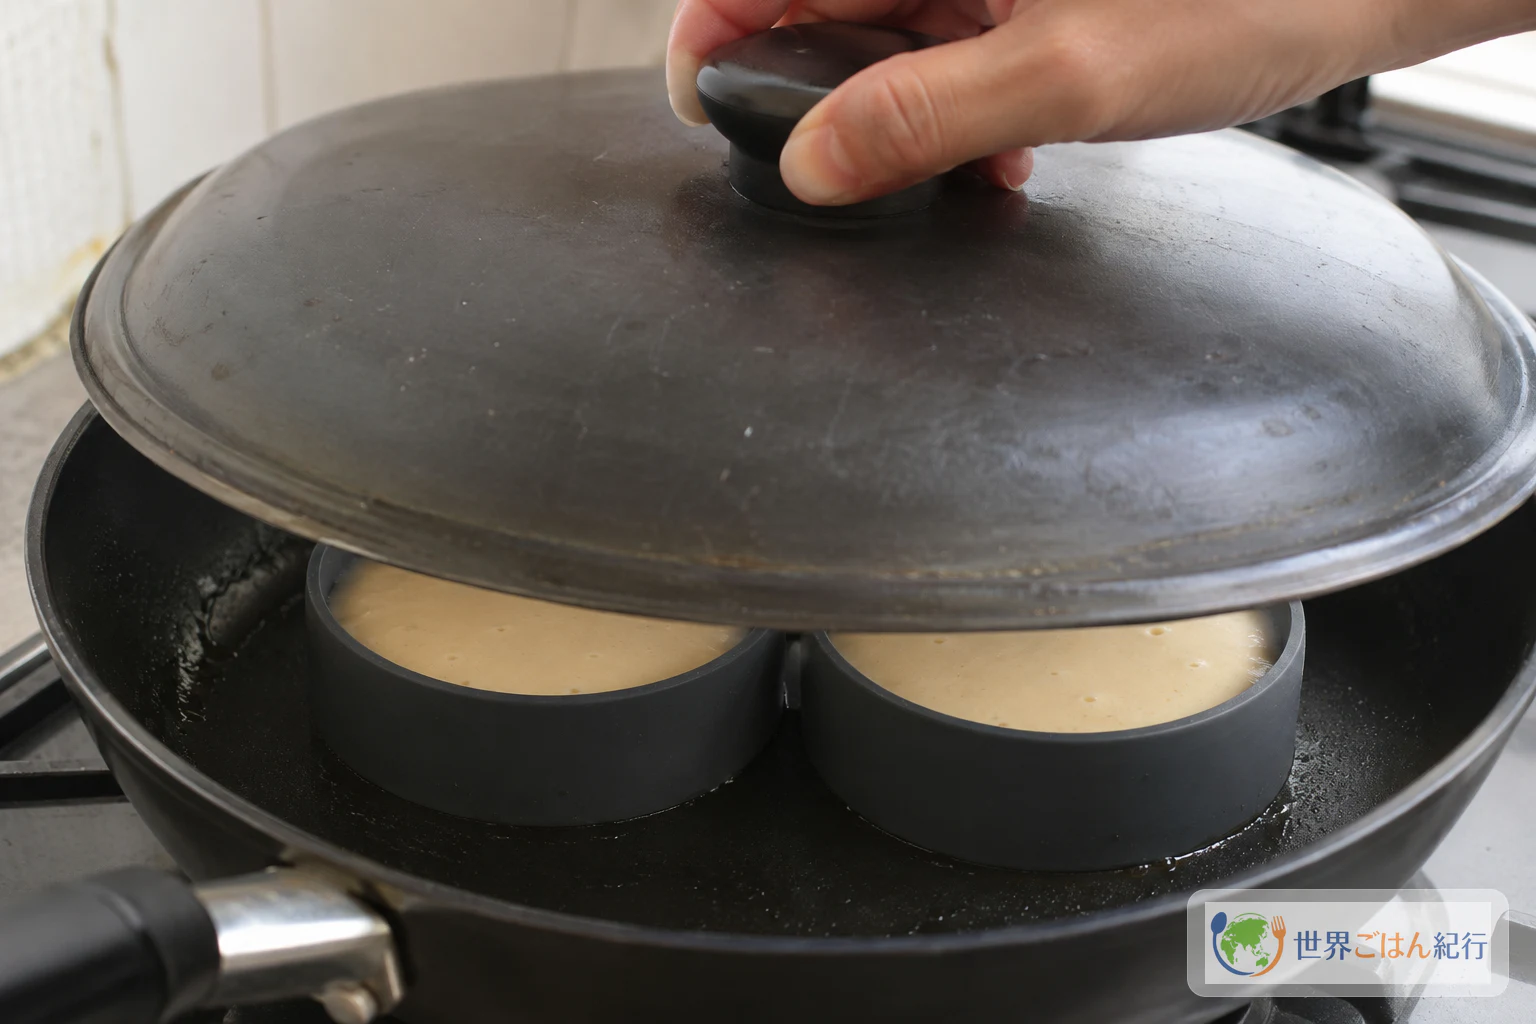
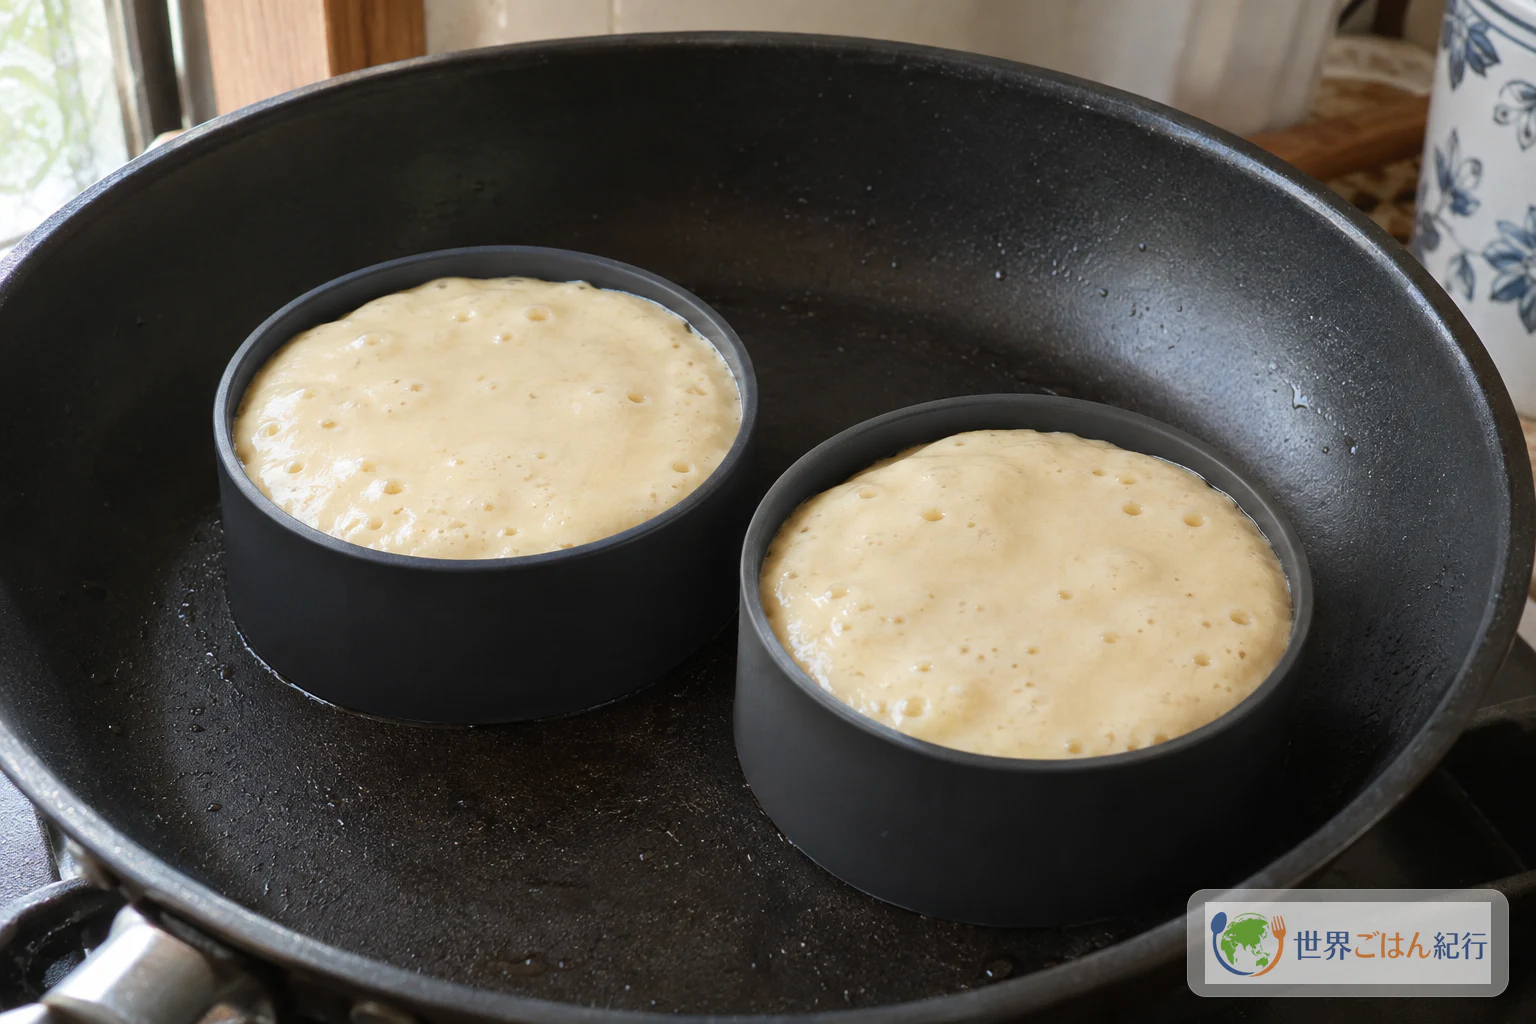
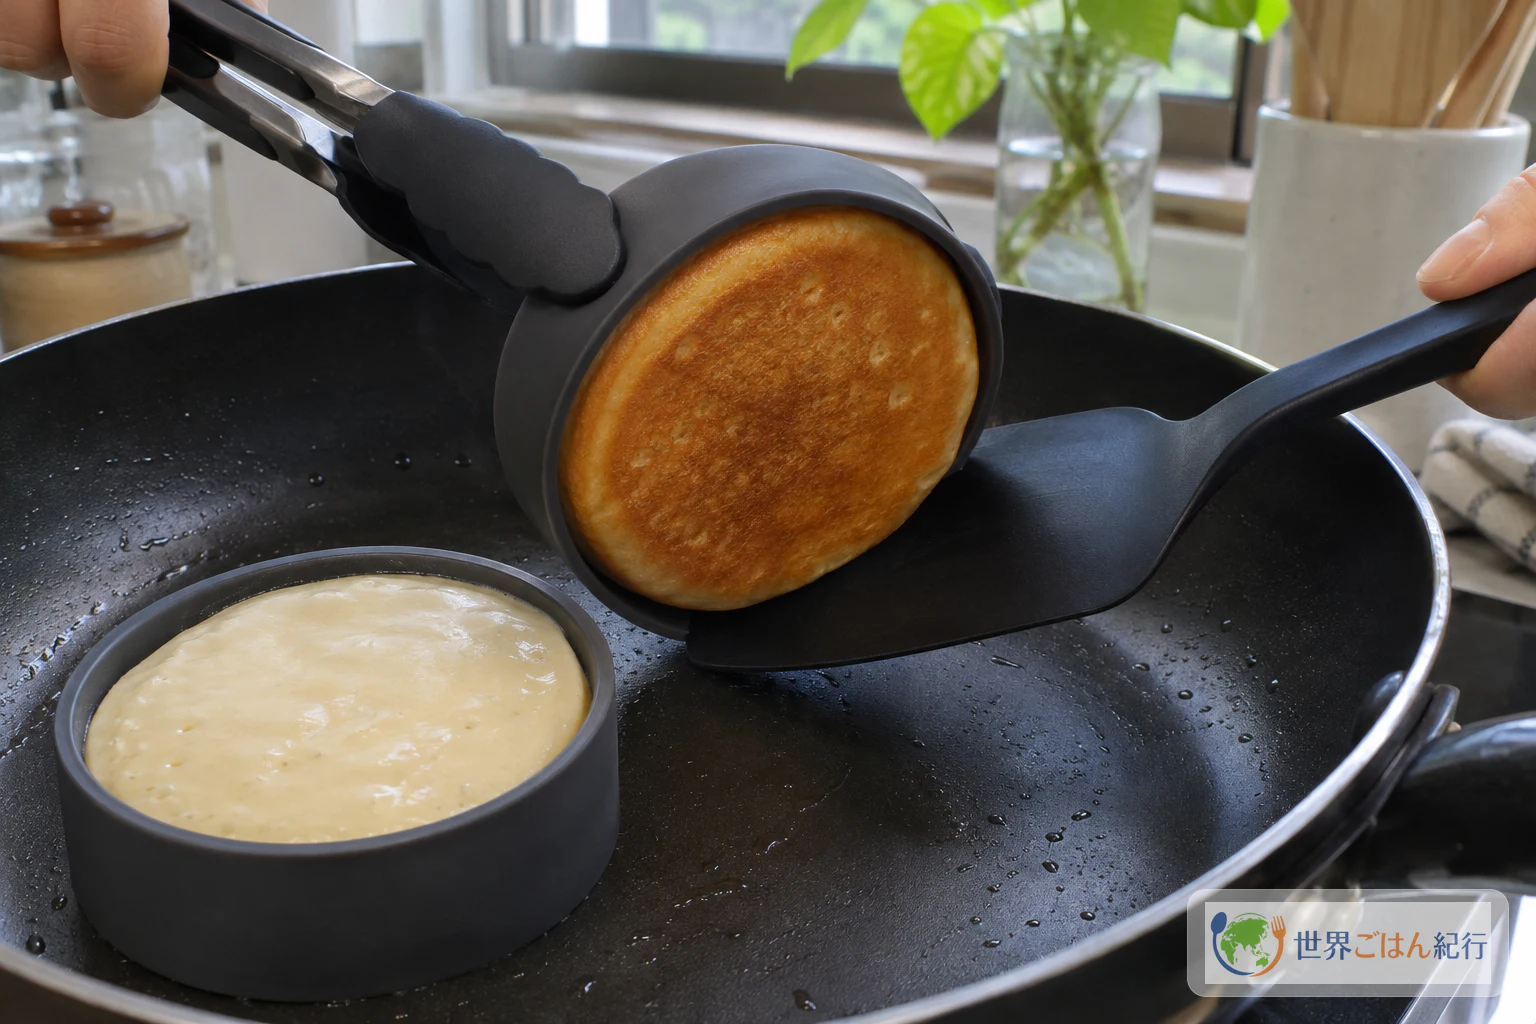
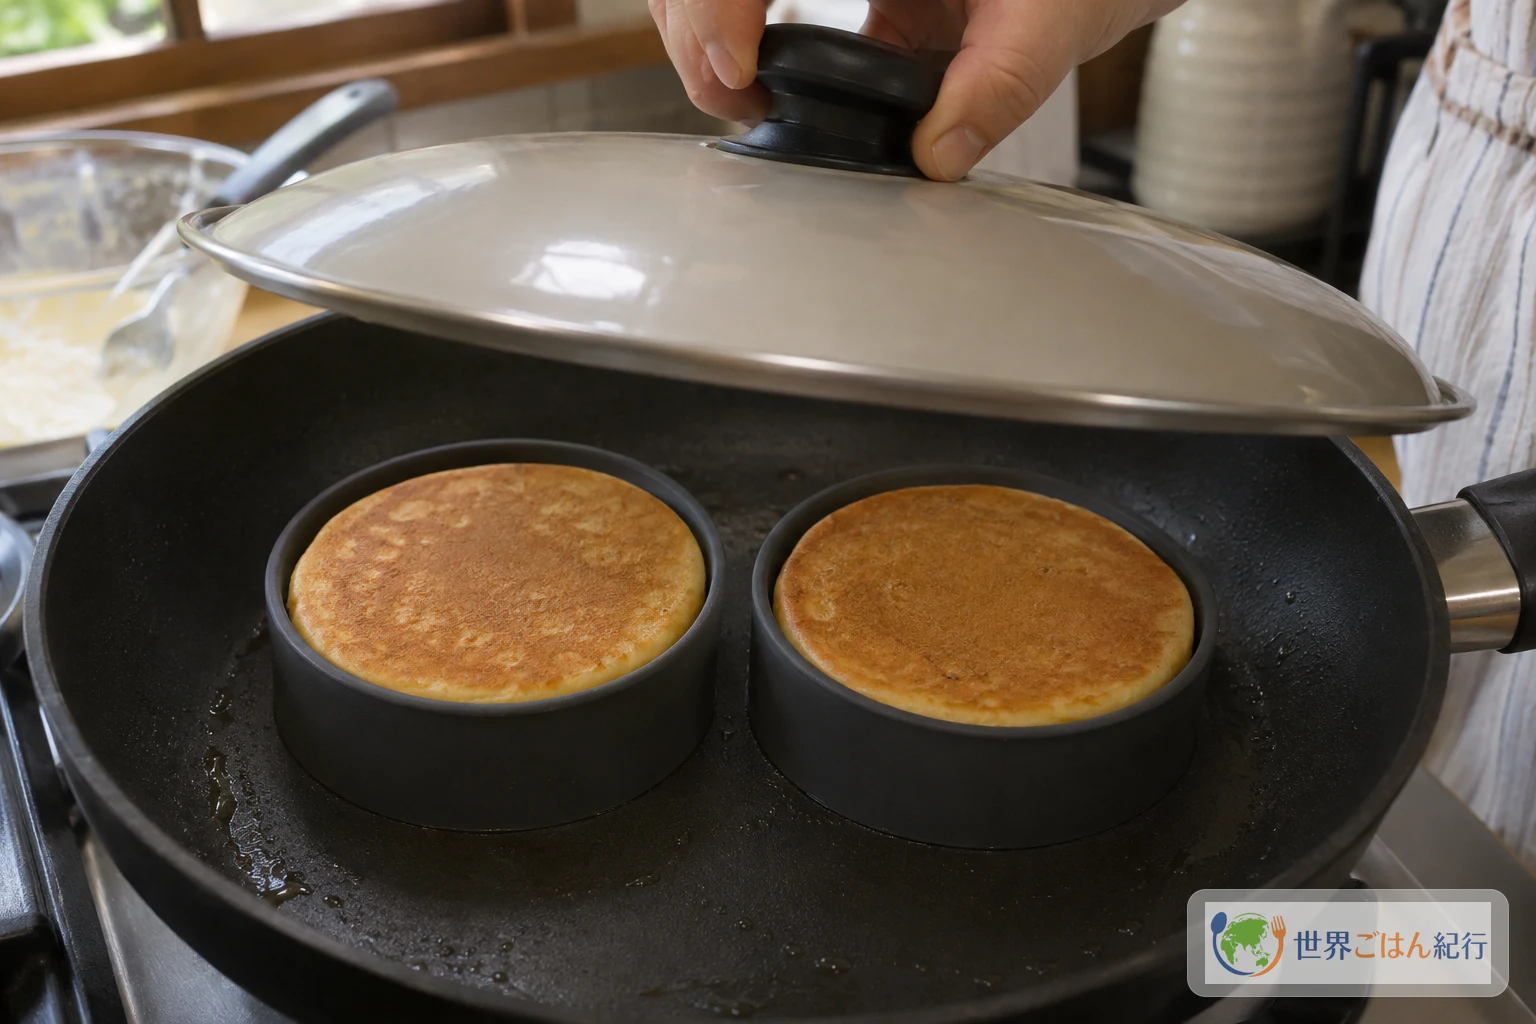
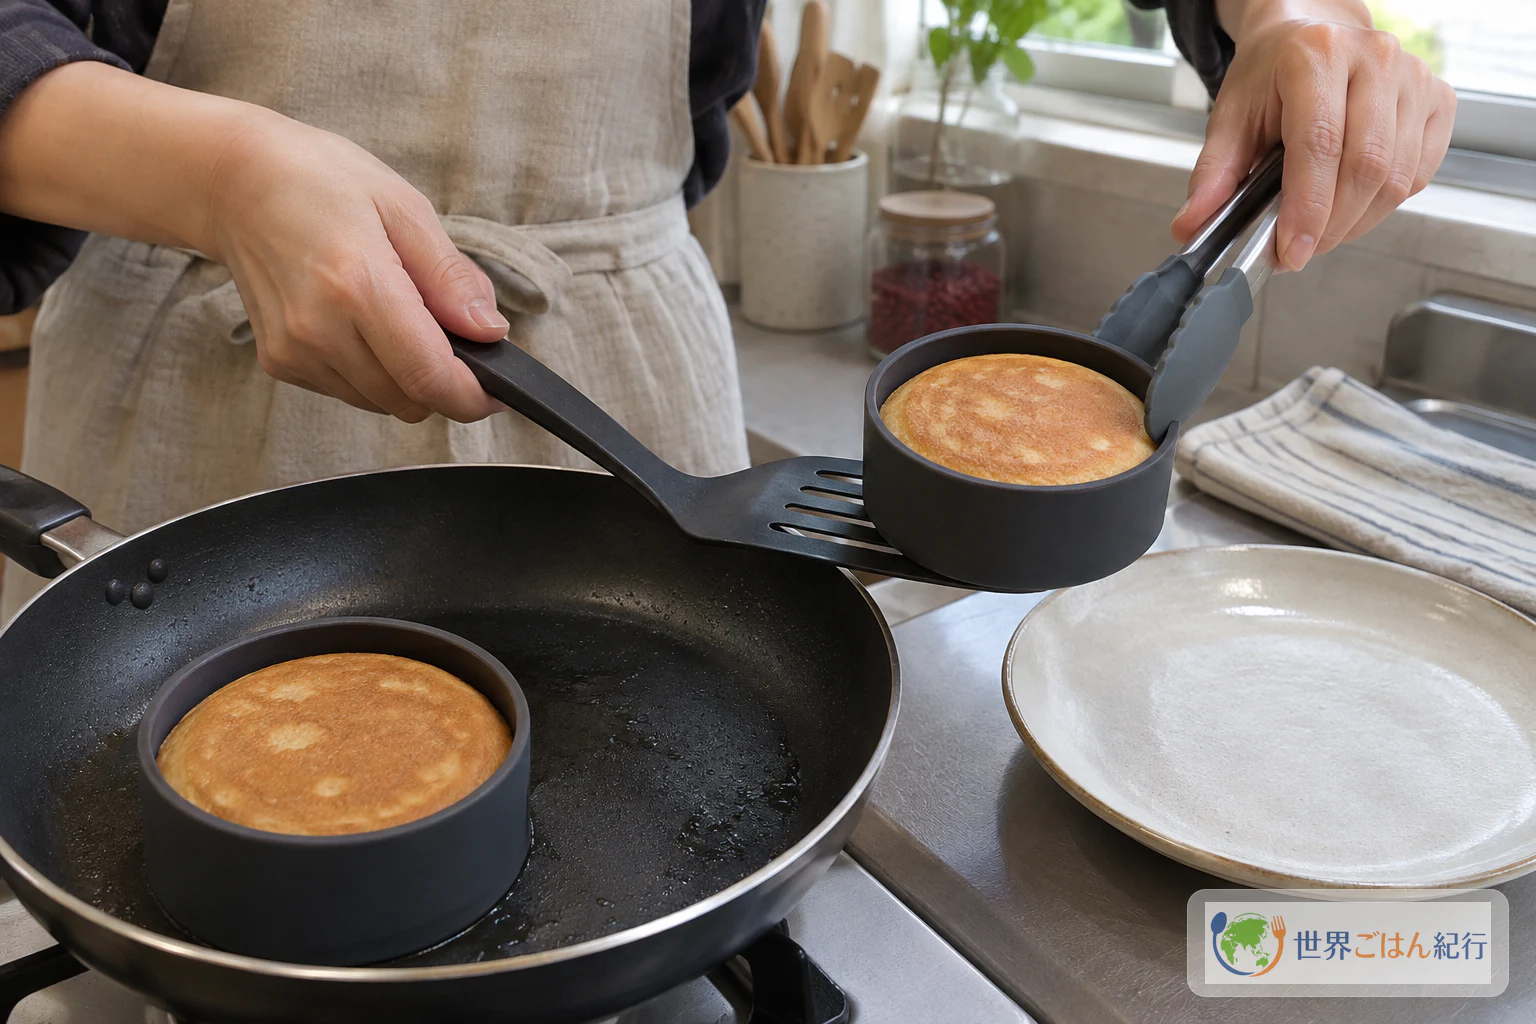
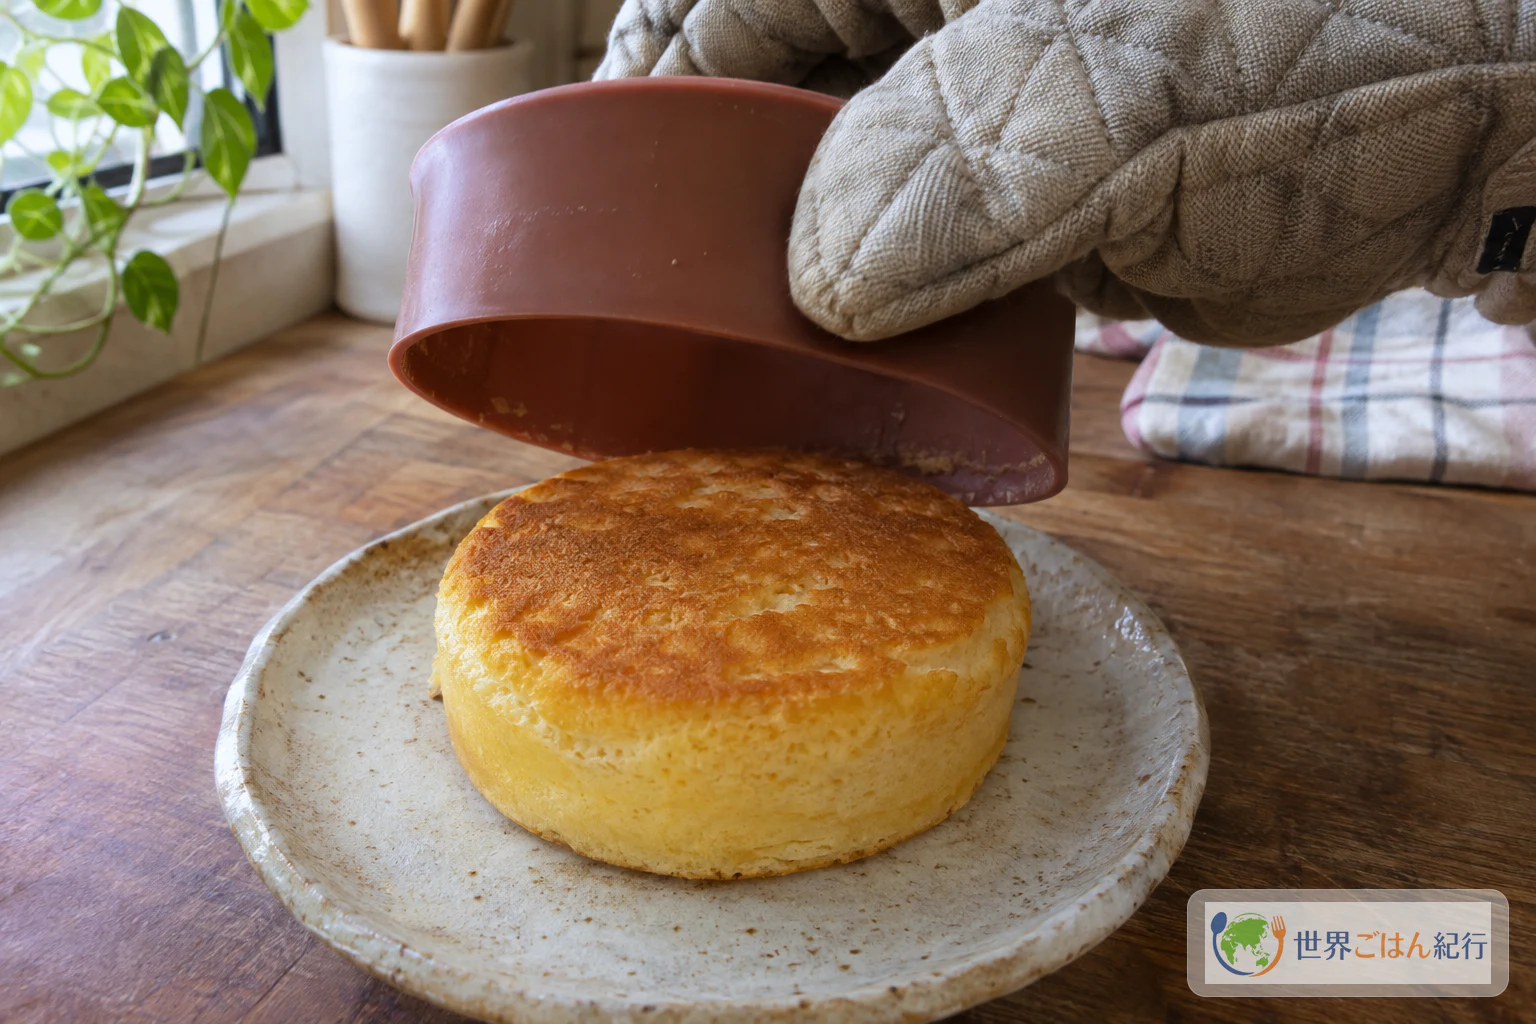
Pale batter goes into two silicone rings standing in a frying pan, only a short way up the sides. Under the lid, small bubbles slowly rise across its surface. Then a spoonful of chunky red bean paste goes into the center of each, the rest of the batter covers it, and the cakes are turned so the second side can brown. Imagawayaki (今川焼き) is a round Japanese sweet with sweet bean paste baked between layers of cake.
In Japan, these cakes are usually cooked on a dedicated griddle with round wells. This recipe is a home-kitchen version from Delish Kitchen, a Japanese recipe site, and the recipe is credited to Junko Fujiwara (ふじわらじゅんこ). It replaces the griddle with two 8 cm-diameter silicone molds made for use in a frying pan, plus an ordinary pan with a lid. The cakes are cooked one side at a time, so the result will not have the same tools or the same browning pattern as a commercial cast-iron griddle. It does give a clear set of amounts and a clear order of work for a first try without special equipment.
The recipe makes two cakes. The amounts, steps and cooking times below follow Delish Kitchen's recipe. Sekai Gohan has not kitchen-tested this recipe.
Ingredients for 2 Cakes
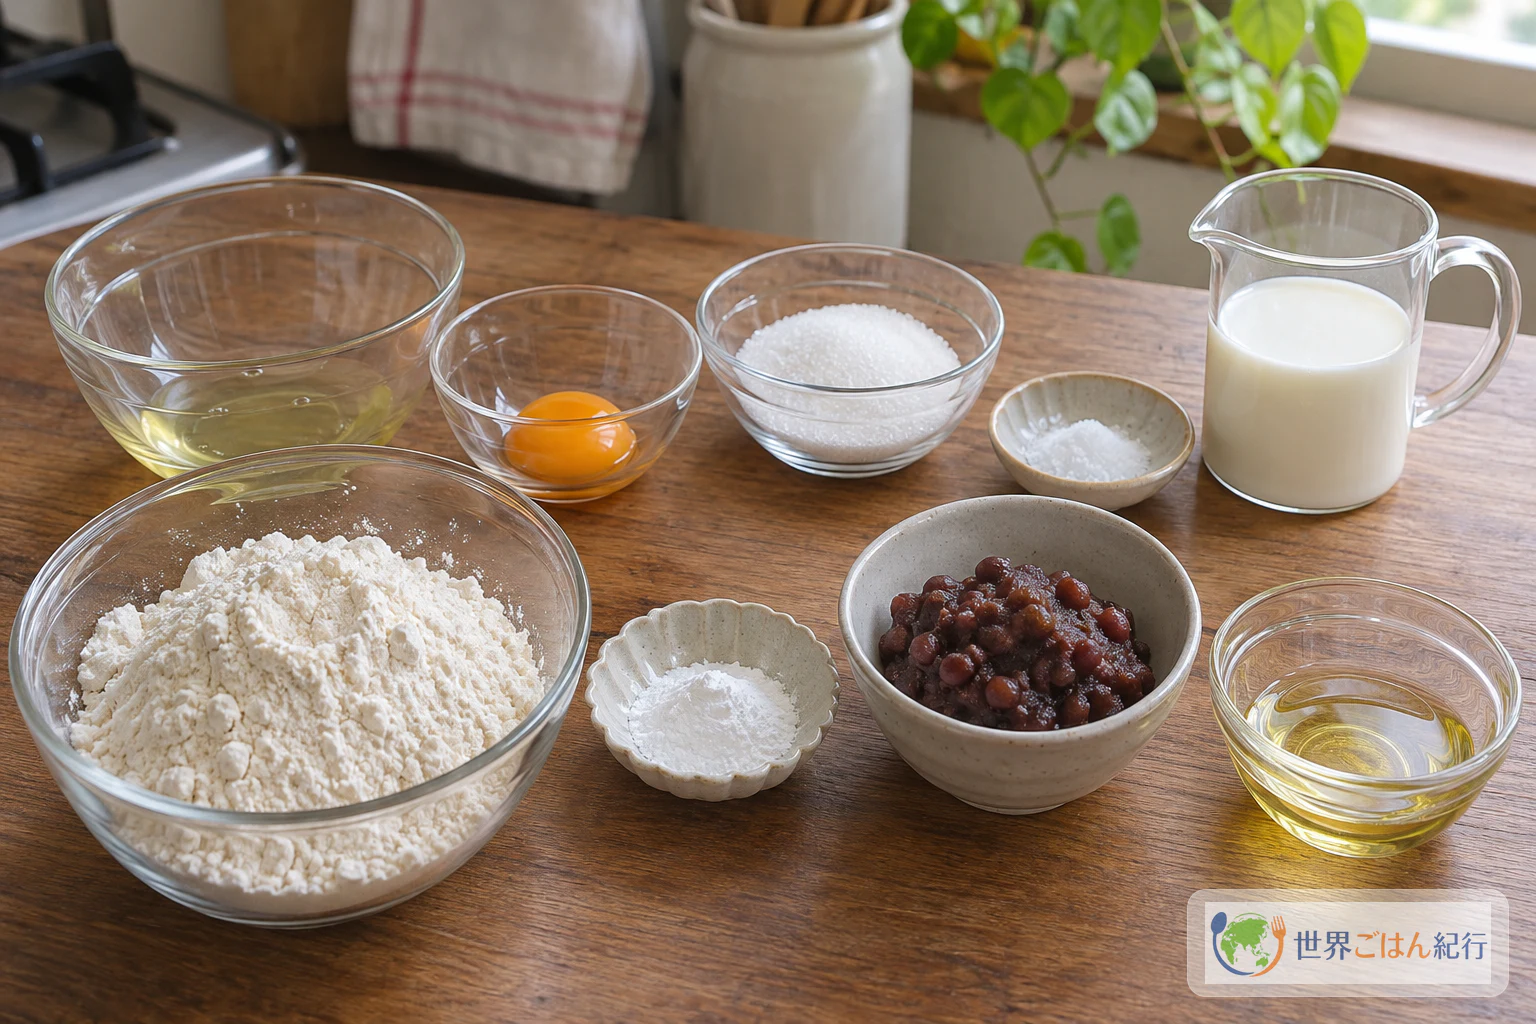
These amounts fill two silicone molds 8 cm in diameter. The 8 cm is the width of the mold, not its height.
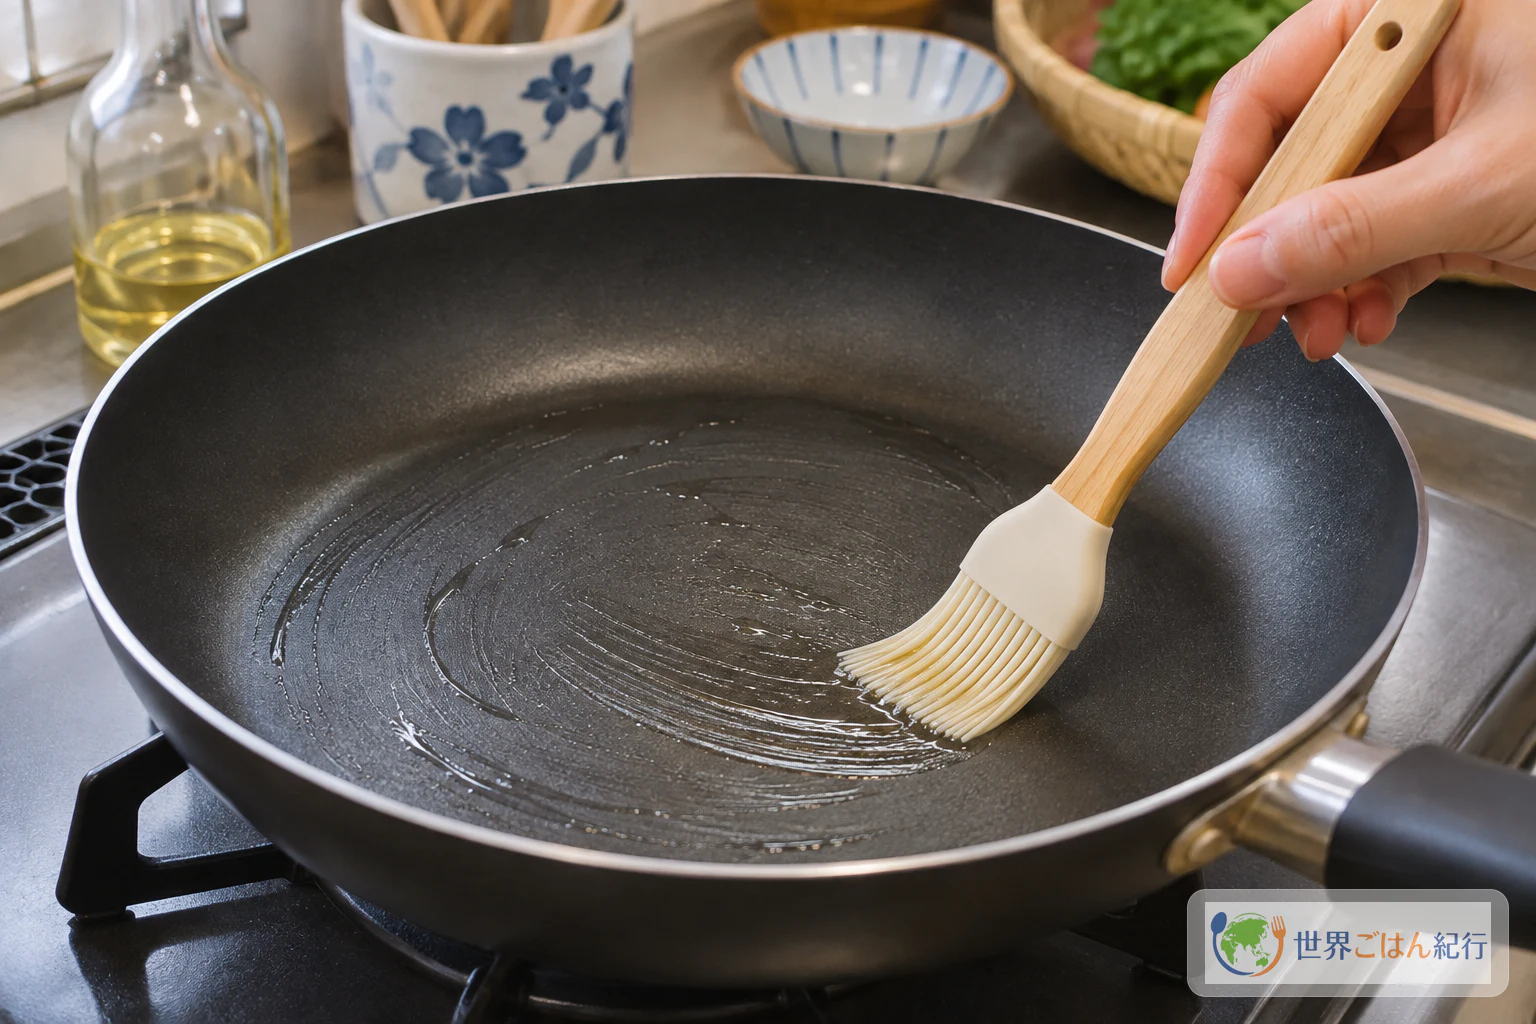
The oil goes on the pan only. No water is added to the pan for steaming; the lid alone holds in the heat.
This recipe contains wheat, egg and milk. Check the ingredient label on the bean paste you buy.
Equipment
- Frying pan with a lid
- 2 round silicone molds, 8 cm in diameter, made for heating in a frying pan (sold as rings for thick pancakes)
- Mixing bowl
- Whisk
- Sieve
- Small jug or ladle for pouring batter
- Heatproof spatula and heatproof tongs for turning and lifting
- Oven mitt
- Heatproof plate
Choosing the Mold and the Bean Paste
The mold is the part not to compromise on. Silicone that is simply labeled oven-safe is not enough: the mold has to be one the maker says can be heated in a frying pan, such as a ring sold for thick pancakes. Heat ratings differ from product to product, so follow the label on the mold you buy, and check its diameter there too. Foil cups, paper cups and other improvised containers are not part of this recipe, so don't swap them in.
The rest of the shopping is ordinary: cake flour, eggs, milk, sugar, baking powder, neutral cooking oil and ready-made chunky bean paste (tsubuan) are all everyday supermarket items in Japan, and no particular brand is needed. Outside Japan, ready-made tsubuan is usually found at Japanese or other Asian grocers. Use milk and the frying-pan-compatible silicone molds for this method.
Method: Thin Base, Bean Paste, Top Layer, Turn
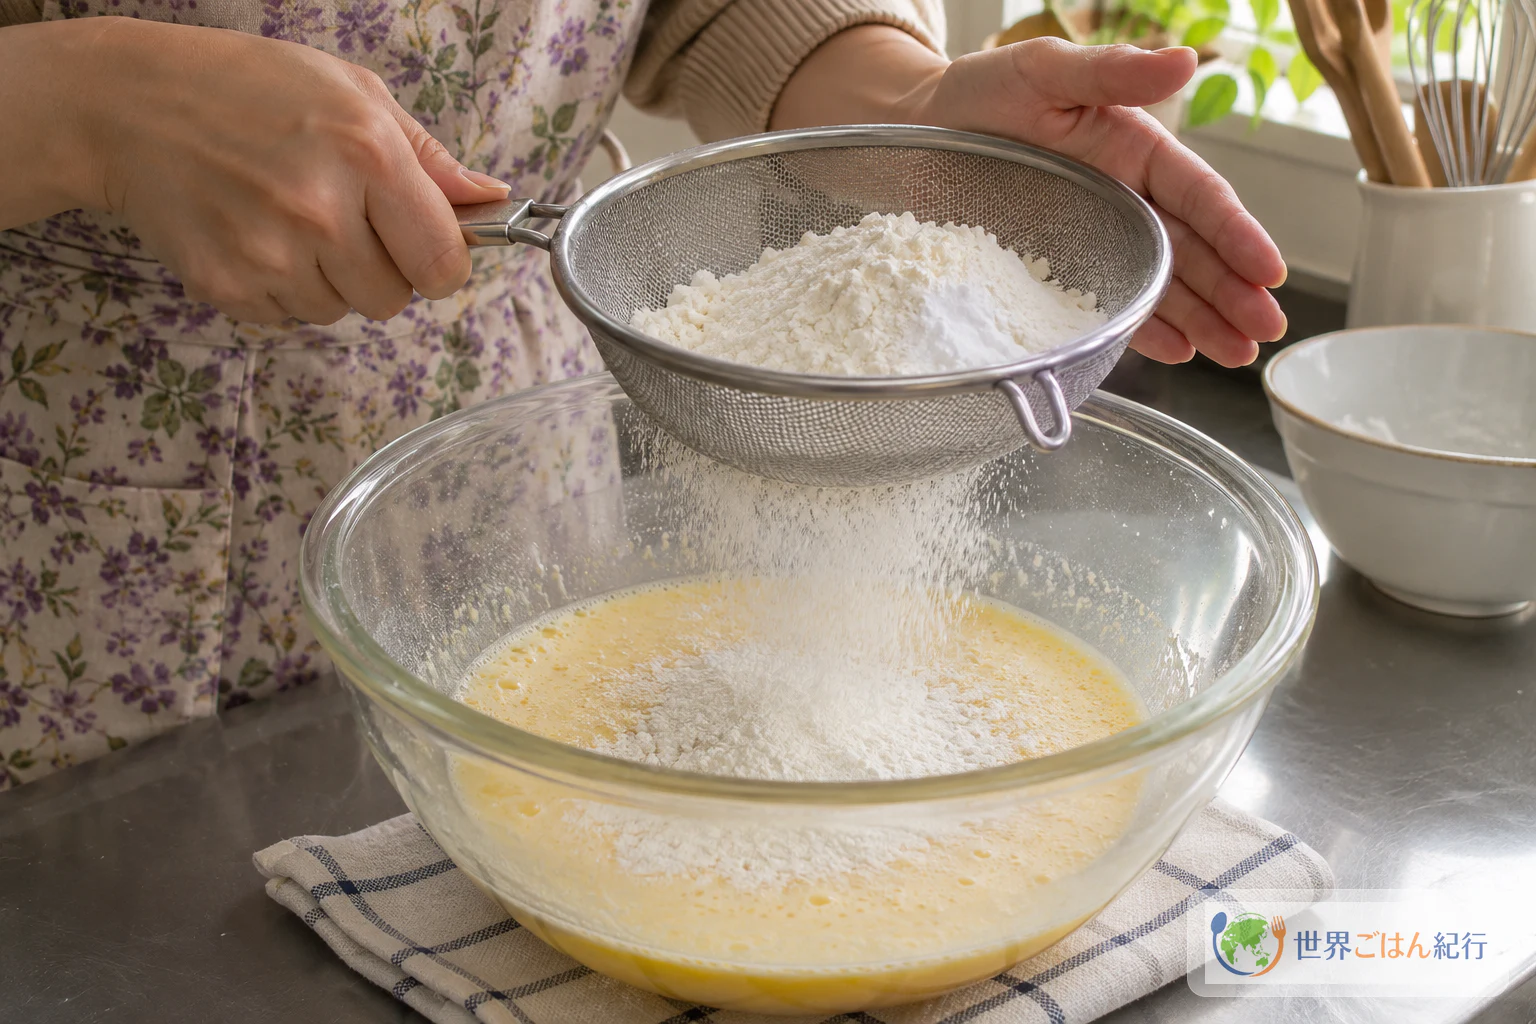
Each cooking time below is a guide: about 10 minutes, then about 5 minutes, then 5–10 minutes after turning. Stoves, pans and molds differ, so watch the surface of the batter as well as the clock. Allow about 40 minutes for the whole recipe. That figure covers the entire job, including mixing and preheating, so it is not meant to match the cooking times added together.
Serving: Straight From the Pan
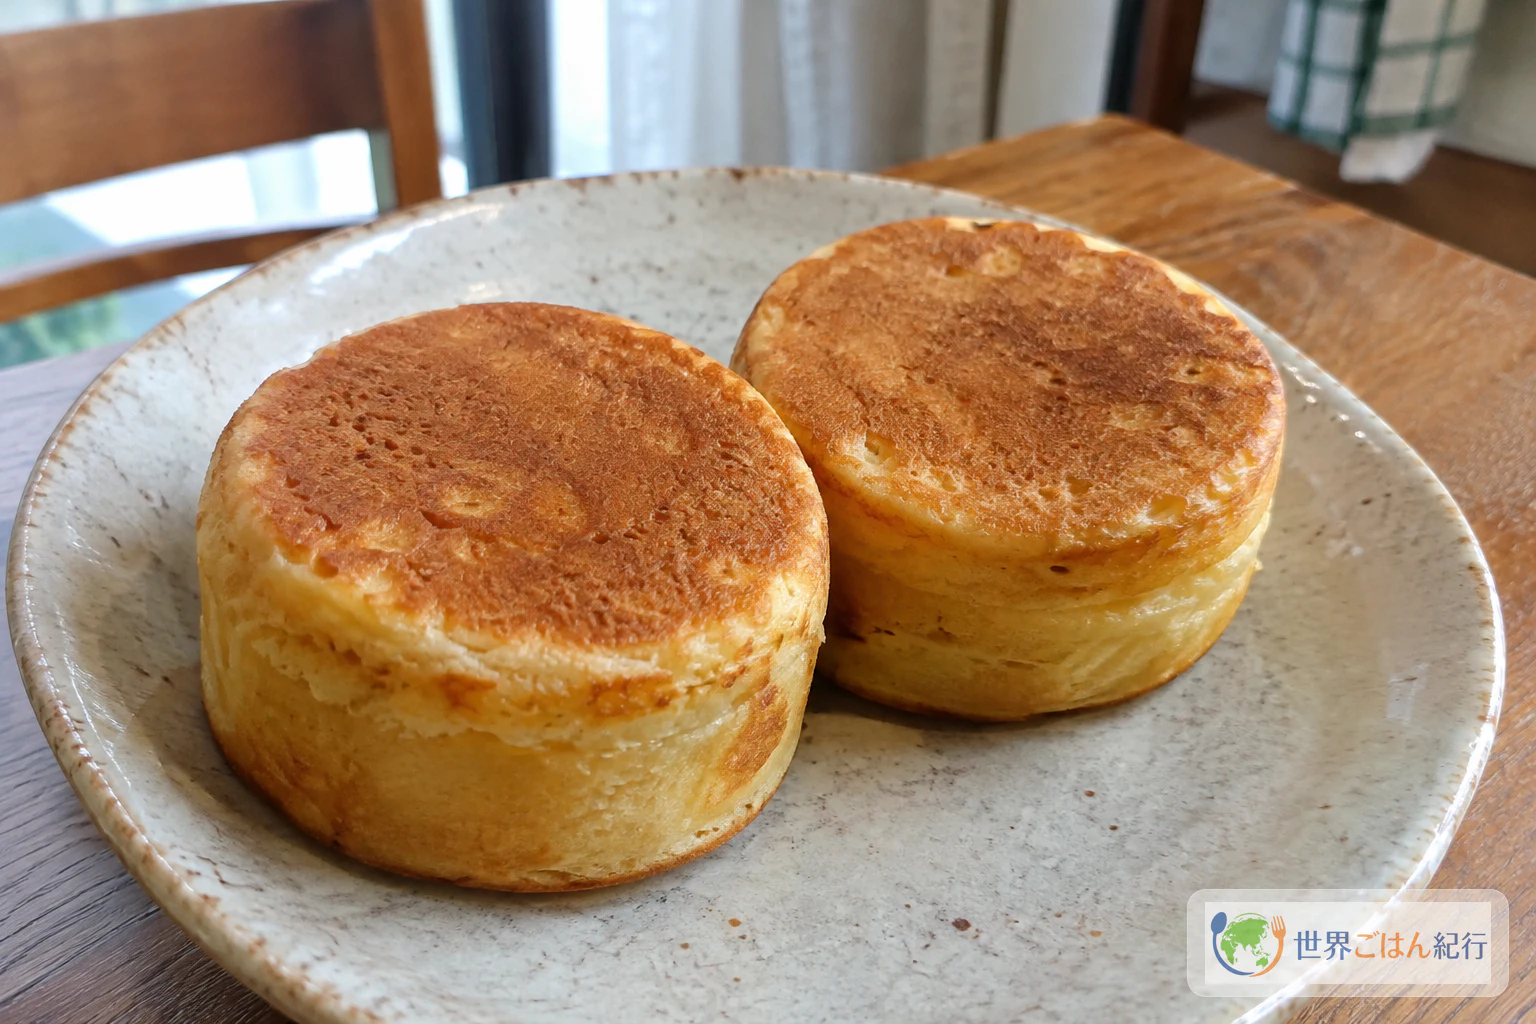
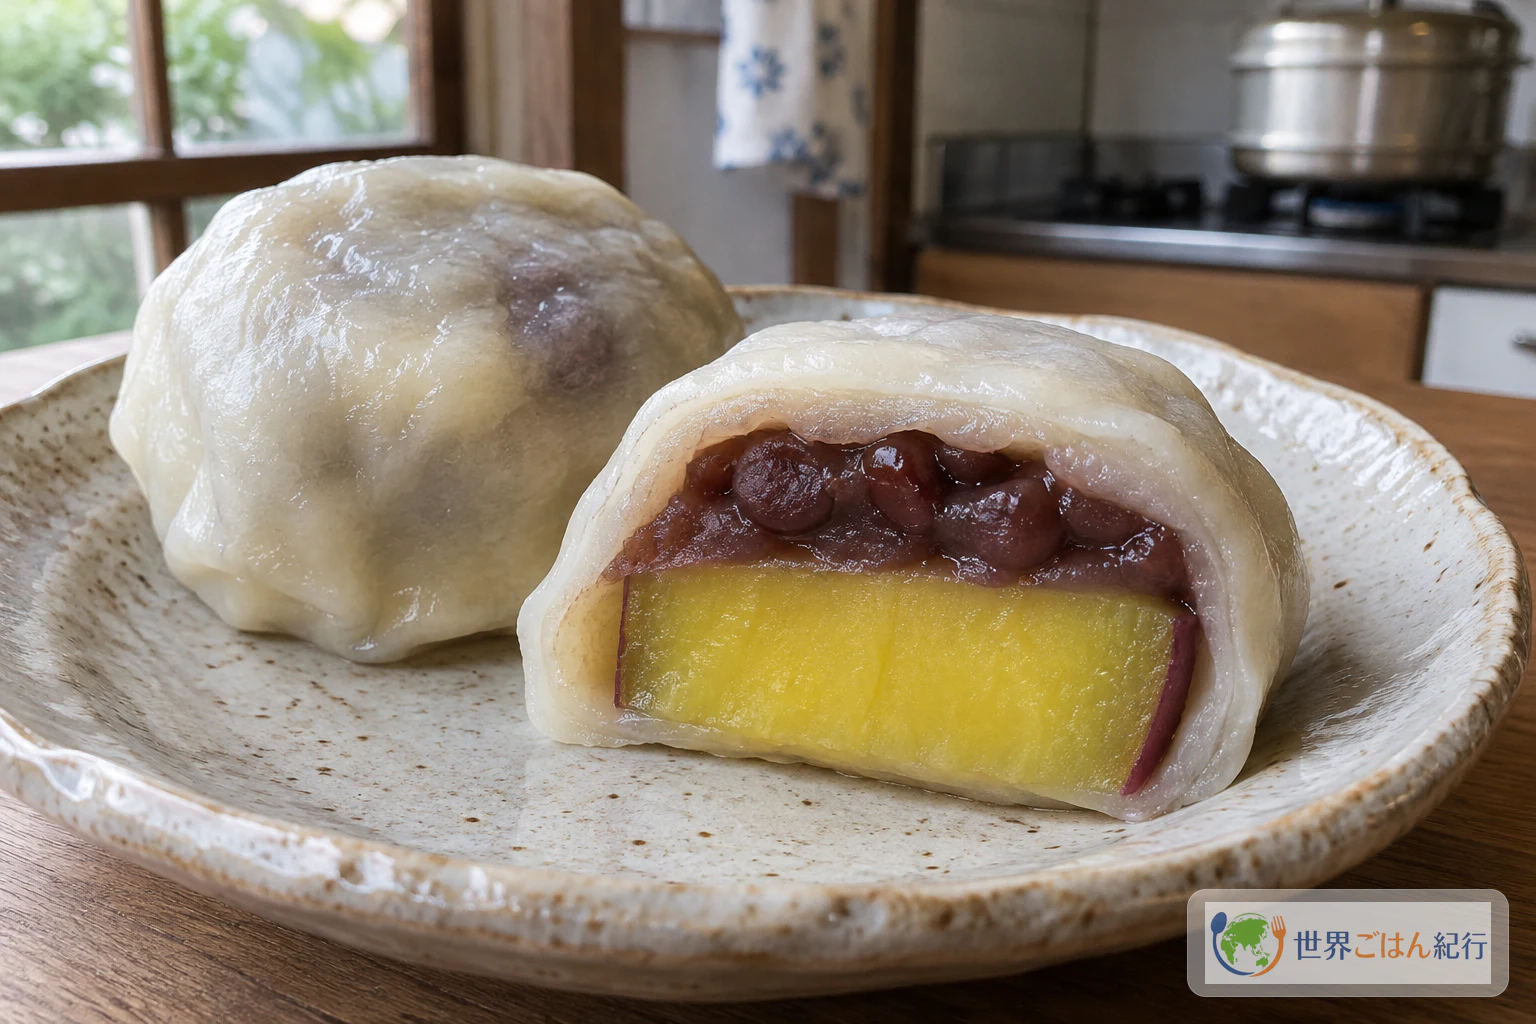
Serve the cakes freshly made. The bean paste inside holds heat, so take care with the first bite. Cutting one in half shows how the bean paste sits between the two layers of cake.
None of the sources consulted for this article give a storage period, freezing method or reheating method for these cakes, so this article doesn't suggest one.
Troubleshooting
| What happens | Likely cause | What to do |
|---|---|---|
| The bean paste ends up to one side or shows at the edge | It was placed near the edge, or not pressed into the base | Set the paste in the center, away from the edges, and press it lightly into the first layer before pouring the rest of the batter |
| The surface is still wet with no bubbles when the time is up | Stoves and pans differ; the times are guides | Keep the heat low, cover again and keep cooking until the bubbles appear |
| The bottom browns too fast | Heat too high after preheating | Turn the heat down to low before the first pour, and don't leave the pan unattended |
| The cake shifts or slips while turning | Only the mold, or only the cake, was held | Support the cake from below with a spatula and hold the mold with tongs, then turn them together |
| The mold warps or softens | The mold isn't made for frying-pan heating | Use only molds labeled for heating in a frying pan, and follow their heat rating |
Other Versions and Fillings
The recipe on this page uses chunky bean paste (tsubuan) only. Other fillings are outside what this recipe covers, so how they would behave with these amounts and times is unknown.
The confectioner Imuraya publishes a very different home version called Korokoro Imagawayaki (ころころ今川焼き). It uses a takoyaki plate to make twelve small, ball-shaped cakes, with pancake mix, cocoa and cream cheese, and lists about 30–60 minutes for the whole job. It is a separate recipe with its own tools and ingredients. Don't mix its ingredients or steps into the frying-pan version above.
Where Imagawayaki Comes From
The question of who invented imagawayaki, and where, was put to the Saitama City Central Library and is recorded in the National Diet Library's Collaborative Reference Database. The library's answer is an investigation of reference books rather than a reading of the historical documents themselves, and it should be read that way.
According to that answer, encyclopedias describe the cakes as being sold near Imagawa Bridge (今川橋) in Kanda, Edo (present-day Tokyo), from around the An'ei era in the mid-Edo period. The answer also points to a 1777 publication, 富貴地座位, which lists "Imagawayaki Nasuya Yahei" (今川焼き 那須屋弥平). The library could not confirm who first made the cakes or which shop was the first to sell them. So the Imagawa Bridge account is best taken as a description found in reference books, not a settled origin.
For other dishes from the same country, see more Japanese recipes.
Frequently Asked Questions
Do I need a dedicated imagawayaki griddle?
Not for this recipe. It is built around two 8 cm-diameter silicone molds that can be heated in a frying pan, plus a pan with a lid. Other tools, such as a griddle with round wells or a takoyaki plate, belong to other recipes with their own amounts and methods.
Can I use any silicone mold?
No. The mold must be one the maker says can be heated in a frying pan, such as a ring for thick pancakes. A mold that is only labeled oven-safe isn't enough. Check the product label for its heat rating and size.
Should I oil the molds or add water for steaming?
No. Delish Kitchen's recipe spreads the oil thinly over the pan only and cooks with the lid on. It doesn't oil the molds separately or add water.
Why do the cooking times not add up to 40 minutes?
The roughly 40 minutes listed for the recipe covers the whole job, including mixing and preheating. The cooking times in the steps (about 10 minutes, about 5 minutes, then 5–10 minutes) are separate guides for each stage. Neither the times nor the photos prove that a cake is done; watch the surface and keep the heat low.
Can I use smooth bean paste or another filling?
Delish Kitchen's recipe uses chunky bean paste (tsubuan). Other fillings haven't been checked with these amounts and times.
Who invented imagawayaki?
No one knows for certain. Reference books cited in a library's research answer describe the cakes as being sold near Imagawa Bridge in Kanda from around the mid-Edo period, but the inventor and the first shop could not be confirmed.
How long do they keep?
None of the sources consulted for this article give a storage time, so this article doesn't suggest one. They are meant to be eaten freshly made.
Sources
- Delish Kitchen (every, Inc.), "フライパンで作る♪ 今川焼き" (Imagawayaki made in a frying pan), recipe by Junko Fujiwara (ふじわらじゅんこ). The recipe on this page: the yield of two 8 cm-diameter silicone molds, all eight ingredients and amounts, the order of the steps, the cooking times of about 10 minutes, about 5 minutes and 5–10 minutes, and the requirement for silicone molds that can be heated in a frying pan. https://delishkitchen.tv/recipes/236053139801769060
- National Diet Library, Collaborative Reference Database (answering library: Saitama City Central Library), "今川焼はいつどこで誰が考案したか知りたい。" (When, where and by whom was imagawayaki invented?). The encyclopedia descriptions of the cakes sold near Imagawa Bridge in Kanda from around the An'ei era, the 1777 publication mentioned in the answer, and the finding that the inventor and first shop could not be confirmed. https://crd.ndl.go.jp/reference/entry/index.php?id=1000143045&page=ref_view
- Imuraya Co., Ltd., "ころころ今川焼き" (Korokoro Imagawayaki). A separate takoyaki-plate version with pancake mix, cocoa and cream cheese, used here only for comparison. https://www.imuraya.co.jp/recipe/azuki/imagawayaki/?view=pc