Medovik: Russian Layered Honey Cake with Sour Cream Filling
Medovik (Медовик) is a Russian honey cake of thin baked honey layers stacked with sour cream. Step-by-step photos cover the double-boiler dough temperature, layer thickness, why it rests overnight, a small 12 cm version, substitutes, storage, common mistakes and serving it with tea.
This recipe was translated from the Japanese original by the Sekai Gohan editorial team. Read the original (Japanese)
Prep1 hr 20 min
Cook45 min
Total10 hr
Serves8 slices (one 12 cm cake)
LevelIntermediate
Wait overnight, and the honey layers soften
Medovik isn't eaten right after baking; it rests overnight in the fridge so the layers turn moist again
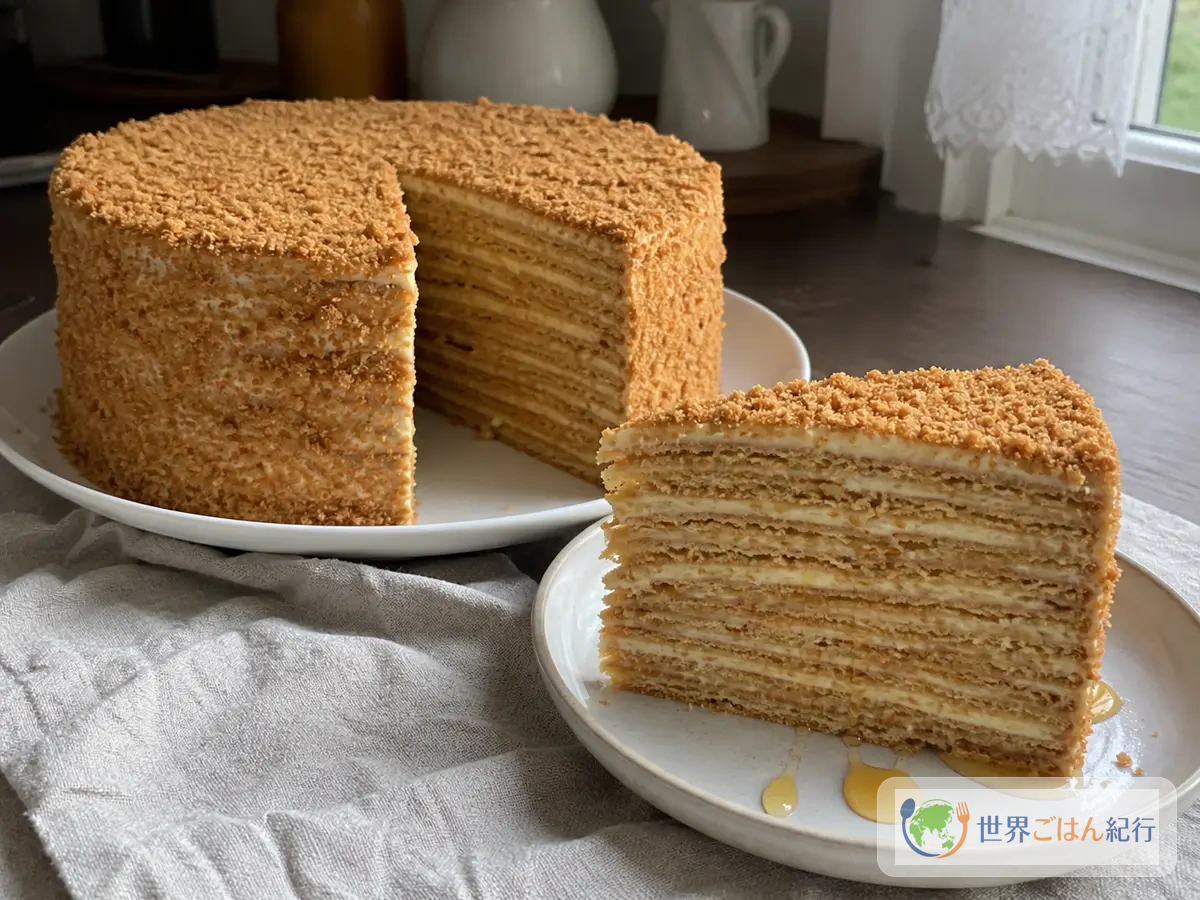
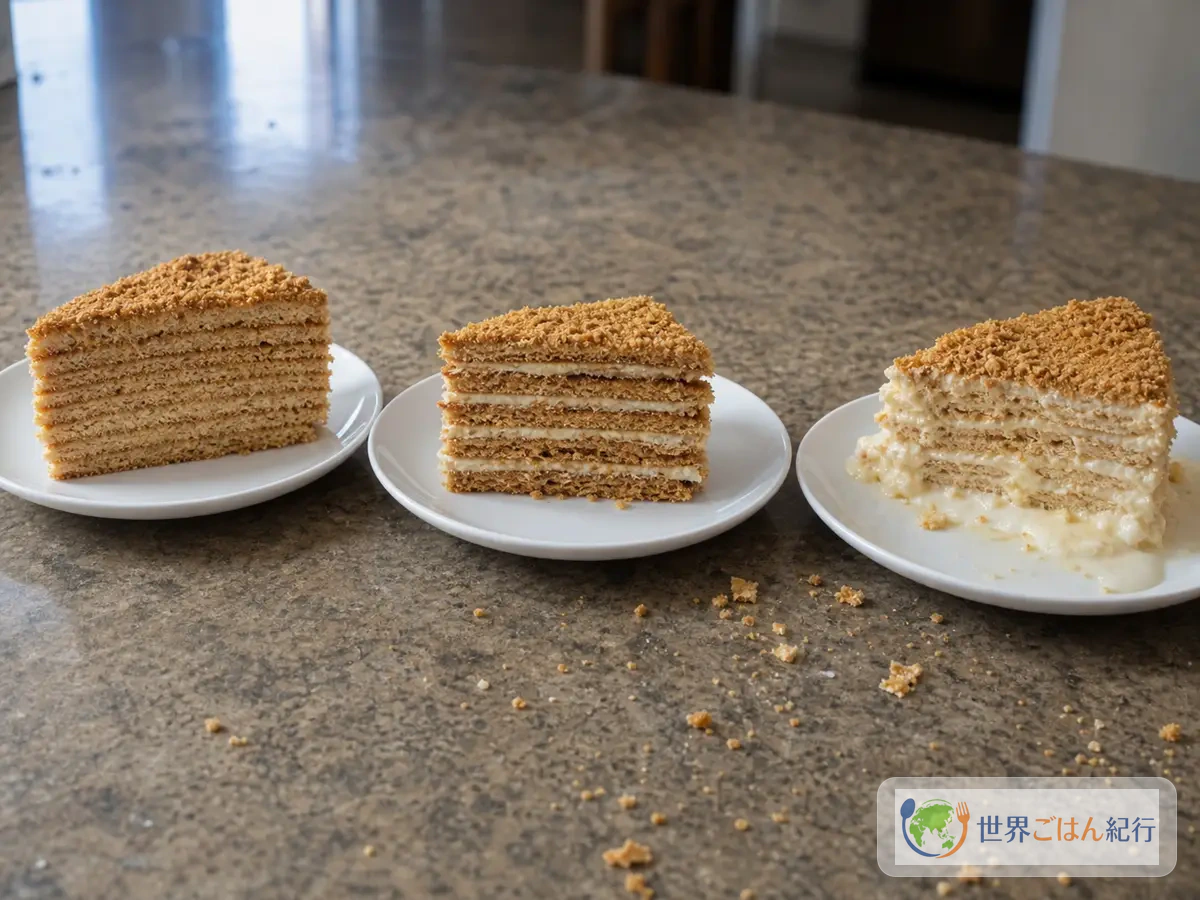
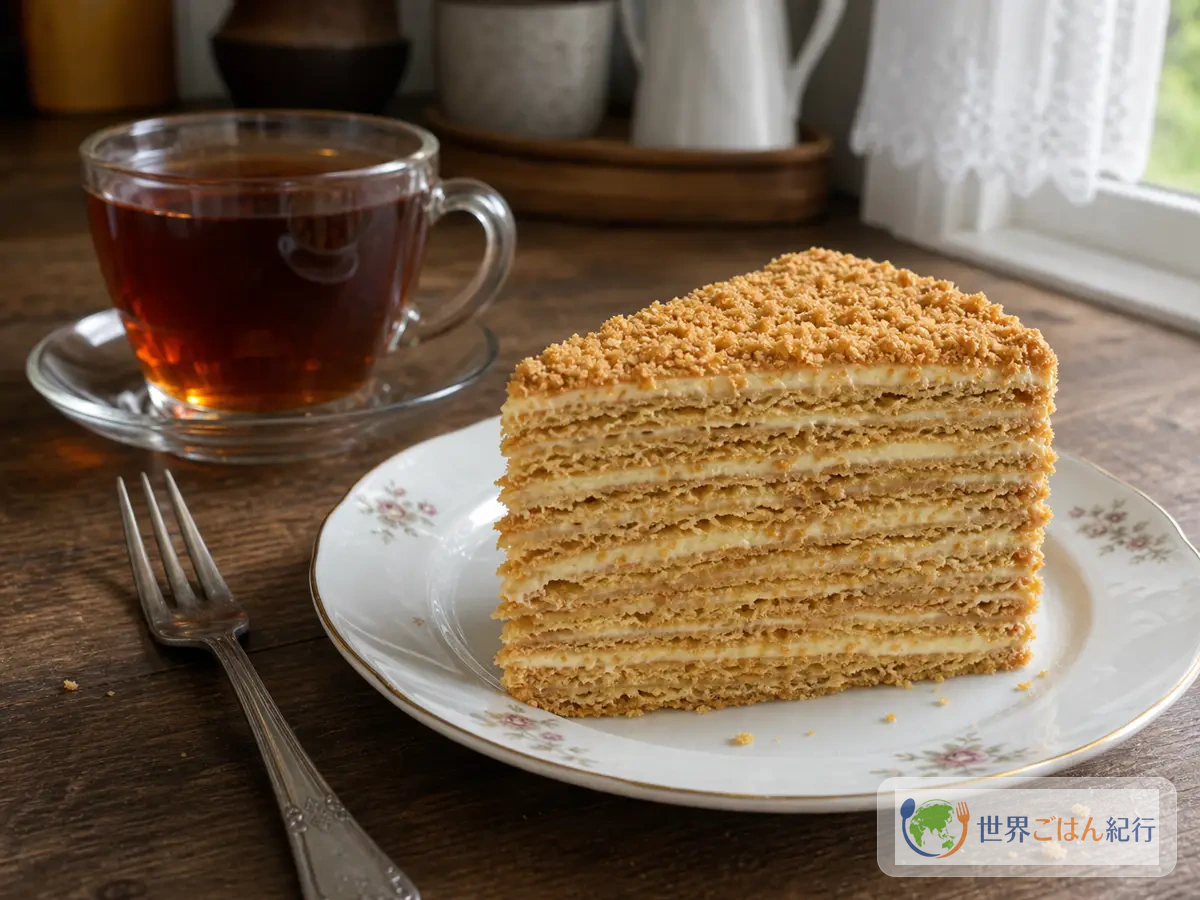
Take the round cake out of the fridge and slide in a knife, and the first thing you notice is not firmness but quiet. Freshly baked honey layers are crisp, but a medovik (Медовик) that has soaked up cream overnight lets the knife glide between the layers, leaving many thin lines on the cut face. There is no showy fruit or chocolate, yet honey, caramelized sugar and the tang of dairy linger slowly. That is this cake.
The Russian word "мёд" means honey. As the name says, medovik is a honey cake, but it isn't made by baking one thick sponge like many honey cakes elsewhere. Honey, sugar and butter are warmed over a double boiler, the dough is lightened with a little baking soda, rolled thin and baked as many separate layers, and the layers are stacked with a tangy cream close to smetana. It works best to think of it as a cake that is finished the day after you bake it.
The tricky parts in a home kitchen are the thickness of the honey layers and the moisture of the cream. If the layers are thick, the center stays like a biscuit even after resting in the fridge. If the cream is loose, it slides out sideways as you stack, and by the next morning the cake has collapsed on the plate. This recipe makes one small cake 12 cm across, so the layers are easier to manage in a home oven. If vatrushka (in Japanese) is a sweet morning bun, medovik is a Russian sweet worth waiting for, cut a little at a time to go with tea.
Spelling and pronunciation
In Russian it is written Медовик, and in English medovik. Spellings vary in Japanese too. This article uses "medovik," which stays close to the original sound and is easy to read.
Ingredients and how to think about substitutes
Split the ingredients into dough and cream, and decide on the honey aroma and the cream's tang first
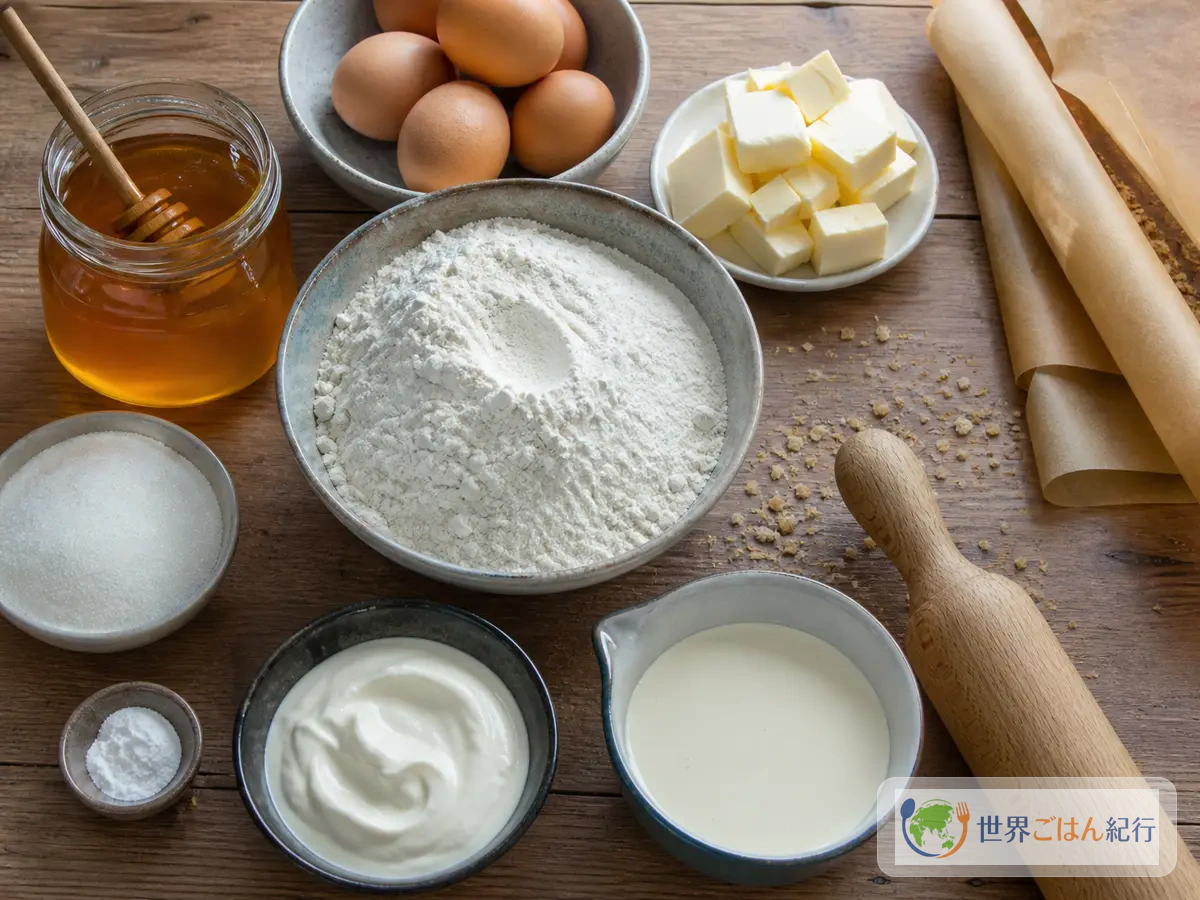
These amounts make one small medovik about 12 cm across and 7 cm tall. You bake 8 thin layers, stack 7 of them, and crush the leftover dough and trimmings to coat the outside. A larger 18 cm cake tends to bake unevenly in a home oven, so start small the first time.
Honey dough
Ingredient
Amount
Substitutes & notes
Cake flour
260 g
Includes about 2 tbsp set aside for dusting. All-purpose flour can be used
Honey
70 g
The more aromatic the honey, the more it tastes like the original. Molasses-type syrups make something else
Granulated sugar
80 g
Superfine sugar also works and makes it slightly moister
Unsalted butter
55 g
If using salted butter, omit the salt
Eggs
2
Bring to room temperature
Baking soda
1 tsp
Baking powder alone doesn't develop the color and aroma of honey dough
Salt
A pinch (1 g)
Keeps the honey's sweetness in check
Cream
Ingredient
Amount
Substitutes & notes
Sour cream
300 g
Stands in for smetana. May be mixed with 150 g strained yogurt
Heavy cream
200 ml
About 35% milk fat. Don't overwhip
Powdered sugar
55 g
Granulated sugar tends to stay gritty
Lemon juice
2 tsp
Add if your sour cream isn't very tangy
Vanilla extract
3 drops
Too much comes forward before the honey
Finishing
Ingredient
Amount
Role
Baked dough trimmings and leftovers
All
Grind into fine crumbs in a food processor or a bag
Honey
1 tsp
A little on the plate just before eating, if you like
Black tea
2 cups
Cuts the sweetness. Strong tea suits it
Allergies and storage
This recipe uses wheat, eggs and dairy. Because it is layered with sour cream and heavy cream, it isn't something to leave at room temperature for long like a baked cookie. After assembling, let it rest in the refrigerator, and keep it refrigerated after slicing too.
When substituting, protect three things: the aroma of honey, thin layers, and a tangy cream. Swapping honey for maple syrup softens the aroma and makes it closer to some other layer cake than to medovik. On the other hand, even if you can't find smetana, building tang and lightness with sour cream and heavy cream gets the eating experience very close.
What's worth buying
What's worth shopping for isn't ordinary dairy but the tools for rolling thin and for making even crumbs
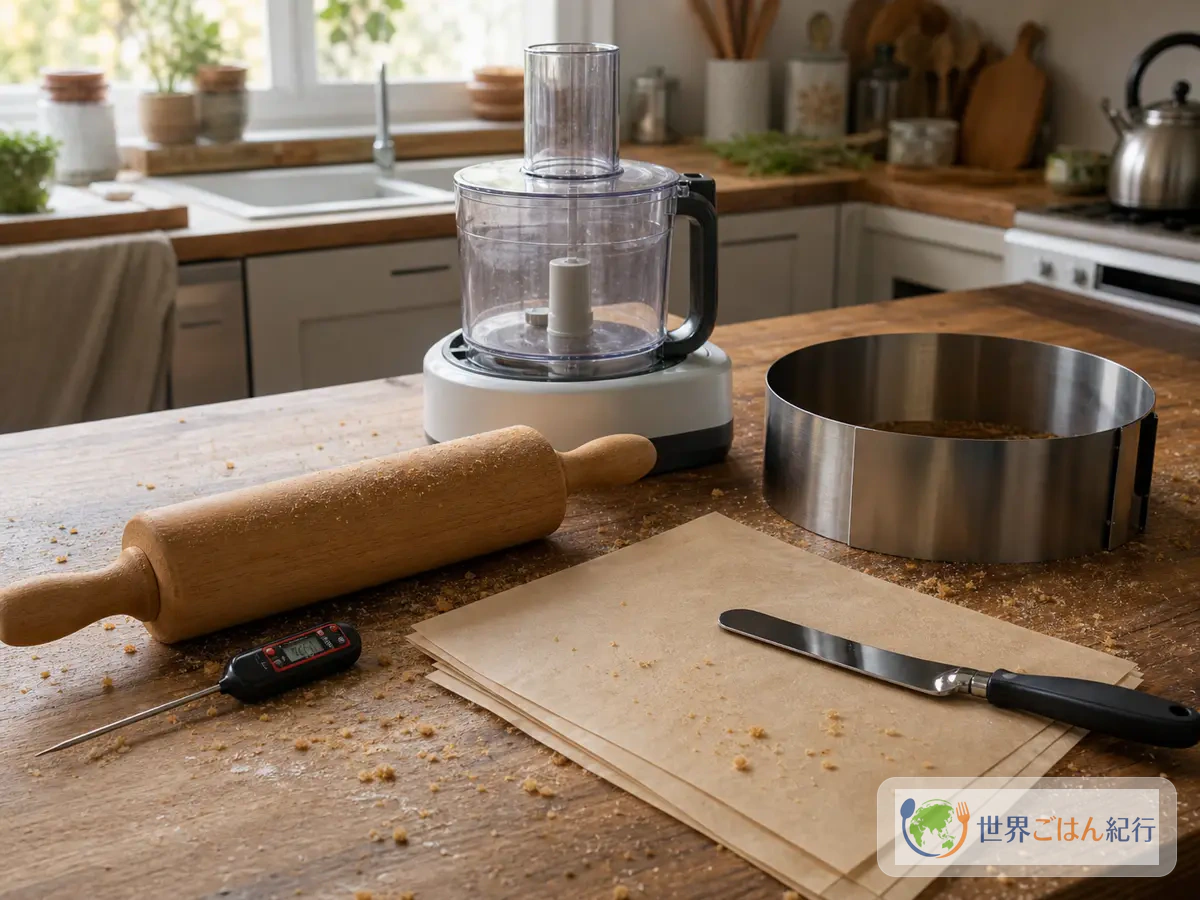
Honey, eggs, butter, sour cream and heavy cream from your local supermarket are fine. The things worth considering are tools that reduce failures: a rolling pin to keep the layers an even thickness, a cake ring as a guide for the small round shape, and a small food processor for turning the trimmings into fine crumbs. There's no need to buy special honey or dairy.
A 12 cm cake ring works as a guide for trimming the baked layers into rounds and as a temporary frame while stacking the cream. You can cut around a plate without one, but if your layers tend to shift, a ring makes it easier.
The thin honey dough is rolled out to 1–2 mm thick. Pressing it by hand tends to leave the center thick, so a rolling pin means fewer failures. You can also use it for other dough dishes such as pelmeni (in Japanese) and kurnik (in Japanese).
Grinding the trimmings into fine crumbs gives the sides of the medovik a neat finish. You can also crush them in a bag, but a small food processor is quicker when you want the crumbs evenly fine.
Method: bake thin, then stack
With medovik, making many layers of the same thickness matters more than the baking itself. The dough is soft while warm and becomes harder to roll as it cools. Rather than making every layer a perfect circle, rolling thin, baking, and trimming to 12 cm at the end is more reliable at home.
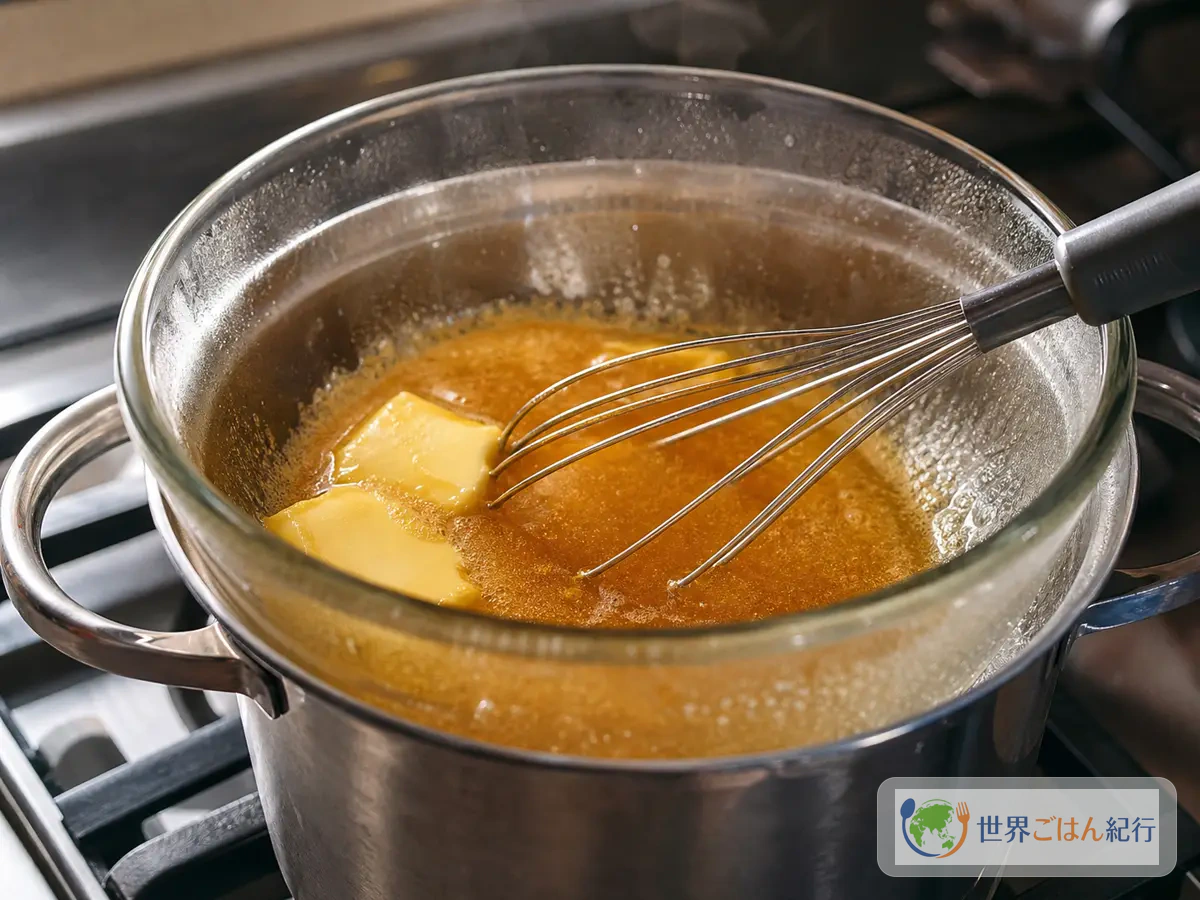
Melt the honey and butter over a double boiler
10 min
Bring about 3 cm of water to a boil in a small saucepan, then turn the heat down so small bubbles rise gently. Put 70 g honey, 80 g sugar, 55 g unsalted butter and 1 g salt in a heatproof bowl and set it over the pan without touching the water. Whisk until the butter melts, stopping while a little graininess from the sugar remains. Aim for about 60°C (140°F). Boiling hard drives off the honey's aroma and makes the eggs more likely to set when you add them.
Keep the water at a gentle simmer over low heat. Melt the honey and butter slowly without boiling
Add the eggs and baking soda and bring the dough together
12 min
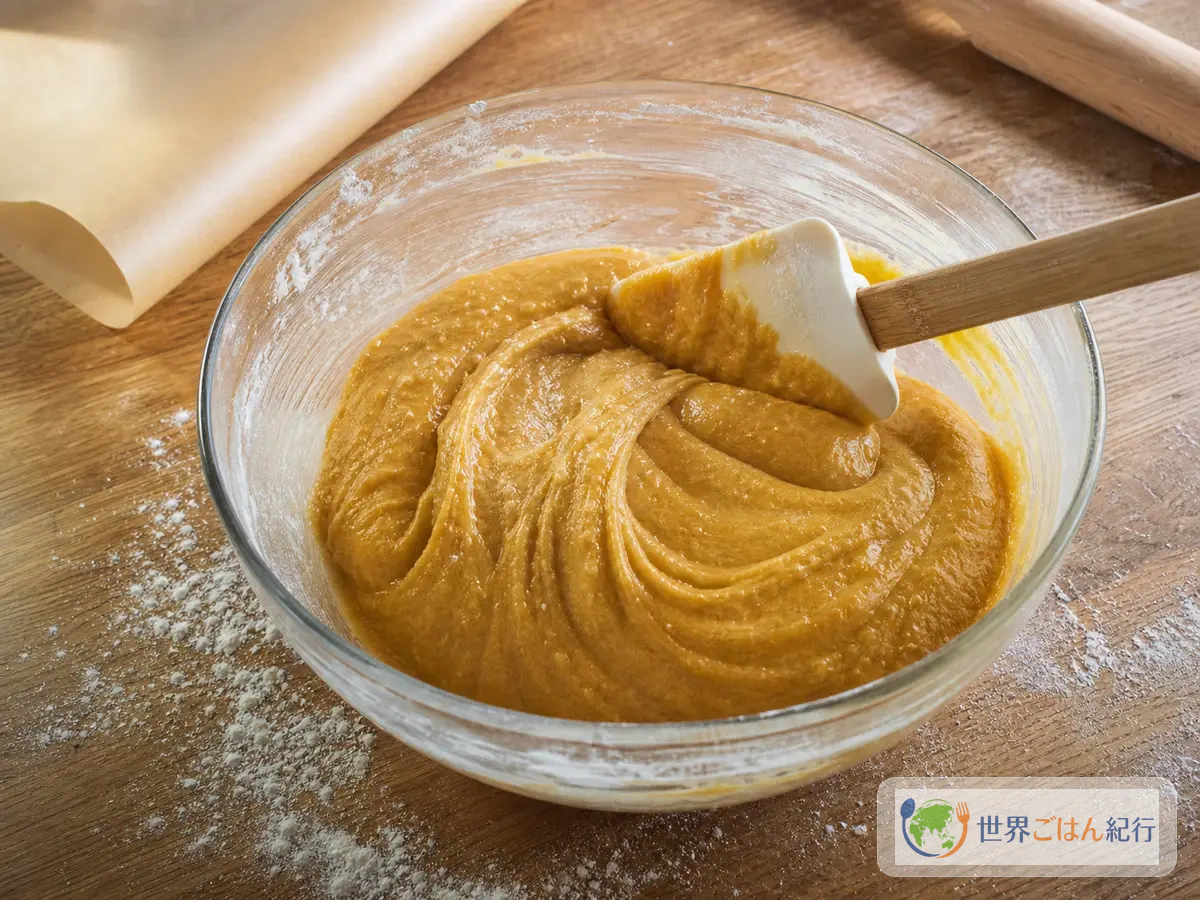
Turn off the heat and lift the bowl off the double boiler. Beat the 2 eggs well in a separate container and mix them into the honey mixture in 3 additions. Adding them all at once can make the eggs set, so mix for about 30 seconds after each addition. When you add 1 tsp baking soda, fine bubbles appear on the surface and the color lightens a little. Add 240 g cake flour in 3 additions, folding with a spatula. The dough should be soft while hot, with no white streaks of flour, and thick enough to fall from the spatula in a heavy ribbon. Stop when there is no dry flour left at the bottom of the bowl and the surface is smooth and glossy. Too much flour makes the baked layers hard, so keep the remaining 20 g for dusting.
Add the flour in 3 parts and mix while hot. Stop while the dough is still soft
Divide the dough and roll it thin
25 min
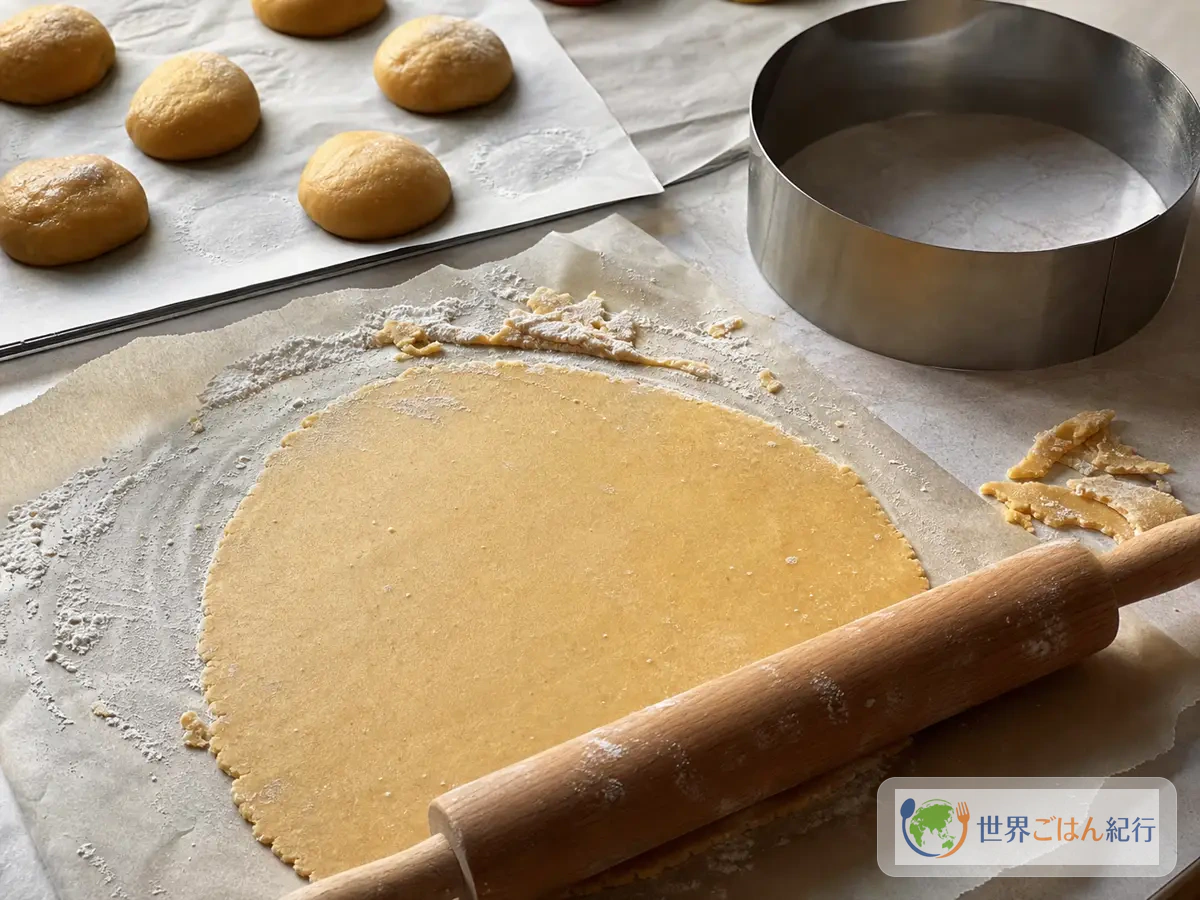
This step uses no heat. Turn the dough out onto a floured surface and divide it into 8 equal pieces. Shape each into a ball and roll it out on parchment paper to about 14 cm across and 1–2 mm thick. Lightly press a 12 cm ring or a plate onto it to leave a margin for trimming after baking. If the dough is sticky, use a thin dusting of flour, but too much flour makes the baked layers look pale. Cover the remaining dough with plastic wrap so it doesn't dry out.
Roll each piece thin, leaving a margin to trim after baking
Bake briefly at 180°C and trim into rounds
24 min
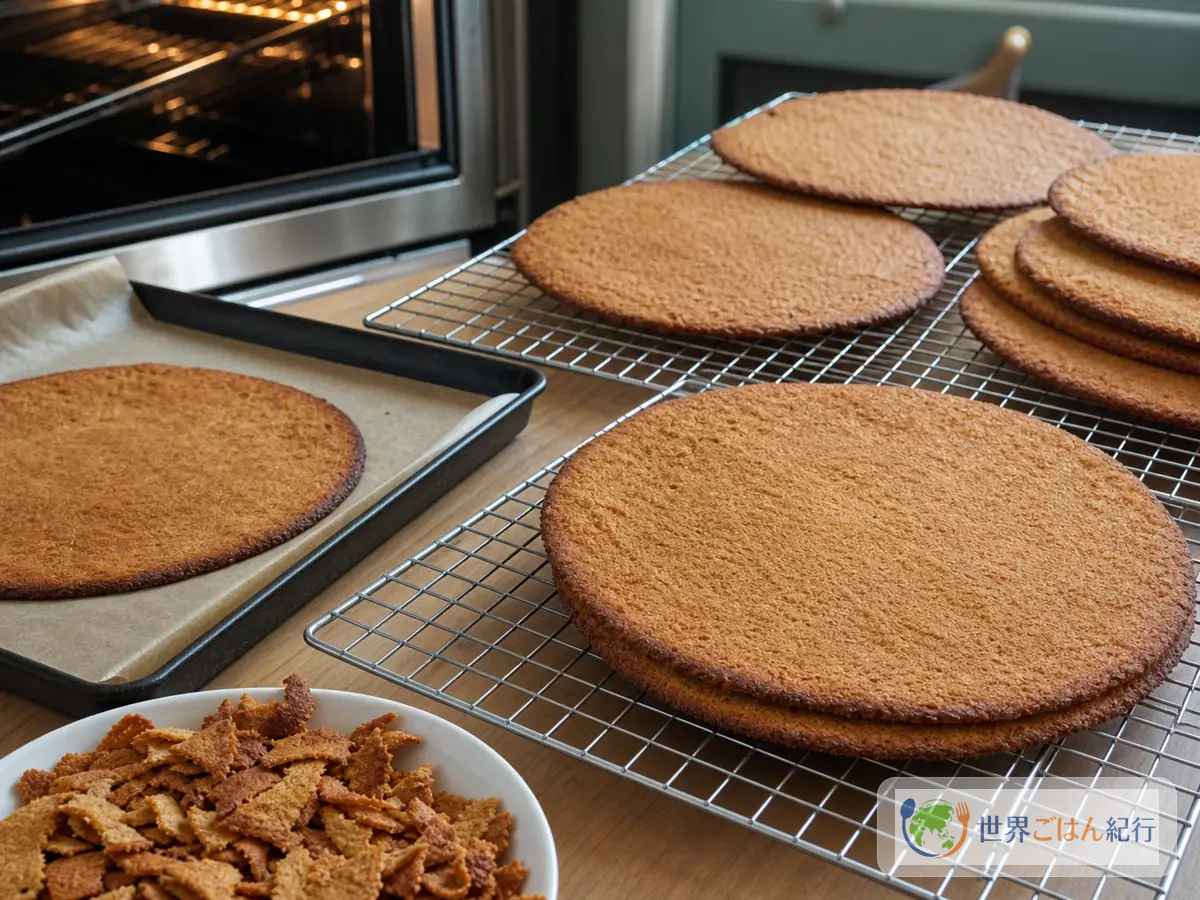
Preheat the oven to 180°C (350°F). Transfer each rolled layer on its parchment to a baking sheet and bake for 5–6 minutes per layer. It is ready when the edges are golden brown and the center feels dry to the touch. It burns easily, so watch the color through the oven window after 3 minutes. While hot, press a 12 cm ring or plate onto it and trim it into a circle with a knife. Don't throw away the trimmings; use them for the crumbs at the end. The layers crack easily once cool, so trim within 1 minute of taking them out of the oven.
The layers are thin, so they bake in about 5 minutes. Trim them into rounds while hot
Lightly whip the sour cream filling
10 min
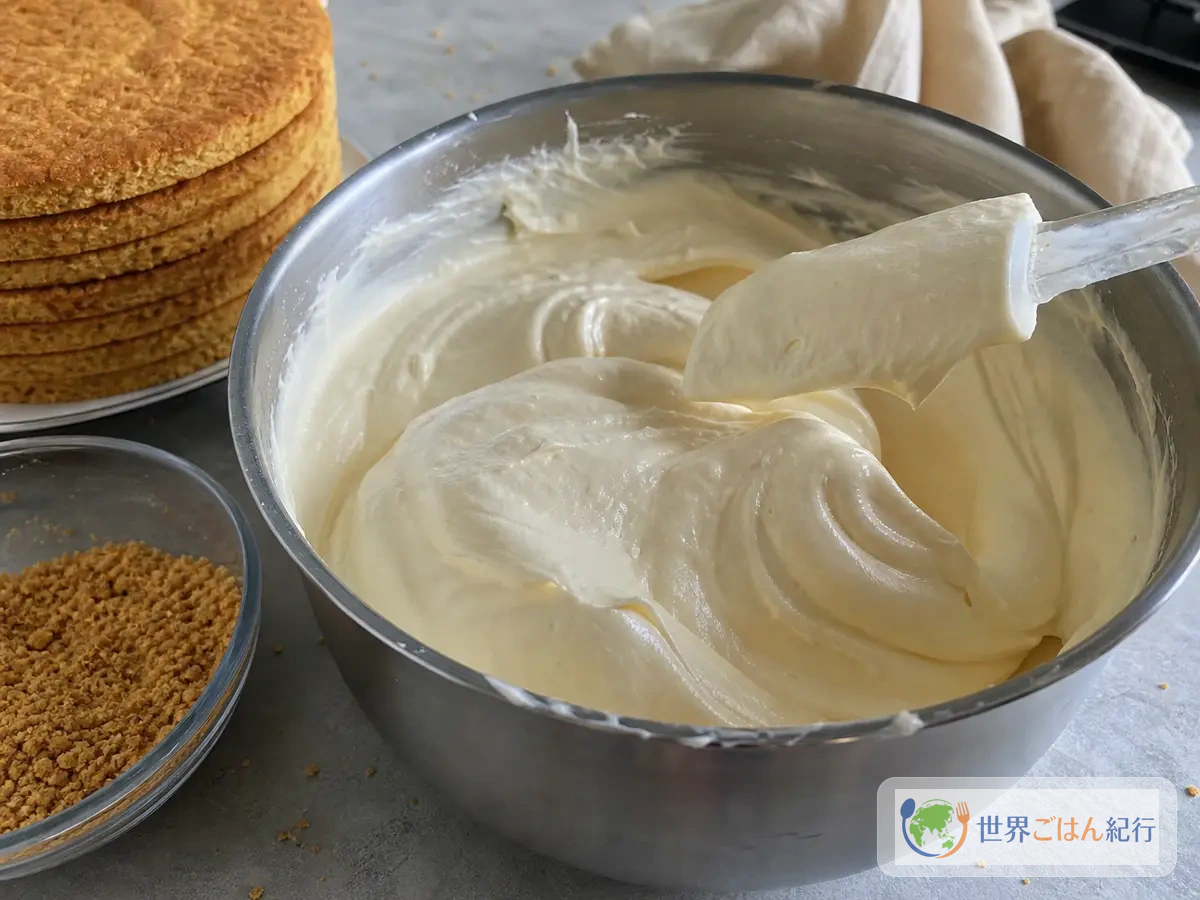
This step uses no heat. Put 200 ml cold heavy cream in a bowl and whip to soft peaks that barely hold (about 60% whipped). In another bowl, mix 300 g sour cream, 55 g powdered sugar, 2 tsp lemon juice and 3 drops vanilla. Add the whipped cream in 2 additions, folding up from the bottom with a spatula. Don't make the cream stiff enough to hold peaks; it should fall slowly from a spoon. Too stiff and it won't soak into the layers; too soft and it runs out sideways.
Don't whip the cream too stiff; keep it soft enough to soak into the layers
Spread cream on the thin layers and stack
18 min
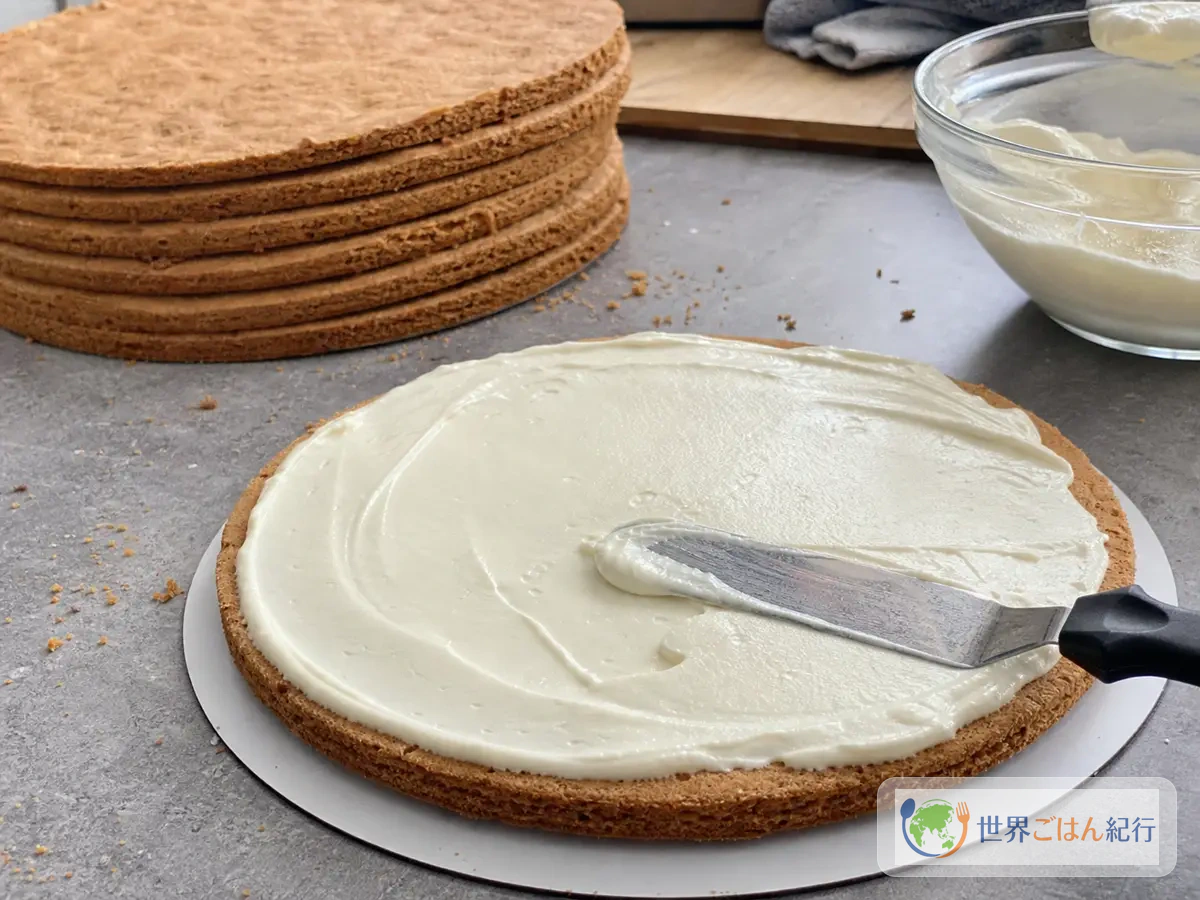
This step uses no heat. Place one baked layer on a plate or cake board and spread a little over 2 tbsp of cream, about 45 g. Spread it thinly right to the edge, add the second layer and press gently with your palm. Pressing hard squeezes the cream out, so just level the surface from above. Stack 7–8 layers the same way and spread a thin coat of cream on the sides too. If a layer cracks along the way, use it in the middle and it won't matter. Spread a little extra cream on a cracked layer to fill the gaps.
Spread the cream thin and even. Don't crush the cake; just keep the layers level
Crush the trimmings and coat the cake
12 min
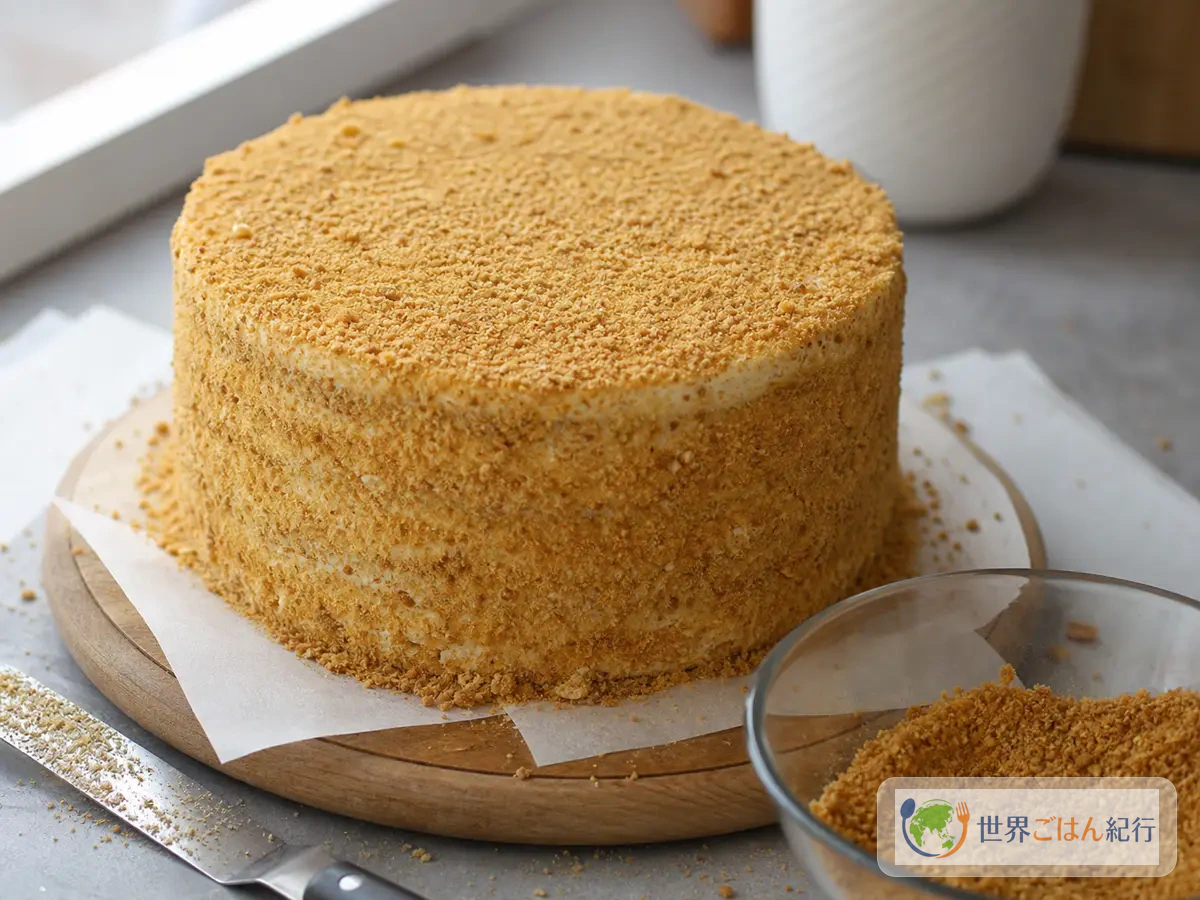
This step uses no heat. Grind the trimmed edges and one misshapen layer finely in a food processor. You can also put them in a bag and crush them with a rolling pin. Aim for mostly sand-fine crumbs with a few pieces of about 2 mm, dry enough to fall away loosely when pinched. Sprinkle the crumbs over the top and sides of the cake and press gently with your hands. It's enough when they stick thinly to the cream and no white shows. A thick coating on the sides makes the texture floury, so use just enough to hide the white cream.
Crush the trimmings finely and coat just until the cream no longer shows
Rest overnight in the refrigerator, then slice
8 hours or more
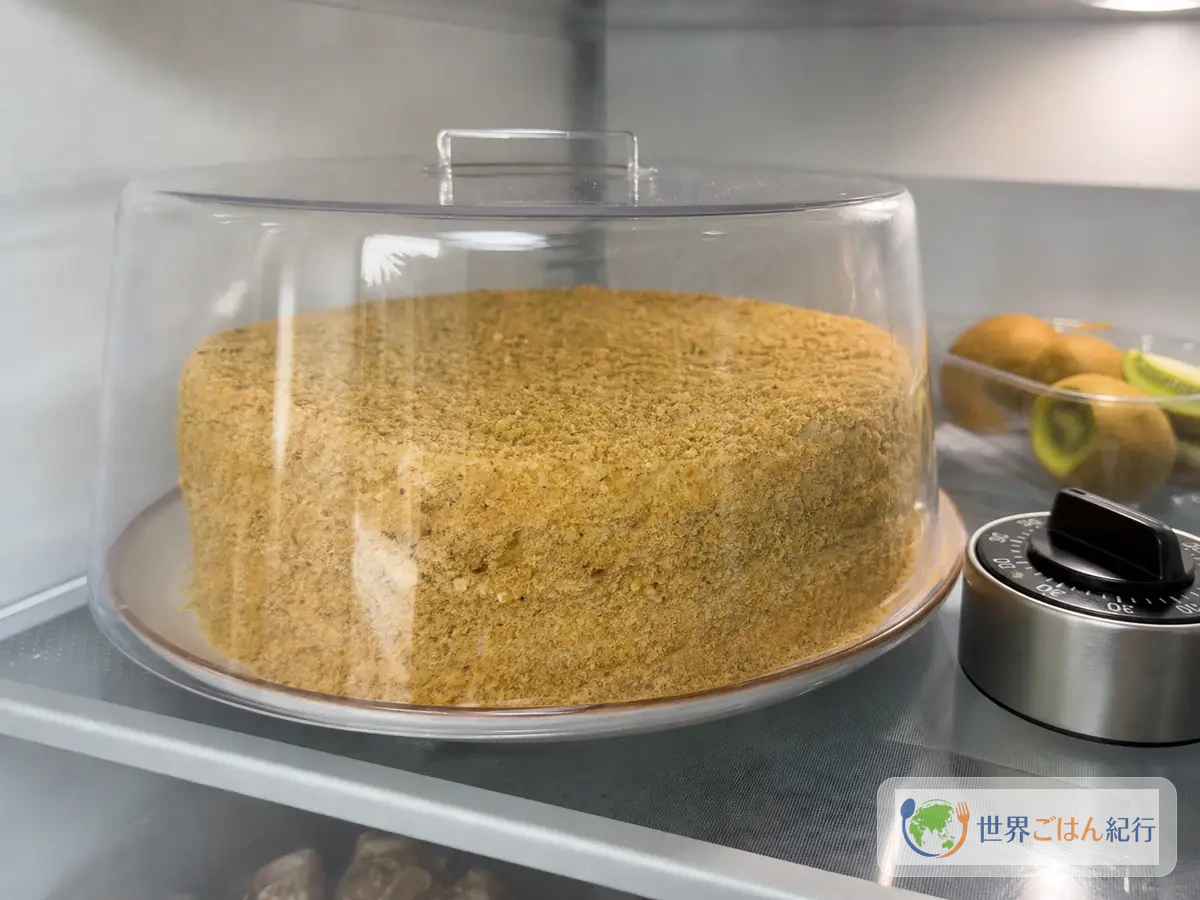
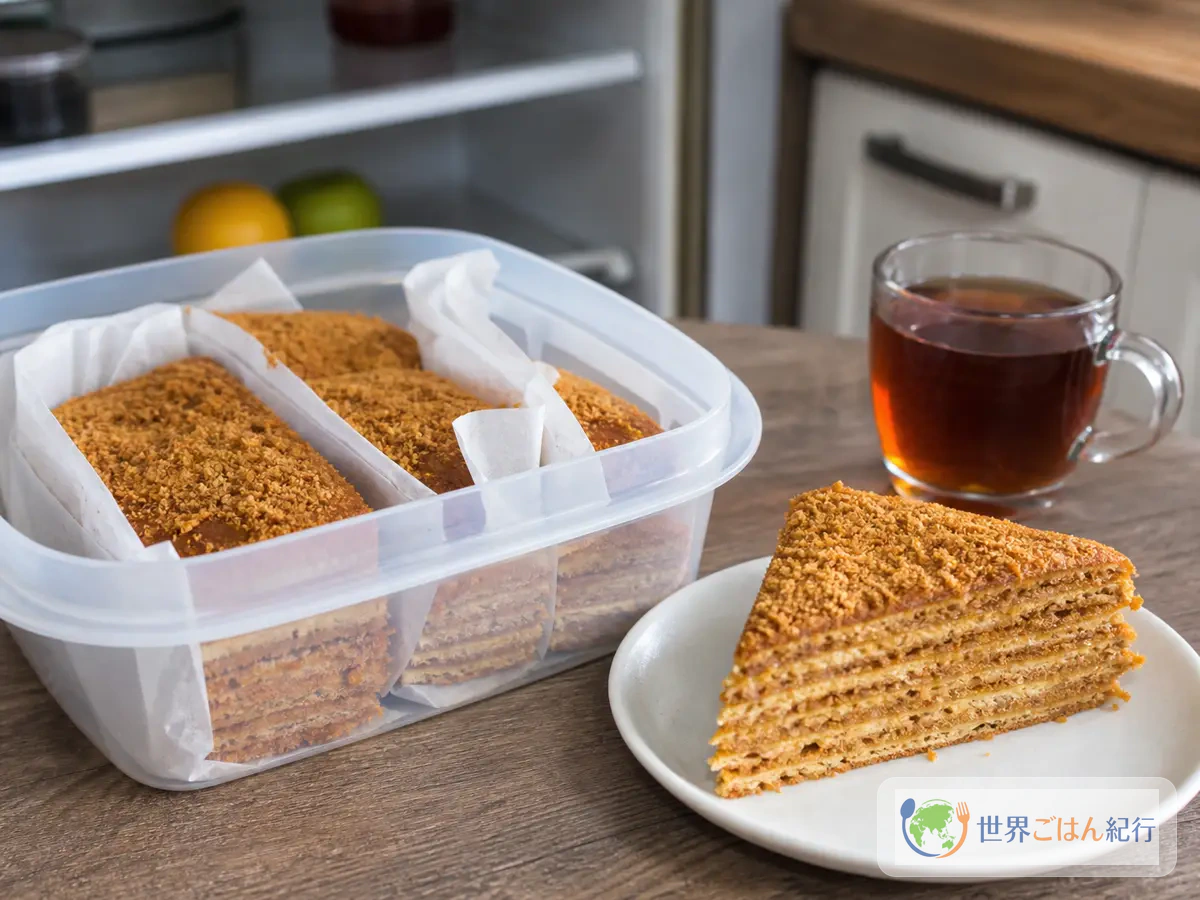
Cover the finished cake with a lidded container or a large bowl and let it rest in the refrigerator for 8 hours or more. This step uses no heat. When it's done resting, the layer lines are visible, the knife doesn't catch, and the cut layers look moist. Take it out of the fridge 15 minutes before eating and cut the 12 cm cake into 8 thin wedges about 3 cm wide at the outer edge. Shape each slice so the layer lines show rather than for thickness, and wipe the knife after each cut so the cross-section isn't squashed. Left in a warm place for long, the cream softens, so refrigerate the rest right after slicing.
After an overnight rest, the once-hard honey layers have soaked up the cream and slice easily
Where it tends to go wrong
Mistakes tend to show up in layer thickness, browning, the cream's moisture and resting time
Because the ingredients are simple, mistakes show clearly in medovik. Too sweet, hard layers, runny cream: these look like separate problems, but most can be fixed by managing thickness and moisture.
Problem
Cause
Fix
Hard layers
Dough too thick, too much flour, not enough resting
Roll to 1–2 mm and rest in the fridge for 8 hours or more
Bitter layers
Overbaked, or the honey mixture boiled hard
Check from 5 minutes at 180°C. Keep the double boiler on low heat
Cream runs
Heavy cream underwhipped, watery sour cream
Drain the sour cream lightly and fold in cream whipped to soft peaks
Cream doesn't soak in
Cream too stiff
Don't overwhip the heavy cream. If stiff, add 1 tsp milk
Slanted cross-section
The center shifted with each layer
Level each layer gently with your palm and turn the plate as you spread
Heavy sweetness
Not enough tang in the cream
Add 1 tsp lemon juice and serve with tea or berries
A common mistake is deciding the baked layers are "nice and crisp" and eating them that way. In medovik, freshly baked layers are not the finished product. Wait until they've absorbed the cream's moisture and become soft enough to cut with a fork. If you want to eat it the same day, roll the layers a little thinner and spread slightly more cream, but still refrigerate for at least 4 hours.
The tang of the cream matters too. In Russia and neighboring regions, cooks may use dairy products close to smetana, but sour cream varies in tang and moisture from product to product. If it tastes flat, add a little lemon juice rather than more sugar. Adding sweetness hides the honey aroma and makes it feel heavy after the meal.
Serving, storage and FAQ
Paired with strong black tea, the sweetness of honey and cream doesn't feel too heavy
Medovik releases more aroma after about 15 minutes out of the fridge than straight from it. Pair it with strong black tea, unsweetened milk tea or a coffee that isn't lightly roasted. Sweet drinks pile too much onto the lingering honey and cream.
It keeps for about 3 days in the refrigerator. To prevent drying, press plastic wrap directly onto the cut faces and cover the whole cake with a container. It can be frozen, but the cream's moisture doesn't fully come back and the layers turn slightly crumbly. If freezing, wrap each slice individually and eat within 2 weeks. Thaw in the refrigerator for half a day and take it out 15 minutes before eating.
Can I make it without sour cream?
Yes. Using 200 g strained yogurt, 200 ml heavy cream and 80 g cream cheese makes it easy to balance tang and richness. Using only cream cheese, though, makes it heavy and closer to cheesecake than to medovik. For the first time, sour cream soaks into the layers more easily.
What kind of honey works best?
A light honey such as acacia gives an elegant result, while a darker, more aromatic honey such as wildflower or something close to buckwheat honey gives the depth of a Russian cake. If you use a strongly flavored honey, a little more lemon juice in the cream balances the heaviness.
Isn't 12 cm too small?
We recommend starting small. It makes practicing many thin layers easier, and if the cream runs, the damage is limited. For an 18 cm cake, use about 1.8 times the ingredients and bake around 10 layers. Check each layer at the same 5–6 minutes.
What if I want to eat it the same day?
Rest it in the refrigerator for at least 4 hours. In that case, roll the dough even thinner and spread a little more cream. Still, the true moist cross-section comes out the next day. For guests, assembling the day before and only slicing on the day is the most reliable.
What goes with it for a Russian-style meal?
If you serve it as dessert, the main course is easier to enjoy if it isn't built only on heavy dough dishes. Cutting a small slice after cold okroshka (in Japanese) or tangy borscht (in Japanese) lets the honey sweetness settle nicely. If you want dough dishes on the table, serve pelmeni (in Japanese) for the meal and medovik as the sweet, and you'll see the range of salty and sweet in Russian cooking.