Ajvar: Red Peppers Roasted, Peeled and Cooked Down for the Winter Table
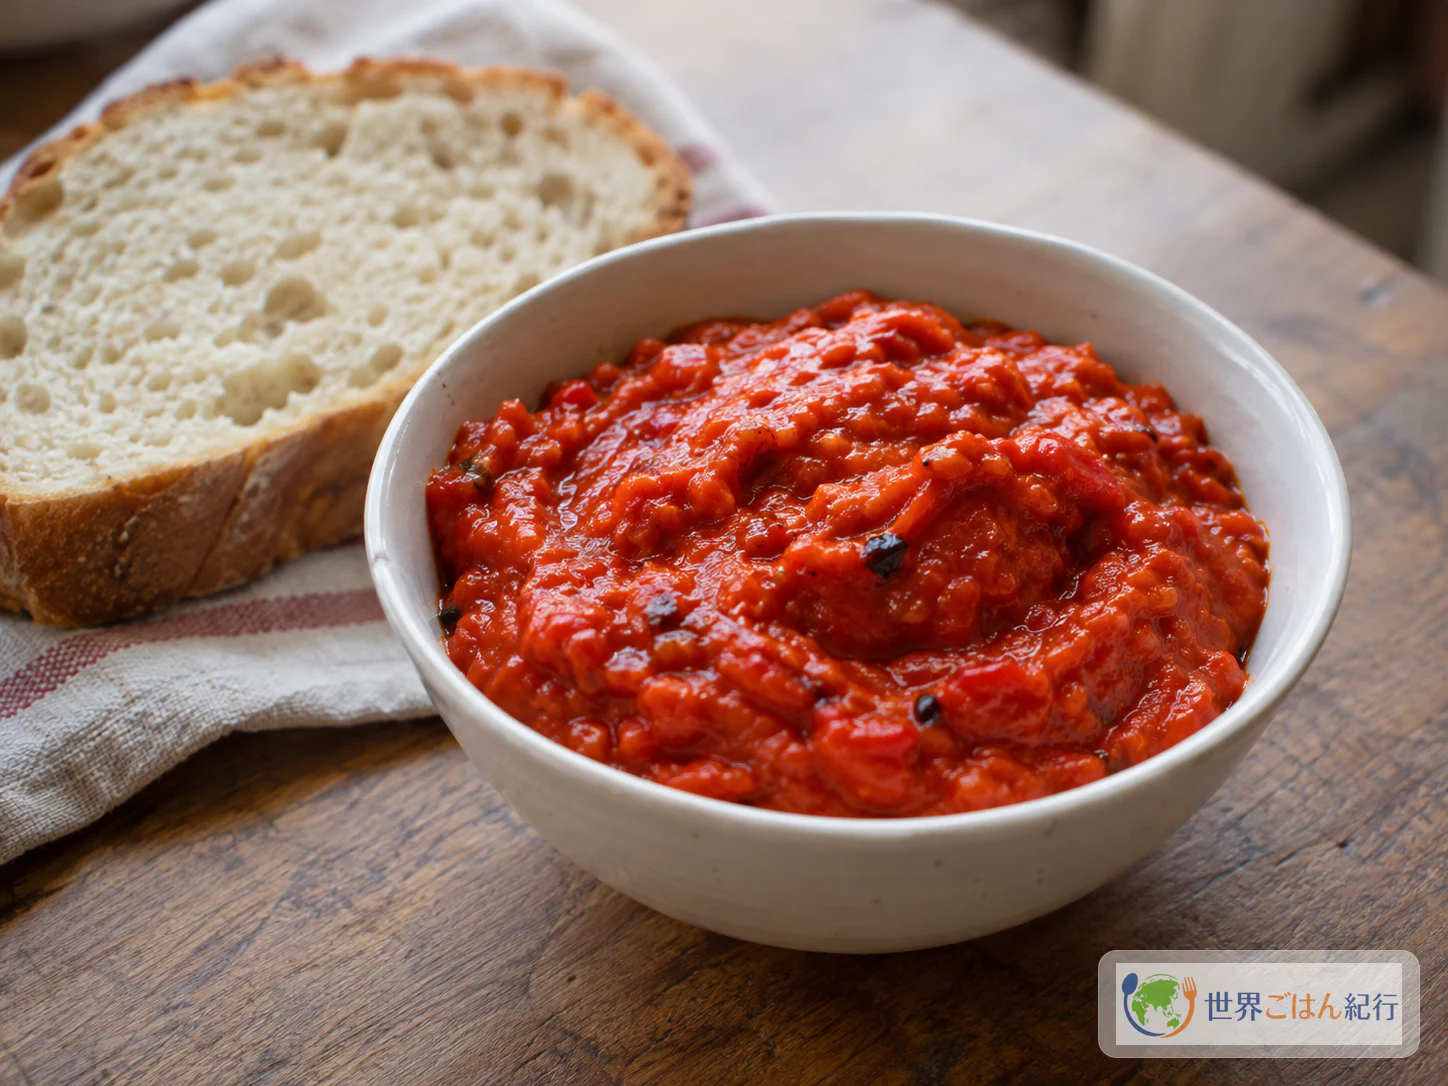
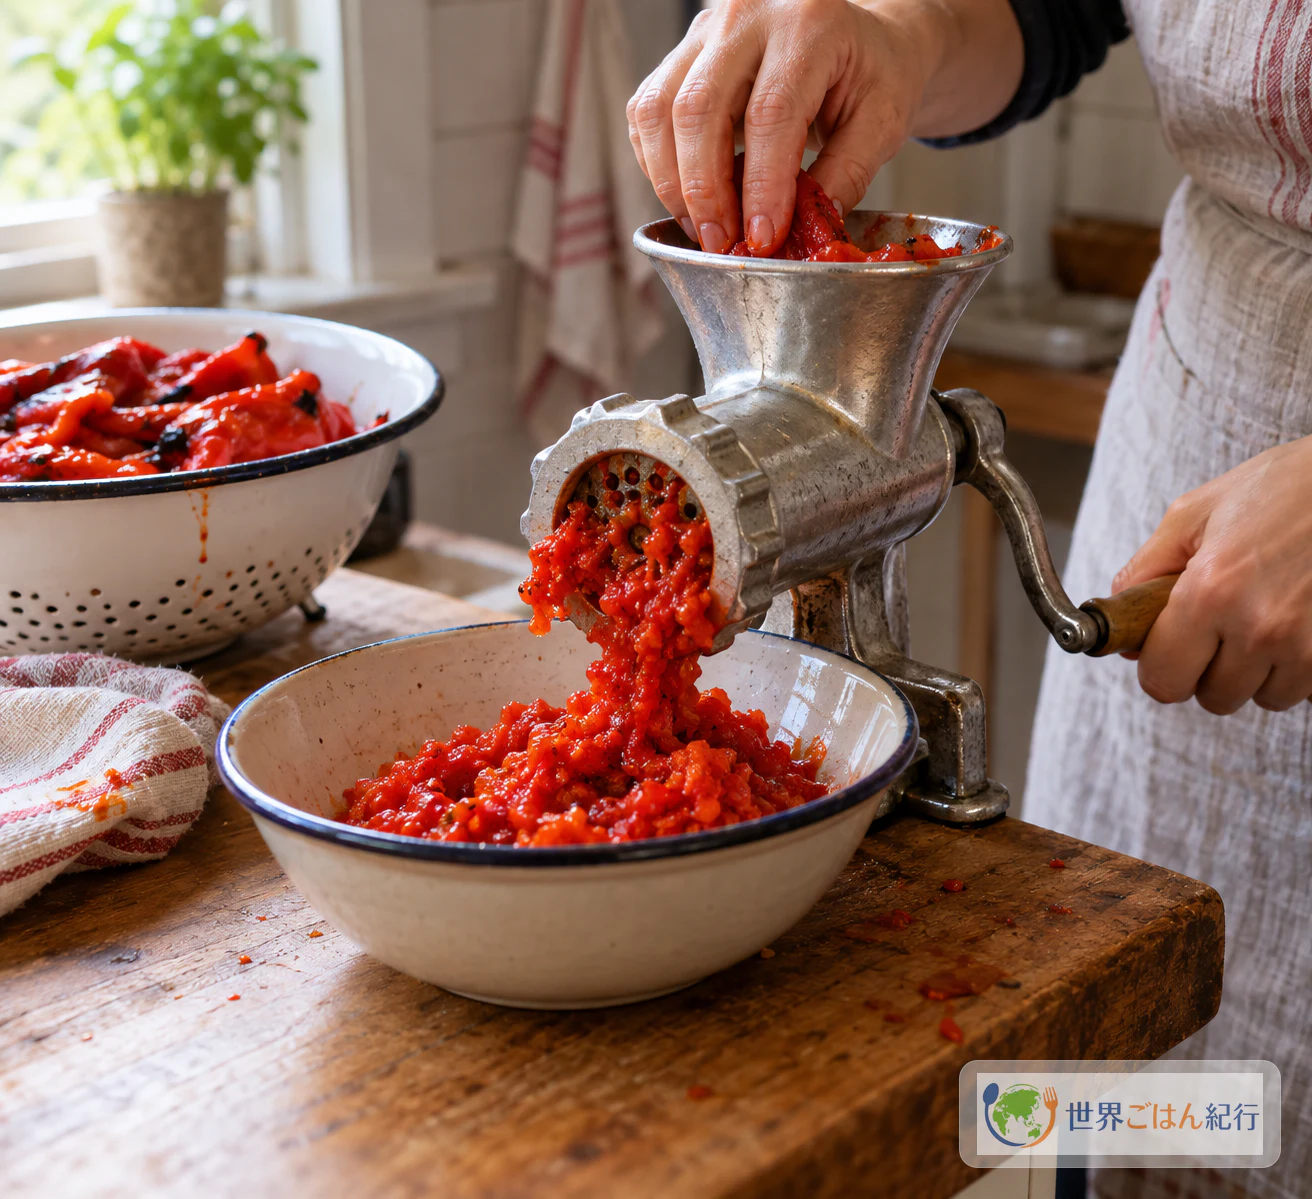
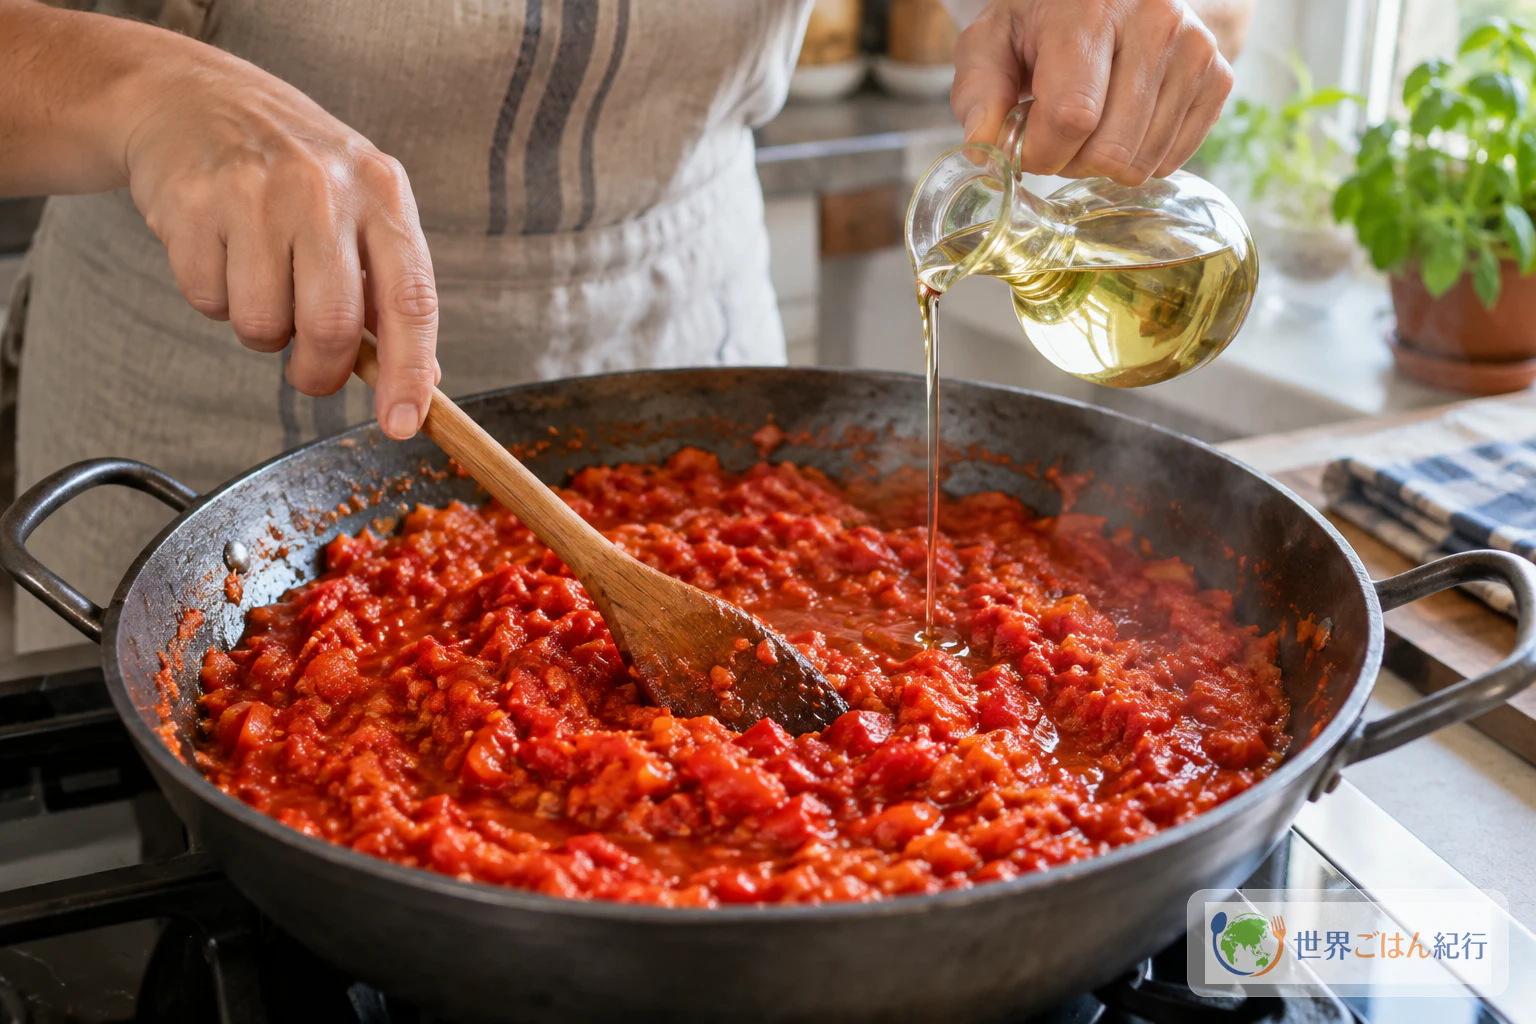
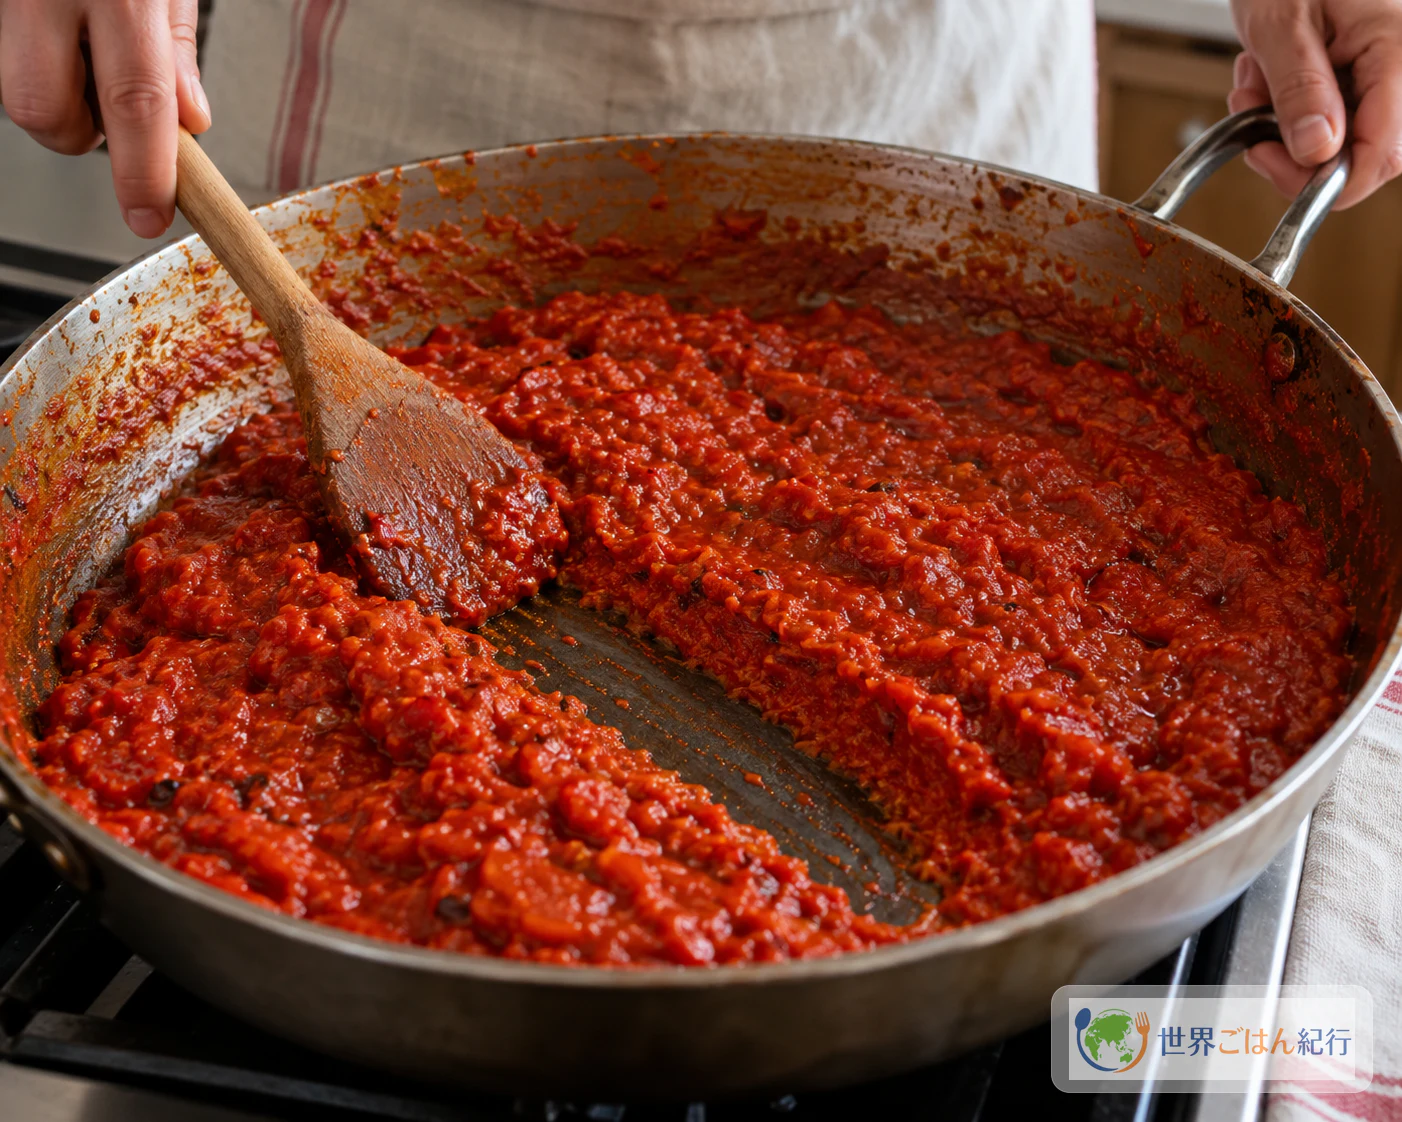
Only three things go in: roasted red peppers, oil and salt. The work is in taking water out of the peppers, first by draining and then by slow stirring in the pot, until the spread is thick enough to leave a trail on the bottom of the pan.
In late summer and early autumn, when sweet red peppers are plentiful, kitchens in North Macedonia fill with the smell of blistering pepper skins. The peppers are roasted until the skins char and lift, peeled, cut, and then cooked slowly with salt and a little oil. The result is ajvar (ајвар), a deep red pepper paste that carries the autumn harvest into winter meals.
It is labor-heavy work, and the FAO describes how this kind of pepper preserving has brought families and communities together. This article follows one pepper-only Macedonian recipe from start to finish: roasting, peeling, draining, grinding, and cooking down with oil until the spoon leaves a clear path across the pan.
Autumn Ajvar in North Macedonia
Ajvar is made from sweet red peppers, and its preparation belongs to the season when those peppers are most abundant: late summer into early autumn. According to the FAO, it then becomes part of winter menus. A Macedonian community association in Croatia likewise describes ajvar as a late-summer and early-autumn specialty of roasted peppers that many households keep for winter.
The work tends to be shared. A North Macedonian pharmacy information site describes autumn cooking in neighborhoods where people split the roasting and the peeling between them. That does not mean every household makes it every year, but it explains why ajvar is so often spoken of as a seasonal, collective job rather than a quick weeknight recipe.
There is no single fixed formula. The FAO notes that some families add roasted eggplant, tomato or carrot according to their own tradition, and similar pepper spreads are made elsewhere in the Balkans. This recipe stays with the pepper-only style; the eggplant version is covered separately below. For more dishes from the same country, see North Macedonia.
The amounts follow a Macedonian recipe published on ТвојКувар by the contributor kristina. Sekai Gohan has not test-cooked or weighed this batch, so no finished yield or number of servings is given. The 4 kg of peppers is the raw weight before roasting and trimming, not the weight of the peeled flesh.
Ingredients: Peppers, Oil and Salt Only
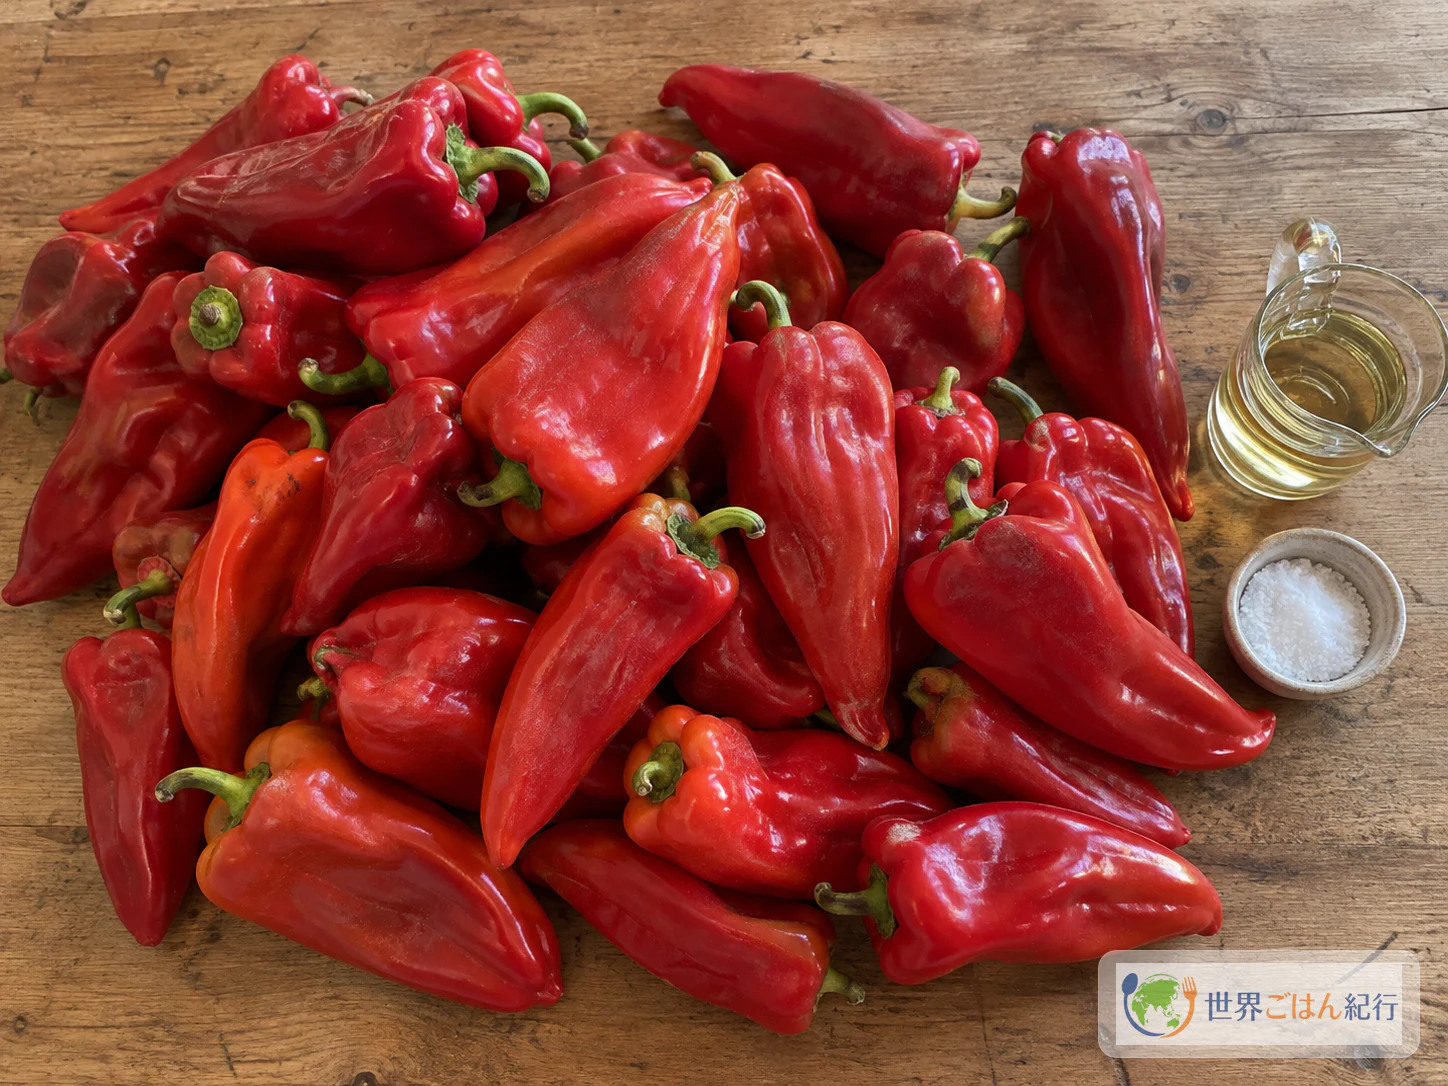
The recipe does not include onion, garlic, vinegar, sugar, tomato or eggplant. Keep those out of this pot; the eggplant style is a different recipe.
Equipment
- A tray, grill or open flame for roasting the peppers
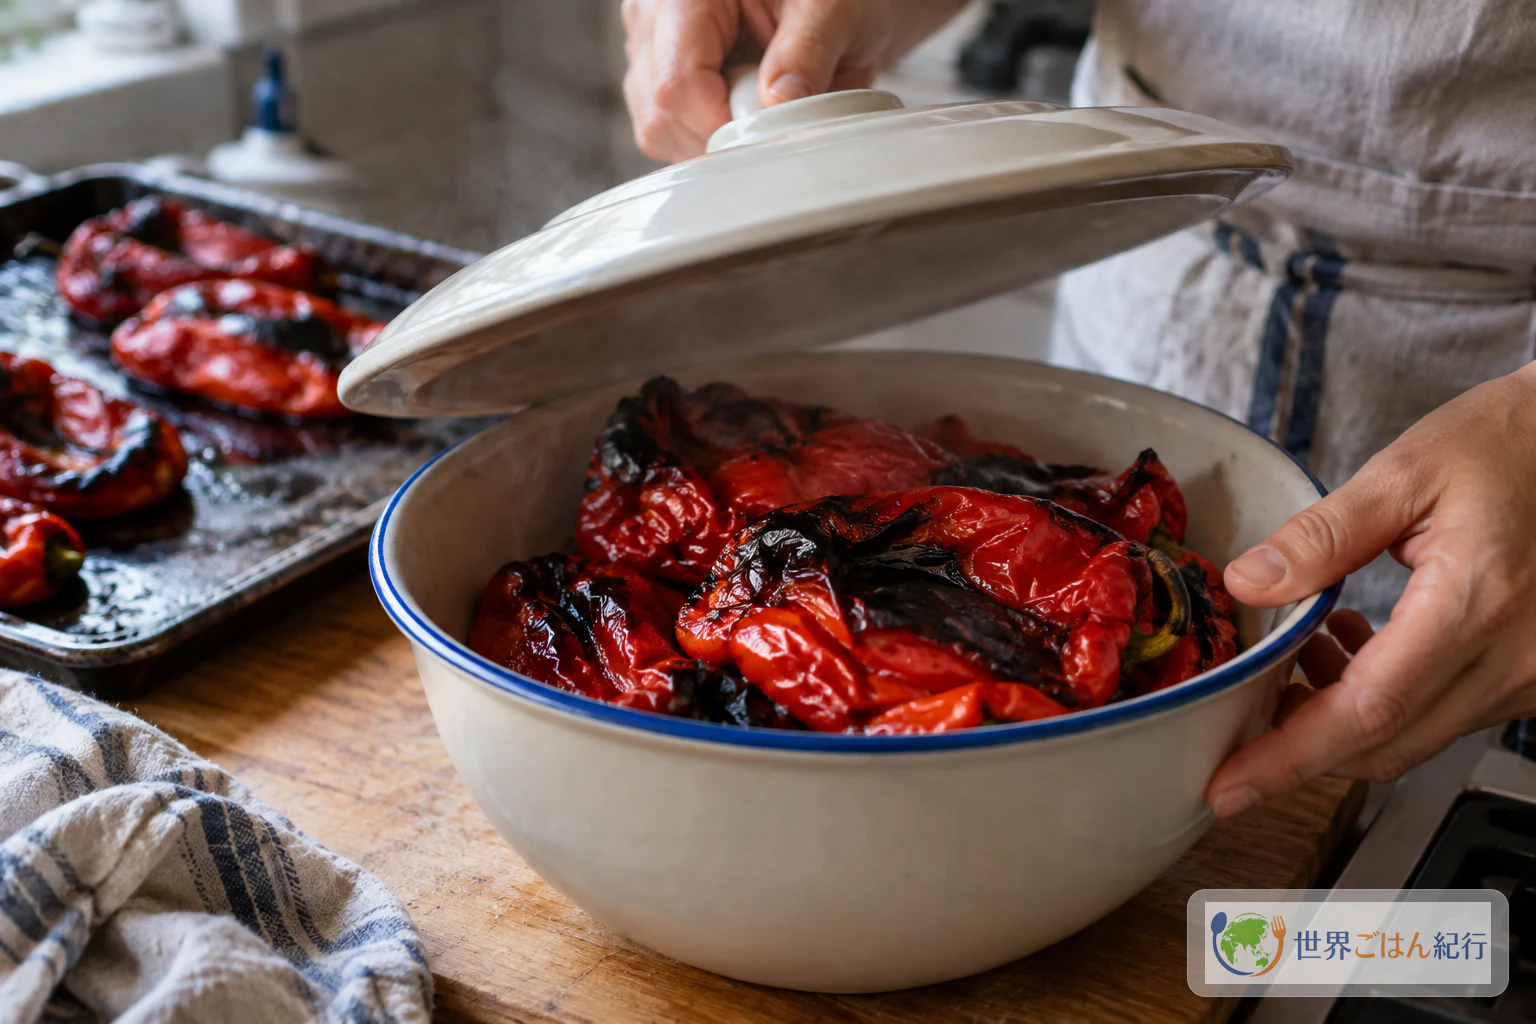
- A heat-safe bowl or container with a lid
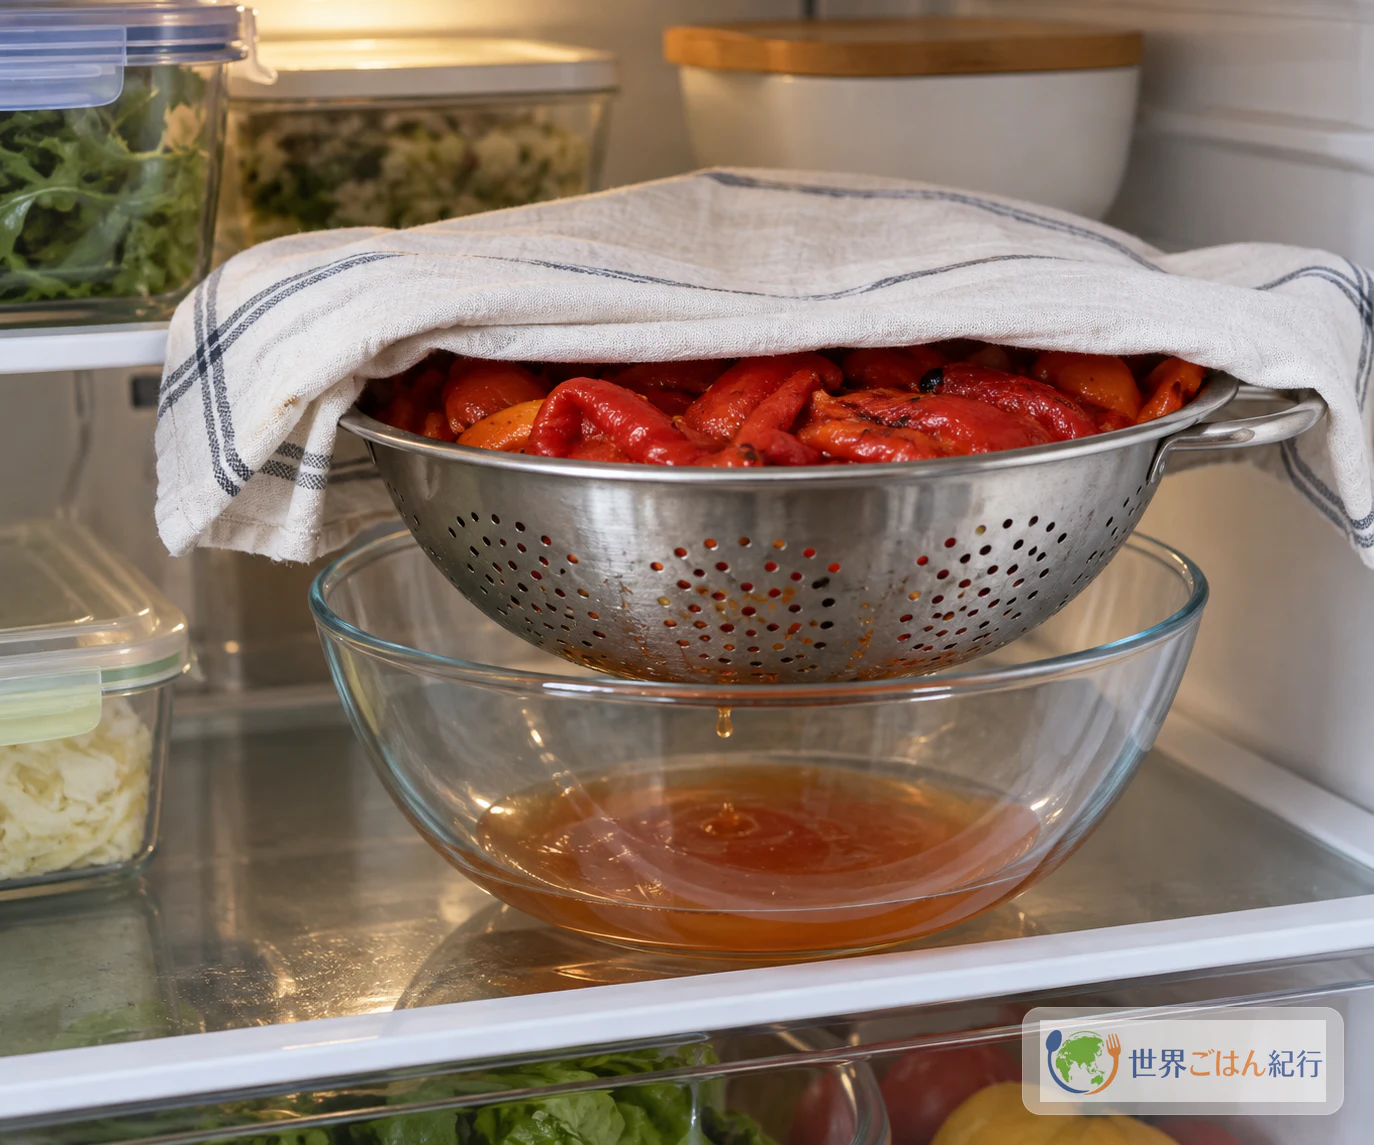
- A clean colander and a deep bowl to catch the liquid underneath
- A lid or clean food cover for the colander
- A hand-cranked meat grinder (mincer); a sharp knife and board if you have no grinder
- A wide, heavy-bottomed pot
- A wooden spoon
- Clean, shallow containers for the finished ajvar
Choosing Peppers, Oil and Salt
Peppers. The original recipe calls for "peppers for ajvar," the meaty red peppers grown for this purpose. The PlusPharma article explains that thick-fleshed, flat peppers roast easily and give plenty of flesh. No source pins down a single variety. Red bell peppers are the easiest substitute to find in an ordinary supermarket, but they are not the same as the local ajvar peppers. Their water content and wall thickness differ, so the amount of flesh you end up with and the time needed to cook it down will change. Pick the heaviest, thickest-walled ones you can find.
Oil. The source word simply means oil. A neutral vegetable oil that does not dominate the pepper flavor is a sensible choice, but that is a suggestion, not part of the original. Olive oil or other strongly flavored oils will change the taste. The source also notes that the amount of oil needed depends on the peppers, so 330 ml is the listed amount rather than a promise that every batch of substitute peppers will turn out identical.
Salt. The original gives no number, only "to taste." Start with a small amount when cooking begins, and adjust near the end after tasting.
None of the three ingredients is a common major allergen in itself, but check the label of your oil for its source and any shared-facility statements. Bread served alongside contains wheat; treat the spread and its accompaniments separately when cooking for someone with allergies.
Method: Roast, Drain Overnight, Then Cook Down
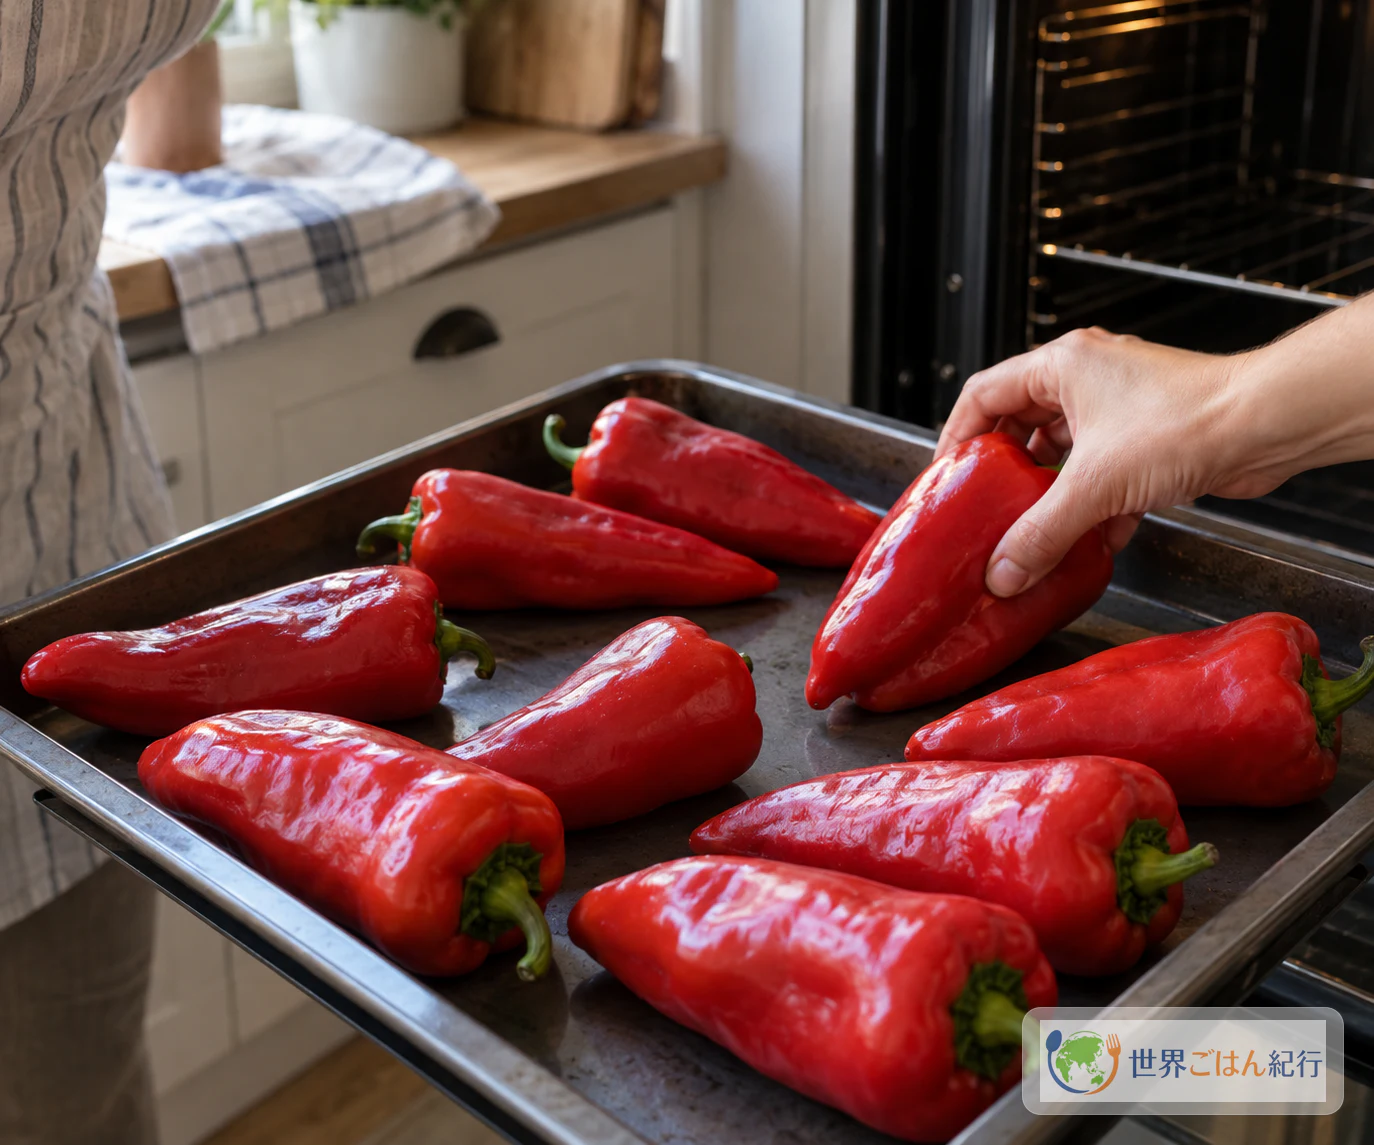
Roasting and peeling happen on day one, the peppers drain overnight, and grinding and cooking happen the next day. The time depends on the water in your peppers, your pot and your heat, so judge by the state of the spread, not by the clock.
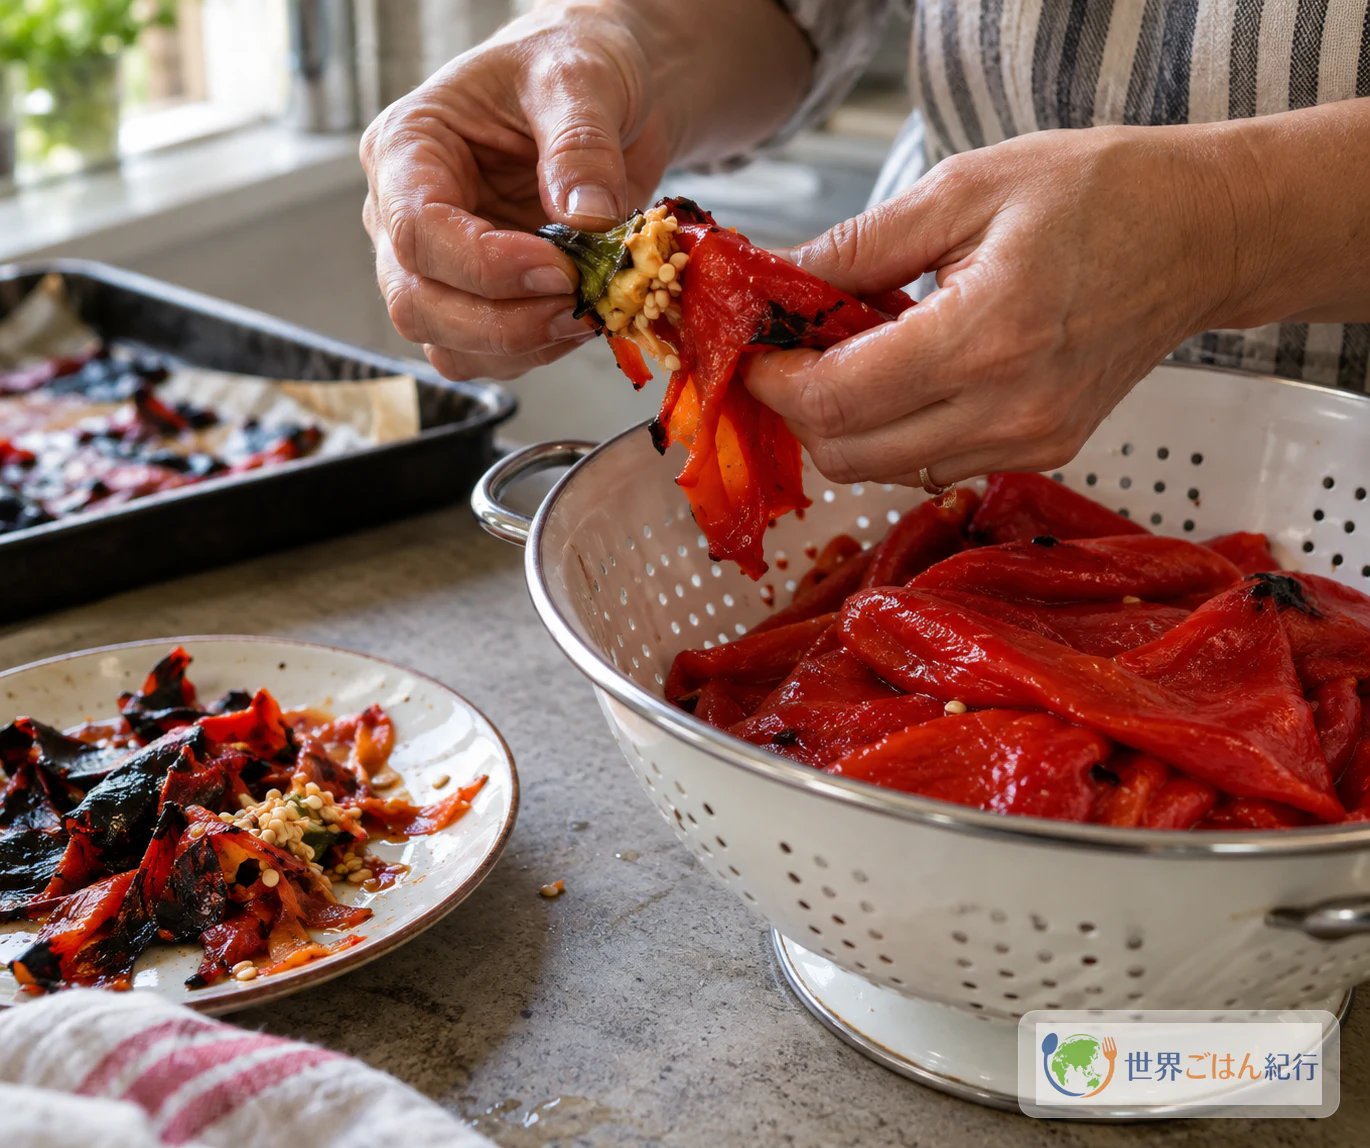
The original recipe roasts the peppers, lets them cool briefly, peels and seeds them, drains the flesh overnight in a small clean mesh bag, and grinds it the next morning. A few points below are adjusted for home kitchens and are marked as such: the covered steaming, the colander, and draining in the refrigerator.
Watery, Scorched, Gritty: Fixing Problems in the Pot
| Problem | Likely cause | What to do |
|---|---|---|
| Watery | Not drained enough, or not cooked down long enough | Keep cooking and stirring until the spoon trail stays open. Don't try to fix it by adding more oil |
| Scorching on the bottom | Heat too high, or not stirring constantly | Lower the heat and keep scraping the bottom. Adding water is not part of the method, as it undoes the concentration and changes the texture |
| Bits of skin in the spread | Peppers under-roasted, or not steamed long enough | Roast until the skins are fully blistered, and peel carefully. Never mix charred skin into the flesh |
| Oil pooling on top | Oil added all at once | Add it in several portions, stirring each one in before the next, as the original recipe does |
| Flat flavor | Not enough salt | Add salt in small amounts near the end and taste. Vinegar, sugar or garlic are outside this recipe |
Variations
Pepper-only versus eggplant. The FAO notes that some families add roasted eggplant, tomato or carrot. A community cookbook from Veles gives an eggplant version that roasts aubergines along with the peppers and adds a little sugar. Neither style is "the real one"; they are different family traditions. The eggplant version changes the flavor, color and body, so treat it as its own recipe rather than adding eggplant to this pot.
How you roast. Open flame, grill or oven each give a different degree of smokiness and make the skins come away differently. Times depend on your equipment.
Ground versus chopped. Grinding gives the smooth spread described in the original; chopping by knife leaves more texture and is an adjustment.
Red bell peppers. Easy to find, but with different water content and thickness from local ajvar peppers, so draining and cooking down may take longer.
At the table. Spread on bread, or served beside grilled meat or white cheese. These are serving ideas, not a single national standard.
Storing and Serving
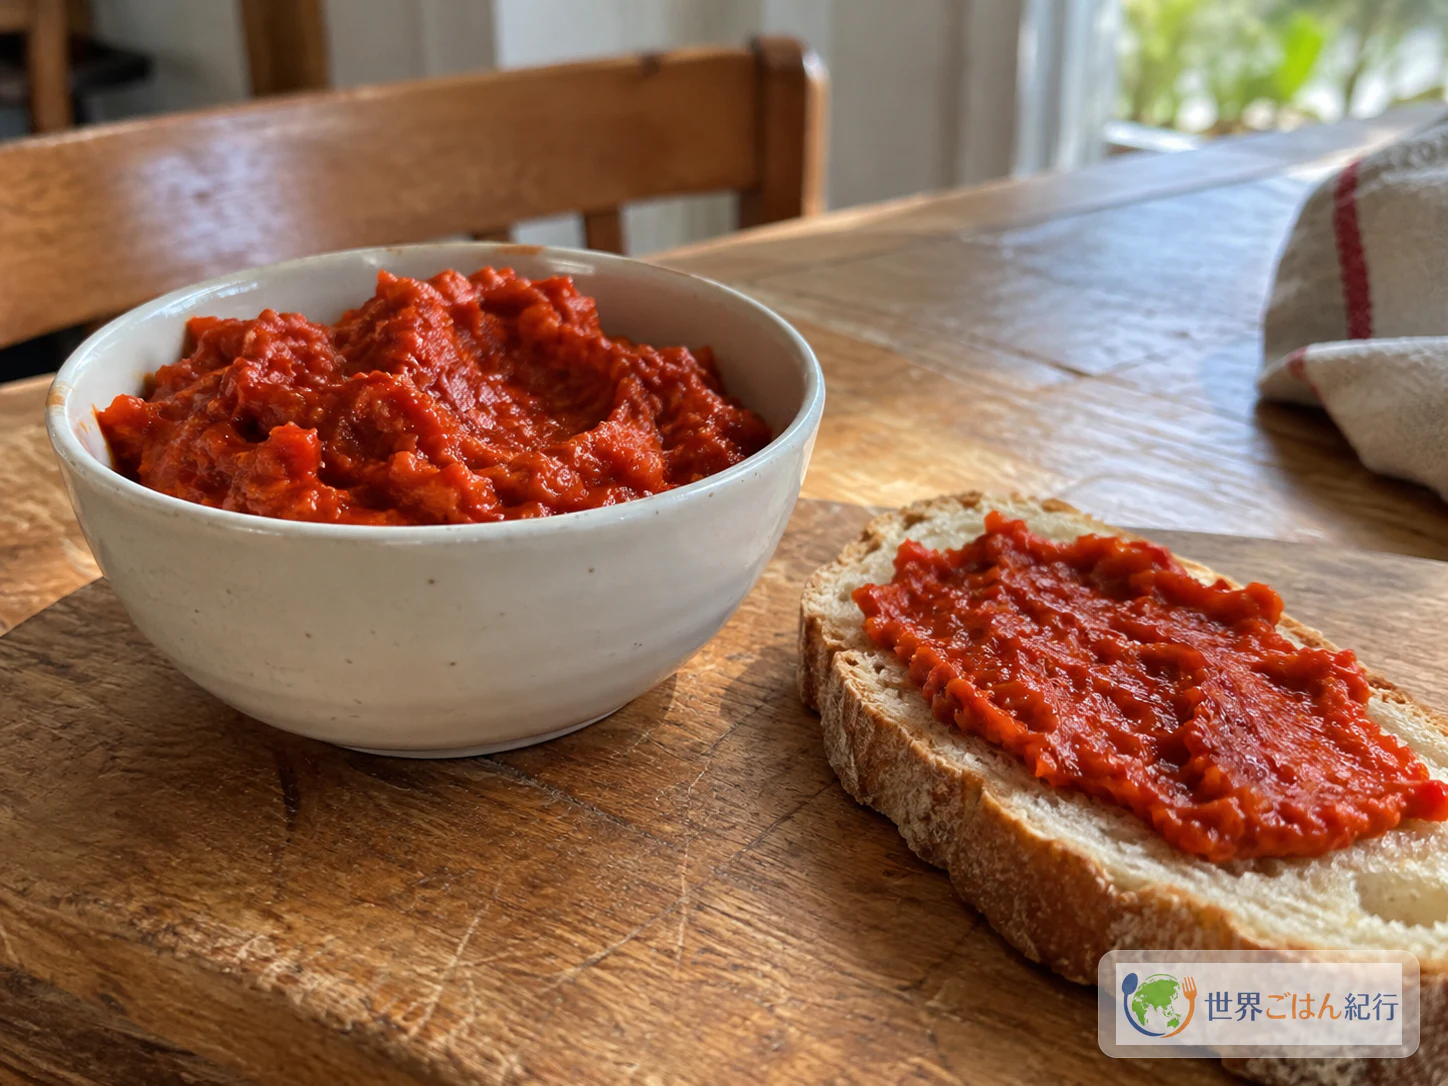
Several Macedonian recipes fill hot jars and cover them with cloth to cool. That is a traditional practice, but it is not a tested method for keeping ajvar safely at room temperature. Tested shelf-stable canning guidance from the National Center for Home Food Preservation covers plain peppers and requires a specific pressure-canning process; it does not apply to an oily pepper spread like this one. Do not store this ajvar in jars at room temperature.
Instead, transfer what you will eat into clean, shallow containers, cool it quickly, and keep it in the refrigerator. Japan's Ministry of Health, Labour and Welfare advises dividing leftovers into shallow containers so they cool fast. Eat it soon. If you want to keep some longer, freeze it in small portions. No specific refrigerator or freezer time has been confirmed for this recipe, so none is given here. Always take portions out with a clean spoon.
Frequently Asked Questions
What is ajvar?
A spread made mainly from roasted sweet red peppers that are peeled, drained, ground and cooked down. This version uses only peppers, oil and salt.
Do I need eggplant?
No. Families differ, and this recipe uses none. The eggplant style is a separate recipe with its own amounts and method.
Can I use red bell peppers?
Yes, as a substitute, but they are not the same as local ajvar peppers. Because their water content differs, rely on draining and the spoon-trail check rather than a fixed cooking time.
How do I know when it is cooked enough?
Draw a wooden spoon across the bottom of the pot. When the trail stays open and you can see the pan, the spread is ready.
Can I keep it in jars at room temperature?
No safe, tested canning process has been confirmed for this recipe, and filling hot jars alone does not make it shelf-stable. Keep it in the refrigerator and eat it soon, or freeze small portions.
Sources
- ТвојКувар / kristina (recipe contributor), "Ајвар." The pepper-only recipe used here: 4 kg peppers for ajvar, 330 ml oil and salt to taste; the order of roasting, peeling, draining overnight, grinding and cooking with salt while adding oil gradually; and the smooth, thick finish. https://tvojkuvar.mk/recipe/ajvar
- FAO Regional Office for Europe and Central Asia, "Transformation of the Macedonian pepper." Sweet red peppers, the late-summer and early-autumn season, winter menus, roasting and peeling, family variations with eggplant, tomato or carrot, and preserving work that brings families and communities together. https://www.fao.org/europe/resources/stories/details/Transformation-of-the-Macedonian-pepper/
- Scout unit "Dimitar Vlahov," Veles, "Кувар" (community cookbook), ajvar section. An eggplant-inclusive variation and the spoon-trail doneness check. https://scoutveles.org.mk/wp-content/uploads/2024/01/%D0%9A%D1%83%D0%B2%D0%B0%D1%80-%D1%86%D0%B5%D0%BB%D0%BE%D1%81%D0%B5%D0%BD-1.pdf
- Zajednica Makedonaca u Republici Hrvatskoj (Macedonian community association in Croatia), "Ајвар." Ajvar as a late-summer and early-autumn roasted pepper specialty kept for winter in many households. https://zmurh.hr/2012/04/15/ajvar/?lang=mk
- PlusPharma, "АЈВАР – СИТЕ БОИ И ВКУСОВИ." Pepper-only and eggplant styles, autumn neighborhood cooking with roasting and peeling shared out, thick-fleshed peppers, and the spoon-trail check. https://pluspharma.mk/ajvar-site-boi-i-vkusovi/
- National Center for Home Food Preservation, University of Georgia, "Peppers." Tested shelf-stable canning of plain peppers requires a specific pressure-canning process; it is not a method for ajvar. https://nchfp.uga.edu/how/can/canning-vegetables/peppers/
- Ministry of Health, Labour and Welfare (Japan), "家庭での食中毒予防" (Preventing food poisoning at home). Dividing leftovers into shallow portions to cool them quickly. https://www.mhlw.go.jp/stf/seisakunitsuite/bunya/kenkou_iryou/shokuhin/syokuchu/01_00008.html