
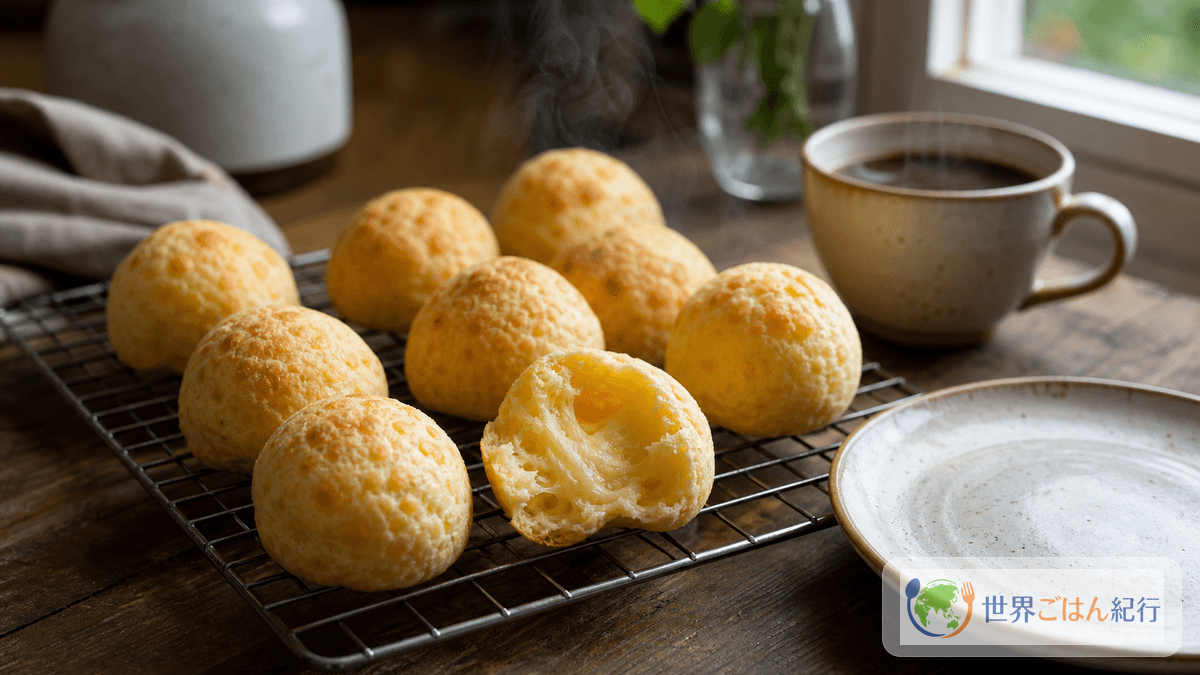
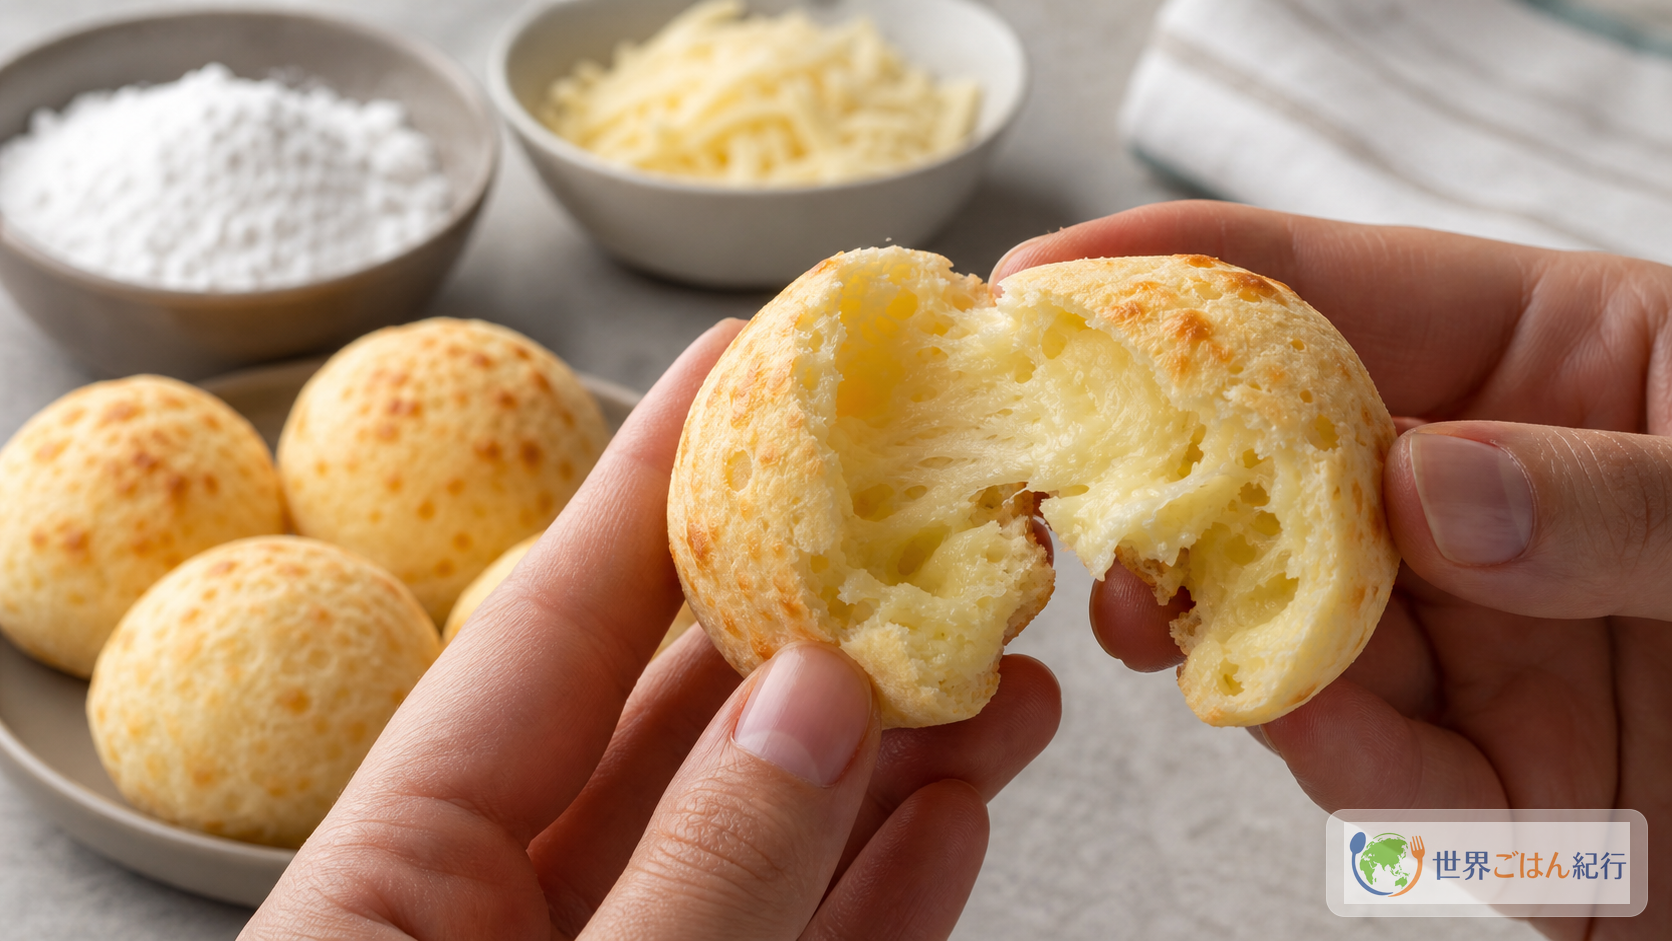
Break one open fresh from the oven, and out comes steam, not crumbs
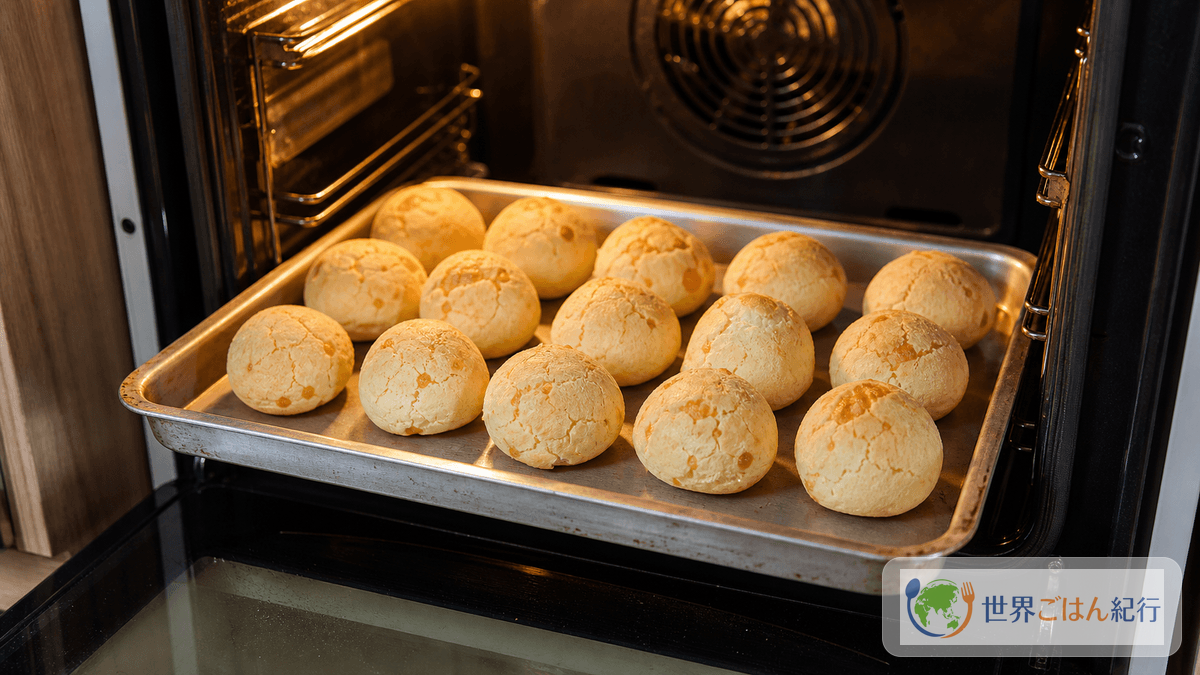
Inside the oven, round balls of dough puff up and small cracks open on their surfaces. Open the door and what reaches you first is not the wheaty smell of a bakery but cheese and the faintly sweet smell of starch. Pão de queijo is a small cheese bread eaten in Brazil at breakfast and as a snack.
It is often loosely described as a "chewy cheese ball," but in Brazil its outline is more specific. It is made not with wheat flour but with polvilho, a starch extracted from manioc (cassava). The salt of the cheese runs through the whole dough; the outside is thin and toasty, and the inside holds air and stretches a little. And it sits next to a cup of coffee, to be eaten several at a time while hot. When these three come together, it stops being just a cheesy chewy roll and comes close to a Brazilian kitchen.
The hard part when making it outside Brazil is choosing the starch and cheese. In Brazil, cooks may combine polvilho doce and polvilho azedo, and use meia-cura, Canastra or other Minas-style cheeses. Those are hard to find in ordinary supermarkets elsewhere, so this recipe is built around tapioca starch, with mozzarella, grated Parmesan and, if you can find one, a salty white cheese to round out the flavor.
On a Brazilian dinner menu, pão de queijo is an easy way in. Unlike grilled-meat churrasco (in Japanese), black-bean feijoada (in Japanese) or fried coxinha, it needs no fermentation and no frying oil. It is a dish in which heat binds starch and liquid, and cheese provides the flavor.
In Portuguese it is written pão de queijo, roughly "pown jee KAY-zhoo." It means simply "cheese bread." This article uses the Portuguese name throughout.
A snack that spread from the starch and cheese of Minas
When pão de queijo comes up, the place name you hear most is Minas Gerais. Minas, in Brazil's interior, is often described as a region with a deep dairy and cheese culture. National Geographic Brasil notes that the background of pão de queijo lies in Minas's milk and cheese production, and that the bread uses starch from manioc.
That said, the origin of a home dish is hard to pin to a single year. Rather than declaring when and by whom pão de queijo was first made, it is more natural to see it as a dish that spread where Minas cheese, manioc starch, home ovens and coffee time overlapped. Today it is eaten not only in Minas but throughout Brazil, and it is an everyday item as frozen dough and as a café snack.
What makes pão de queijo interesting in a home kitchen is that it rises on completely different logic from wheat bread. There's no yeast and no gluten structure; instead, hot liquid gelatinizes the starch, and eggs and cheese support the rise and flavor. It tends to form a hollow inside as it bakes: chewy, but not heavy. That is what sets it apart from other chewy starch snacks and ordinary cheese breads.
Similar South American starch breads
| Dish | Region | Main ingredients | How it differs |
|---|---|---|---|
| Pão de queijo | Brazil | Cassava starch, cheese, eggs | Rolled into balls and baked. Light, often hollow inside |
| Chipa | Paraguay, northern Argentina and elsewhere | Cassava starch, cheese, eggs | Often ring- or stick-shaped; closer to a biscuit |
| Mbejú (in Japanese) | Paraguay | Cassava starch, cheese, fat | Not made into a dough; the damp starch is cooked in a skillet |
| Pandebono | Colombia | Cassava starch, cheese, cornmeal and more | Baked in rounds, but the proportions and texture differ somewhat |
What these dishes share is that cassava starch is not replaced with wheat flour. You can make something with wheat flour, but the bounce when you bite, the hollow that forms in baking and the way it firms up as it cools all change. Make it with tapioca starch at least once first.
When shopping, it's easy to confuse cassava flour with cassava starch. The farinha de mandioca used for farofa (in Japanese) is ground cassava with a granular texture, suited to dishes where it is toasted. What pão de queijo needs is polvilho, the extracted starch. On a label, look for tapioca flour, tapioca starch or cassava starch, and avoid tapioca pearls or seasoned mixes.
Ingredients: think about the starch and the cheese separately
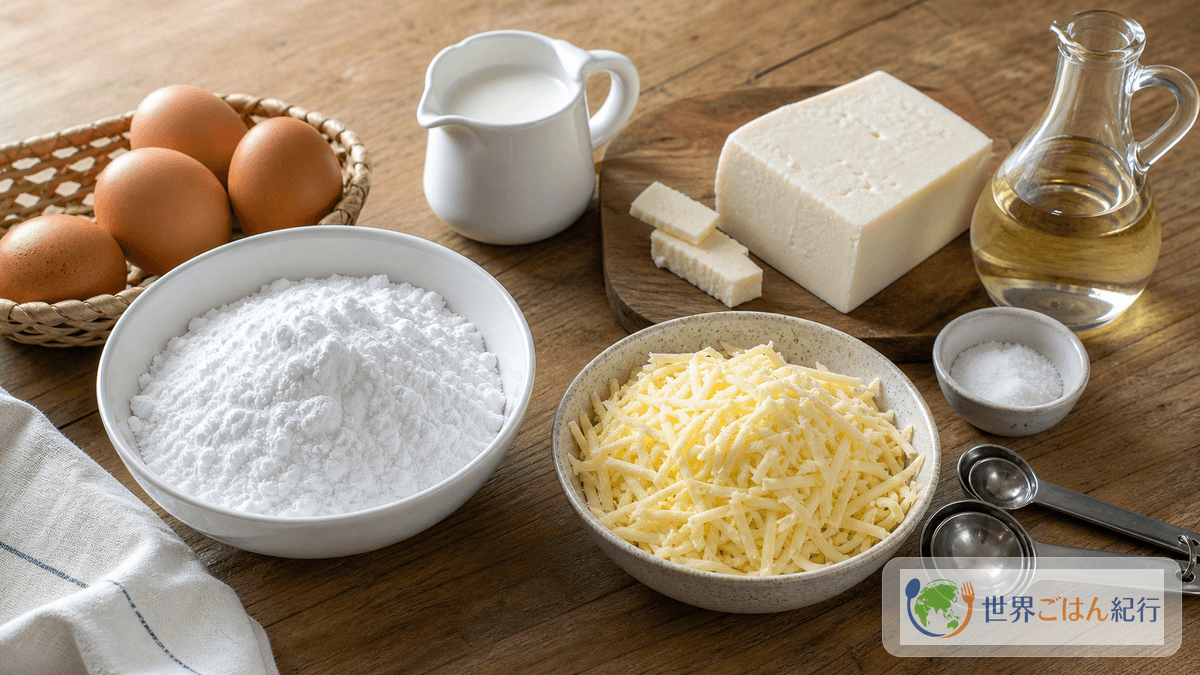
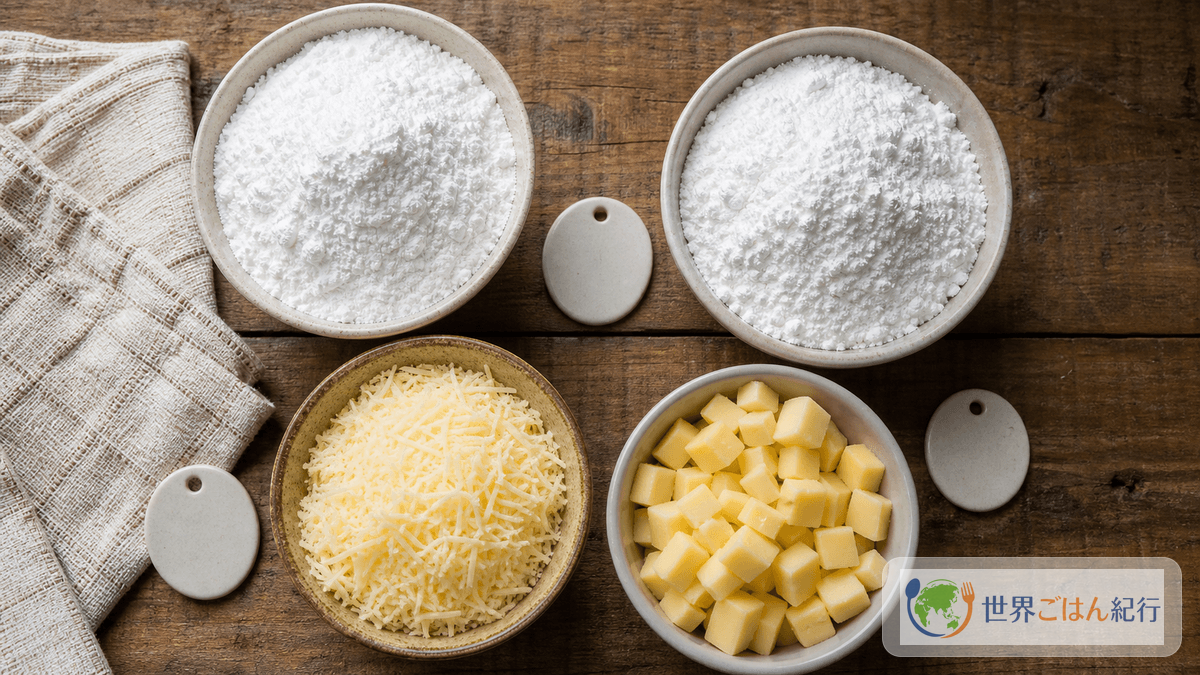
These amounts make 18 pão de queijo about 4 cm (1 1/2 in) across. That's 4 servings for breakfast or a snack, or enough for 6 as an appetizer before a Brazilian meal. The first time, don't make them too big; about 30 g of dough each makes it easier to bake them through.
This recipe uses eggs and dairy. Tapioca starch itself is not wheat flour, but production lines and grated-cheese labels vary by product. If you must strictly avoid gluten, check ingredient labels and make sure your equipment has no leftover wheat flour.
Brazilian ingredients and substitutes
| Brazilian ingredient | Substitute | Verdict |
|---|---|---|
| Polvilho doce | Tapioca starch, cassava starch | The most important. Don't replace it with only wheat flour, rice flour or potato starch |
| Polvilho azedo | Imported sour cassava starch | Adds lightness if you have it. Otherwise use all tapioca starch |
| Queijo meia-cura | Mozzarella + grated Parmesan | Covers stretch and salt separately |
| Queijo Minas | Queijo fresco, a little feta | Use less of a very moist cheese |
| Óleo | Rice bran oil, vegetable oil | Used not for flavor but to keep the dough light |
If you're unsure what to buy, secure the tapioca starch first. Rather than chasing an exact cheese match, you'll get steadier results by combining a cheese that stretches with one that brings salt. Shredded pizza cheese alone will make something, but the salt and dairy aroma come out flat, so add grated Parmesan.
Choose a product clearly labeled "tapioca starch" or "cassava starch." Products aimed at bubble tea may be pearls or flavored, so always check that it's a fine powder. Since wheat flour or potato starch changes the backbone of the dish, having tapioca starch on hand before you start cuts down on failures.
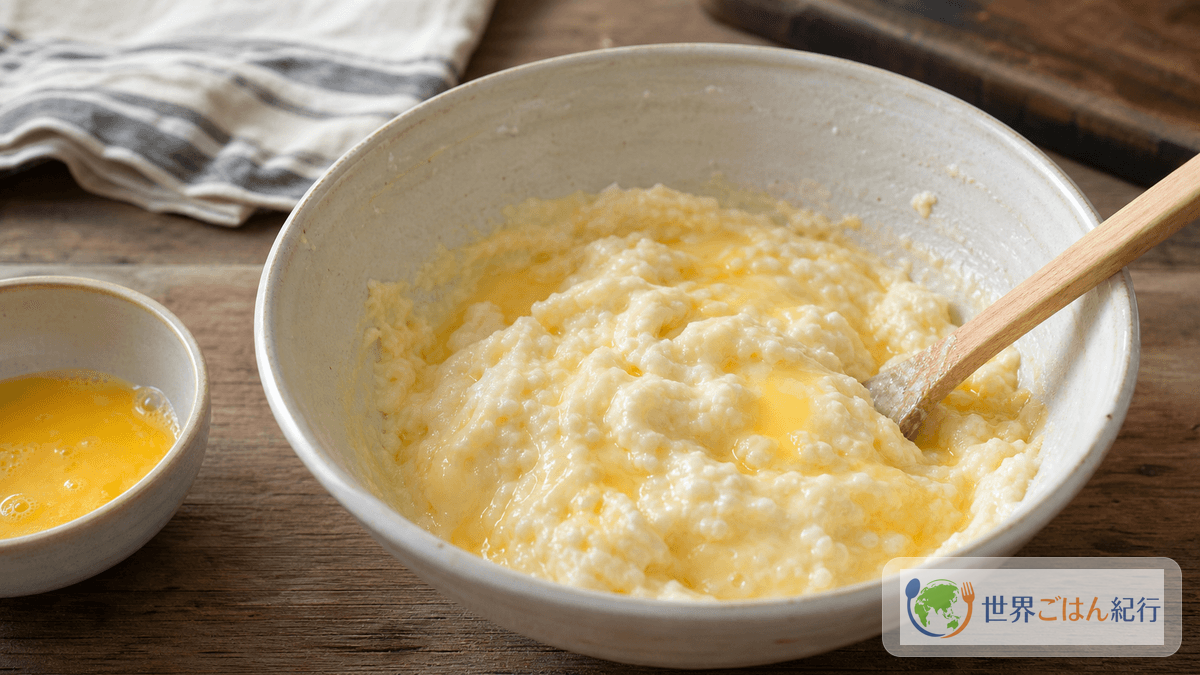
If the dough is too hot when the eggs go in, the eggs alone set into small bits. You can judge it by touch.
The basic recipe can be mixed by hand. A blender is only worth considering if you make these often or want to try the blender method, in which the eggs and liquid are blended evenly first.
Method: bind the starch with hot liquid, then bake hot and fast
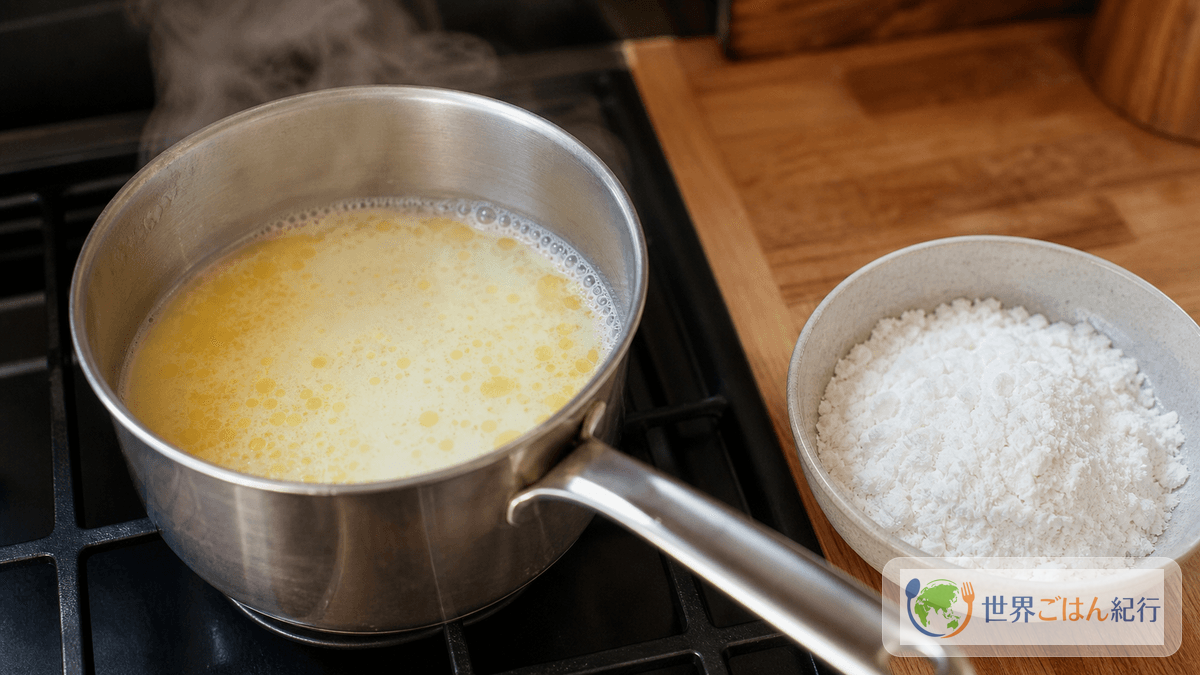
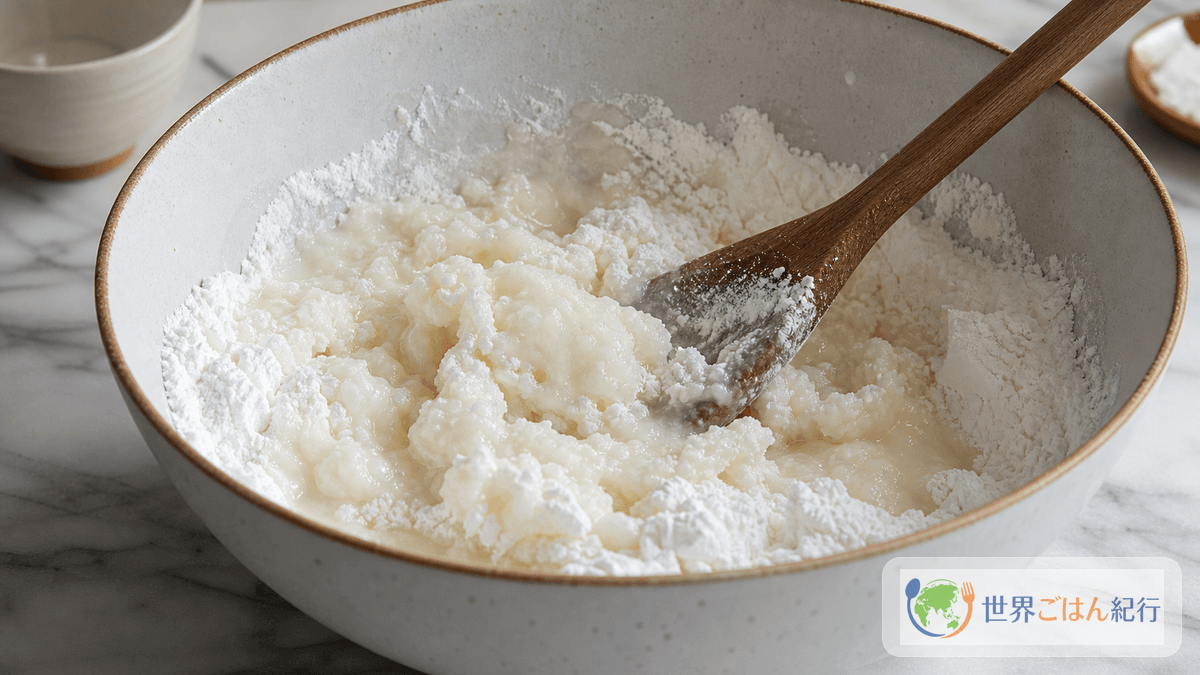
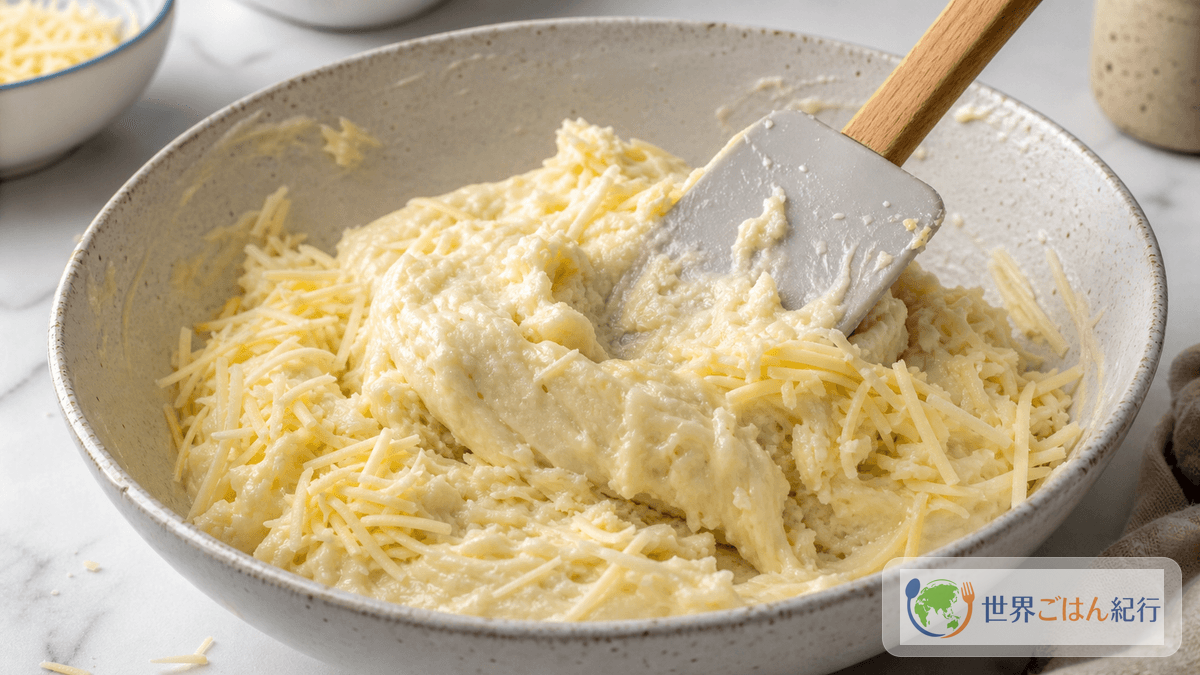
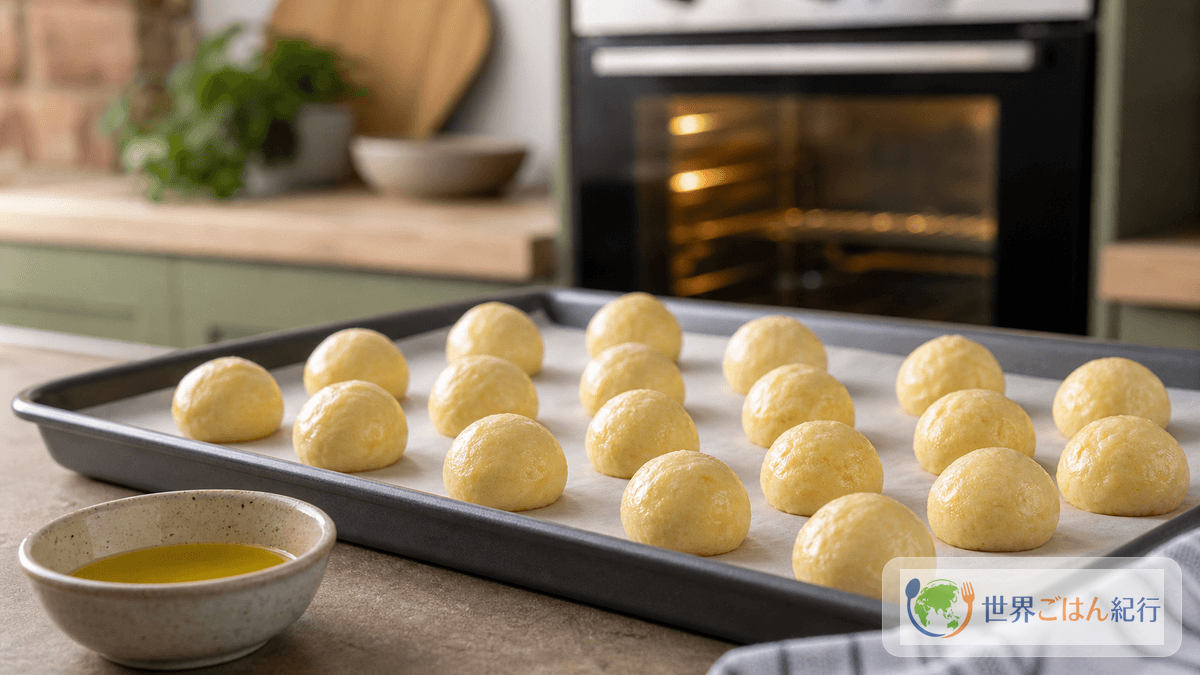
Pão de queijo isn't a kneaded bread. Hot liquid poured over the starch gelatinizes it; then eggs and cheese are mixed in, and the dough is rolled and baked. A dough that sticks a little to your hands is correct. If you add starch to make it easier to handle, it bakes up hard.
Freeze the shaped dough on the baking sheet, then transfer to a freezer bag once firm. To bake, put them still frozen into an oven preheated to 180°C (355°F) and bake for 25–30 minutes. Frozen dough takes a while to heat through to the center, so it's more reliable not to roll the balls too large.
Common pitfalls: look at stickiness, hollows and browning separately
Pão de queijo failures can look alike but have different causes. If you try to fix everything with one move, adding starch because it's sticky or baking longer because it's pale, you invite the next failure. Look at each symptom separately.
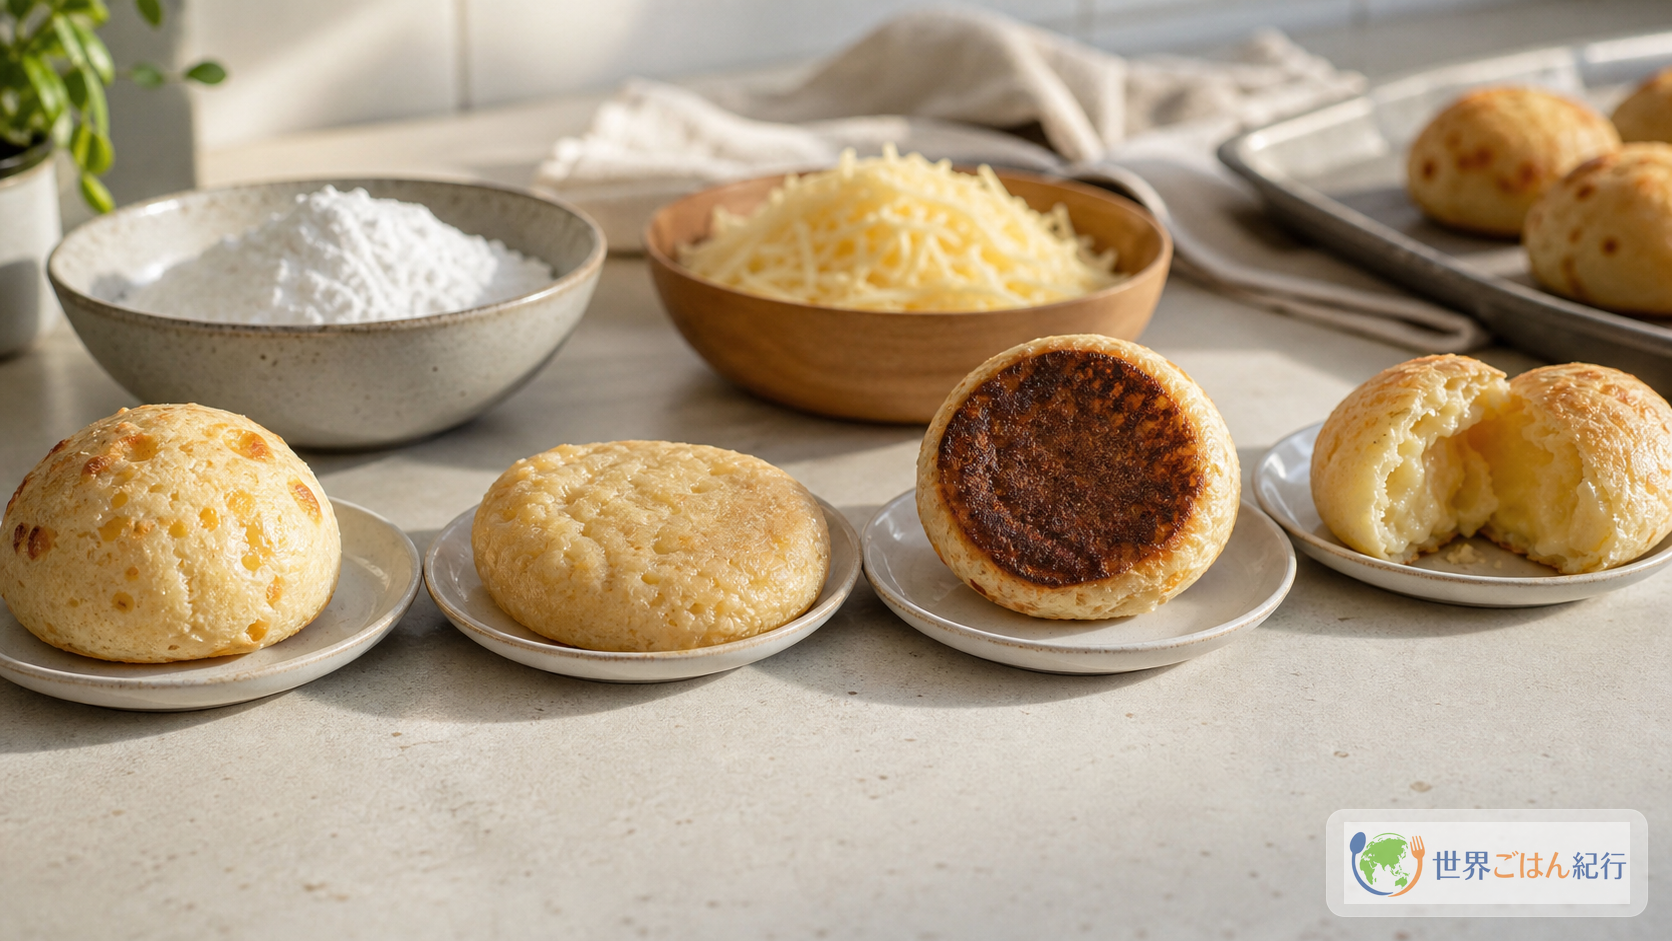
When you look at a batch, first split the causes into three: the dough, the heat and the size. If the surface is dry, white and cracked too much, it's the dough; if only the bottoms burn, it's the heat; if the center is heavy, it's the size. You don't have to narrow it to a single cause, but change only one thing next time. If you add 2 tbsp of starch, lower the temperature and lengthen the baking time all at once, you won't know what worked.
| Symptom | Main cause | Fix |
|---|---|---|
| Too loose to roll | Large eggs, too much liquid, not rested enough | Rest for 10 minutes. If still loose, add just 1 tbsp tapioca starch |
| Doesn't puff in the oven | The liquid cooled and the starch didn't gelatinize; eggs not mixed in enough | Pour the liquid in right after it bubbles, and mix in each egg completely |
| Surface cracks too much | Dough dried out, too much starch added | Oil your hands and smooth the surface before baking |
| Heavy and dense inside | Baked too long at too low a temperature; balls too big | Bake briefly at 210°C and keep each one around 30 g |
| Only the bottoms turn dark | Thin baking sheet, strong bottom heat | Double the baking sheets, or lower to 200°C and bake a little longer |
| Weak cheese flavor | Made with mozzarella only | Add grated Parmesan, a salty white cheese and a little aged cheese |
Adding starch is the last resort. Pão de queijo dough doesn't come cleanly off your hands the way bread dough does. If you can roll it with oiled hands, leave it as is. More starch makes shaping easier, but the result bakes up harder.
Large hollows aren't a bad thing. Pão de queijo isn't a densely packed bread; it puffs up with steam as it bakes. A bit of hollow inside with chewy dough around it is normal. On the other hand, if the center is pasty and heavy and the dough seems raw, reconsider the temperature or the size.
How to serve it: at breakfast, or as the opening to a Brazilian meal
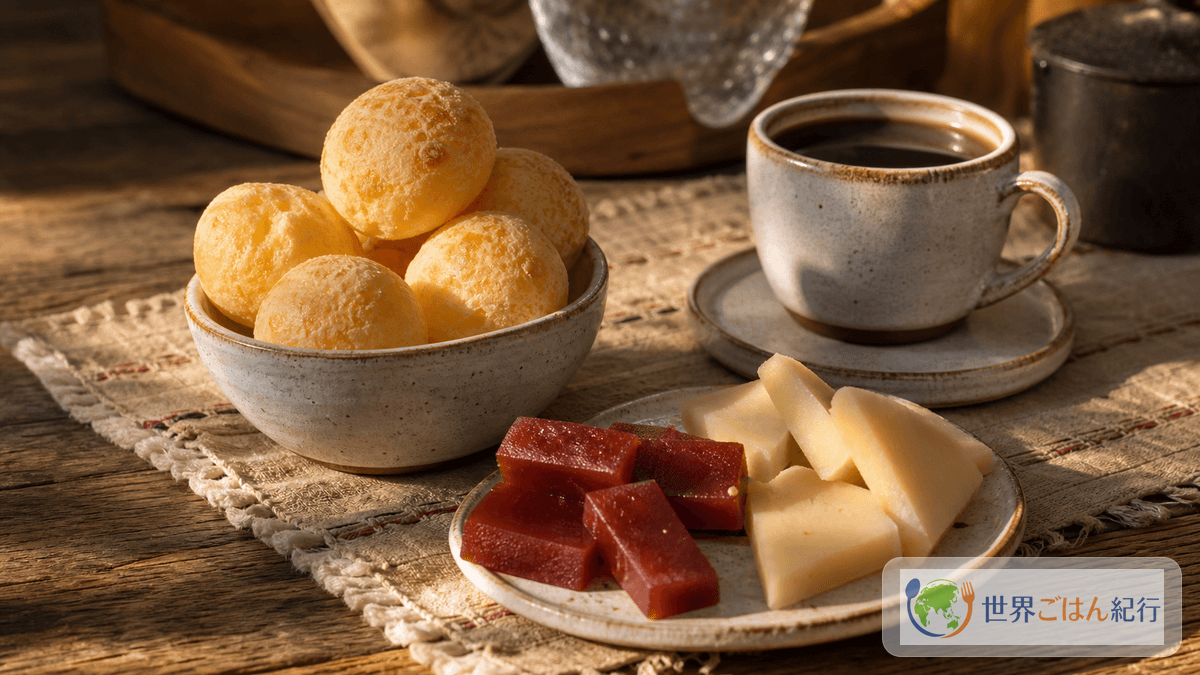
Pão de queijo is best fresh from the oven. In the morning, coffee alone is plenty; for a snack, adding a little white cheese or fruit brings a hint of a Minas table. For something sweet, Brazil has the pairing of guava paste and cheese. At home, a small spoonful of not-too-sweet jam is an easy alternative.
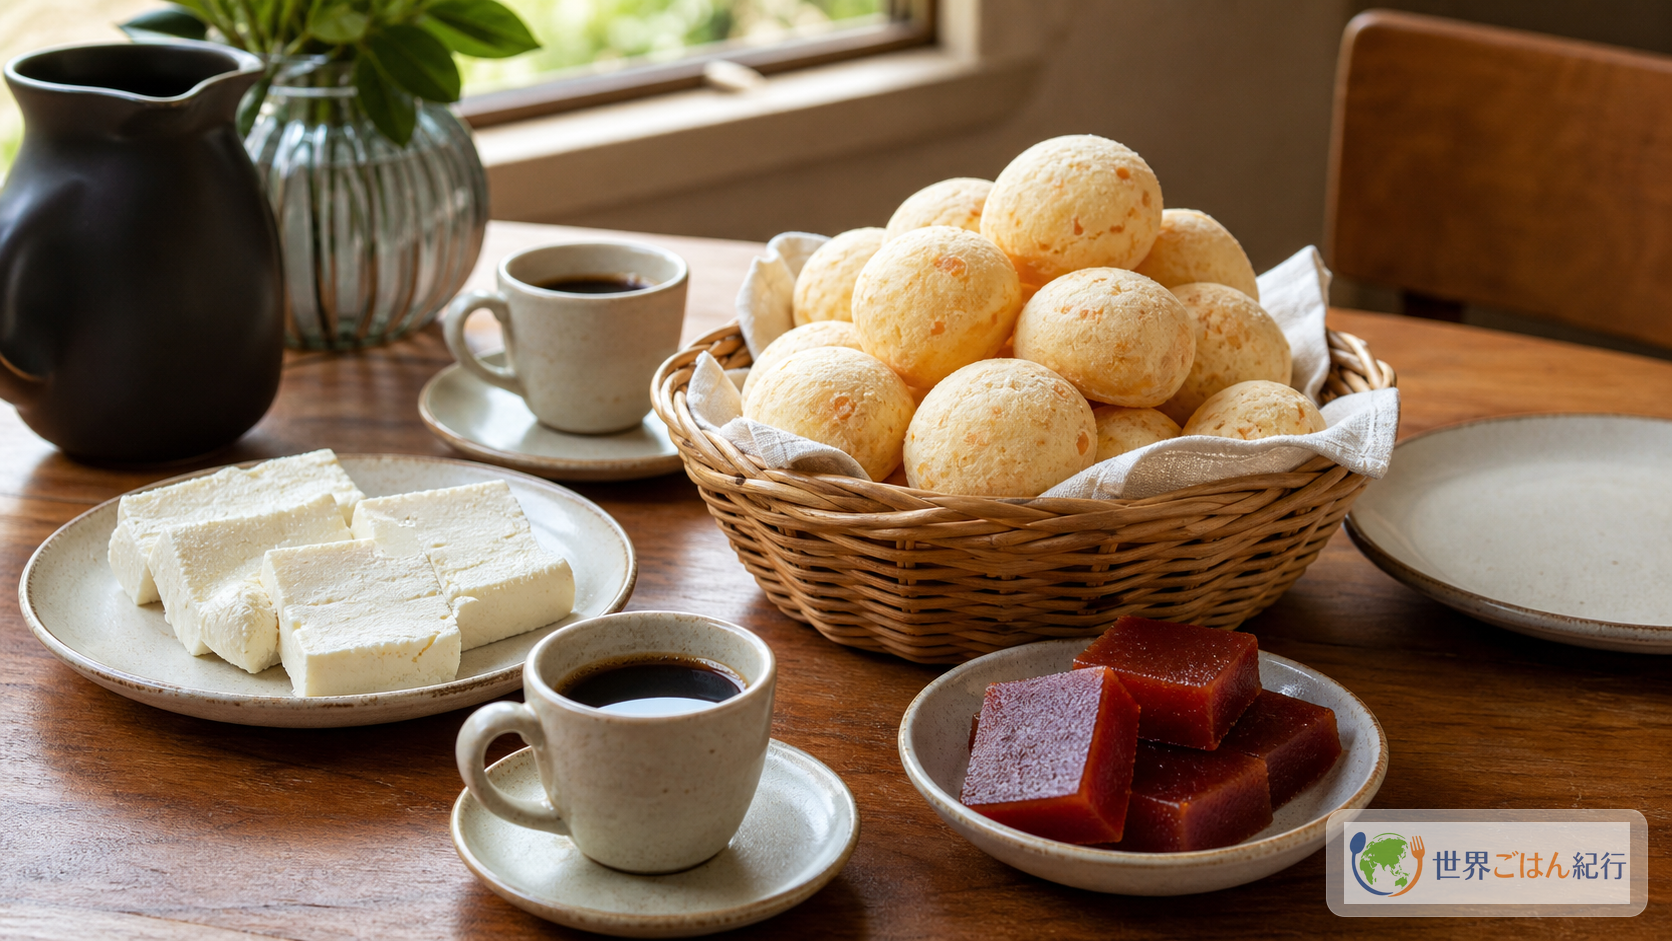
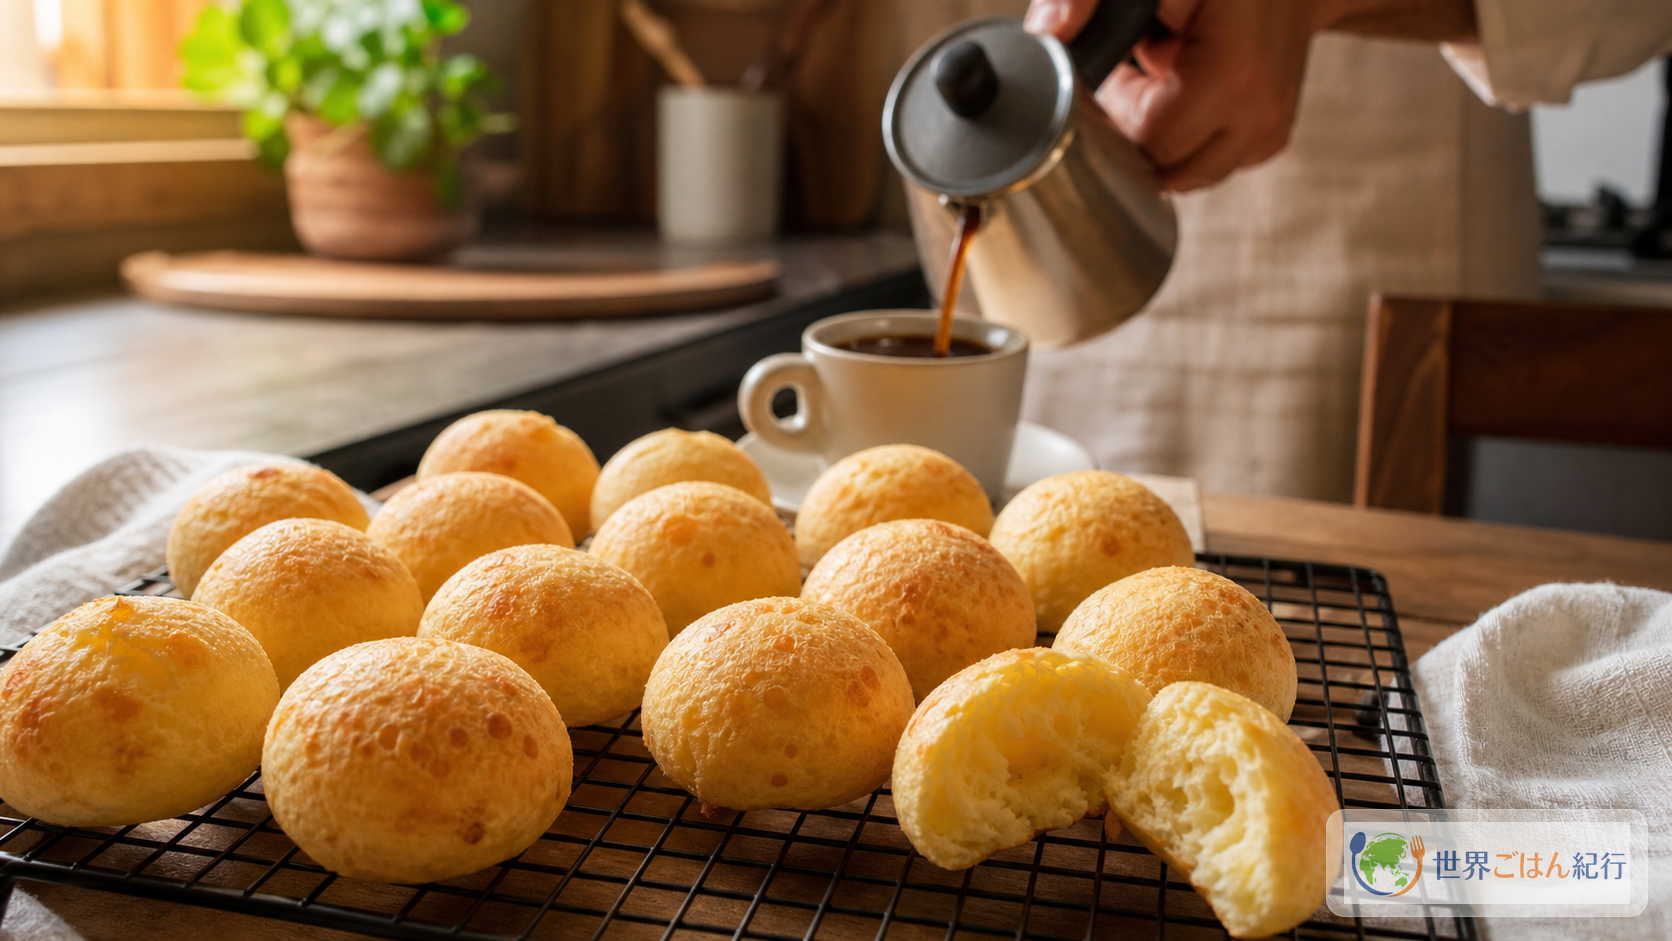
To eat it the Brazilian way, make small cups of strong coffee. Café au lait also works, but since this isn't a sweet bread, a bitter drink brings out the salt of the cheese. Two or three in the morning, one or two for an afternoon lanche (snack). It's more in the spirit of the dish to nibble them hot than to pile them up as a main course.
On a Brazilian menu, it works better not to make pão de queijo the star. Serve 2–3 on a small plate before feijoada (in Japanese) or moqueca baiana (in Japanese). On a churrasco (in Japanese) day, offer them as a snack while the meat is grilling. Moving on to meat, beans or seafood keeps the meal lighter than adding another starchy dish.
When serving young children, the inside of a fresh one is very hot, so break it open and let it sit for 2–3 minutes. The texture firms up as it cools, but a toaster oven brings back the aroma. With no heat or strong herbs, it's easy to serve at a family table.
| Occasion | How to serve | Pair with |
|---|---|---|
| Breakfast | 2–3 per person, hot | Black coffee, café com leite, fruit |
| Afternoon snack | 1–2 on a small plate | White cheese, guava jam, strong black tea |
| Appetizer for a Brazilian meal | 2 each before meat or bean dishes | Vinagrete, salad, cold drinks |
| Potluck | Bake smaller, at 20 g | Best where a toaster oven is available for reheating |
Change it up with cheese, not starch
| Direction | Add / change | Watch out for |
|---|---|---|
| Closer to Brazil | Mix in 80 g polvilho azedo | Adds tang and lightness. Using it for all the starch makes them crack easily |
| Saltier | Increase grated Parmesan to 60 g | Reduce salt to 1/3 tsp |
| More stretch | Increase mozzarella to 140 g | It can release oil, so don't overbake |
| Light breakfast | Make each 20 g | Bake at 210°C for about 14–16 minutes |
| Sweet-salty snack | A little guava jam on the baked rolls | Don't mix sugar into the dough; it burns less easily without |
When you first make these, the dough is more confusing than the seasoning. If you keep separate the decision to add starch, the liquid temperature and how to read the hollow, you'll know your next move even when a batch comes out dense. Even a first batch that didn't puff well teaches you something for the next breakfast if you look at the causes one by one.
Storage and reheating: freezing before baking works best
Once baked pão de queijo has cooled, keep it in a container: same day at room temperature, or until the next day in the fridge. Refrigeration firms up the starch, and the fresh-baked lightness fades. Don't reheat in the microwave alone; warm at 600 W for 10–15 seconds, then crisp in a toaster oven for 2–3 minutes to bring back some of the outside.
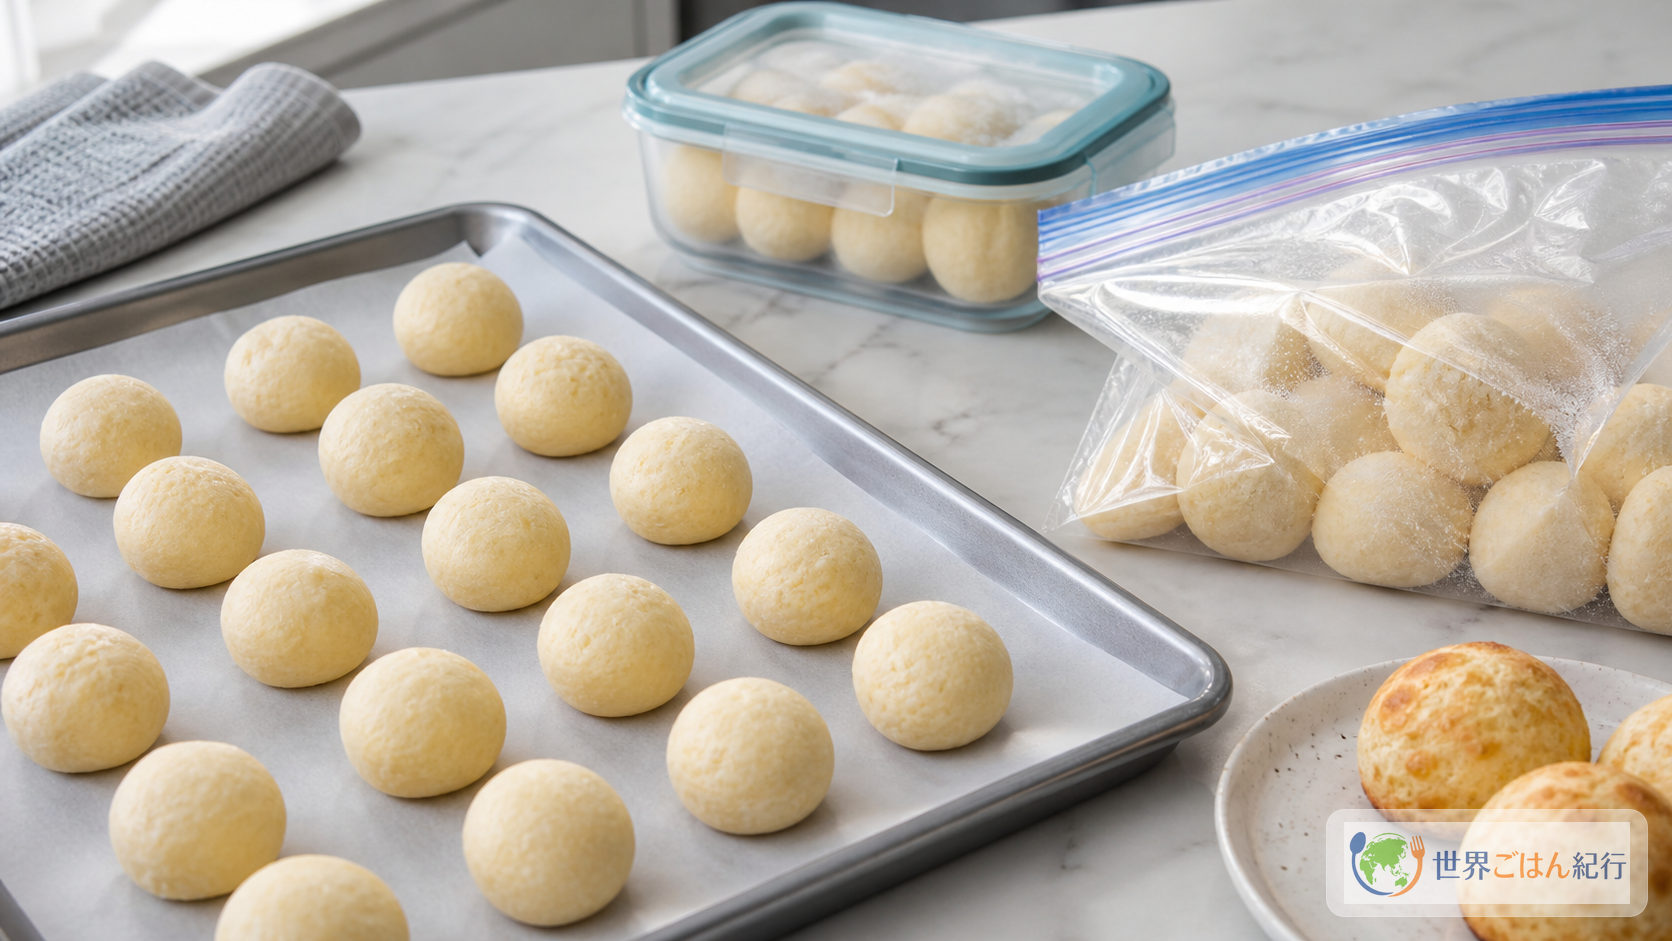
To make ahead, freezing before baking is the way to go. Arrange the shaped dough on a baking sheet with space between, and freeze for 2–3 hours. Once firm, move to a freezer bag and use within about 2–3 weeks. They bake straight from frozen, which is handy for breakfast or when you're a little hungry.
When baking frozen dough, lower the temperature. Unfrozen dough bakes at 210°C for 18–22 minutes; frozen dough at 180°C for 25–30 minutes. That avoids the failure of an outside that browns quickly while the center is still cold. The larger the balls, the harder it is to heat the center, so if you plan to freeze, keep each at 25–30 g.
| Storage | Guideline | Reheating / baking |
|---|---|---|
| Baked, same day | Room temperature, same day | 2–3 minutes in a 180°C toaster oven |
| Baked, next day | Refrigerated, until the next day | Warm at 600 W for 10–15 seconds, then 2–3 minutes in a 180°C toaster oven |
| Baked, frozen | 2 weeks | From frozen at 160°C for 6–8 minutes. Texture firms up slightly |
| Shaped, frozen | 2–3 weeks | Without thawing, at 180°C for 25–30 minutes |
Move them to a bag only once fully frozen. If stacked while still soft, the balls stick together and the surfaces tear when baked. Freezer odors also transfer easily, so double-bag them or put the bag in an airtight container to keep the morning aroma.
Frequently asked questions
Can I use potato starch instead of tapioca starch?
We don't recommend it. Potato starch is very sticky and tends to harden as it cools. You can make a shape, but you'll hardly get the light hollow and chewy bounce typical of pão de queijo. For your first batch, use tapioca starch or cassava starch.
What's the difference between polvilho doce and polvilho azedo?
Both are cassava starches, but polvilho azedo goes through fermentation and has a sour edge; it's said to give more lightness and rise when baked. It can be hard to find, so you can make these with all tapioca starch. If you can get it, it's easier to handle if you swap in about 80 g rather than using it for everything.
Is pizza cheese alone enough?
It works, but the flavor is a little flat. Pizza cheese stretches well, but depending on the product, its salt and aroma can be weak. Adding grated Parmesan brings salt and savory depth. If you can find a salty white cheese, a small amount brings the aroma closer to Brazilian cheese bread.
Should I add starch when the dough sticks to my hands?
First rest it for 10 minutes, then rub your hands lightly with oil and roll. Only if it's still loose enough to run should you add 1 tbsp tapioca starch. Adding more starch from the start makes the result hard, and heavy once it cools.
They're hollow inside. Did I overbake them?
A light hollow is normal. The moist starch dough, made with hot liquid, releases steam in the oven and puffs up. If the outer part is chewy, the bottoms are dry and they feel light, they're done. If the center is pasty and heavy and doesn't spring back when pressed, make each one 30 g or less and bake within the range of 210°C for 18–22 minutes.
Can I make the dough the day before?
Rolling and freezing is more reliable than refrigerating the whole batch overnight. If you must refrigerate, seal the shaped dough so it doesn't dry out and bake it the next day. Refrigerated dough tends to firm up, so let it sit at room temperature for 10 minutes before baking, and if the surface has dried, smooth it with lightly oiled hands.
Can I cook them in a skillet if I don't have an oven?
They won't puff like pão de queijo, and the result is closer to a different dish. If you want to enjoy starch and cheese in a skillet, Paraguayan mbejú (in Japanese) is a better fit.
Should I thaw frozen dough before baking?
No, bake it frozen. Thawing makes the surface damp and more likely to stick to the baking sheet. Bake in an oven preheated to 180°C for 25–30 minutes, and take them out once the surface has puffed and the bottoms are dry.
In short: protect the starch, the temperature and the salt of the cheese
With so few ingredients, pão de queijo leaves nowhere to hide. Don't fall back on wheat flour. Moisten the tapioca starch thoroughly with hot liquid. Add the eggs when the dough isn't too hot. Use cheese not just for stretch but for salt. Keep these four, and you can get remarkably close in a home kitchen.
Make the batch of 18 the first time, eat half fresh from the oven and try freezing the rest. The next morning, put the frozen dough in the oven and brew some coffee, and the smell of cheese and starch will fill the kitchen again. It isn't the showiest dish in Brazilian cooking, but it has the power to open a meal.
Sources
- Panelinha, Pão de queijo, accessed May 18, 2026.
- National Geographic Brasil, Qual é a origem do pão de queijo?, accessed May 18, 2026.
- Agência Minas Gerais, Cozinha Mineira é patrimônio cultural imaterial de Minas Gerais, accessed May 18, 2026.