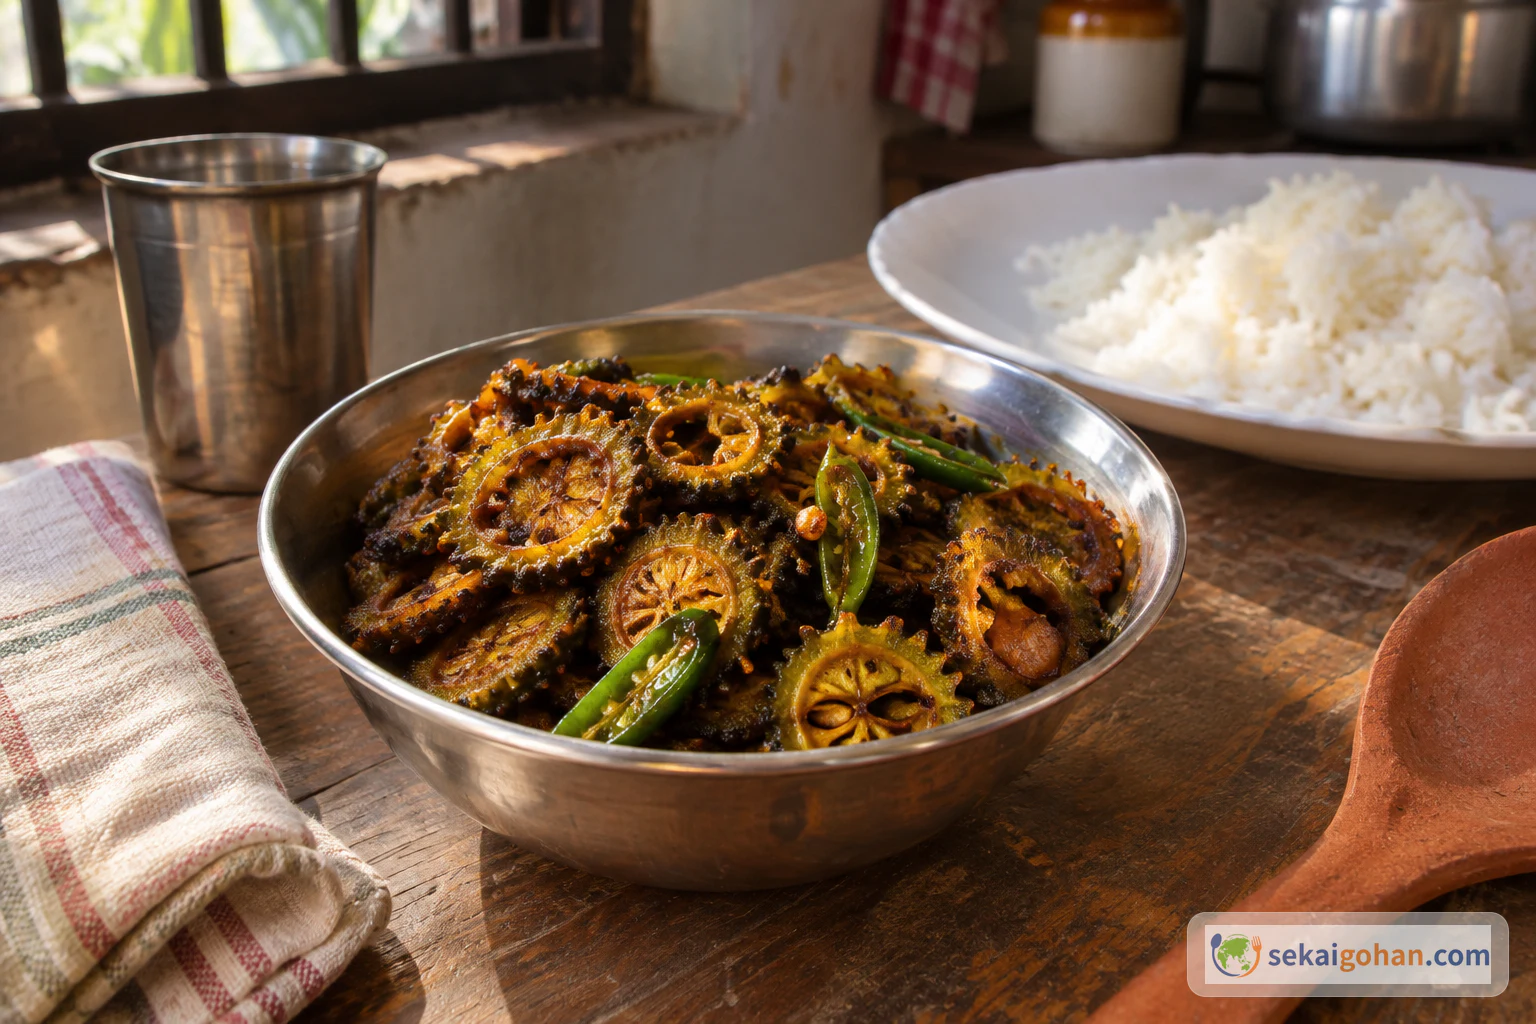
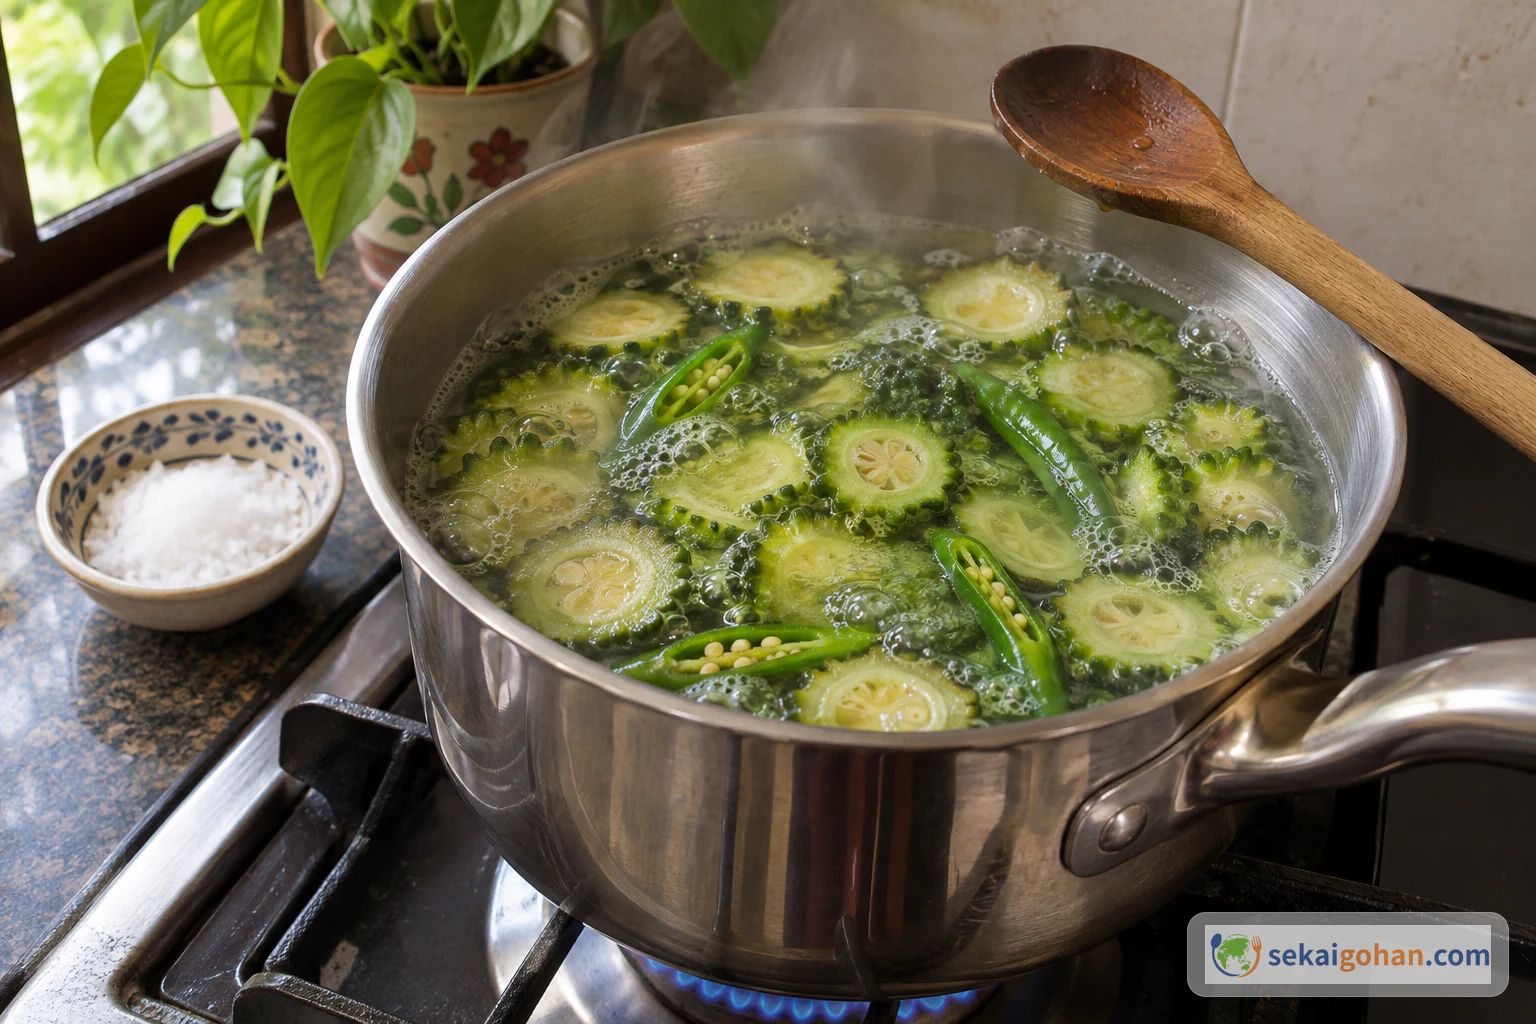
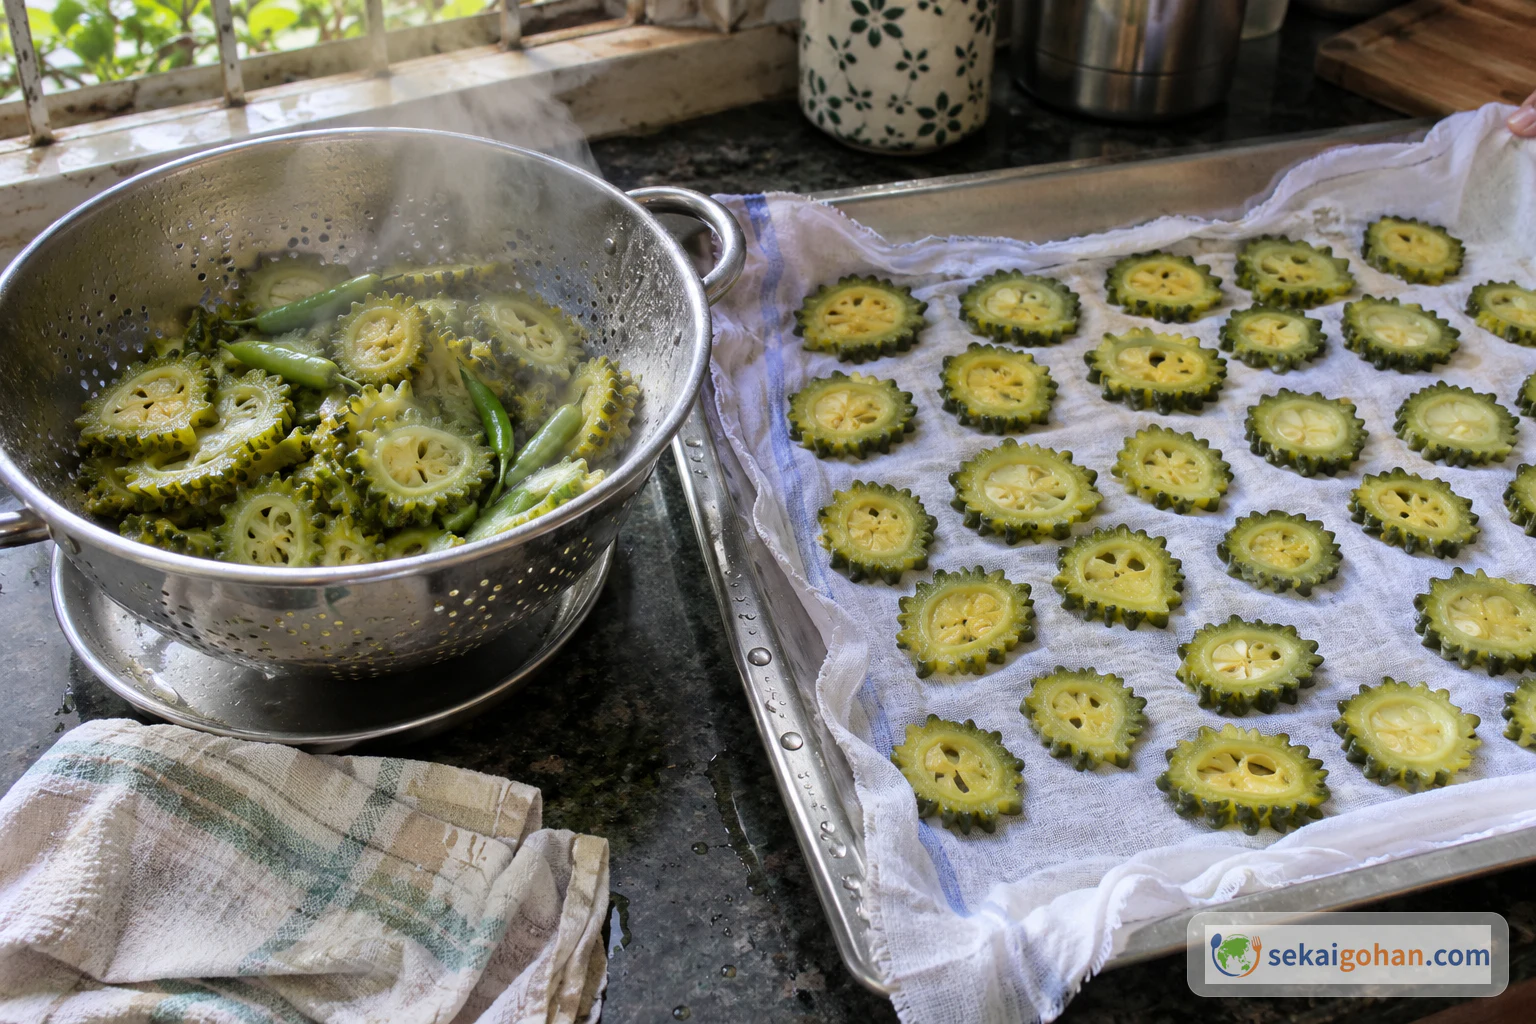
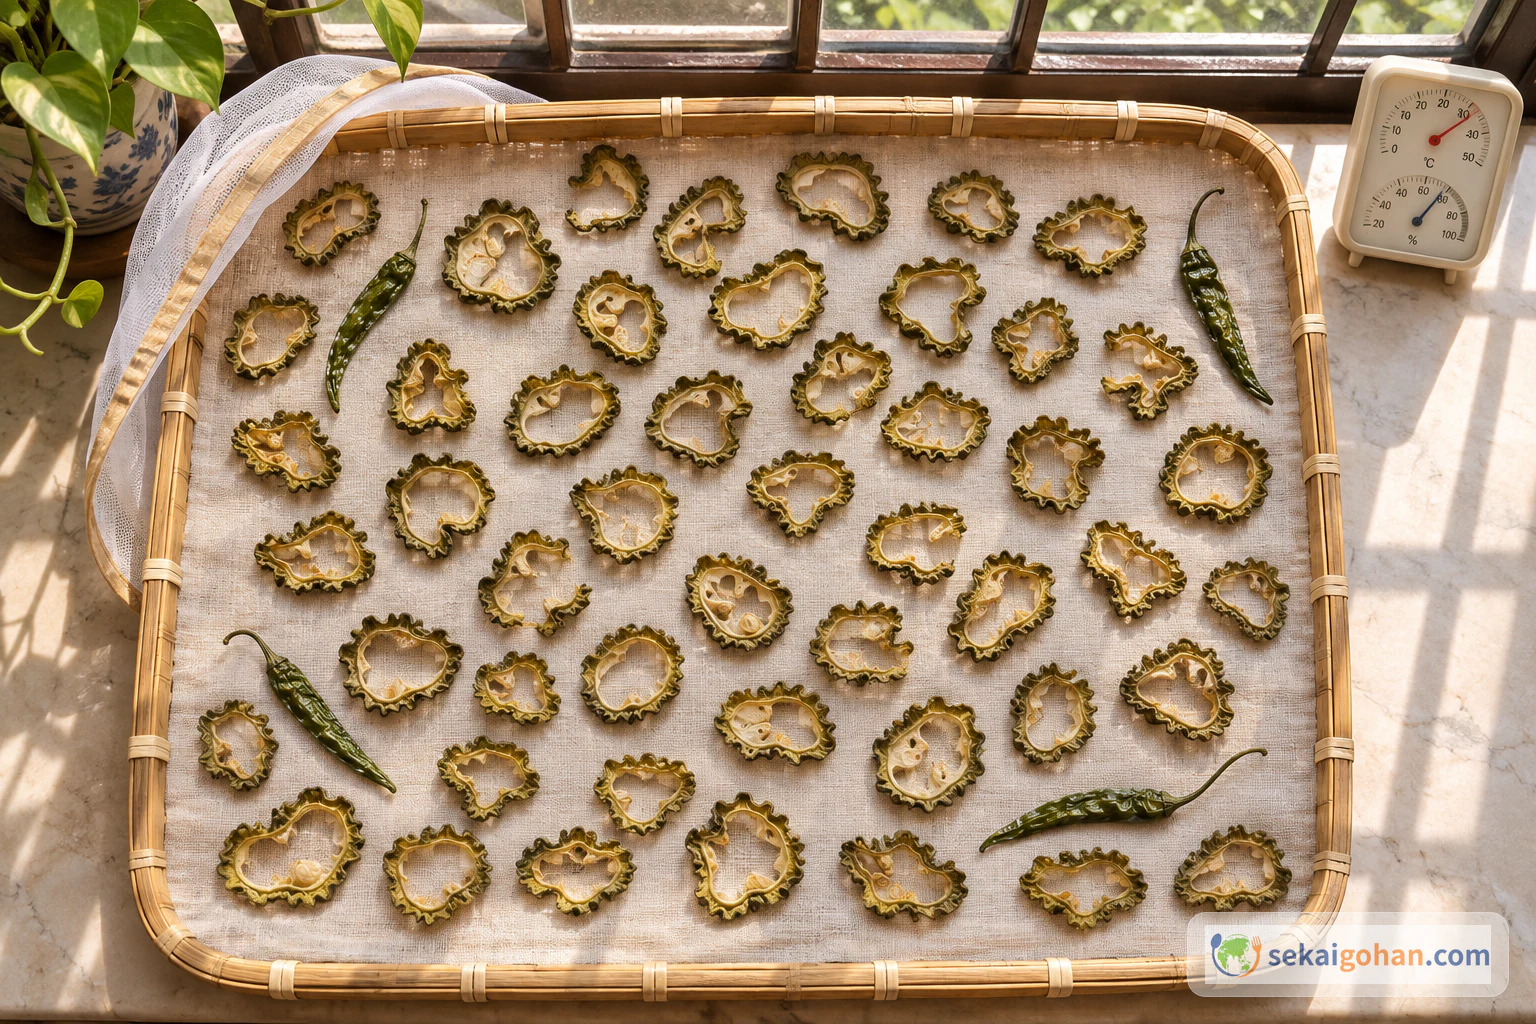
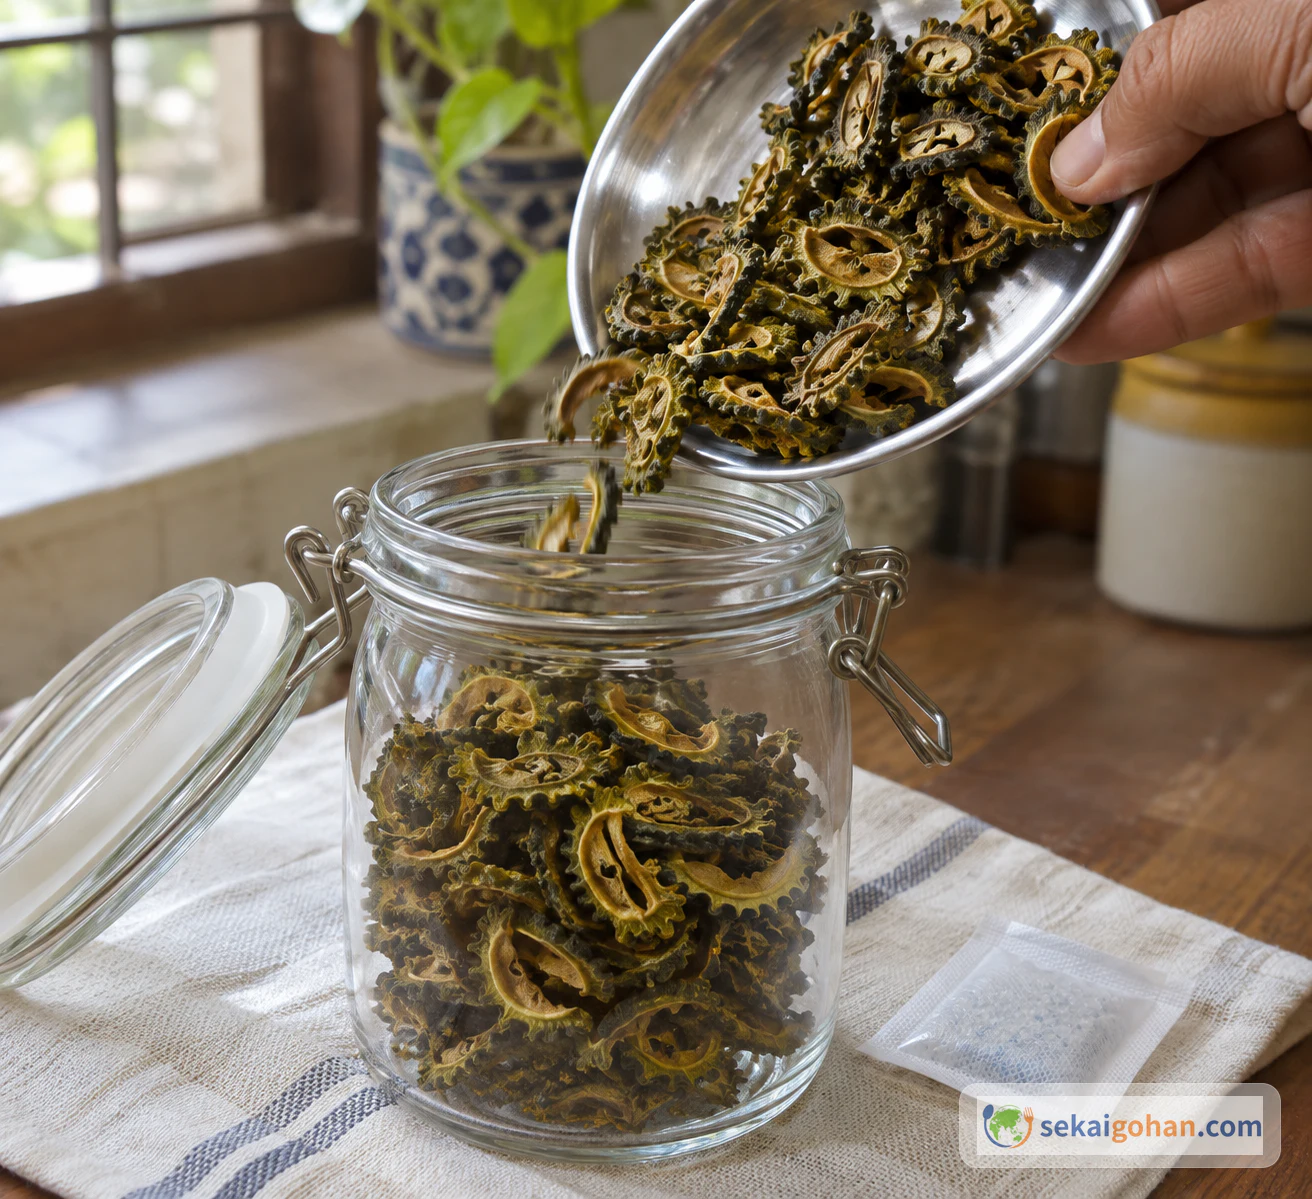
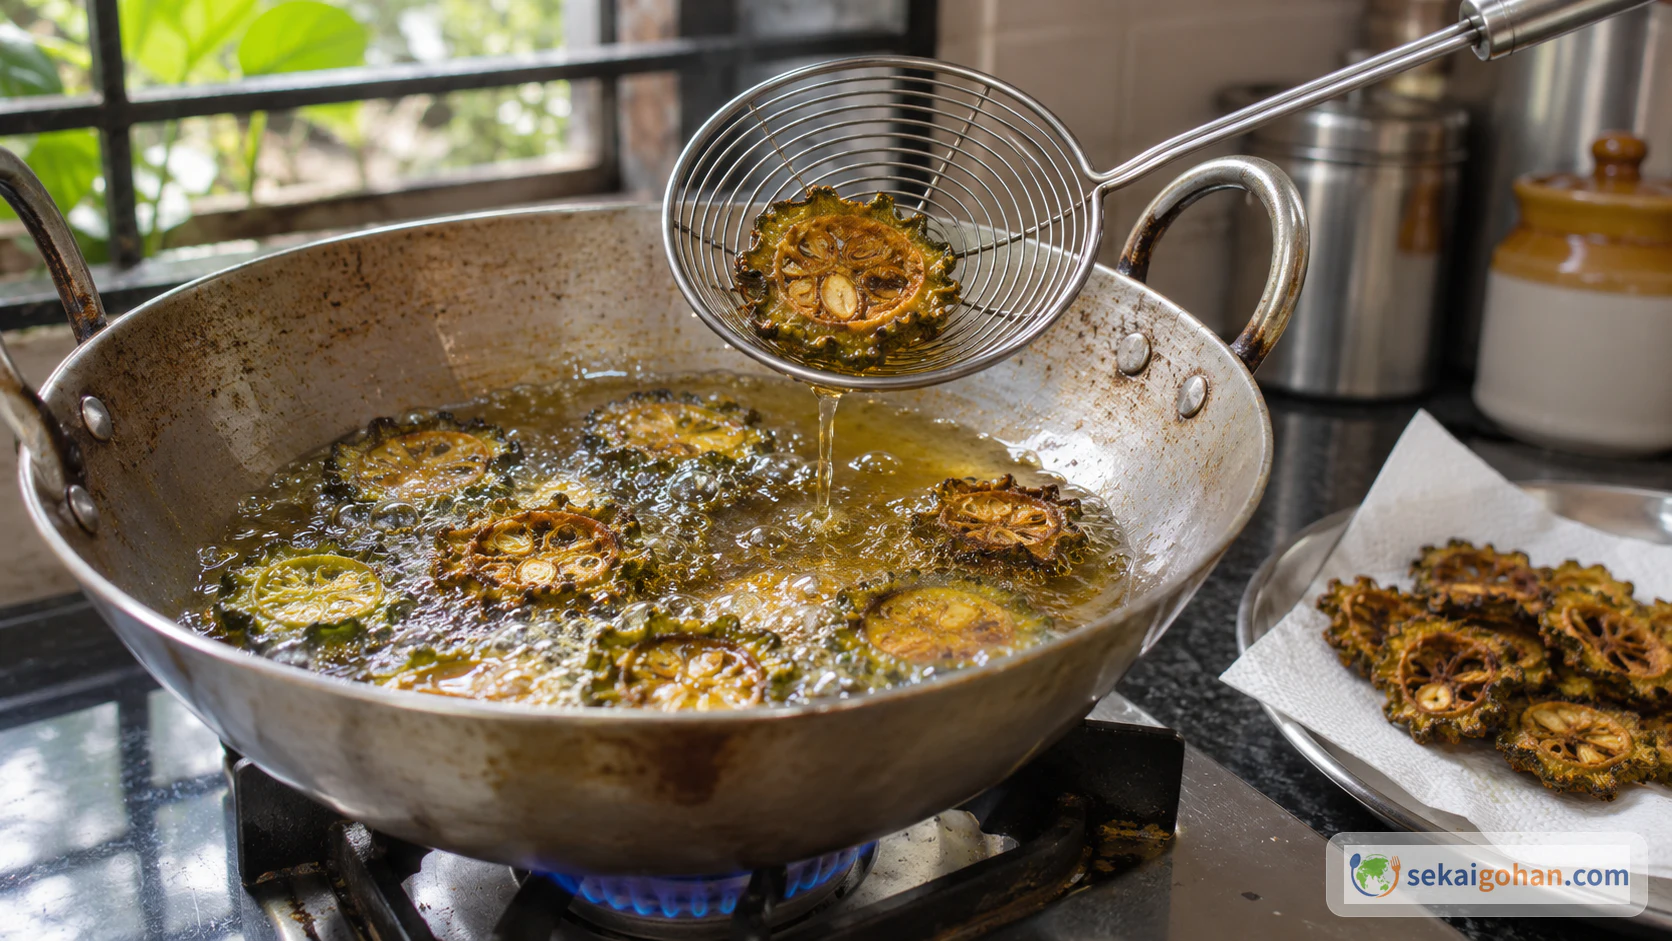
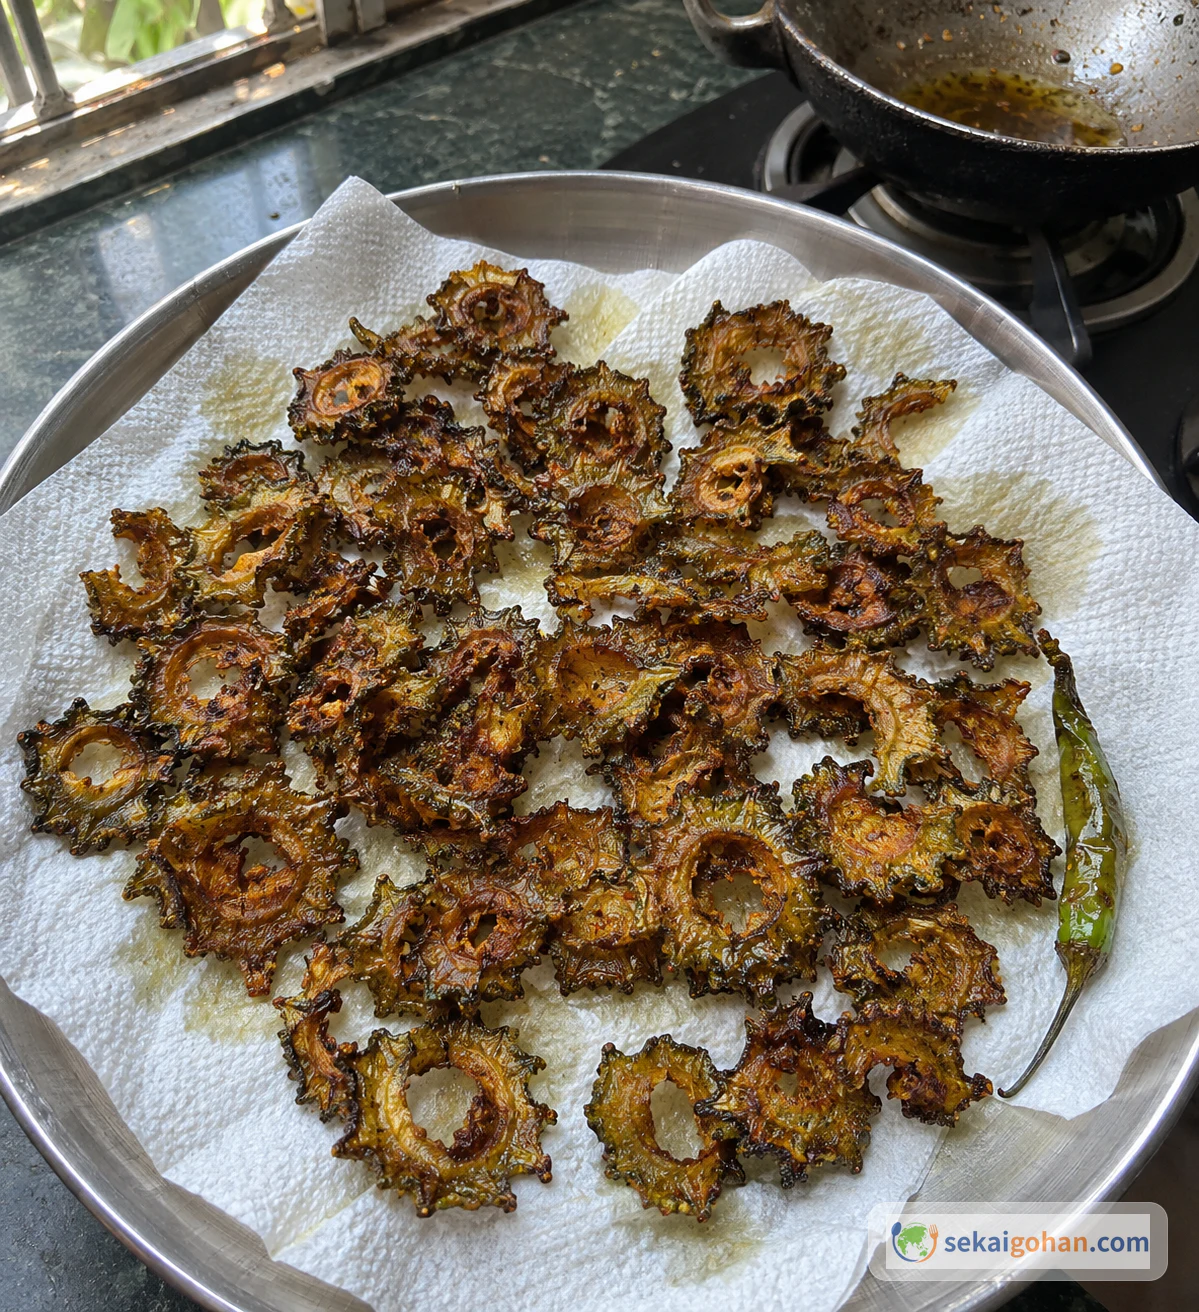
A handful of dry, shrivelled olive rounds goes into the hot oil, and almost at once each one swells and puffs inside a ring of fine bubbles, its colour deepening to brown-green. Lift them out onto paper and you have pavakka kondattam: bitter gourd that was boiled with salt and green chillies, dried until it snaps, kept in a jar, and fried only when someone wants to eat it. It belongs to Kerala, on India's southwest coast, where it sits at the edge of a plate of rice or a bowl of rice gruel. The bite is crisp and the bitterness is clean, with salt already in every slice and a little heat from the chillies fried in with it.
Kondattam: how Kerala keeps a glut of bitter gourd
Bitter gourd matters in Kerala kitchens. When the markets fill with more of it than anyone can cook fresh, the gourds are sliced, partly boiled with salt, dried in direct sun and stored for months, then fried when they are needed. Pavakka kondattam is that household routine made into a dish of its own. The dried rounds are the pantry stock, and the fried rounds are the side dish or the snack. It is one dish with two stages, often days or weeks apart.
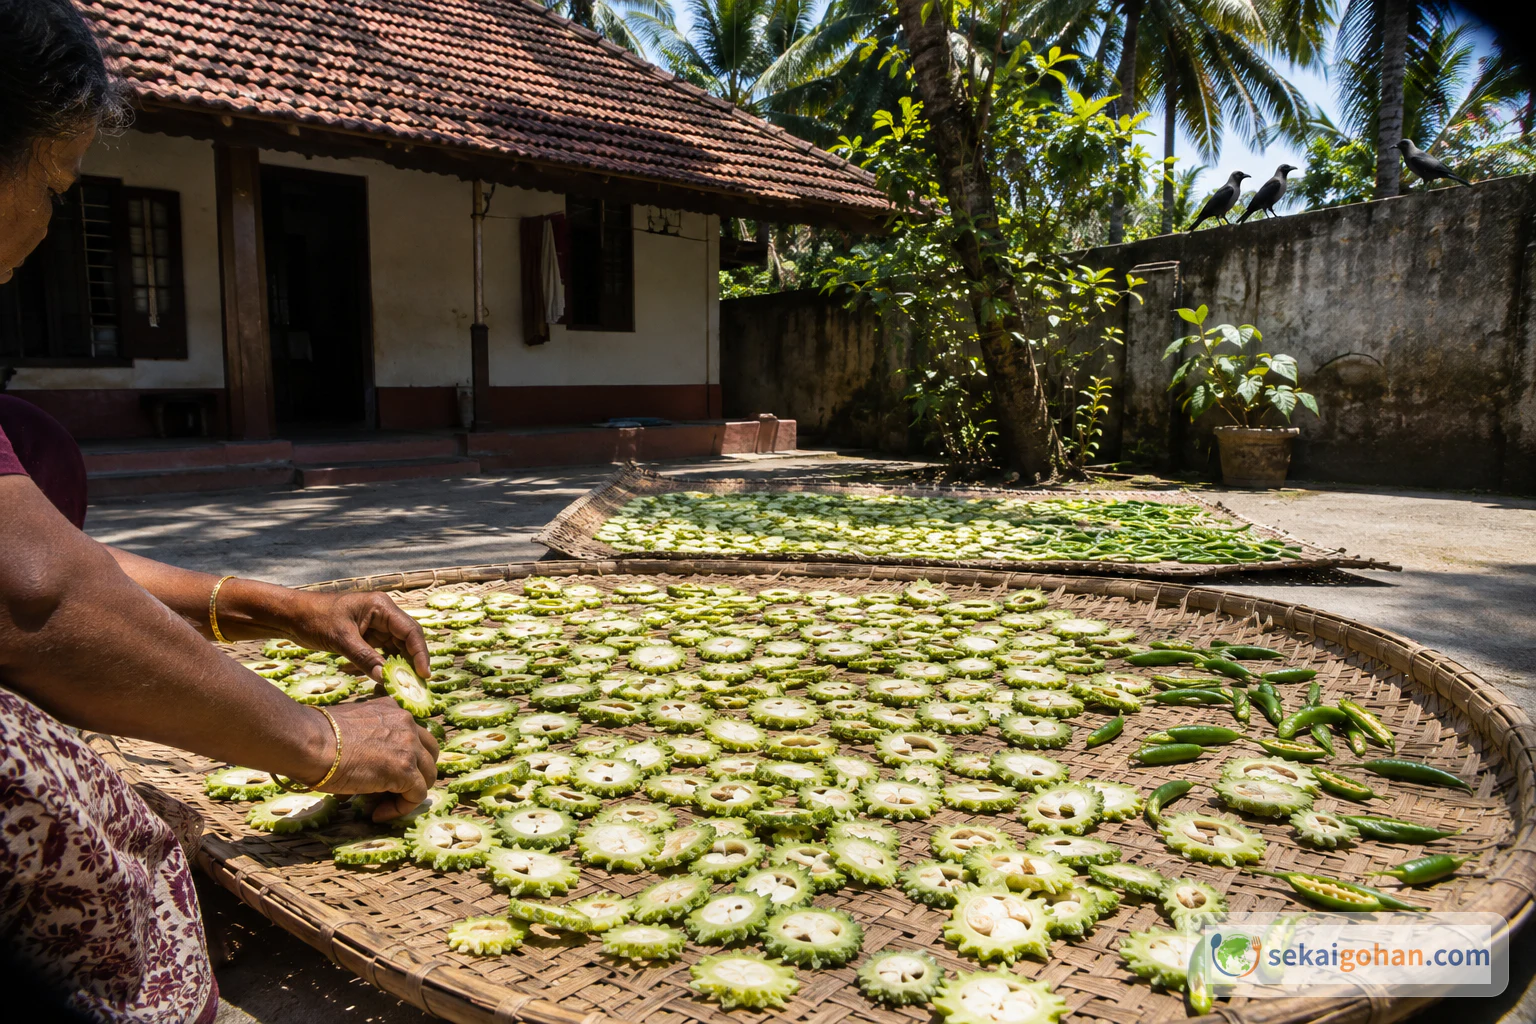
The word kondattam names a way of preserving food more than any one recipe. Rice, sago and many vegetables all become kondattam: green chillies, cowpeas, bitter gourd, lotus stem, okra, ivy gourd (kovakka) and turkey berry (chundakka). In Kerala the seasonal vegetables are sliced, salted or marinated, dried in the sun, and put away for later. People make them in large batches because the dried pieces keep a long time. The work follows the strong summer sun. In Kalpathy, the old agraharam quarter of Palakkad, lotus-stem kondattam is the local specialty. The slices are boiled with salt, asafoetida and turmeric, sun-dried for at least five days, and fried crisp in hot oil, and since the lotus stems are only available in summer, that is when it gets made. The material changes from house to house and town to town, but the sequence of boil, dry, fry runs through all of them.
Bitter gourd kondattam has its own cousins across the region, and the next part of Indian cooking it leads to is the rice meal. Konkani-speaking cooks rub raw slices with salt and spice and dry them without boiling, and Kerala home cooks also fold fried kondattam into a yogurt and coconut kichadi for the sadya feast. Those are separate dishes with their own proportions, set out further down.
In Malayalam it is പാവക്ക കൊണ്ടാട്ടം (pāvakka koṇṭāṭṭaṃ). Pavakka is bitter gourd, the same plant called karela in Hindi. It is also called kaipakka kondattam, and in Konkani the salted, sun-dried slices are karathe sukkeylele. In parts of Kerala the whole family of sun-dried fried foods goes by vattal.
Ingredients
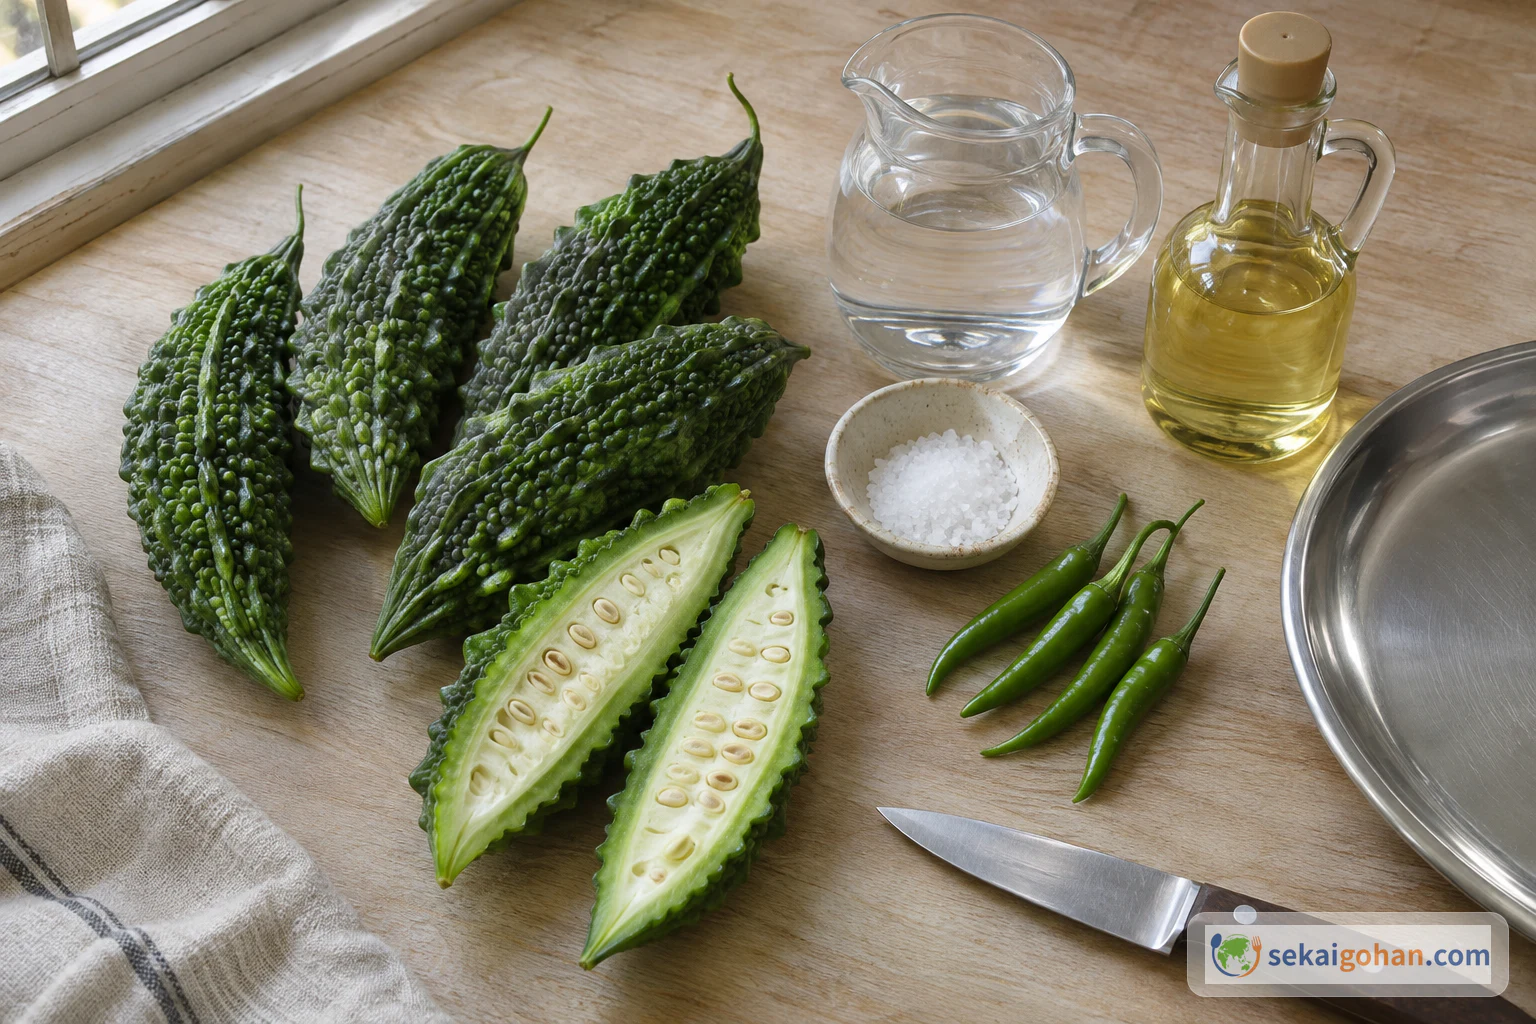
The dish contains only bitter gourd, green chillies, salt, water and oil. Read the label on your frying oil, especially if you use coconut oil or a blended oil, and check it against the allergies at your table.
Equipment
- Cutting board and sharp knife
- Saucepan
- Colander
- Baking sheet or flat tray, lined with parchment paper or a clean cotton cloth
- Food dehydrator with a 130–140°F (55–60°C) setting, or a light mesh cover for sun drying
- Hygrometer, if you sun-dry
- Airtight glass jar and a moisture-absorbing sachet
- Deep pan or kadai, a long-handled slotted skimmer and a deep-fry thermometer
- Paper towels and a plate
Choosing the gourd, the chillies and the oil
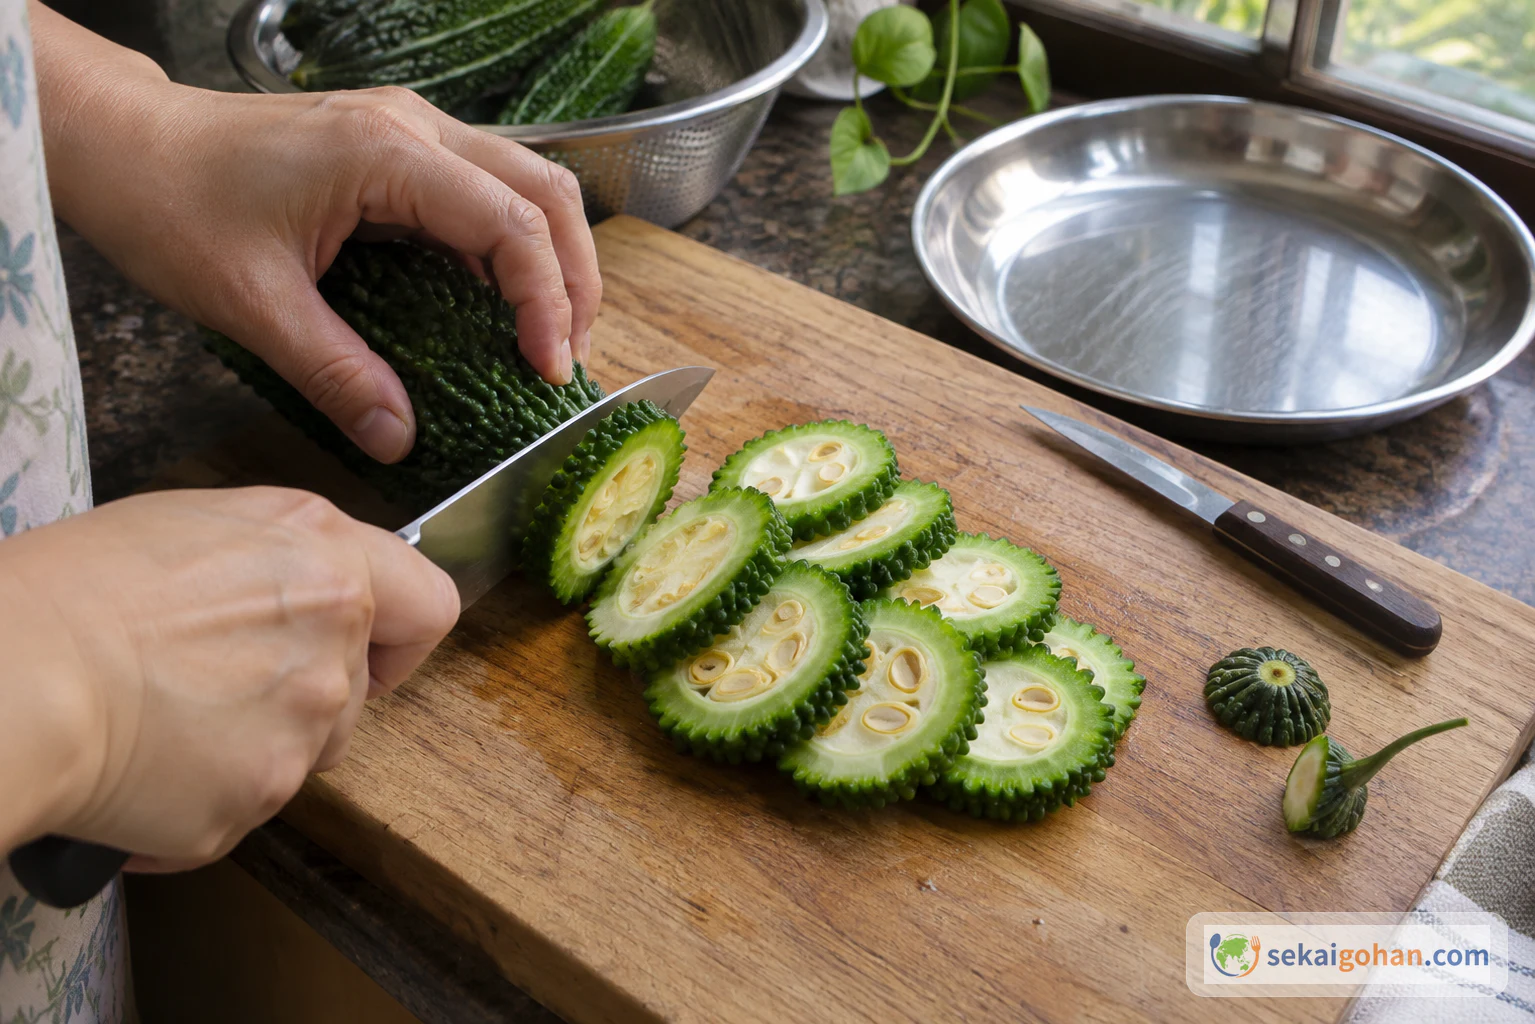
Buy bitter gourd by count. Kerala varieties weigh roughly 8–11 oz (235–310 g) each, and the dark green, bumpy gourds sold in Asian grocers and many supermarkets are about the same size, so four or five of them match the recipe without any weighing. Indian pavakka is paler and spinier. The dark green Okinawan-style type (goya) is a little milder and has thicker flesh, and it holds up well in the fryer. Choose firm gourds with tight skin and no yellowing.
The chillies should be small, hot fresh green chillies. Shishito or other mild peppers give a soft green flavour and no heat, and the dish loses its edge. Plain table salt is fine. Any neutral frying oil works. Coconut oil pushes a toasty aroma to the front and is pleasant, but it is optional.
| Keep for the Kerala taste | Fine to change abroad |
|---|---|
| Slightly thick, even rounds | The gourd variety (Indian pavakka or dark green bitter melon) |
| Boiling with salt and green chillies before drying | Sun or dehydrator for the drying |
| Drying until the rounds snap | Neutral oil or coconut oil for frying |
| Frying just before eating | Exact chilli count within 4–5 |
Method
Slicing and boiling go quickly. Then comes the long, hands-off part, the drying, which takes days in the sun or hours in a dehydrator. After that the rounds wait in a jar until you want them, and frying takes a few minutes. Plan the drying around the weather: a dry, hot stretch for sun drying, or any day at all with a dehydrator.
When it goes wrong
| What you see | Why | What to do |
|---|---|---|
| Mould while drying or in the jar | Not dry enough, dew overnight, sealed while warm, or damp air in the jar | Throw away any mouldy pieces. Do not wash them and use them. Next time dry until every round snaps, cool fully, and add a desiccant sachet |
| Dry on the outside, damp inside | Heat too high, so the surface hardened first | Lower the temperature and give the rounds more time with good airflow. Cut slices to an even thickness |
| Hard after frying, no puff | Not fully dried, or slices too thick or too thin | Dry them again until they snap. Slice to about ¼ inch (5–6 mm) next time |
| Burns almost at once | Slices too thin, or oil too hot | Fry at 340–355°F (170–180°C) in small batches, and cut thicker rounds next time |
| Too salty | Too much salt in the boiling water | Add no salt after frying. Next time keep the boiling water only mildly salty |
| Greasy | Oil too cool, or too many rounds at once | Let the oil come back up to temperature and fry fewer rounds per batch |
| Fried rounds go soft | Packed before they cooled | Cool them completely before sealing, and add a desiccant sachet |
Serving, other kondattams and storage
At the table
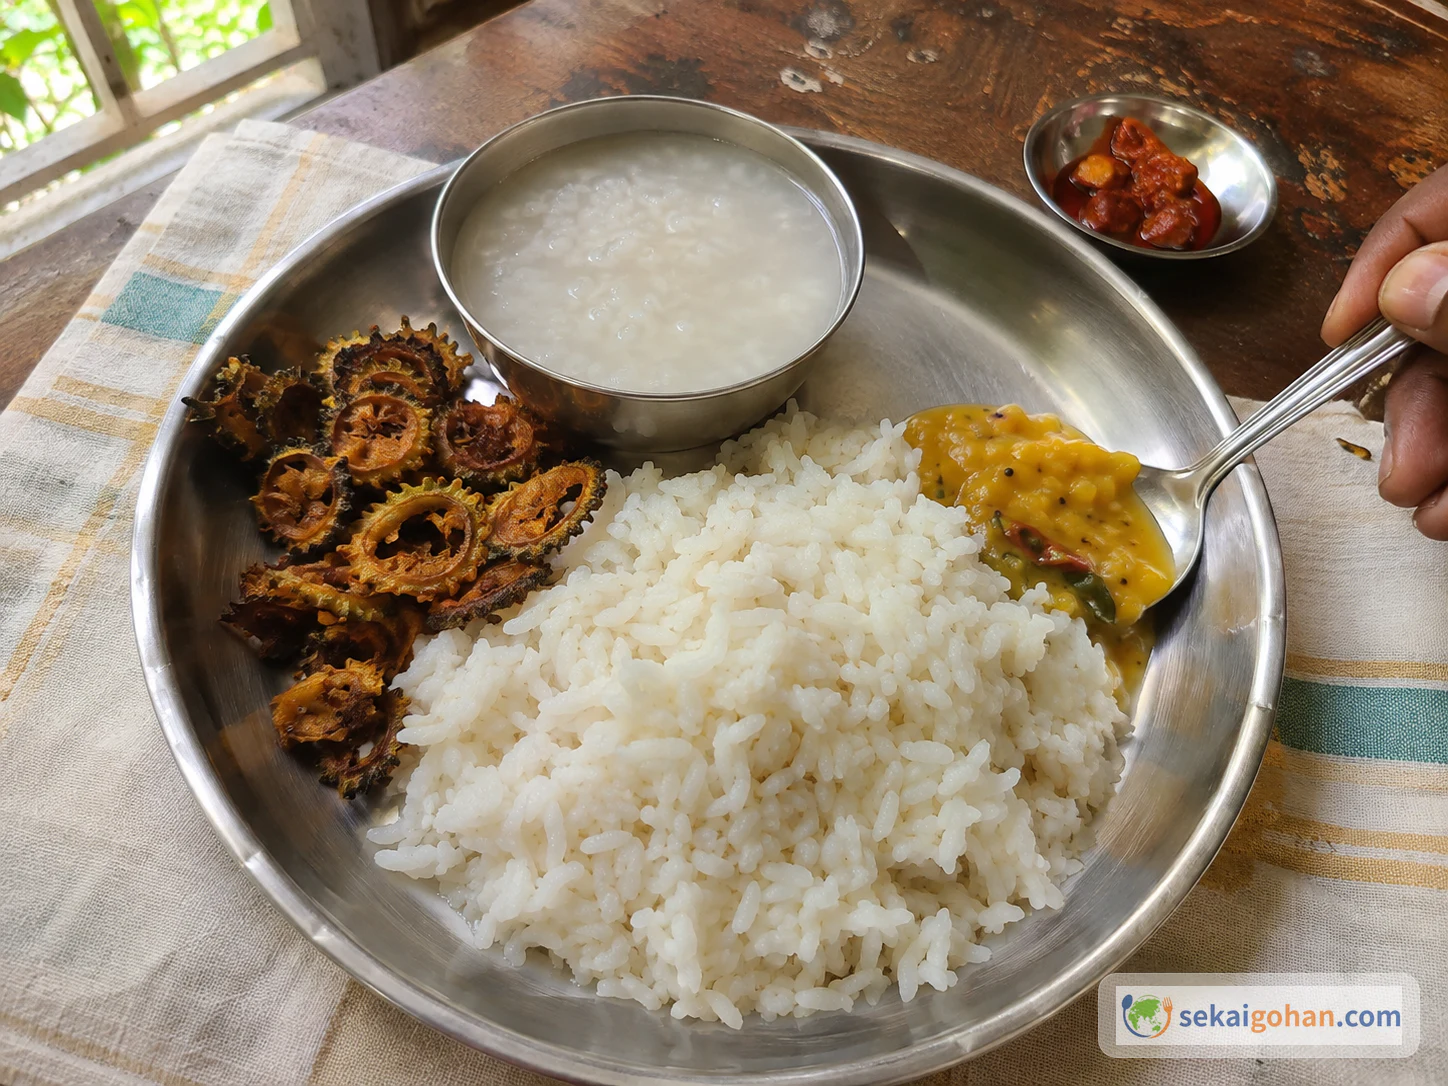
Fried kondattam is a side dish. It goes beside steamed rice, beside kanji (thin rice gruel), or with curd rice, where its bitterness and salt cut through the mild, cooling grain. It also gets eaten by the handful as a snack. The fried chillies come along with it, and anyone who wants more heat takes one.
Other dishes with the same name
These are separate dishes. Keep their amounts apart from the recipe above.
- Salt-rubbed, unboiled (Konkani karathe sukkeylele). Thinly slice 3 bitter gourds and rub them by hand with 2 tsp chilli powder, ½ tsp turmeric and salt to taste. Spread them on a sheet and dry them in strong sun for 3–4 days until crisp, then store airtight and fry in hot oil to serve with rice or curd rice. The spice sits on the surface, and because the slices are never boiled, they keep more of their bitterness.
- Baked, with a yogurt marinade. Cut 4 medium gourds into ¼-inch rounds and marinate them for 20–30 minutes in 5 tbsp yogurt, 1 tsp turmeric, 2 tsp chilli powder, a pinch of asafoetida, 1 tsp rice flour (optional), 1 tbsp oil and salt. Bake at 430°F (220°C) for 25–30 minutes, turning at 15, then broil for 3–5 minutes. The yogurt and spices soften the bitterness noticeably. This version skips drying altogether, so it replaces neither the sun drying nor the dehydrator.
- Pavakka kichadi for the sadya. Fry ½ cup of dried kondattam with 3–4 green chillies and stir them into a paste of ¾ cup (180 ml) yogurt and ½ cup grated coconut with a little ginger. Pour over a coconut-oil tempering of ½ tsp mustard seeds. Add salt only at the end, after tasting, since the kondattam brings its own. The crisp rounds soften into a tangy, bitter side dish for the Onam feast.
- Lotus-stem kondattam. Kalpathy's version is boiled with salt, asafoetida and turmeric (and chilli powder for heat), then dried for at least five days before frying. It uses a different vegetable with its own timing.
Storing
Dried rounds go into an airtight jar once cooled, and the jar lives somewhere cool and dark. In a humid season the refrigerator or freezer is the safer place for the jar. Fried kondattam keeps about a week in an airtight container once it has cooled completely, and a desiccant sachet in the container helps in damp weather. Fry what you will eat soon and leave the rest dried.
Frequently asked questions
Does boiling take the bitterness out?
Boiling with salt softens the bitterness for some cooks, but how much it actually removes is not settled. Some tests found salted and briefly boiled slices less bitter than raw ones. Others found no real difference after soaking in brine and blanching. The bitterness comes from compounds such as momordicin, and pavakka kondattam stays a bitter dish, which is the point of eating it with rice.
Can I use my oven instead of a dehydrator?
Yes, if your oven holds 130–140°F (55–60°C). Oven temperatures vary a lot between models at the low end, so confirm the actual temperature before you commit a batch, because an oven that runs hot will harden the surfaces. Judge doneness by the snap test, not by the clock.
Can I eat the dried rounds without frying?
Fry them. The dried rounds are meant for the oil, and frying gives them their puff and crunch. For a version with no frying, use the baked yogurt-marinated kondattam above, which is a different dish.
Do I eat the chillies too?
Yes. They boil, dry and fry alongside the gourd and come out crisp and hot. Serve them in the same bowl and let each person decide.