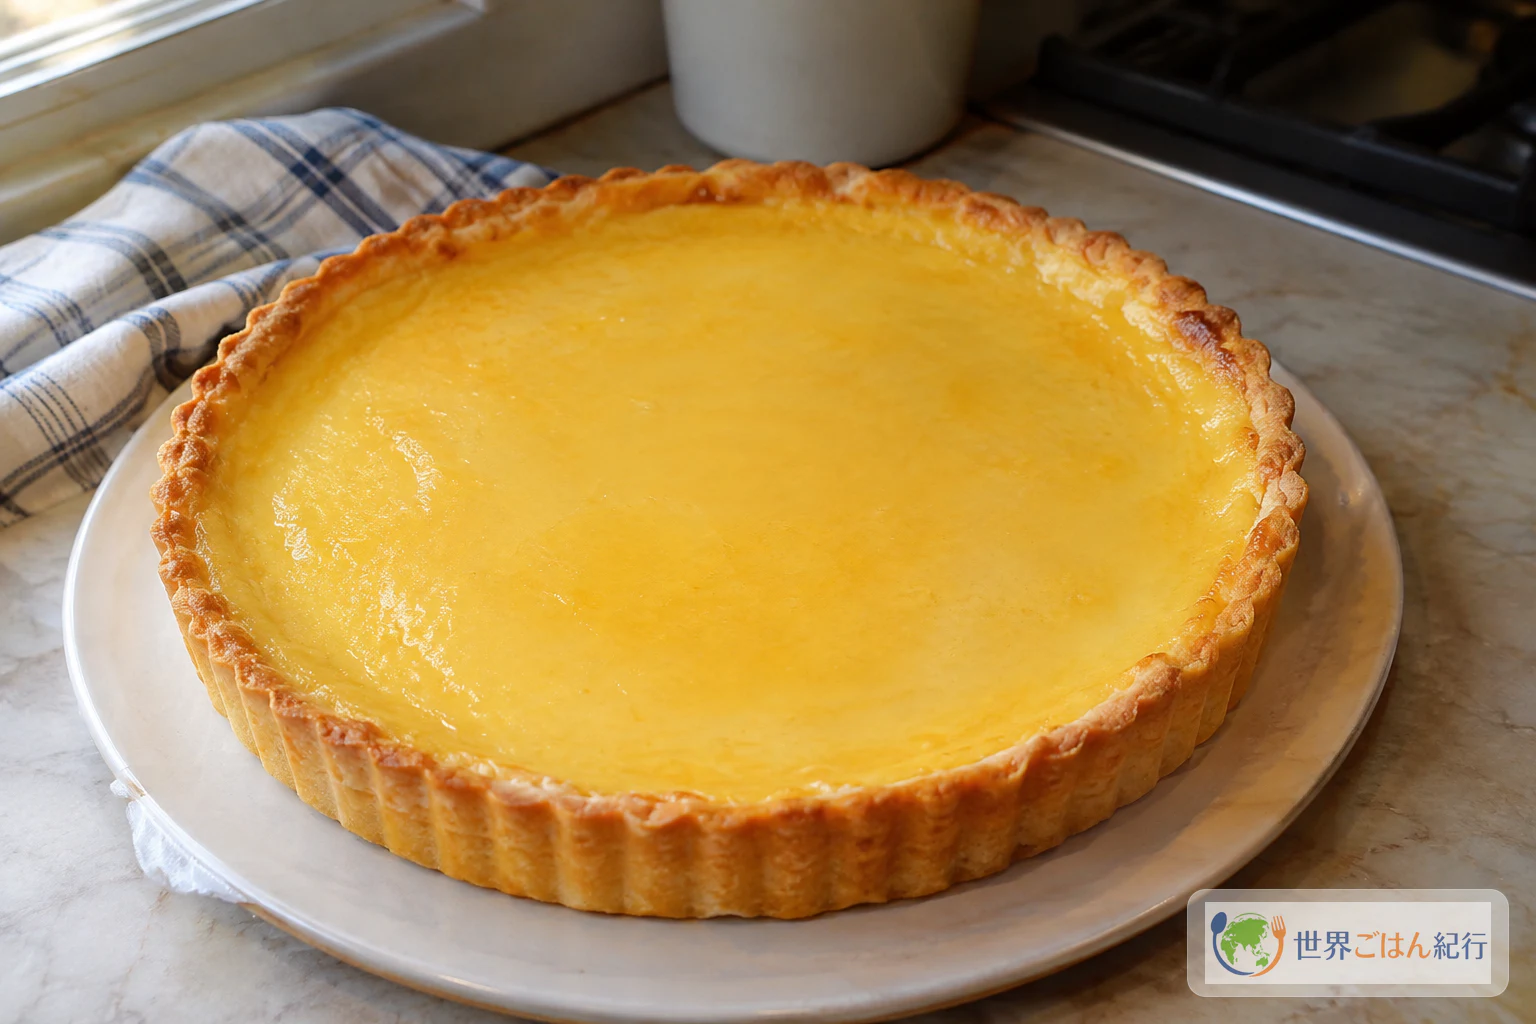
Pai Susu Baked as One Tart: A Pressed Butter Crust and a Smooth Milk Custard
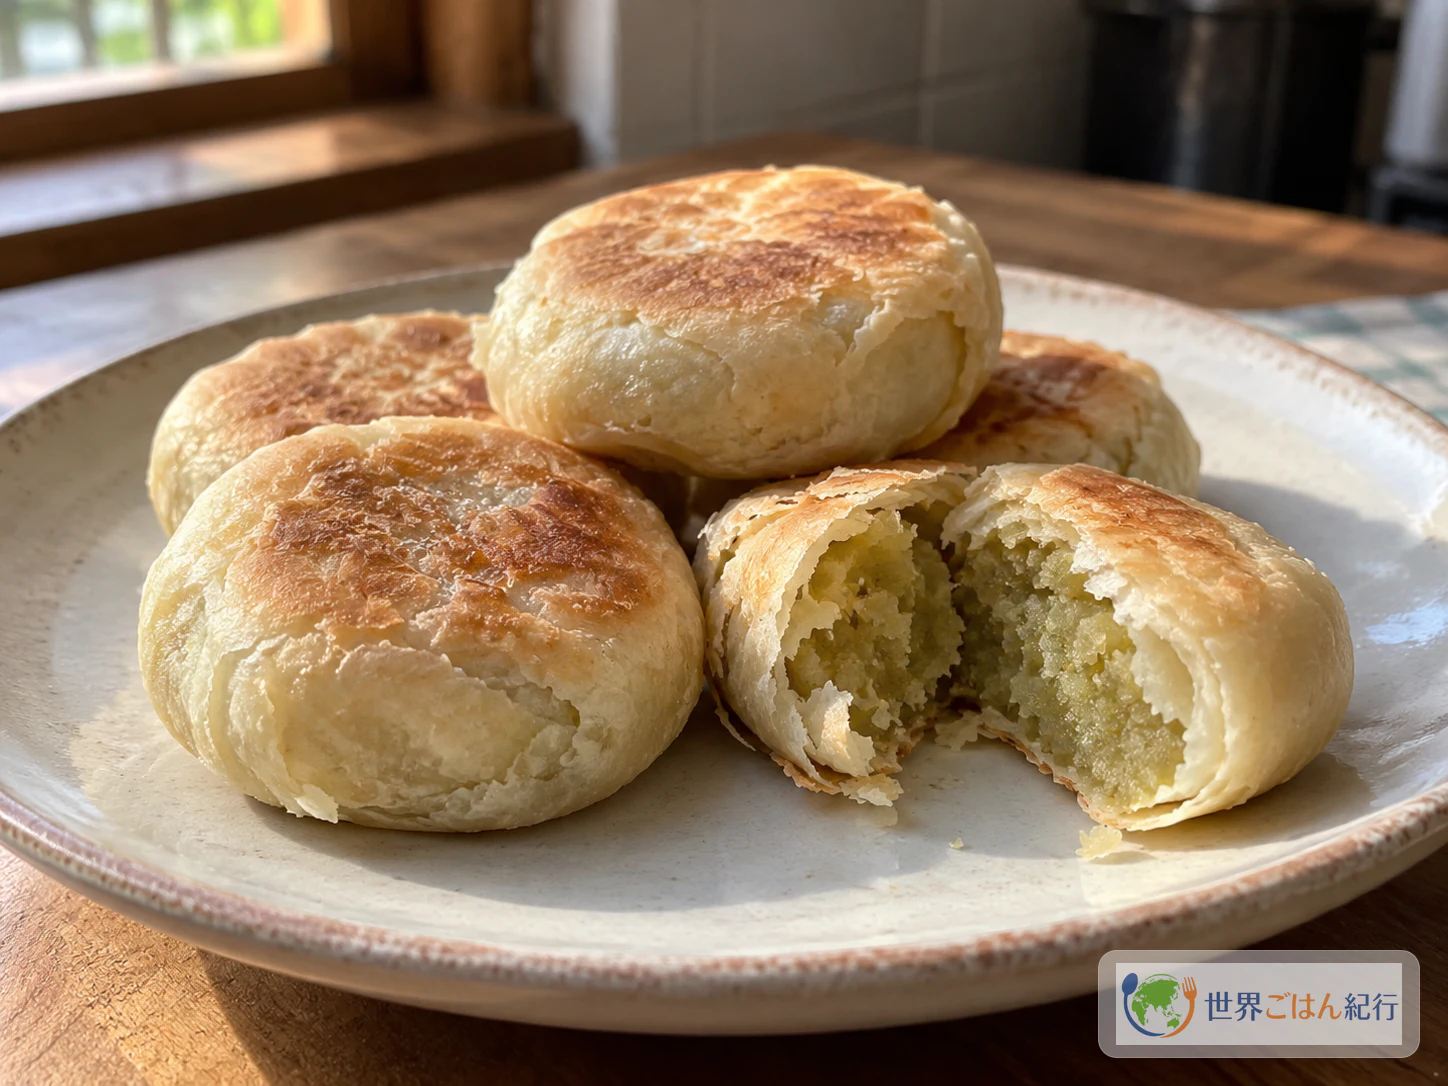
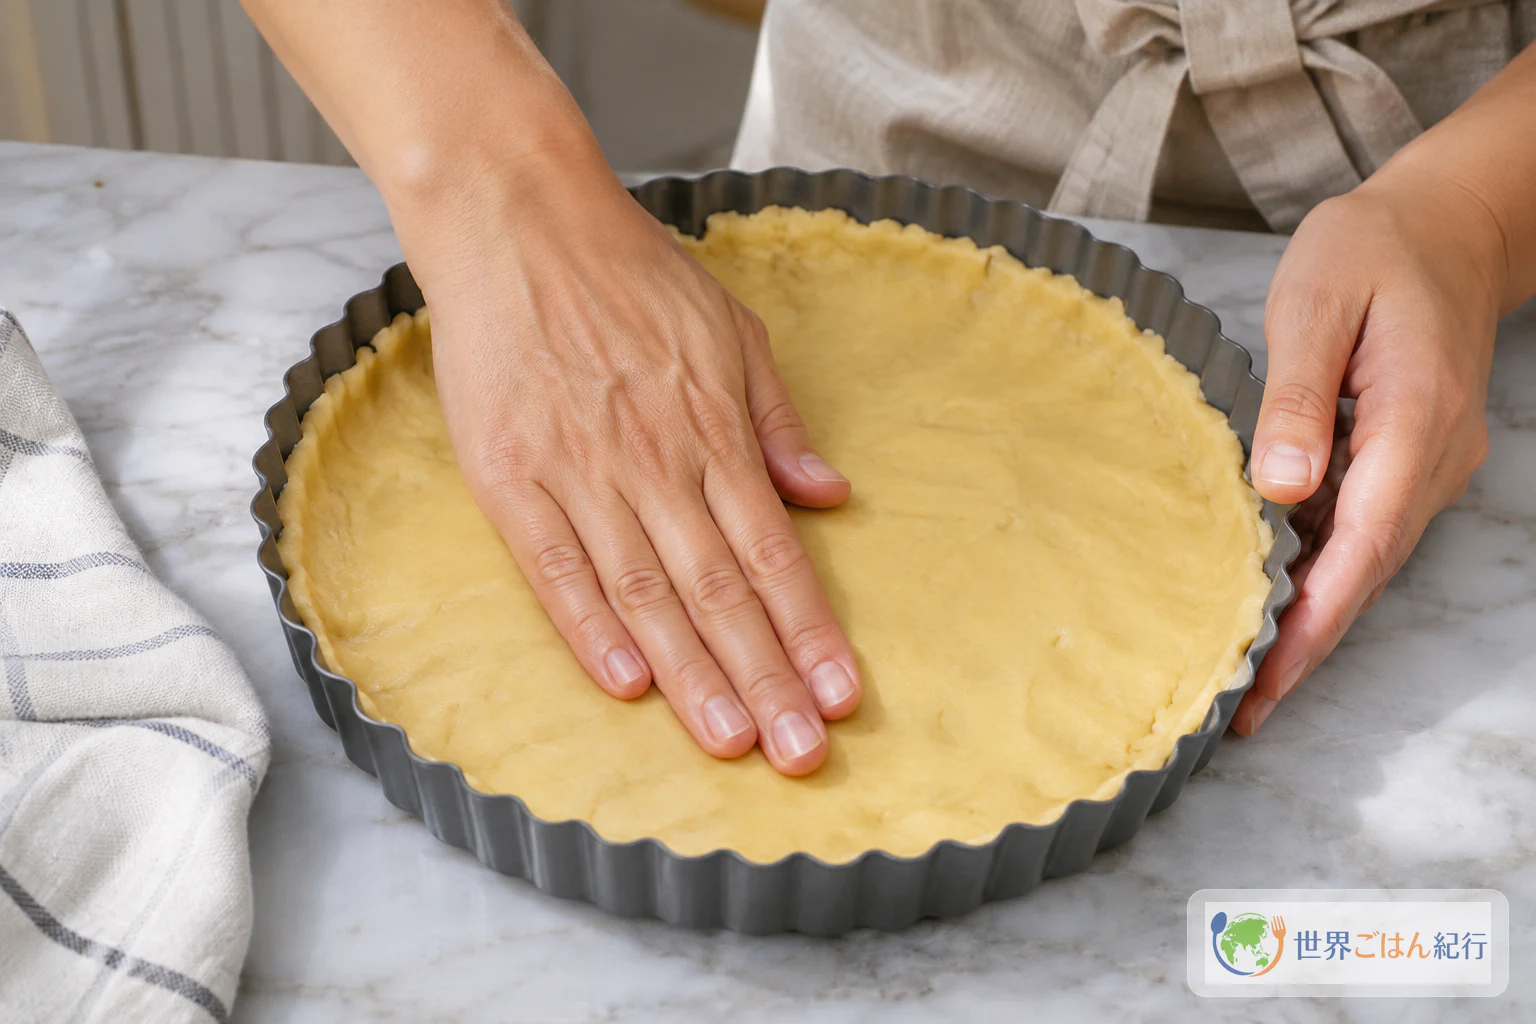
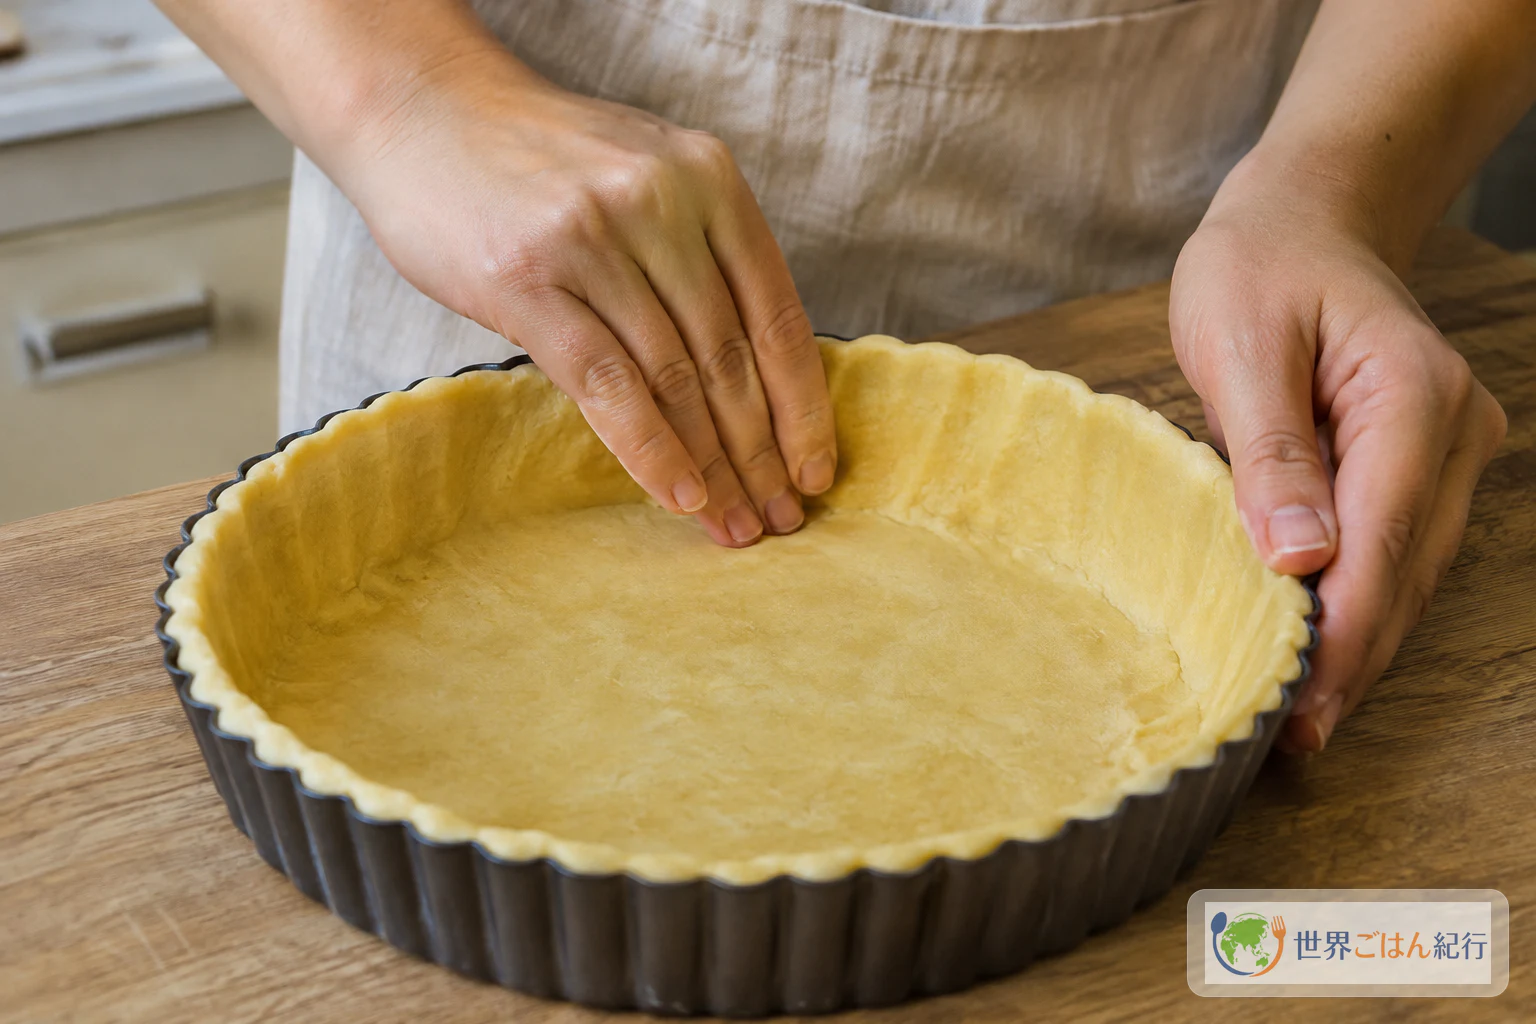
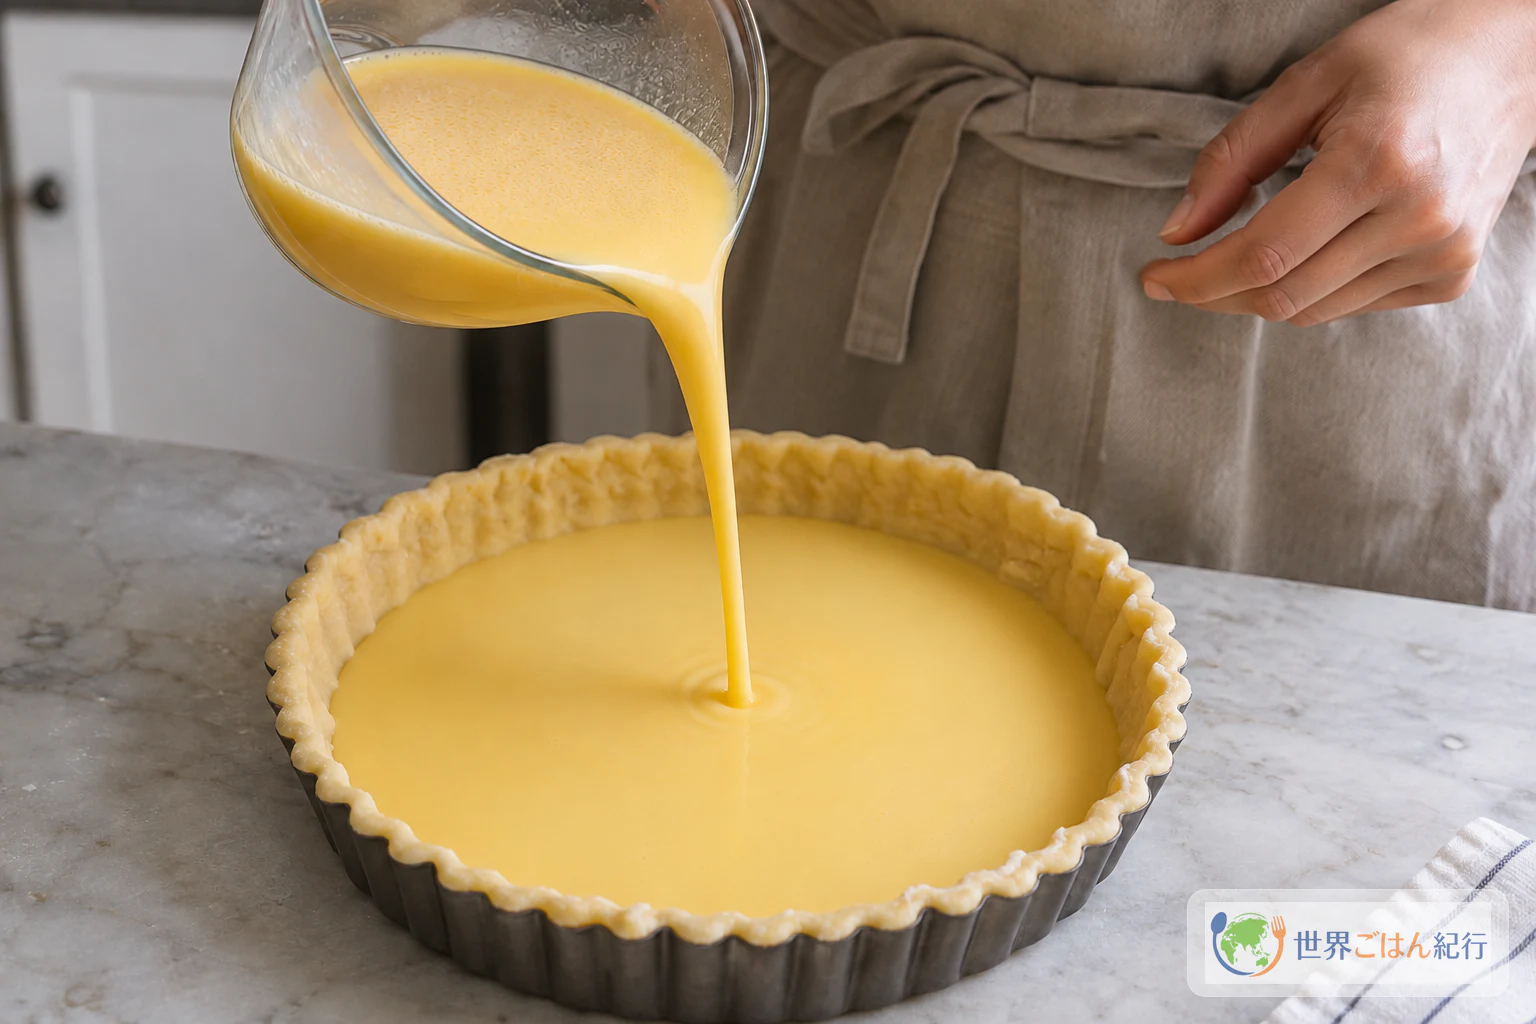
Pai susu has two layers: a crust pressed into the pan by hand and a custard of egg yolks, sweetened condensed milk and water. Serve it only fully baked, with the center temperature measured, and chilled before it leaves the pan.
Pai susu, also spelled pie susu, is a milk custard tart associated with Bali, where small versions are known as souvenirs. This article follows a different format. Anita Jacobson of Daily Cooking Quest simplified the idea for home baking by replacing the small tarts with one tart in a 9-inch removable-bottom pan.
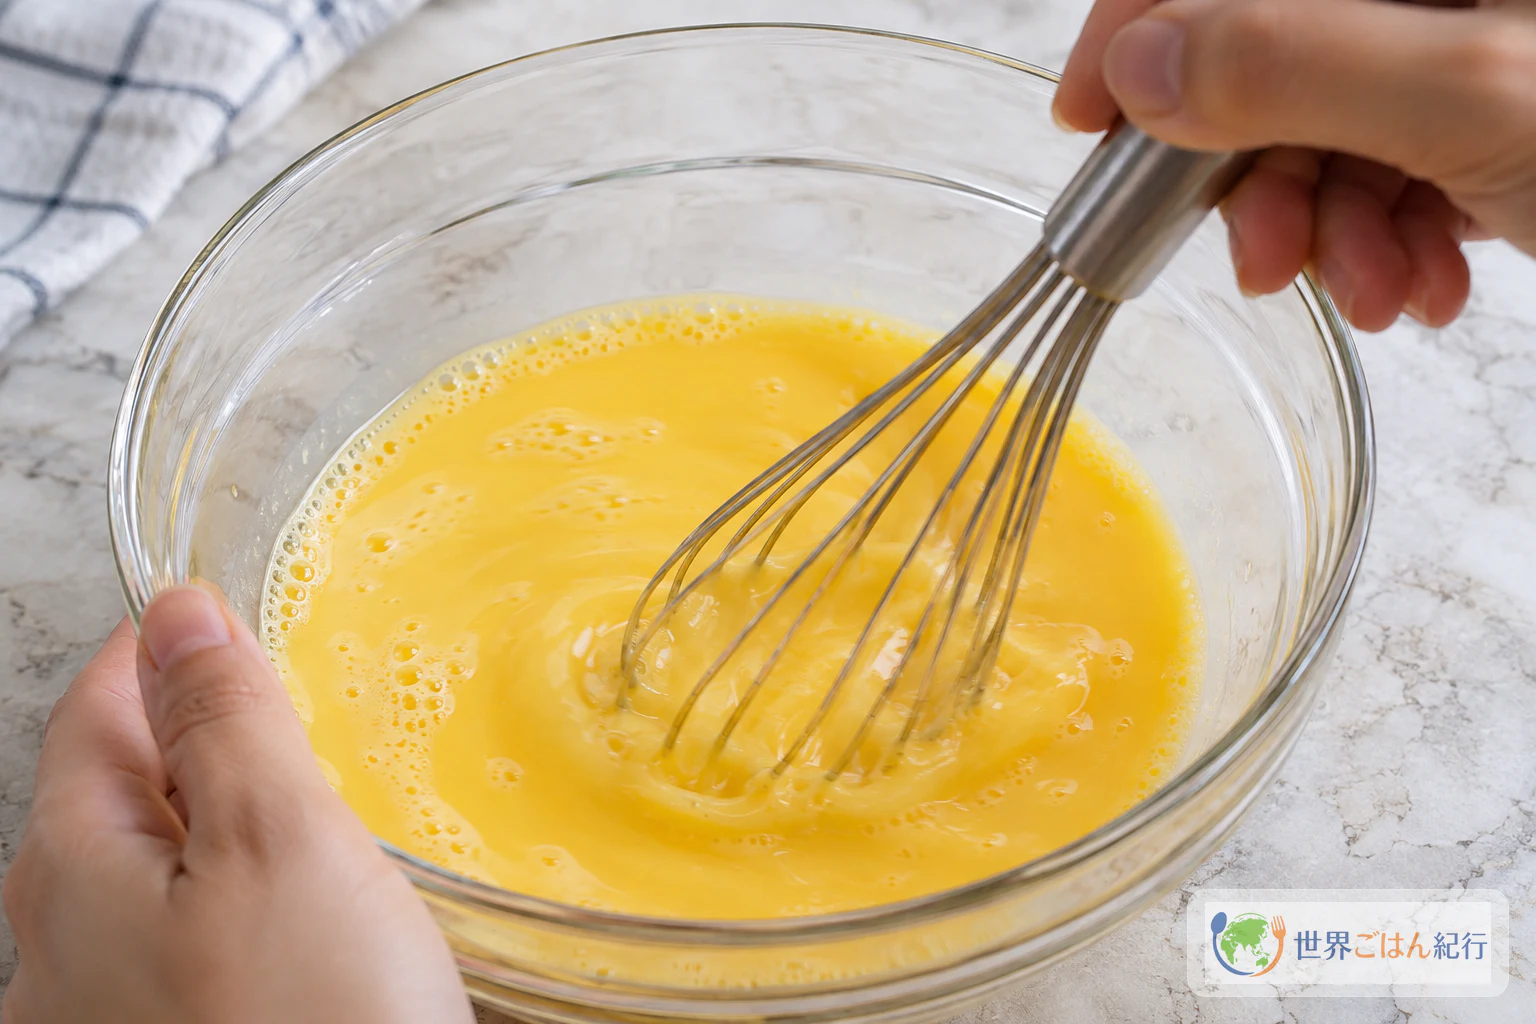
The crust uses only flour, cold butter and a little sugar. The filling uses only yolks, sweetened condensed milk and water, with no egg whites, milk, cornstarch, vanilla or cheese. This is one household recipe, so it does not represent every shop or home in Bali. Its baking time applies to the single large tart and does not tell you how long mini tarts would need.
What Comes from the Recipe and What We Added
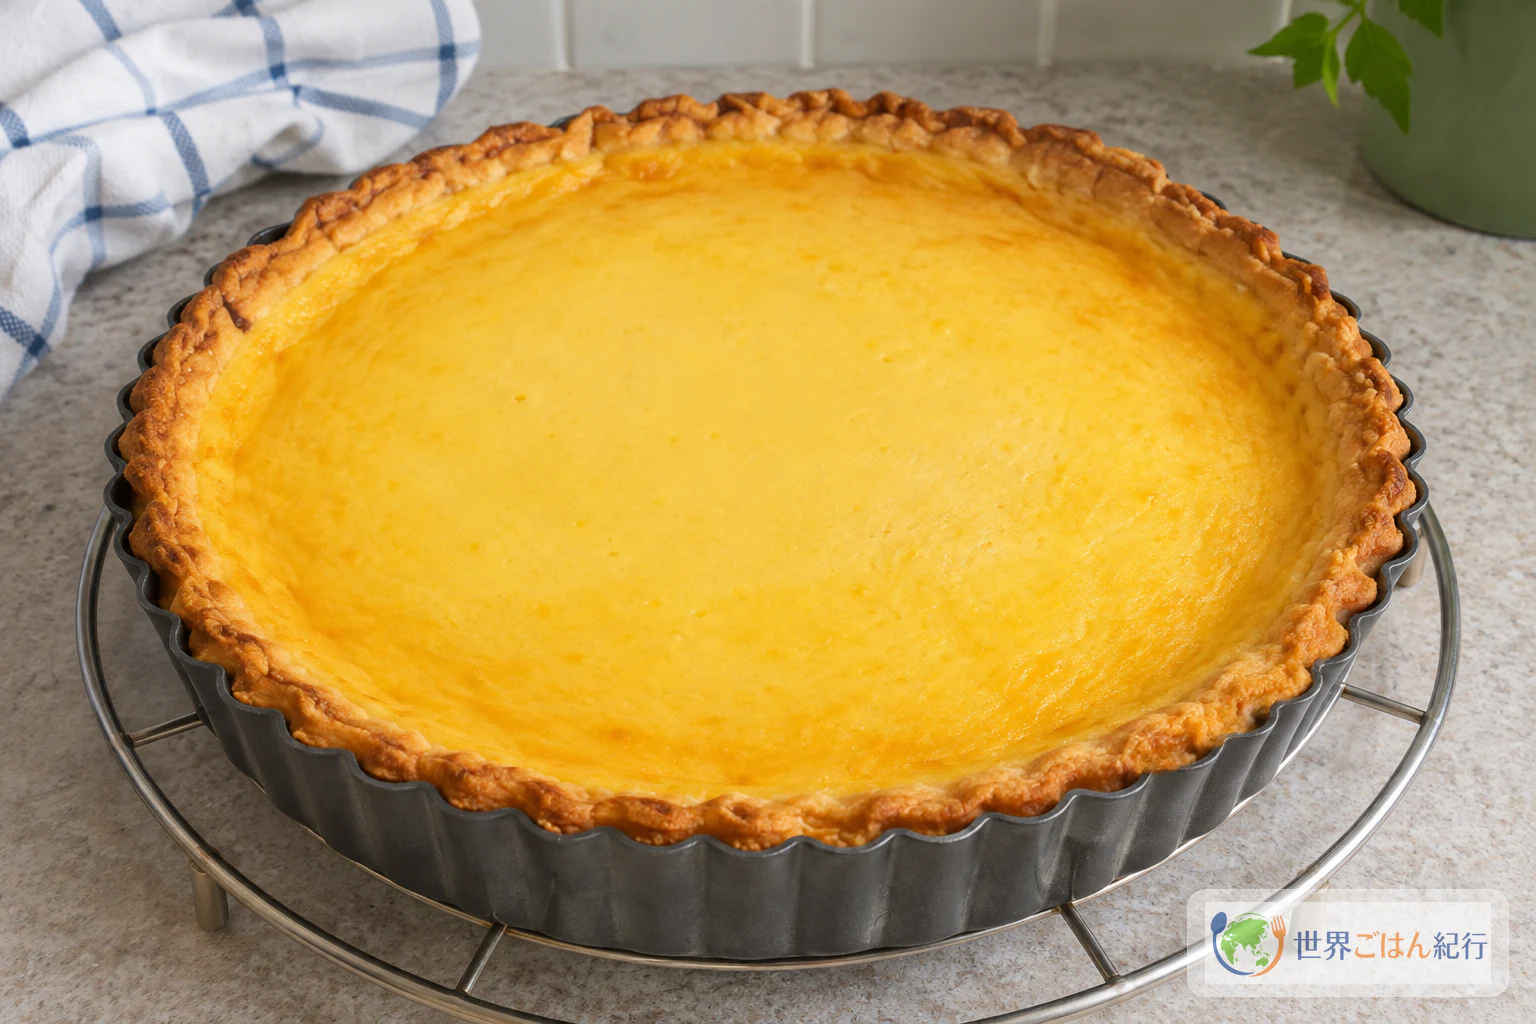
The ingredients, pan, crust and filling method, oven temperature, baking time and the visual cues of a golden crust and set custard all come from Anita Jacobson's recipe. That page lists 8 servings, which is not a promise of eight equal slices.
Three parts of this article are our own additions:
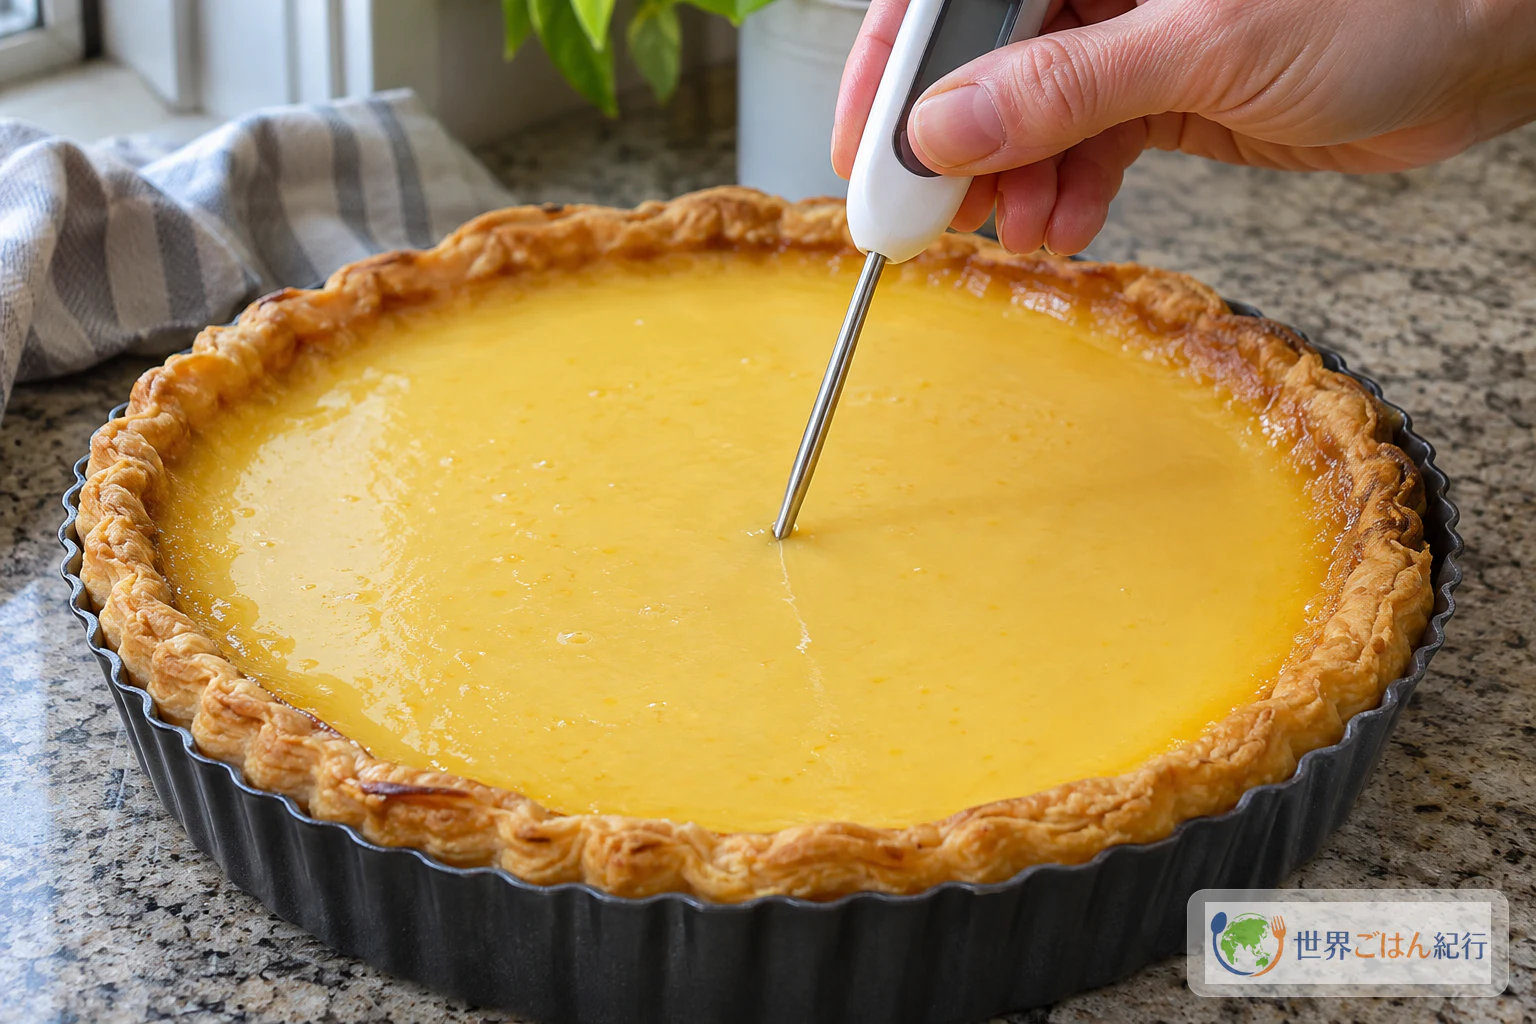
- The center temperature check. We use the general home-cooking guideline from Japan's Ministry of Health, Labour and Welfare: 75°C at the center for at least 1 minute. The recipe page does not report a center-temperature measurement, and neither the guideline nor the FDA's general egg advice was written for this specific tart.
- Raw egg hygiene. The cleaning advice follows the FDA's general egg-safety guidance.
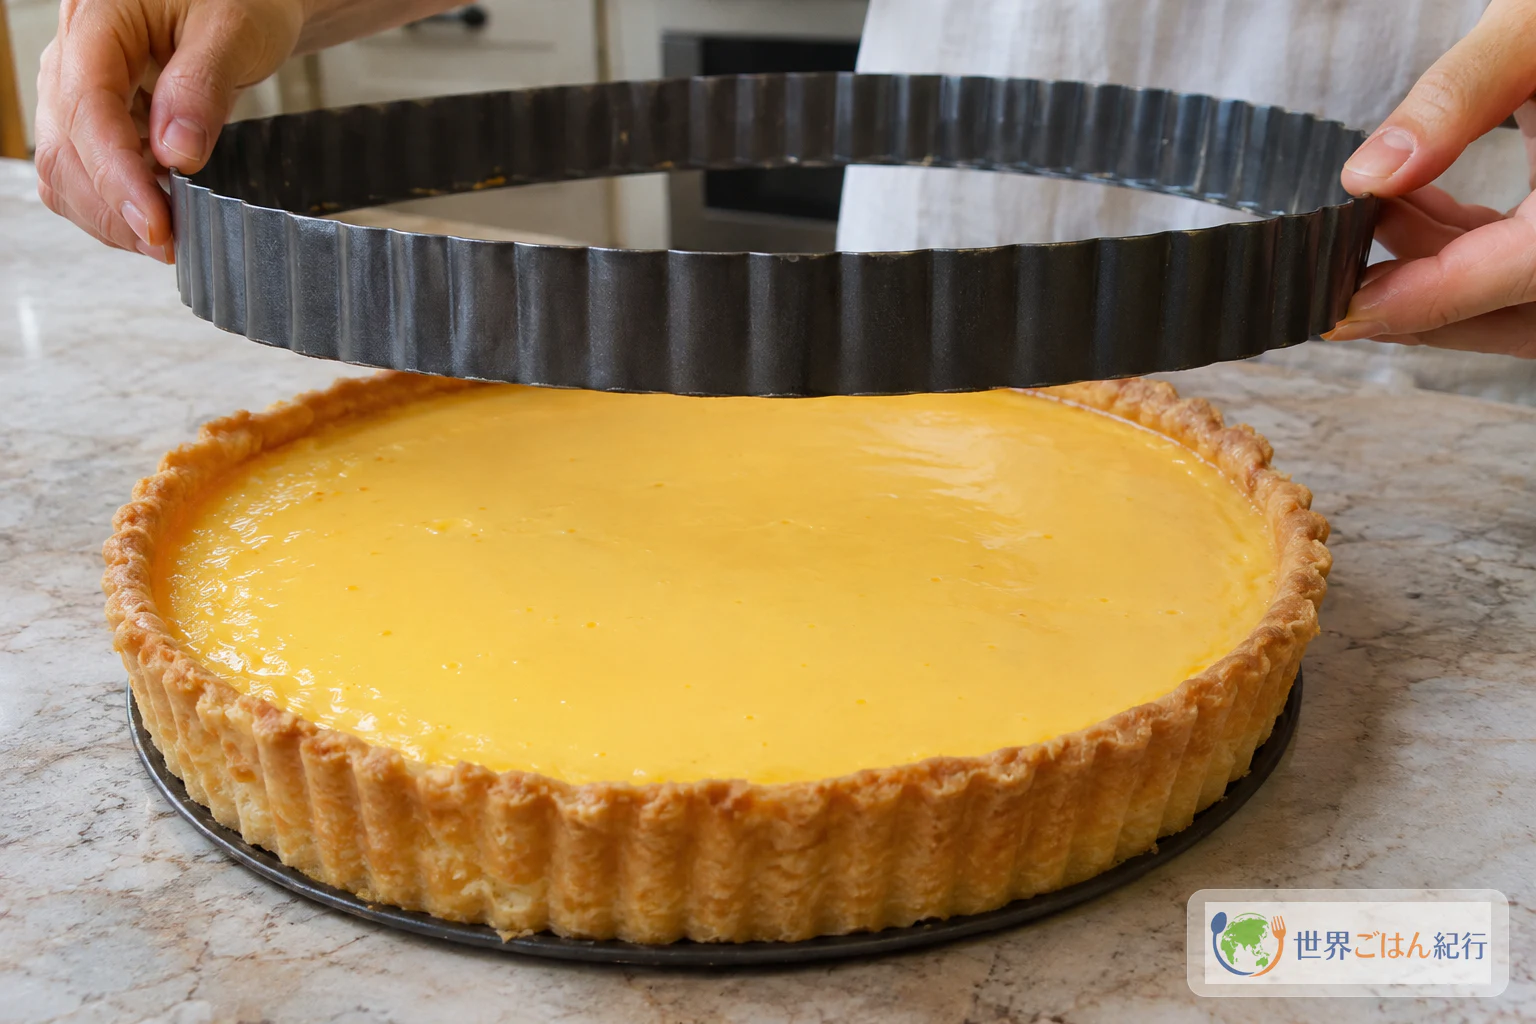
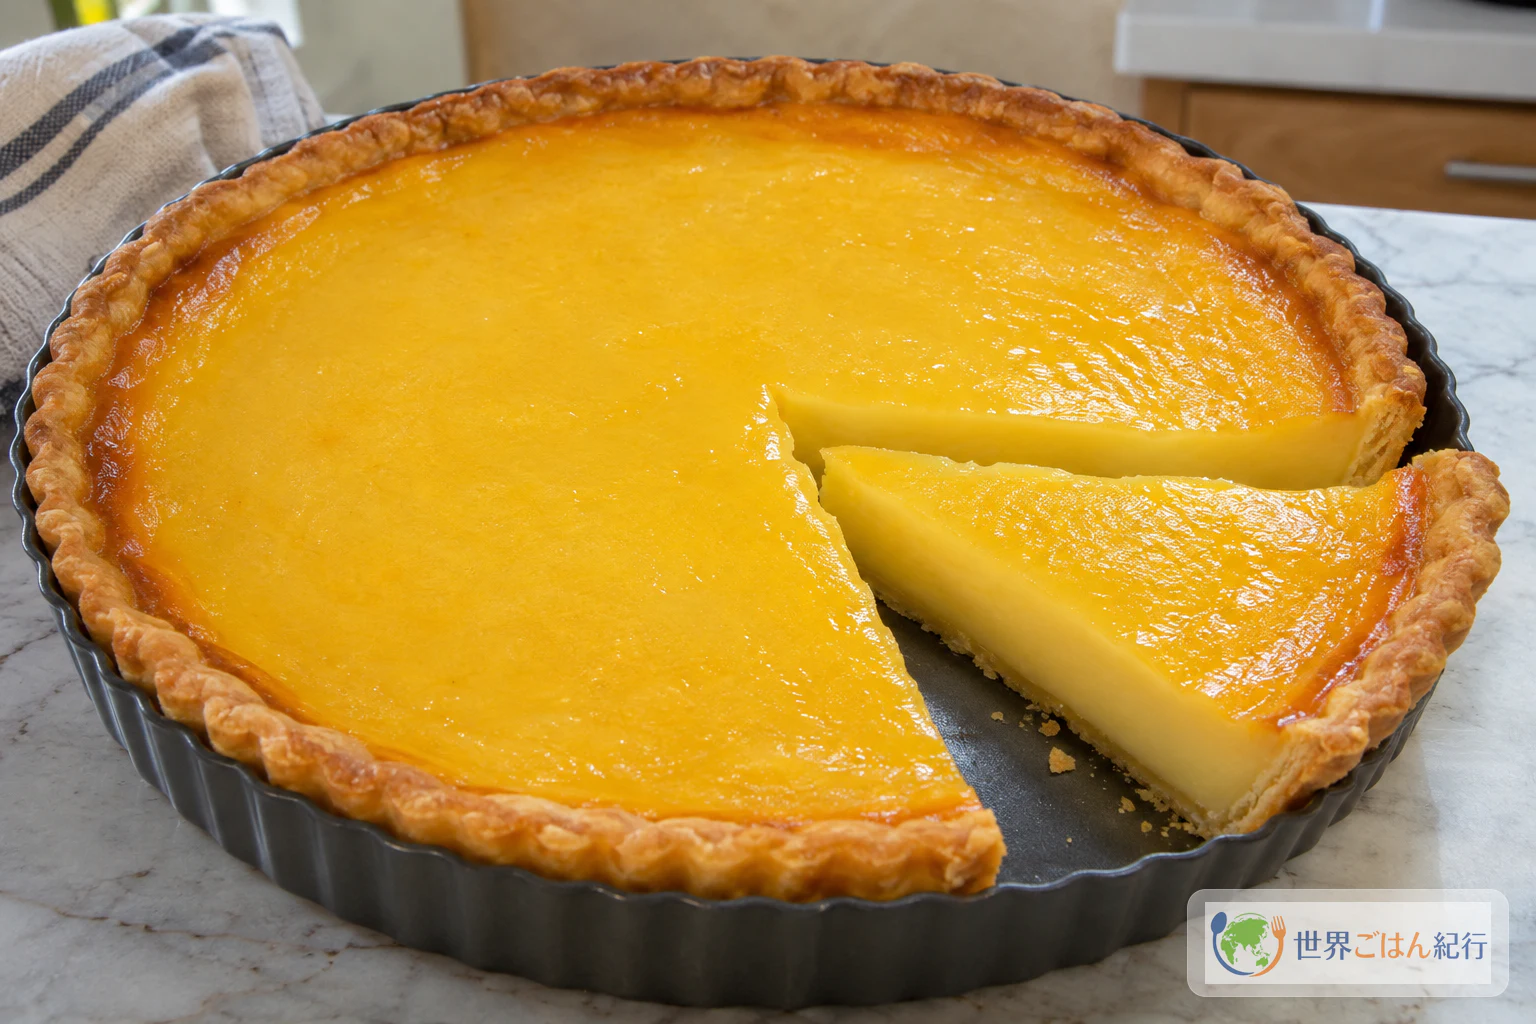
- Chilling, unmoulding and slicing. These final stages are not in the recipe's text. We added them as practical and hygiene steps.
This recipe has not been kitchen-tested by Sekai Gohan. We cannot promise how the extra temperature check will affect the finished texture or the total time.
Ingredients: One 9-Inch Tart, 8 Servings
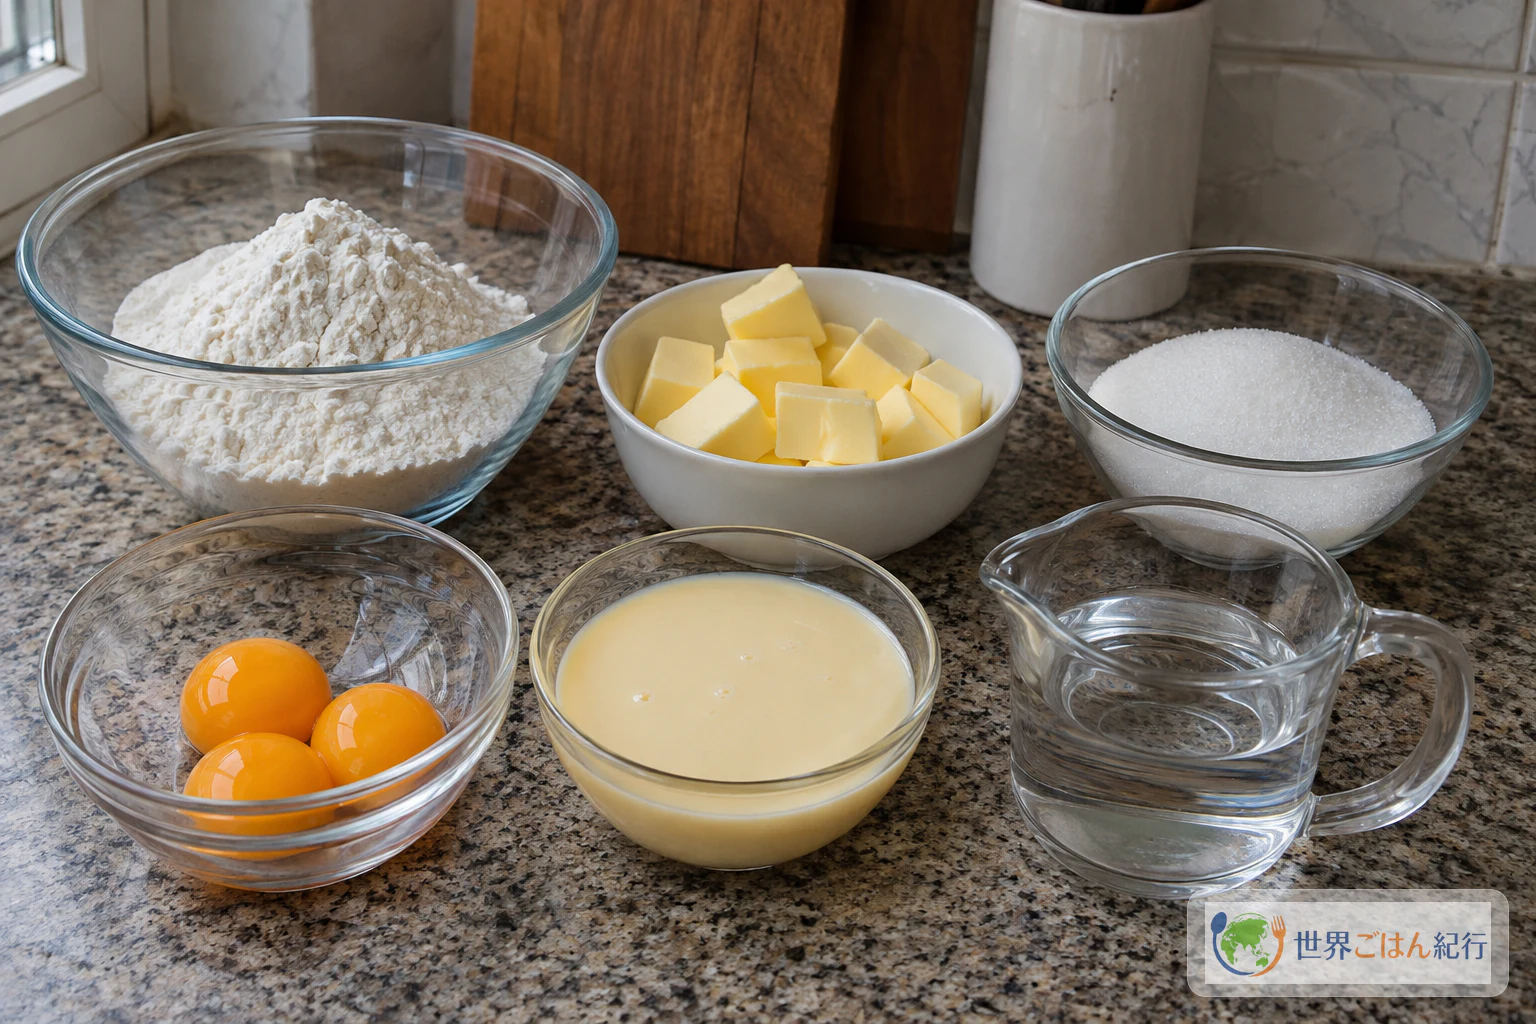
Equipment
- Removable-bottom tart pan, 9 inch x 1.125 inch
- Kitchen scale and a tablespoon
- Cutting board and knife
- Mixing bowl
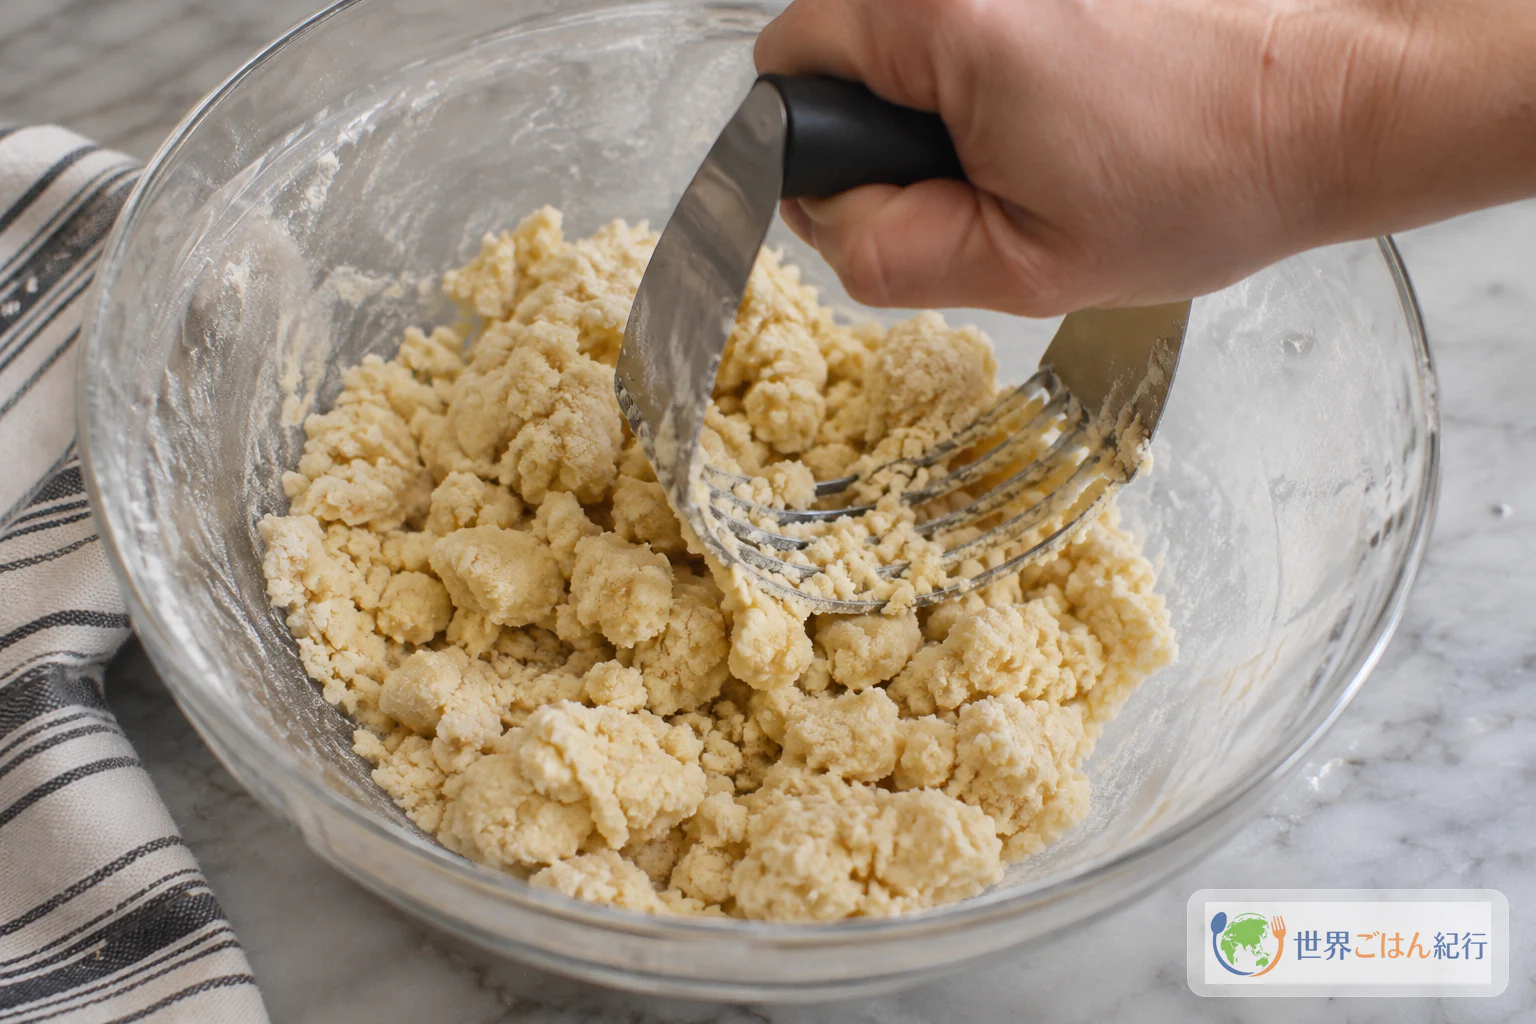
- Pastry cutter, two knives, or clean hands
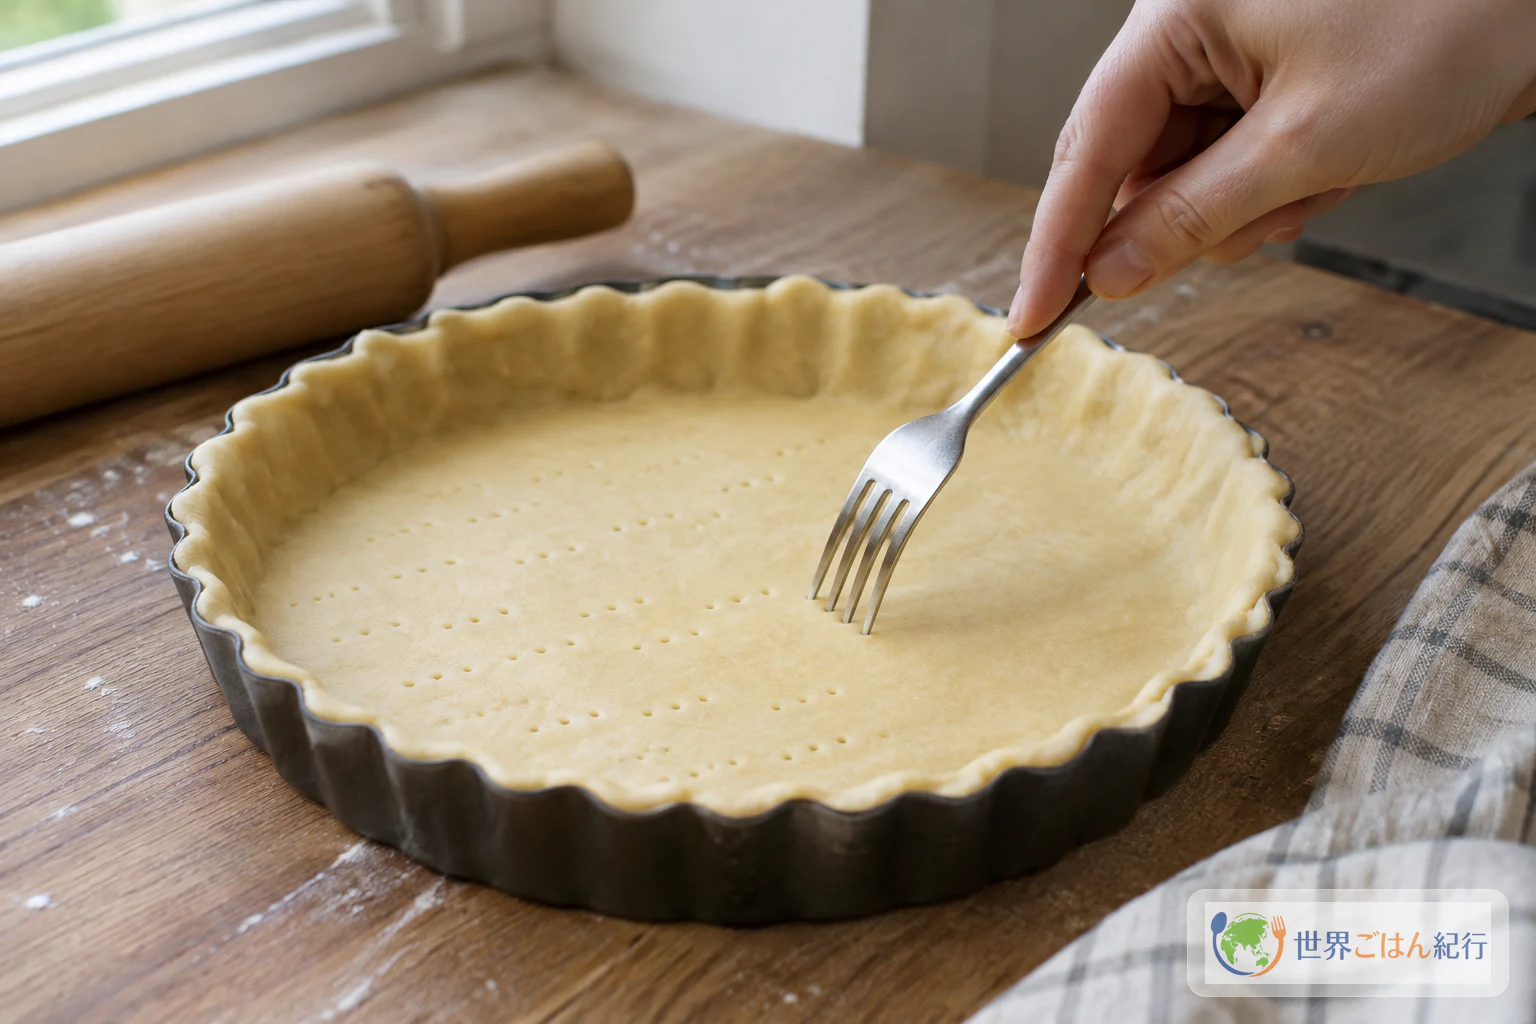
- Fork
- Whisk and a bowl for the filling
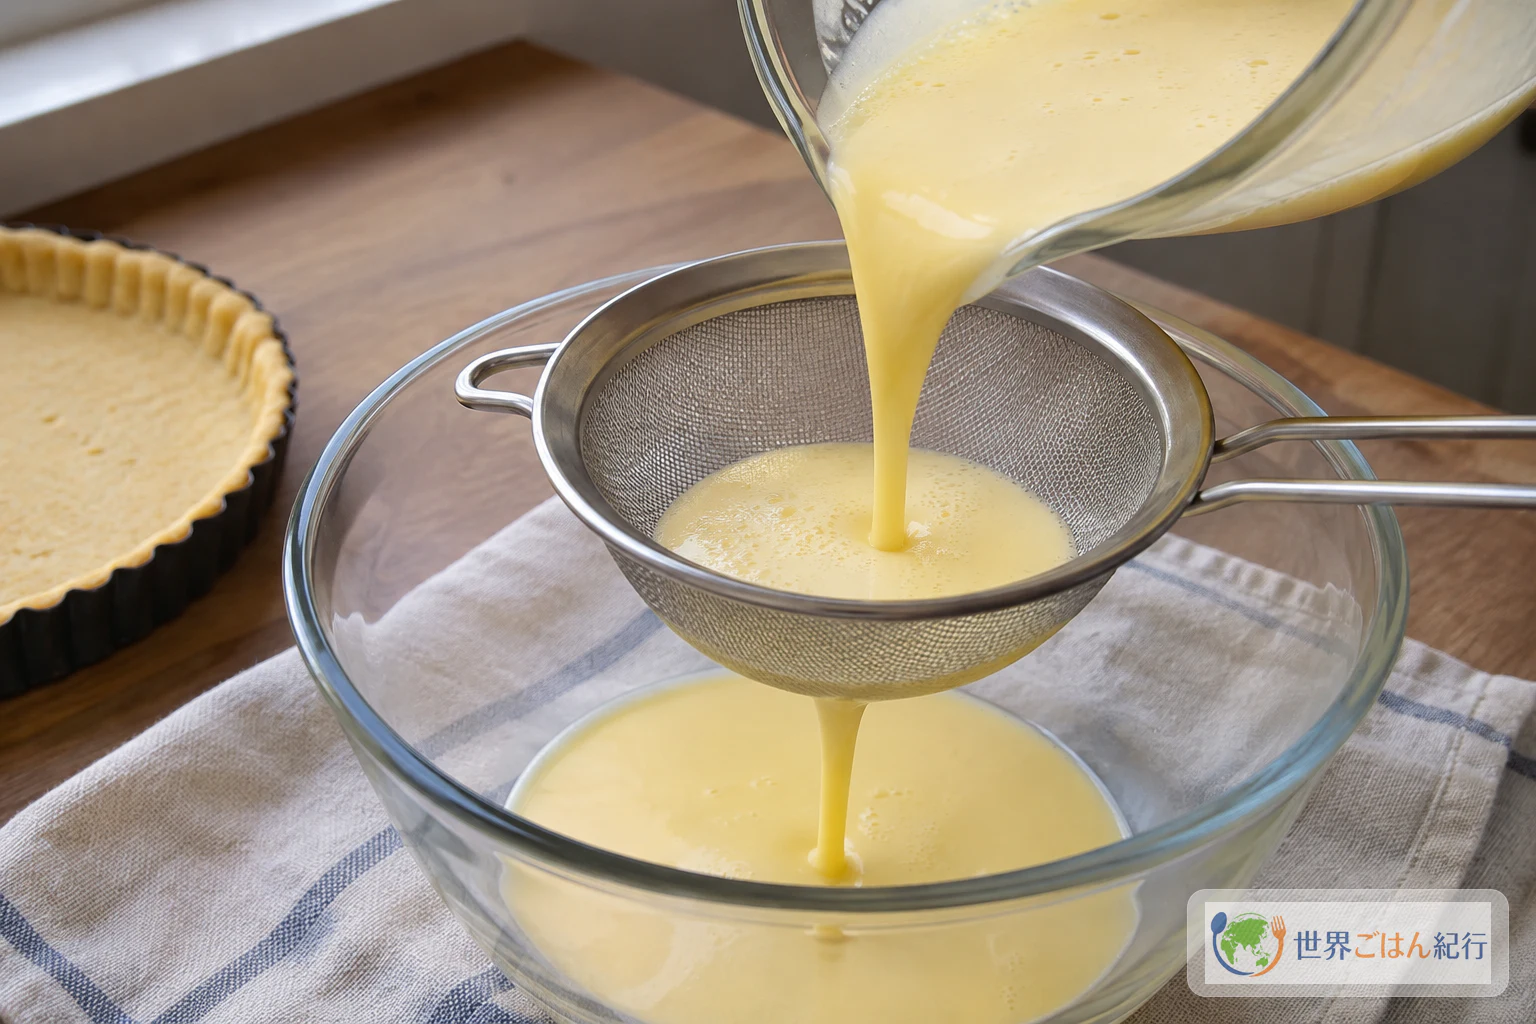
- Sieve and a second clean bowl
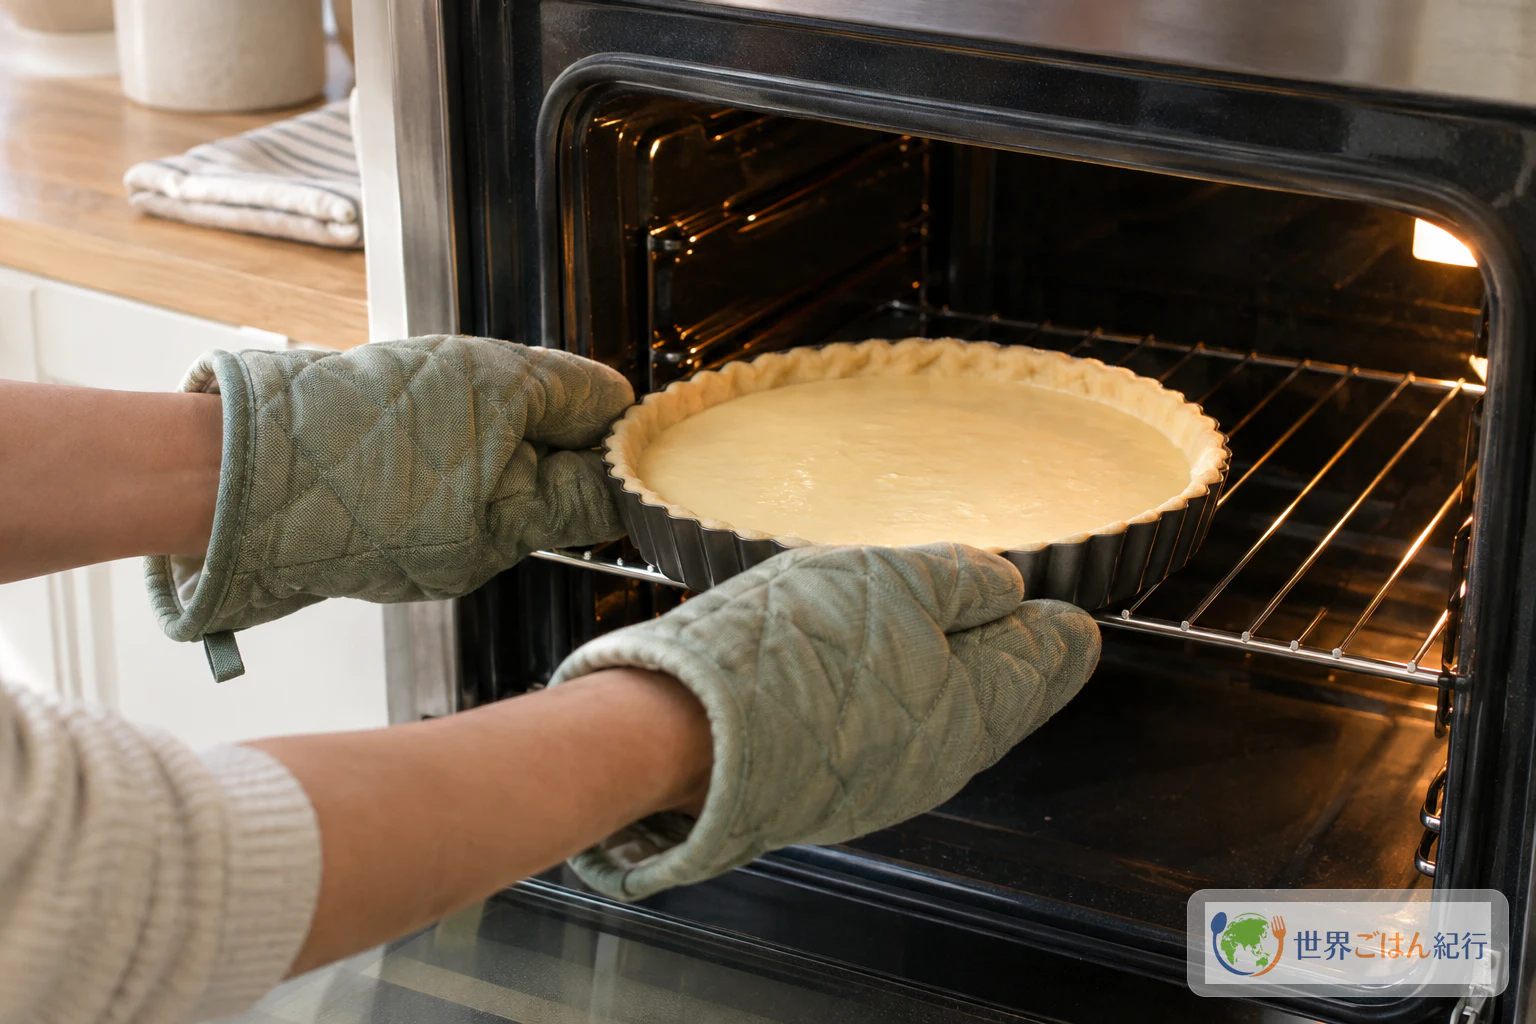
- Oven mitts
- Clean heat-safe rack or other support
- Food thermometer with a probe
- Clean knife for slicing
Choosing and Handling the Ingredients
Condensed milk. Weigh out 200g; do not estimate 1/2 can by eye, as can sizes vary.
Water, not milk. The sweetened condensed milk and water are the whole liquid base here. Adding milk would make it a different formula.
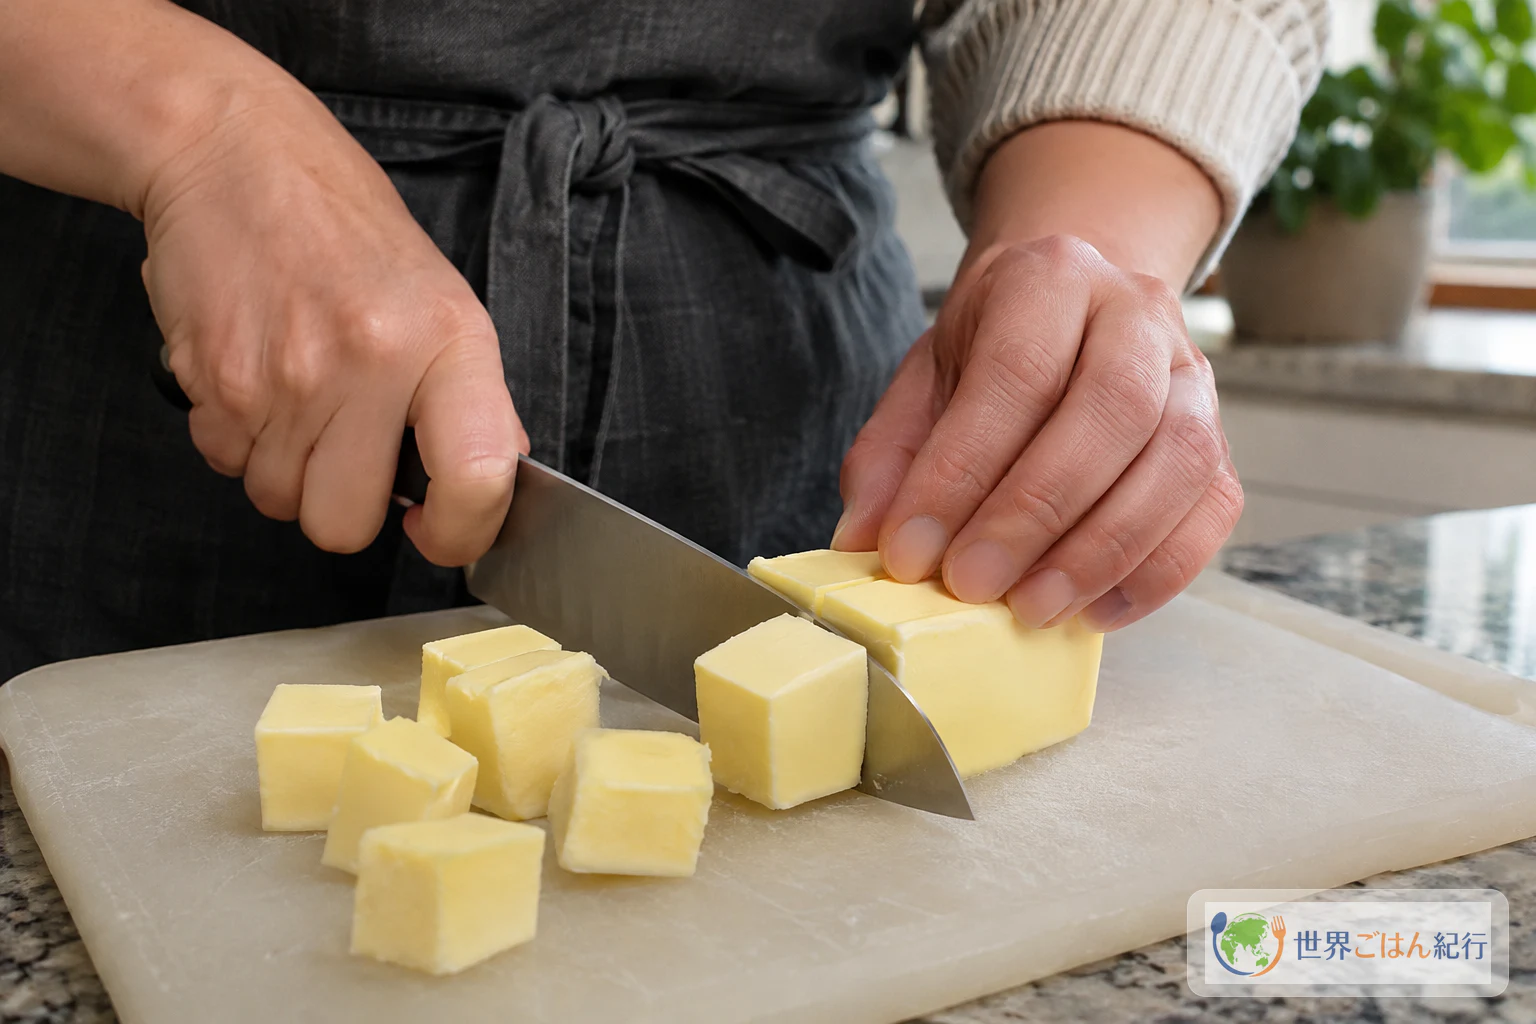
Butter. Keep the butter chilled and do not add separate salt.
Flour. Use all-purpose flour. We have not verified other flours, such as cake flour or starches, as equal replacements.
This tart contains wheat, milk and egg. Check the labels on what you buy, including any cross-contact statements. Do not taste the raw dough or raw filling before baking. Wash your hands, tools and work surfaces before and after handling raw eggs.
Method: From Pressed Crust to Chilled Slice
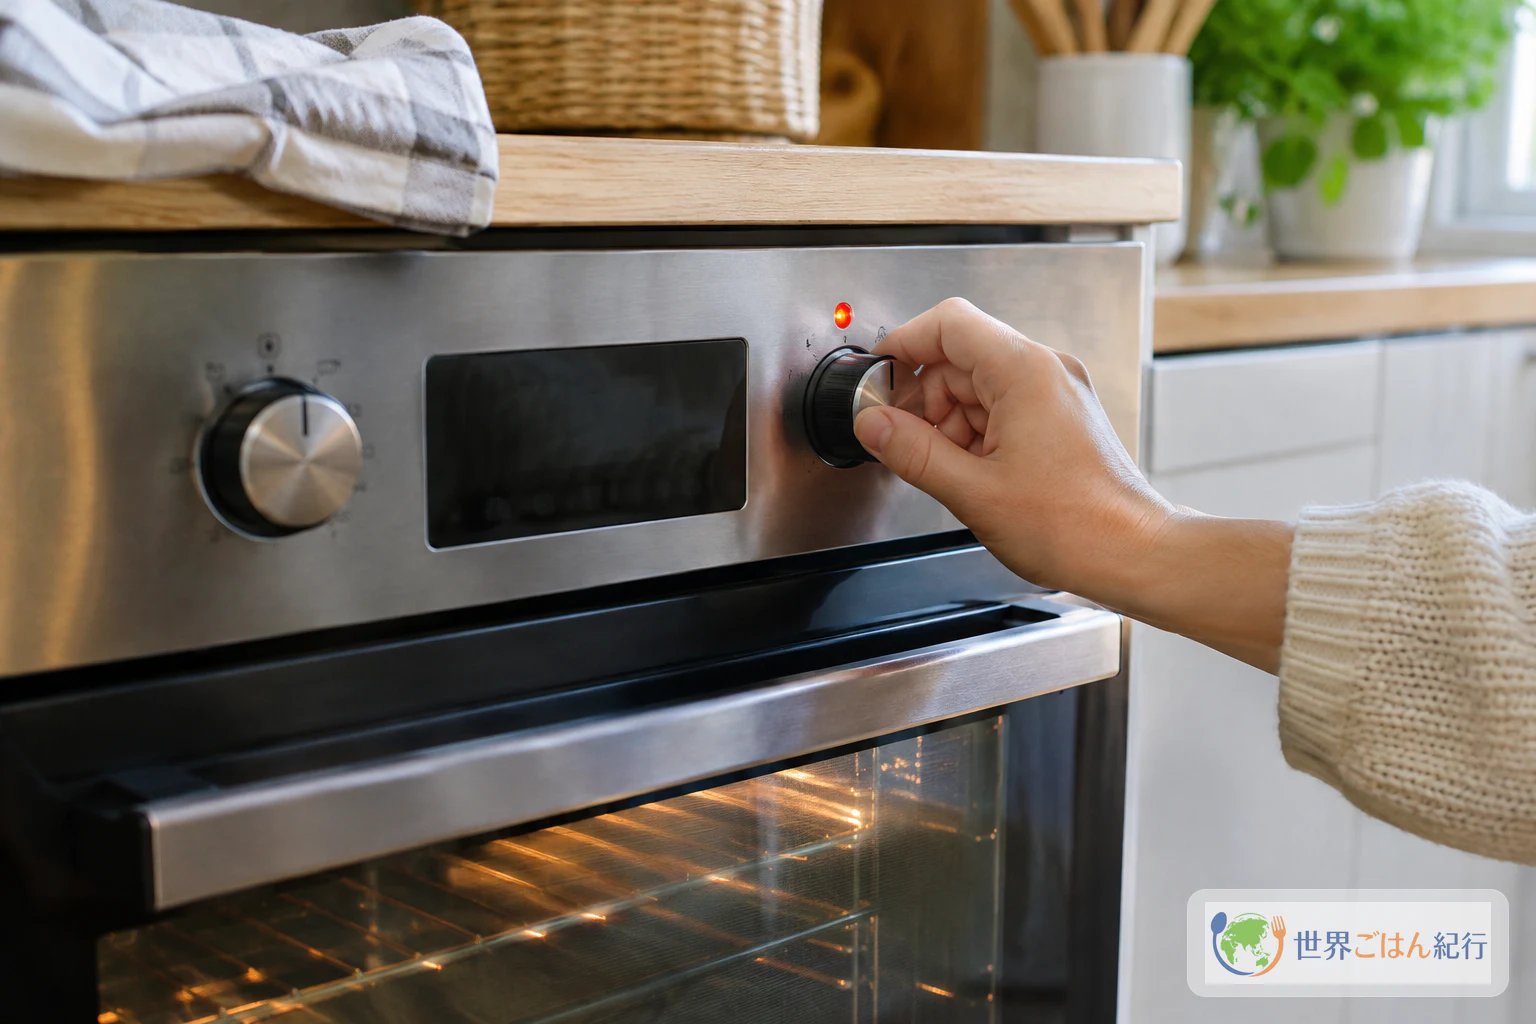
The filled shell goes straight into the oven without blind baking. You can switch the oven on earlier than step 9 so that the filled shell does not have to wait.
Serving and Leftovers
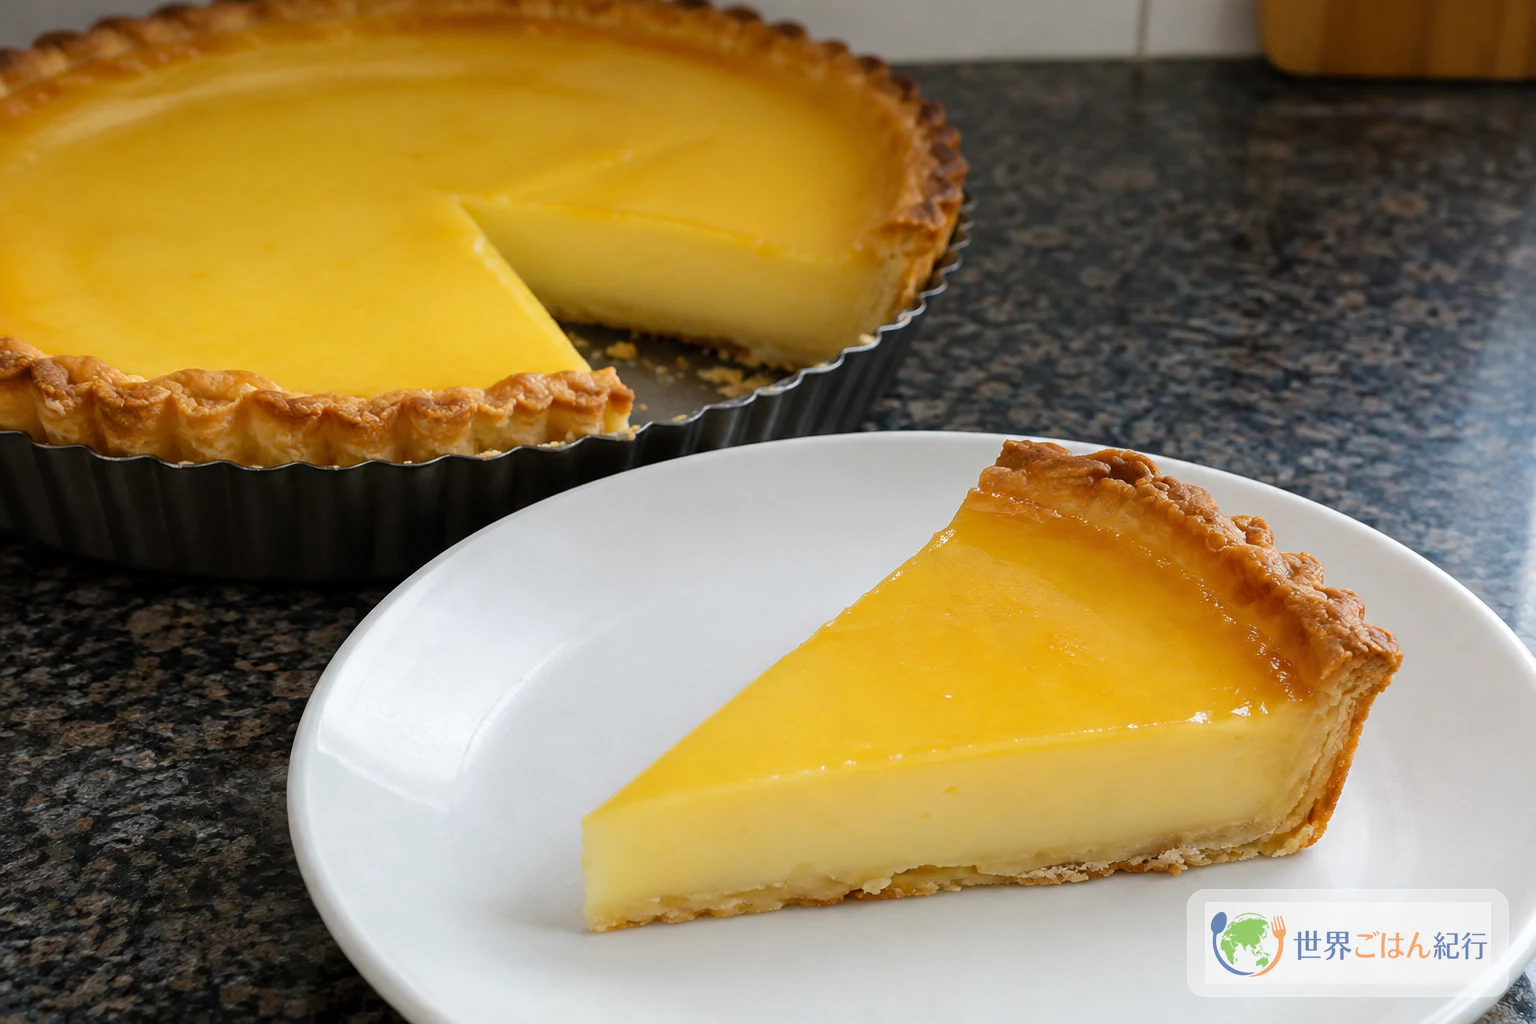
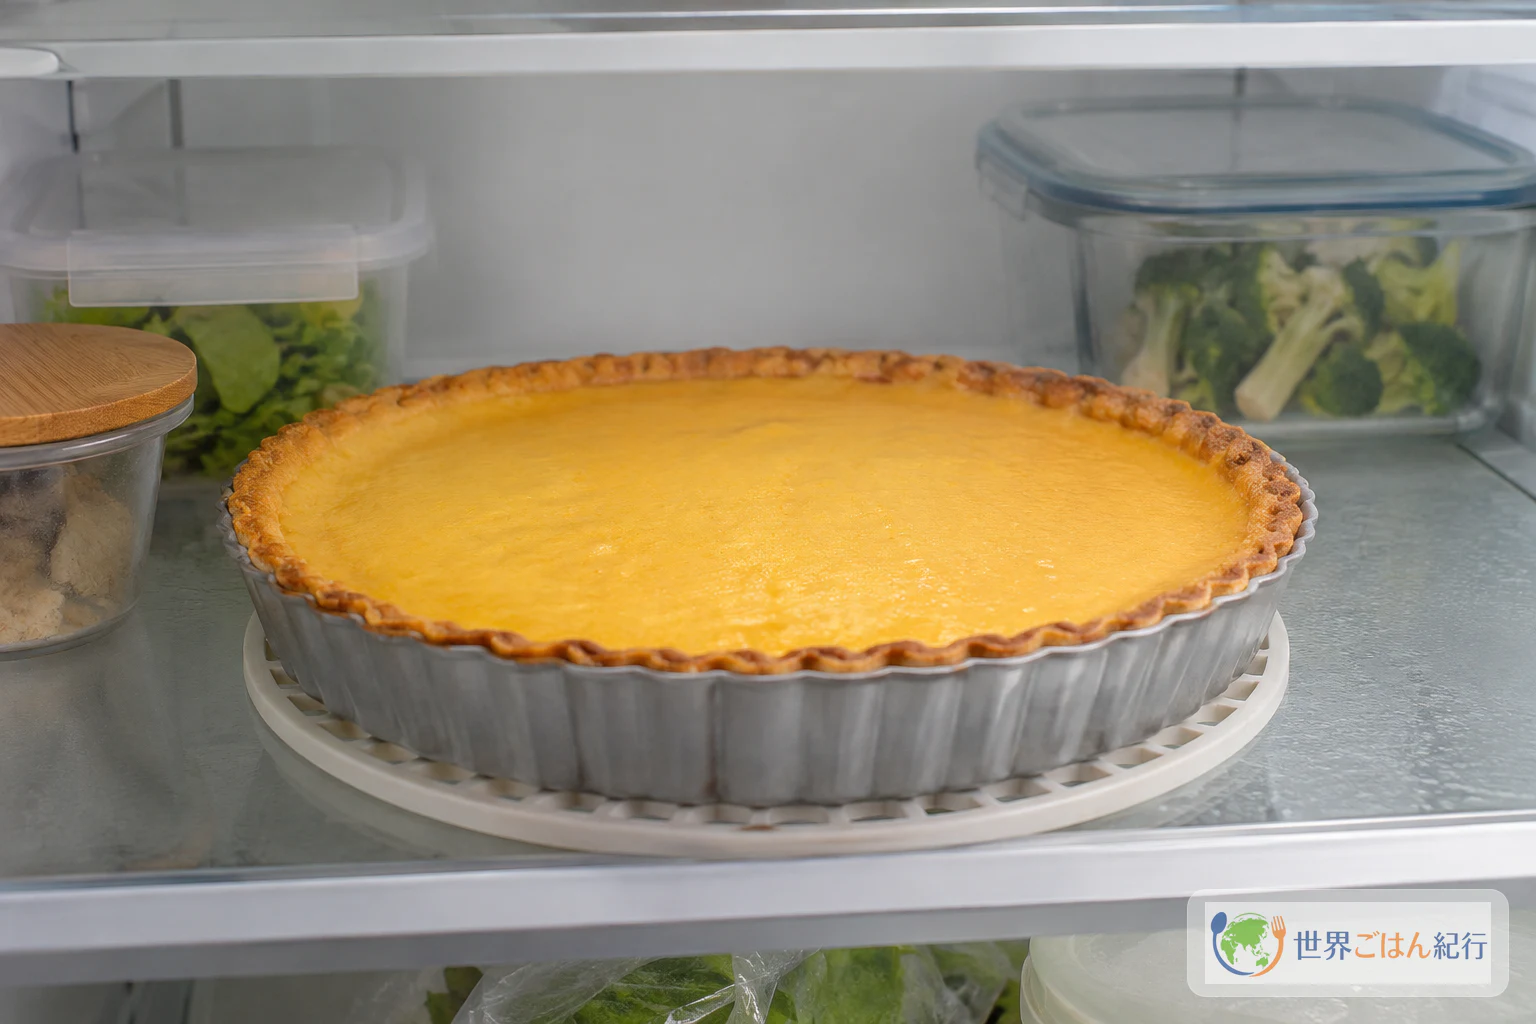
Serve the tart cold from the refrigerator and return leftovers there quickly, keeping it at 40°F or below. The FDA's general advice is not to leave egg dishes at room temperature for more than 2 hours, or more than 1 hour above 90°F. That is an outer limit, not a cooling period to use up and not a shelf-life promise. We do not set a number of days for keeping the finished tart.
Troubleshooting
| What you notice | What to do |
|---|---|
| The dough only barely holds together | That is the target. Press it into the pan without adding water |
| The filling has bits in it | Pour it through the sieve into a clean bowl before filling the shell |
| The tart looks done, but you have not measured it | Measure anyway. A golden crust and set surface do not show the center temperature |
| 35 minutes have passed and the center is below 75°C | Keep baking and check again. The 30 to 35 minutes is a guide, not a guarantee |
| The crust is getting darker while you continue baking | The temperature check still comes first. Extra baking can change color and texture, and we have no tested fix for this |
| The tart still feels warm when you go to unmould it | Return it to the refrigerator and try once it is cold |
Variations: Other Recipes Under the Same Name
Recipes published as pai susu can differ considerably. A recipe on the Palmia site, for example, cooks in a teflon pan and uses a custard of milk, sugar and cornstarch. A MyMilk.com recipe uses different crust and filling ingredients and lists Maizena (cornstarch), although its filling steps do not use it. Those are separate formulas, and their ingredients should not be mixed into this one.
We also give no tested amounts or times for changing the pan size, flour or brand of condensed milk. Comments on the Daily Cooking Quest page mention using milk, doubling the recipe and baking in muffin pans, but none of those changes is part of this recipe.
Pai Susu in Context
Pai susu is often described as a souvenir from Bali. One document on Indonesian food culture, hosted on a resource server of Indonesia's language development agency, describes it that way and also connects it with custard tarts from elsewhere. That section gives no notes or primary sources, so we leave its origin and route to Bali unstated here.
To keep exploring, browse more recipes from Indonesia. Ayam betutu, sate lilit and sambal matah are separate Balinese dishes, and klappertaart is a sweet from another island. None of them is a fixed pairing with this tart.
Frequently Asked Questions
Is this the same as the small tarts sold as souvenirs in Bali?
No. This is Anita Jacobson's home version, made as one tart in a 9-inch pan. We cannot say how closely it matches the taste or texture of any shop's small tarts, and its baking time should not be applied to mini pans.
Should I add milk, cornstarch or vanilla to the filling?
Not in this version. The filling is only yolks, sweetened condensed milk and water.
Is a golden crust enough to know it is done?
No. Golden crust and set custard are the recipe's visual cues, but this article also asks you to measure 75°C at the center for at least 1 minute. If the tart has not reached that, keep baking and check again.
Why 75°C when the FDA mentions 160°F for egg dishes?
Both are general guidance, and neither was verified for this particular tart. We use the Japanese guideline of 75°C for at least 1 minute throughout so that there is one clear condition to follow.
How long does it take?
The recipe page lists timings of 15, 35 and 50 minutes. Those figures are not measurements of the full process with the center check, chilling and unmoulding, and we have no tested total for that. Baking may also run longer if the center needs more time.
How many days does it keep?
We do not give a number of days. Keep the tart refrigerated at 40°F or below, and follow the room-temperature limits under Serving and Leftovers.
Sources
- Anita Jacobson, Daily Cooking Quest, "Pie Susu Bali - Balinese Milk Custard Tart." Ingredients, servings, method, pan size, oven temperature and baking time for this 9-inch version, and the author's simplification from small tarts to one large tart. https://dailycookingquest.com/pie-susu-bali-balinese-milk-custard-tart.html
- Ministry of Health, Labour and Welfare (Japan), "家庭でできる食中毒予防の6つのポイント" (Six points for preventing food poisoning at home). General guideline of 75°C at the center of food for at least 1 minute, and refrigerating food instead of leaving it at room temperature when cooking is interrupted. https://www.mhlw.go.jp/stf/seisakunitsuite/bunya/kenkou_iryou/shokuhin/syokuchu/01_00006.html
- U.S. Food and Drug Administration, "What You Need to Know About Egg Safety." General advice on cleaning after contact with raw egg, thorough cooking, food thermometers, refrigeration at 40°F or below, and room-temperature limits. https://www.fda.gov/food/buy-store-serve-safe-food/what-you-need-know-about-egg-safety
- Palmia, "Pai Susu Bali" (recipe credited to Fitri Adelia). Comparison only: a differently made recipe under the same name, cooked in a teflon pan. https://www.palmia.co.id/resep/camilan/pai-susu-bali
- MyMilk.com, "Buat Sendiri Pai Susu Khas Bali di Rumahmu." Comparison only: differences in crust and filling ingredients between published recipes. https://www.mymilk.com/milkeveryday/recipe/buat-sendiri-pai-susu-khas-bali-di-rumahmu
- Unsiyah Anggraeni, "Multikulturalisme Makanan Indonesia: Pie Susu yang Nikmat." Cited only for the fact that it describes pie susu Bali as a Bali souvenir and makes an unsourced claim about links to other custard tarts; not used as evidence of the dish's history. https://bahasa-dev.kemendikdasmen.go.id/resource/doc/files/Multikulturalisme_Makanan_Indonesia-Unsiyah-Final_0.pdf