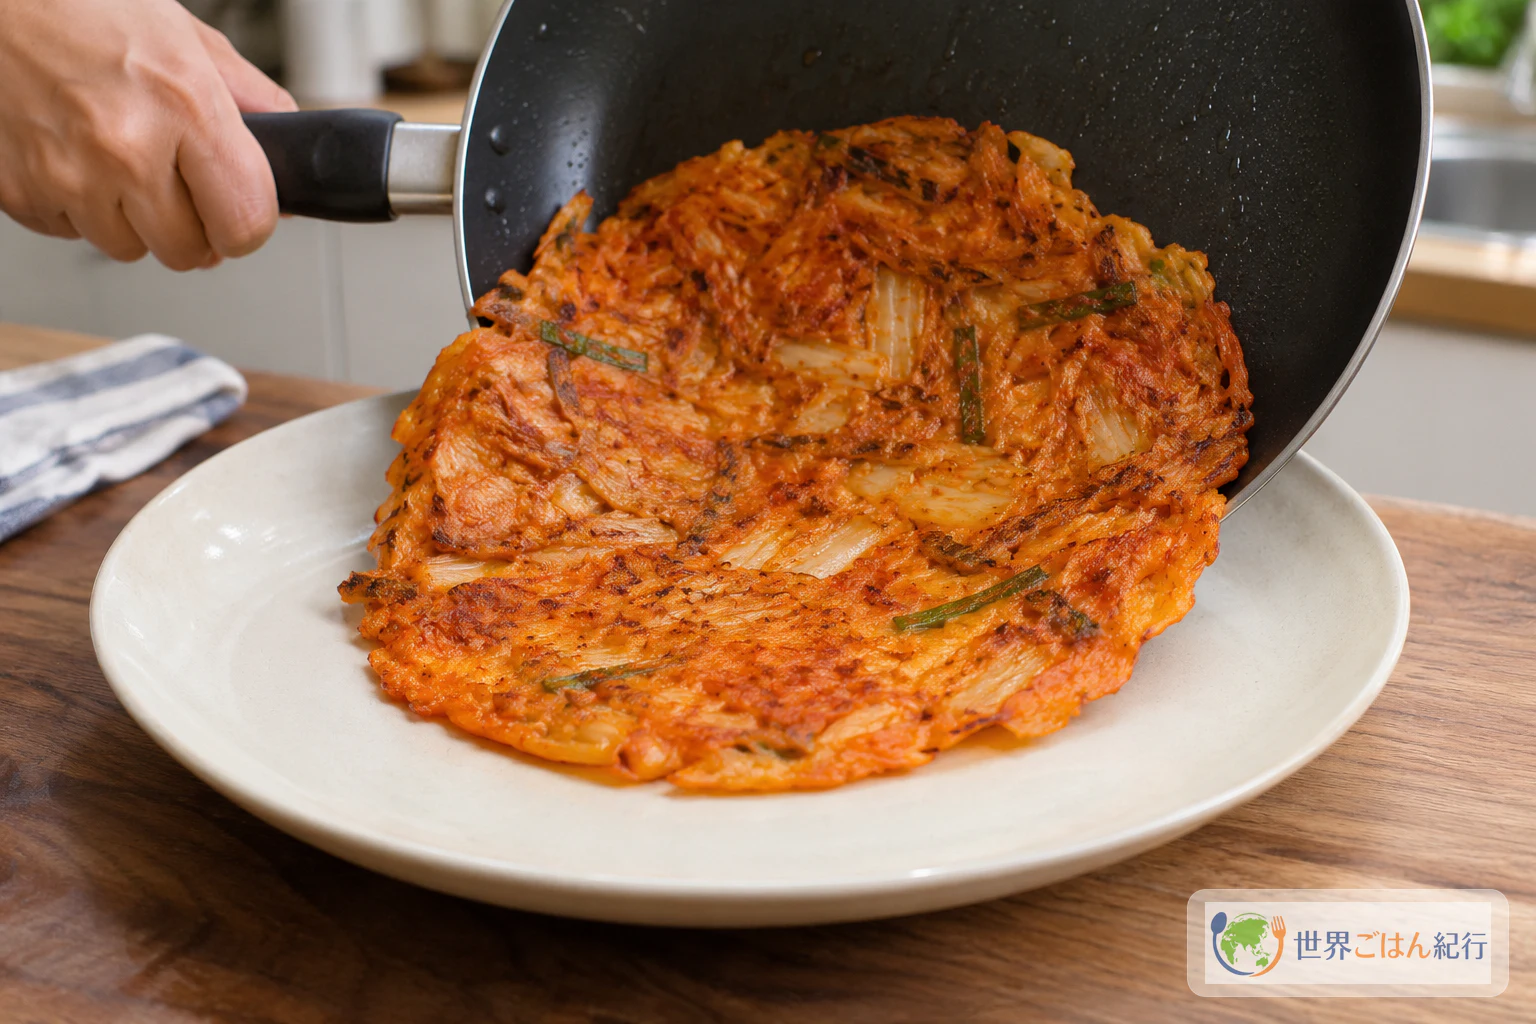
Kimchibuchimgae: Sour Kimchi, Crisp Edges, One Broad Pancake
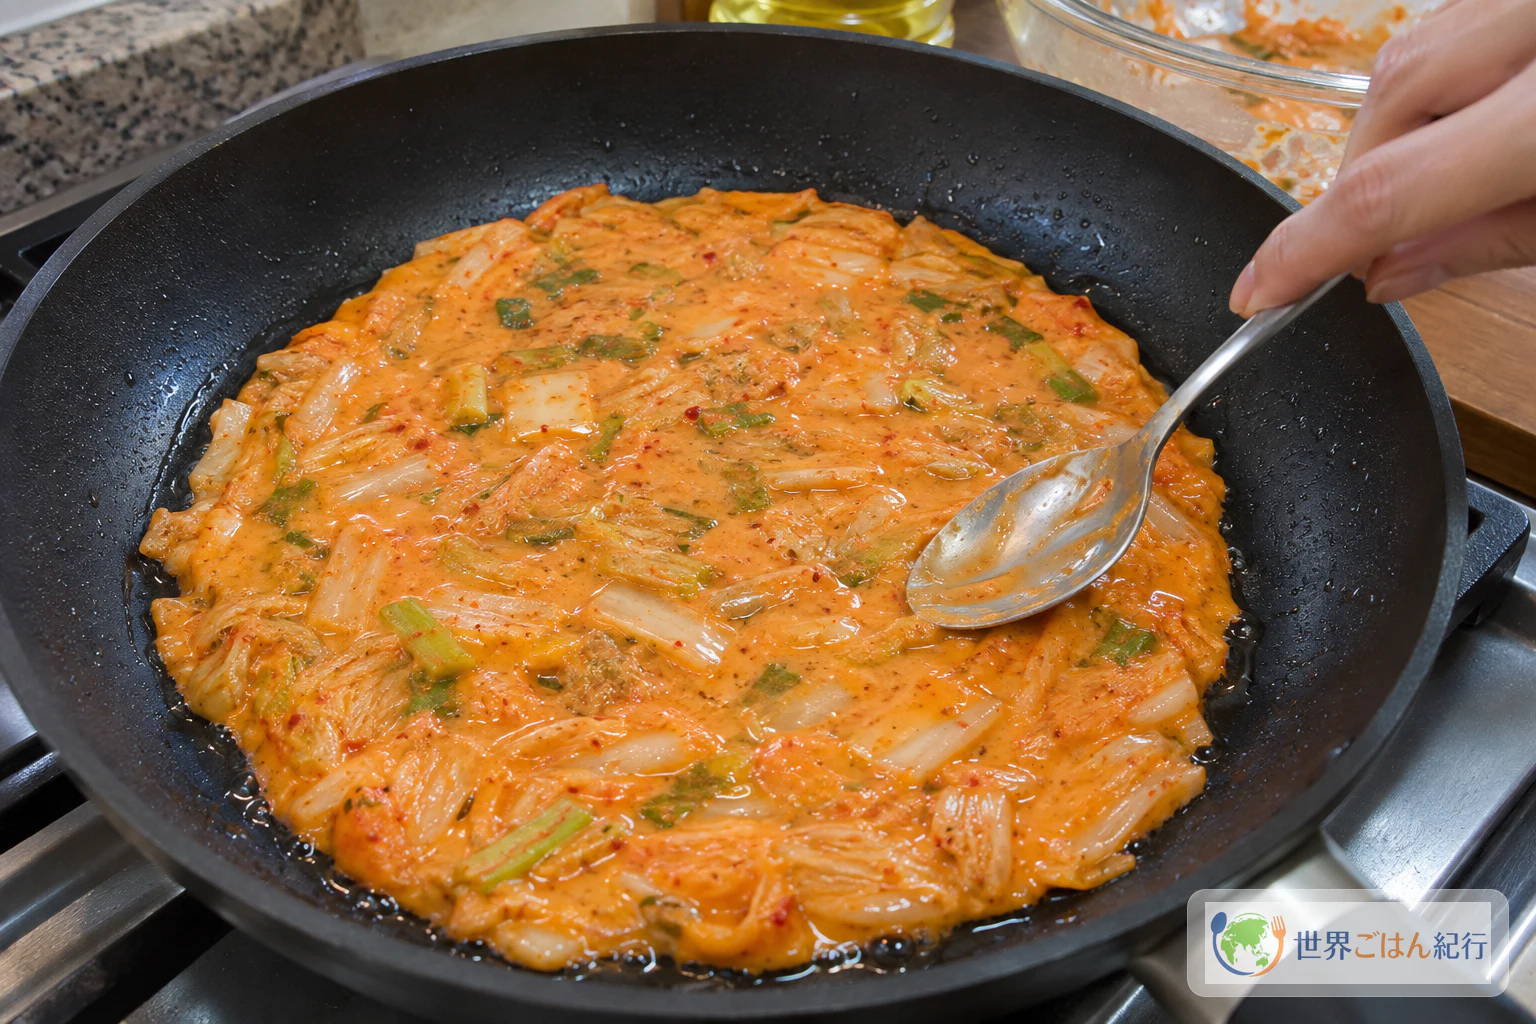
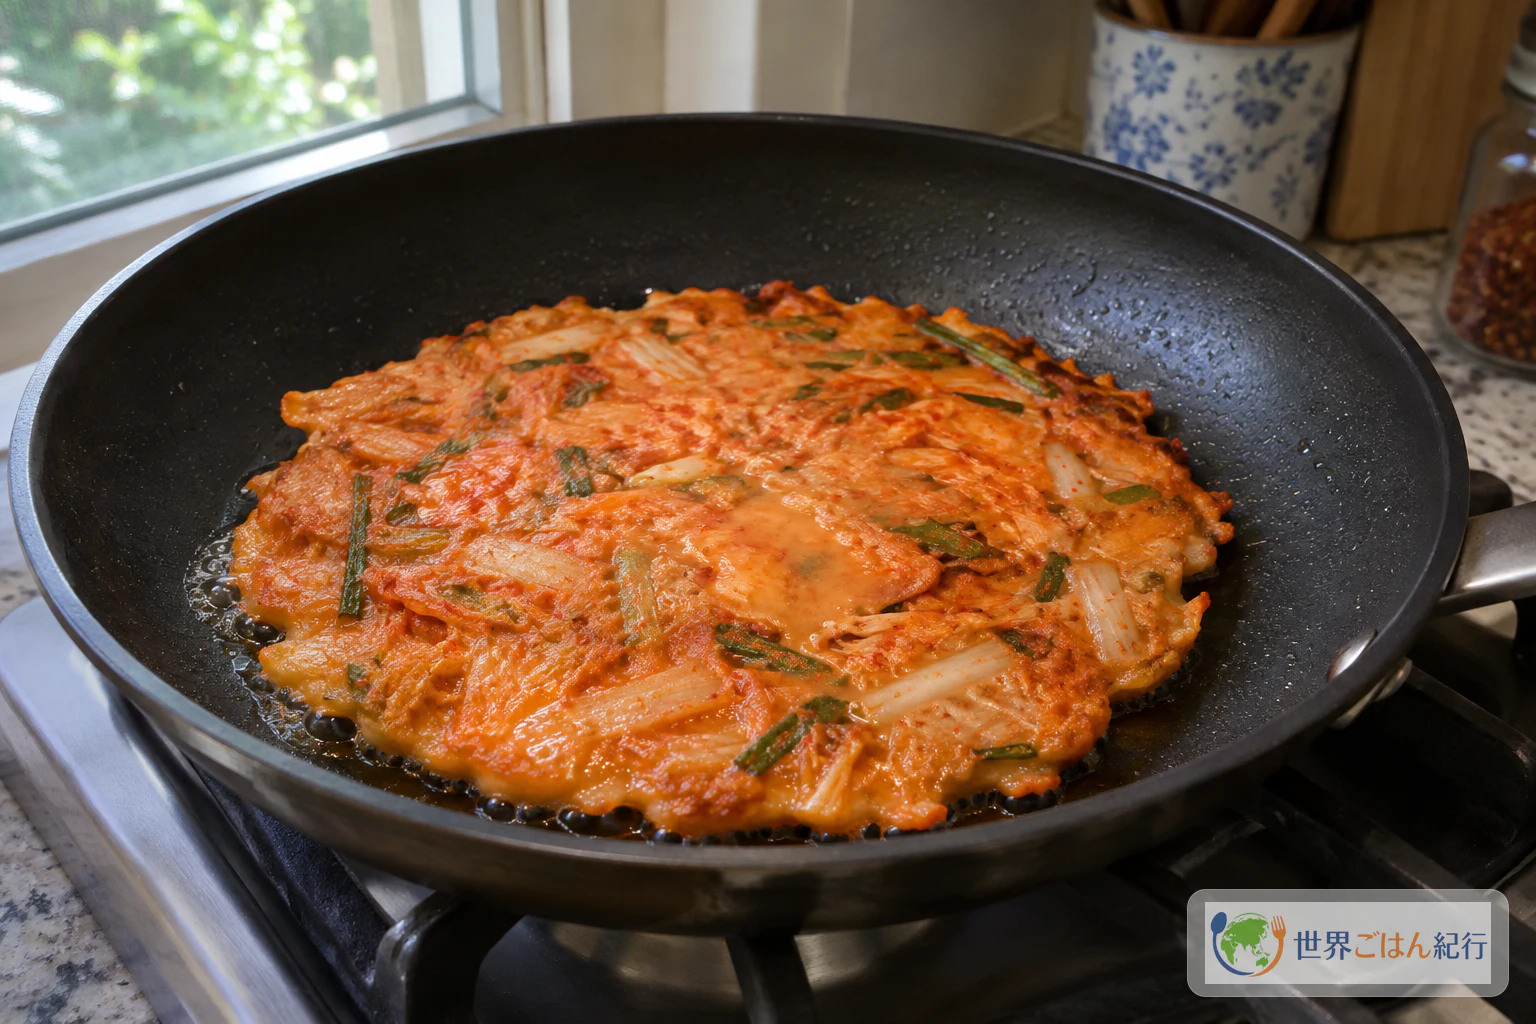
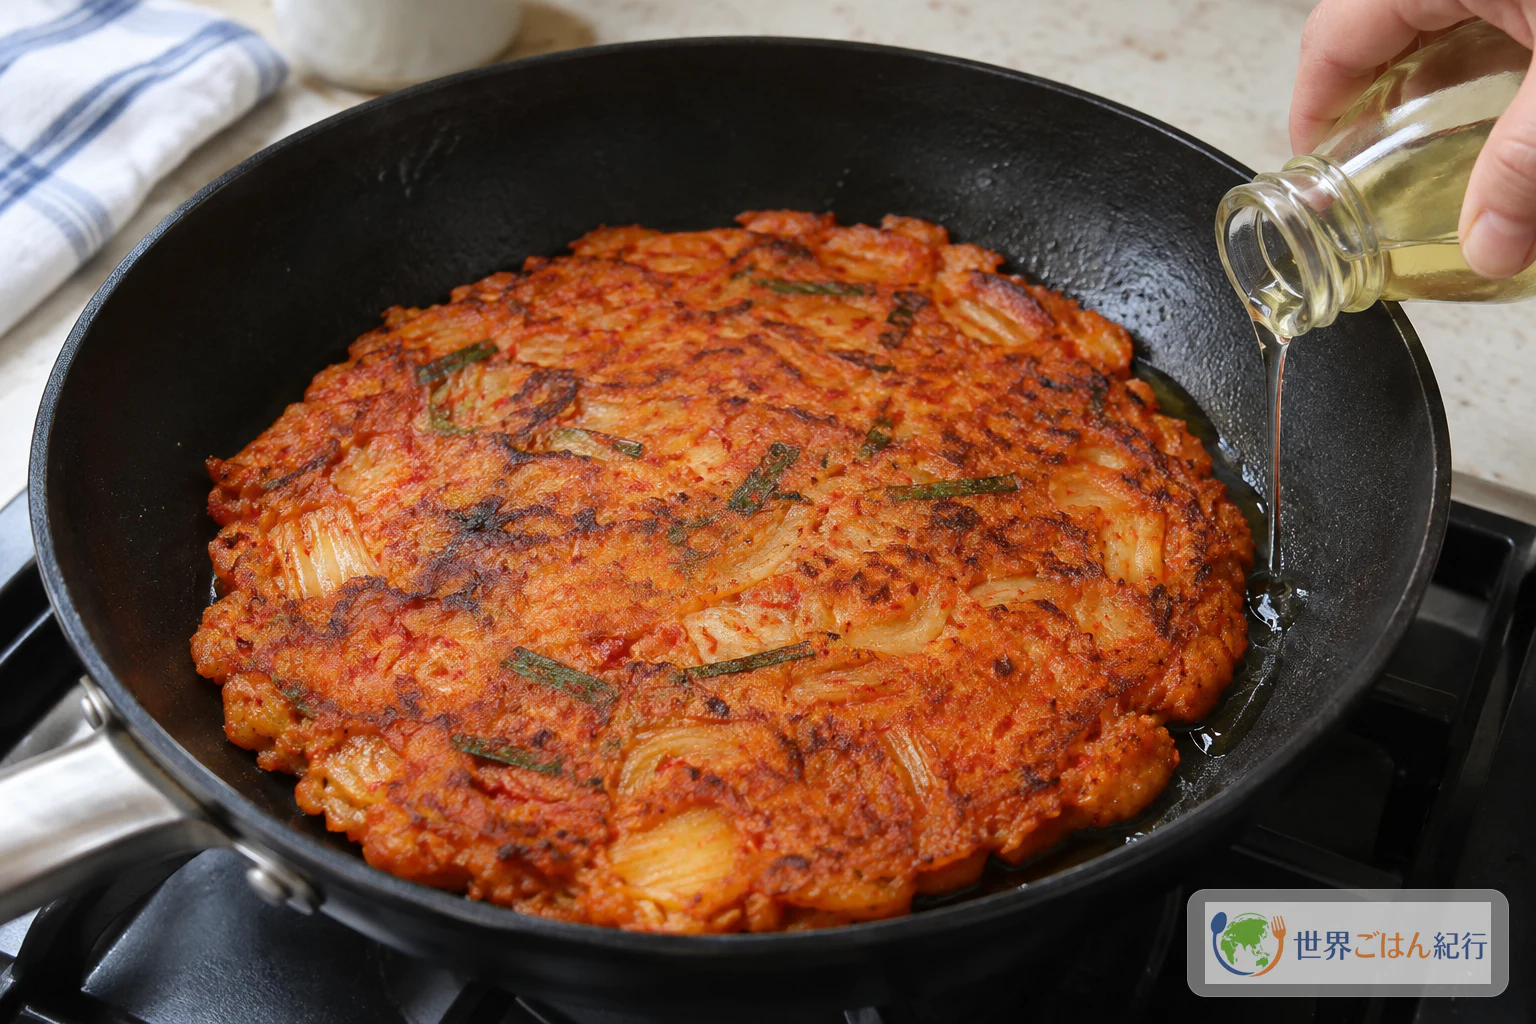
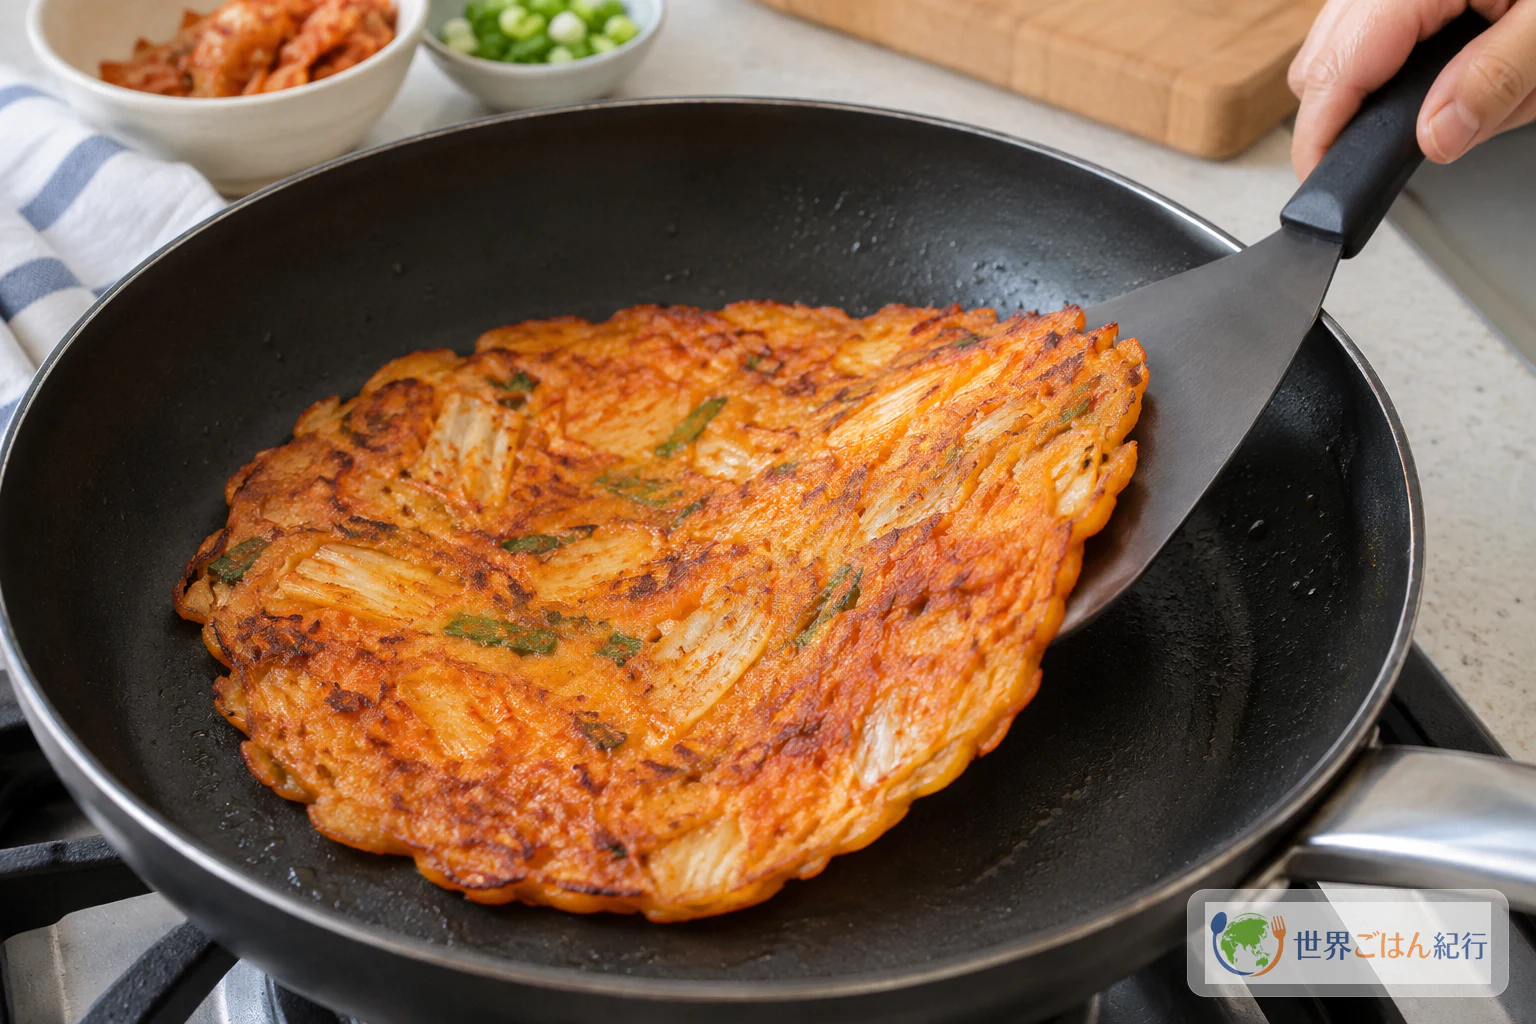
Use kimchi that is well fermented and properly sour, spread the batter thin, and let enough oil reach the underside so both faces turn golden and crisp. Then slide it onto a plate and eat it hot.
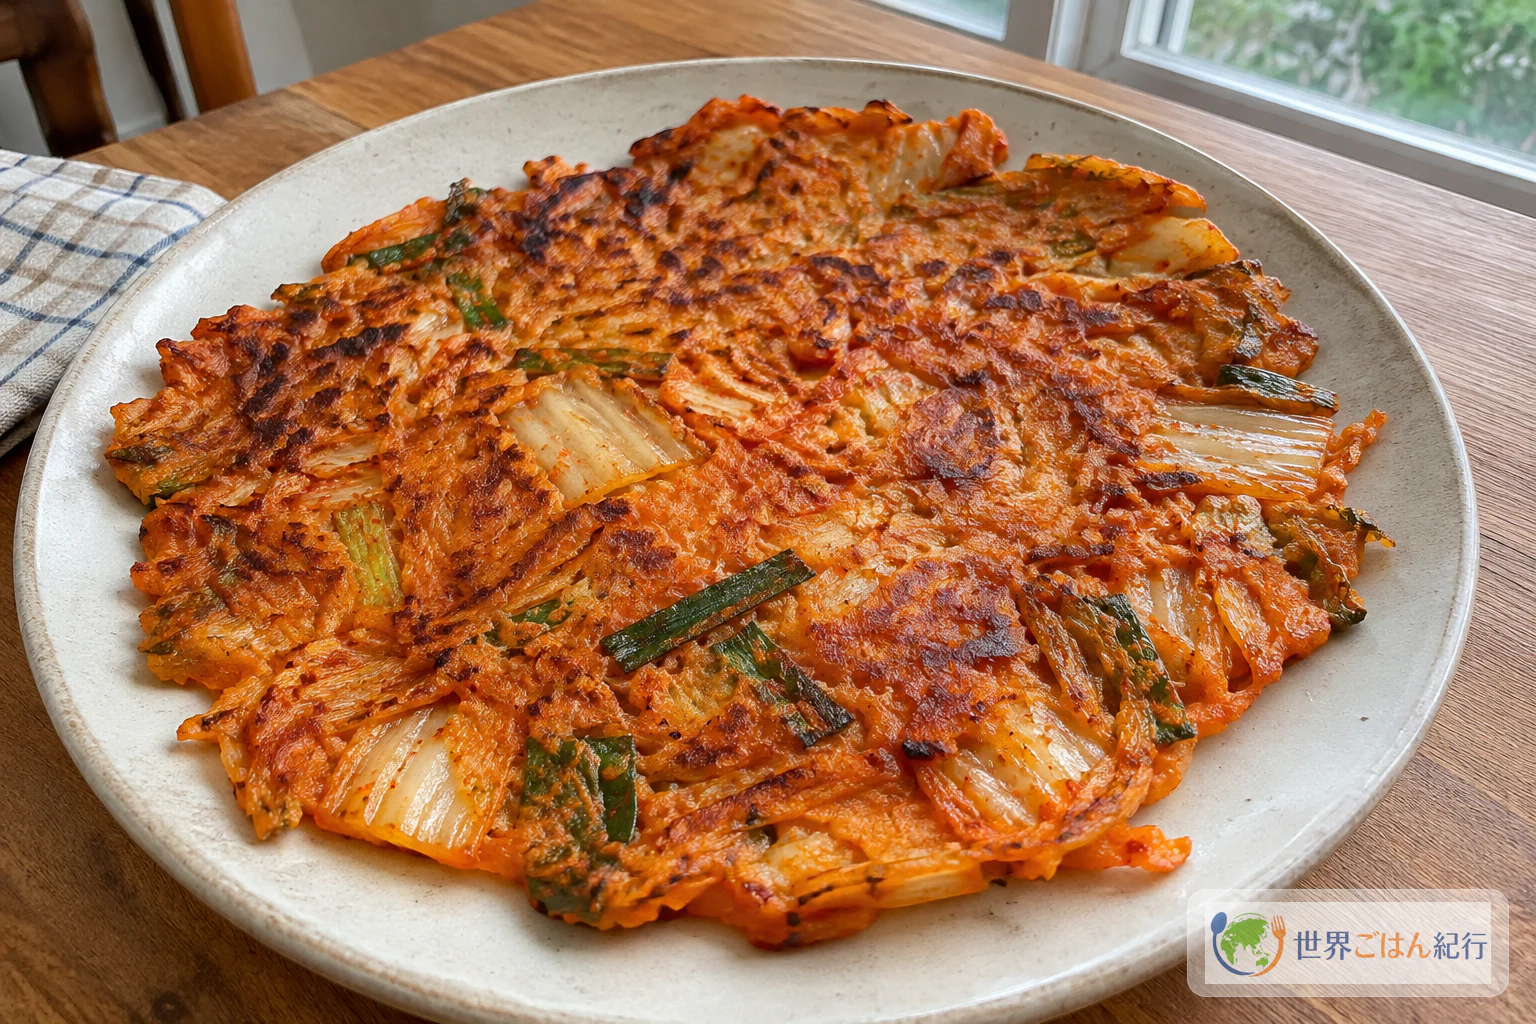
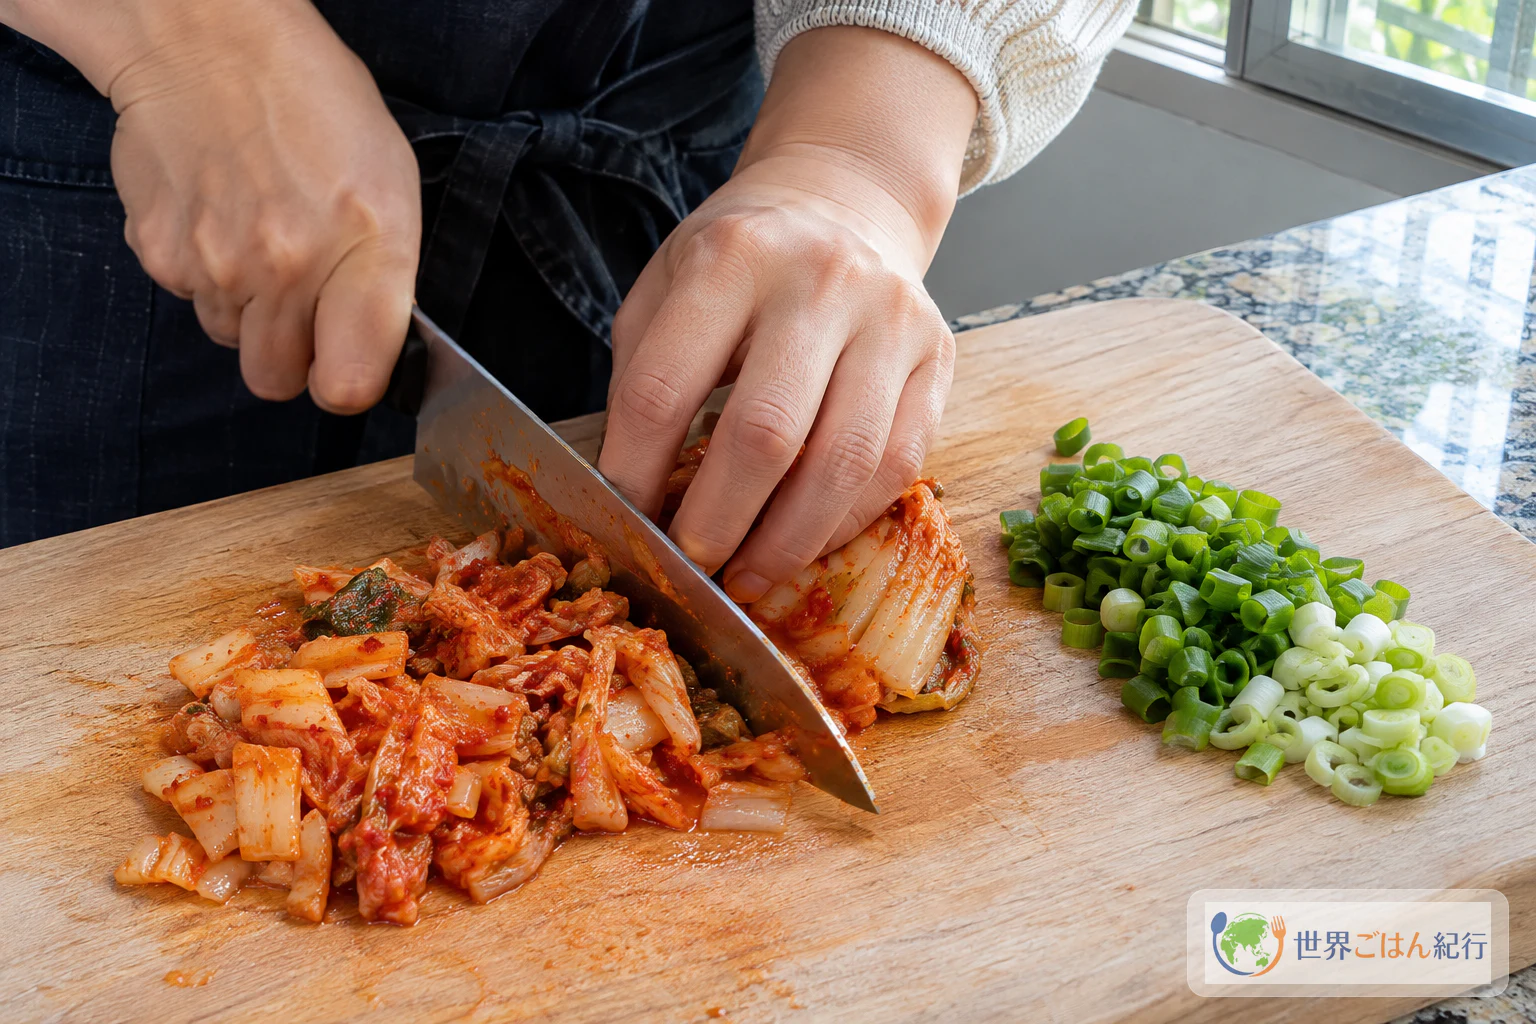
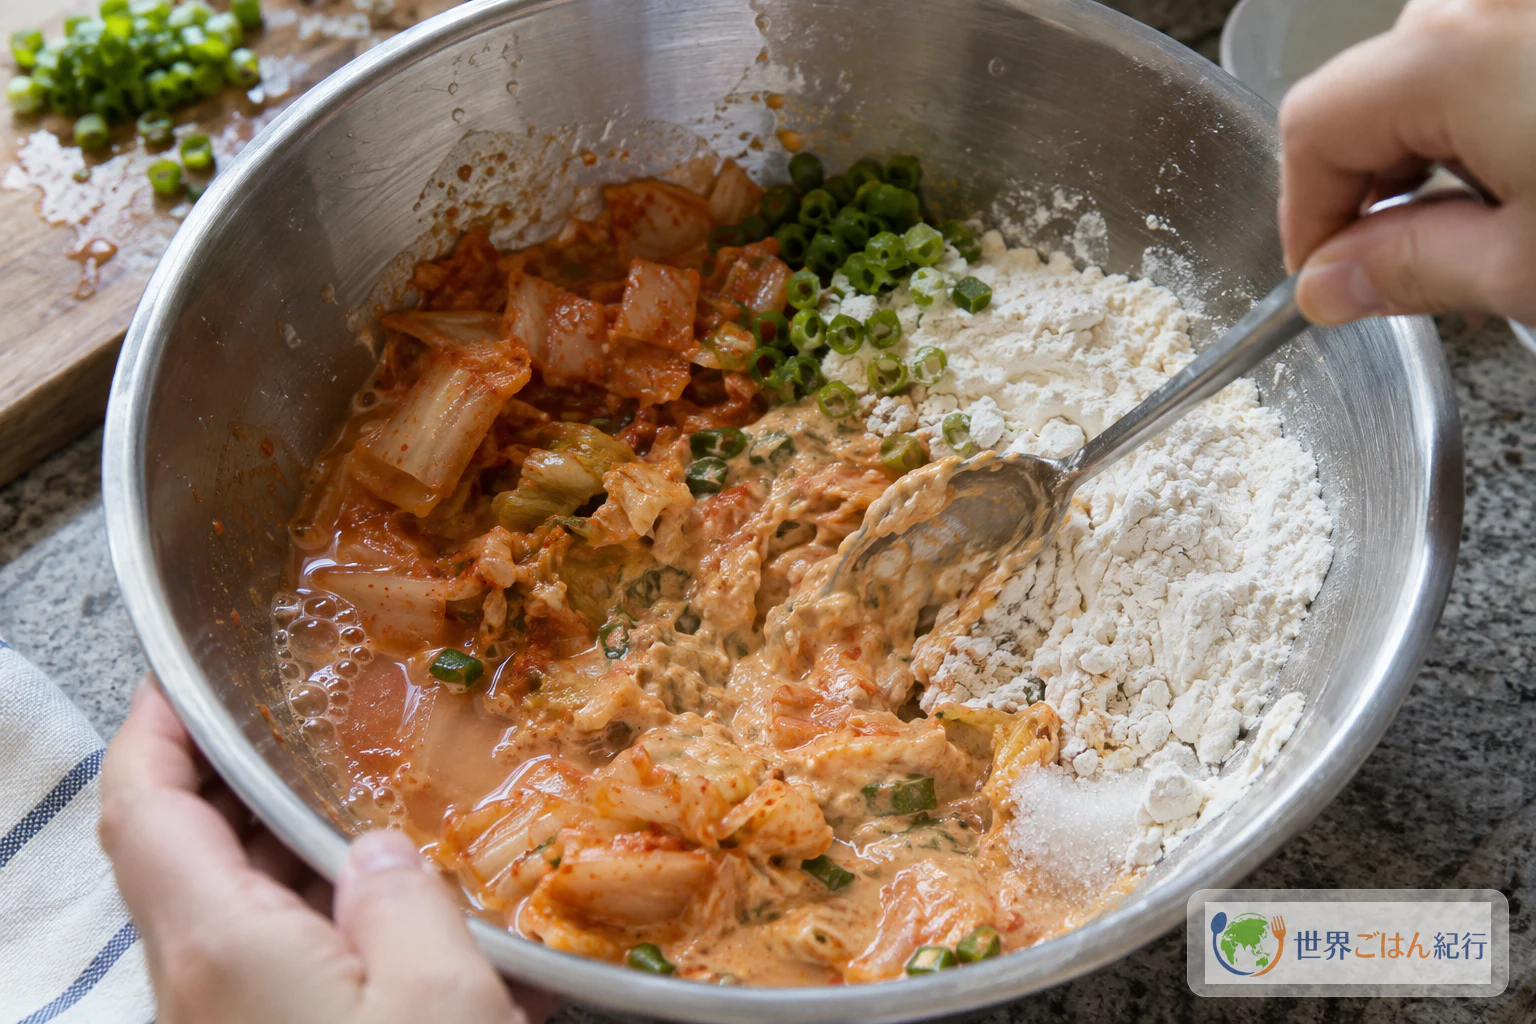
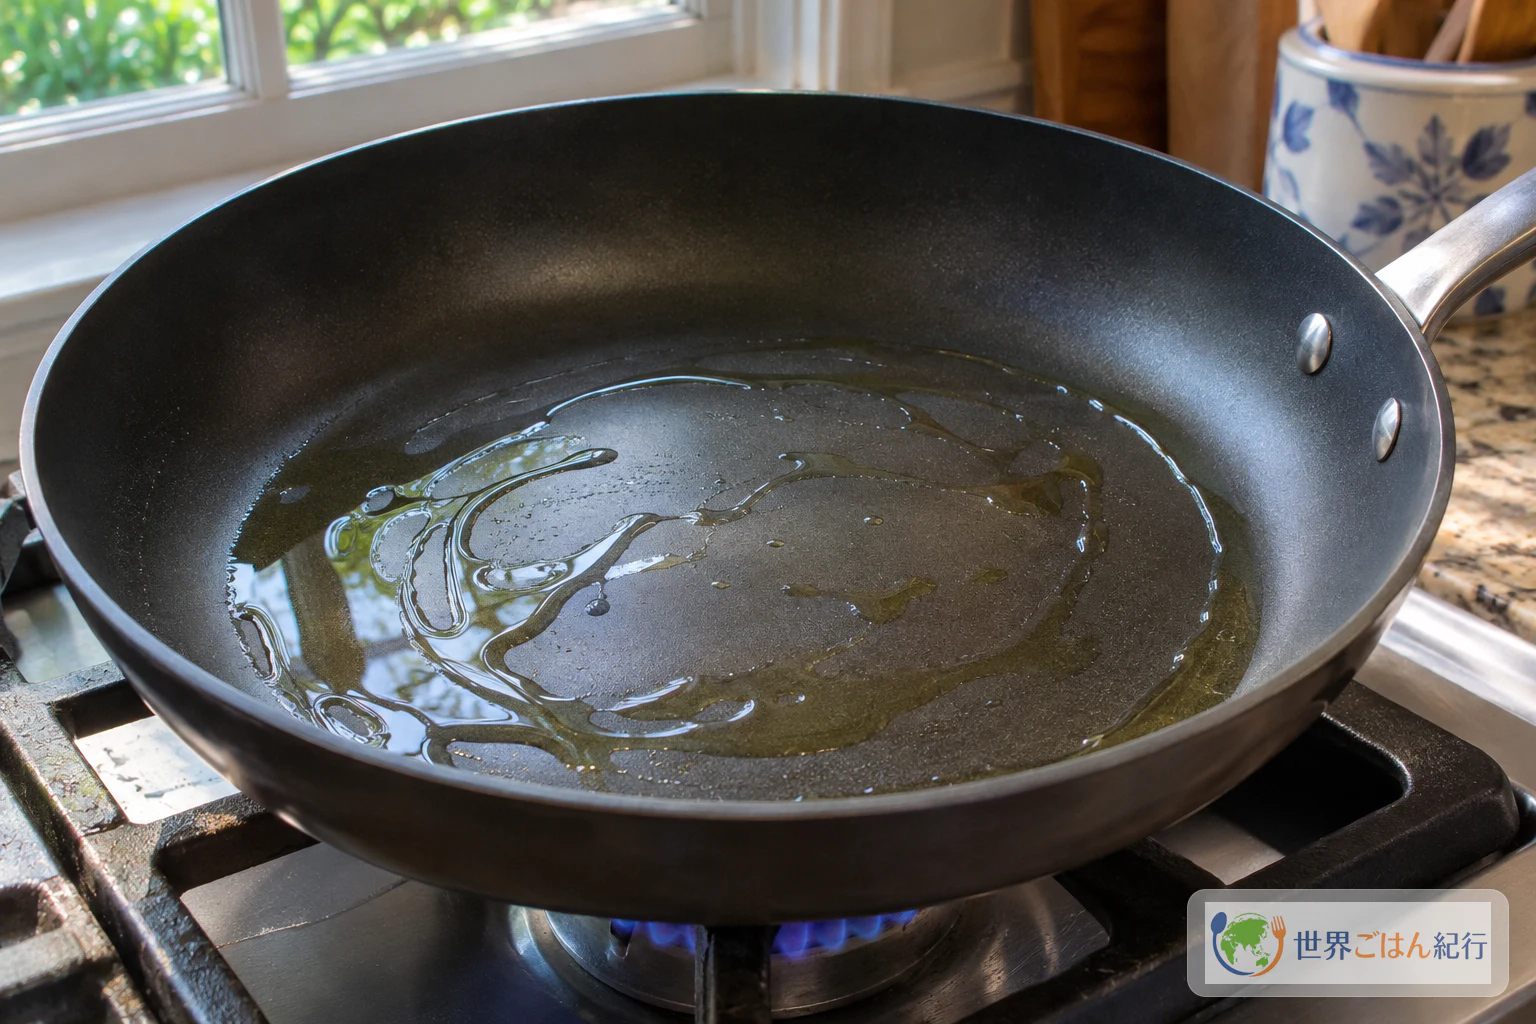
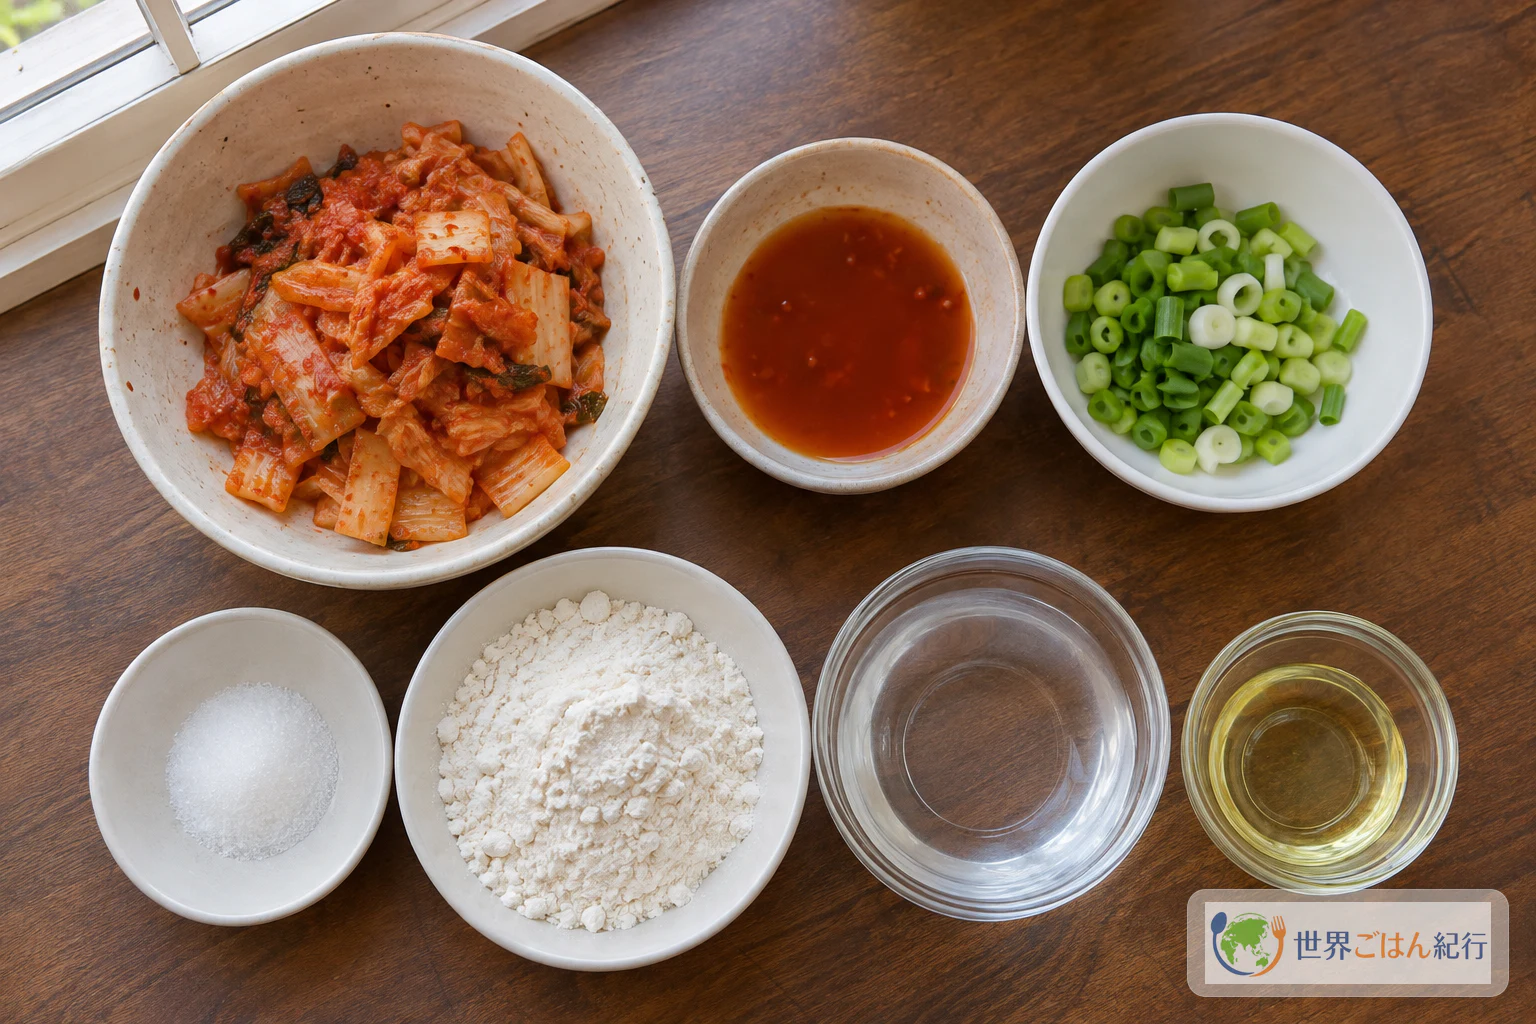
Chopped napa cabbage kimchi, a spoonful of its red brine, scallions, a little sugar, flour and water: that is the whole batter. Poured into a hot, oiled skillet and pushed out into a wide, thin circle, it cooks into a pancake whose edges crackle and whose middle carries the deep sourness of mature kimchi. Kimchibuchimgae (김치부침개), also called kimchijeon (김치전), is one of the simplest ways Korean home cooks turn a jar of well-fermented kimchi into something to eat straight from the pan.
The Korean home cook and recipe author Maangchi presents kimchijeon as a dish built around kimchi that has fermented long enough to taste deep and sour. In her telling, it is a snack for a rainy day, a side dish to eat with rice, and something to pack as a lunchbox side. This article follows her basic formula only: kimchi, brine, scallions, sugar, all-purpose flour, water and vegetable oil, with no egg, meat, seafood, cheese, pancake mix or dipping sauce.
The amounts, pan size and timings here follow Maangchi's published kimchijeon recipe. Sekai Gohan has not kitchen-tested this recipe. The recipe makes one large pancake in a 12-inch (about 30 cm) pan; it does not state a number of servings, so none is given here.
For more Korean dishes, see the Korea country page. If you have kimchi left after this, kimchi jjigae is another way to cook with it, and gimbap belongs to the same world of portable Korean home food.
What Kimchibuchimgae Is: One Member of the Buchimgae and Jeon Family
Buchimgae and jeon are broad names, not single recipes. Korea's Ministry of Foreign Affairs describes buchimgae and jeon as a family of pancake-like dishes cooked in oil, named by what goes into them: scallions make pajeon, kimchi makes kimchi jeon, and ground beans make bindaetteok. The same overview notes that these pancakes go well with makgeolli, the Korean rice drink.
Within that family, this article stays with the kimchi version in its plainest form. Versions with pork, seafood, egg, rice cake or cheese exist as other recipes; they are not mixed in here, so that the flavor of the kimchi itself stays at the center.
The kimchi is what decides the character of the pancake, and kimchi is not one fixed product. The Korea Tourism Organization describes kimchi as vegetables fermented with seasonings, varying by region, climate, geography, ingredients and method. That is why the choice of kimchi, covered below, matters more than any other decision in this recipe.
Ingredients for One Large 12-inch Pancake
Equipment
- 12-inch (about 30 cm) nonstick skillet
- Knife and cutting board
- Medium mixing bowl
- Spoon
- Broad, thin spatula
- Large serving plate
Choosing Kimchi and Flour
Kimchi: Look for napa cabbage kimchi that tastes clearly sour and fermented. Fresher, lightly fermented kimchi will still cook into a pancake, but it gives a milder, less sour and less deep flavor; treat that as a different result rather than an equal swap. Kimchi products differ in saltiness and in whether they contain fish sauce, salted shrimp or other seafood-based seasonings, so read the label before you buy. Use kimchi that has been stored as its label directs; this recipe does not involve fermenting kimchi at home or aging it at room temperature.
Brine: Use 2 tablespoons of brine from the kimchi jar. Leaving it out would likely make the pancake less salty, less sour and paler.
Flour: This recipe uses all-purpose flour. Korean pancake mix (buchimgaru) is a separate product with its own formula, so it is not used here, and it should not be combined with the flour amount above. Switching to a softer flour such as cake flour is an untested change and the texture may differ.
Method: Two Oilings, Two Flips
The timings are a guide. Pan, heat and thickness change them, so judge each side by its color and crispness.
Getting It Crisp: Fixing Common Problems
| Problem | Likely cause | What to do |
|---|---|---|
| The middle stays soft | Not enough oil reaching the underside | Use the full amount of oil, and after the first flip lift the pancake and tilt the pan so the second 2 tablespoons run underneath |
| The pancake is thick and pale in a small pan | Too much batter for the pan's size | Divide the batter and make two thinner pancakes, adjusting the cooking by color rather than the clock |
| It tears when you turn it | The first side was not set, or the spatula is too small | Wait until the underside is golden and crisp; support as much of the pancake as you can with a broad, thin spatula |
| The oil smokes | The heat is too high | Lower the heat; the pancake cooks over medium heat |
| The flavor is flat and not sour | The kimchi is not fermented enough | Next time choose well-fermented, clearly sour kimchi, and keep the 2 tablespoons of brine in the batter |
Variations: Kept Apart from the Basic Pancake
- Two smaller pancakes: In a pan smaller than 12 inches, Maangchi's recipe offers making two pancakes instead of one. The split and the timings for each are not fixed, so cook by color.
- Fresher kimchi: Lightly fermented kimchi gives a milder, less sour pancake. It is a comparison, not the recommended version.
- Korean pancake mix: Using buchimgaru makes a different, product-dependent recipe. Use it on its own terms rather than mixing it with the all-purpose flour amount here.
- Egg, pork or seafood: These turn the pancake into a different variant. They are not part of this recipe or its photos.
- Softer flour: Cake flour or similar softer flours are an untested editorial substitution and may change the texture.
At the Table
Maangchi describes kimchijeon as a home snack, as a side dish with rice and as a lunchbox side, and connects it with rainy days. Those are one cook's descriptions of how she eats it, not a rule for every Korean household. The Korean government's culture overview mentions makgeolli as a match for buchimgae and jeon; for anyone who does not drink alcohol, the pancake stands on its own with rice or simply hot from the pan.
This pancake contains wheat. Many kimchi products contain fish sauce, salted shrimp or other seafood-based seasonings, so check the allergen and handling information on your kimchi and other products. This recipe is not presented as vegan or gluten-free. Do not taste raw batter, keep raw flour away from ready-to-eat foods, and wash hands and utensils after handling it. Cook the whole pancake through and serve it right away. Do not leave the cooked pancake at room temperature for a long time; refrigerate leftovers without delay, using clean utensils. No storage period is given here.
Frequently Asked Questions
Why use well-fermented kimchi?
Maangchi's recipe calls for well-fermented napa cabbage kimchi and explains that its sourness and deep flavor are what the pancake is built on. Fresher kimchi still works but gives a milder result.
Why add the kimchi brine?
The recipe adds 2 tablespoons of brine to the batter. It brings more of the kimchi's flavor and color into the flour and water. No other liquid is suggested as a replacement.
Do I need egg?
No. The recipe followed here contains no egg. Adding egg makes a different formula.
What if my pan is smaller than 12 inches?
Maangchi suggests making two pancakes in a smaller pan. The exact split and timing for each are not given, so keep each pancake thin and cook each side until golden and crisp.
Can I pack it in a lunchbox or keep leftovers?
Maangchi mentions kimchijeon as a lunchbox side, but no room-temperature holding time or safety assurance is given here. This recipe is meant to be eaten right after cooking. If you have leftovers, don't leave them out for long; refrigerate them without delay. No storage period is stated.
Why should I not taste the batter?
The U.S. Food and Drug Administration advises against tasting raw flour or raw batter, and recommends keeping raw flour separate from ready-to-eat foods and washing hands and utensils after handling it. That is general flour-handling advice, not a check of this recipe's pan or timings; the batter here is meant to be fully cooked.
Why are there no gram conversions?
The amounts keep the recipe’s pound, cup, tablespoon and teaspoon units; no gram conversions are supplied.
Sources
- Maangchi, "Kimchi pancake (Kimchijeon: 김치전) recipe by Maangchi." The basic formula and ingredient states, mixing, the 12-inch nonstick skillet and medium heat, the oil split before and after the first flip, the timings for each side and the final flip, serving right away, and the author's description of mature kimchi and of eating it as a snack, side dish and lunchbox side. https://www.maangchi.com/recipe/kimchijeon
- Ministry of Foreign Affairs, Republic of Korea, "Living and Culture." Buchimgae and jeon as a family of Korean pancake-like dishes named by their ingredients, including pajeon, kimchi jeon and bindaetteok, cooked in oil and paired with makgeolli. https://www.mofa.go.kr/cntntsDown.do?path=eng&physic=culture_2017.pdf&real=culture_2017.pdf
- Korea Tourism Organization, "Korean Food Story, Hansik." Kimchi as vegetables fermented with seasonings, varying by region, climate, geography, ingredients and method. https://english1.visitkorea.or.kr/enu/FOD/FO_ENG_1_4.jsp
- U.S. Food and Drug Administration, "Handling Flour Safely: What You Need to Know." General advice not to taste raw flour or batter, to keep raw flour separate from ready-to-eat foods, and to wash hands and utensils after handling it. https://www.fda.gov/food/buy-store-serve-safe-food/handling-flour-safely-what-you-need-know