
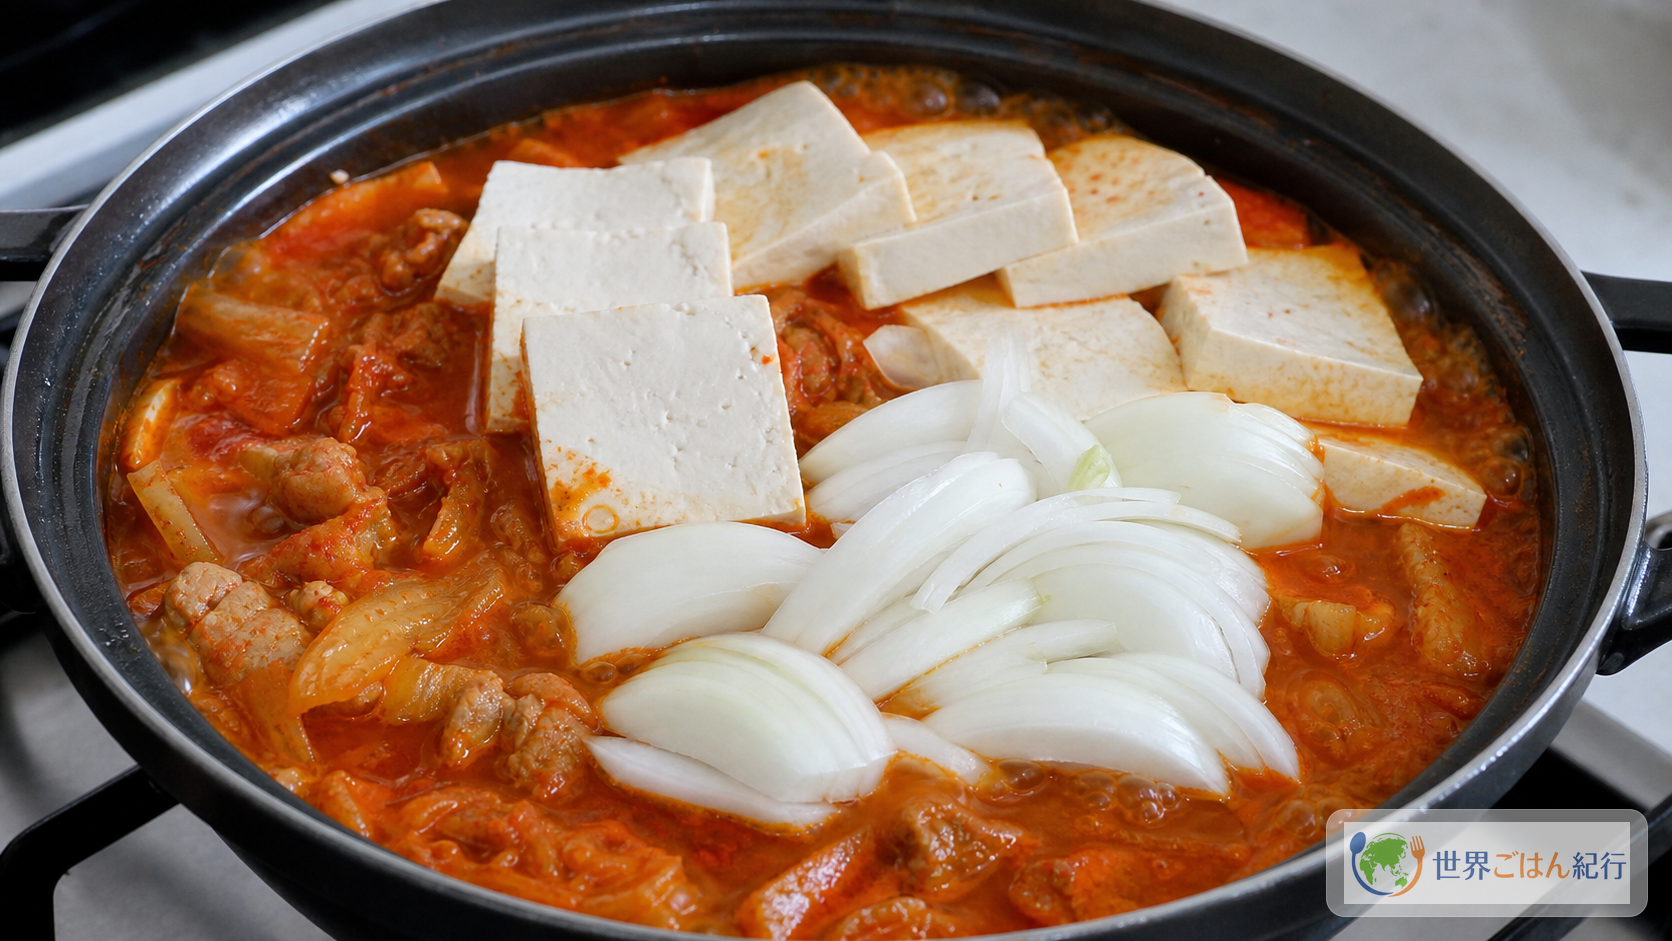
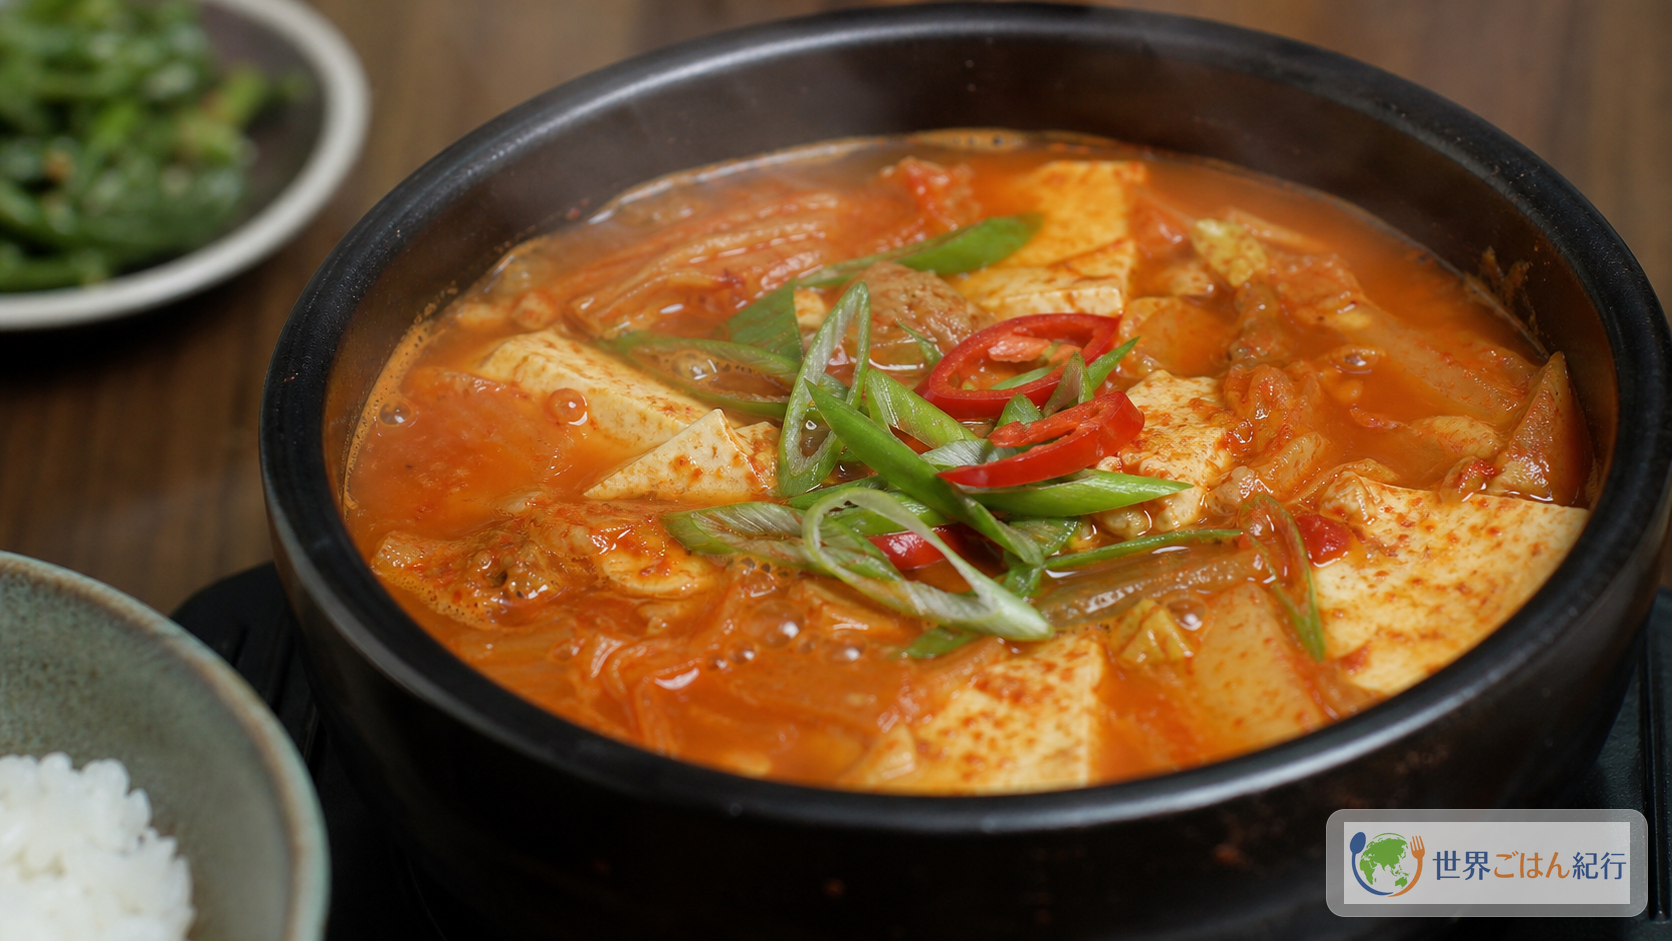
The story of kimchi jjigae: the sourness at the back of the refrigerator becomes a stew
Open a jar of kimchi that has turned a little sour at the back of the refrigerator, and a round, lactic-fermented aroma rises, different from the day you bought it. Too sour to put on white rice as it is. But simmer it in a small pot with pork fat and anchovy-kelp stock, and that sourness becomes the core of the dish. Kimchi jjigae is not a way to rescue old kimchi; it is a Korean home stew that tastes good precisely because the kimchi is fermented.
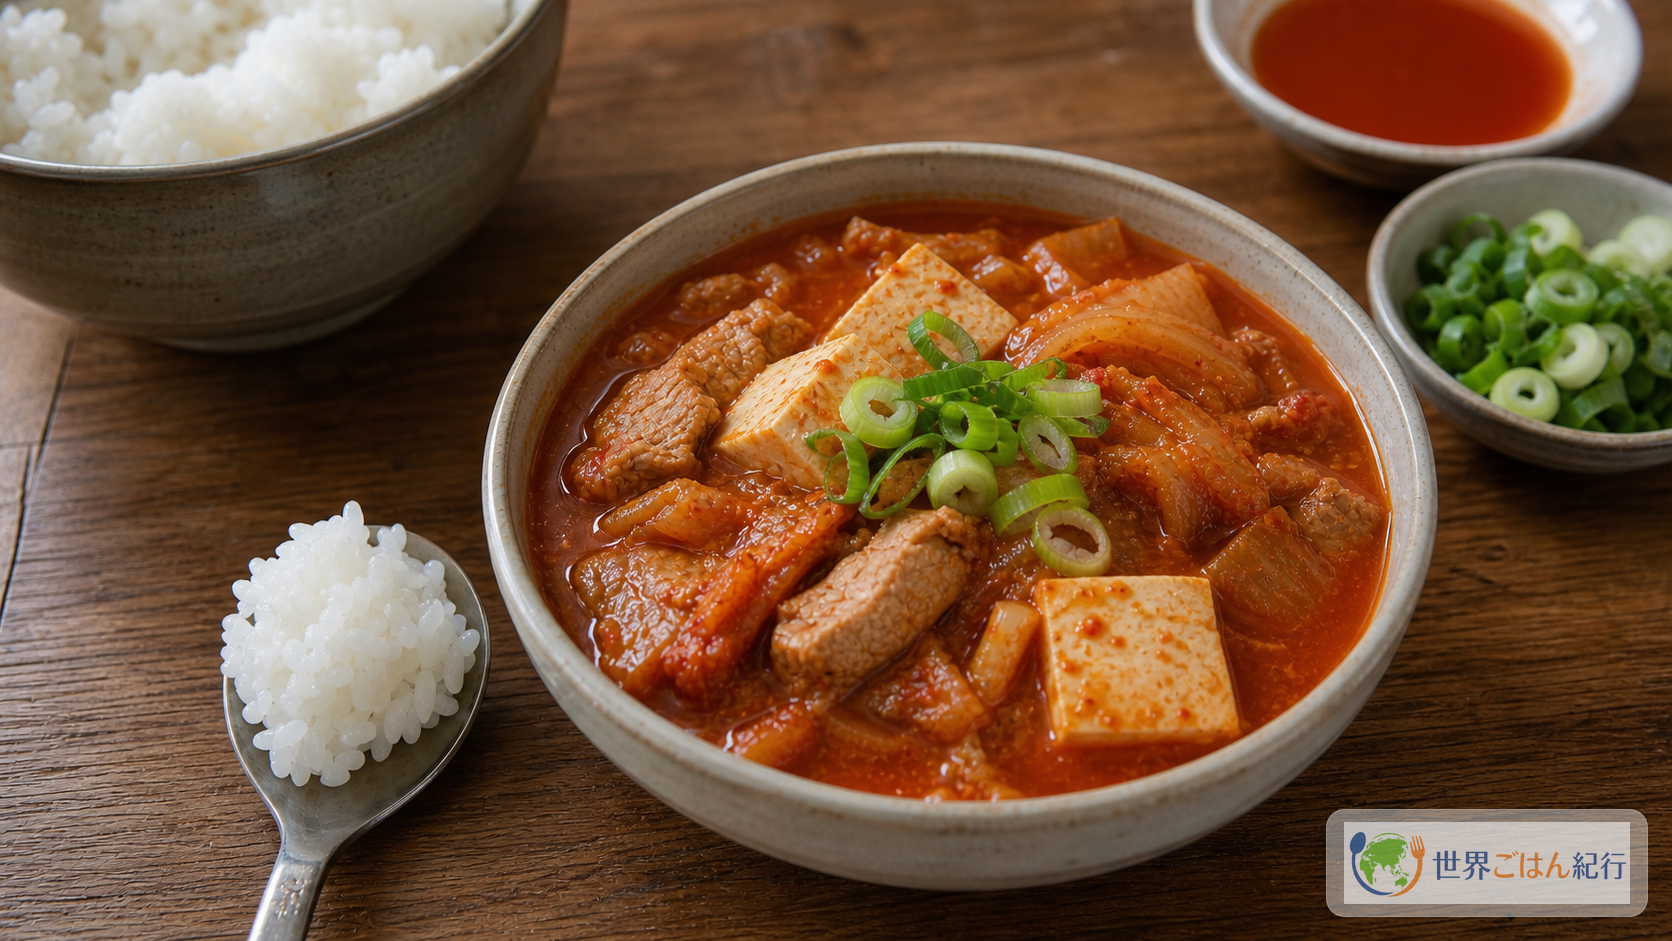
Kimchi jjigae (김치찌개) is the classic Korean jjigae in which kimchi, meat or seafood, tofu, and scallions are simmered in a red broth. 찌개 (jjigae) refers to a dish thicker than soup, built as a stew and eaten at the table with rice. If doenjang jjigae puts the aroma of fermented soybean paste in the lead, kimchi jjigae puts the sourness and savoriness of fermented kimchi in the lead.
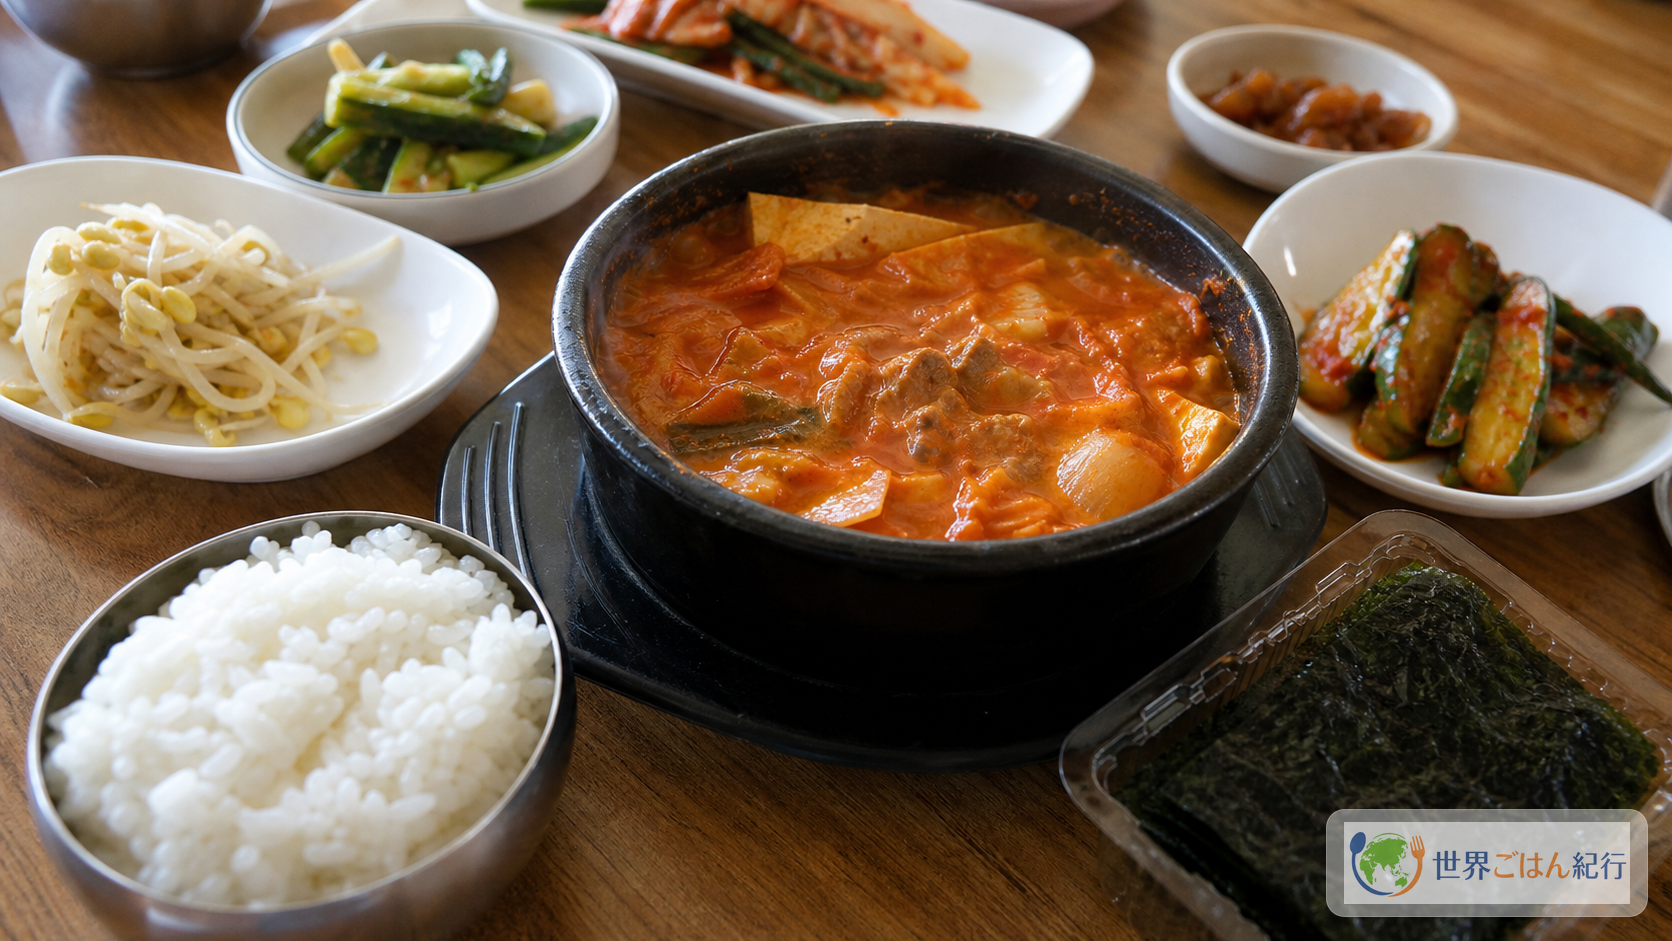
The question that comes up is whether to use a kimchi hot-pot base or whether the kimchi alone sets the flavor. This article uses no hot-pot base. It uses well-fermented kimchi, the kimchi brine, pork belly, anchovy-kelp stock, gochugaru, and a little gochujang, to land on a home version eaten for sourness and savoriness rather than heat. On days you want a white, gentle chicken soup instead of a spicy stew, go to samgyetang, simmered with glutinous rice stuffed inside. To widen out to the feel of a Busan eatery that ladles pork broth over white rice, move on to dwaeji gukbap, and even among Korean soups the sense of temperature changes a good deal.
You do not need to serve it in a small earthenware pot as Korean restaurants do. A heavy pot works. But if you want to eat it piping hot to the end, a small pot that can go directly over a flame helps. Next to bibimbap (in Japanese) it cuts through the sweet-spicy mixed rice, and for people who like mapo tofu (in Japanese), it is an easy way in as another take on tofu and fermented seasoning.
In Korean it is written 김치찌개, and in Latin letters spellings vary: kimchi jjigae, kimchi-jjigae, kimchi chigae. This article uses "kimchi jjigae" throughout. 김치 is kimchi, and 찌개 is a thick, stew-style soup.
Why well-fermented kimchi works
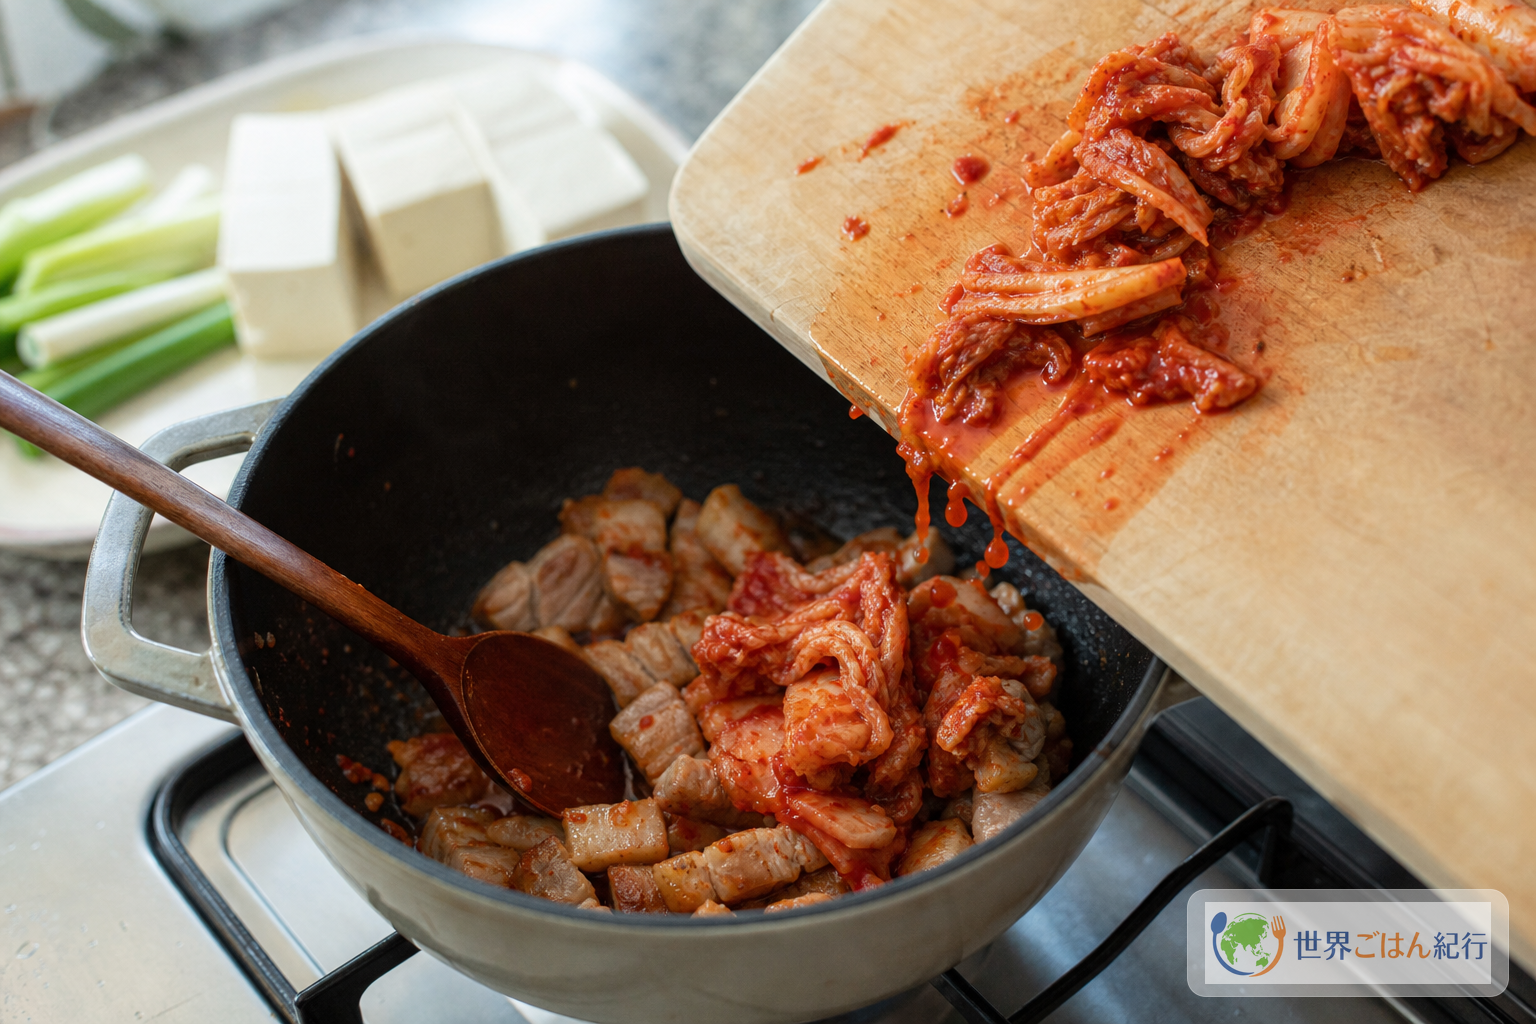
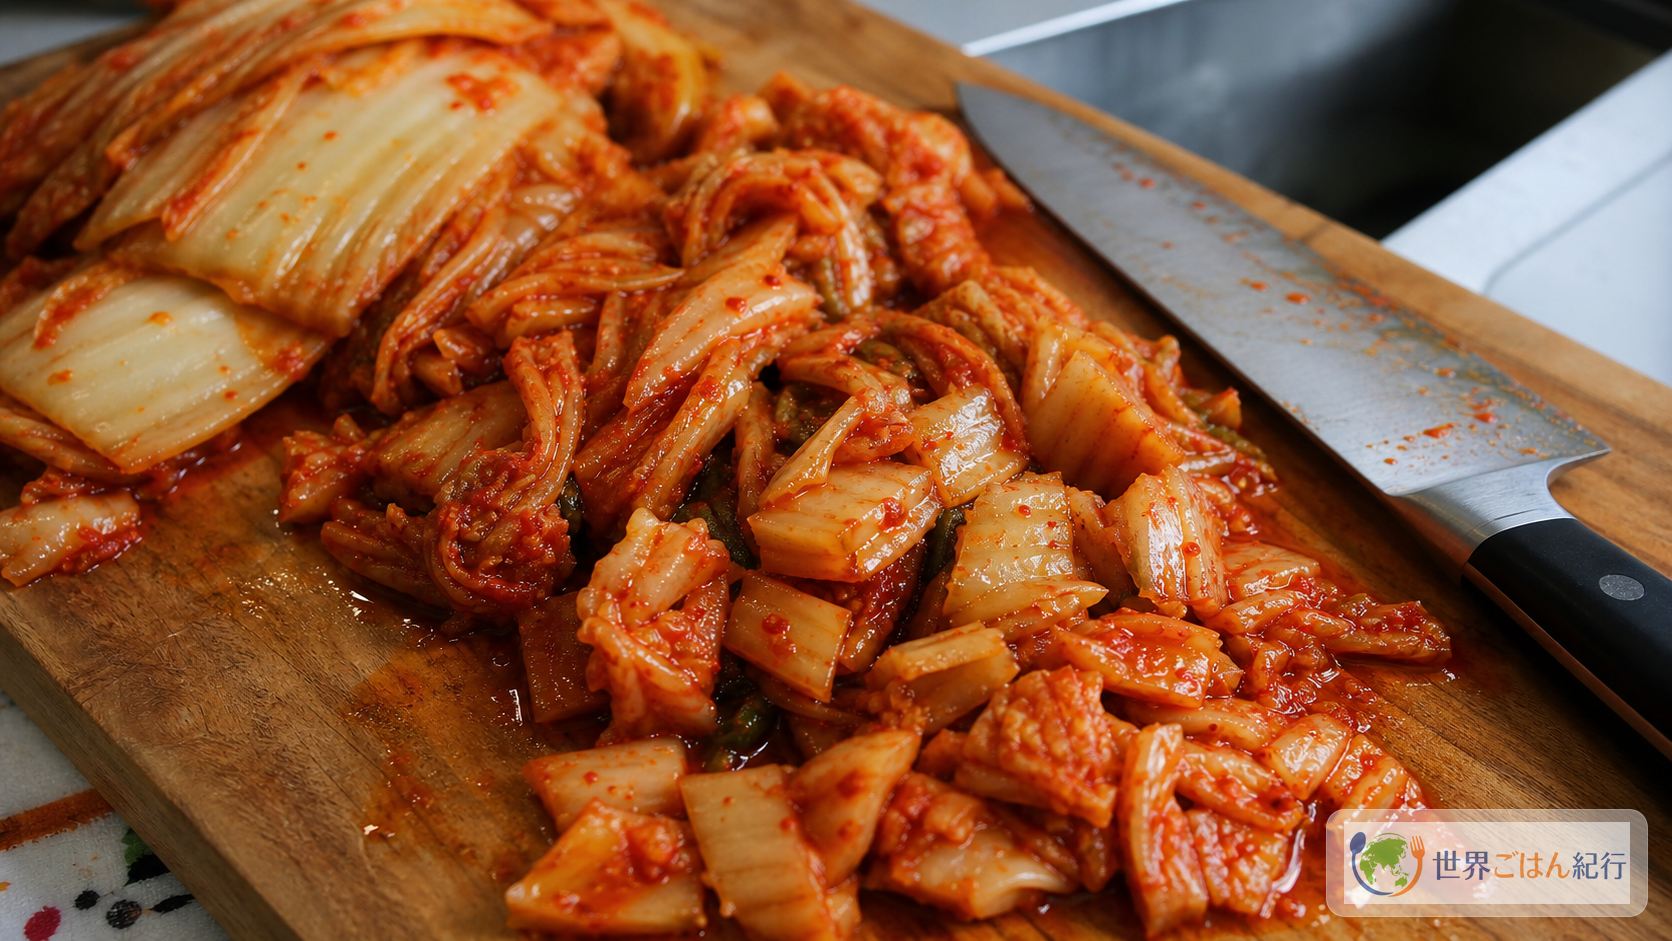
What matters most in kimchi jjigae is not spicy kimchi but kimchi that has gone sour. Kimchi bought fresh puts the sweetness of the napa cabbage and the aroma of chili forward, but in a stew it tends to taste shallow. Kimchi kept a few days to a week in the refrigerator until a little sour spreads its lactic acidity through the whole broth when simmered.
In Korean-style recipes, the phrases "ripe kimchi" and "well-fermented kimchi" come up often. Both Korean Bapsang and Maangchi explain that using fermented kimchi gives kimchi jjigae more depth. When buying at a supermarket, choose a type with red brine and a little sourness over the lightly pickled kind that ferments slowly.
| Condition | Good for jjigae? | How to use in the pot |
|---|---|---|
| Fresh and sweet | Somewhat weak | Add 1 tsp vinegar, 2 tbsp kimchi brine, and gochugaru to give it an outline |
| Kept 3 to 7 days and sour | Best | Use with the brine, fry first, then simmer |
| Very sour | Good | Round off the edges with 1/2 tsp sugar, onion, and pork |
| Watery, lightly pickled style | Weak | Rather than add more, reduce the brine and supplement with a little gochujang |
This is where kimchi hot pot and kimchi jjigae differ, too. The kimchi hot pot (kimchi nabe) popular in Japan is a winter hot pot enjoyed for its ingredients, with plenty of napa cabbage, mushrooms, meat, seafood, and a soup base. Kimchi jjigae is smaller, and the center of its flavor is the kimchi. Adding too many ingredients turns it into a home kimchi hot pot and blurs the concentration that makes it jjigae.
Do not force yourself to wait on days the kimchi is not sour enough On days you make it with freshly bought kimchi, fry the kimchi 1 minute longer and add 2 more tablespoons of kimchi brine. Adding 1/2 teaspoon of vinegar at the end also works, but too much gives a shallow sourness. Rather than put vinegar straight into the pot, try a little at a time in a serving bowl, and failures are less likely.
Ingredients (serves 4): decide the kimchi, pork, and stock first
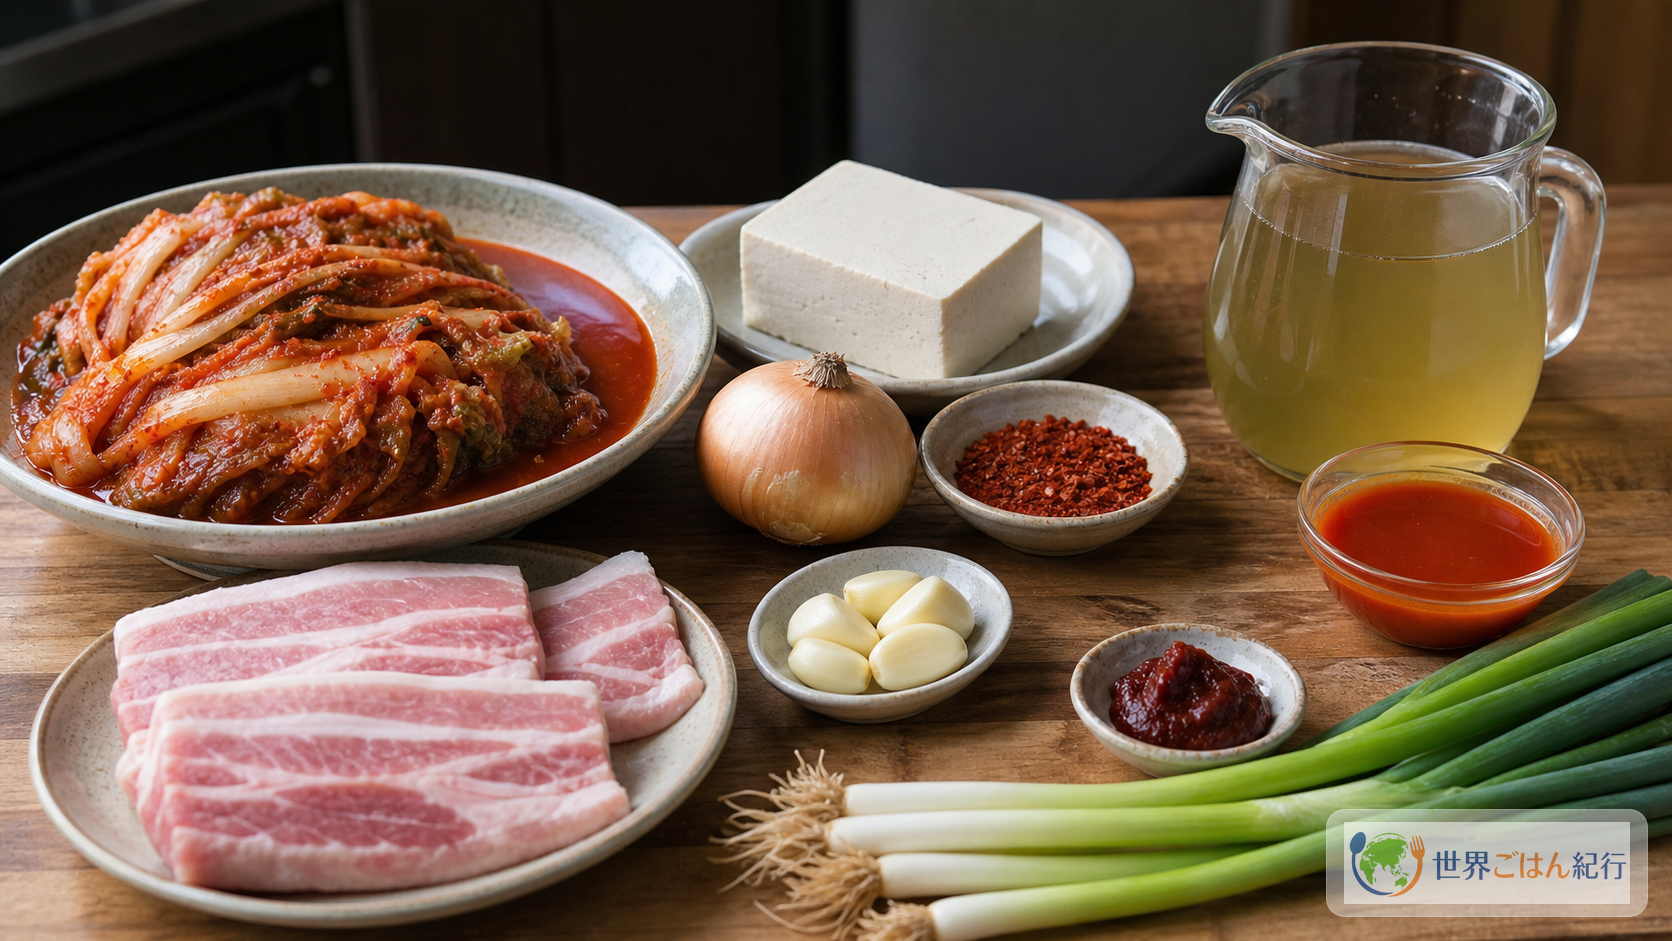
This serves 4. If making 2 servings each in small earthenware pots, halve it and shorten the cooking time a little. Thinly sliced pork belly is easy to work with, but thinly sliced pork shoulder works too. Some households use beef or canned tuna, but for the first time, using pork fat helps the flavor come together.
This dish uses pork, soy (tofu, and sometimes in gochujang), fish (anchovies, fish sauce), and sesame. Store-bought kimchi may contain shrimp, squid, fish sauce, wheat, and soy. If you have a food allergy, always check the ingredient labels of the kimchi and seasonings.
What to buy: supermarket items and Korean seasonings, separated
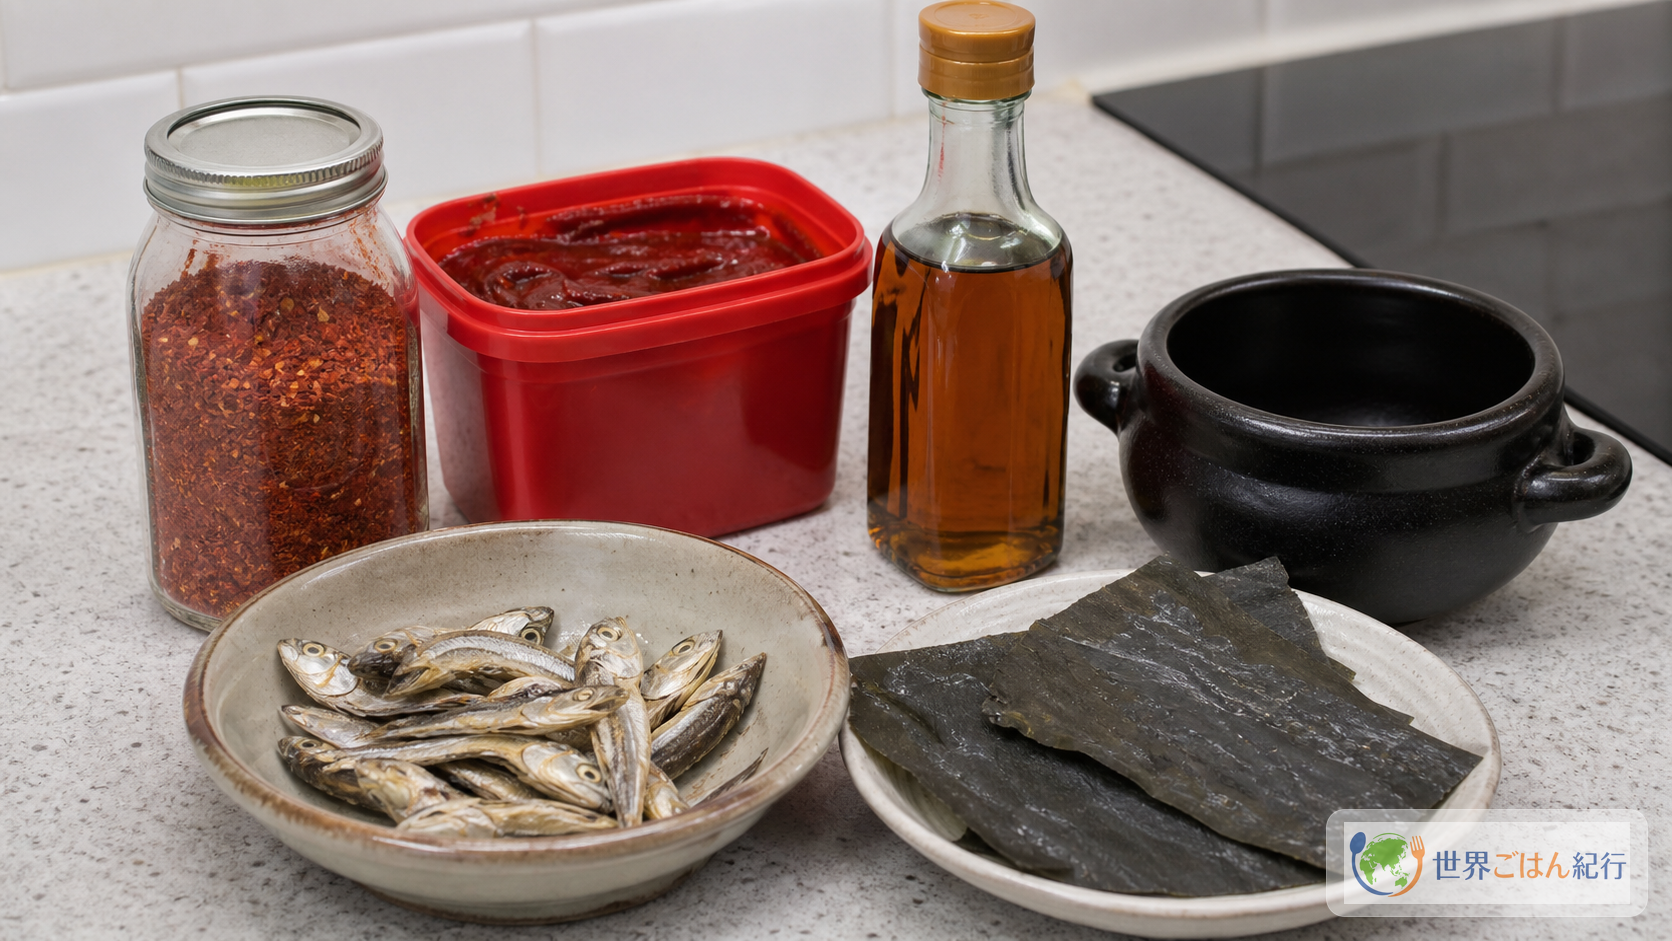
Pork, tofu, onion, and scallions from an ordinary supermarket are enough. What you may stop at when shopping is the well-fermented kimchi, gochugaru, gochujang, Korean sesame oil, and the small flame-safe pot. For kimchi, rather than ordering it online, checking the best-by date and the amount of brine at the refrigerated case is less likely to go wrong.
| What to buy | Priority | Reason |
|---|---|---|
| Well-fermented kimchi | High | The center of the flavor. Lightly pickled kimchi makes a thin jjigae |
| Gochugaru | High | The red aroma more than heat. Ordinary crushed red pepper alone becomes too sharp |
| Gochujang | Medium | Backup for when the sourness is weak. Use by the teaspoon |
| Korean sesame oil | Medium | The first aroma rises when frying the pork and kimchi |
| Small flame-safe pot | Medium | For those who want to eat it hot at the table. A heavy pot is fine the first time |
Before adding more chili seasoning, look first at the sourness of the kimchi. If the kimchi is well fermented, 2 teaspoons of gochujang is enough. Conversely, if the kimchi is sweet, rather than raising the gochujang, frying the kimchi to cook off its water and adding aroma with gochugaru makes it more jjigae-like.
If you will make kimchi jjigae many times, Korean sesame oil and a small flame-safe pot are worth a look. Both can be used for bibimbap and doenjang jjigae, so they are tools and seasonings that do not end as a one-time purchase.
How to make it: fry first, then simmer
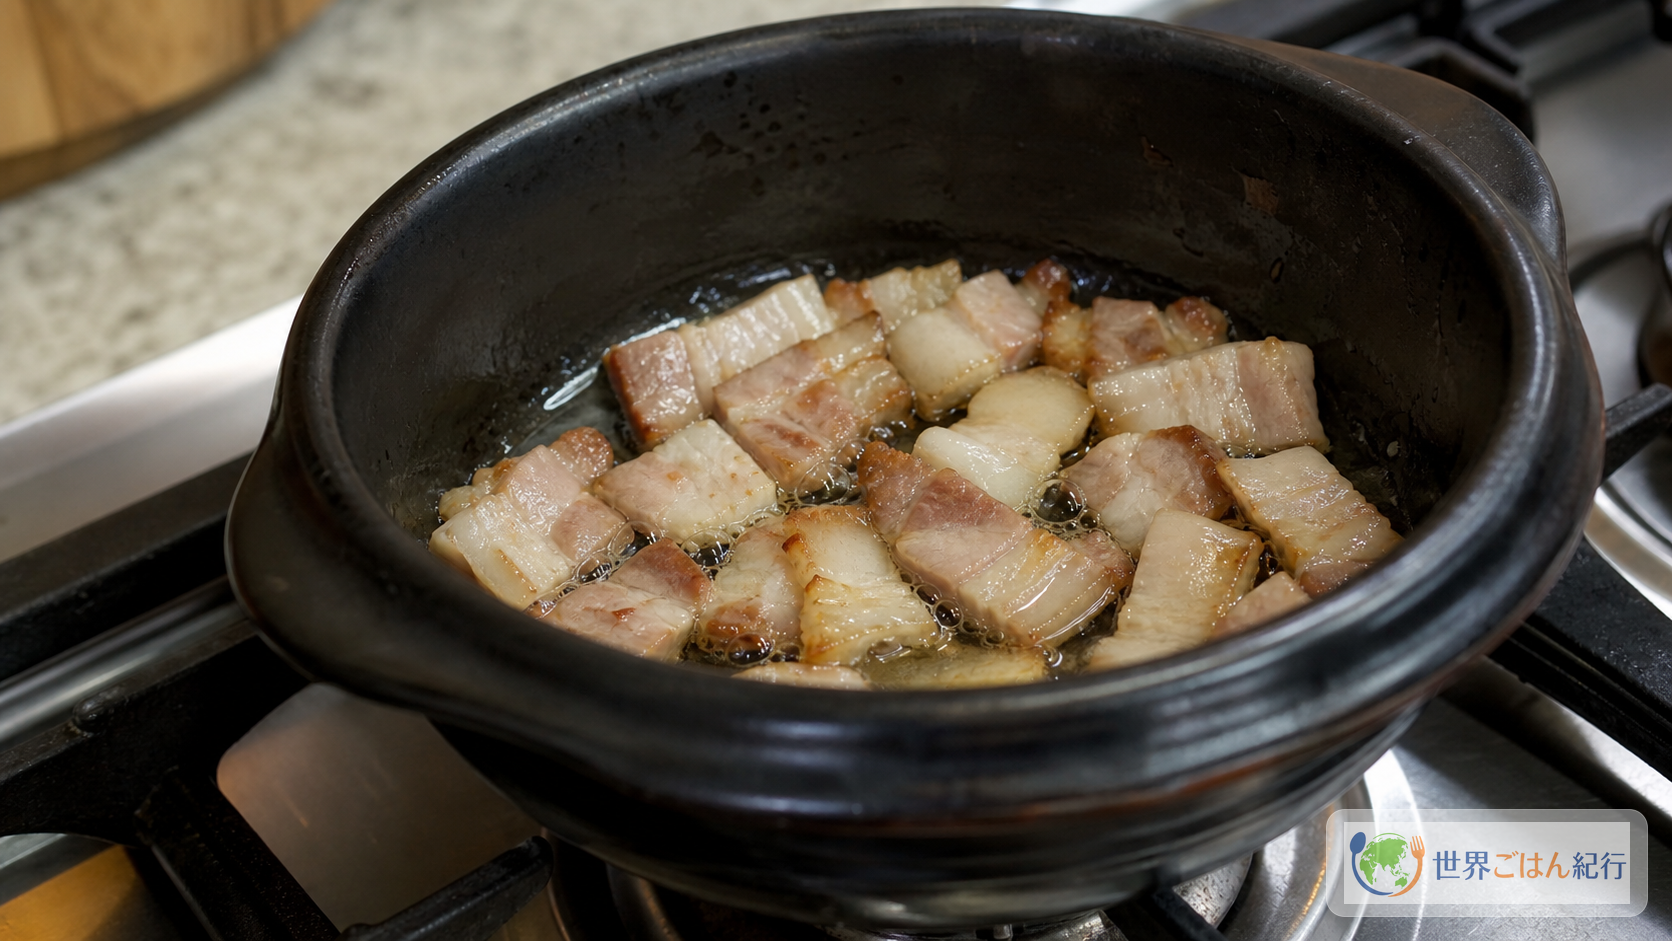
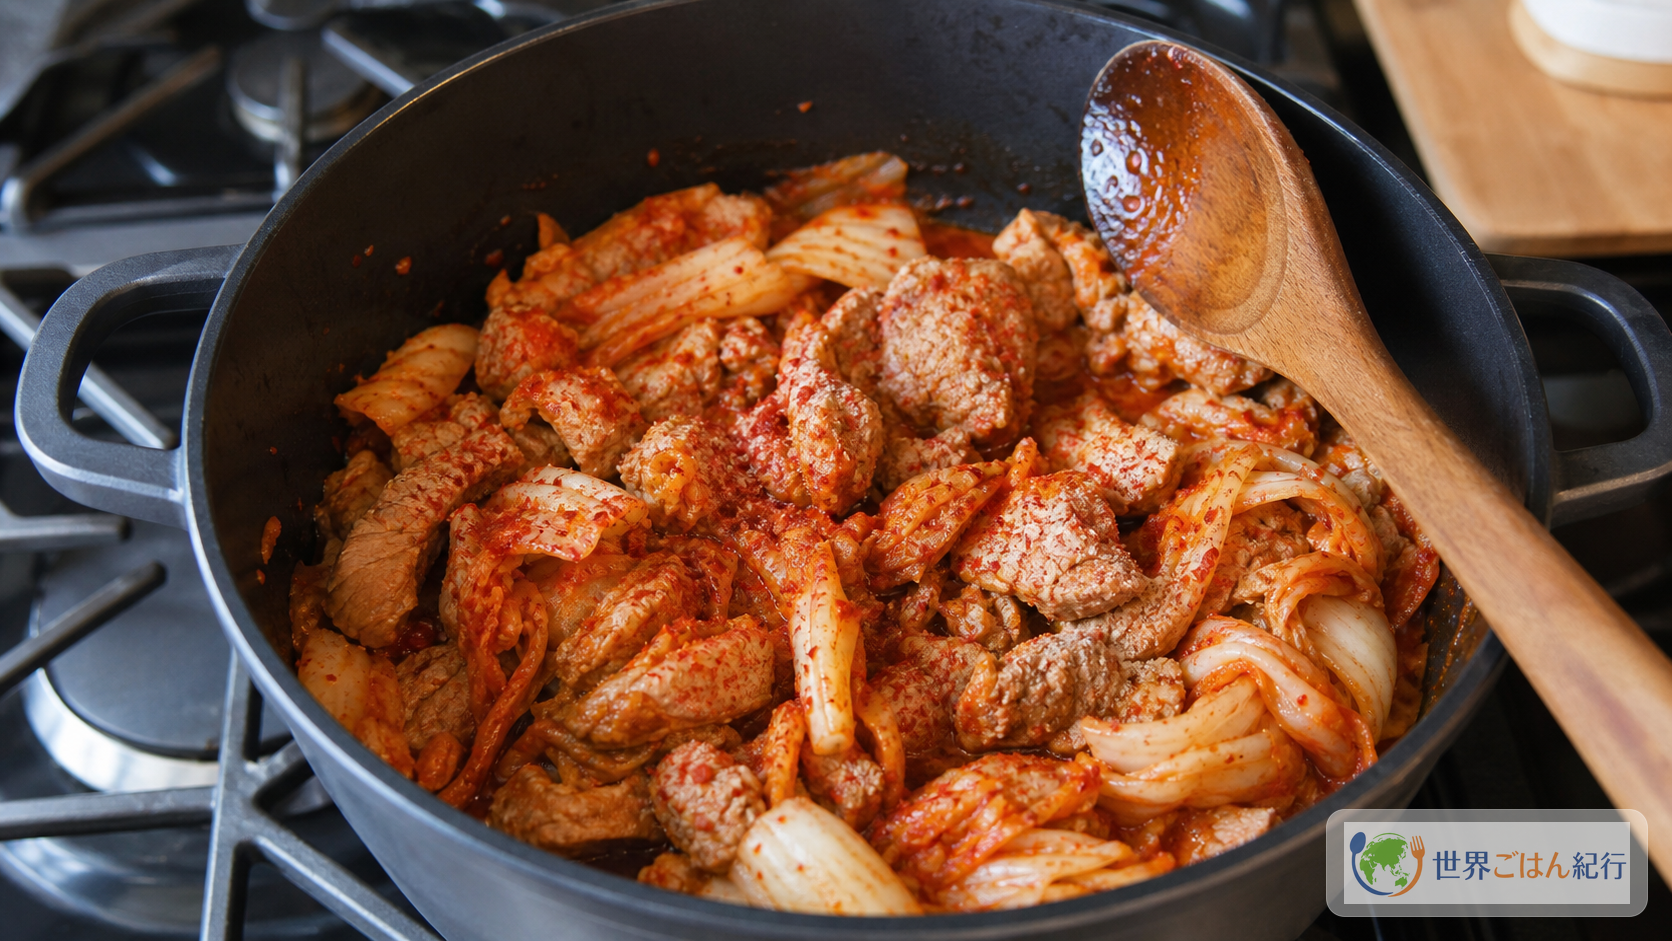
For kimchi jjigae, frying the kimchi and pork before adding the stock gives a deeper flavor. Simmering them in water from the start brings out the kimchi's sourness, but the whole pot tends to turn watery. Fry in oil to round the kimchi's edges a little and make a red aromatic oil, then simmer.
Taste with rice, not from the pot alone Tasted from the pot alone, kimchi jjigae seems too salty. Spoon a little broth over 1 teaspoon of rice and see whether sourness, saltiness, and the savoriness of pork come out in turn after chewing. A little strong when eaten with rice is just right at the table.
What goes wrong: thin, too sour, or only hot
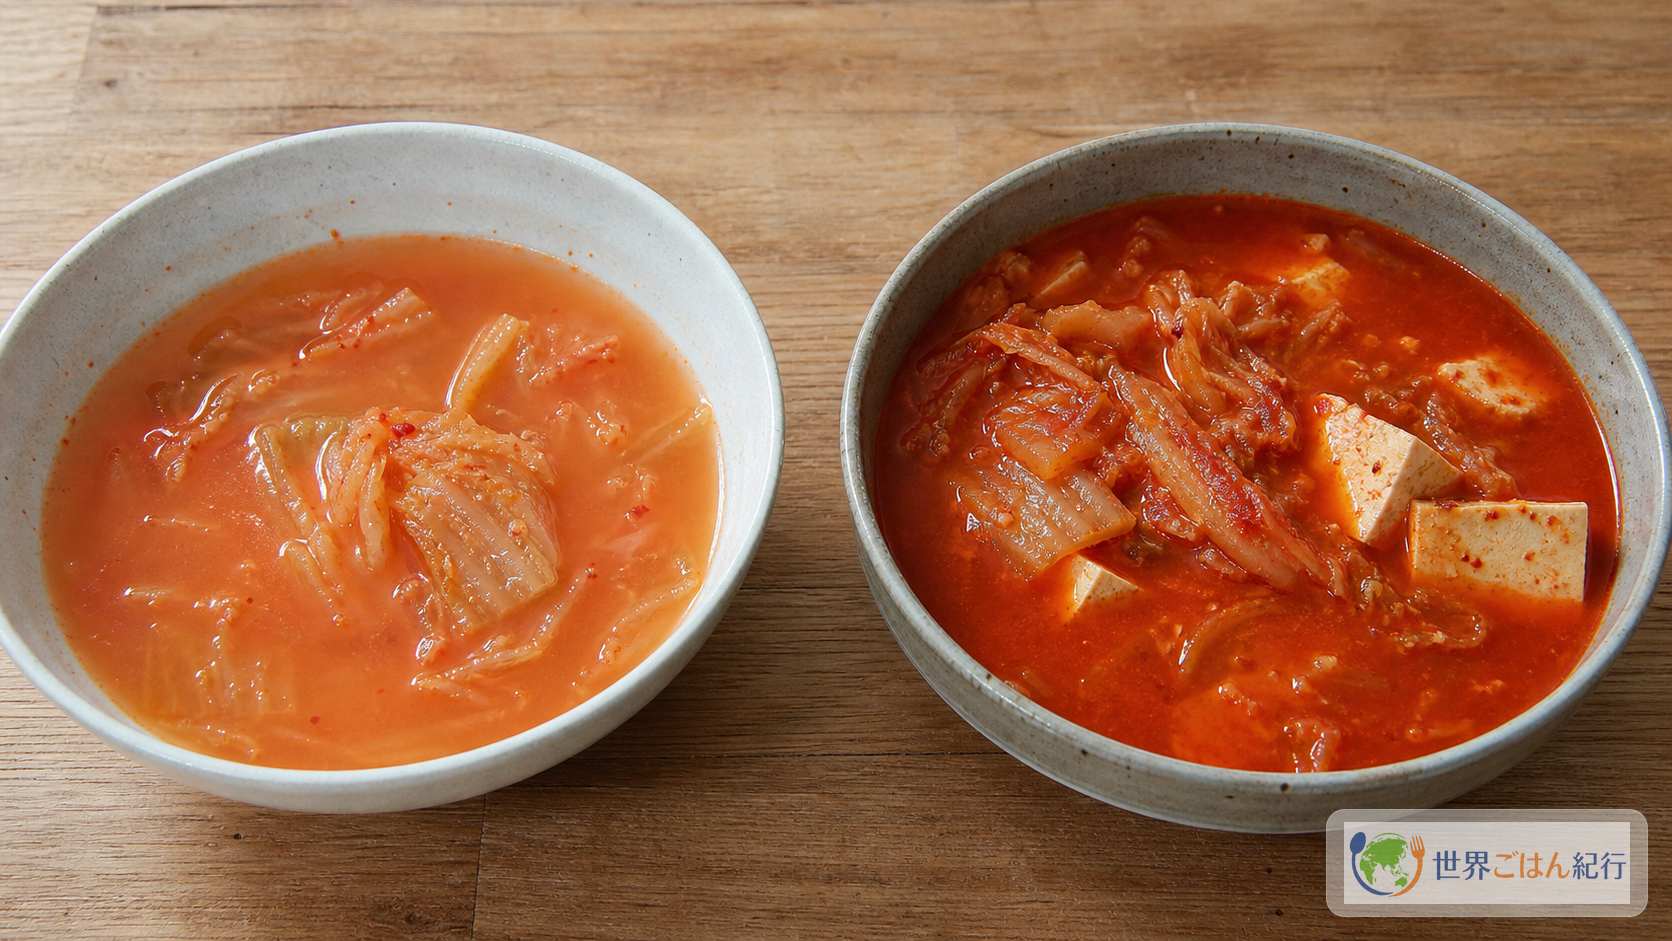
If it seems thin, reduce it before adding seasoning. Take off the lid and simmer 3 to 5 minutes over lower medium heat. Taste once the broth lifted with a wooden spoon is red and clings slightly to the kimchi fibers. Raise the gochujang first and it becomes a sweet-spicy stew, and the sourness of kimchi jjigae drops back.
If too sour, the key is not to add lots of sugar. Add 1/2 teaspoon light brown sugar, 50 g onion, and 100 g tofu and warm over low heat for 4 minutes. The pork fat and the water from the tofu round the sourness. Sourness is part of kimchi jjigae's charm, so it comes out better if you do not try to remove it entirely.
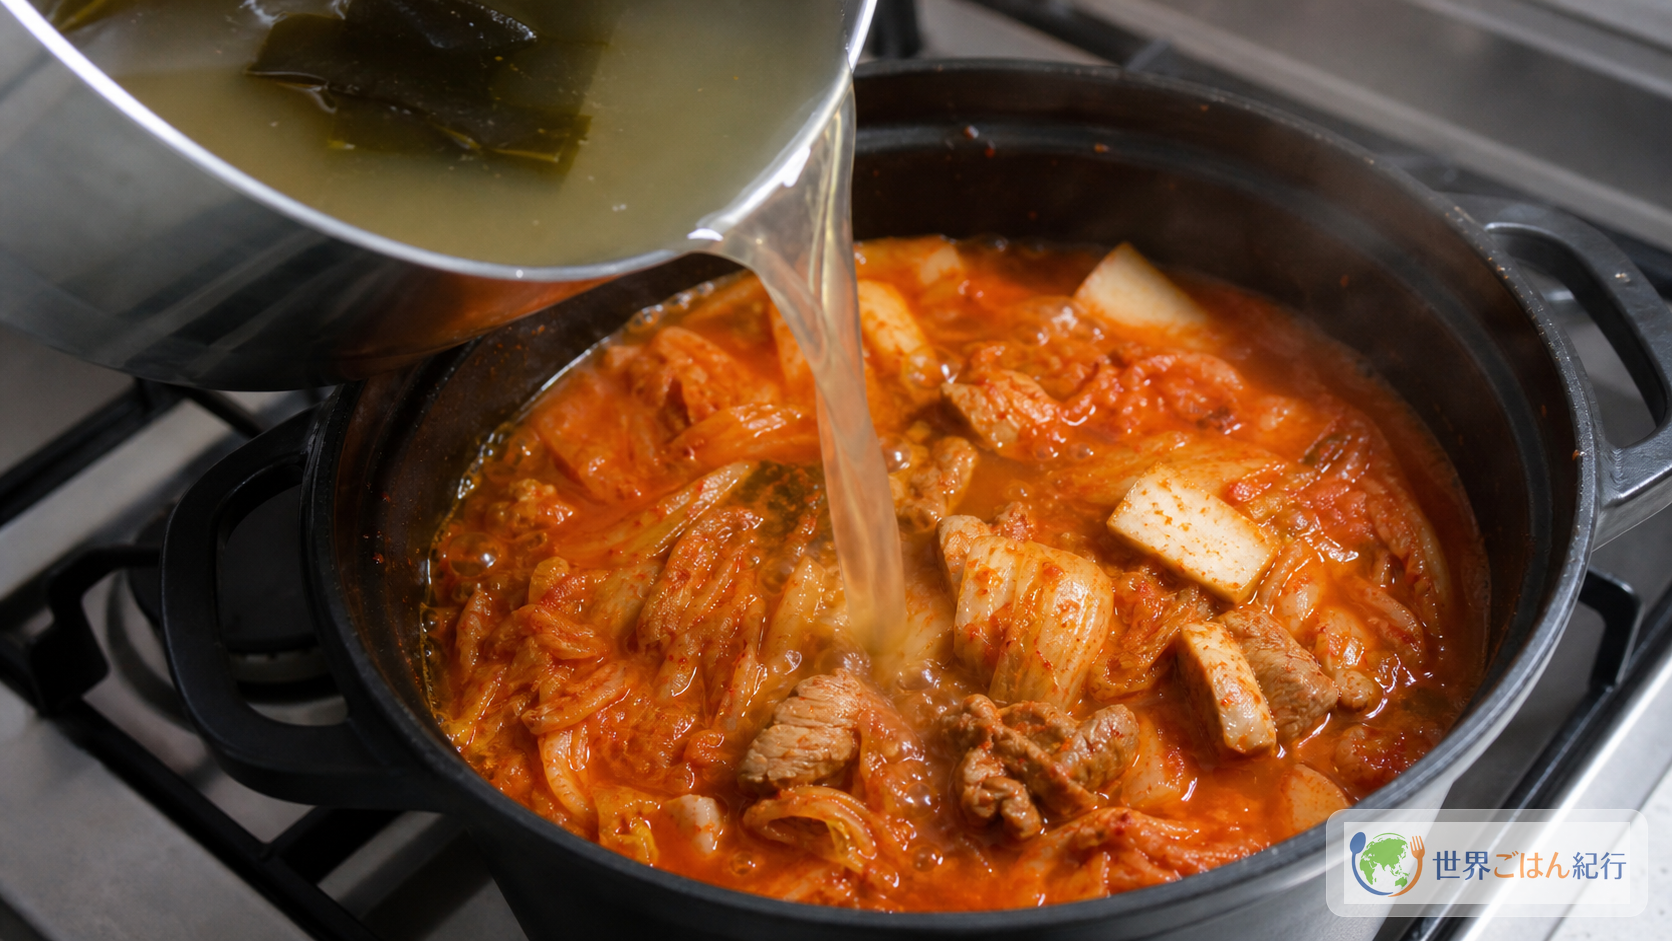
If it is only hot and weak in savoriness, there is too much gochugaru or the stock is weak. Warm 100 ml water, 5 g dried anchovies, and 3 g kelp in a separate pot for 7 minutes to make a concentrated stock and add it. Adding 1 more teaspoon of fish sauce also brings it back, but too much makes it salty, so supplement the stock first.
If the tofu breaks, it went in too early or the heat is too high. Tofu warms through in just the last 5 minutes. Boiling the pot hard and stirring many times with a wooden spoon breaks the corners, so after the tofu goes in, keep the heat at lower medium and just shake the pot.
Storage and next-day ideas
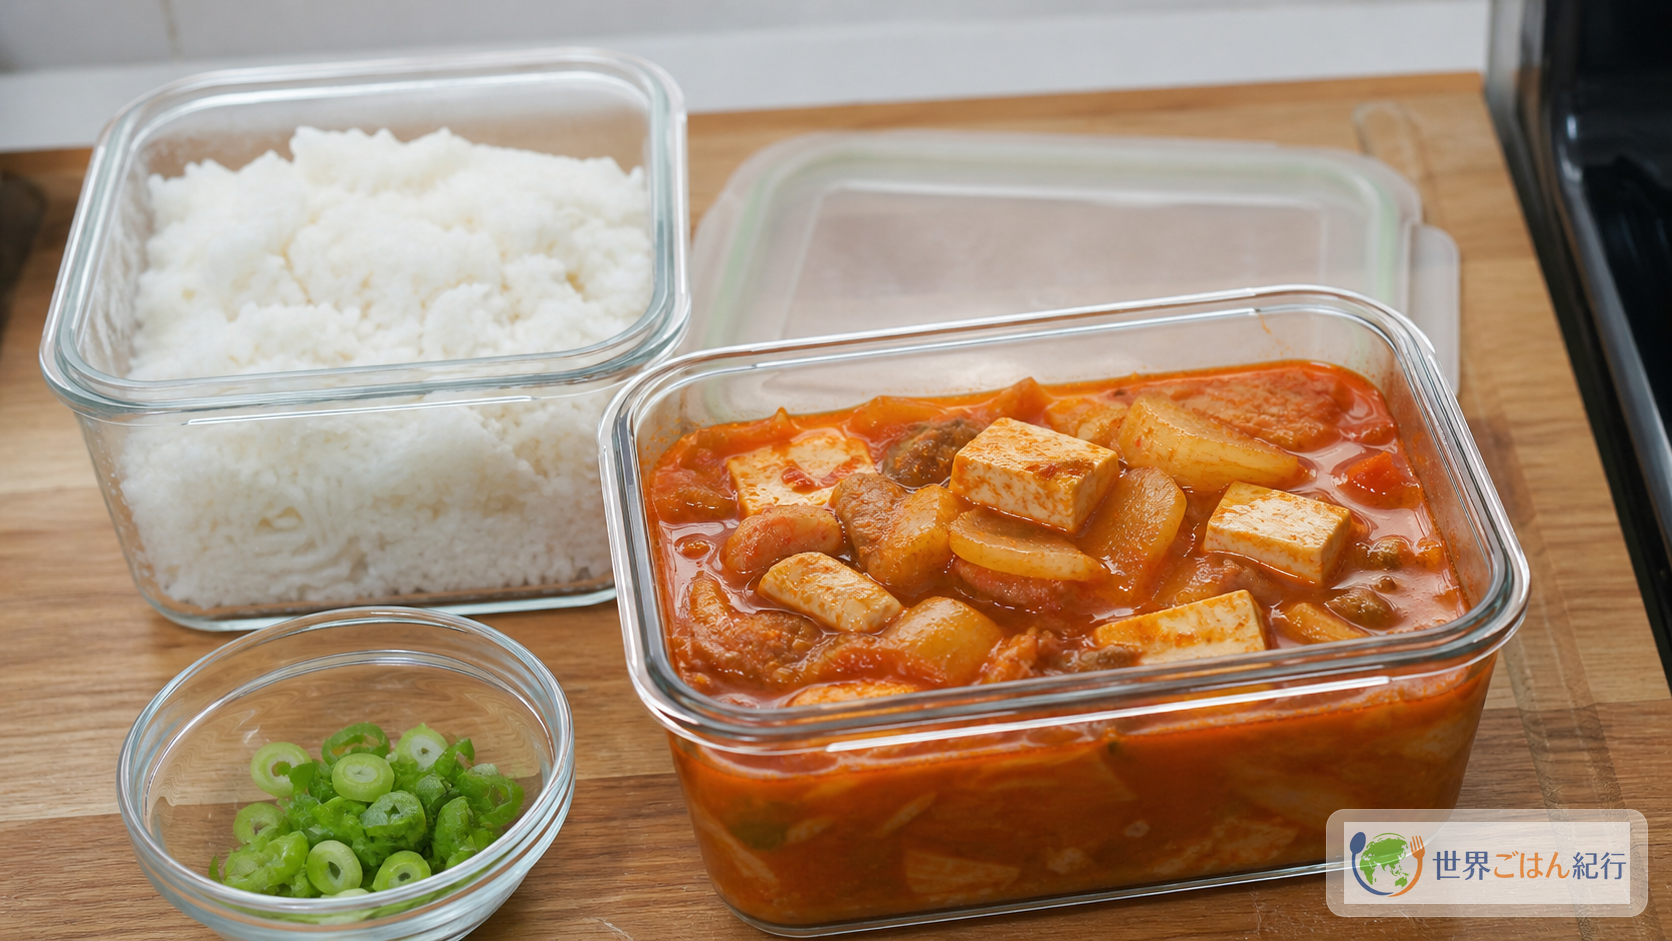
Kimchi jjigae is good the next day too. Cool it a little, move it to an airtight container within 2 hours, and refrigerate. Allow 2 days in the refrigerator. Tofu changes texture when frozen, so if you want to freeze it, eat the tofu and divide just the broth, kimchi, and pork into single portions. Allow 2 to 3 weeks in the freezer.
A pot suits reheating. Add 2 tablespoons of water per serving and warm 5 minutes over lower medium heat. When it bubbles, drop to low and stop when the tofu is hot at the center. In a microwave, use a deep heatproof container and allow 2 minutes at 600 W, stir, then 1 more minute. Adding scallions after reheating keeps their aroma.
Changing how you eat it the next day keeps it from getting boring. In the morning, pour it over rice in a kimchi jjigae gukbap style. At lunch, add half a portion of udon and warm 3 minutes over low heat. At night, crack in an egg, cover, and cook 2 minutes over low heat until the white sets, and the heat rounds off. Simmering with rice for a long time makes the rice swell too much, so combining them just before eating gives a lighter result.
A menu of white rice, toasted seaweed, soybean sprout namul, and salted cucumber is enough. Only people who want more heat add a little gochugaru at the table. Making the stew itself very hot makes it hard for children and family members who dislike spice, so adjusting in the bowl rather than in the pot suits a household.
Its place in Korean home cooking
Kimchi jjigae is both a signature restaurant dish and a way for the household to enjoy leftover kimchi. In Korean cooking, fermented kimchi is not only eaten raw but used according to its stage of sourness: fried, stewed, steamed, or made into fried rice. Of these, kimchi jjigae is the dish that transfers the sourness into the pot most clearly.
In English-language Korean recipes, home versions centered on well-fermented kimchi, pork, and tofu are widely presented. Maangchi treats kimchi jjigae as "a representative Korean home dish," and Korean Bapsang repeatedly explains the importance of using fermented kimchi. In the My Korean Kitchen recipe too, the basic form combines pork, tofu, kimchi brine, and stock.
When you make it, putting the sourness of kimchi at the center, rather than adding ingredients for fullness as in kimchi hot pot, makes it more like a Korean jjigae. On days you want more vegetables, do not put lots into the pot; set out namul or salted cucumber beside it. On days you want more starch, do not thin the soup; serve rice separately. Dividing it this way keeps the flavor of the pot from clouding.
There are regional and household variations. Some homes use canned tuna, some canned mackerel, some add Spam, and some rinse very sour kimchi lightly with water. For the first time, though, I recommend the basic form of pork, well-fermented kimchi, and tofu. Once you know the basic flavor, it is easier to see what changed when you switch to canned tuna or beef next time.
Kimchi is a fermented food, but that does not mean it is safe to leave out for long at room temperature. After opening, take it out with clean chopsticks and refrigerate. When you take out the portion for the jjigae, keep juices from meat or tofu from getting into the remaining container. Do not leave the cooked jjigae at room temperature either; refrigerate it once it has cooled a little.
Frequently asked questions
Can I make it with freshly bought kimchi?
Yes. But the sourness and savoriness will not come out as with well-fermented kimchi. Extend the kimchi frying time from 4 to 5 minutes and add 2 more tablespoons of kimchi brine. Trying 1/2 teaspoon of vinegar in the bowl at the end adds sourness, but in the whole pot it tends to become sharp, so adjust from a small amount.
Can I make it without pork?
Yes. You can use 1 can of tuna, 1 can of mackerel in water, or 200 g of clams. For tuna, leave just 1 teaspoon of the oil and fry it with the kimchi. Canned mackerel breaks down easily, so add it after the stock and warm for just 5 minutes over low heat. Use clams that have already been purged of sand, and turn off the heat as soon as the shells open.
Is gochujang required?
No. With well-fermented kimchi, gochugaru, and good stock, you can make it without gochujang. Use just 1 to 2 teaspoons on days when the sourness is weak or when you want a slightly sweet-spicy roundness. A lot makes the sweetness come forward and the dish drifts toward a sweet-spicy stew rather than kimchi jjigae.
Can I reduce the heat?
Yes. Reduce the gochugaru from 1 tablespoon to 2 teaspoons and leave out the green chili. Adults add gochugaru or chili flakes in the bowl. Not making the whole pot hot makes it easier for the family and easier to vary the next day. Do not reduce the stock or kimchi brine to make up for the lower heat.
Which is better, silken or firm tofu?
Firm tofu is easier to handle. It holds its shape and does not break easily even after taking on the red broth. If you use silken, cut it larger than 3 cm cubes and warm it for just the last 3 minutes. When mixing, do not press with the wooden spoon; just give the pot a light shake.
Sources
- Korean Bapsang, "Kimchi Jjigae (Kimchi Stew)", https://www.koreanbapsang.com/kimchi-jjigae-kimchi-stew/ (accessed 2026)
- Maangchi, "Kimchi stew (Kimchi-jjigae)", https://www.maangchi.com/recipe/kimchi-jjigae (accessed 2026)
- My Korean Kitchen, "Kimchi Jjigae", https://mykoreankitchen.com/kimchi-jjigae/ (accessed 2026)
- Korean Food Foundation / Hansik, "Kimchi-jjigae", https://www.hansik.or.kr/ (accessed 2026)