Kkanpunggi: Twice-Fried Chicken in a Sweet, Sour and Spicy Garlic Sauce
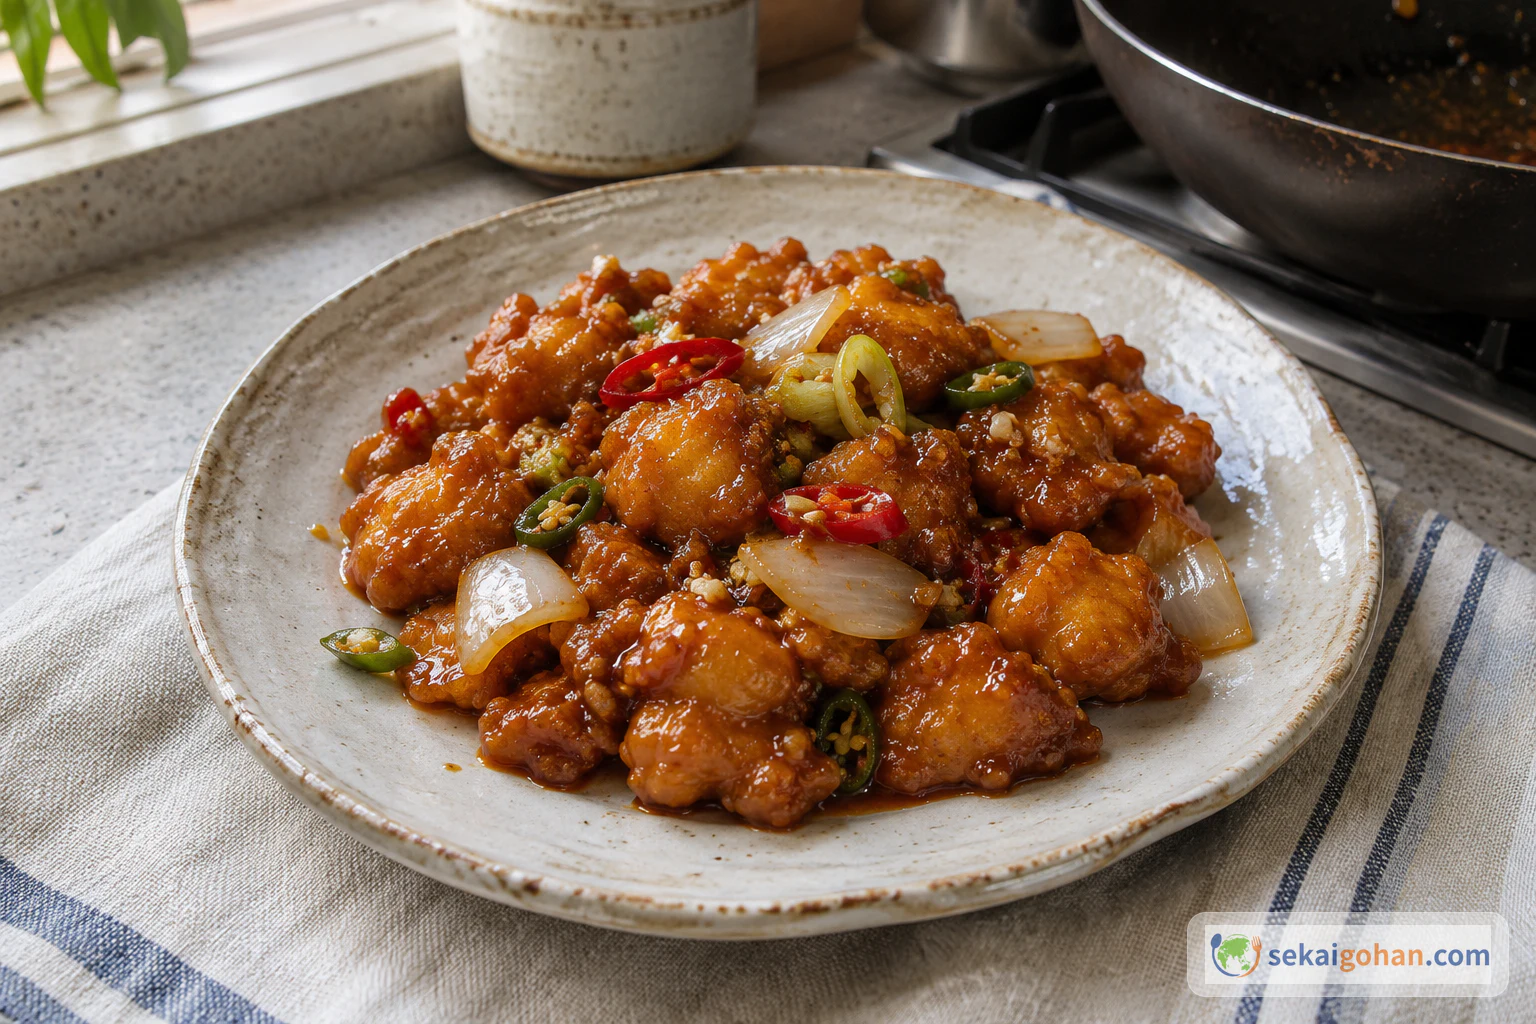
Small pieces of chicken breast fried twice, a chili oil carrying the aroma of garlic and leek, and a glossy sauce that is sweet, sour and hot at once. Everything comes together in the last moments and goes straight to the table.
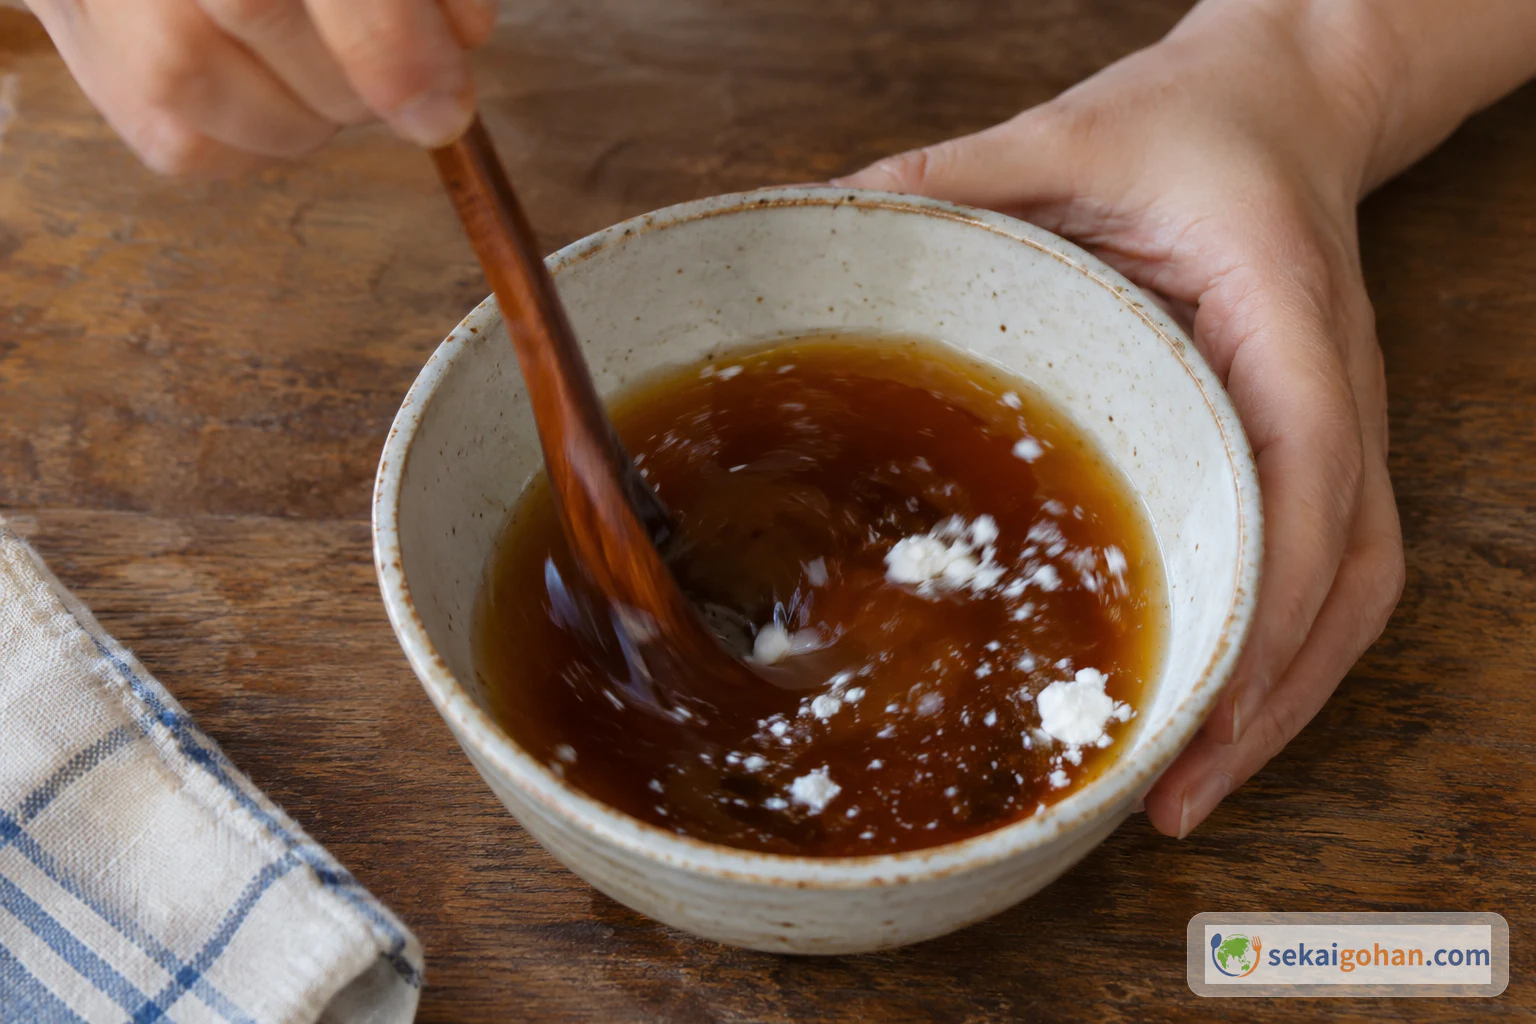
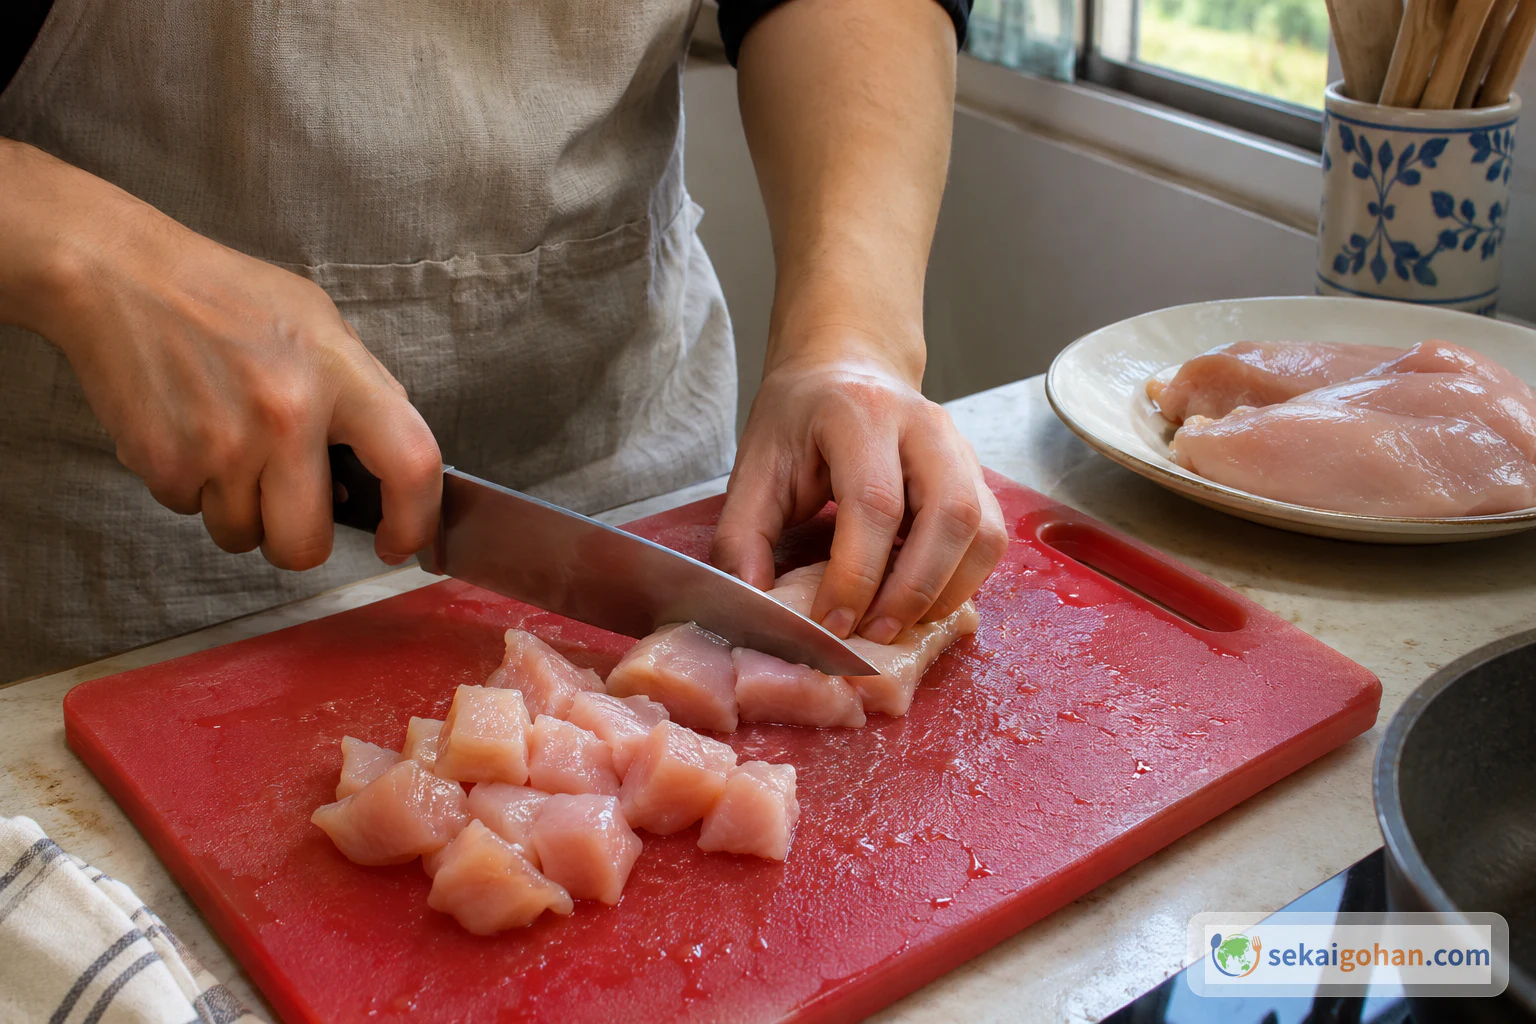
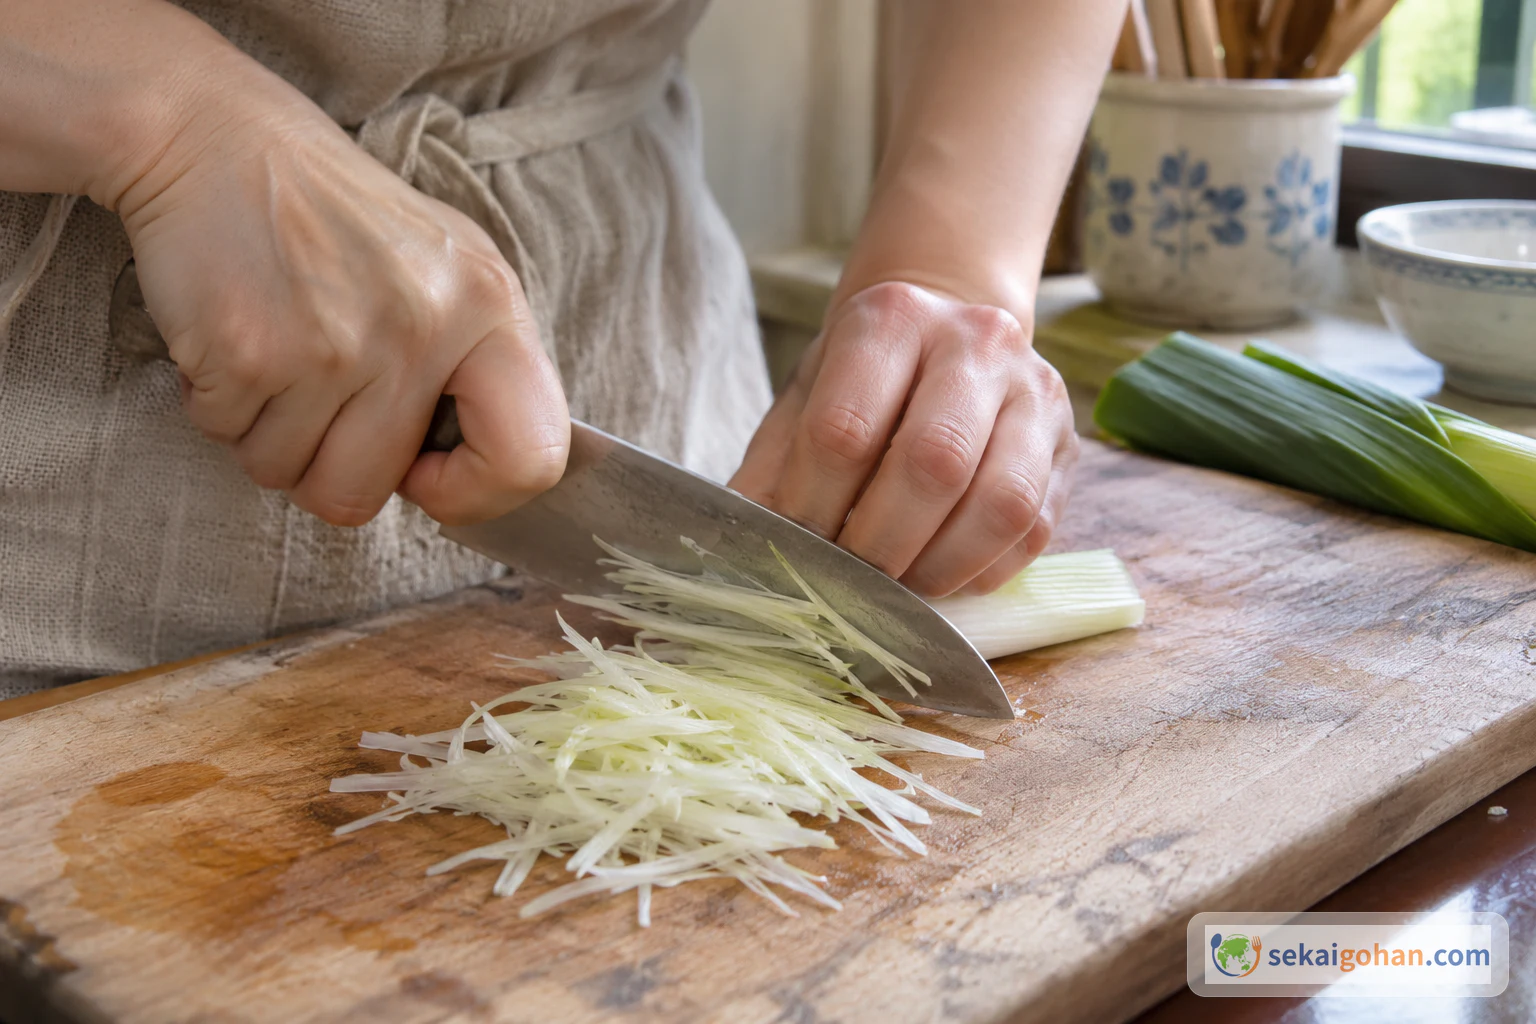
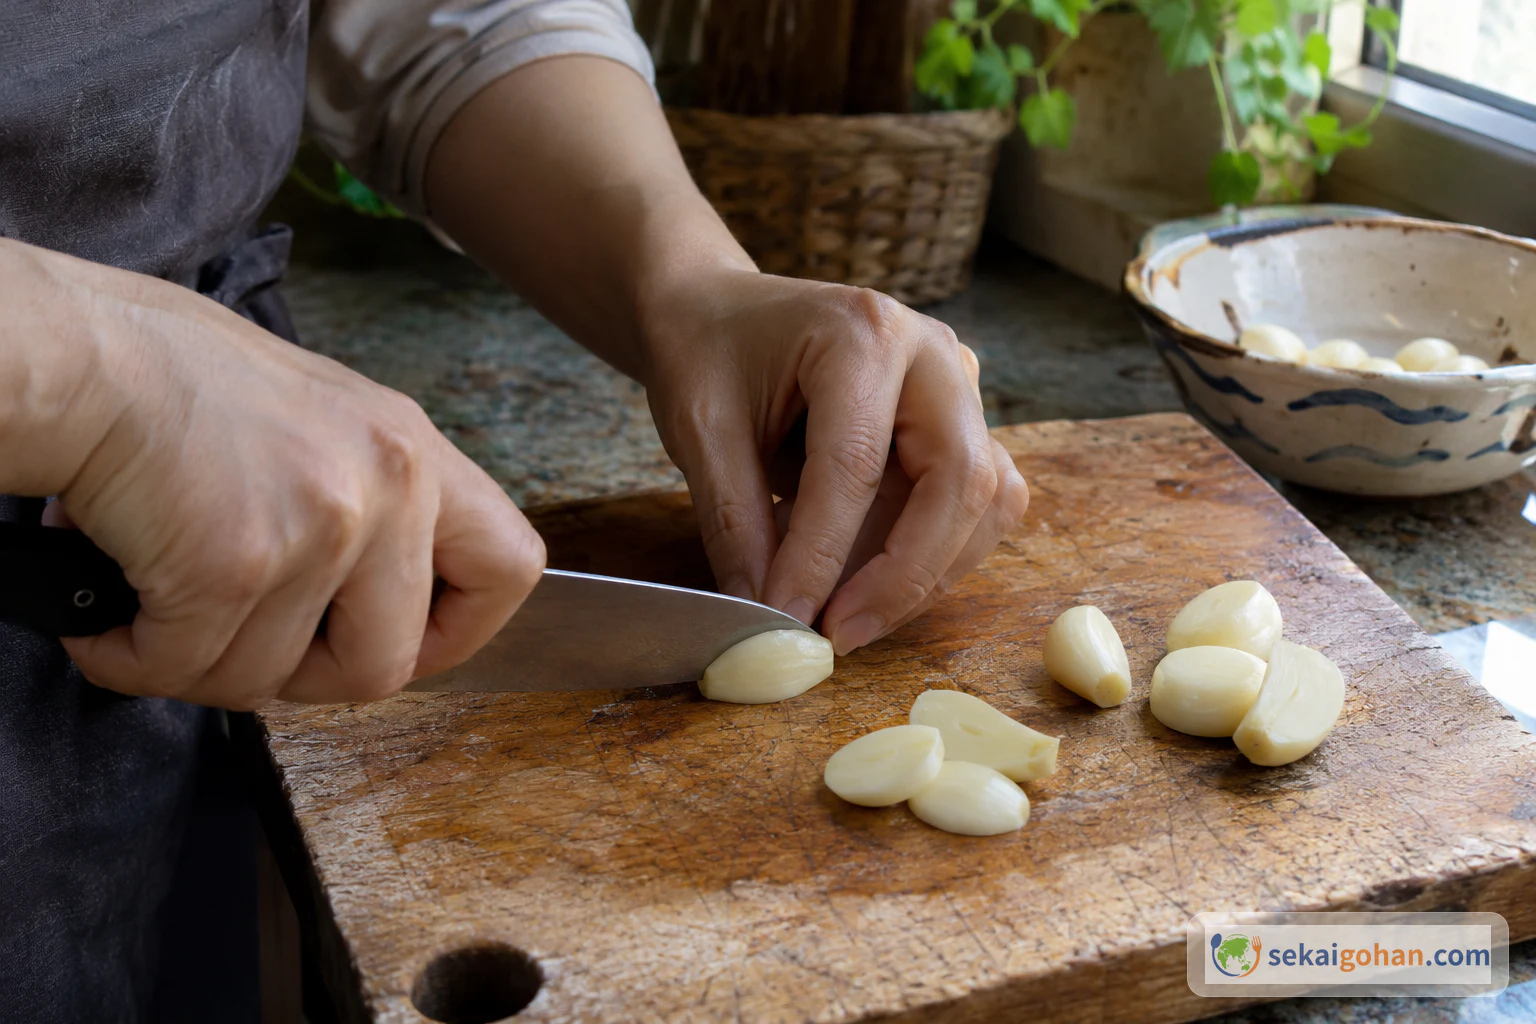
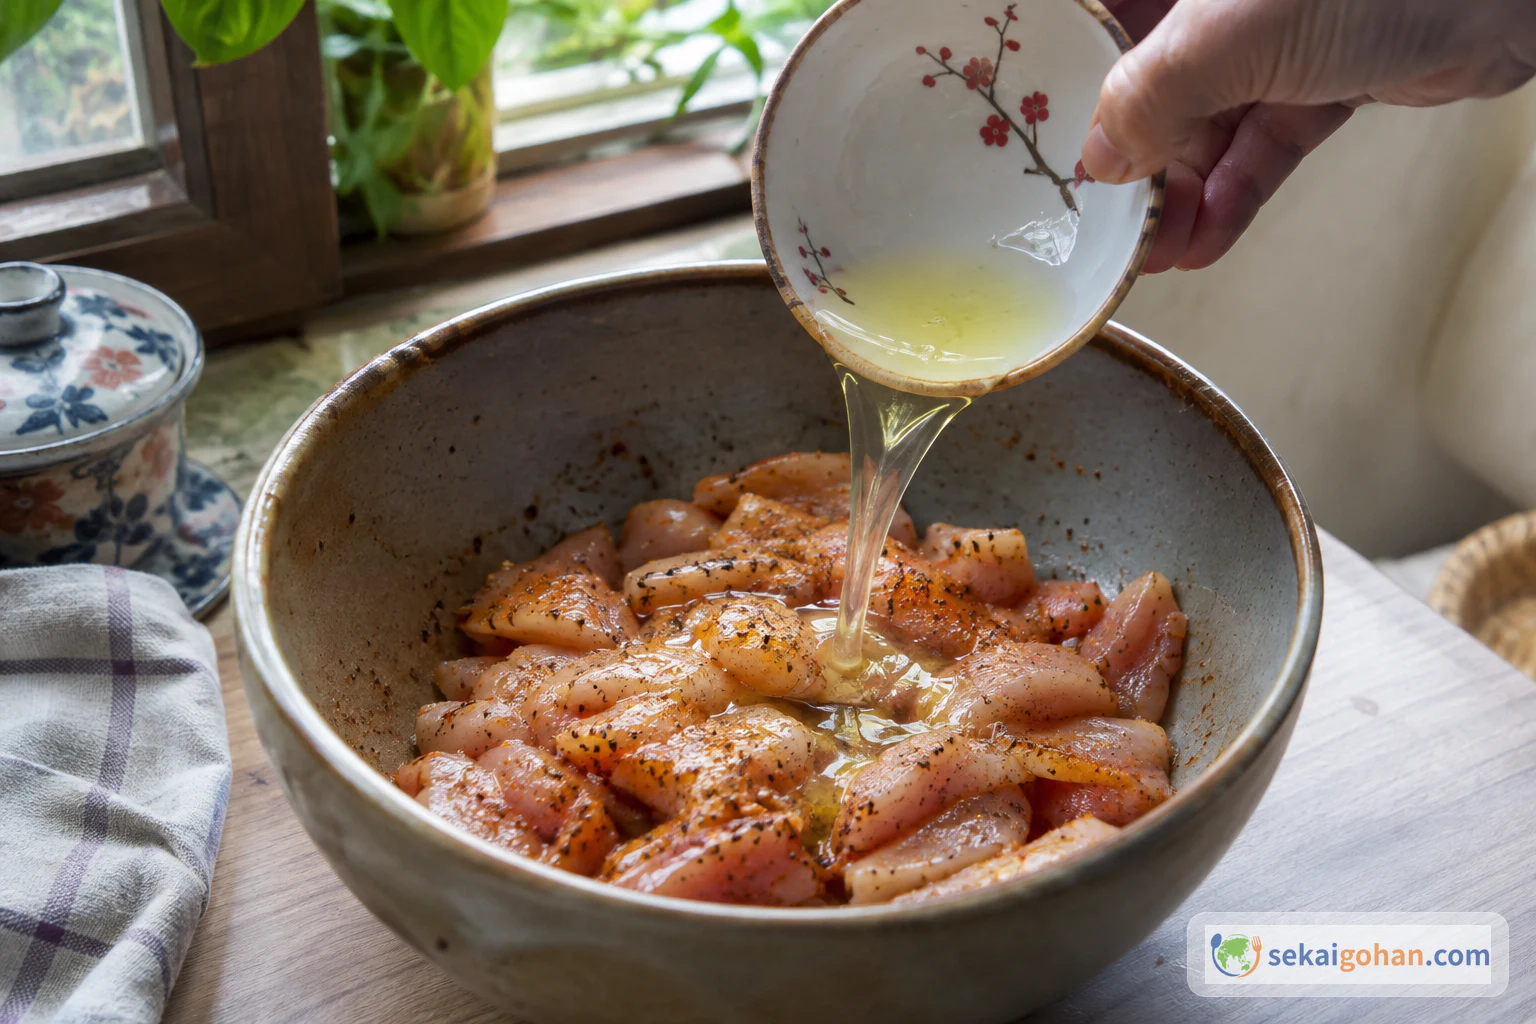
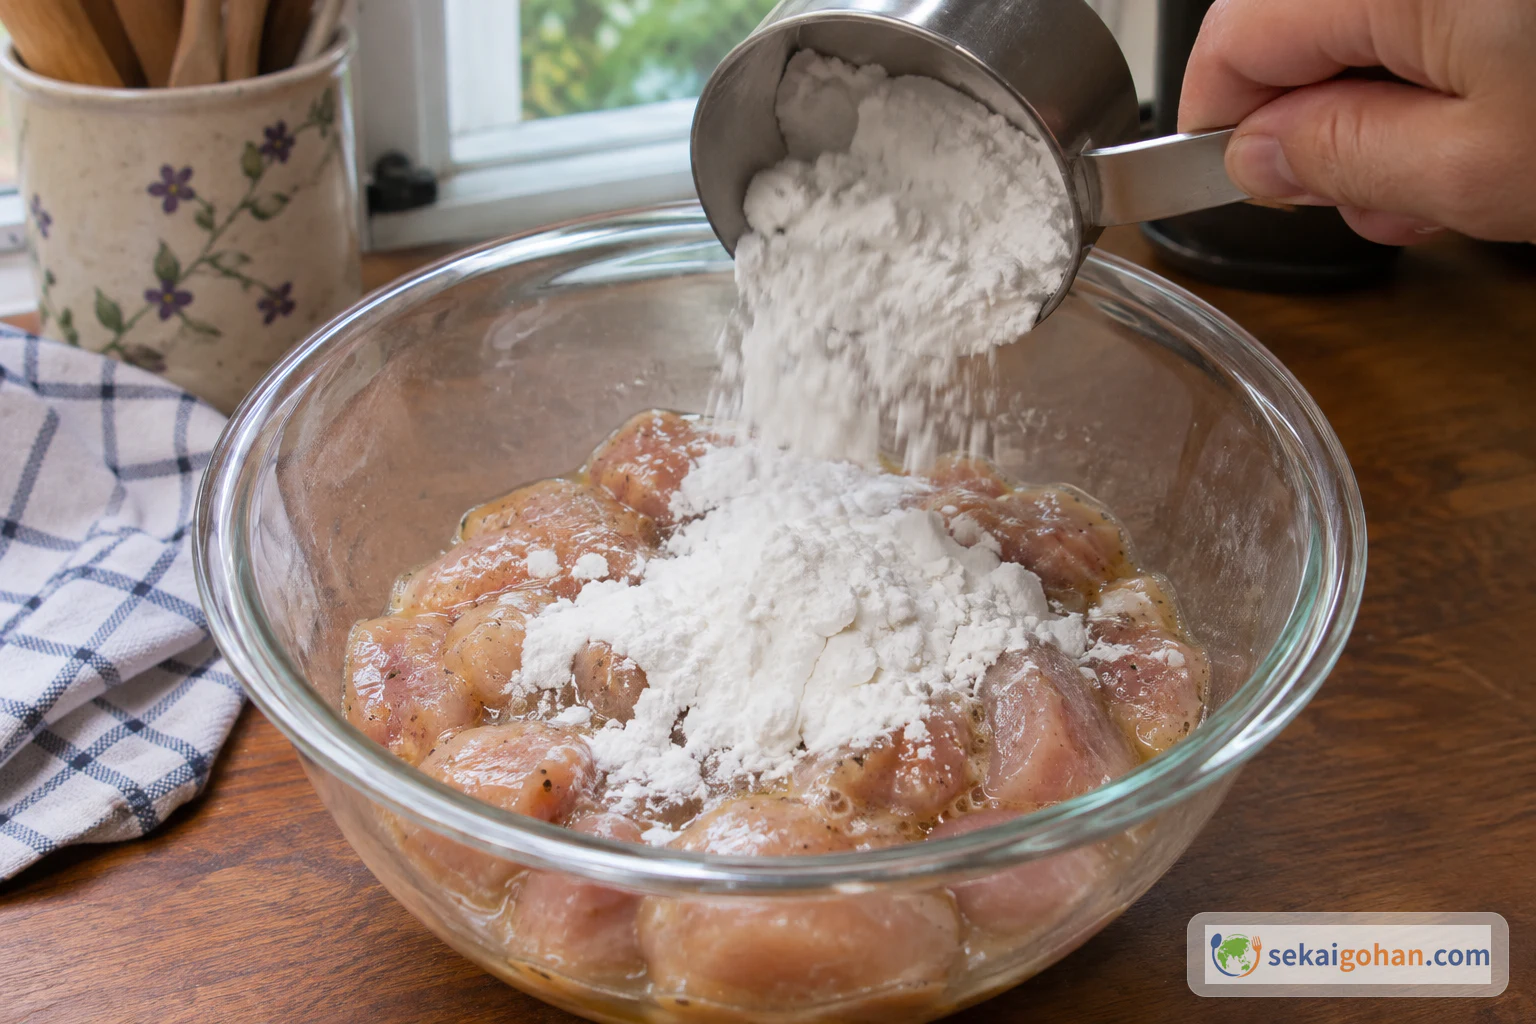
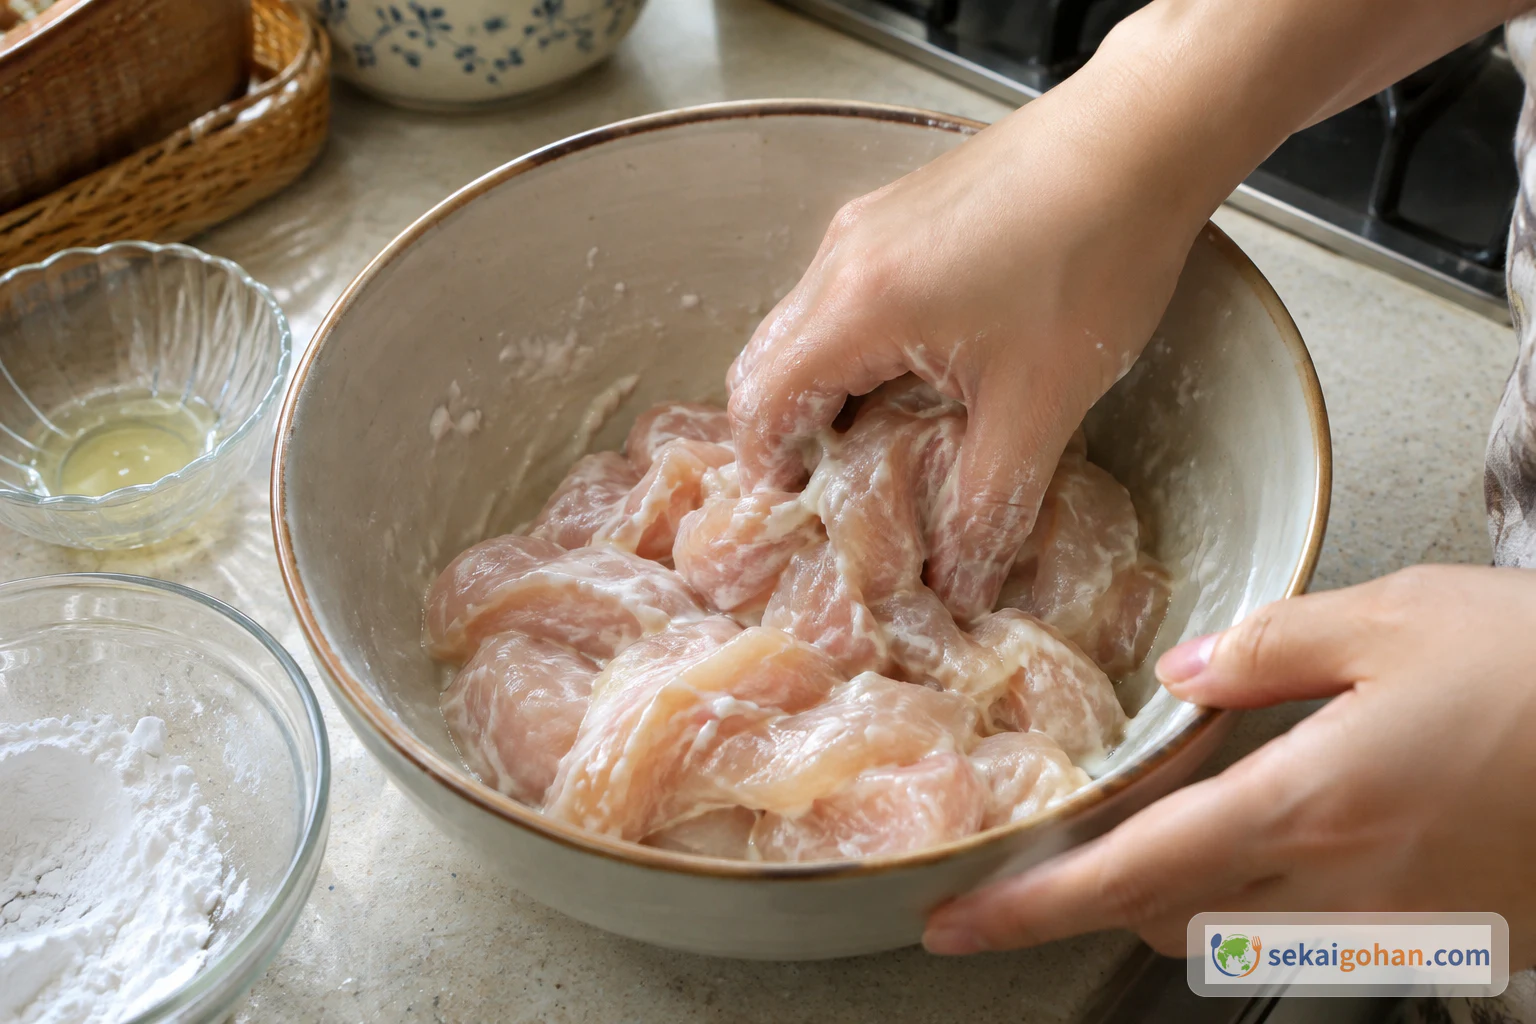
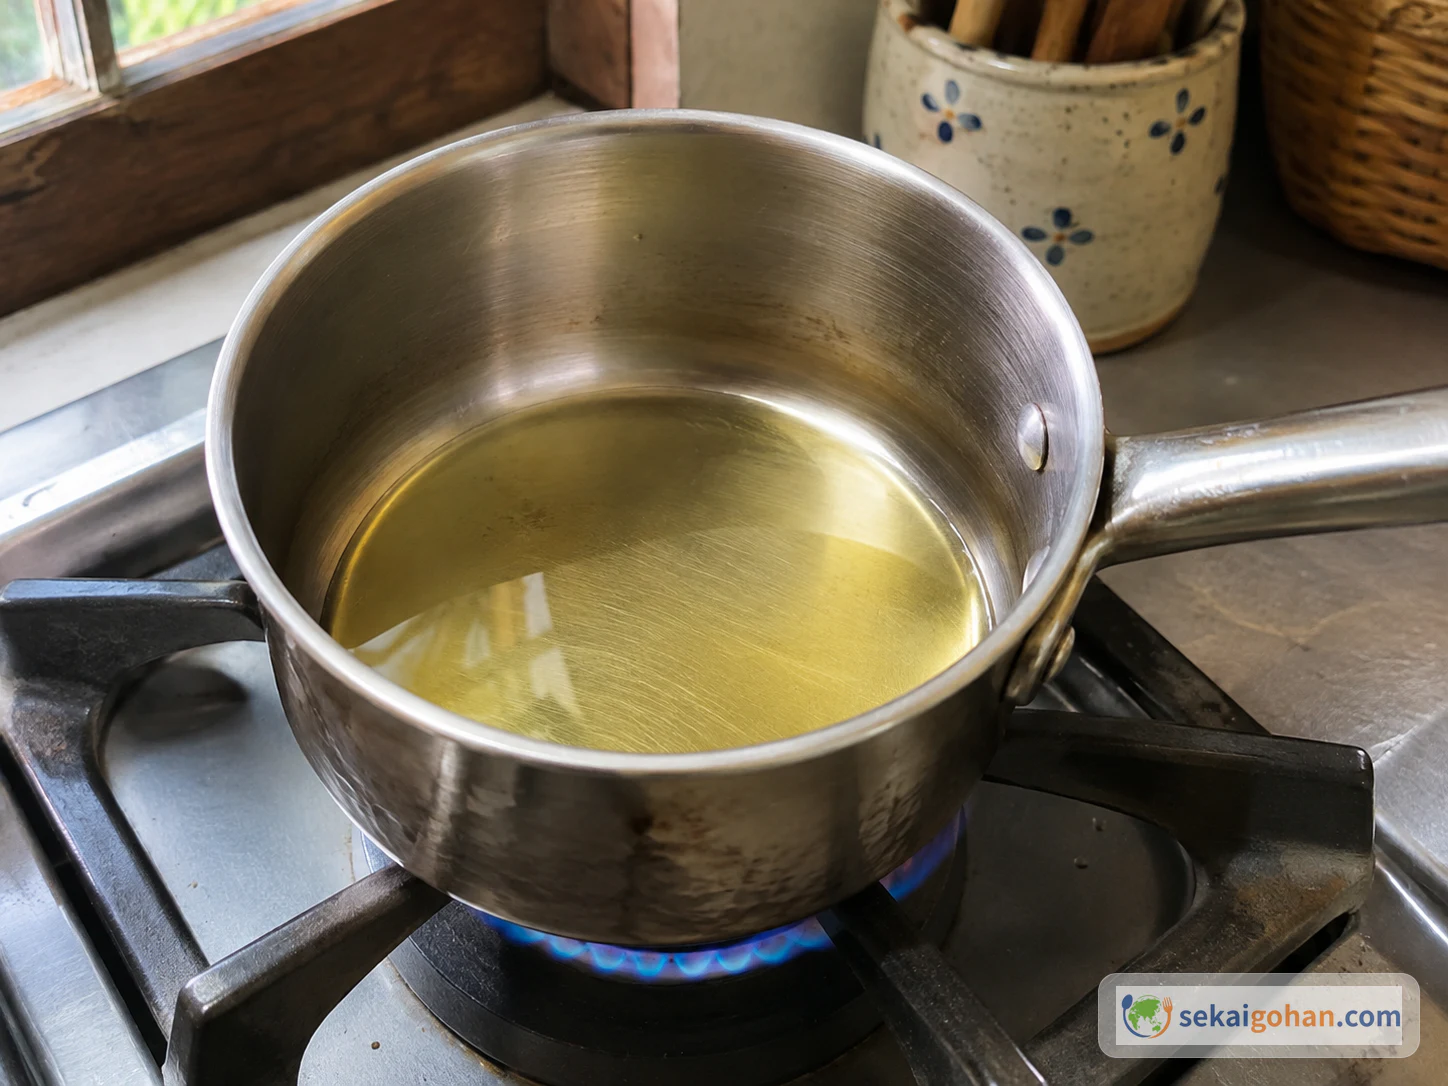
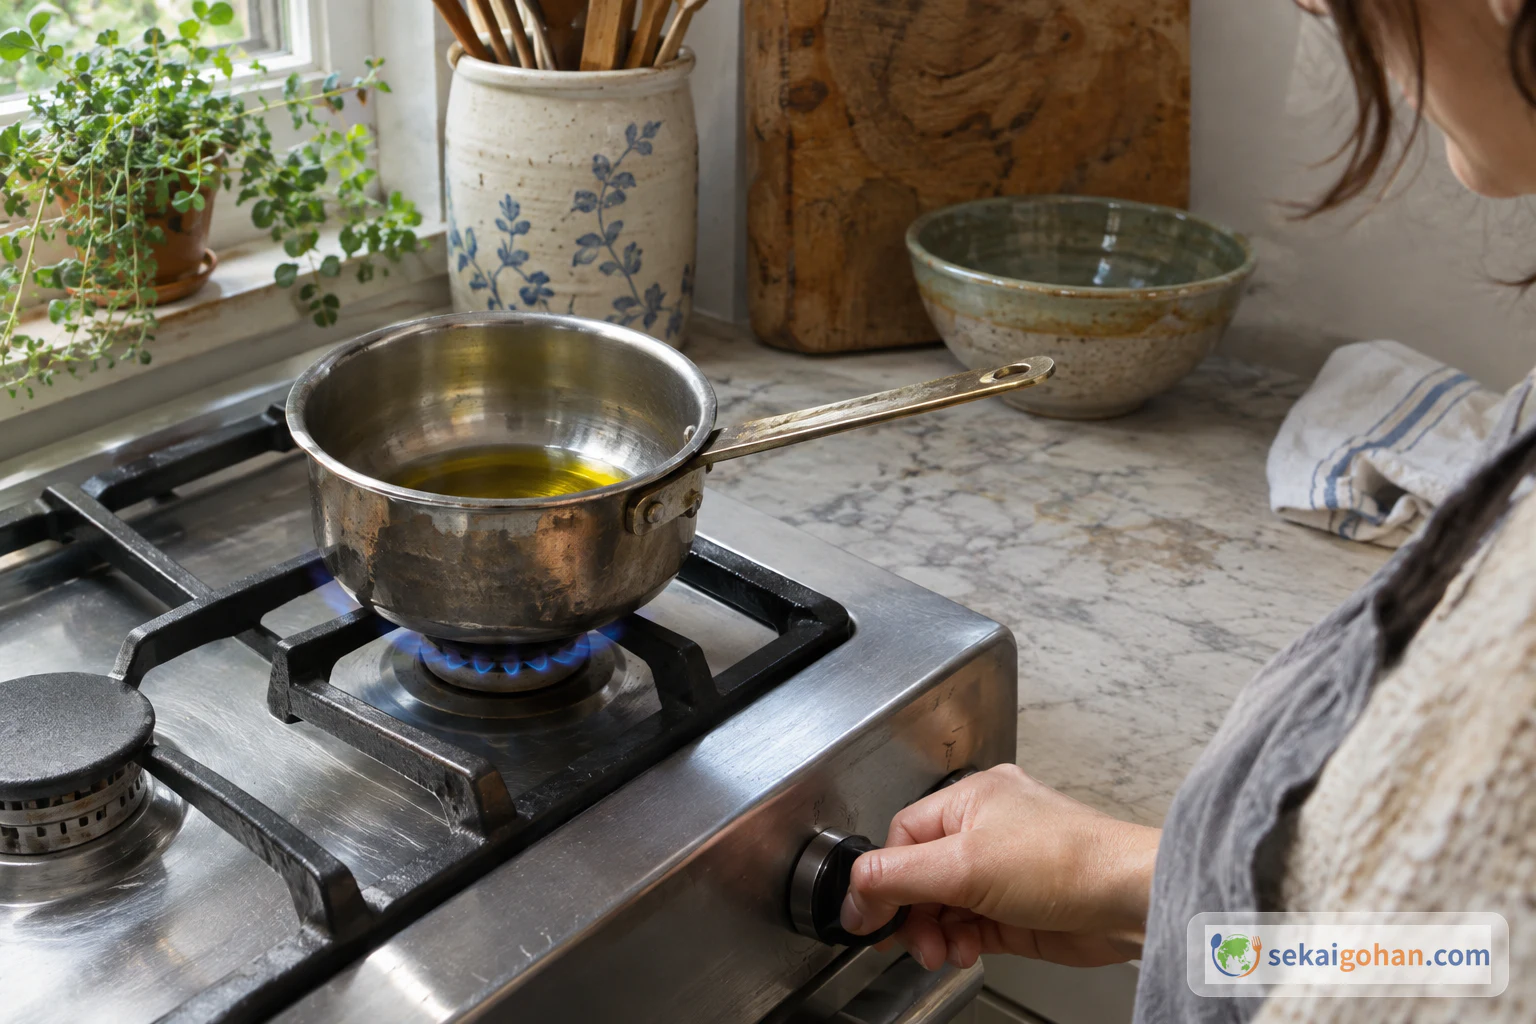
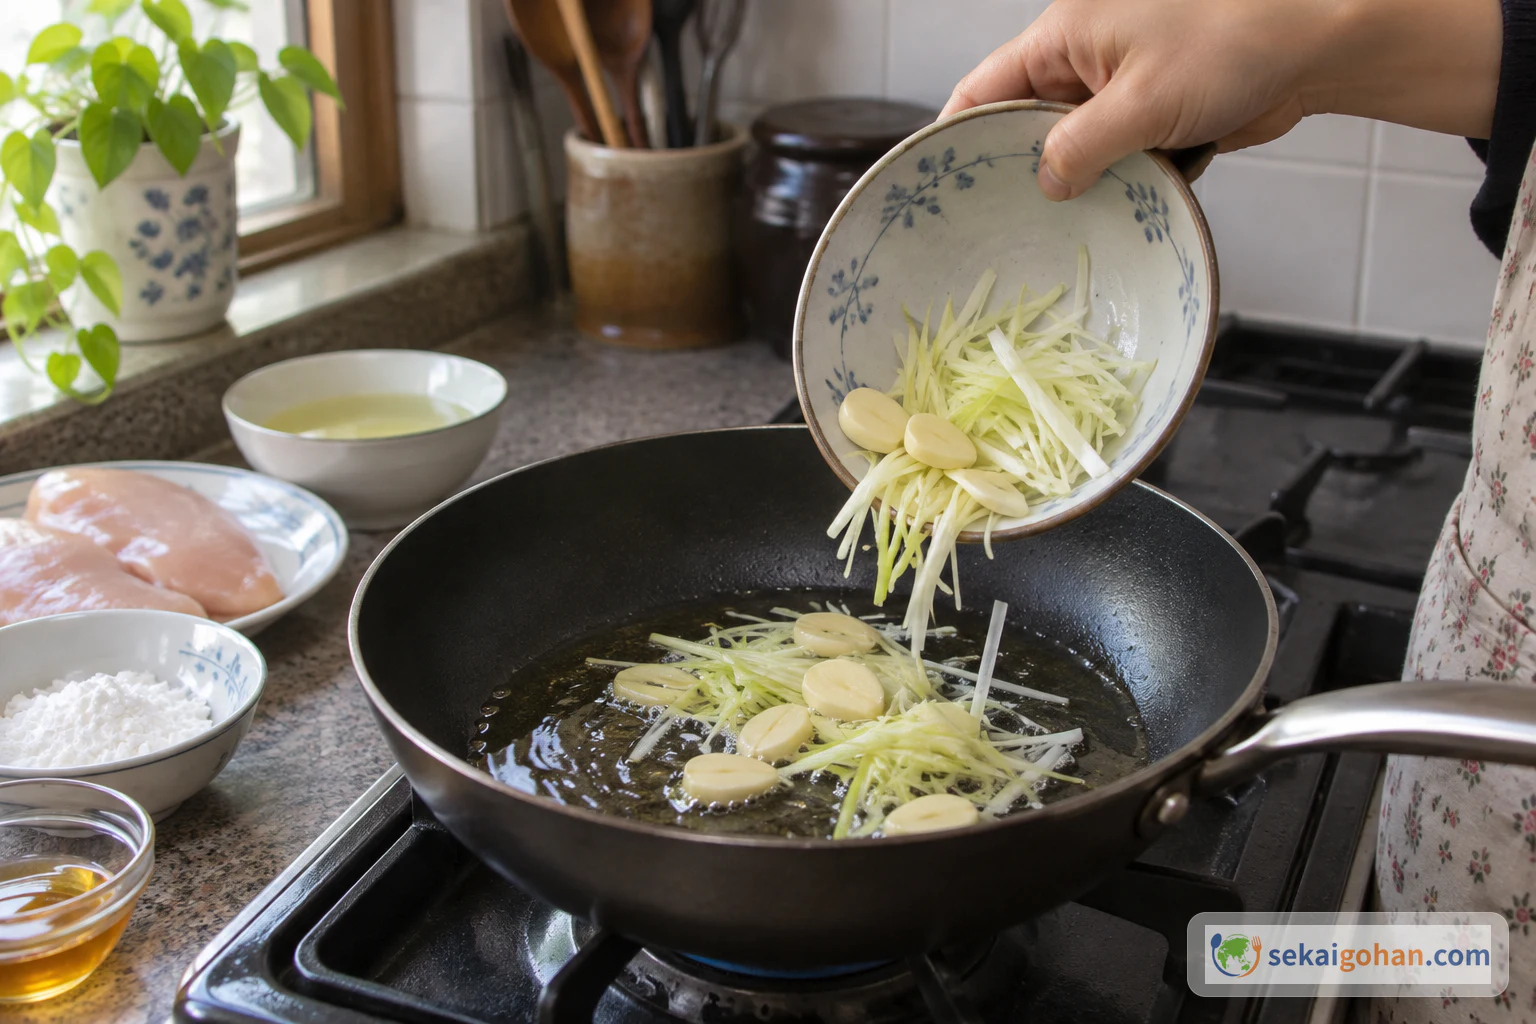
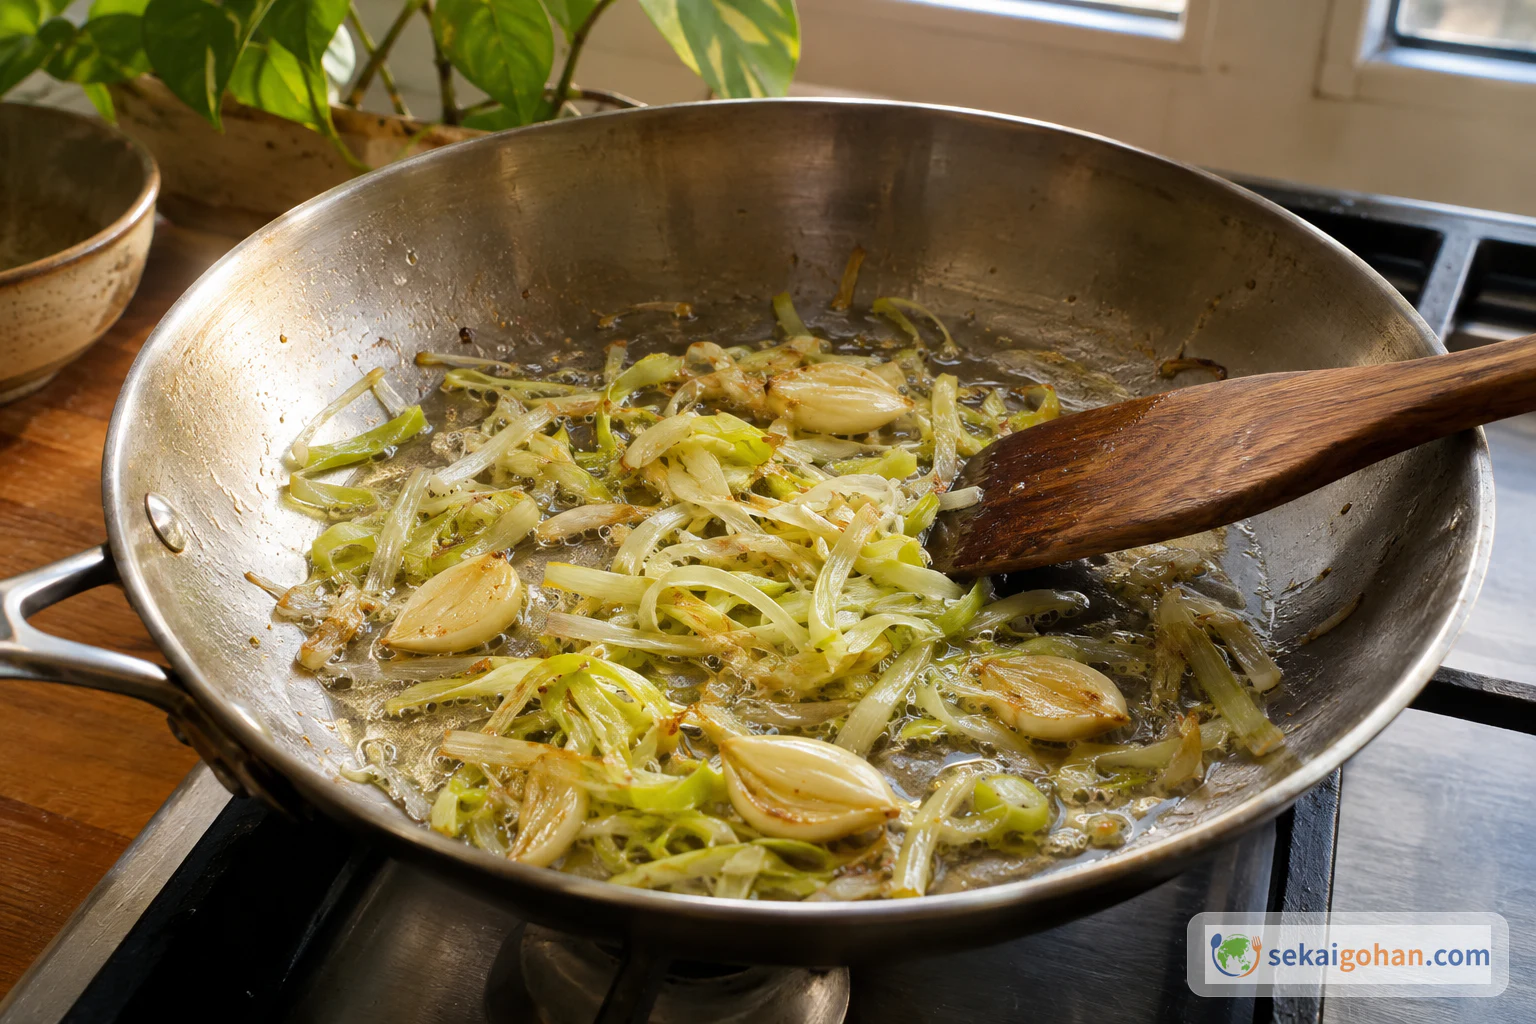
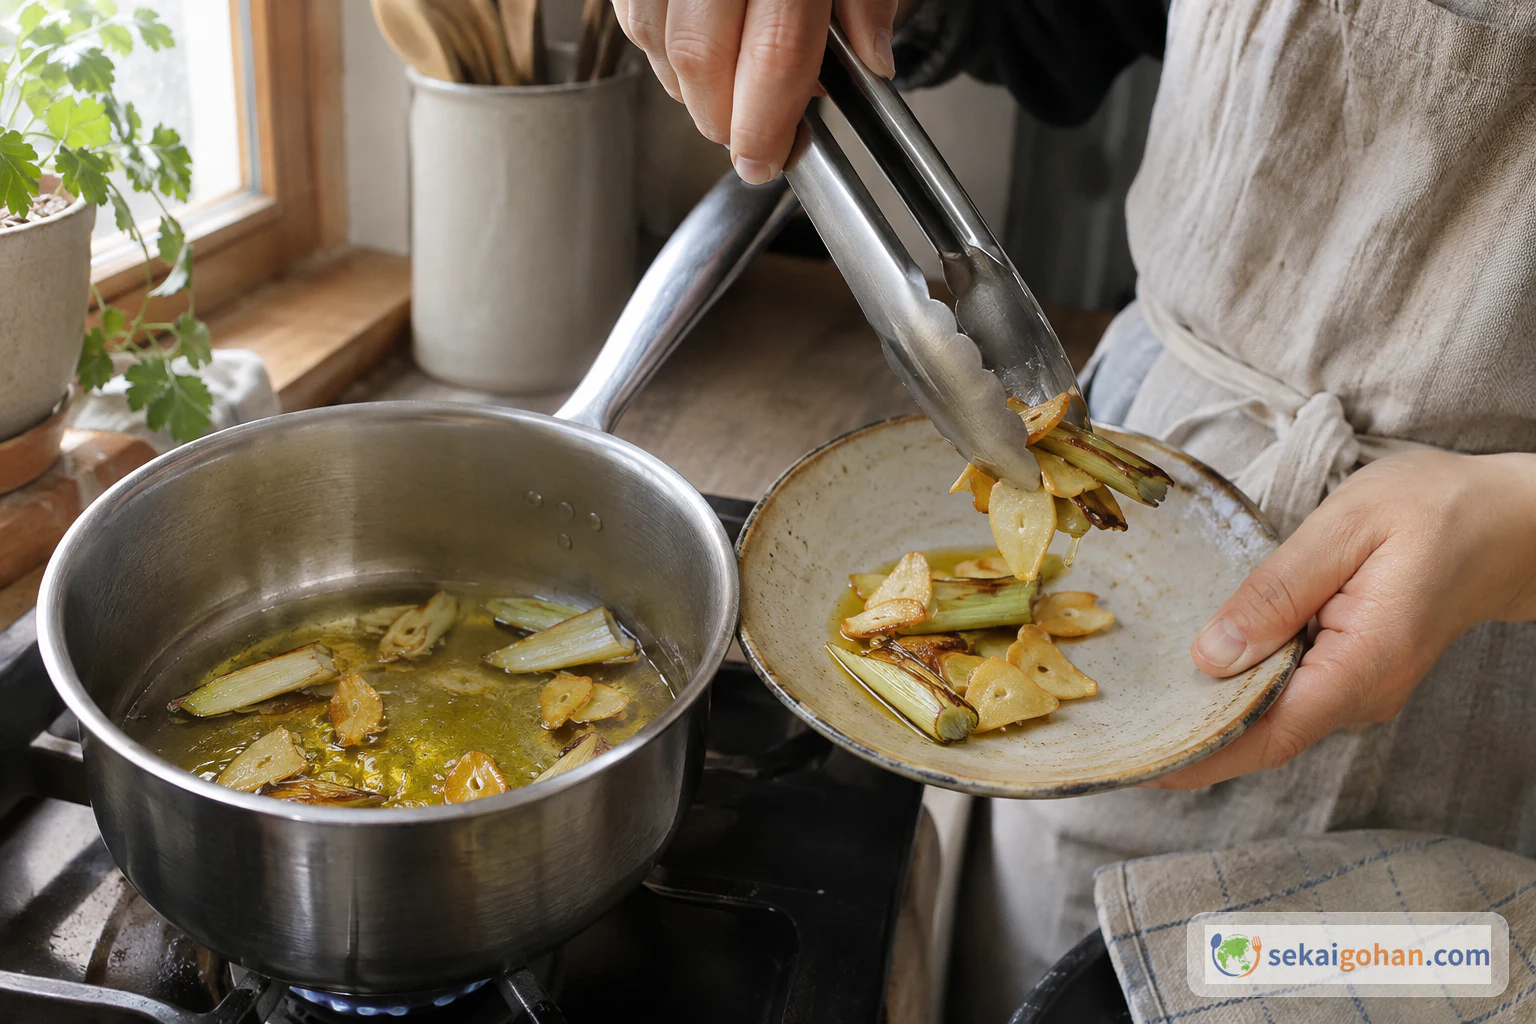
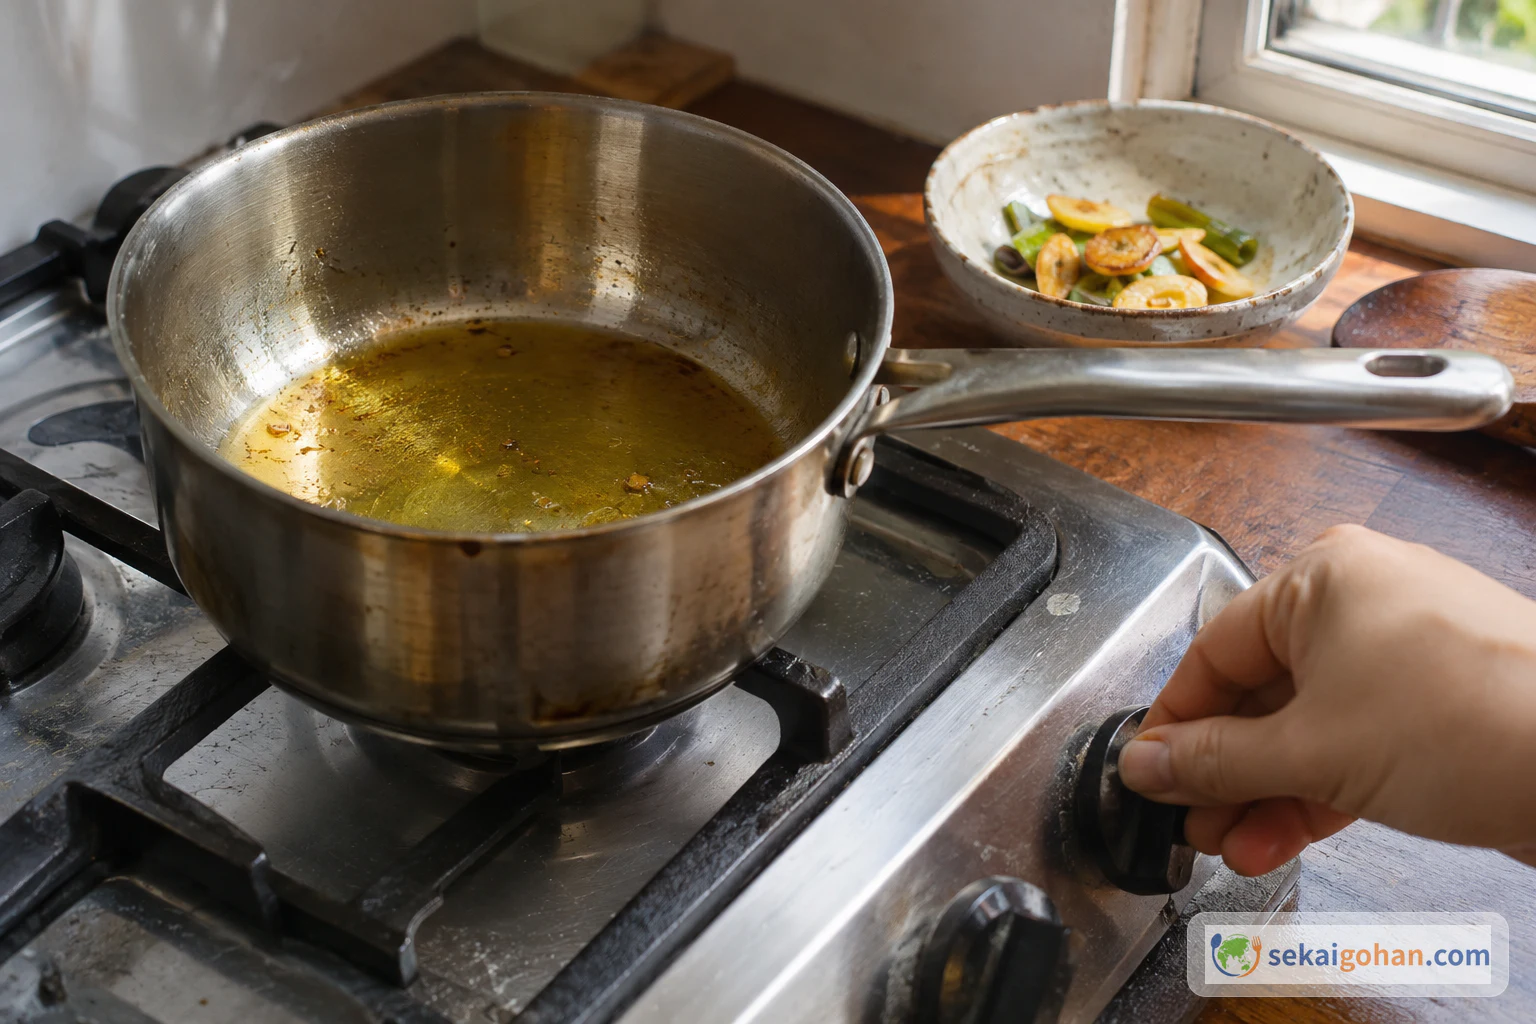
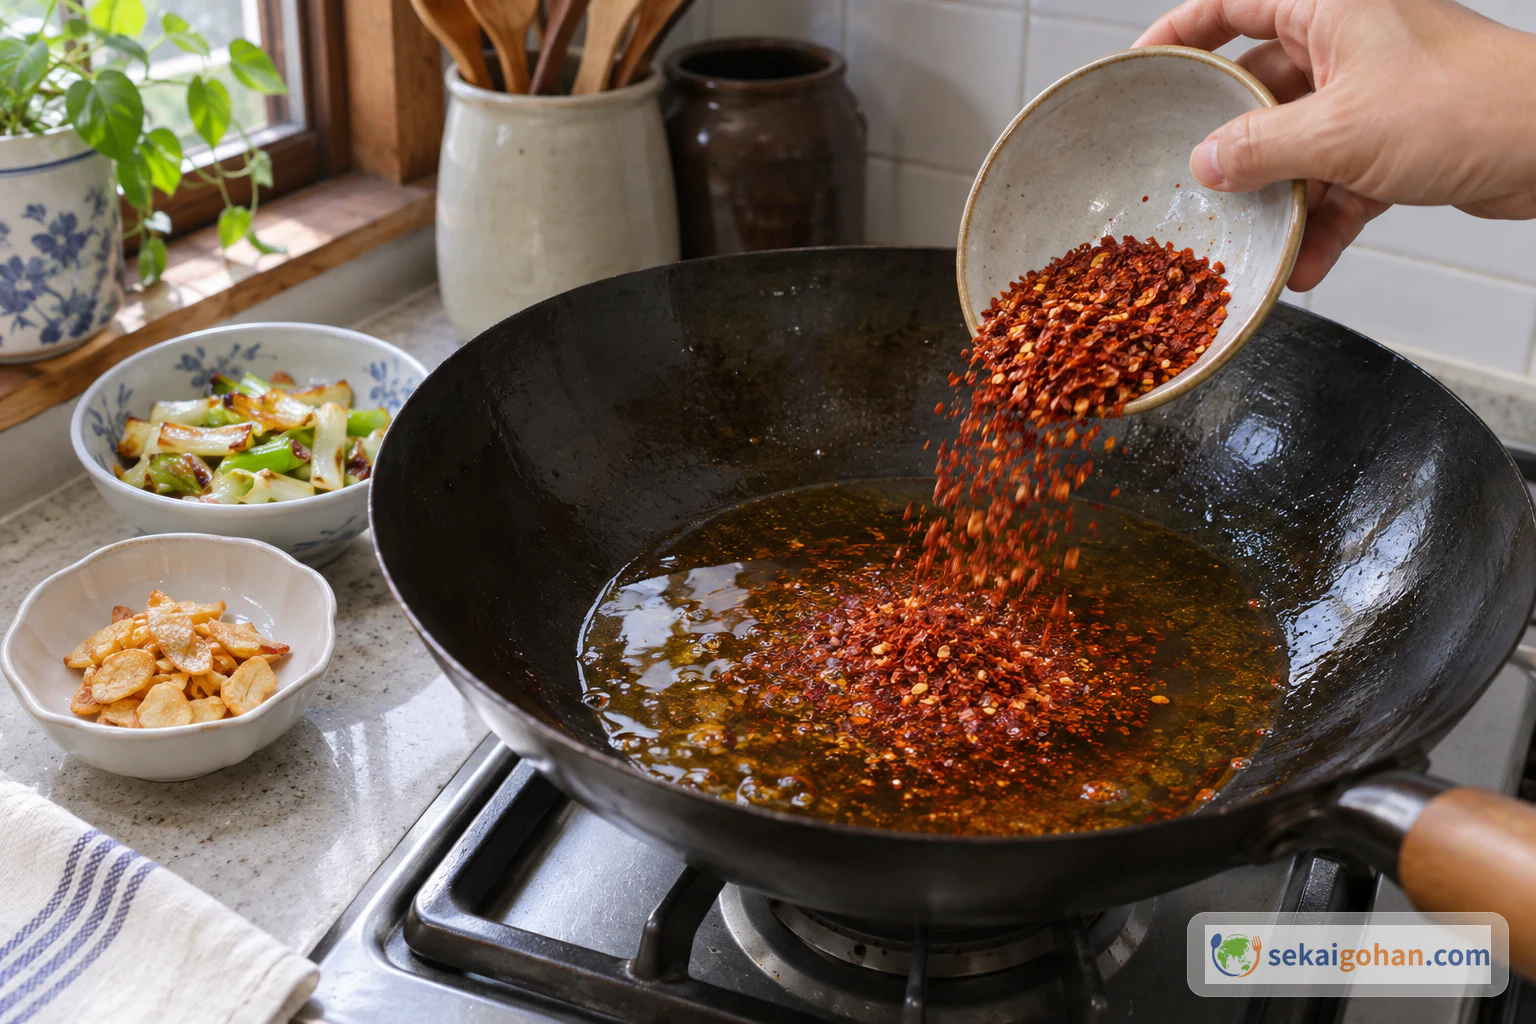
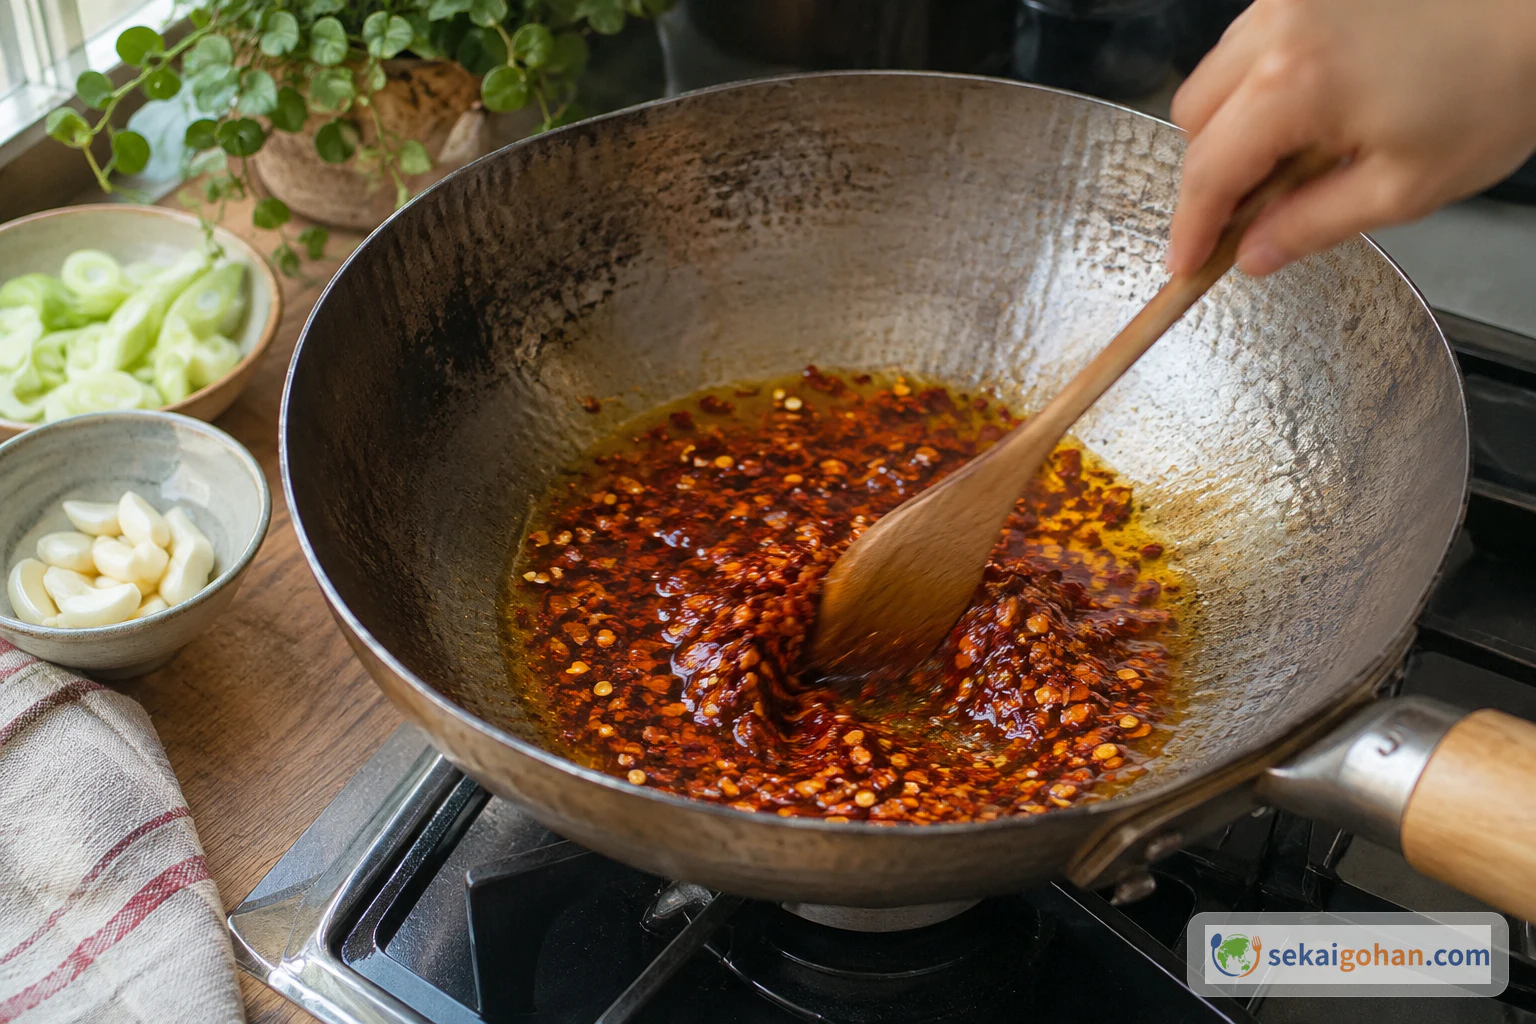
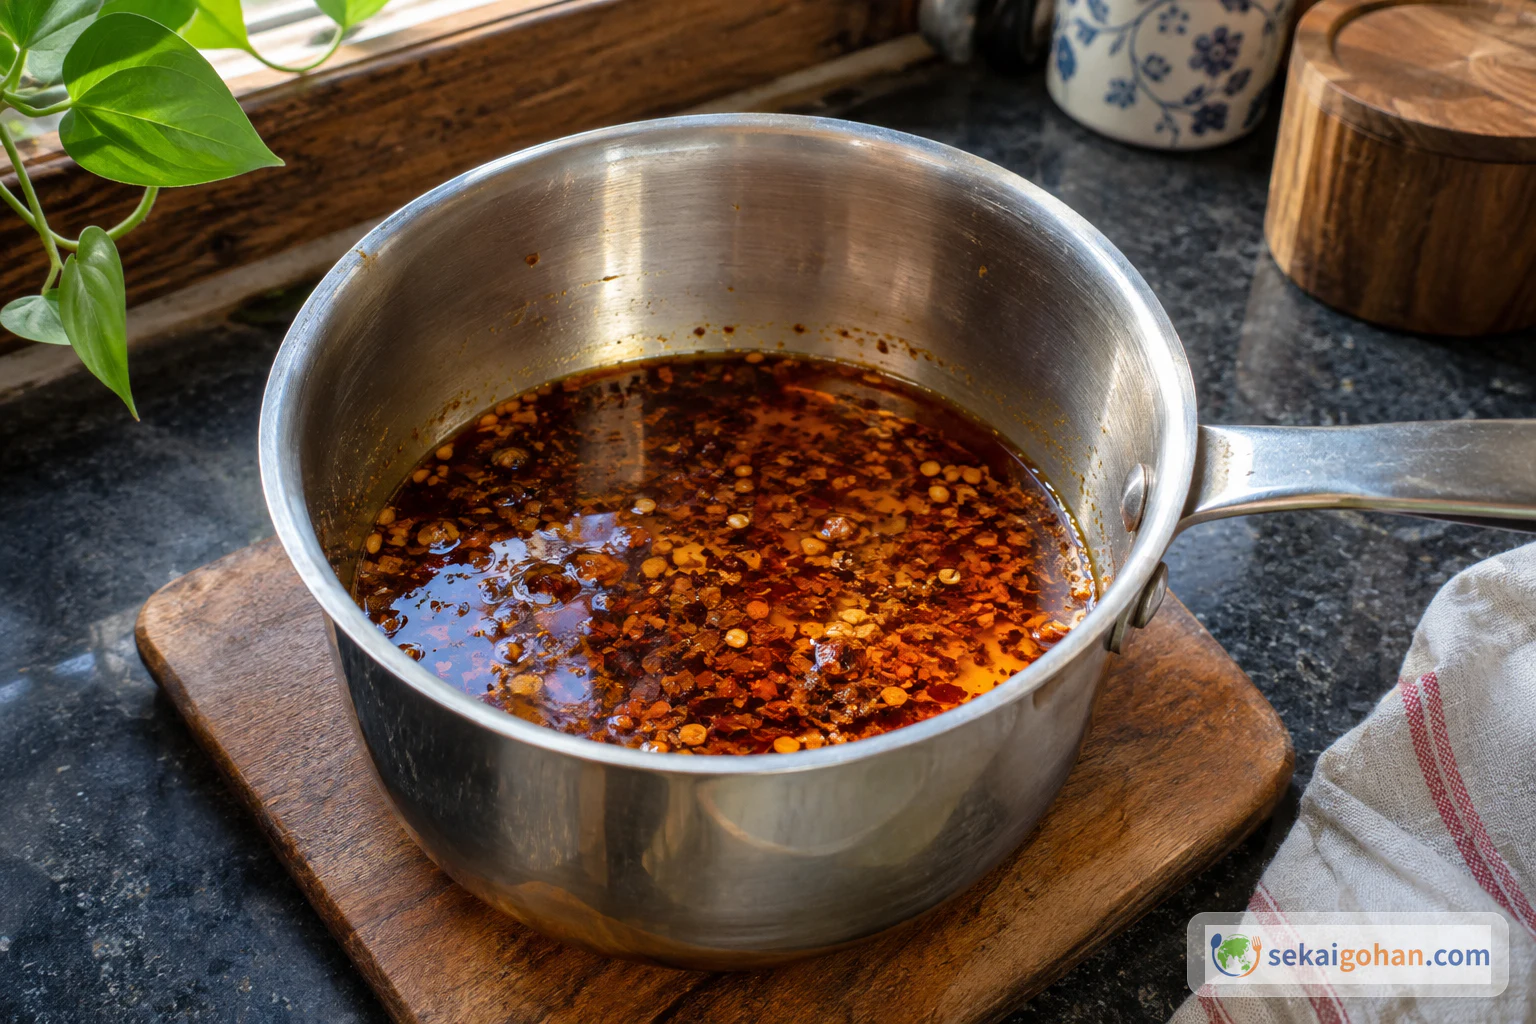
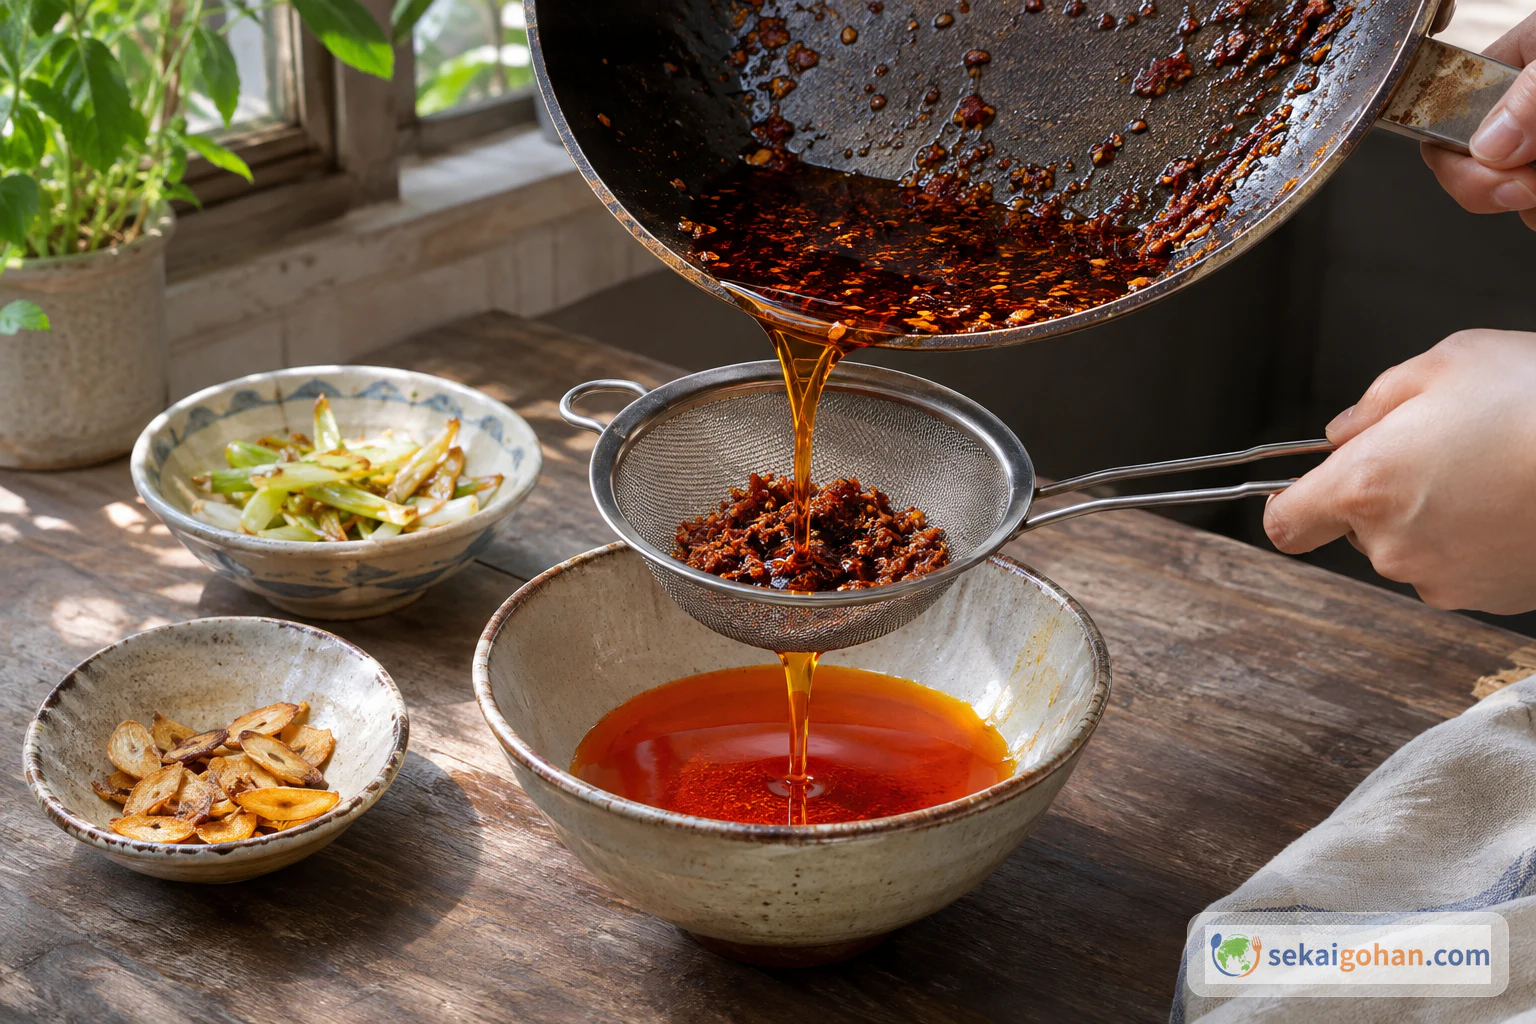
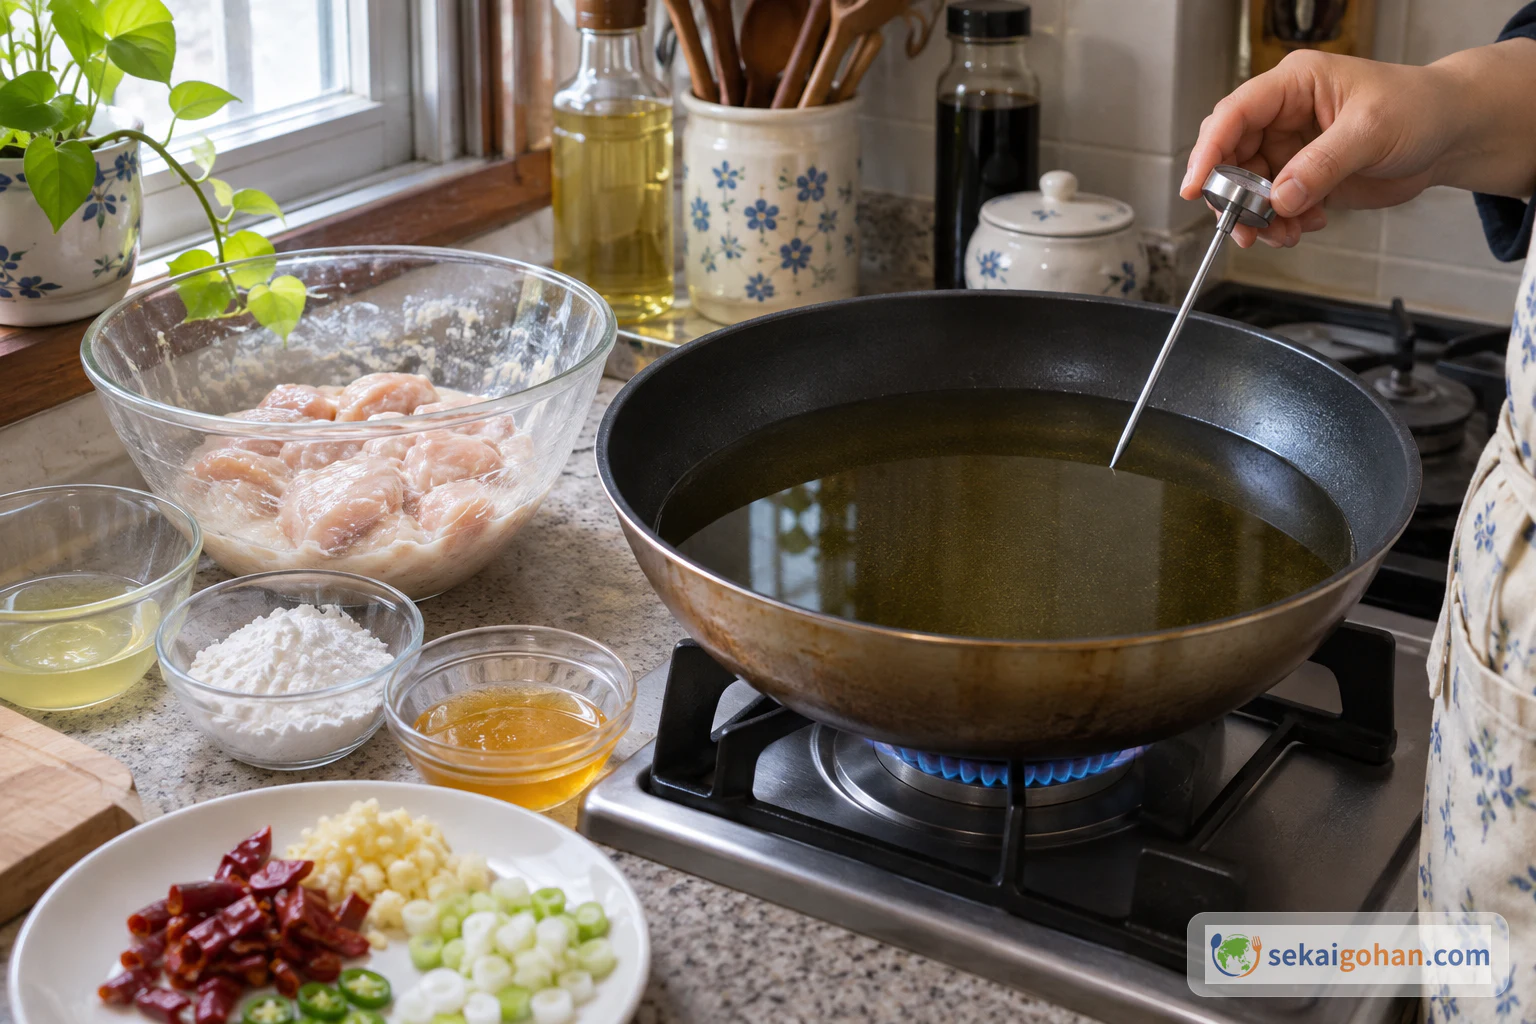
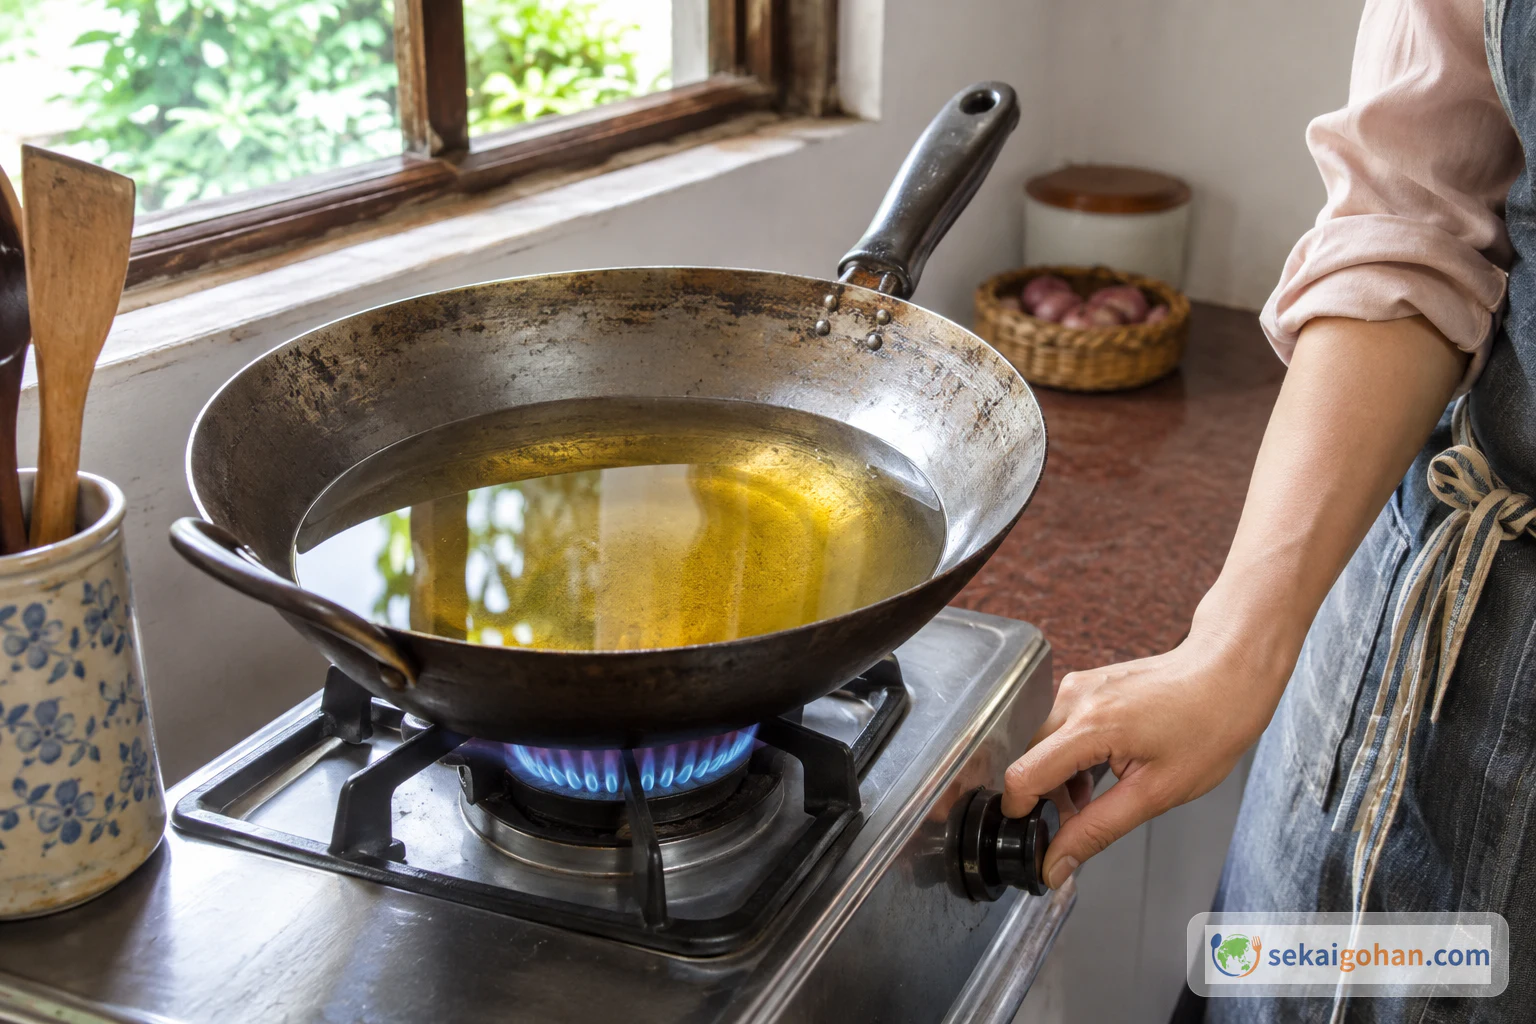
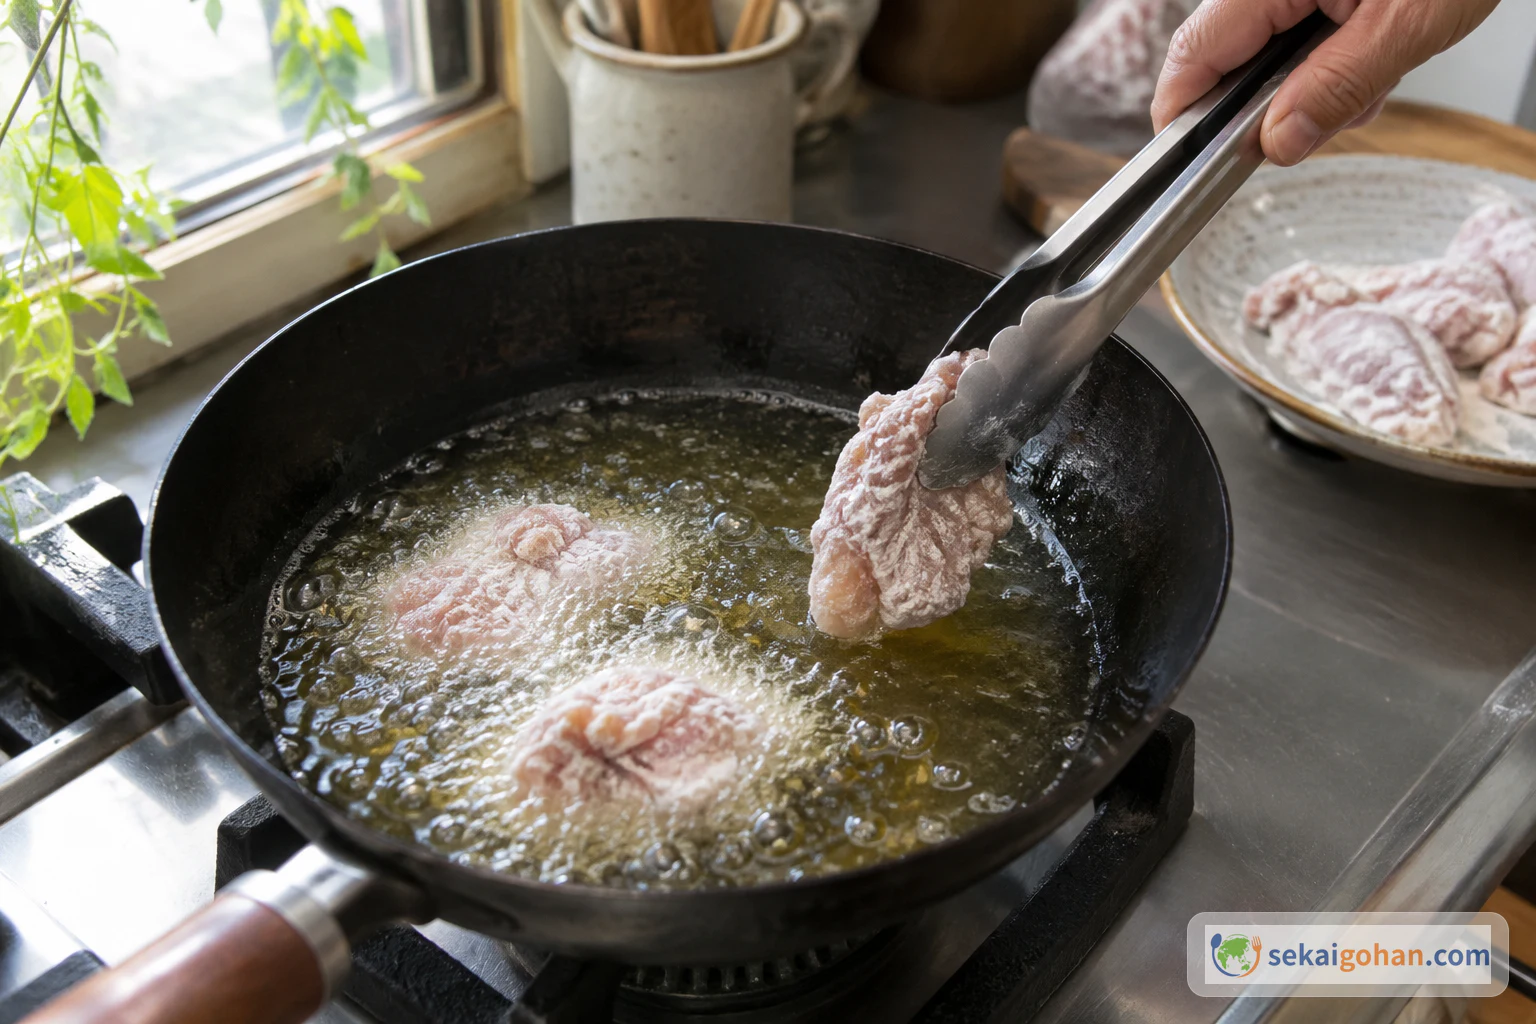
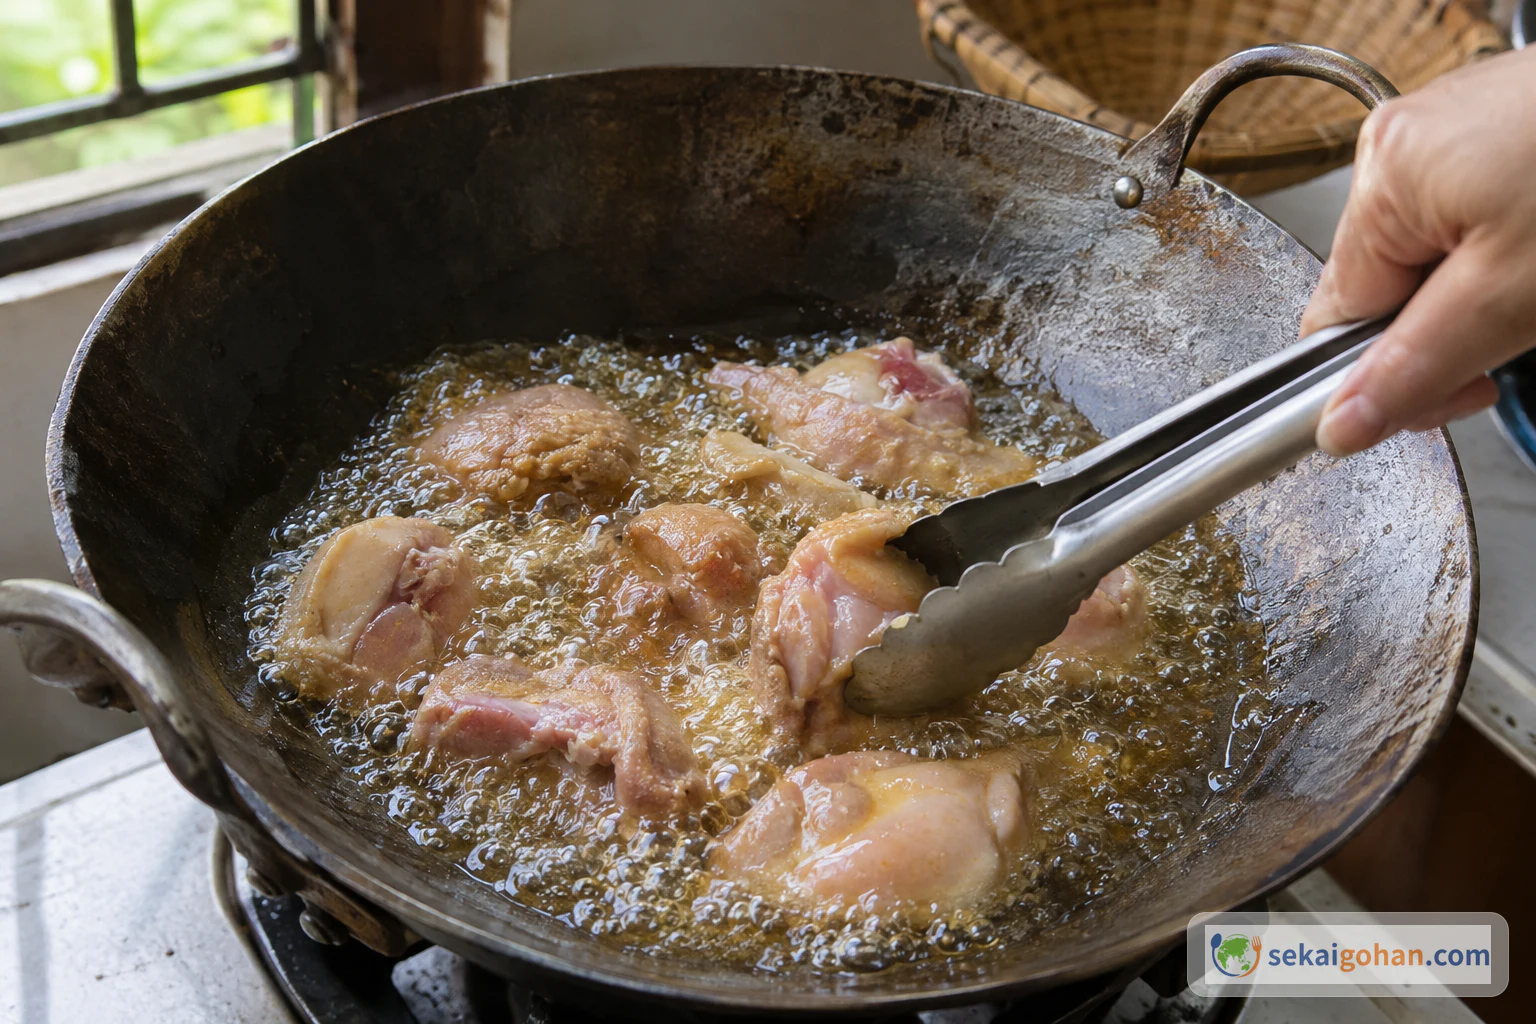
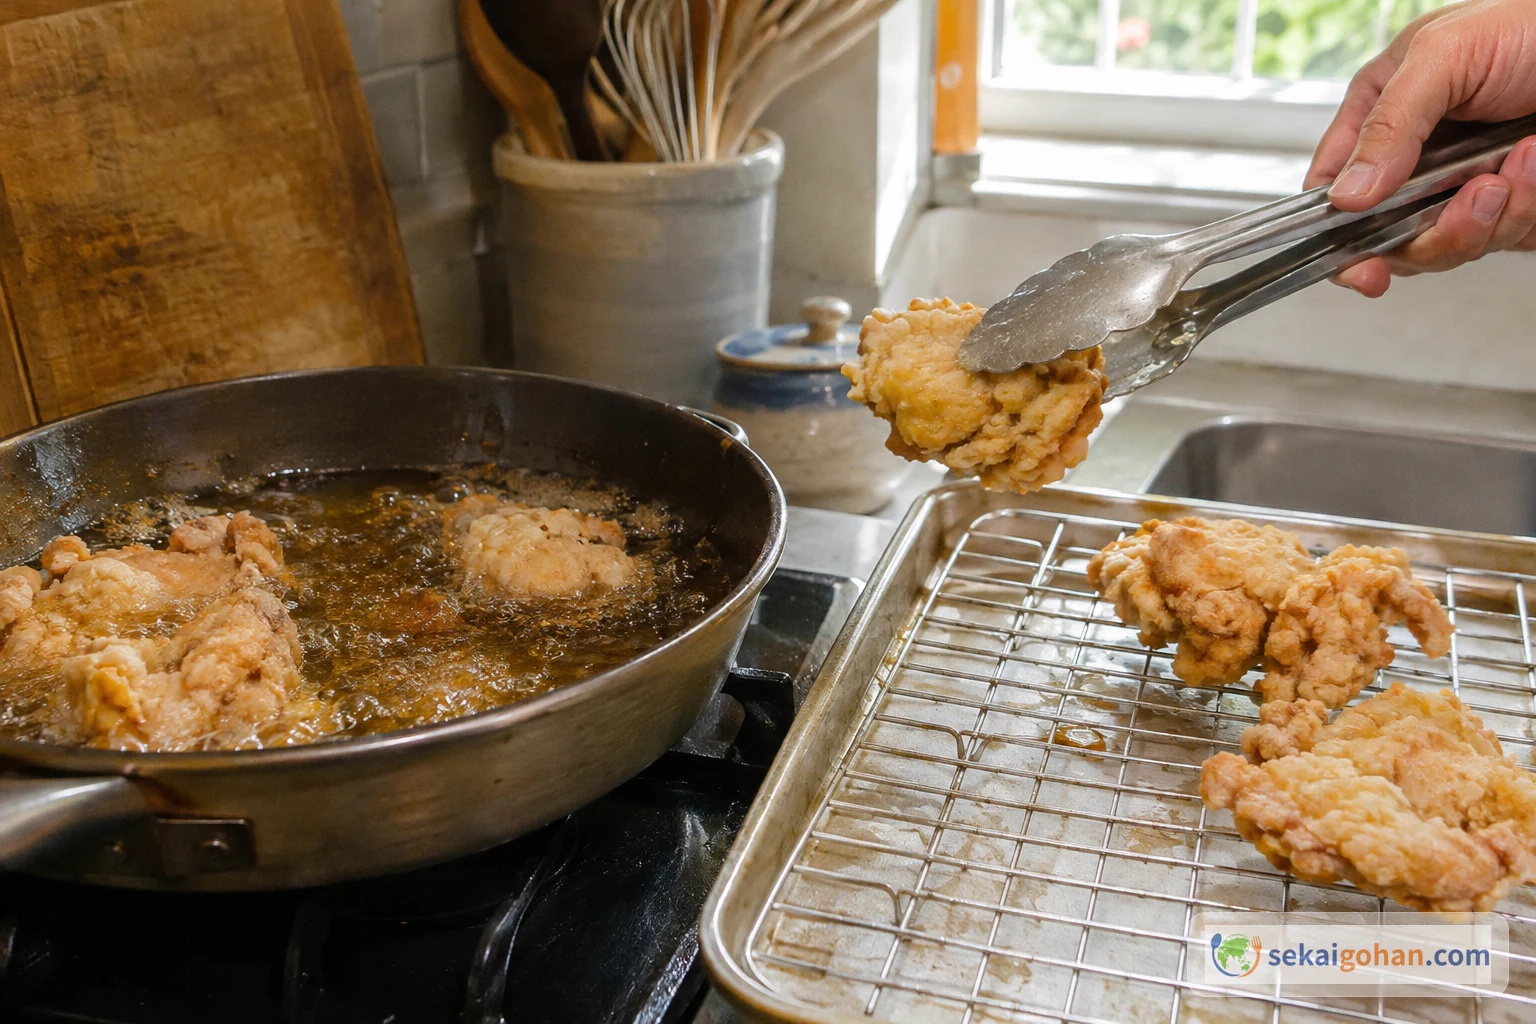
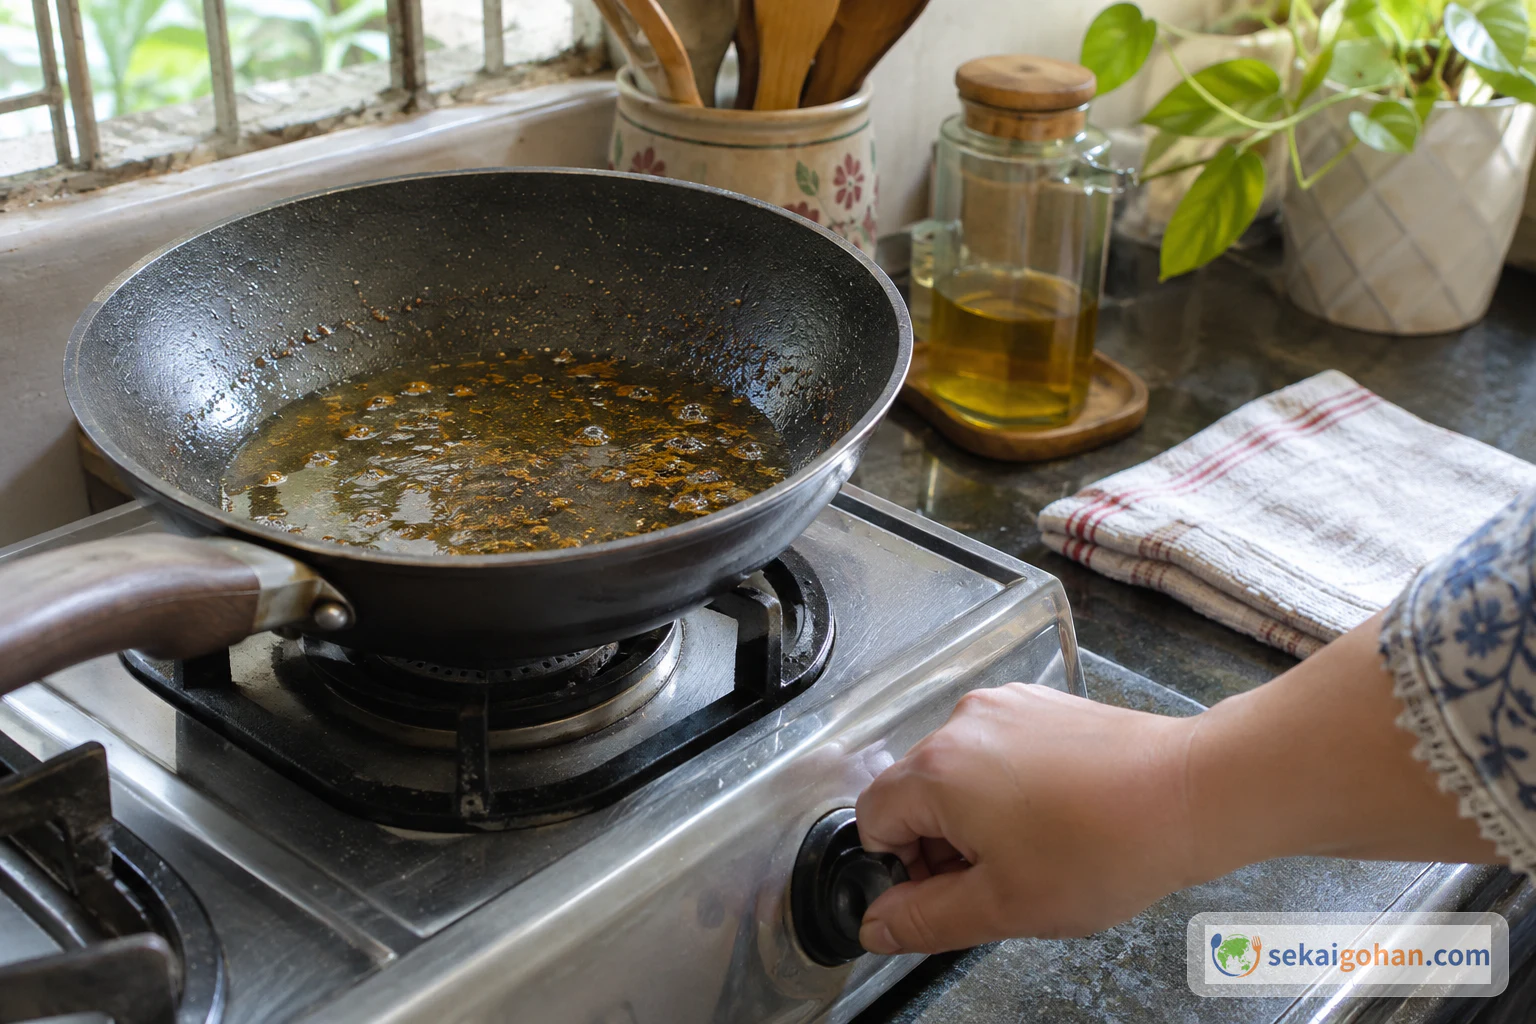
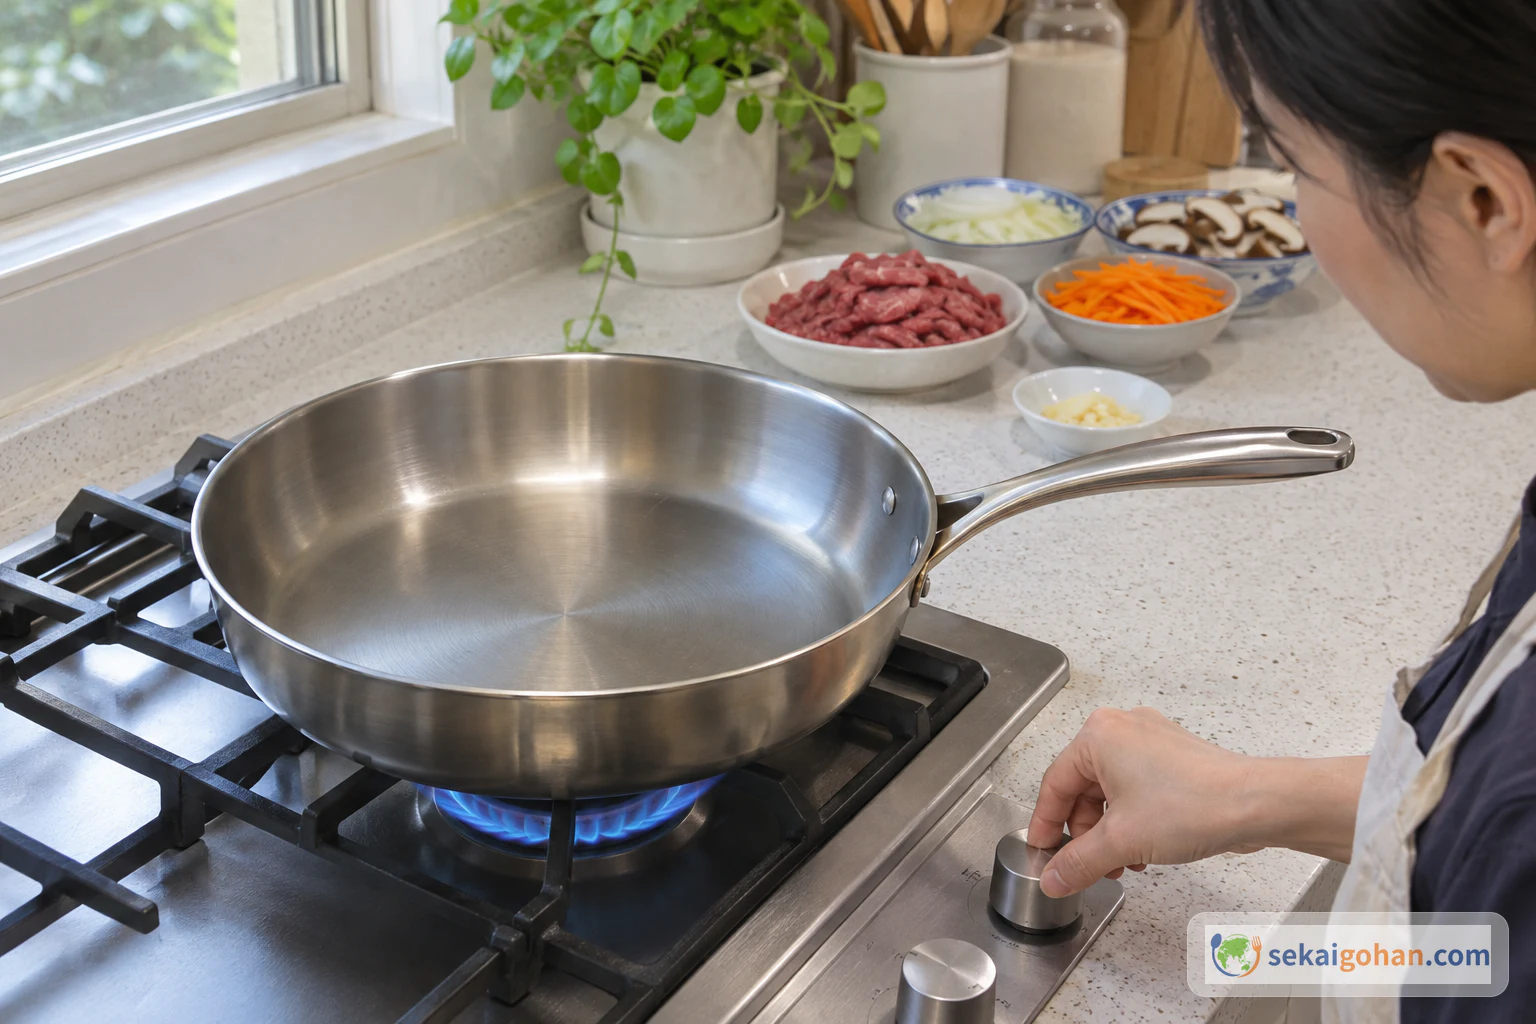
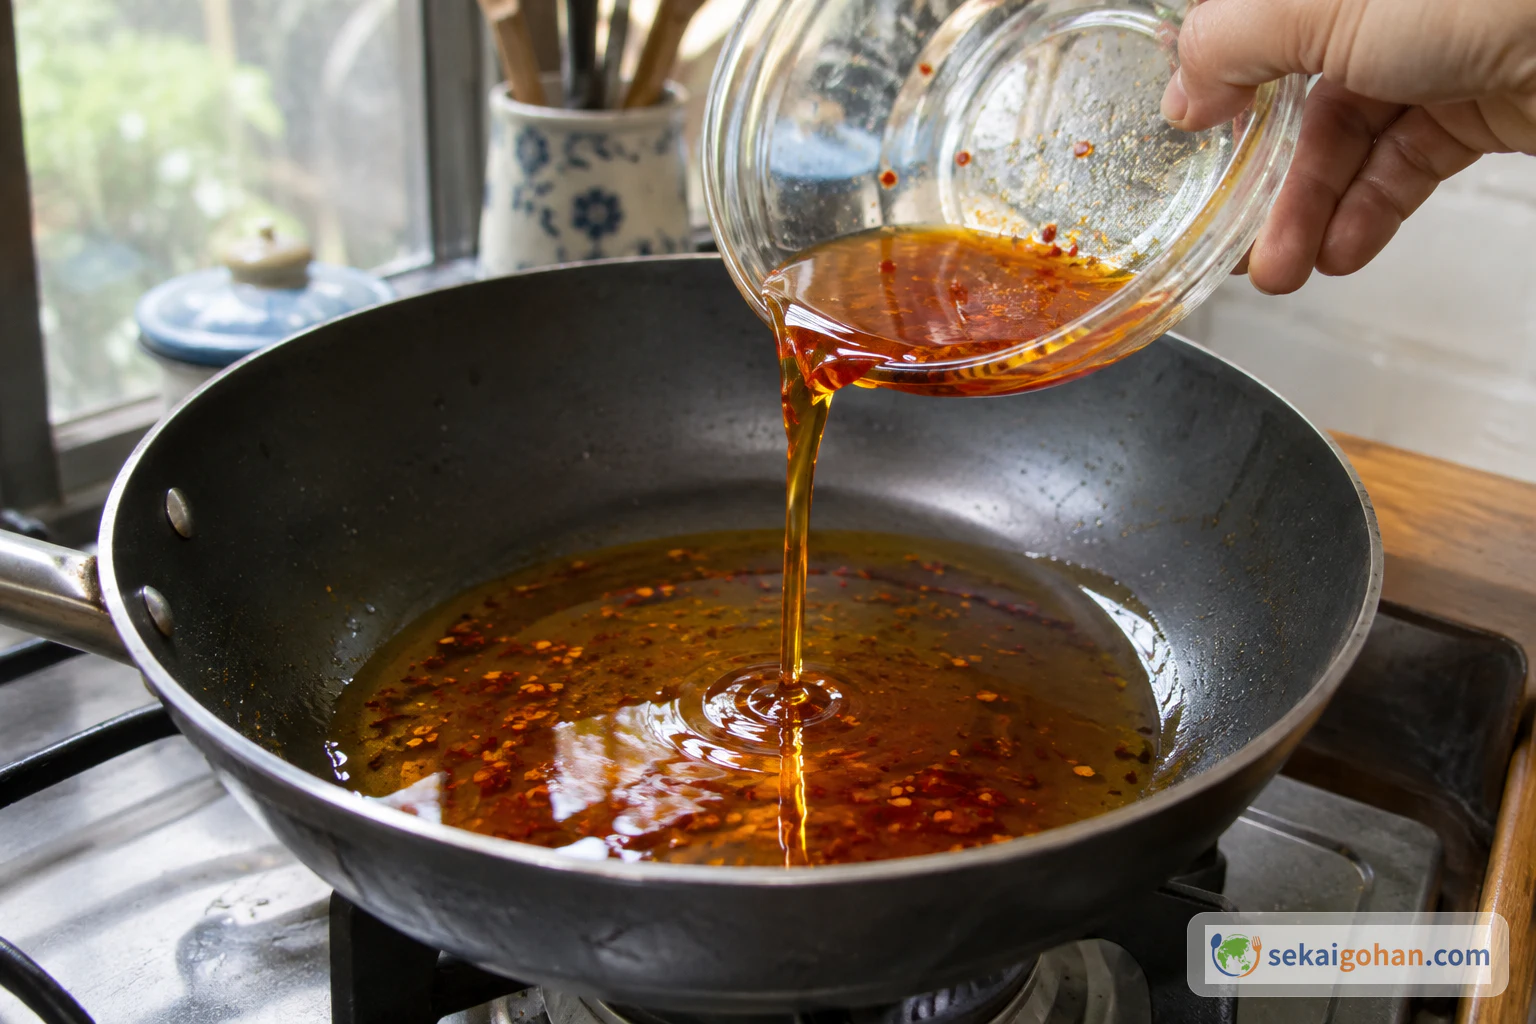
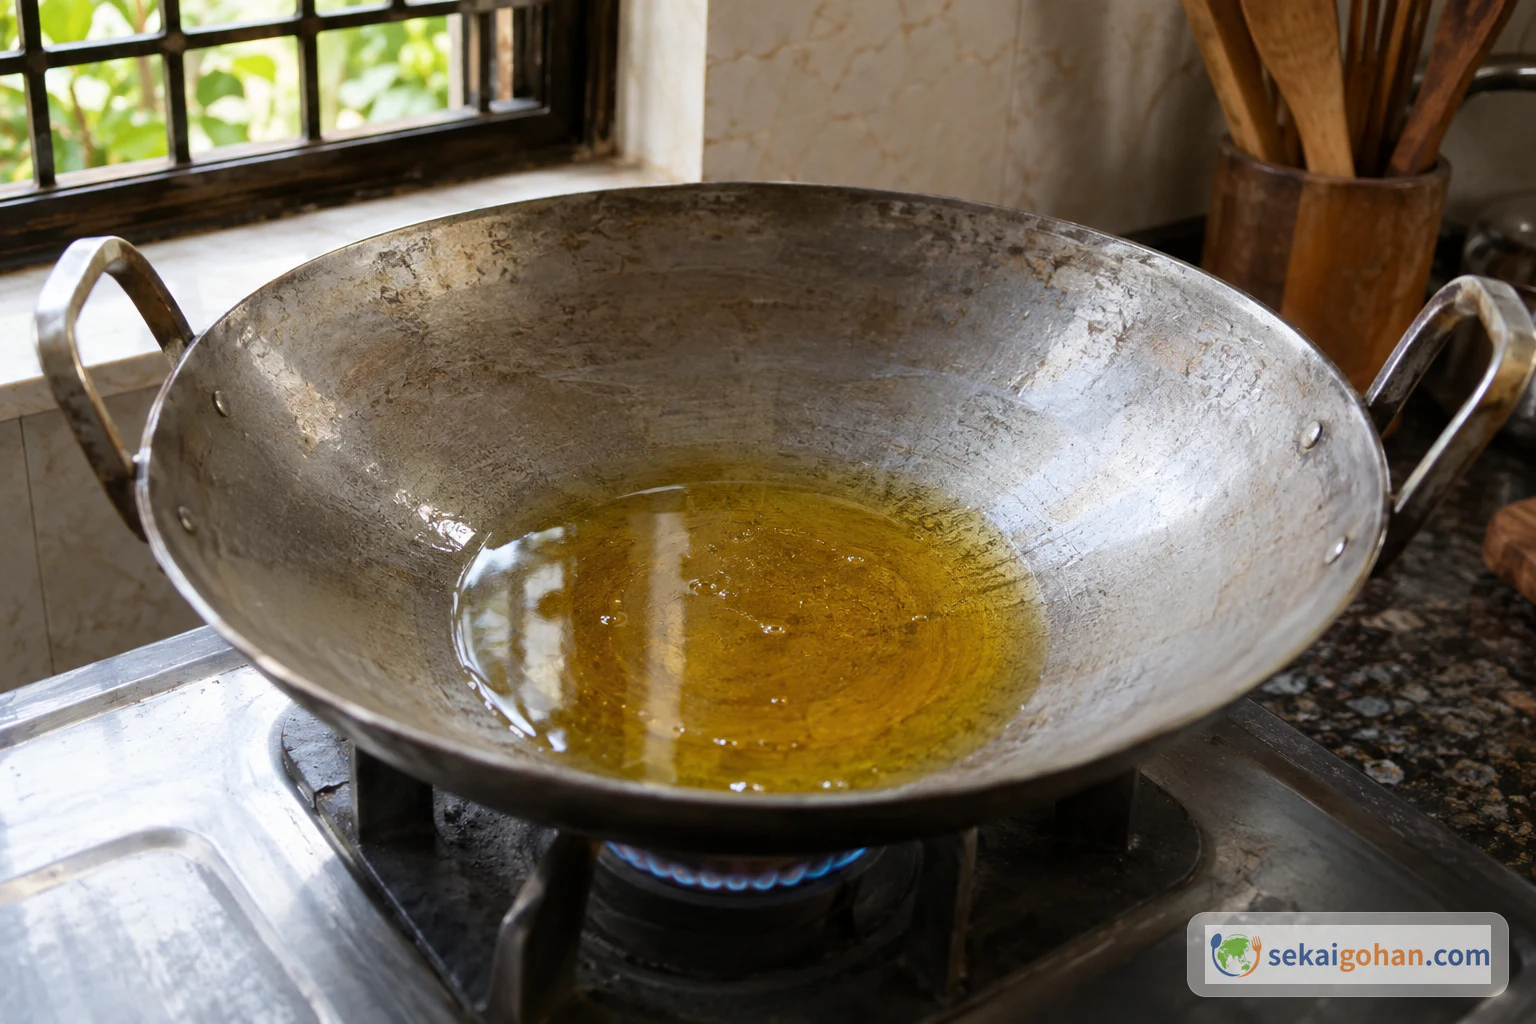
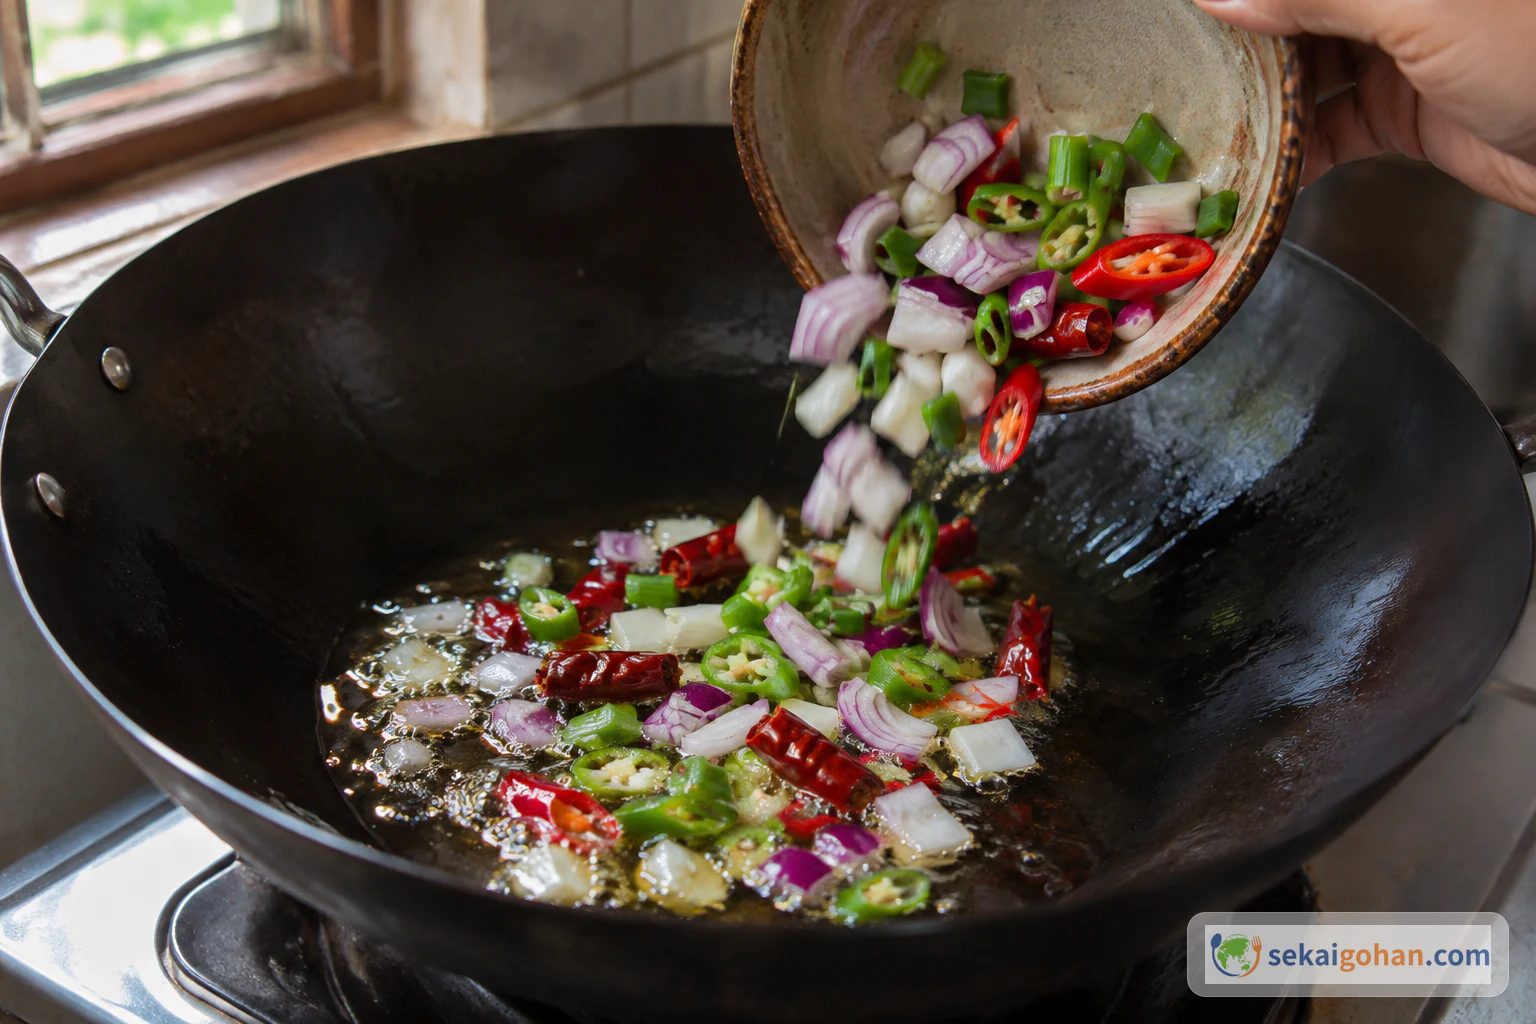
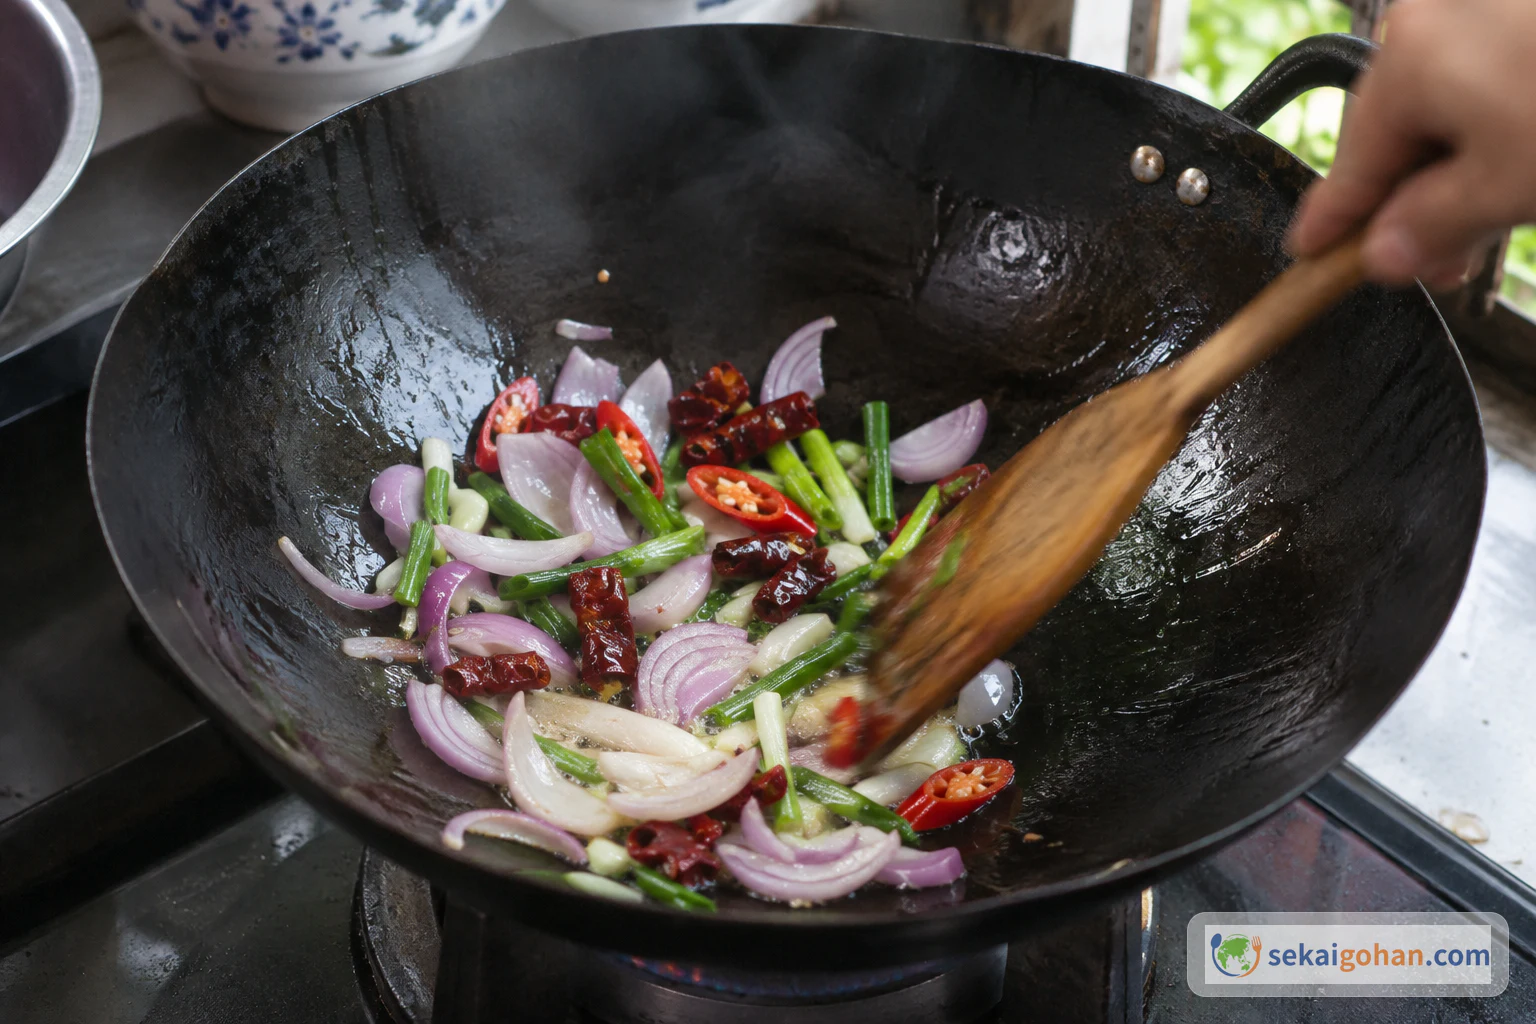
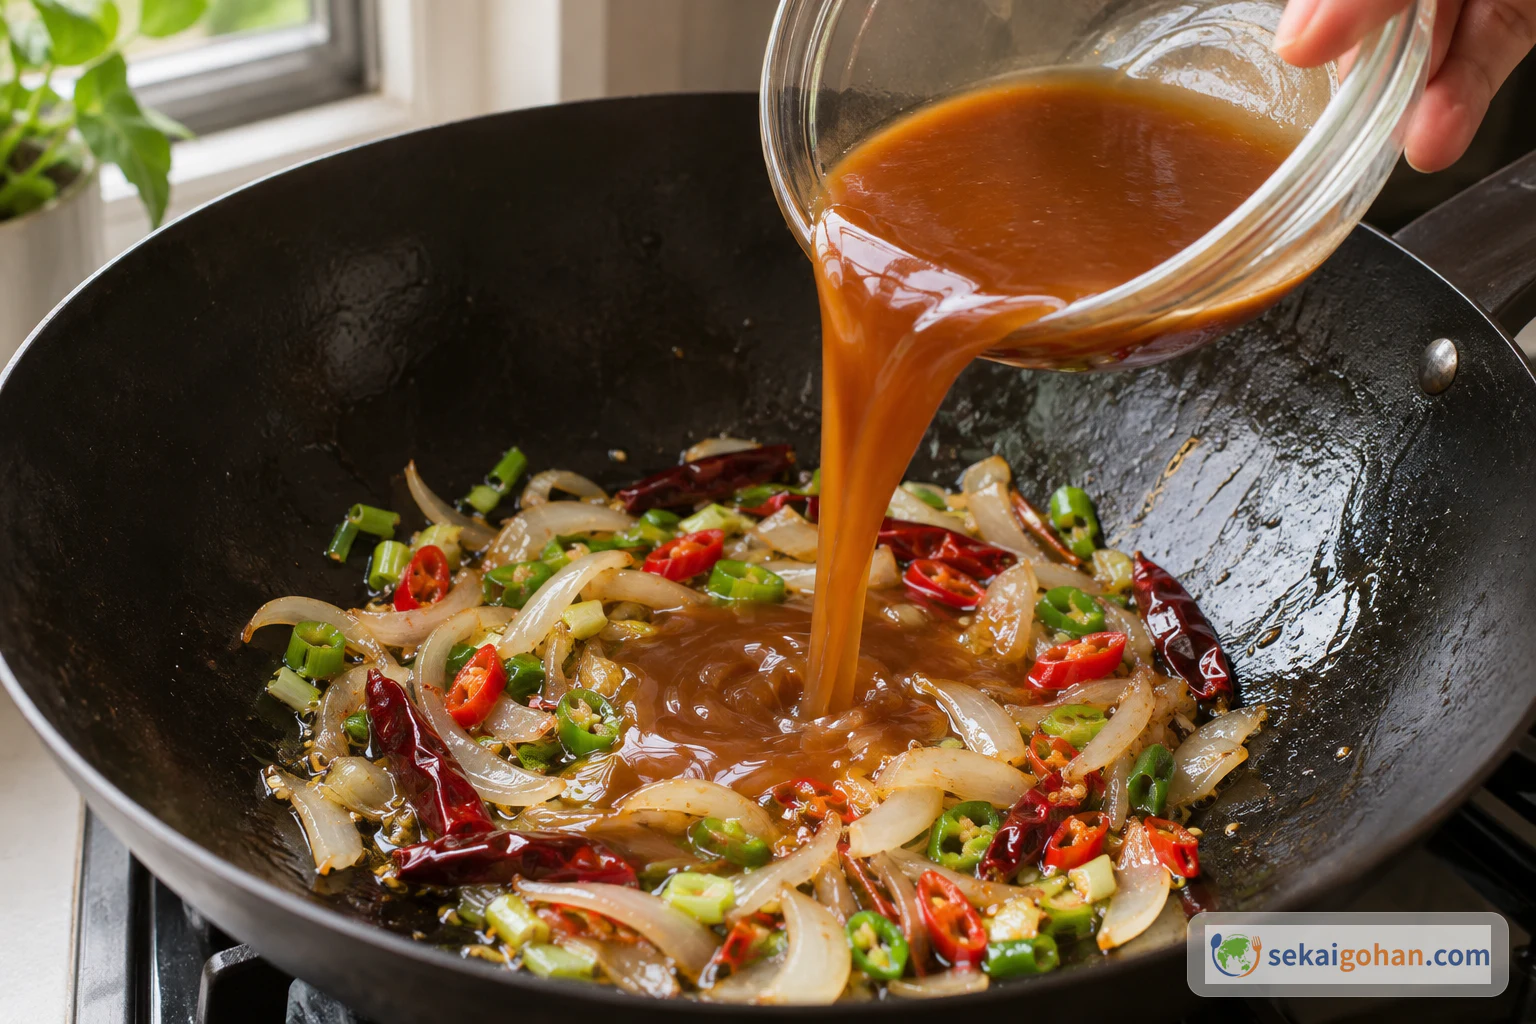
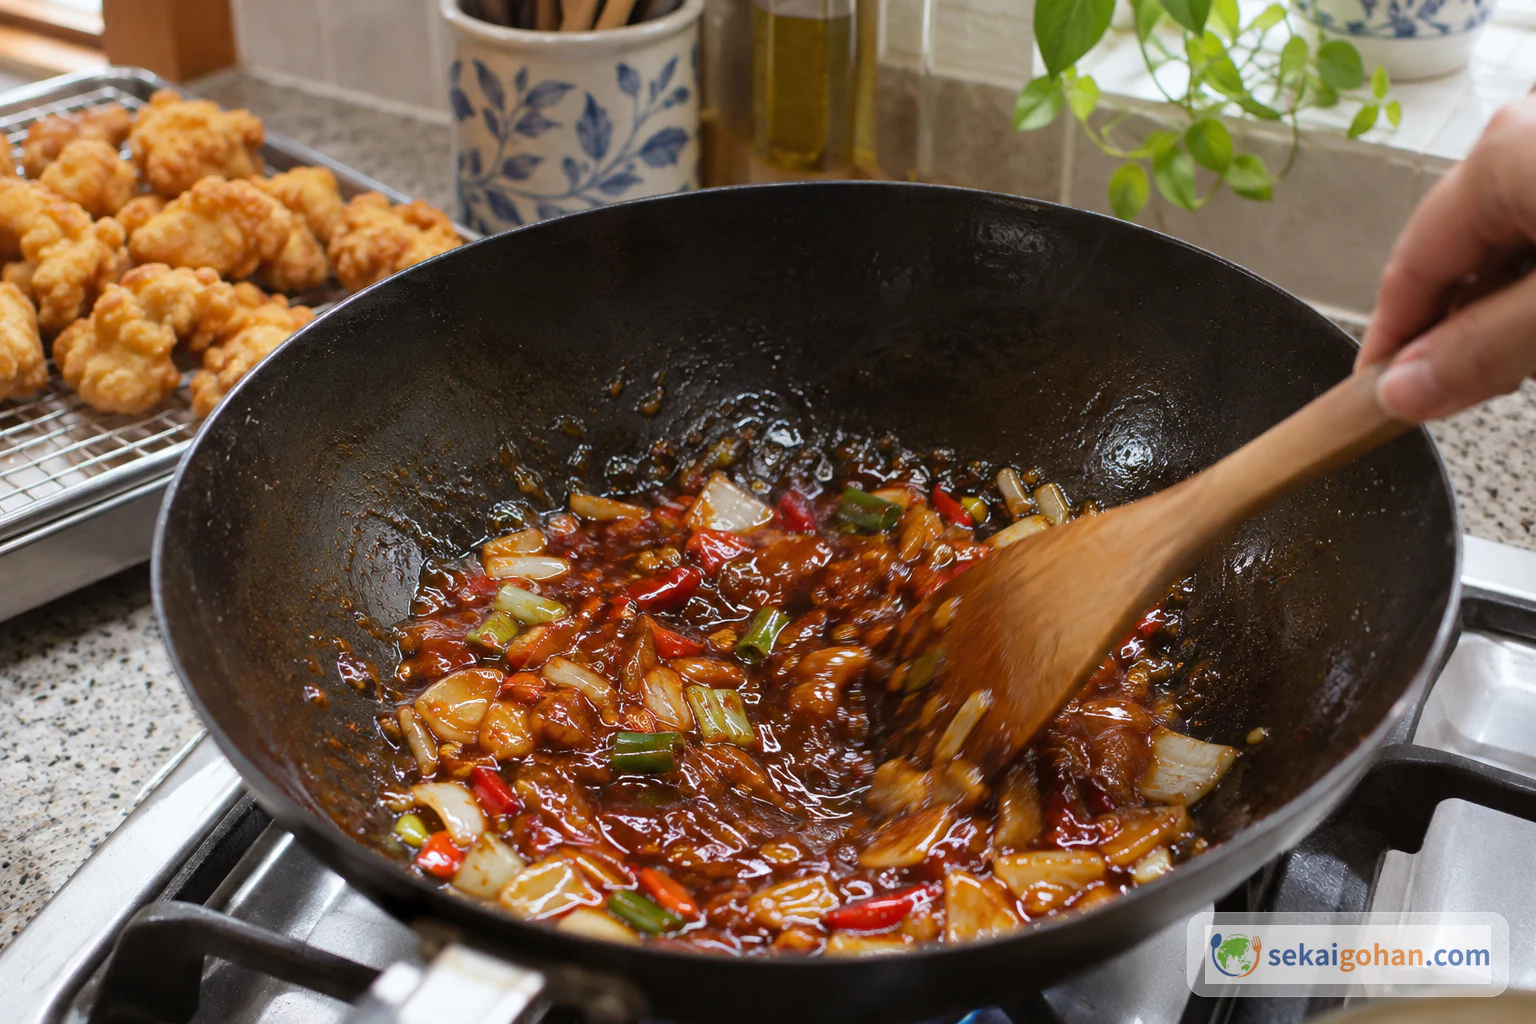
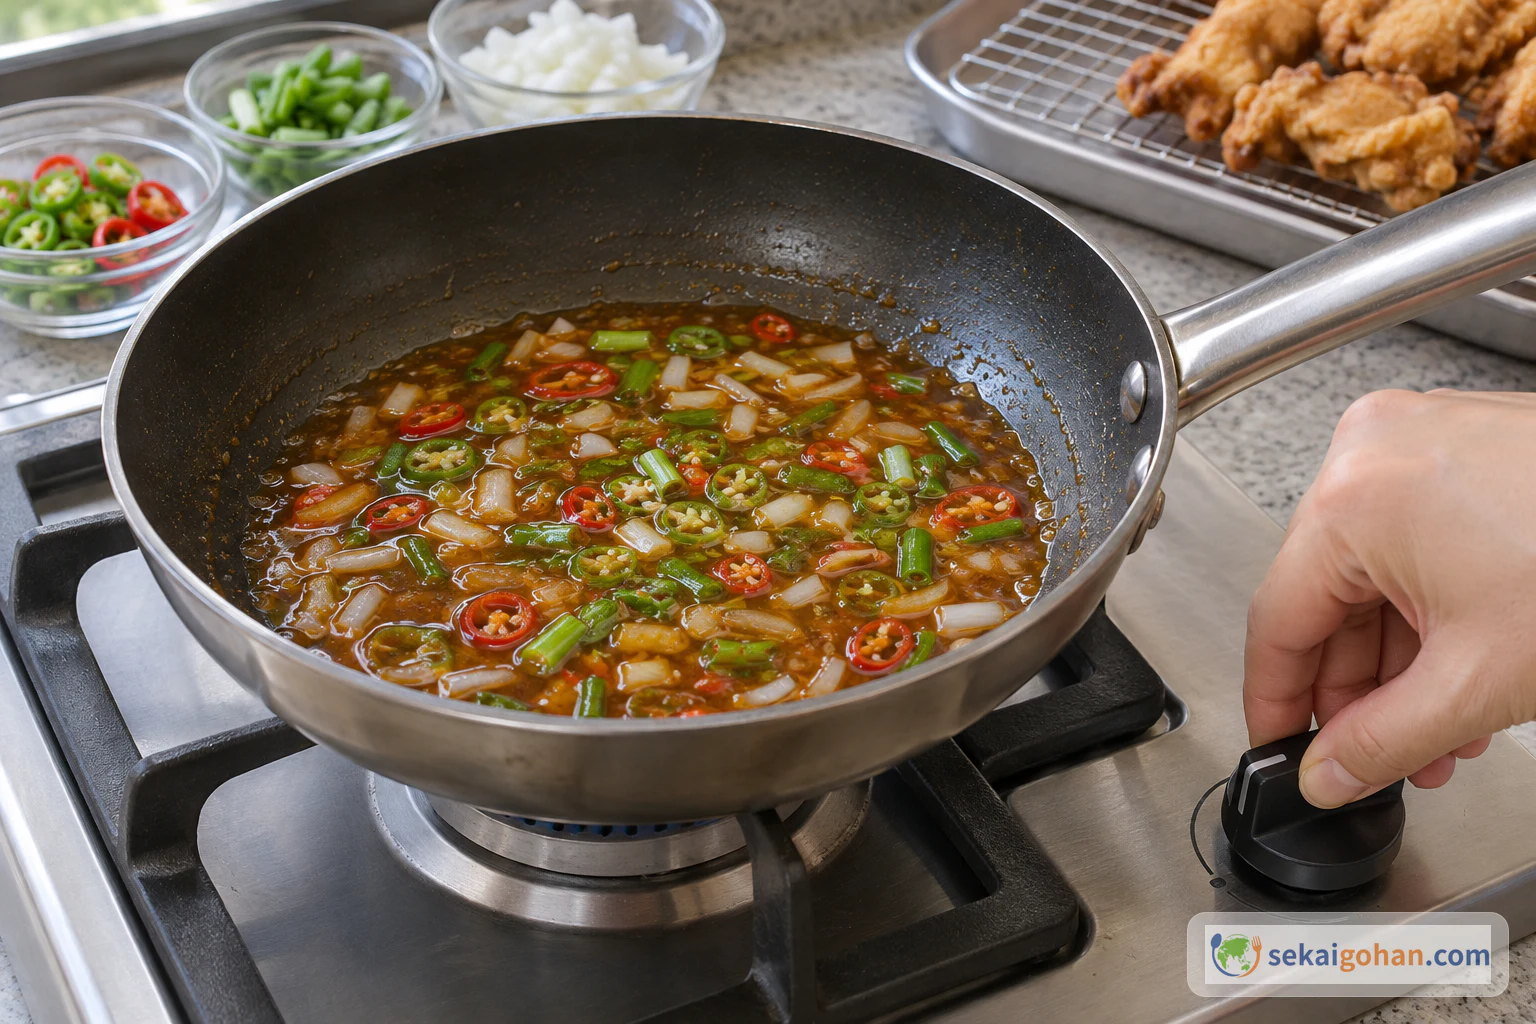
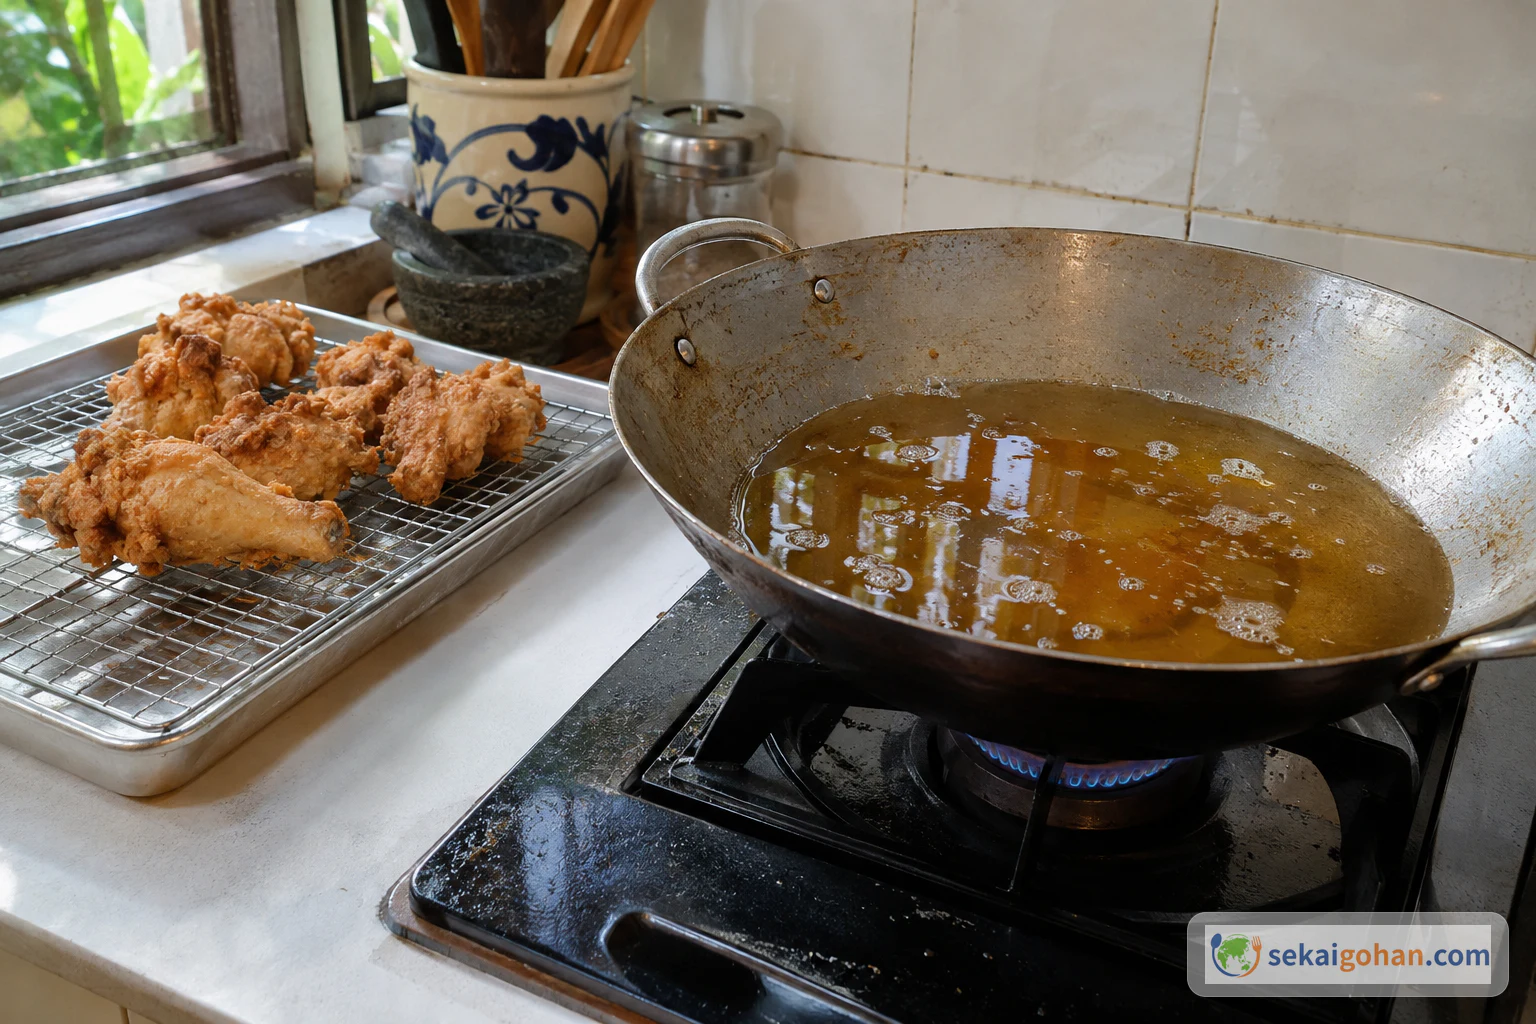
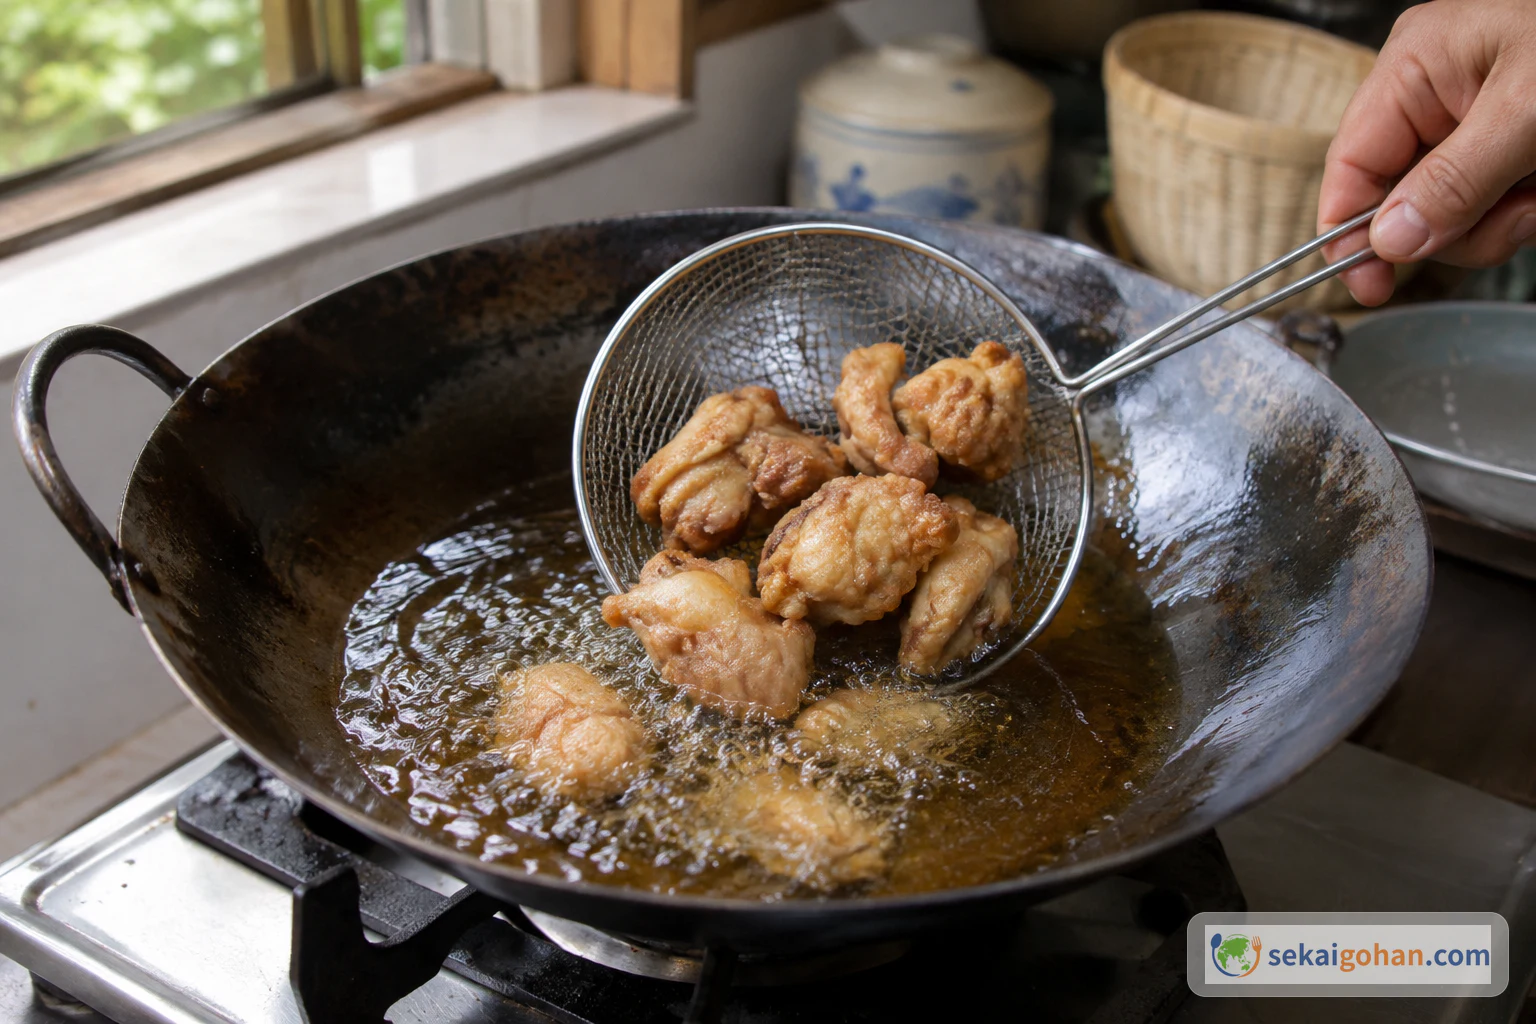
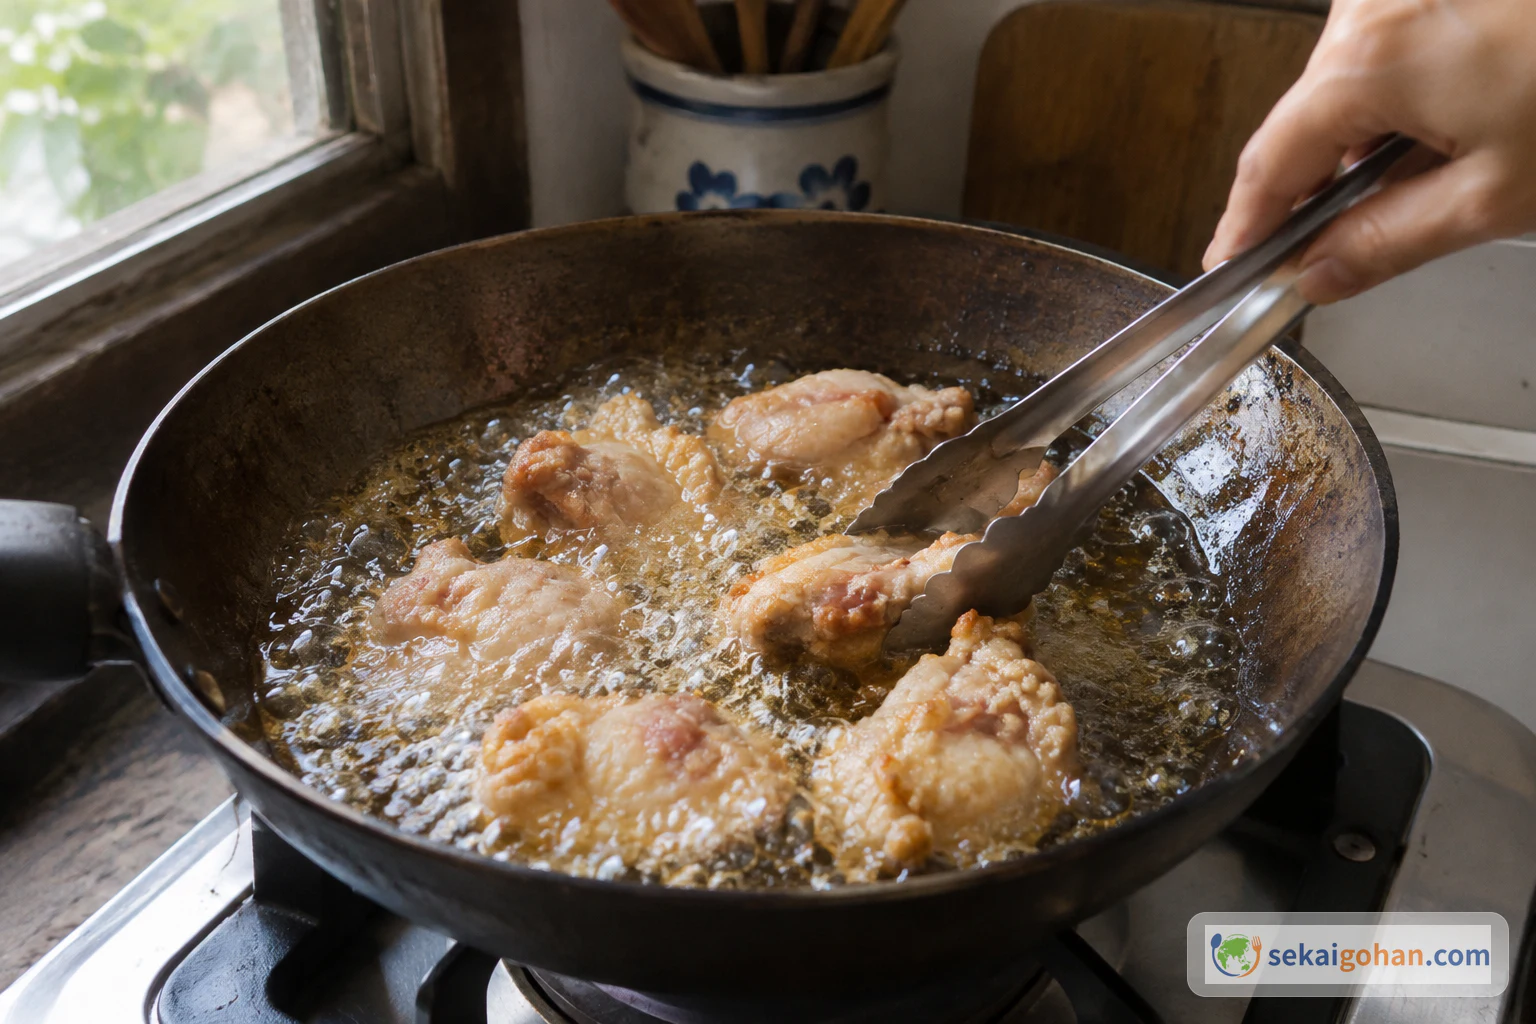
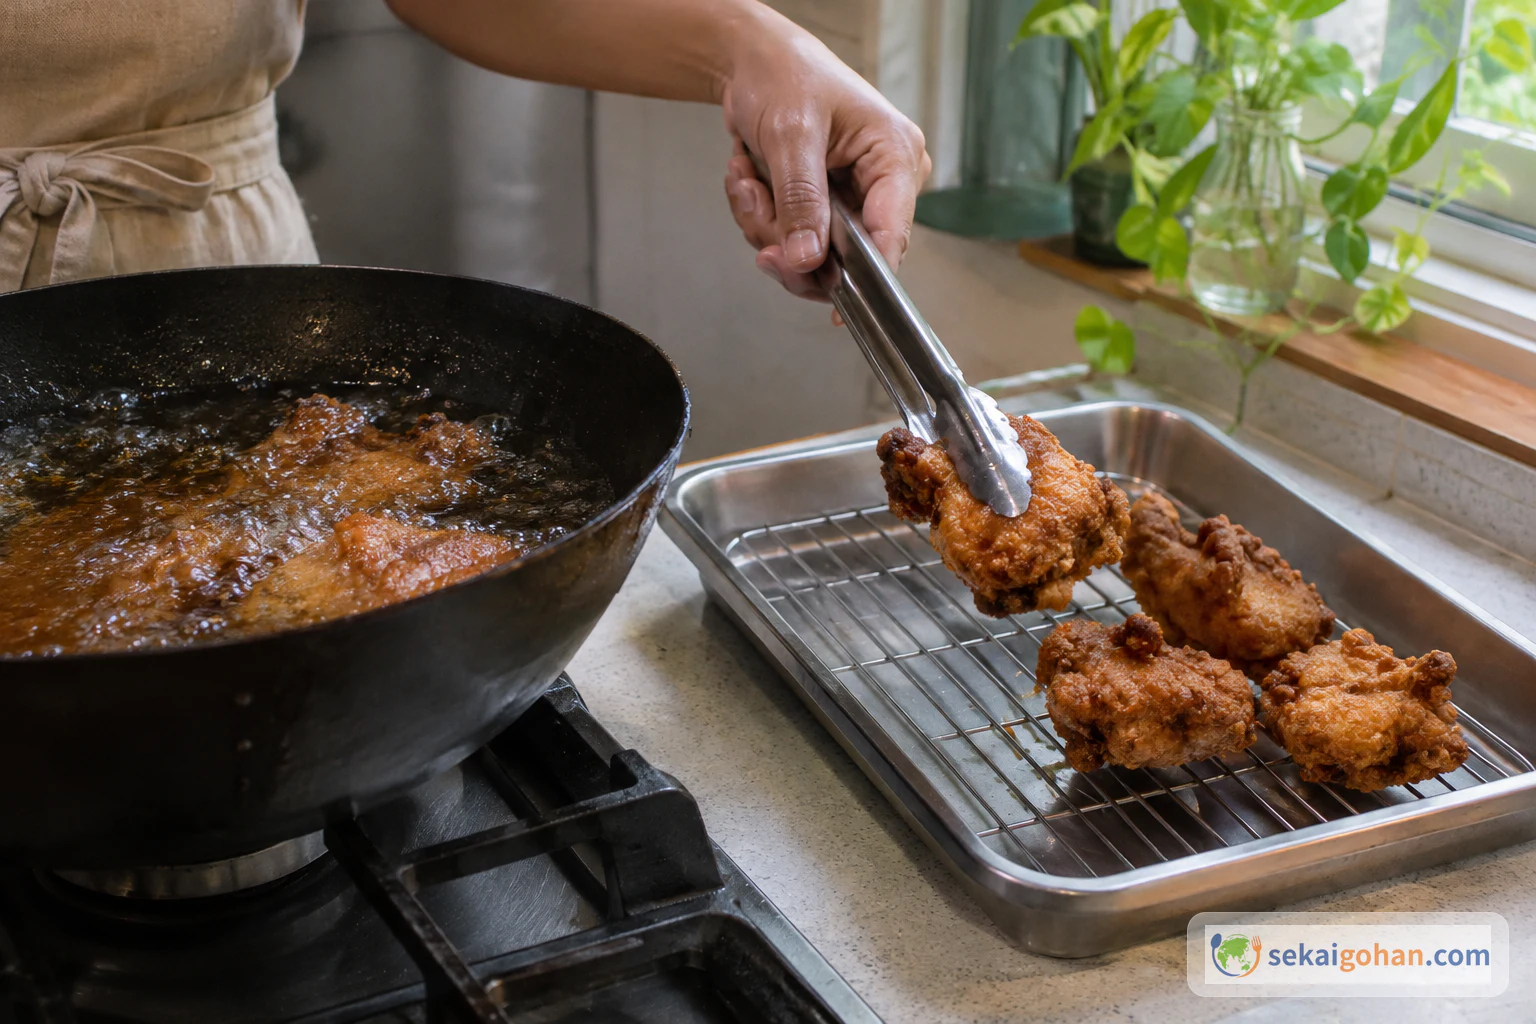
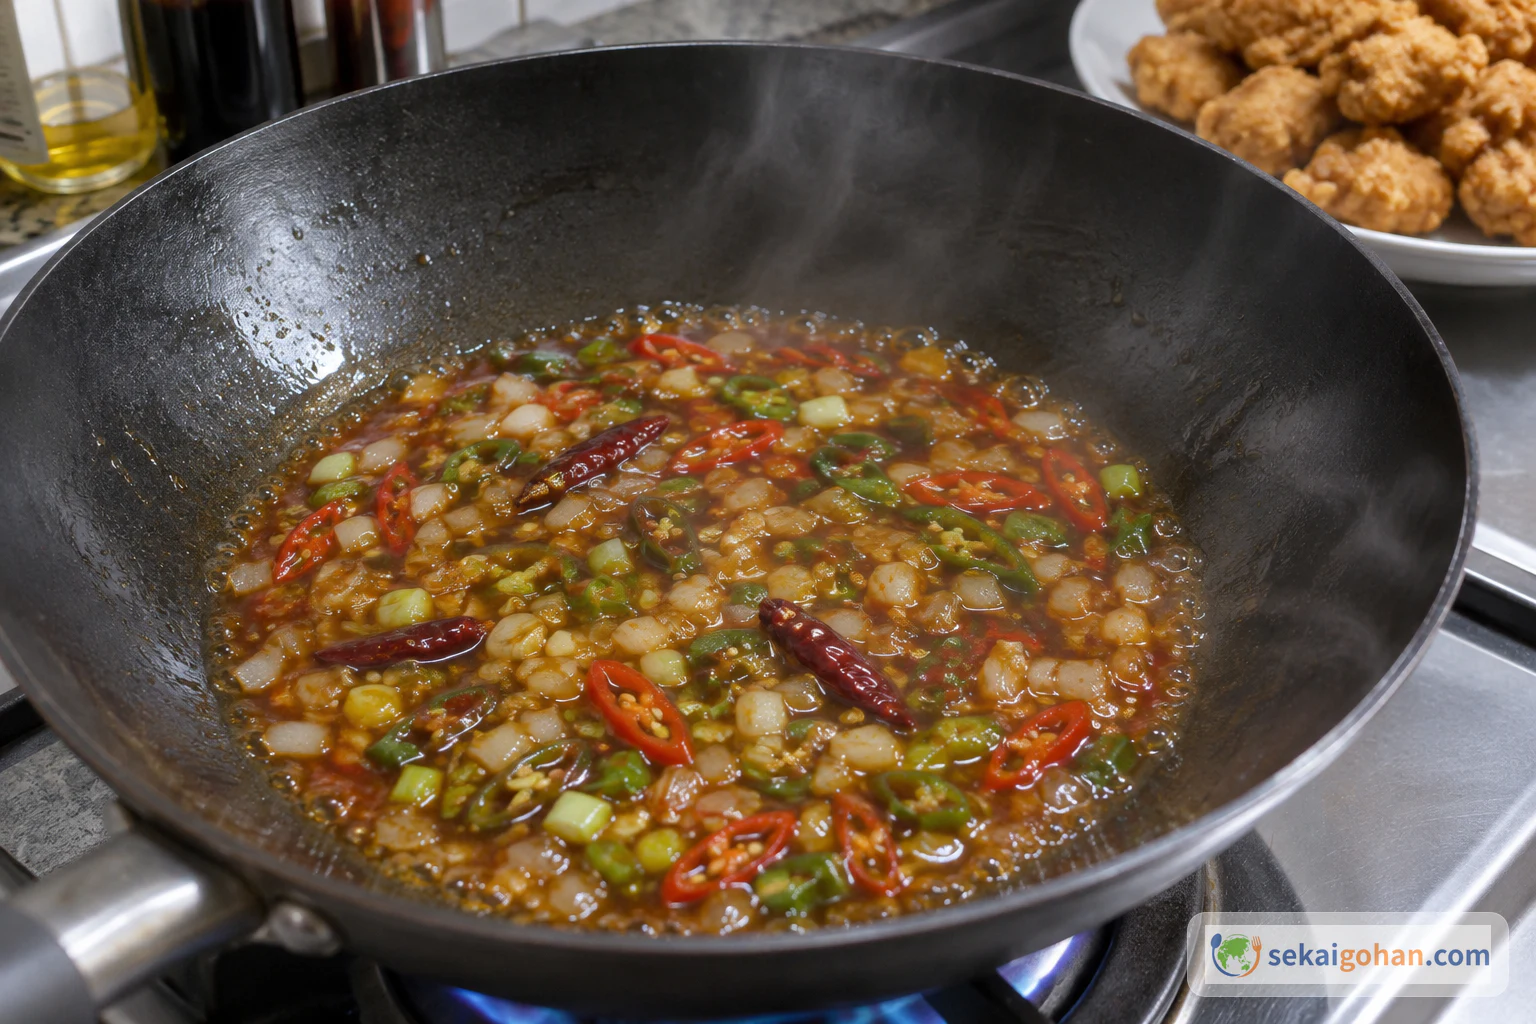
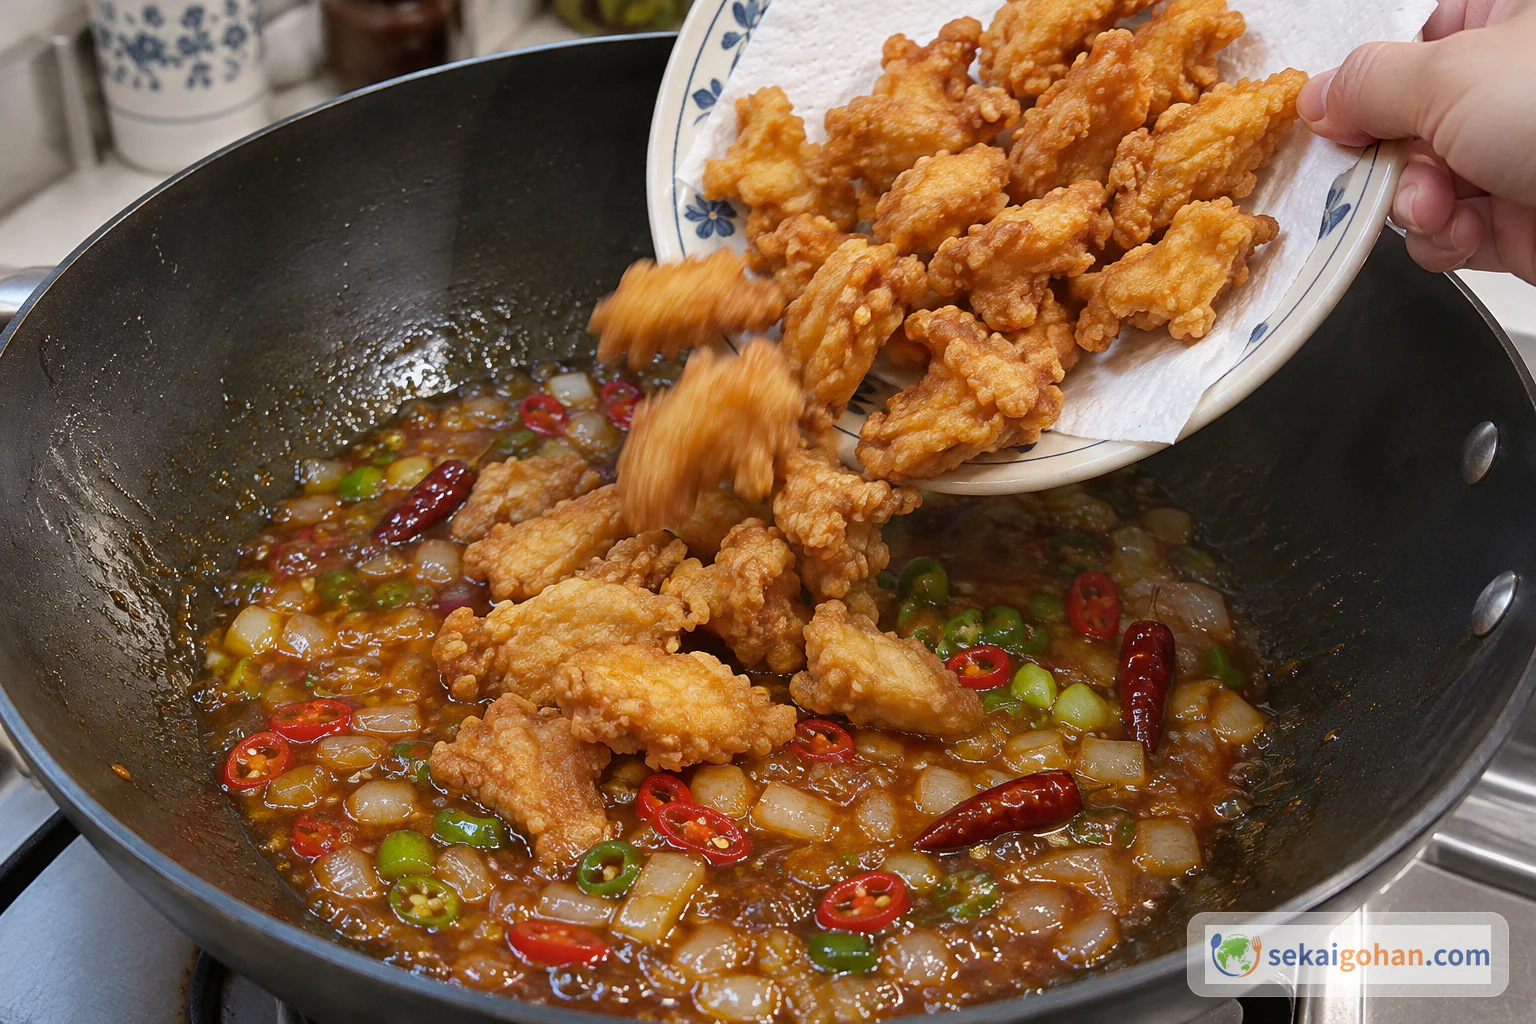
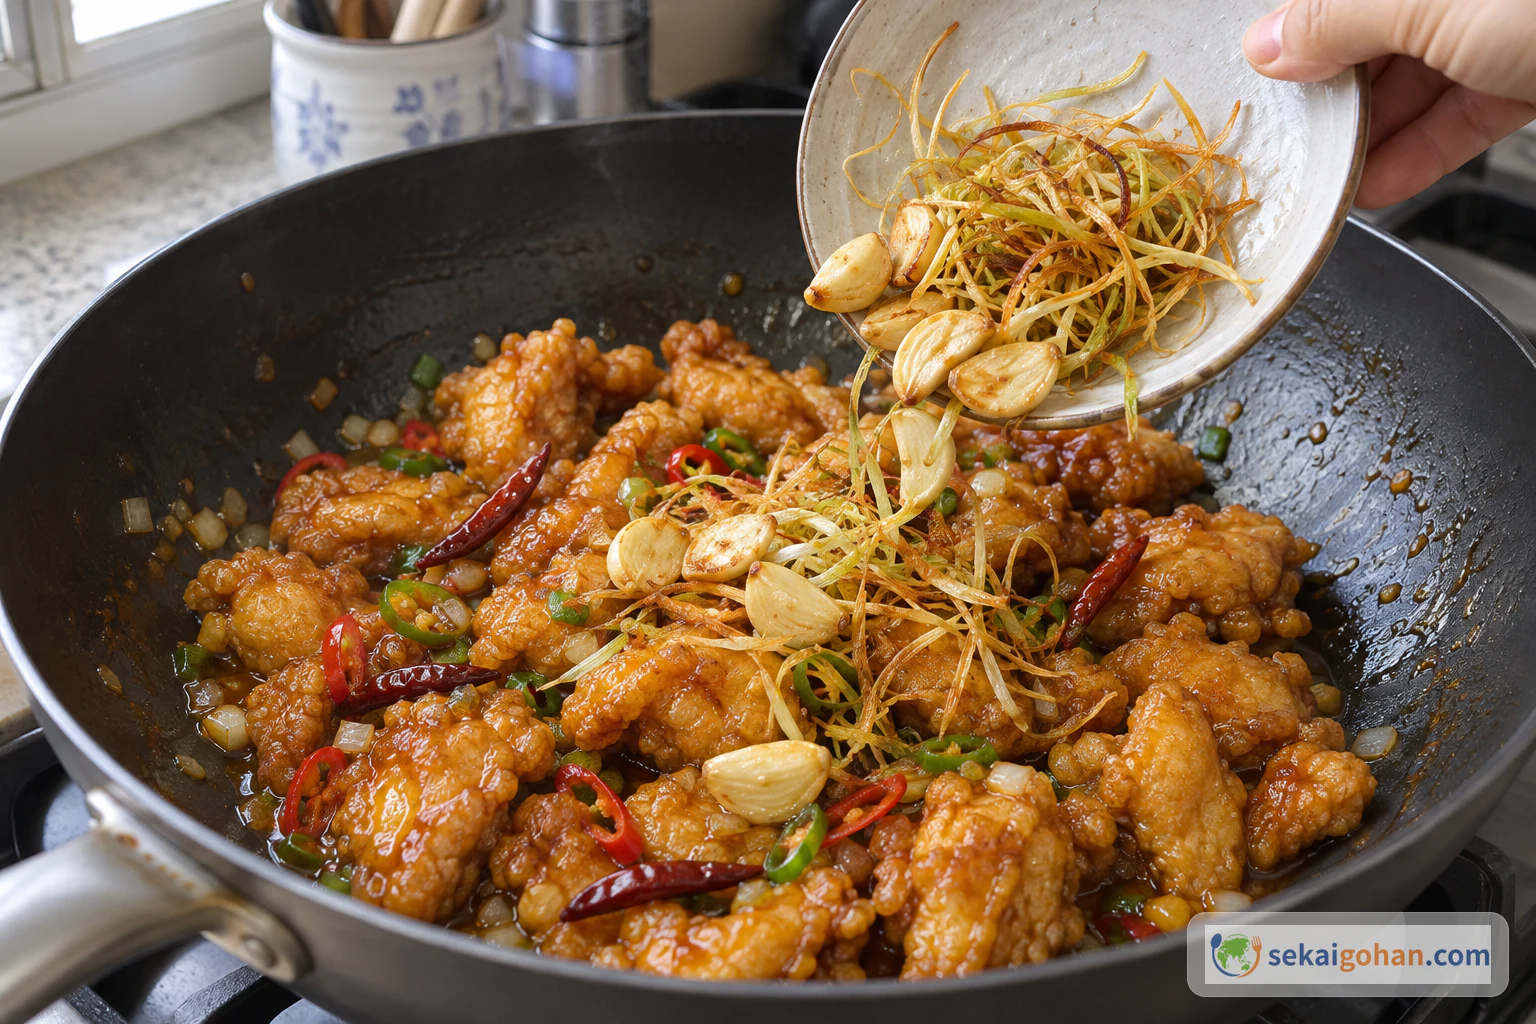
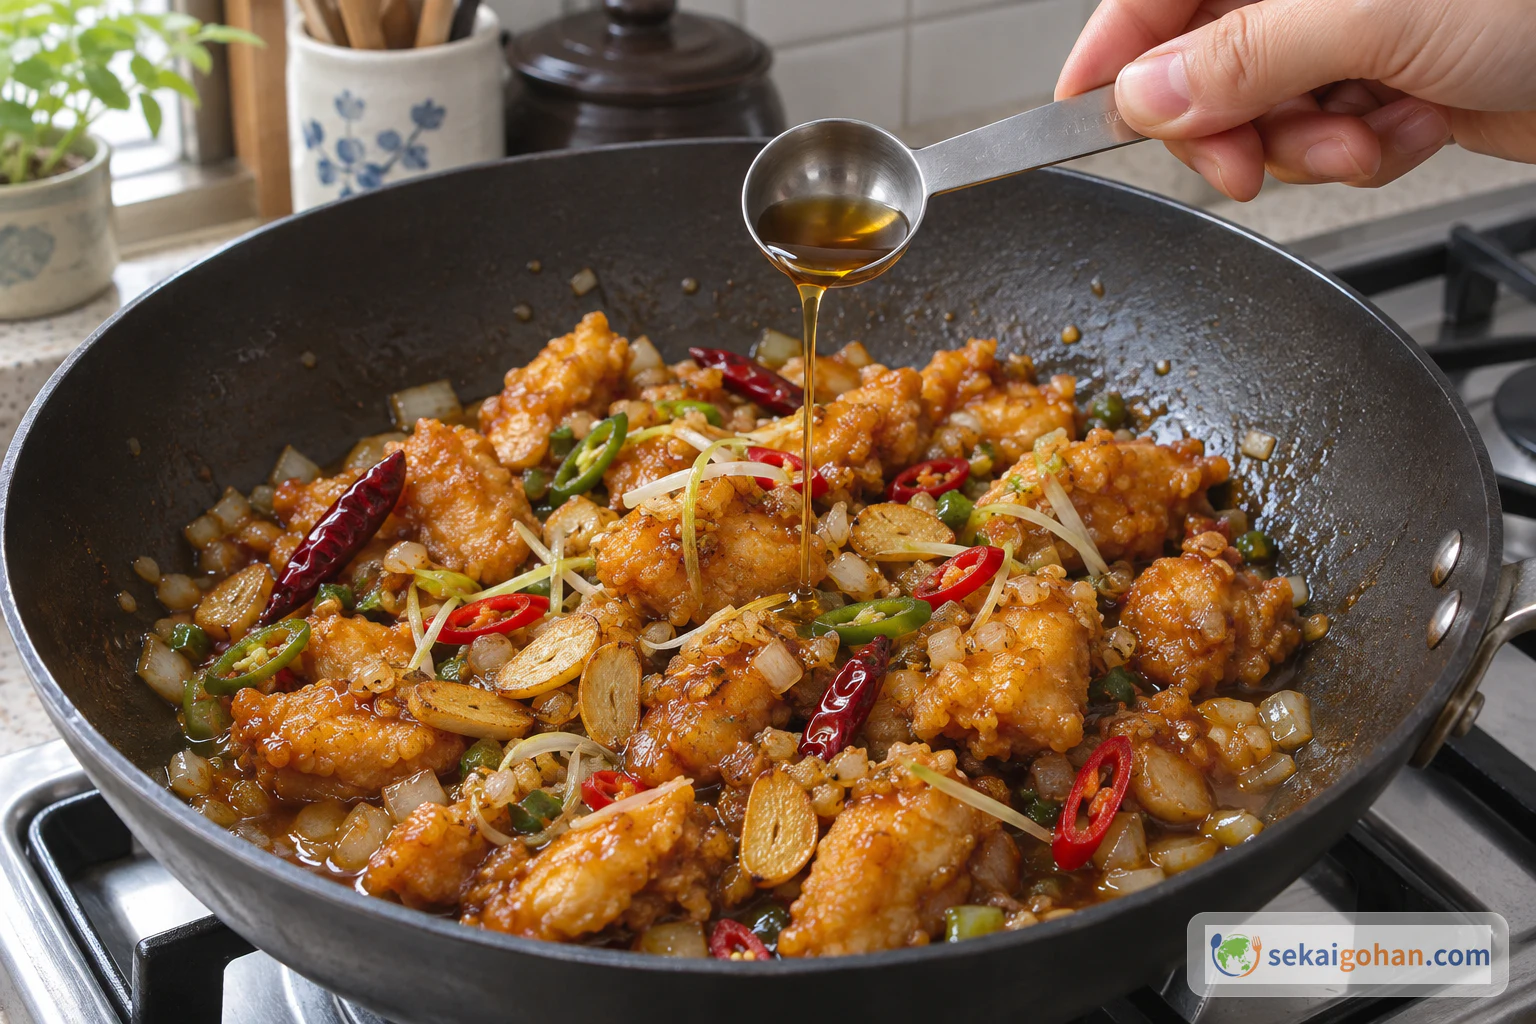
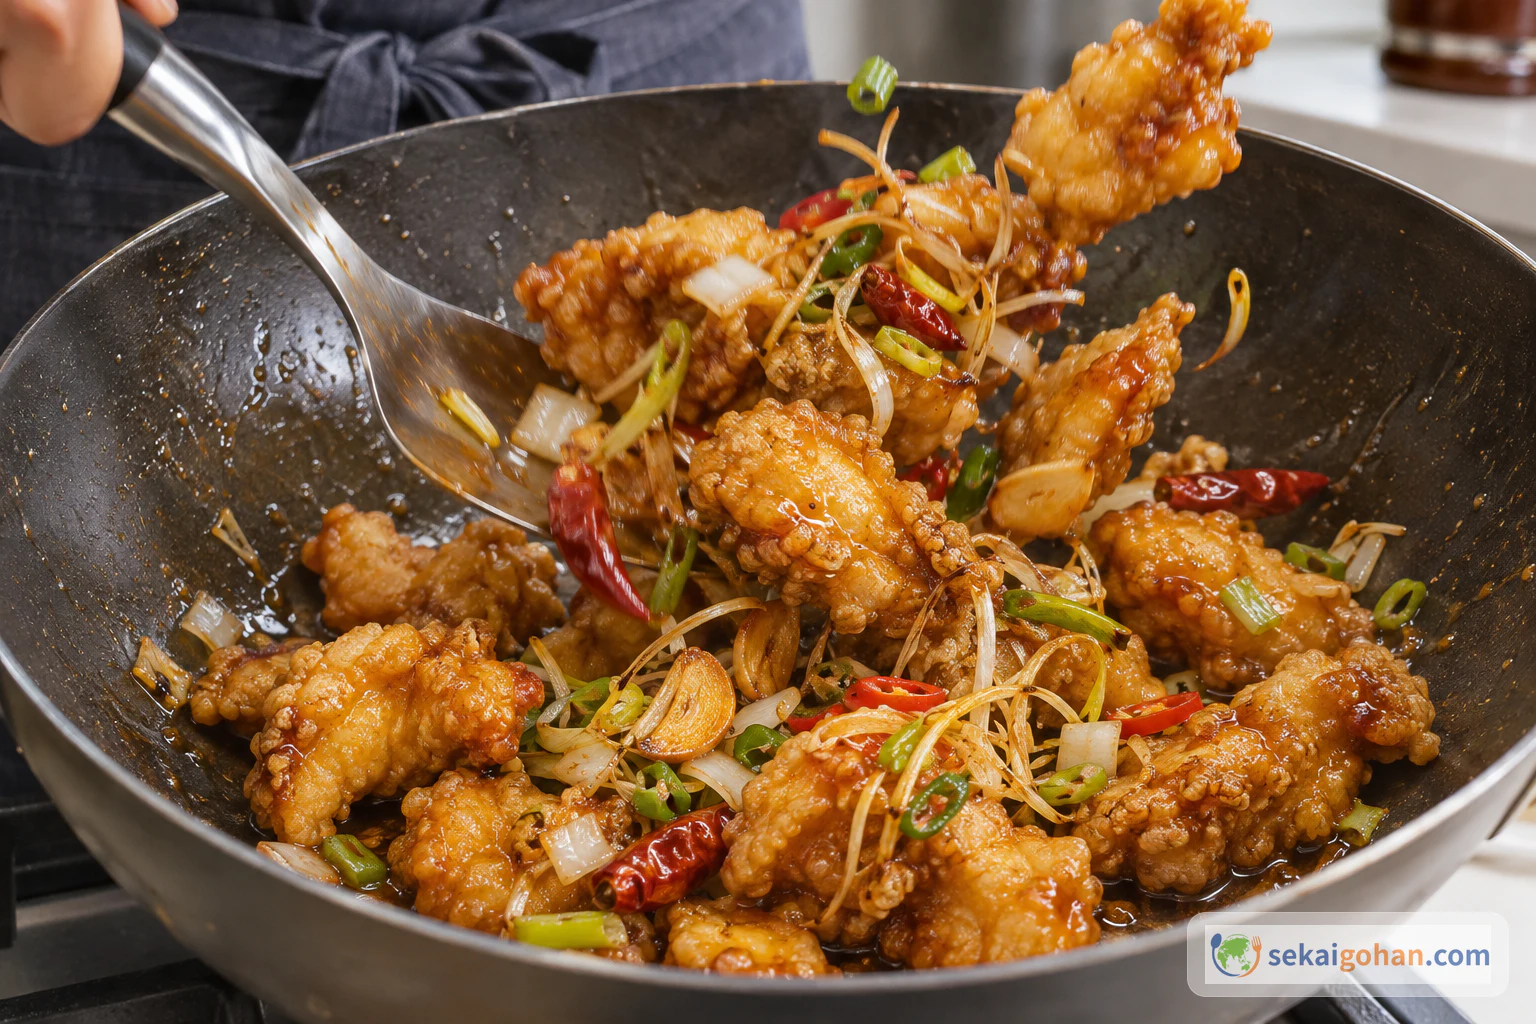
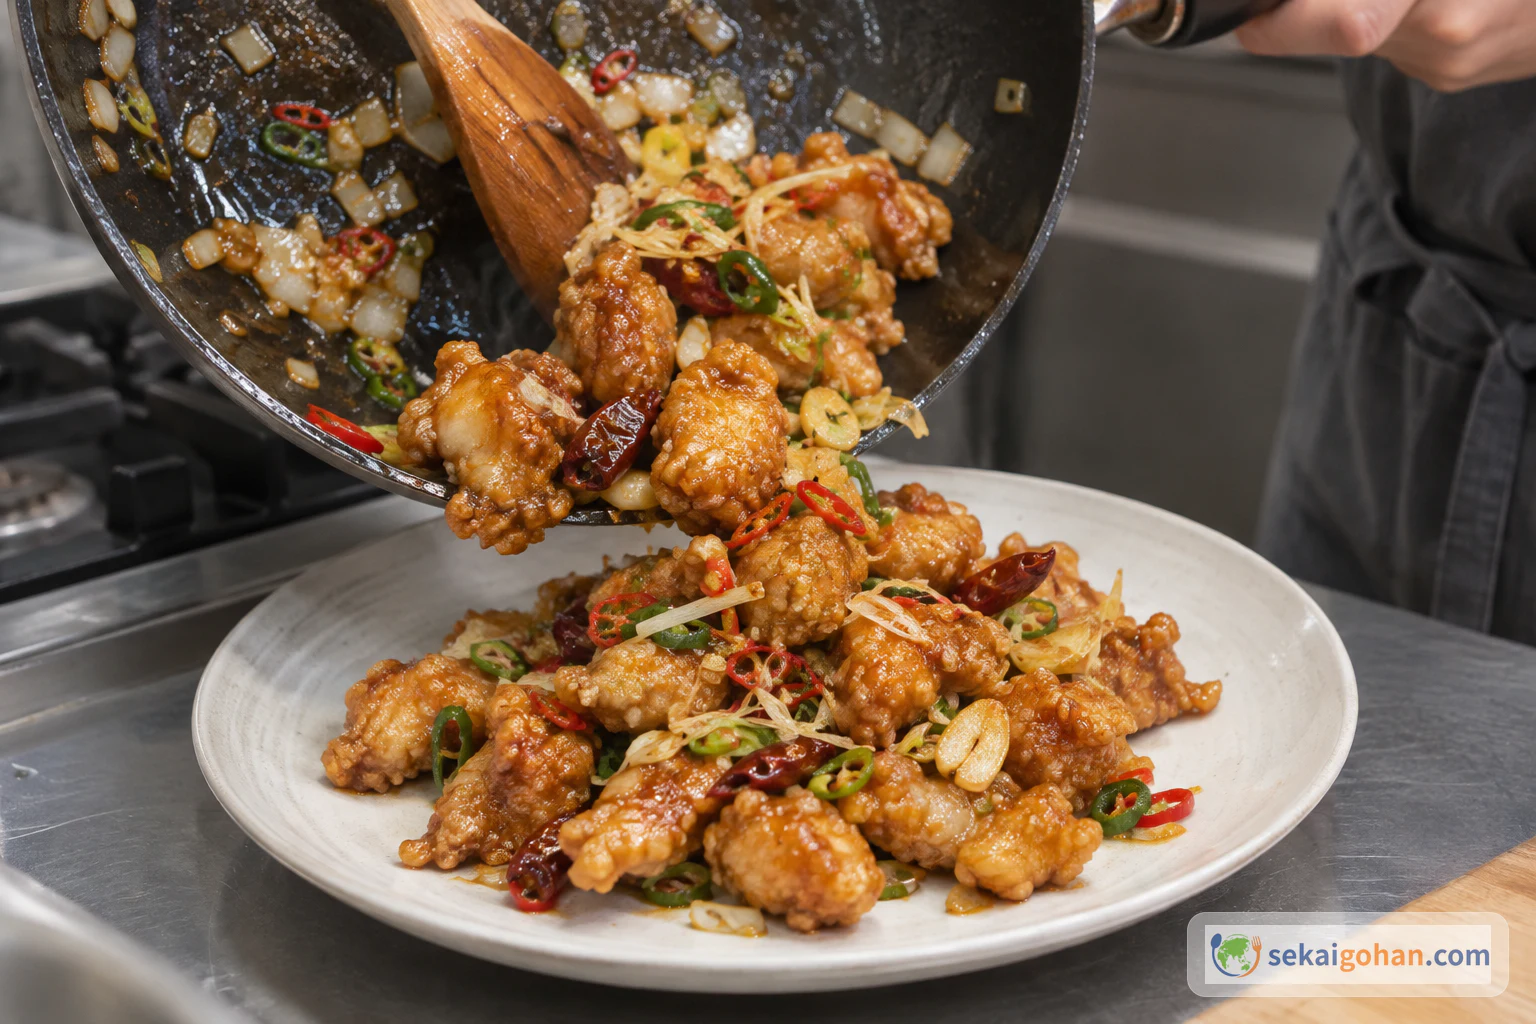
The work happens in three pans. In a small saucepan, halved garlic and shredded leek fry in oil until light golden. They are lifted out and kept aside, and coarse chili flakes go into the hot oil only after the heat is off. In a wide pan, starch-coated chicken breast fries once, rests on a rack, then goes back in for a second fry. In a large frying pan, the strained chili oil cooks onion, green onion and chilies, and a sauce of soy sauce, rice syrup and white vinegar thickens around them in seconds. At the end, the chicken, the reserved fried garlic and leek, and a little sesame oil are tossed together in the reheated sauce and served right away.
This article follows one version of the dish: the boneless chicken-breast kkanpunggi from Maangchi's written recipe, for 2–3 servings, with an egg white and potato starch coating and a rice-syrup sauce. All amounts, the order of the steps, the oil temperature and the frying times come from that recipe. Separately, we have added food-safety handling from FoodSafety.gov: marinating in the refrigerator, keeping raw and cooked tools apart, and checking the chicken with a food thermometer before serving.
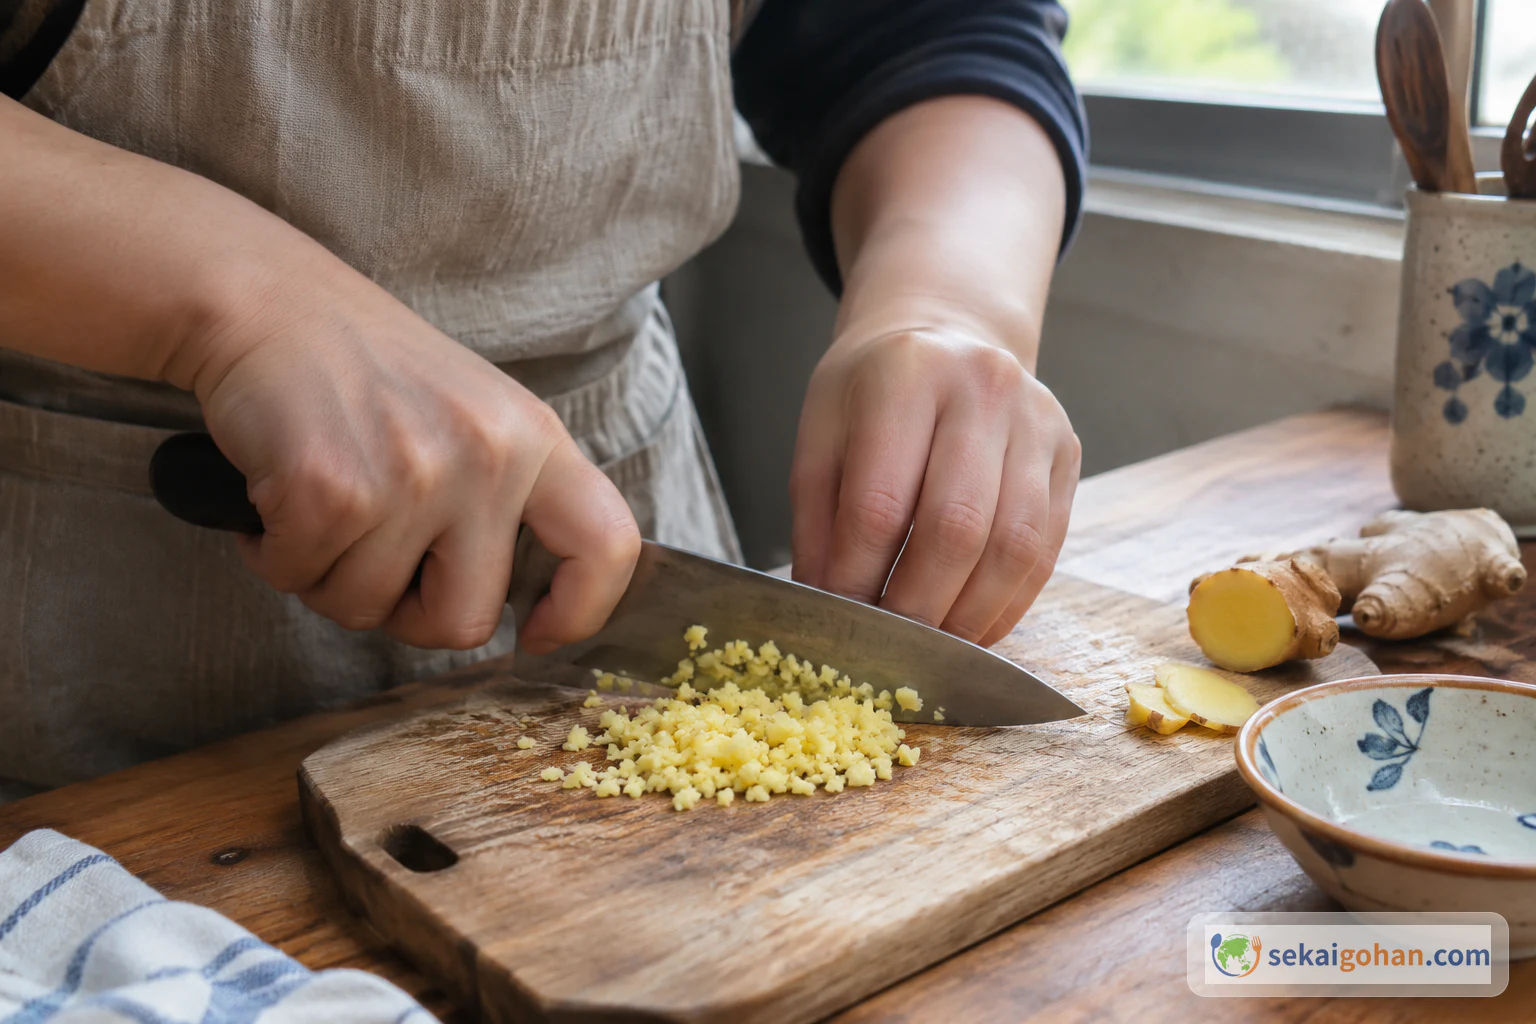
Sekai Gohan has not kitchen-tested this recipe. The times and oil temperatures are guides from the recipe, not measured results, and the photos illustrate each operation without proving any amount, temperature or doneness. Judge the chicken with a food thermometer, not by color or by the clock.
What Kkanpunggi Is: A Korean-Chinese Dish, in Maangchi's Words
Maangchi presents kkanpunggi as a dish of Korean-Chinese cooking: fried chicken stir-fried with vegetables in a sweet, sour and spicy sauce. On her recipe page she explains the name syllable by syllable (kkan, pung, gi) and connects the dish to her own childhood memories of Korean-Chinese restaurants. Those are her personal explanation and memories. This article does not treat them as settled etymology or as a history of how the dish arrived or spread, because the materials behind it do not support such claims.
The same name is also used for recipes built quite differently. Billy Law's kkanpunggi, published in The Standard as an excerpt from the book Cook Korea!, uses chicken thigh, a whole egg, mirin, cornflour and peanuts. That is a separate version, and none of its ingredients or amounts are mixed in here. If you want to explore more of the country's cooking, see our page on Korea.
Ingredients (2–3 Servings)
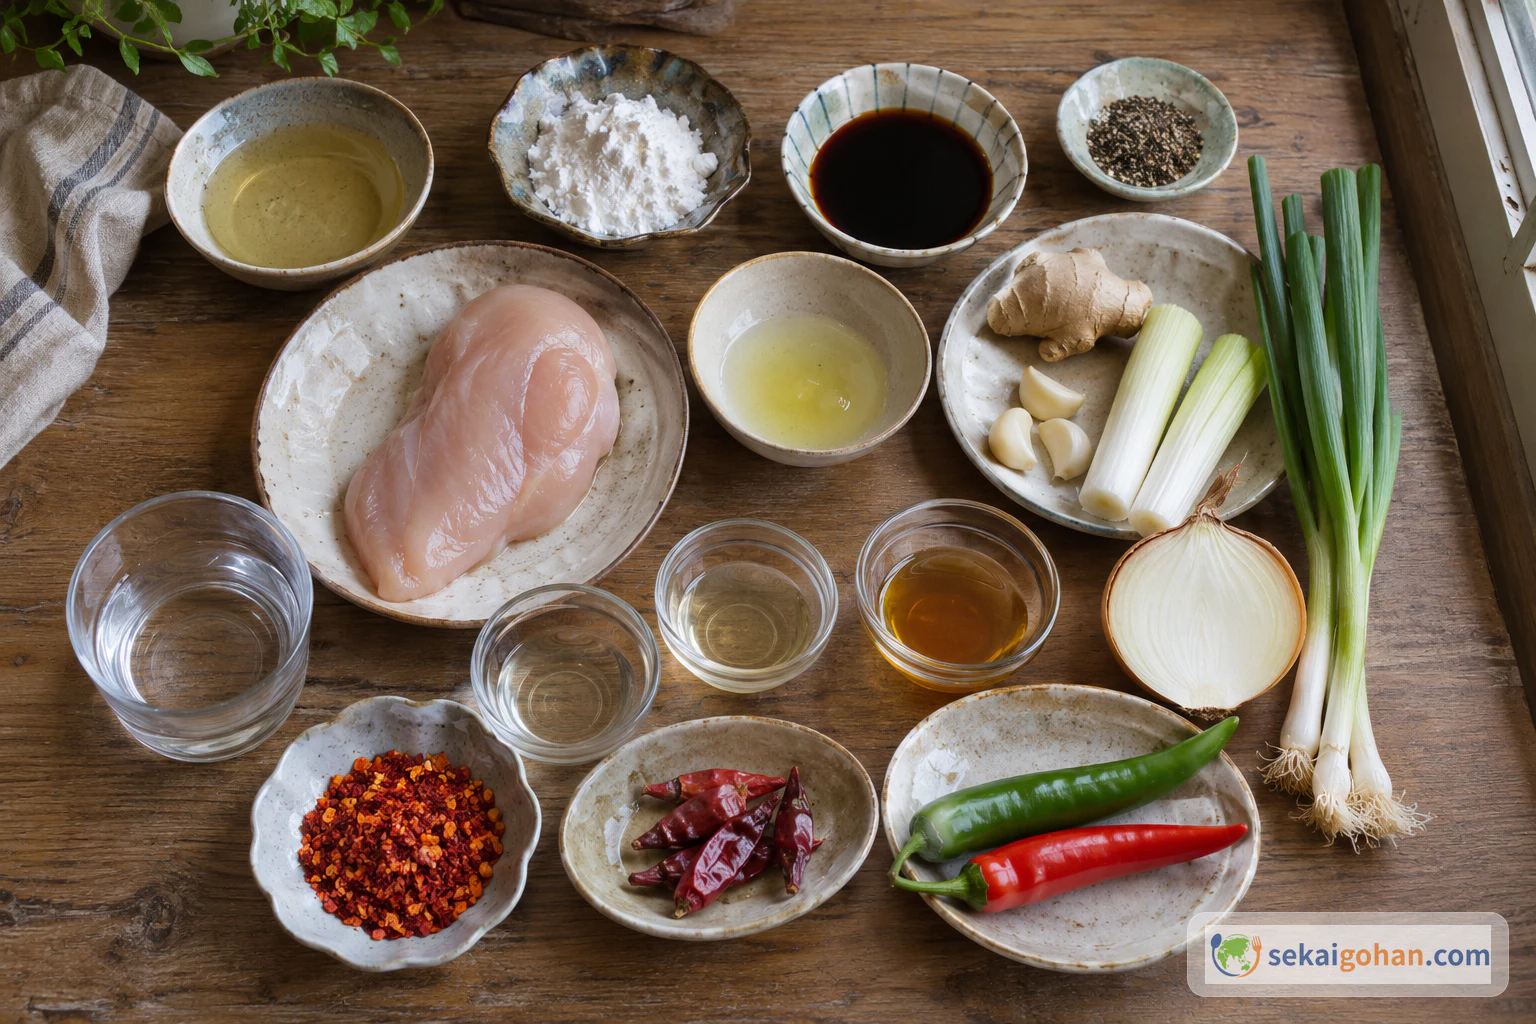
The garlic and leek do two jobs: they flavor the aroma oil, then return to the pan at the very end as crisp pieces. The chili flakes stay only in the oil and are strained out. The potato starch appears twice, as 1/2 cup for the coating and 1 tsp for the sauce; keep them separate.
Equipment
- Knife and a cutting board kept for raw chicken
- A separate cutting board for vegetables
- Small bowl for the sauce
- Mixing bowl with a cover (lid or wrap) for the chicken
- Small saucepan for the aroma oil
- Fine strainer and a clean bowl for the strained oil
- Small plate for the fried garlic and leek
- Wide pan for frying the chicken
- Frying (oil) thermometer
- Large frying pan for the vegetables and sauce
- Tongs or a wire skimmer, plus a clean set for cooked chicken
- Wire rack over a plate for draining
- Clean food thermometer for checking the chicken
- Measuring cups and spoons
- Serving plate
Choosing and Swapping Ingredients
- Potato starch: Use potato starch for both the coating and the sauce. Japanese katakuriko is potato starch. Add the full 1/2 cup to the chicken.
- Egg white: Use only the white of one egg.
- Rice syrup or sugar: Use 2 tbsp rice syrup or sugar. Japanese rice-based mizuame is a possible substitute, but it is not necessarily the same product.
- Leek: Japanese long onion (naganegi) is a possible substitute for leek; the aroma will be different.
- White vinegar: Rice vinegar is a possible substitute; the flavor will differ.
- Oil: Use a plain, neutral oil (vegetable or corn) for the aroma oil, and grapeseed, vegetable or corn oil for frying. The 1 cup of frying oil is the amount prepared, not the amount the chicken absorbs.
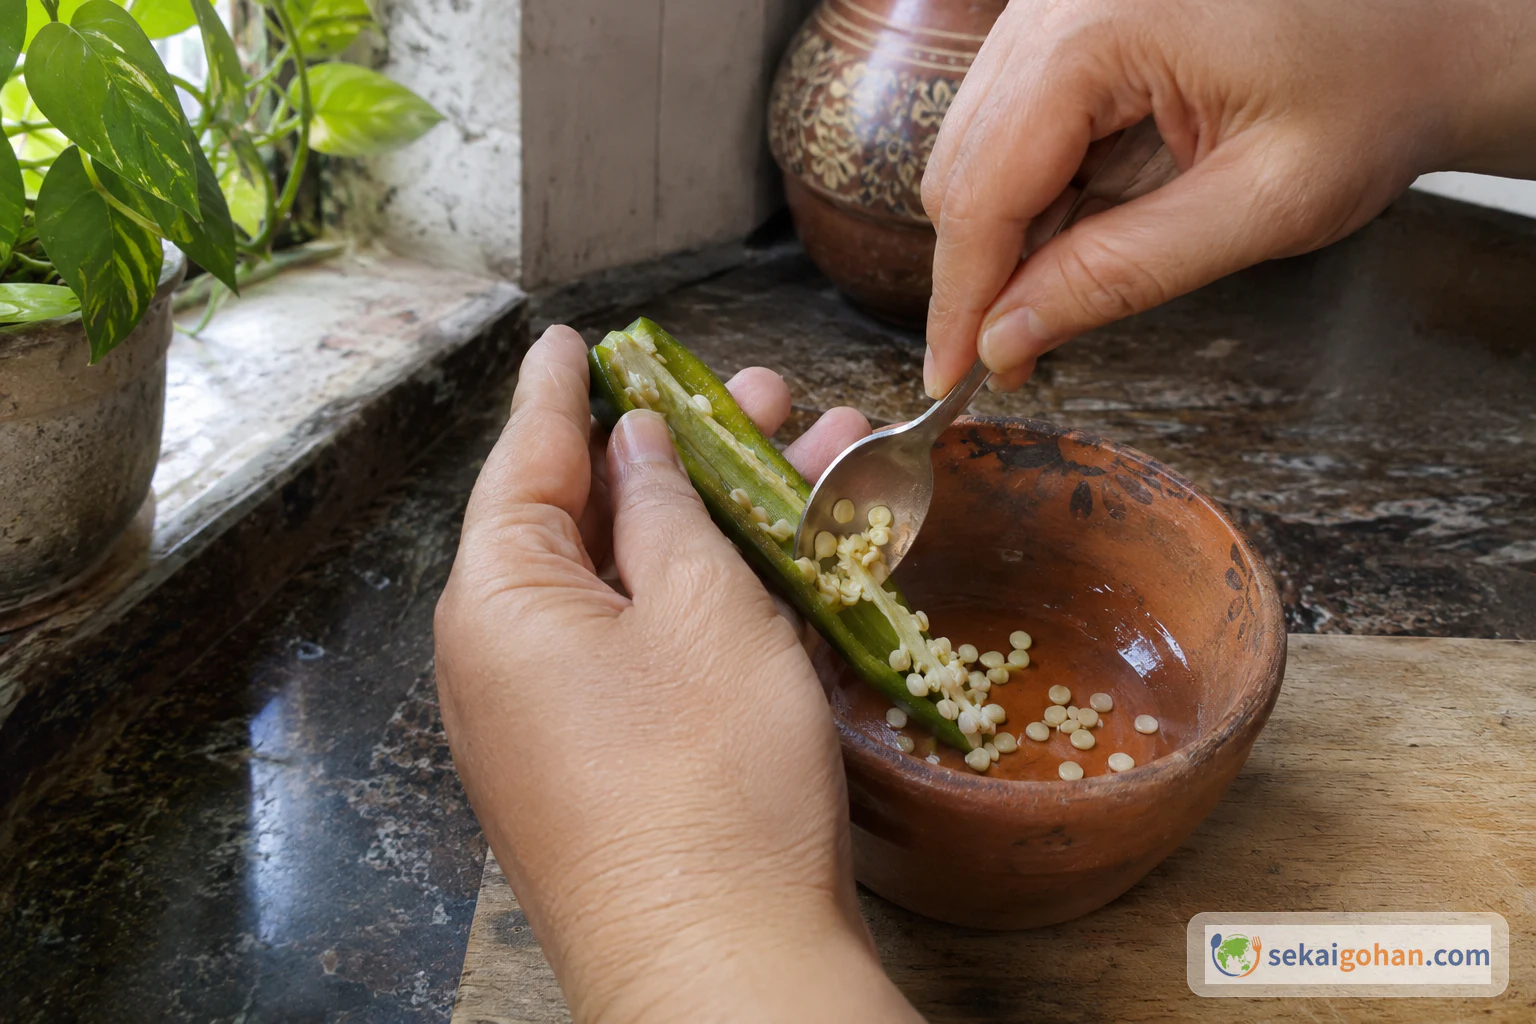
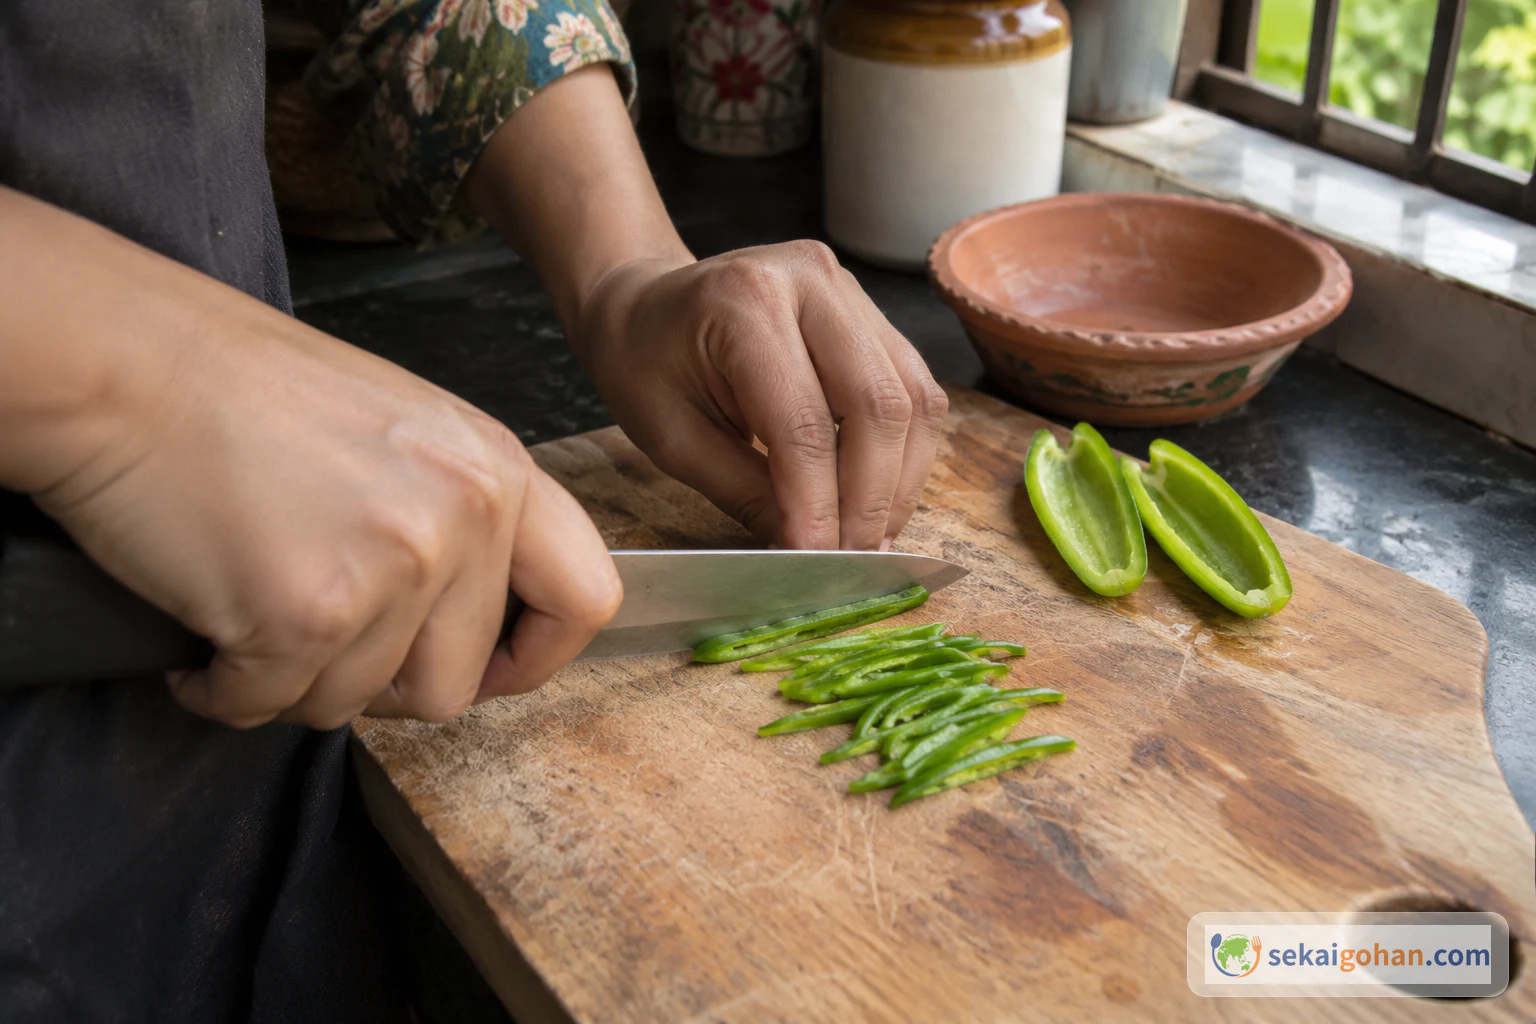
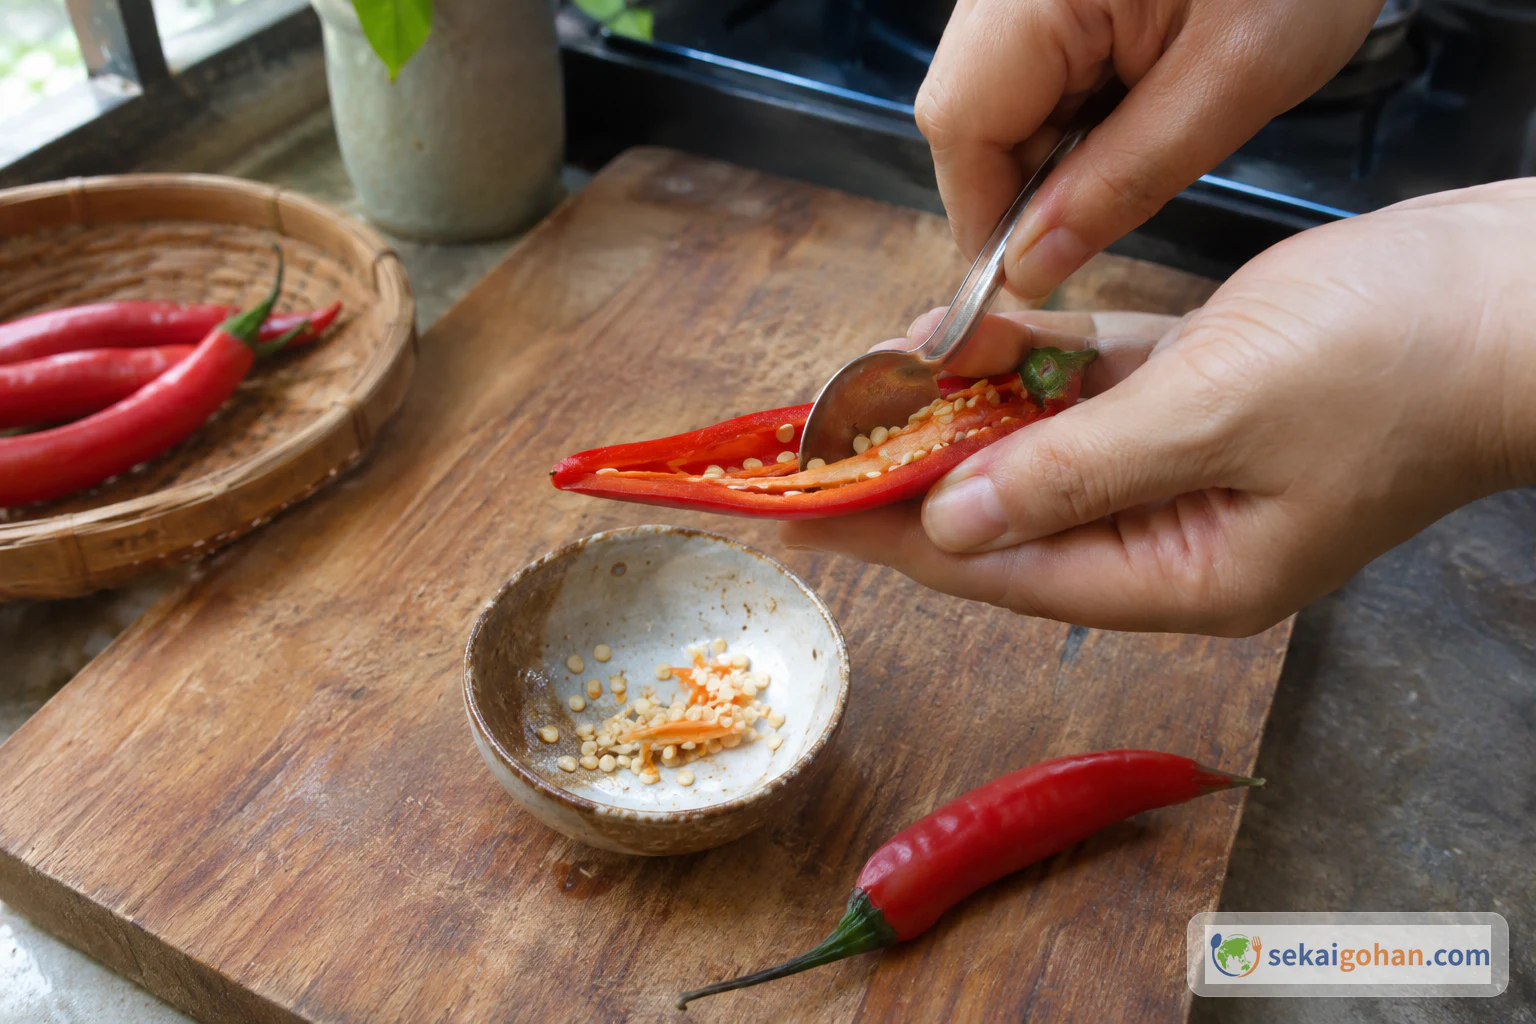
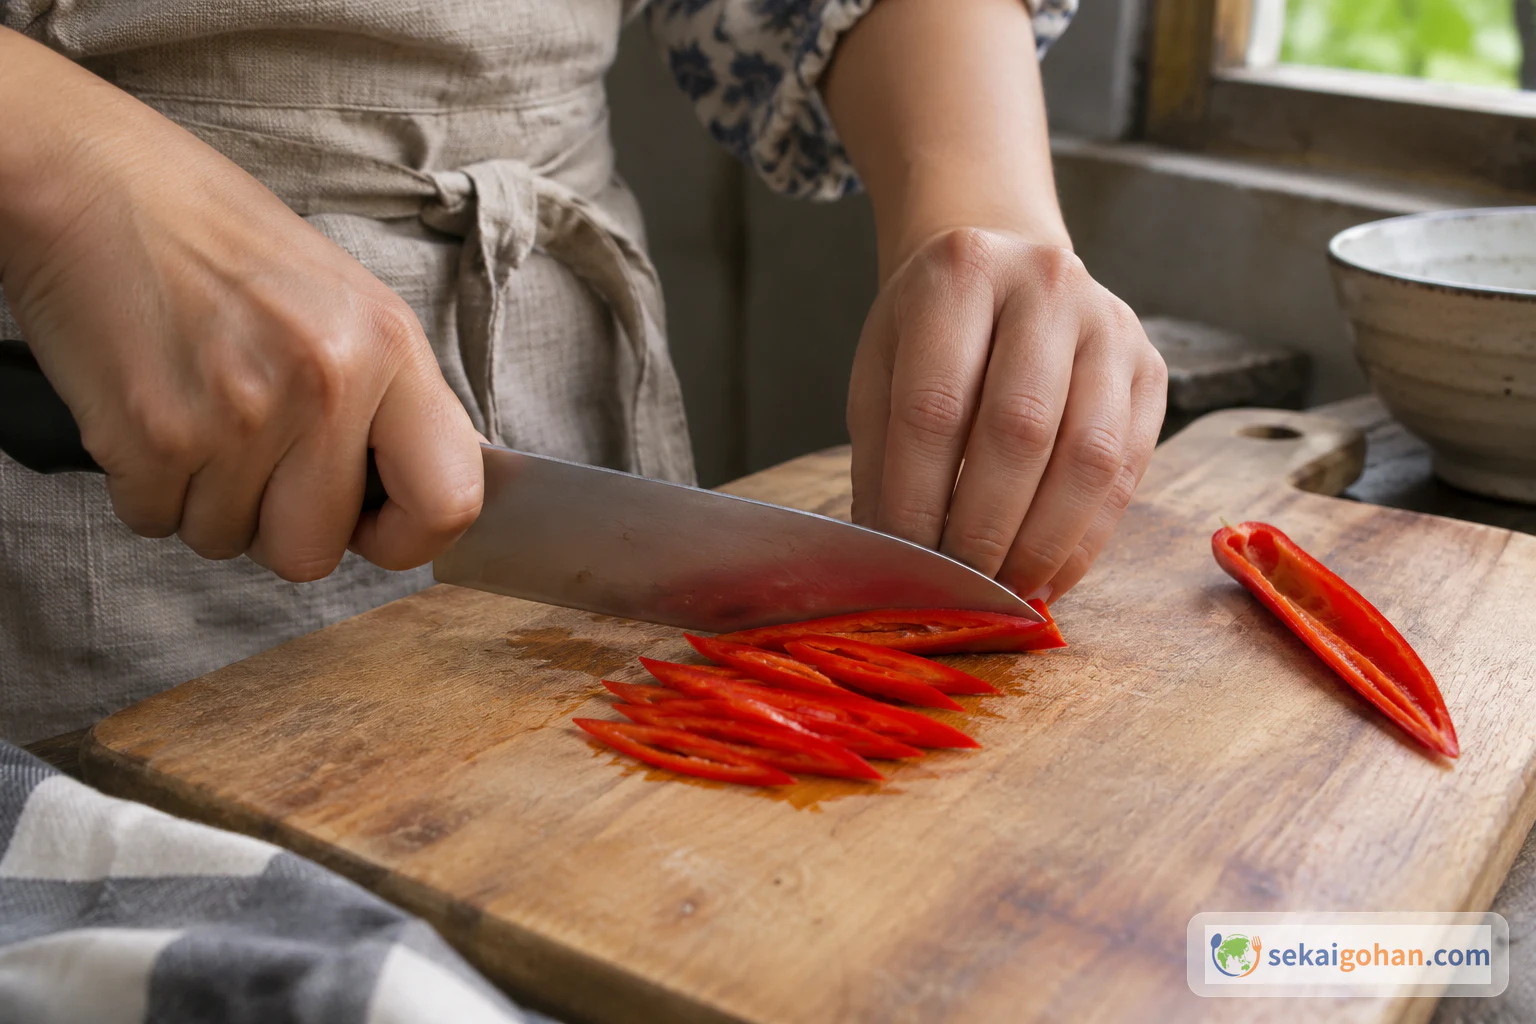
- Chilies: The fresh green and red chilies are deseeded and thinly sliced. Choose them by the kind of chili pepper, not by color alone.
Food Safety for This Recipe
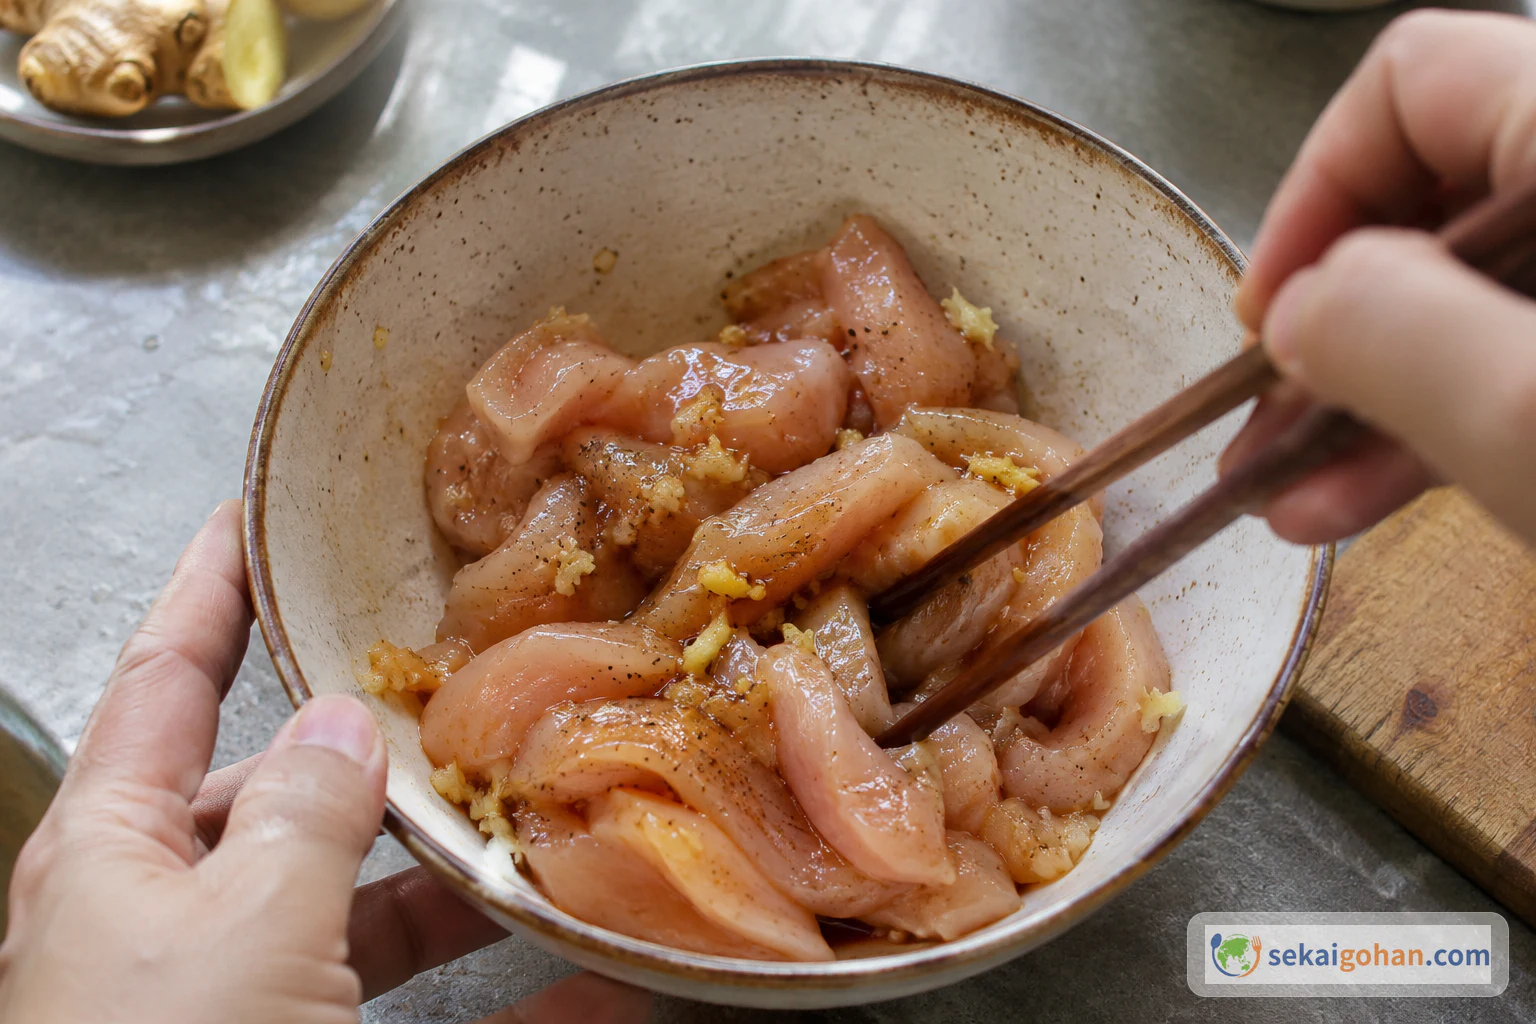
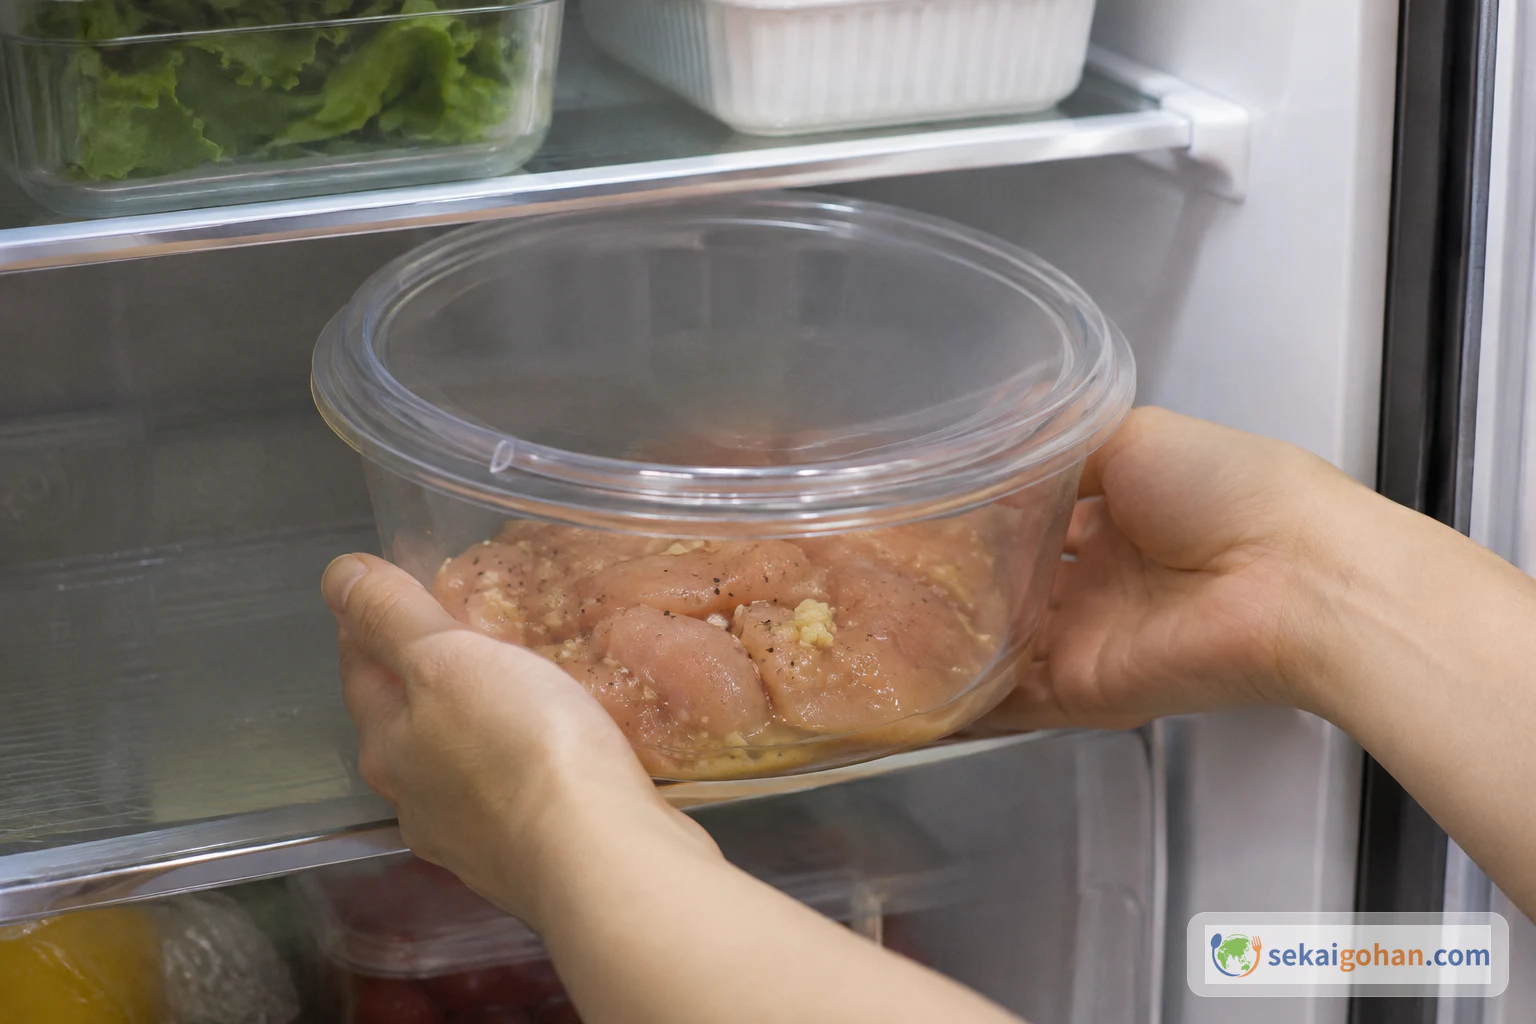
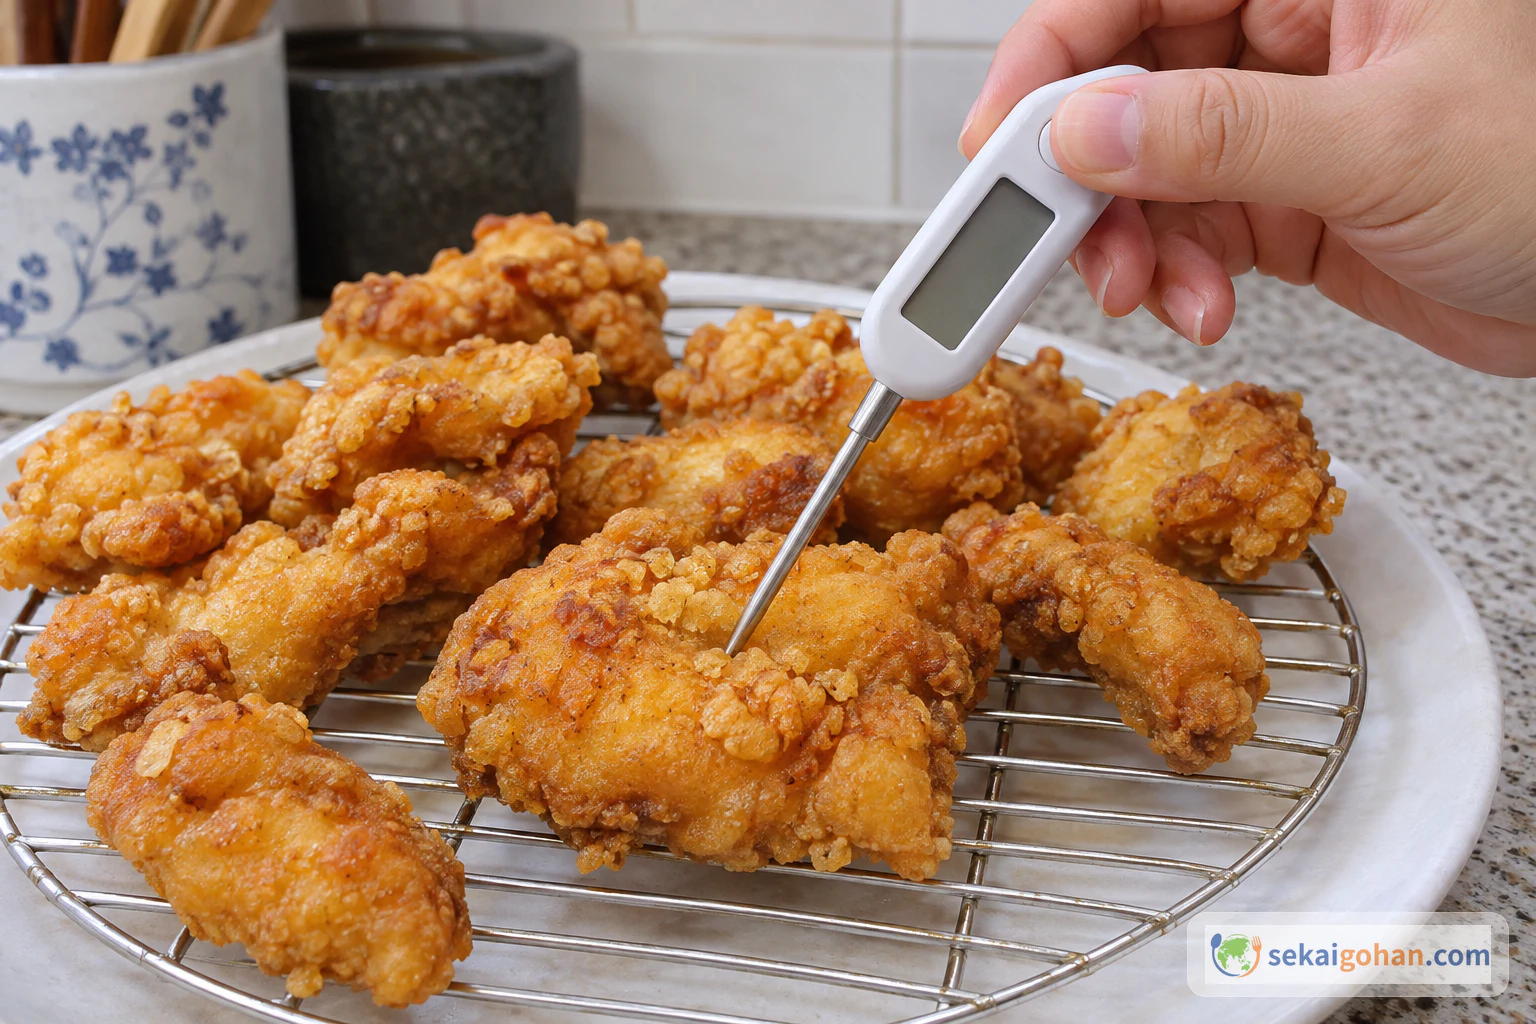
The following handling comes from FoodSafety.gov, not from Maangchi's wording. FoodSafety.gov says the safest place to marinate poultry is the refrigerator, not the counter, so the 10–20 minute marinade here is done covered in the refrigerator. Do not wash raw chicken. Wash your hands, utensils and surfaces after they touch raw chicken, and keep the board, bowls and tongs used for raw chicken separate from those used for cooked food. Before serving, insert a clean food thermometer into the center of the thickest piece of chicken; FoodSafety.gov gives 165°F (74°C) as the safe minimum internal temperature for poultry.
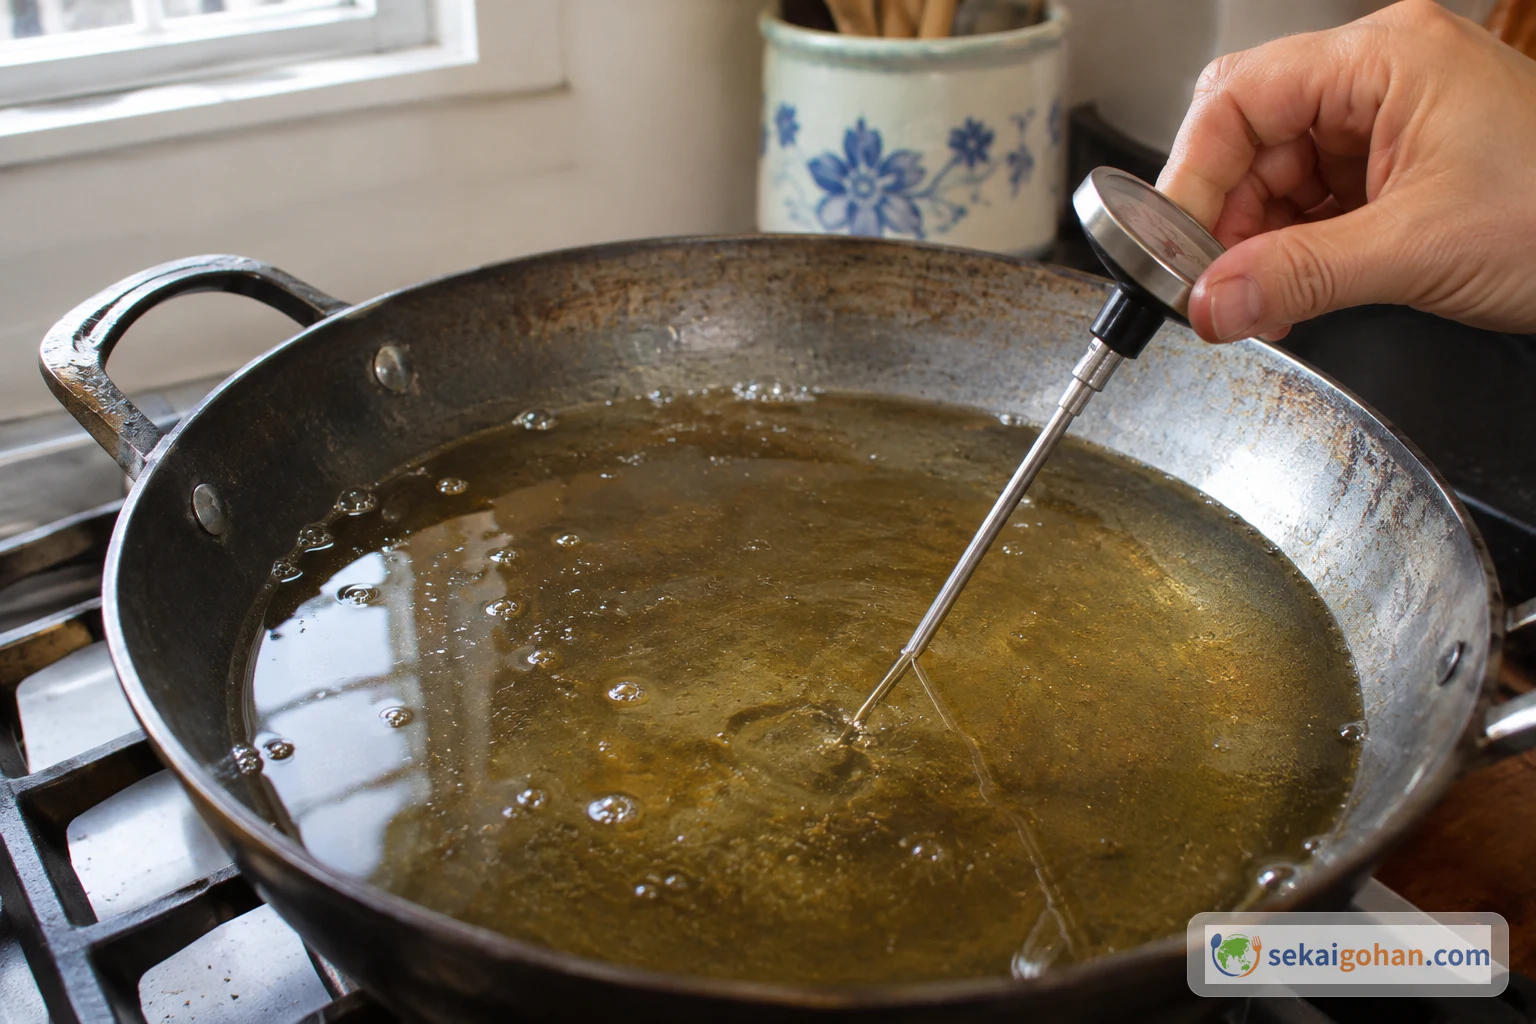
The recipe's oil temperature (335–350°F / 168–177°C), the first fry of about 5 minutes and the second fry of about 3–5 minutes are cooking guides. They are not a safety standard, and nothing here claims the chicken must reach 74°C during the first fry. The safety check is the thermometer reading after the second fry, before the chicken is sauced and served.
Method: Aroma Oil, a First Fry, the Sauce, a Second Fry, and a Fast Finish
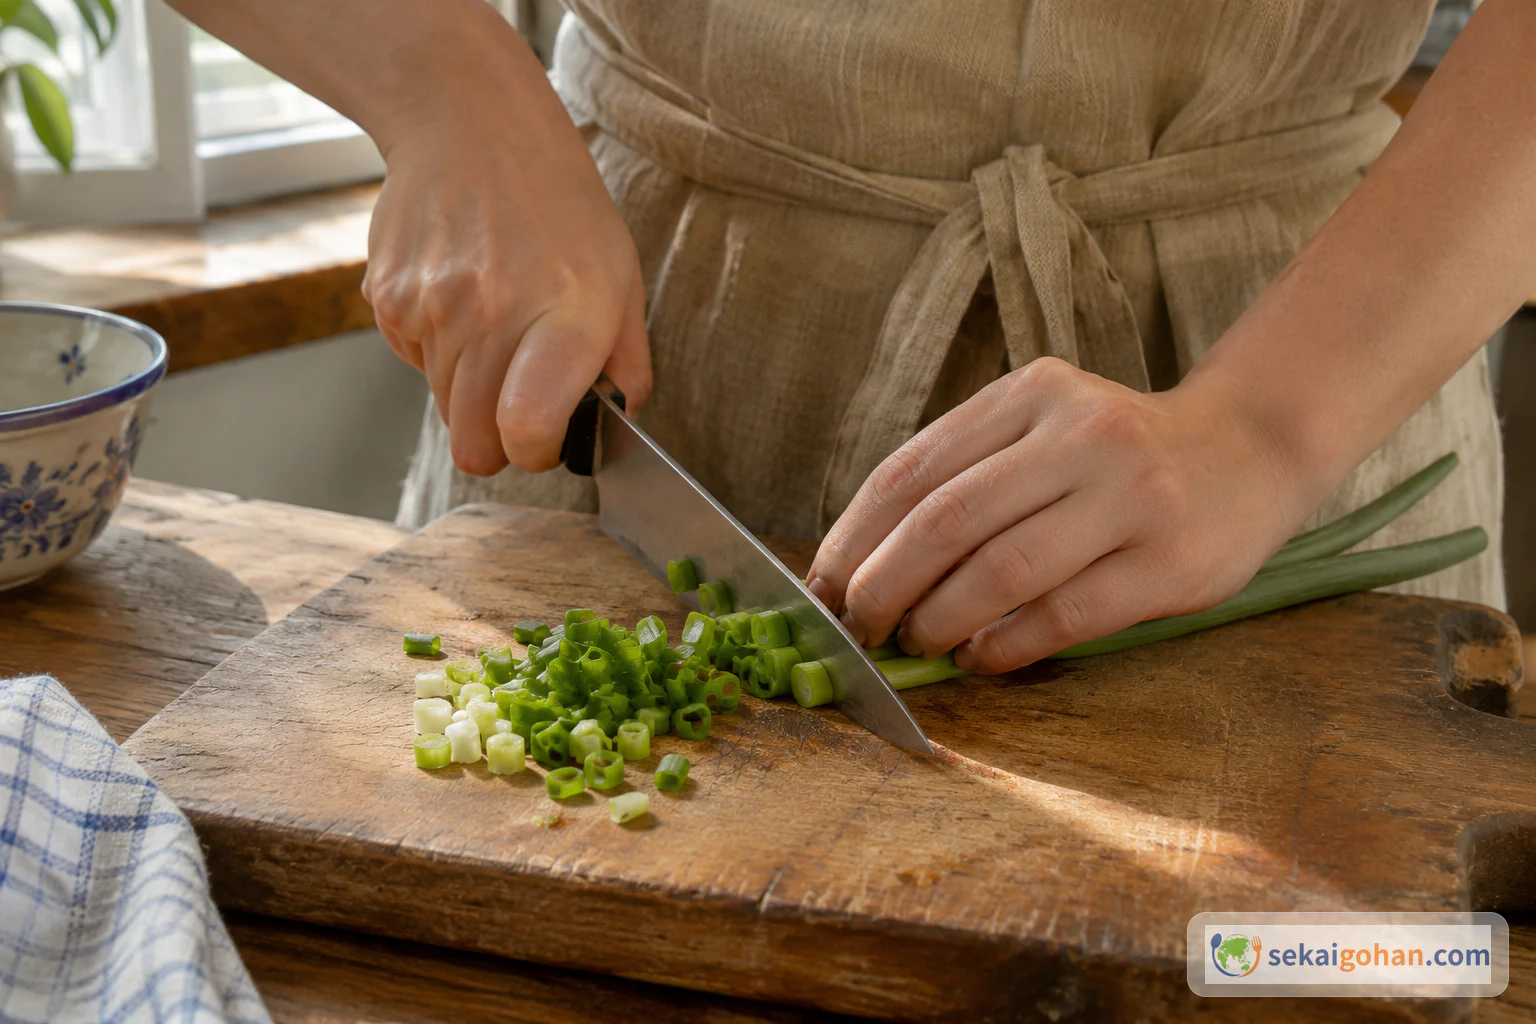
The onion, green onion, fresh chilies and dried chilies all go into the pan at the same stage. The photo shows them going in together for clarity; it is not meant as a strict order of addition.
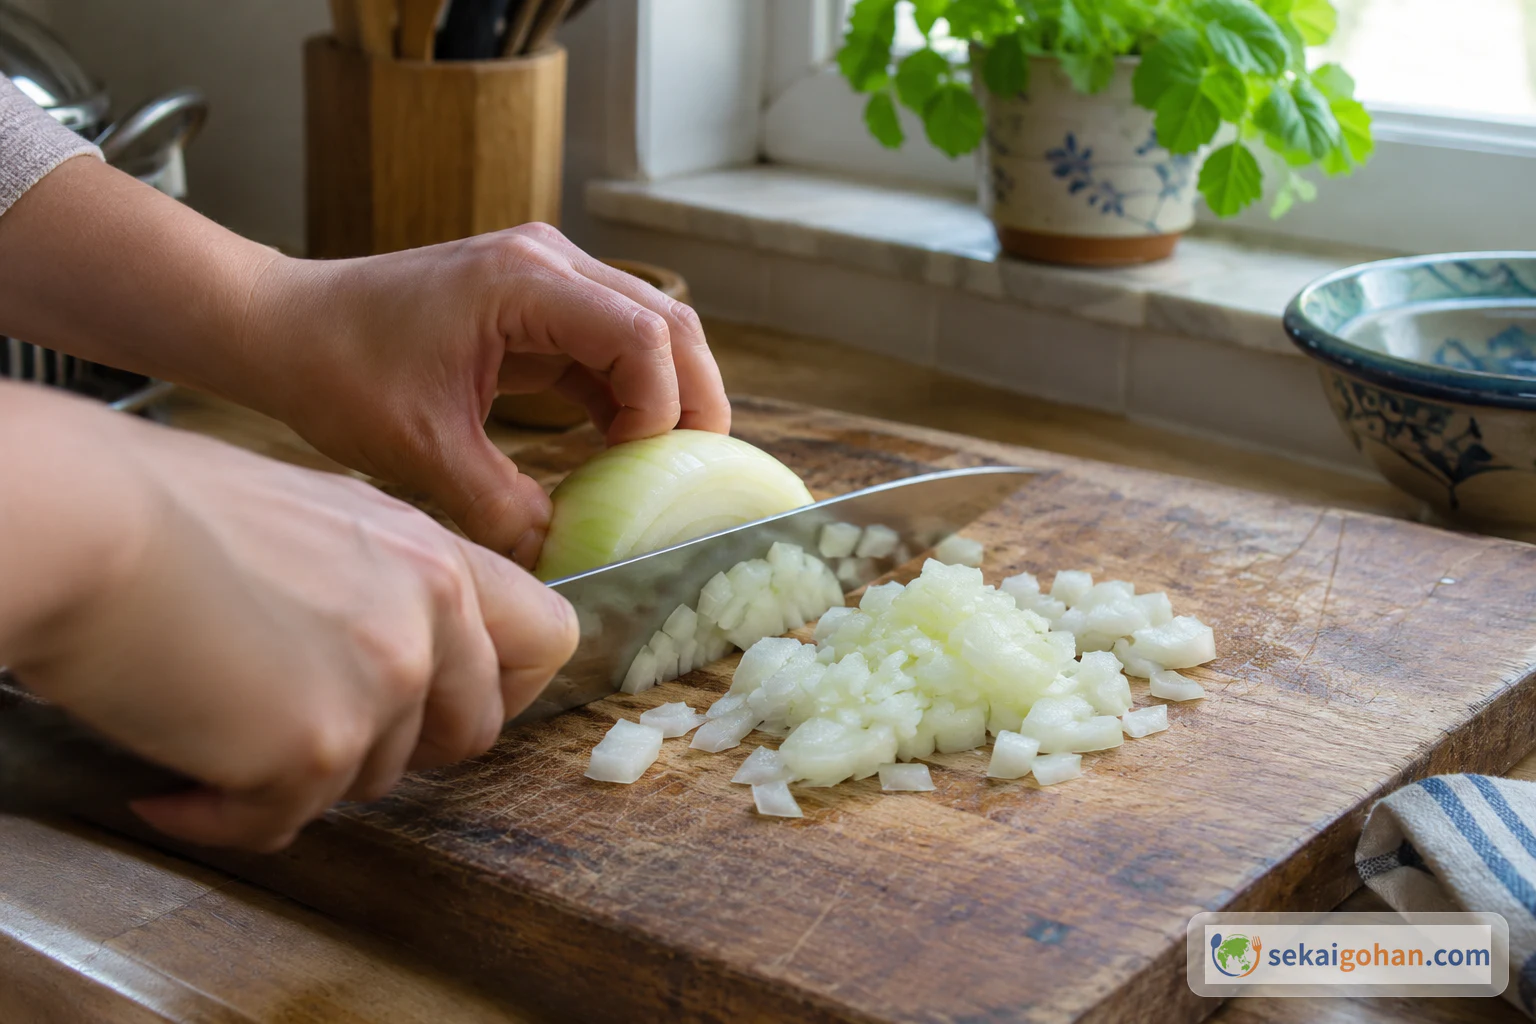
Prepare everything before you light the stove: the sauce mixed, the vegetables cut, the chicken coated. Once the frying starts, the steps follow each other quickly.
Checkpoints and Fixes Along the Way
Finish the aroma oil before the frying starts, and have the sauce ready in its bowl before the vegetables go in.
| What you notice | What to check | What to do |
|---|---|---|
| The garlic and leek are darkening fast | Heat level under the small saucepan | Keep it at medium and lift them out as soon as they are light golden; they still have to go back in at the end |
| You are about to add the chili flakes with the burner on | The order in steps 21–23 | Lift out the garlic and leek, turn off the heat, then add the flakes |
| The half cup of starch looks like a lot | Whether every piece is coated | Add all of it and mix by hand until every piece is coated |
| The chicken looks golden after the second fry | The thermometer, not the color | Check the center of the thickest piece. If it is below 165°F (74°C), keep frying and check again before saucing |
| The sauce has cooled while the chicken fried | Whether it is sizzling | Reheat it until it sizzles before the chicken goes in |
| You're unsure which tongs to use for the drained chicken | Which tools touched raw chicken | Use a clean set of tongs and a clean rack for the twice-fried chicken |
The times and the oil temperature in the recipe are guides. Burners and pans differ, so treat "about 5 minutes" and "about 3–5 minutes" as starting points, and let the thermometer in step 46 decide whether the chicken is ready to serve.
Other Versions and Adjustments
- A version without the heat: Maangchi mentions that the spicy elements can be left out. Without the chilies and chili oil, the dish loses its heat and leans toward a sweet, sour garlic chicken, a noticeably different result.
- Sugar instead of rice syrup: Sugar is the alternative Maangchi lists in the sauce. Rice syrup is used in this article.
- A different kkanpunggi: Billy Law's recipe in The Standard uses chicken thigh, a whole egg, mirin, cornflour and peanuts. If you want that style, follow that recipe as a whole rather than swapping single ingredients into this one.
Frequently Asked Questions
The fixed points of this version are chicken breast, one egg white, the full 1/2 cup potato starch, rice syrup in the sauce, two fries, and a thermometer check of the thickest piece before serving.
Do I really add the whole 1/2 cup of potato starch?
Yes. Maangchi's recipe adds the full 1/2 cup to the chicken, and this article keeps it that way. How much of it actually sticks to the pieces is a separate question that the recipe does not answer.
Can I use a whole egg instead of the egg white?
This version uses only the egg white. The whole-egg coating appears in Billy Law's version, which also uses chicken thigh and other different ingredients, so a whole egg moves you toward a different recipe.
Why marinate in the refrigerator if the recipe doesn't say so?
The 10–20 minute rest comes from Maangchi's recipe. Doing it covered in the refrigerator is an added safety step based on FoodSafety.gov, which says the refrigerator is the safest place to marinate poultry and advises against marinating on the counter.
Why 1 tsp of sesame oil?
Maangchi's ingredient list gives 1 tsp of toasted sesame oil, while her method mentions "a drop." The two don't match, so this article uses the 1 tsp from the ingredient list. This is our editorial choice, not an amount the recipe confirms in both places.
Isn't the first fry enough to cook the chicken?
The recipe does not set a safety temperature for the first fry, and this article doesn't claim one. The safety check comes after the second fry: a clean food thermometer in the center of the thickest piece should read 165°F (74°C), the minimum FoodSafety.gov gives for poultry, before you sauce and serve the chicken.
Can I make it ahead?
The recipe is written to be tossed and served immediately, and no make-ahead, storage or reheating method is given here.
Sources
- Maangchi, "Spicy garlic fried chicken (Kkanpunggi 깐풍기)." The only basis for this version's ingredients, amounts, servings (2–3), marinating time, aroma oil, oil temperature, frying times, sauce and finishing order, and for Maangchi's own explanation of the name and her childhood memories of Korean-Chinese restaurants. https://www.maangchi.com/recipe/kkanpunggi
- Billy Law, "Billy Law's recipe for kkanpunggi, spicy garlic-fried chicken," The Standard (excerpted from Cook Korea!). Used only to show that another published kkanpunggi uses chicken thigh, a whole egg, mirin, cornflour and peanuts; none of it is used in this recipe. https://www.standard.co.uk/going-out/foodanddrink/kkanpunggi-spicy-garlic-fried-chicken-korean-recipe-b1213500.html
- FoodSafety.gov (U.S. Department of Health and Human Services), "Cook to a Safe Minimum Internal Temperature." The 165°F (74°C) safe minimum internal temperature for poultry, checked with a food thermometer. https://www.foodsafety.gov/food-safety-charts/safe-minimum-internal-temperatures
- FoodSafety.gov (U.S. Department of Health and Human Services), "4 Steps to Food Safety." Marinating poultry in the refrigerator rather than on the counter, washing hands and utensils after raw poultry, and keeping raw and cooked food tools and surfaces separate. https://www.foodsafety.gov/keep-food-safe/4-steps-to-food-safety