
Khuushuur: Thin Fried Dough Around Beef Filling
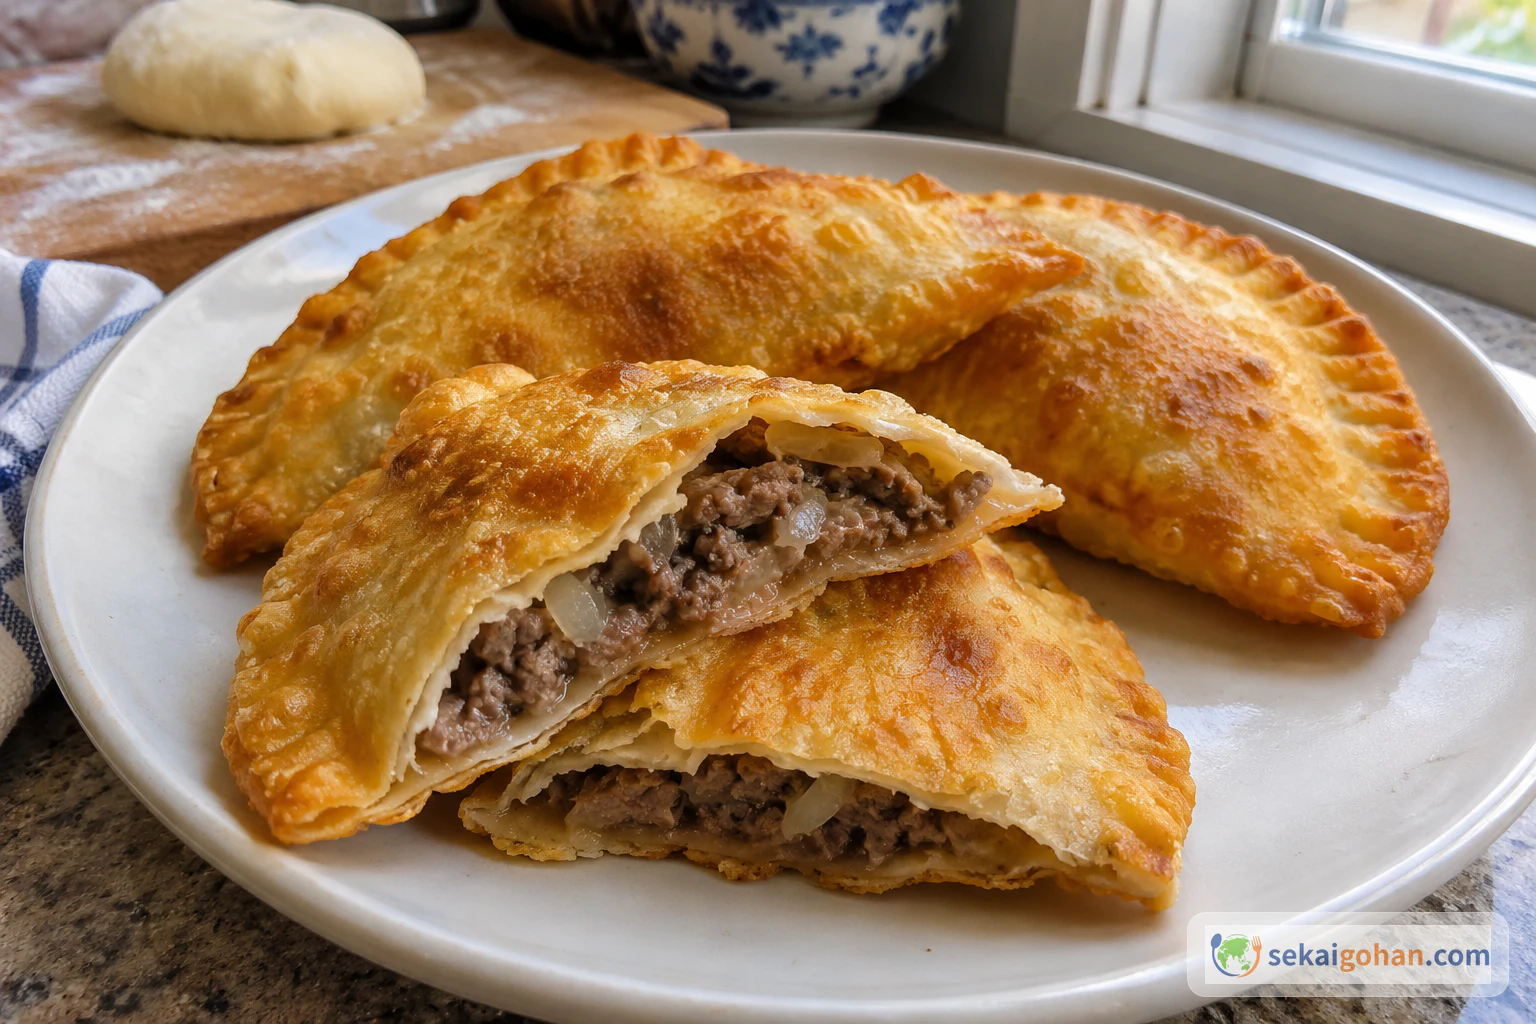
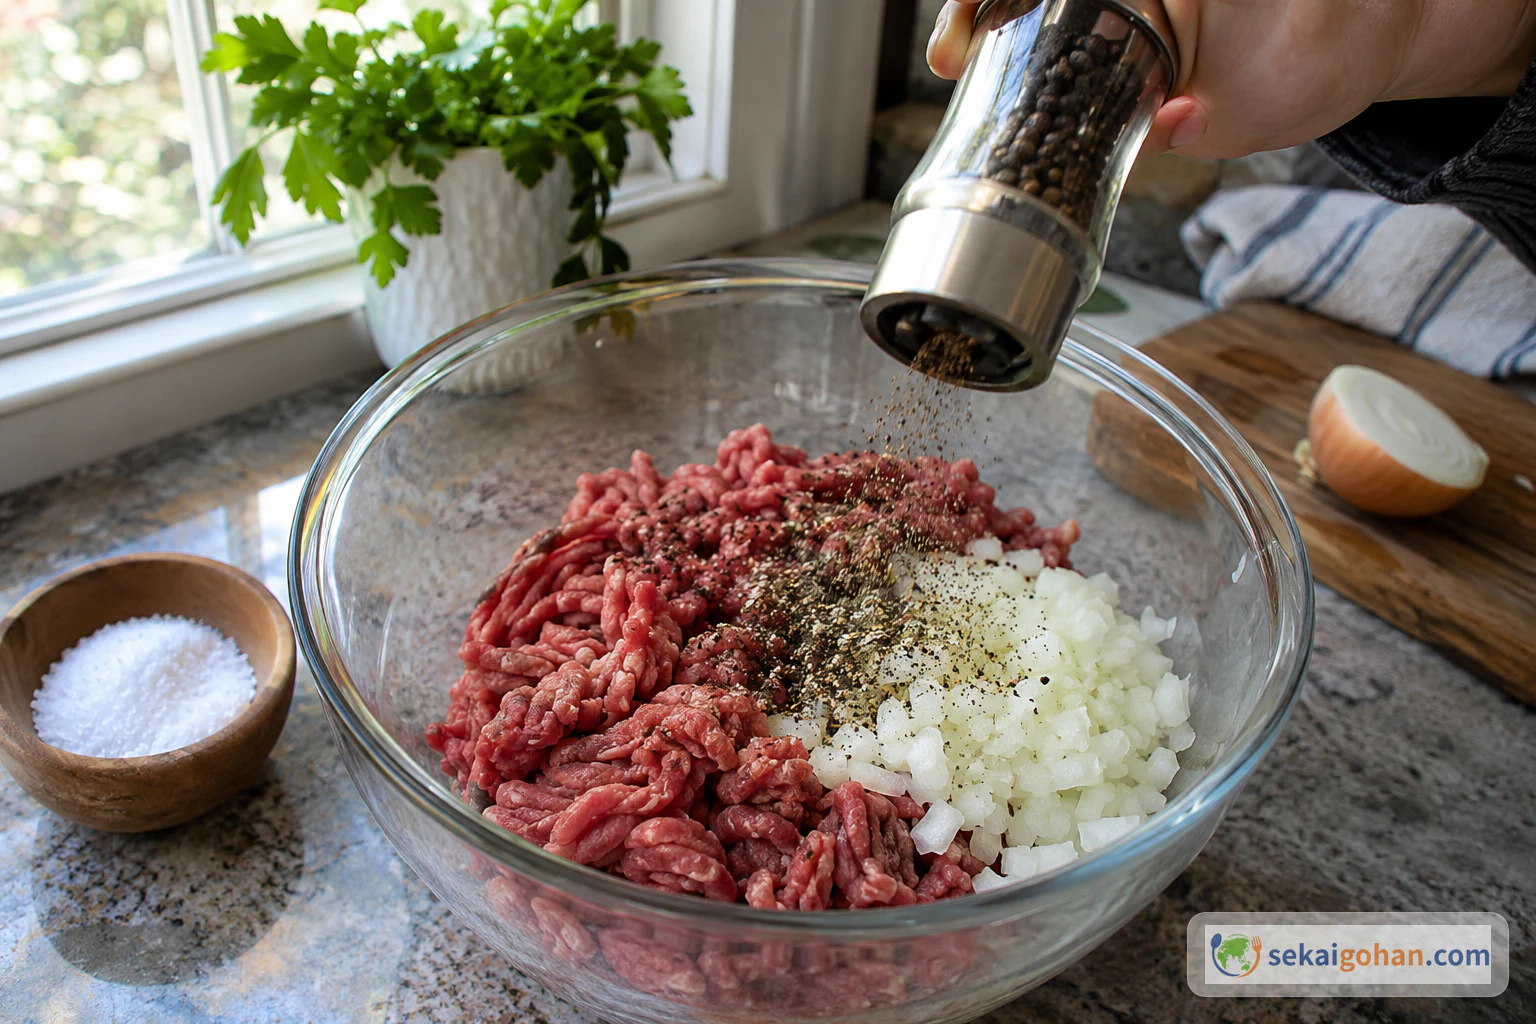
A plain dough of flour and water, a filling of ground beef, onion, black pepper and salt, and a half-moon shape fried golden on both sides. There is nothing else in it: no extra vegetables, herbs, garlic or sauce.
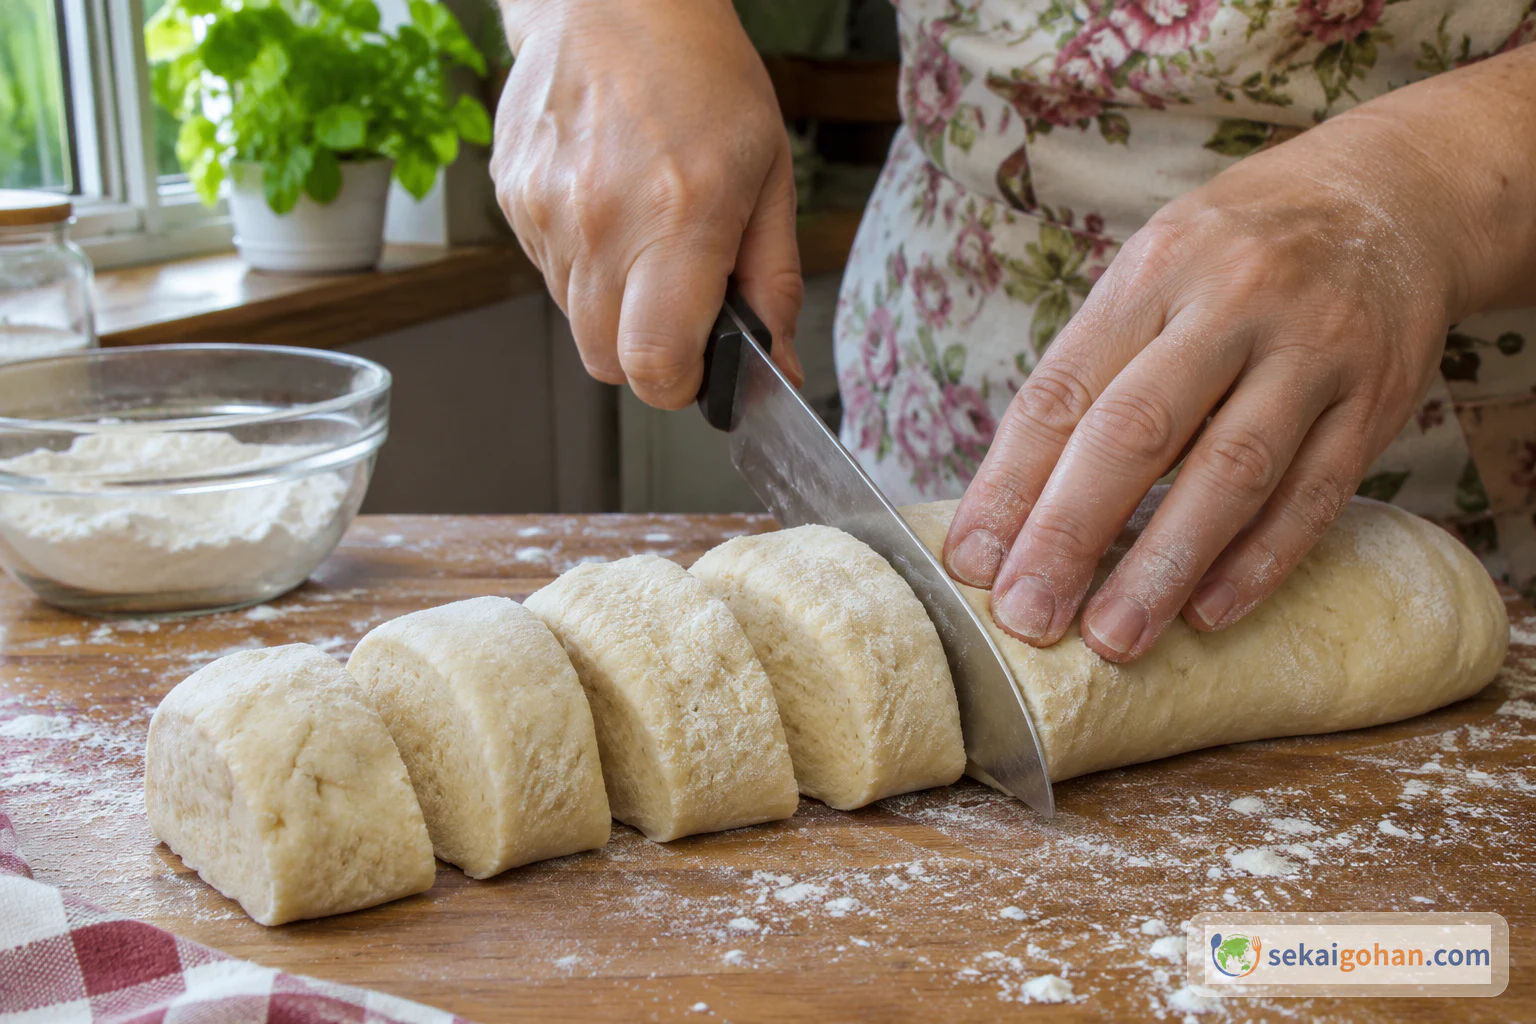
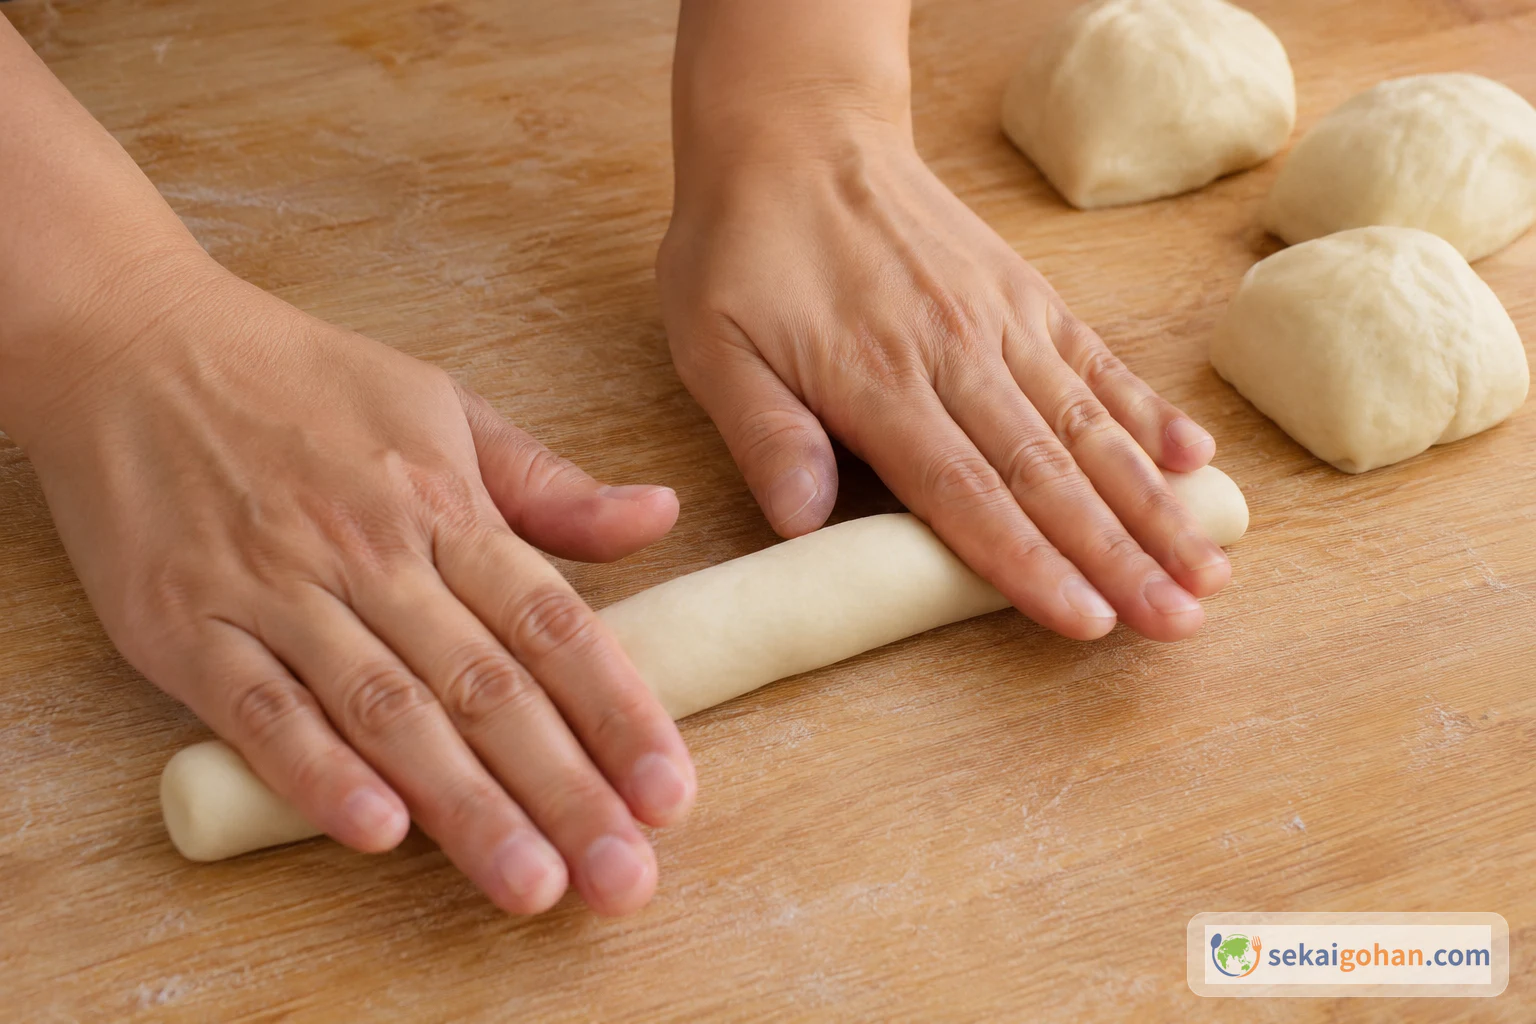
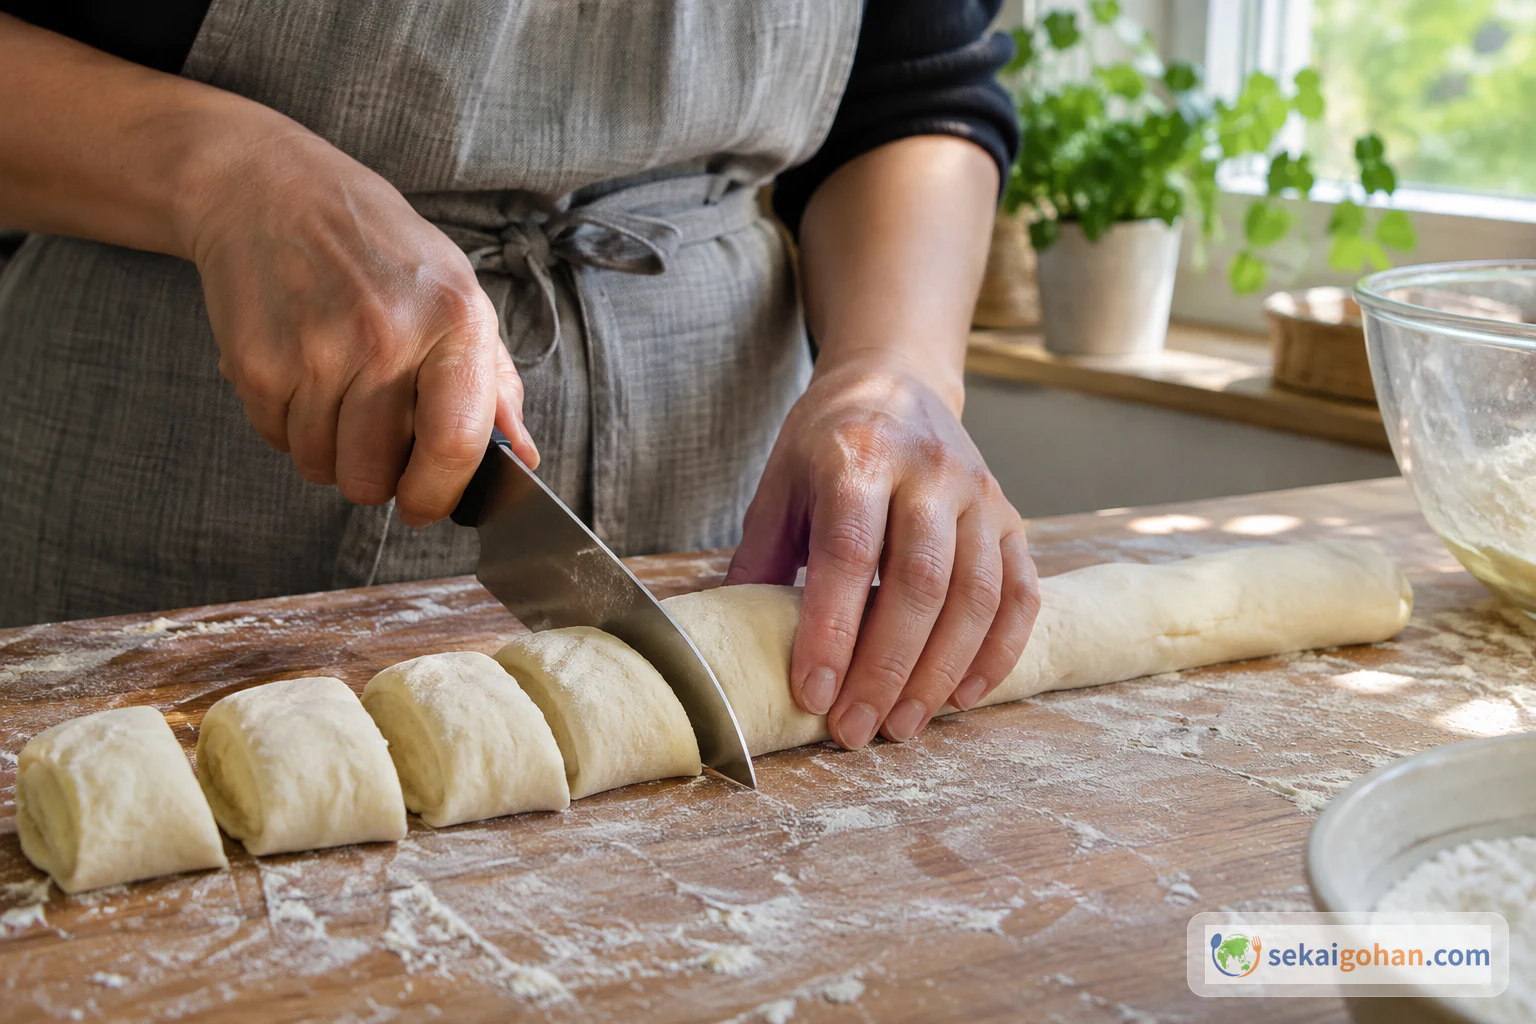
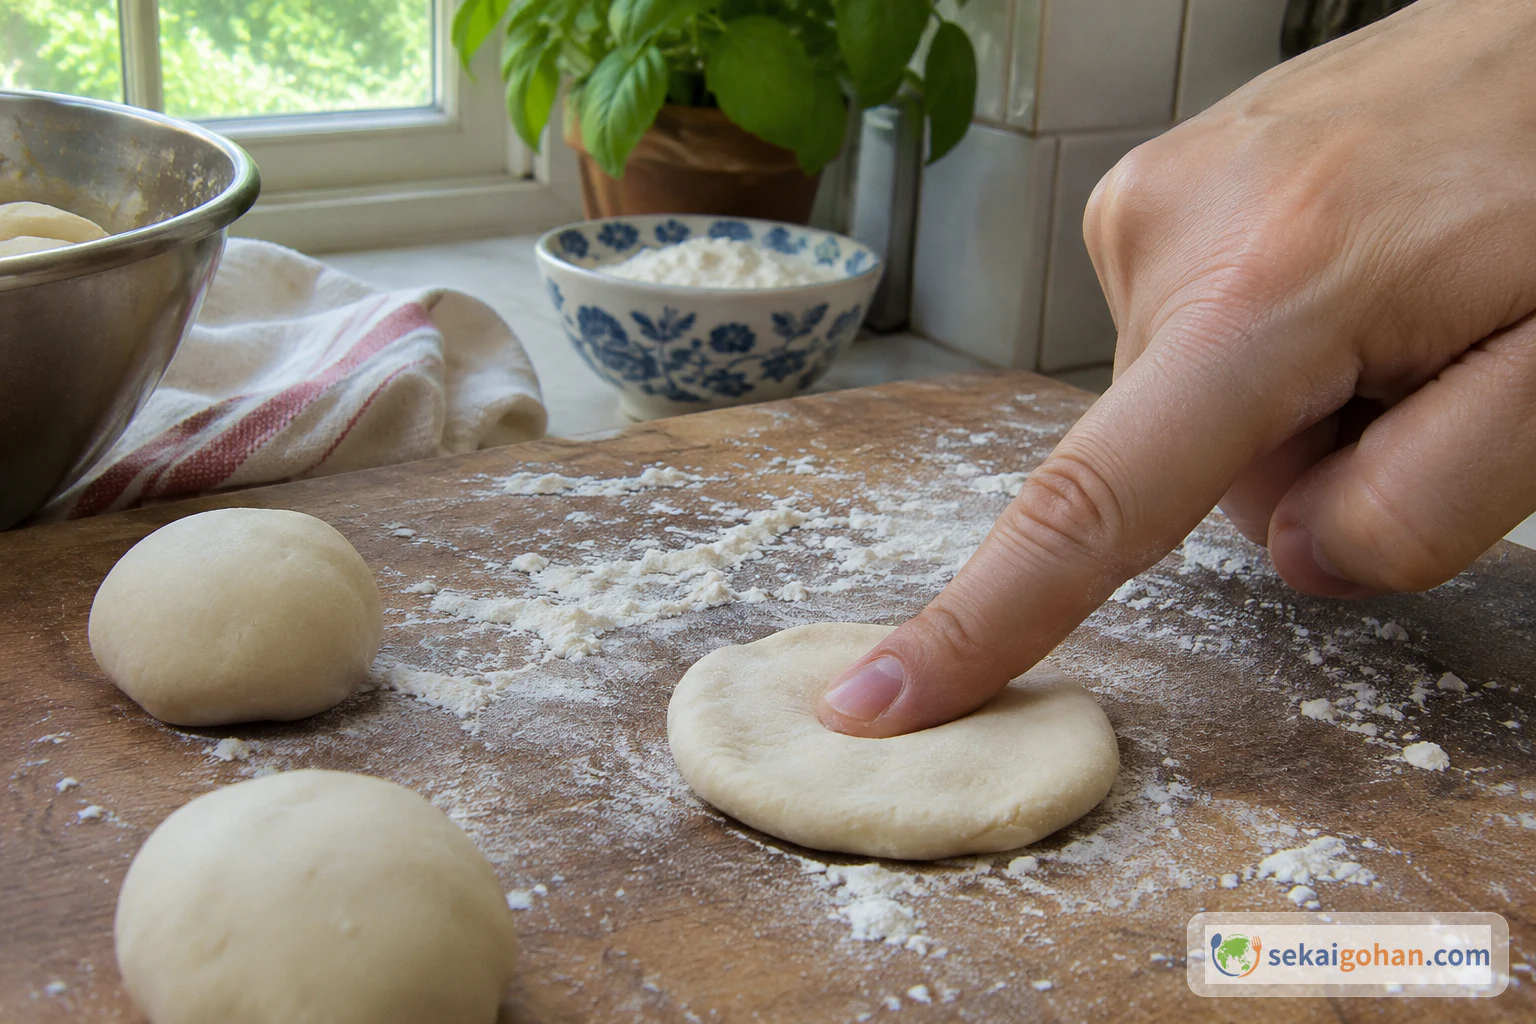
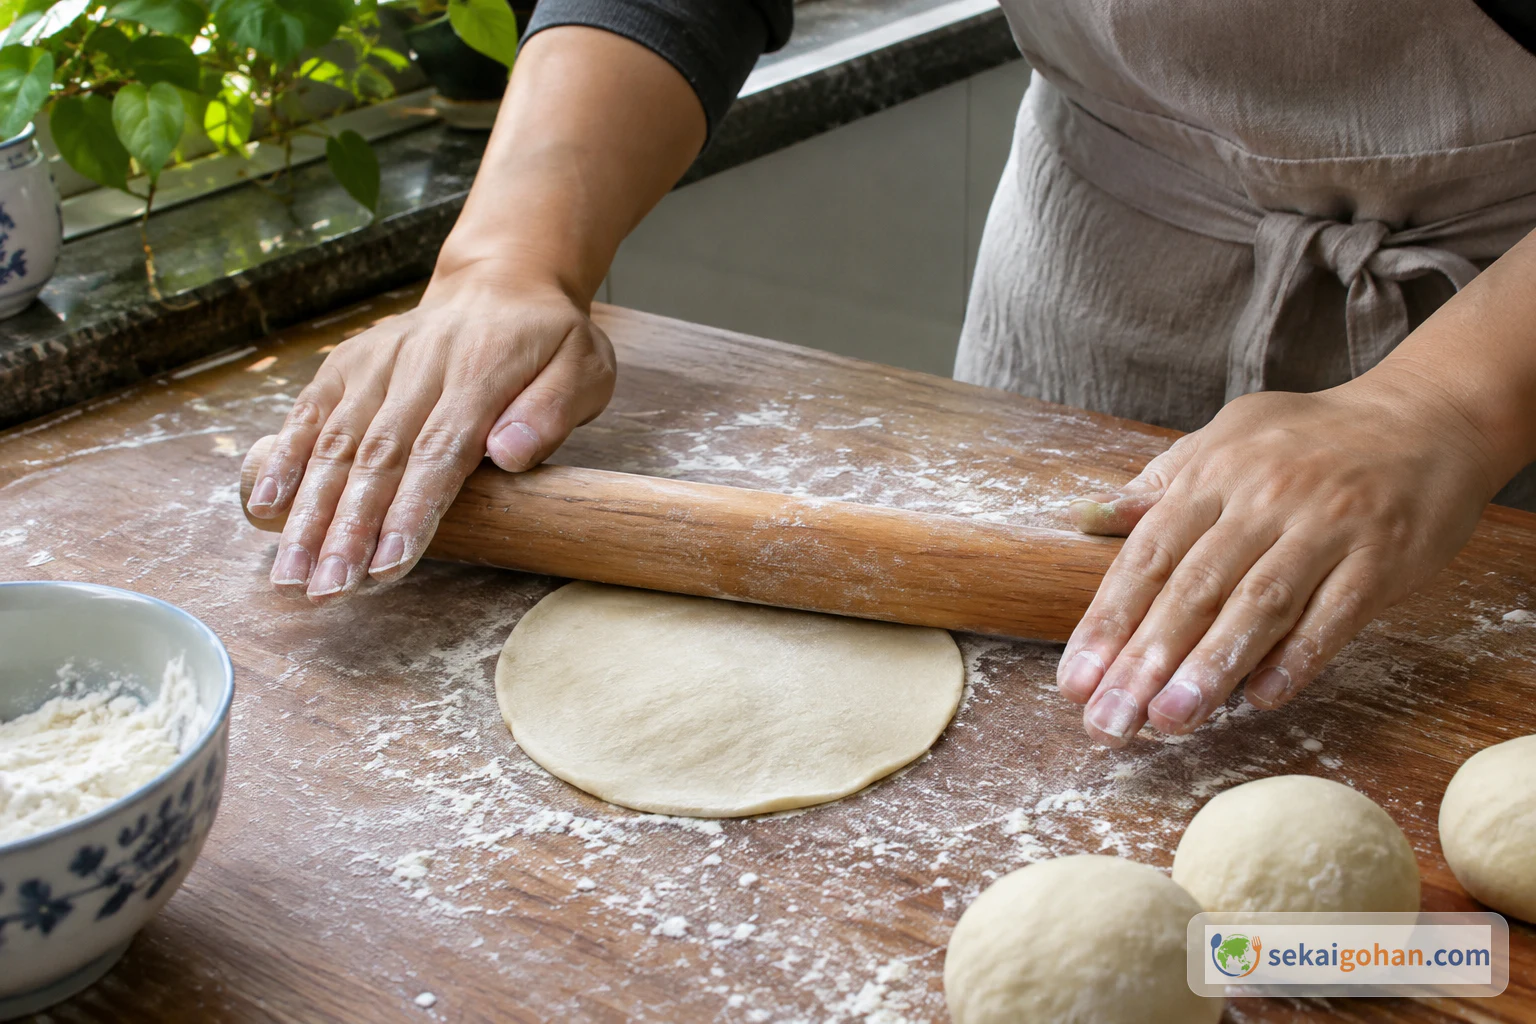
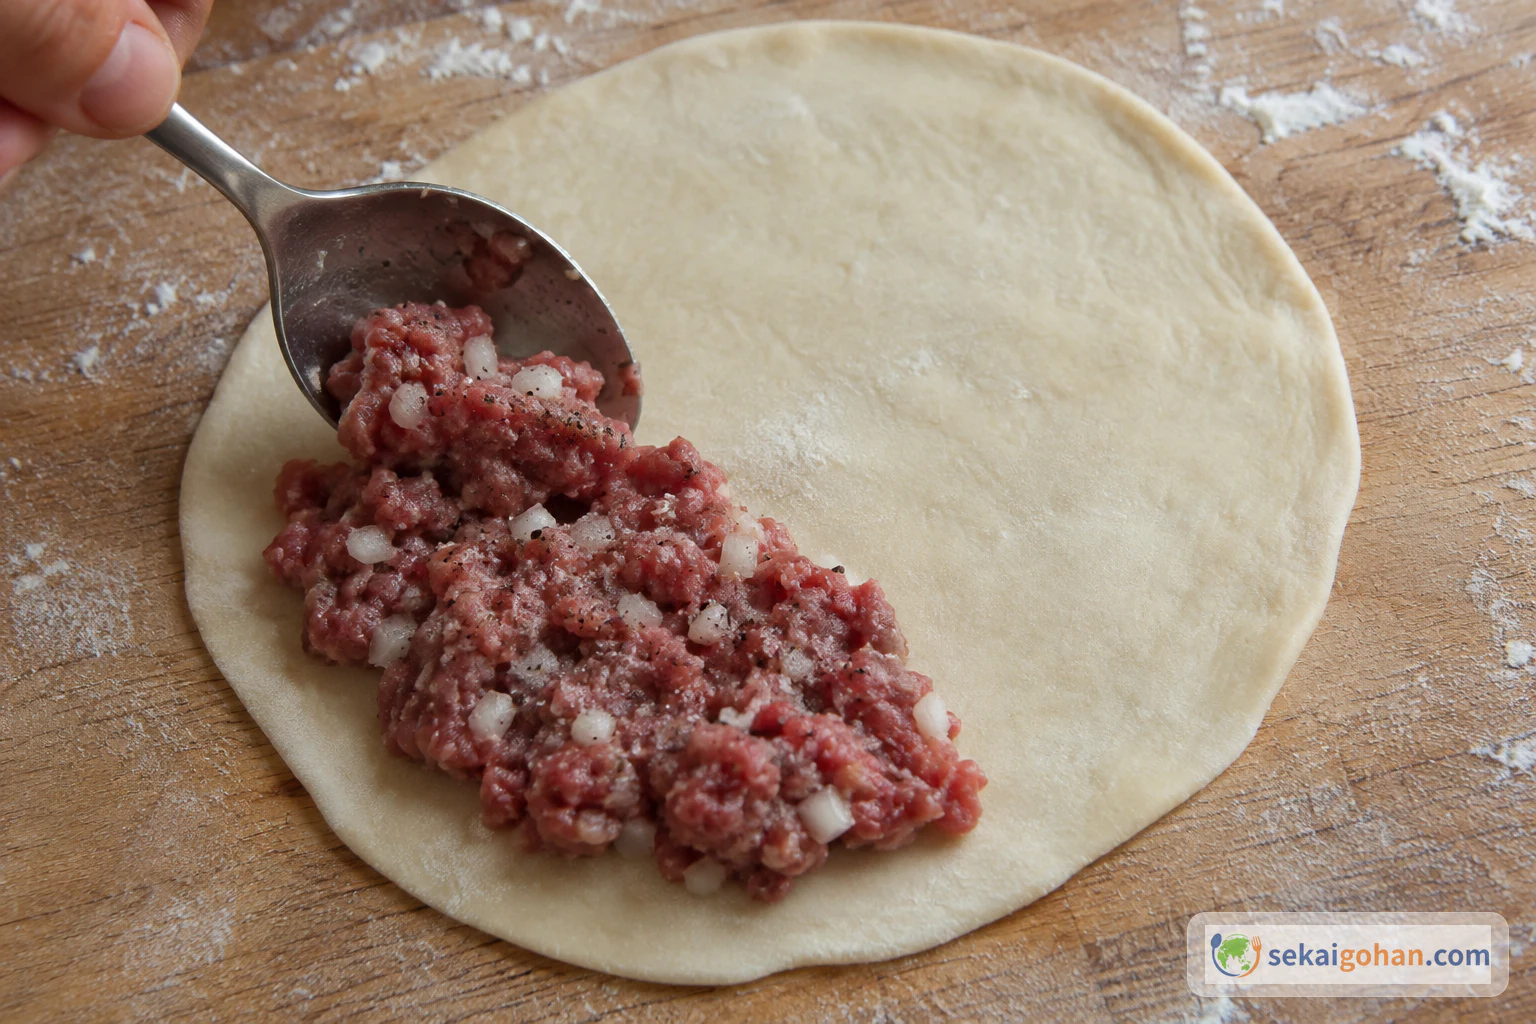
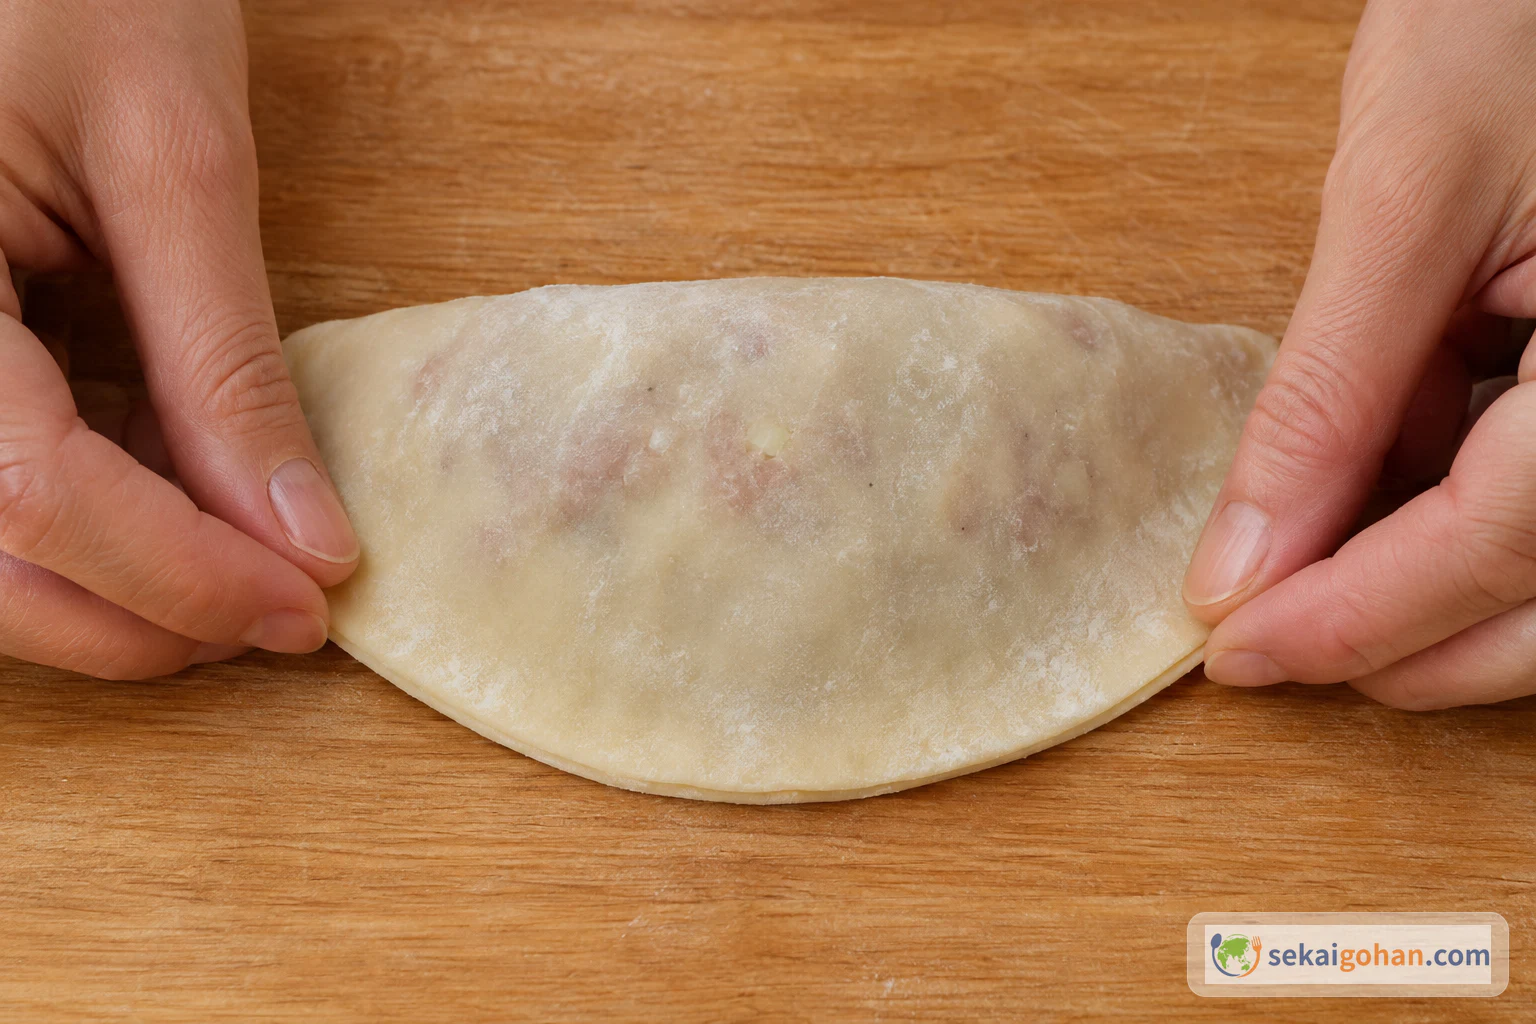
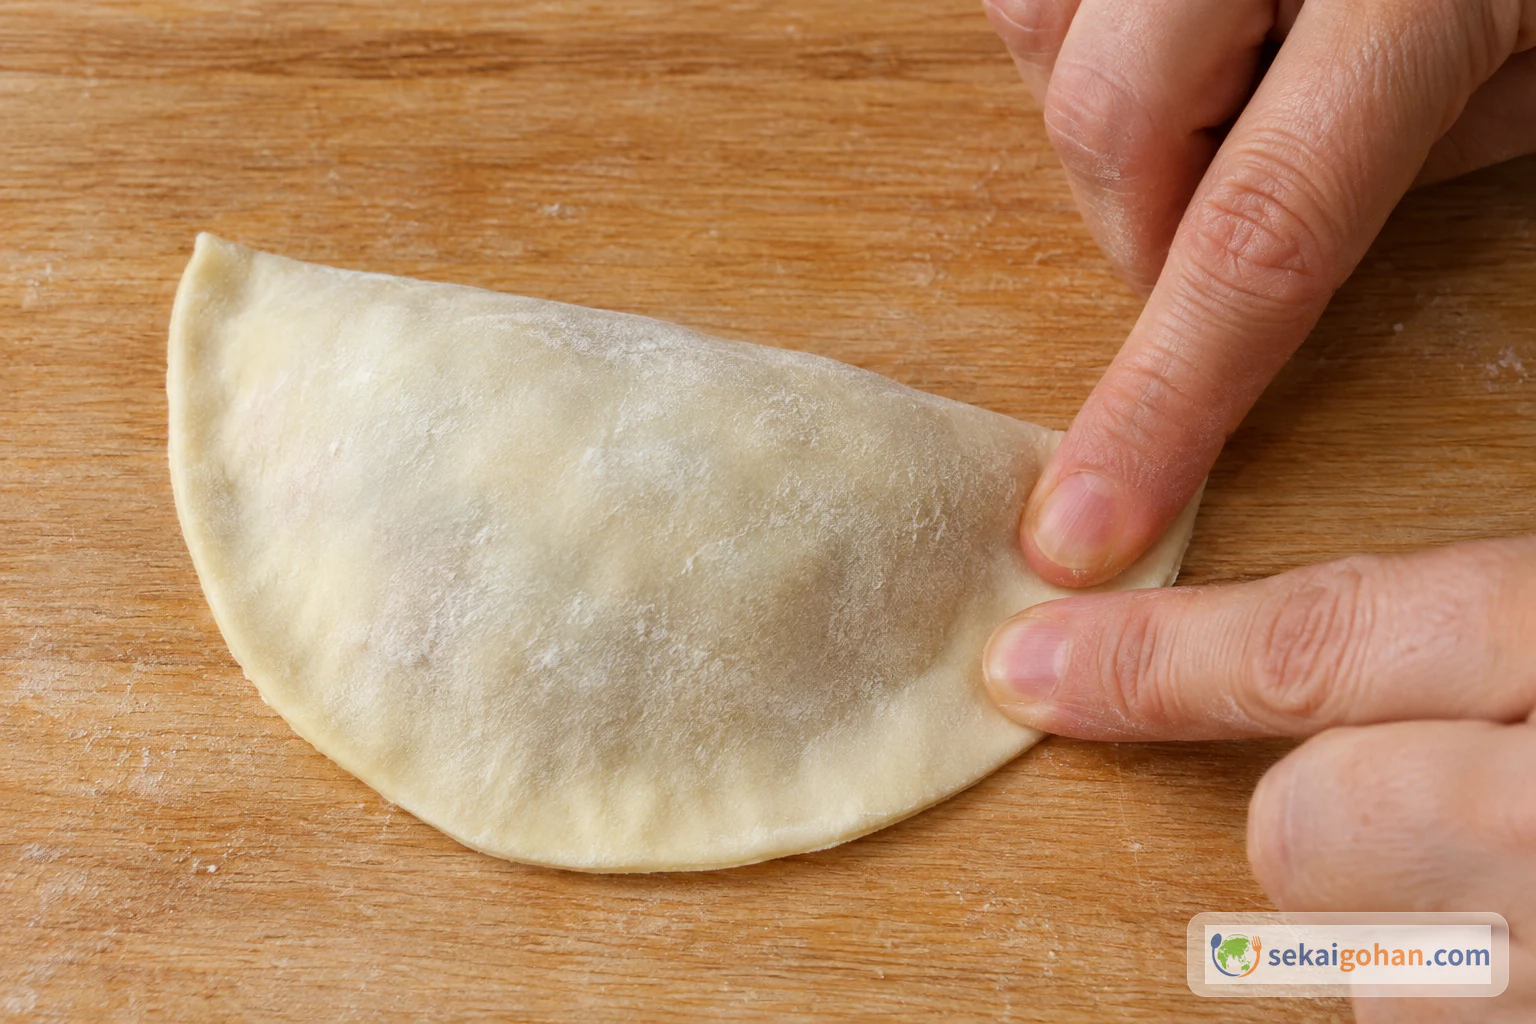
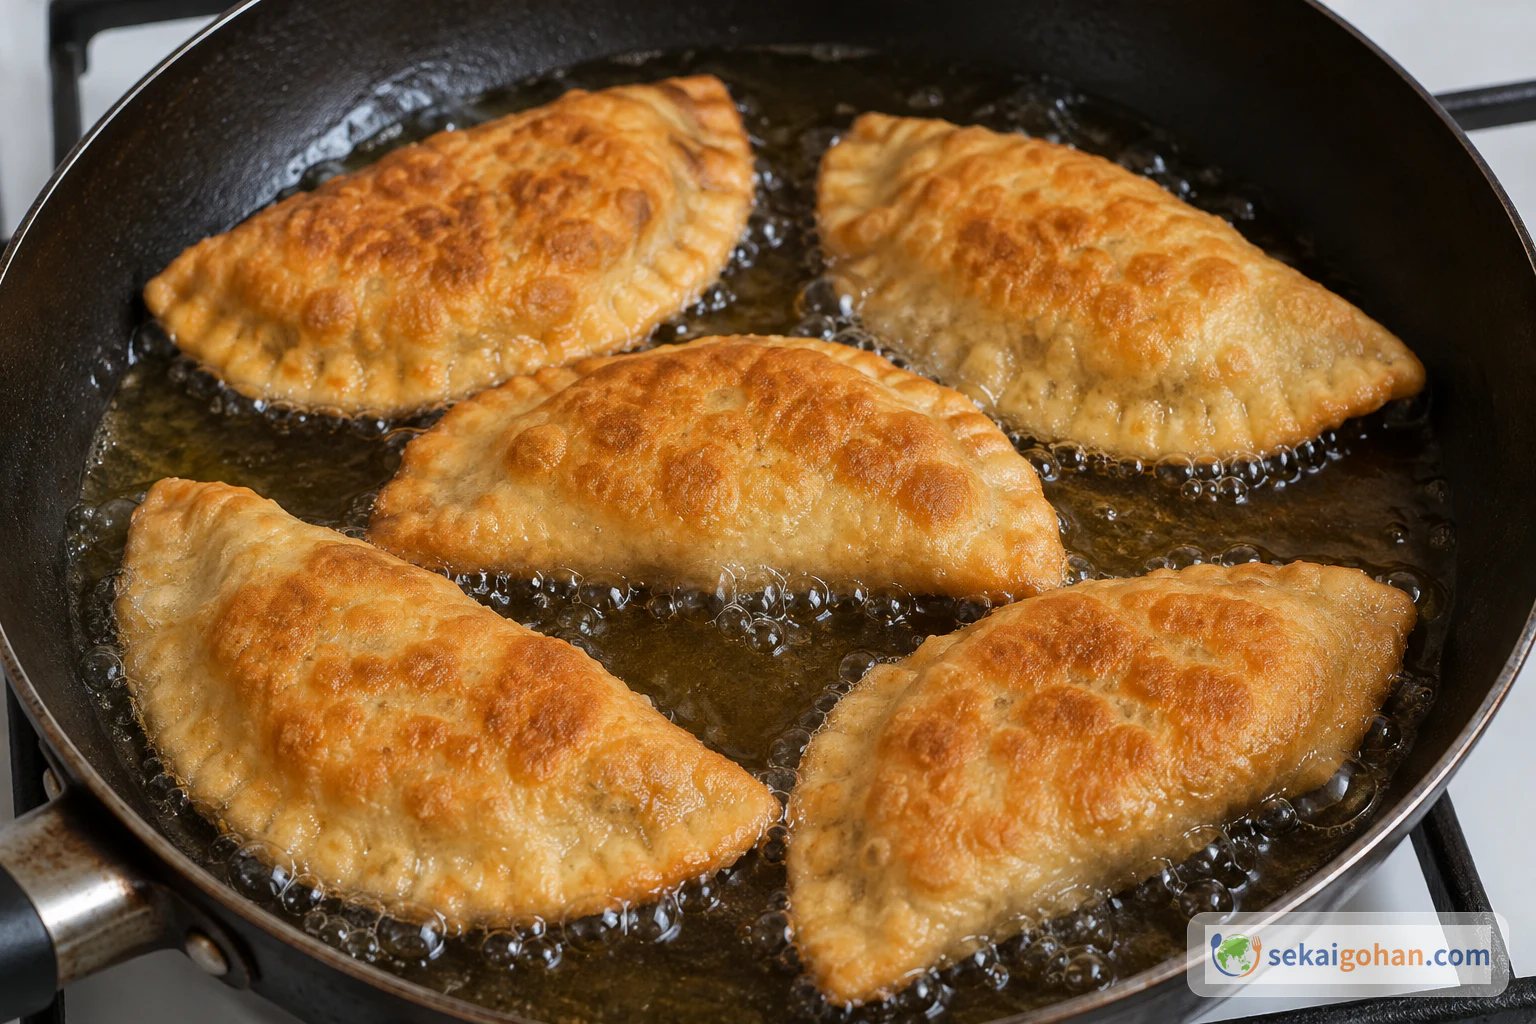
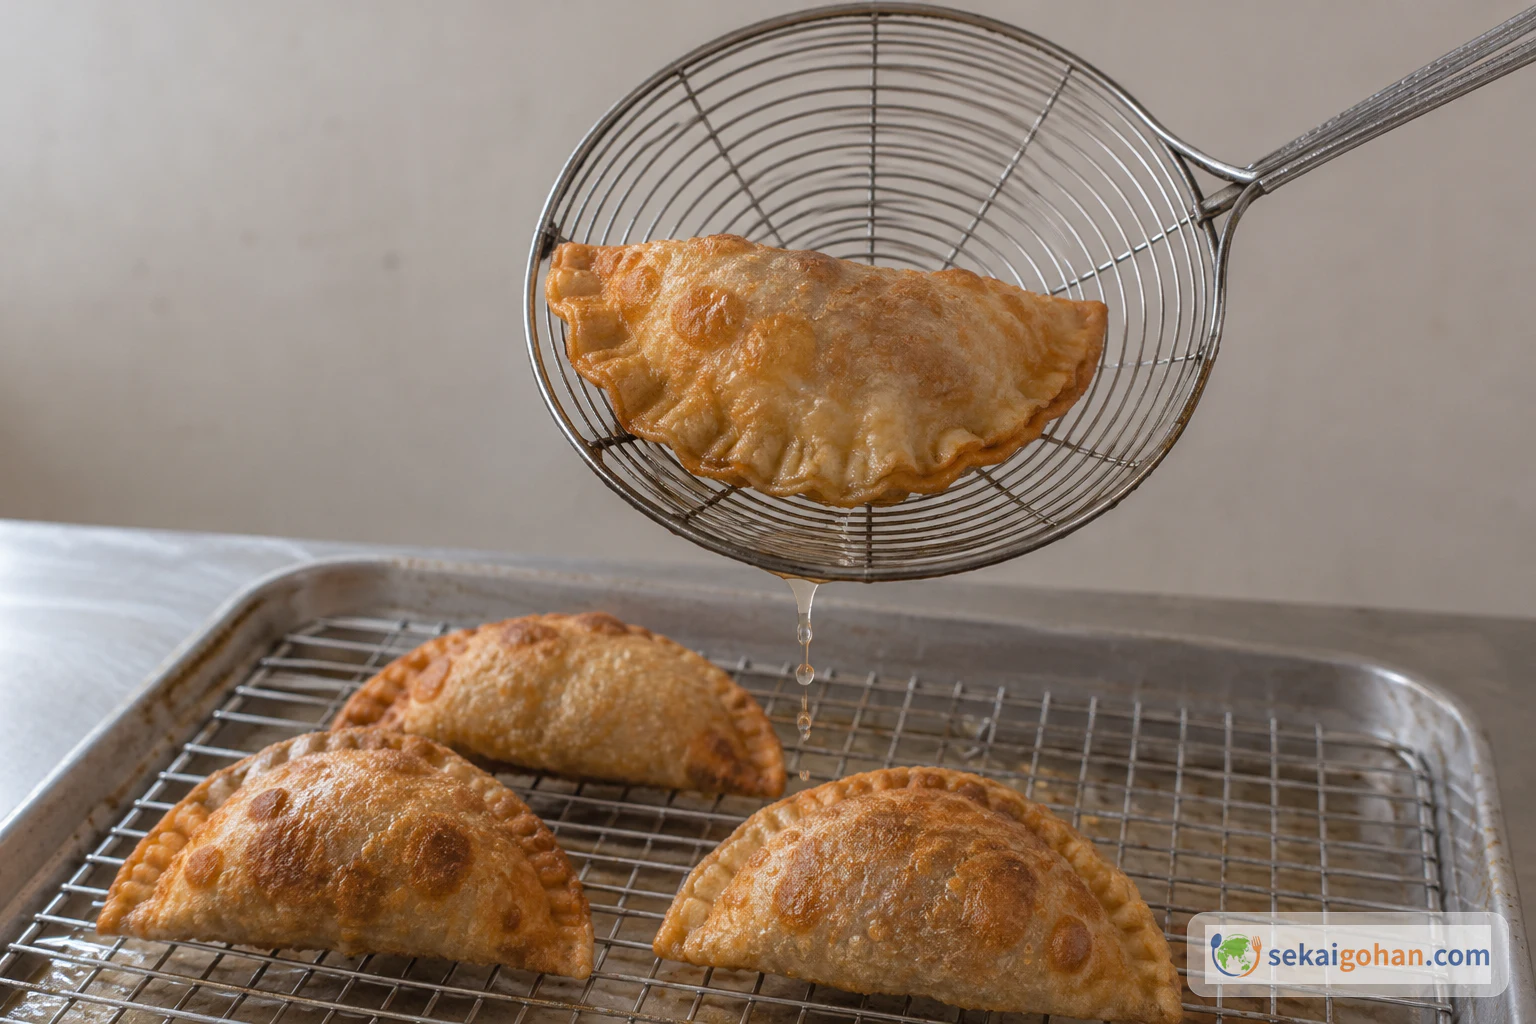
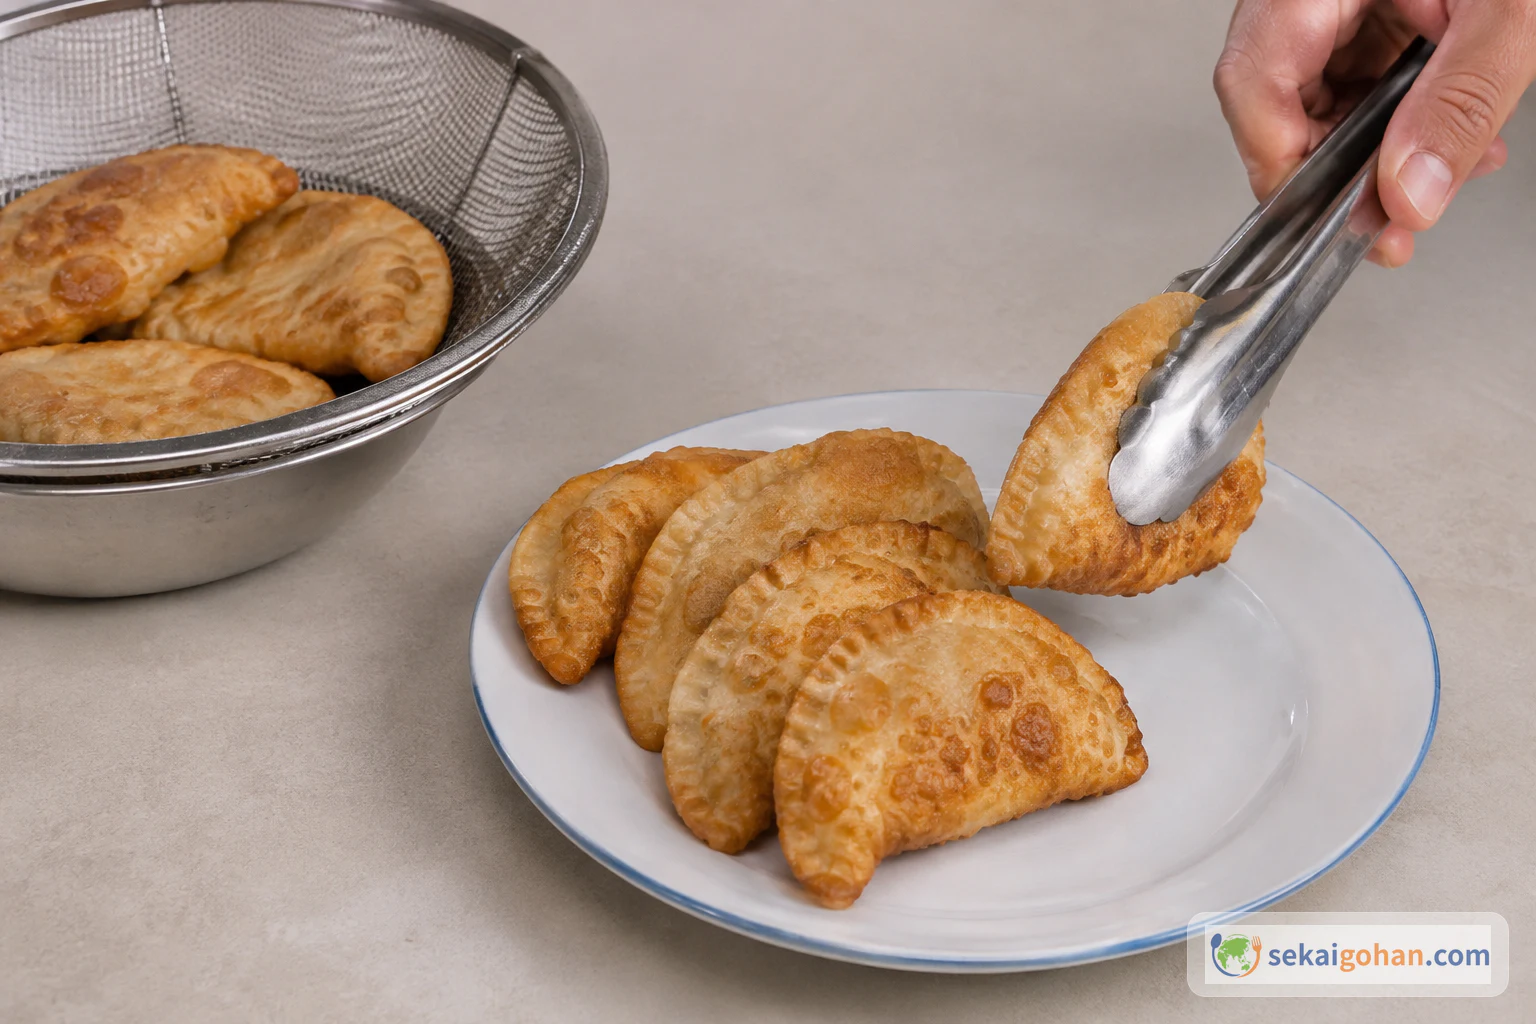
Khuushuur is a half-moon pocket of wheat dough folded around raw ground beef and fried in oil until golden. The dough is rolled into small rounds a little thicker in the center than at the edge. A small spoonful of filling goes on one side, and the round is folded over and closed. The result is a crisp, flat pastry with seasoned beef inside.
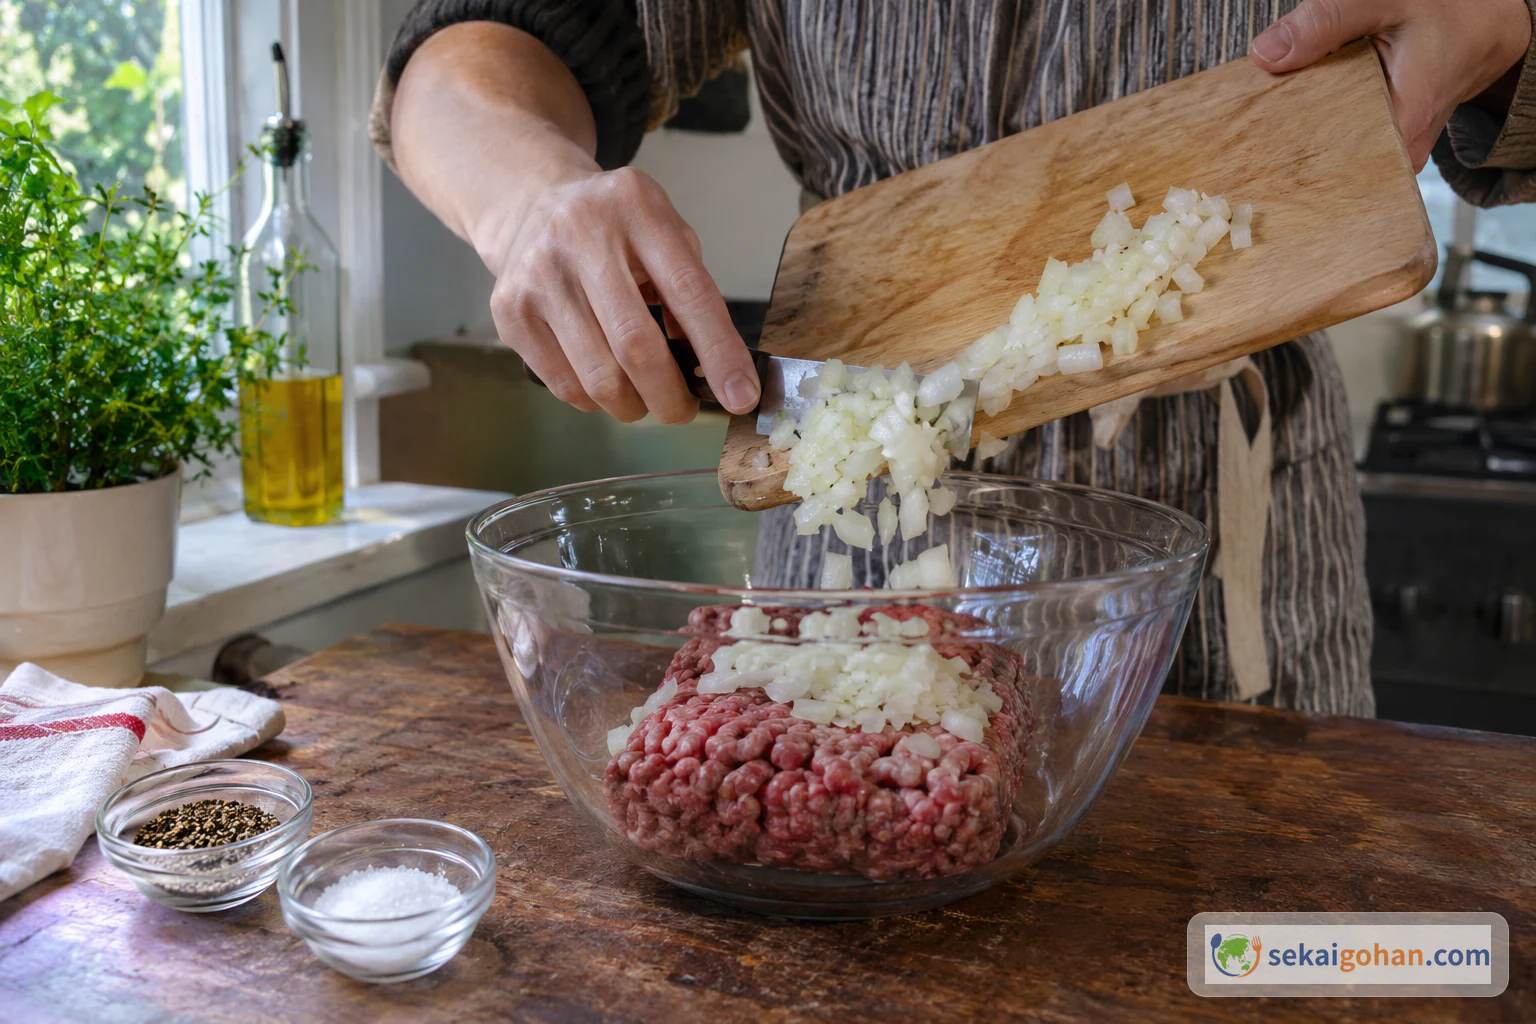
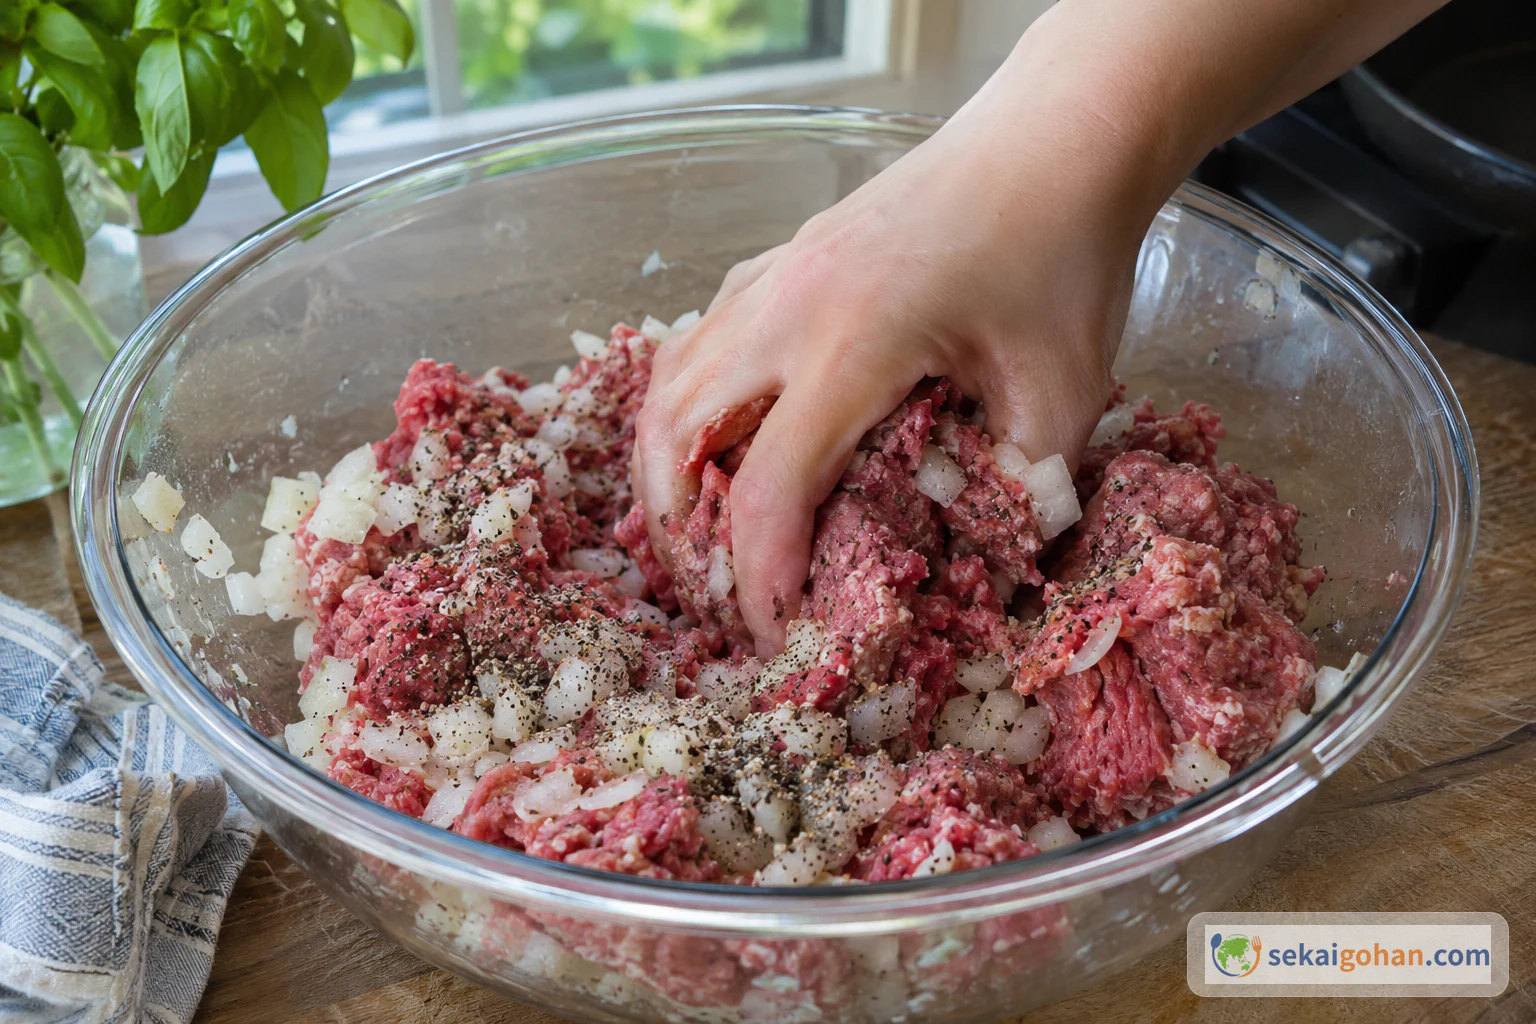
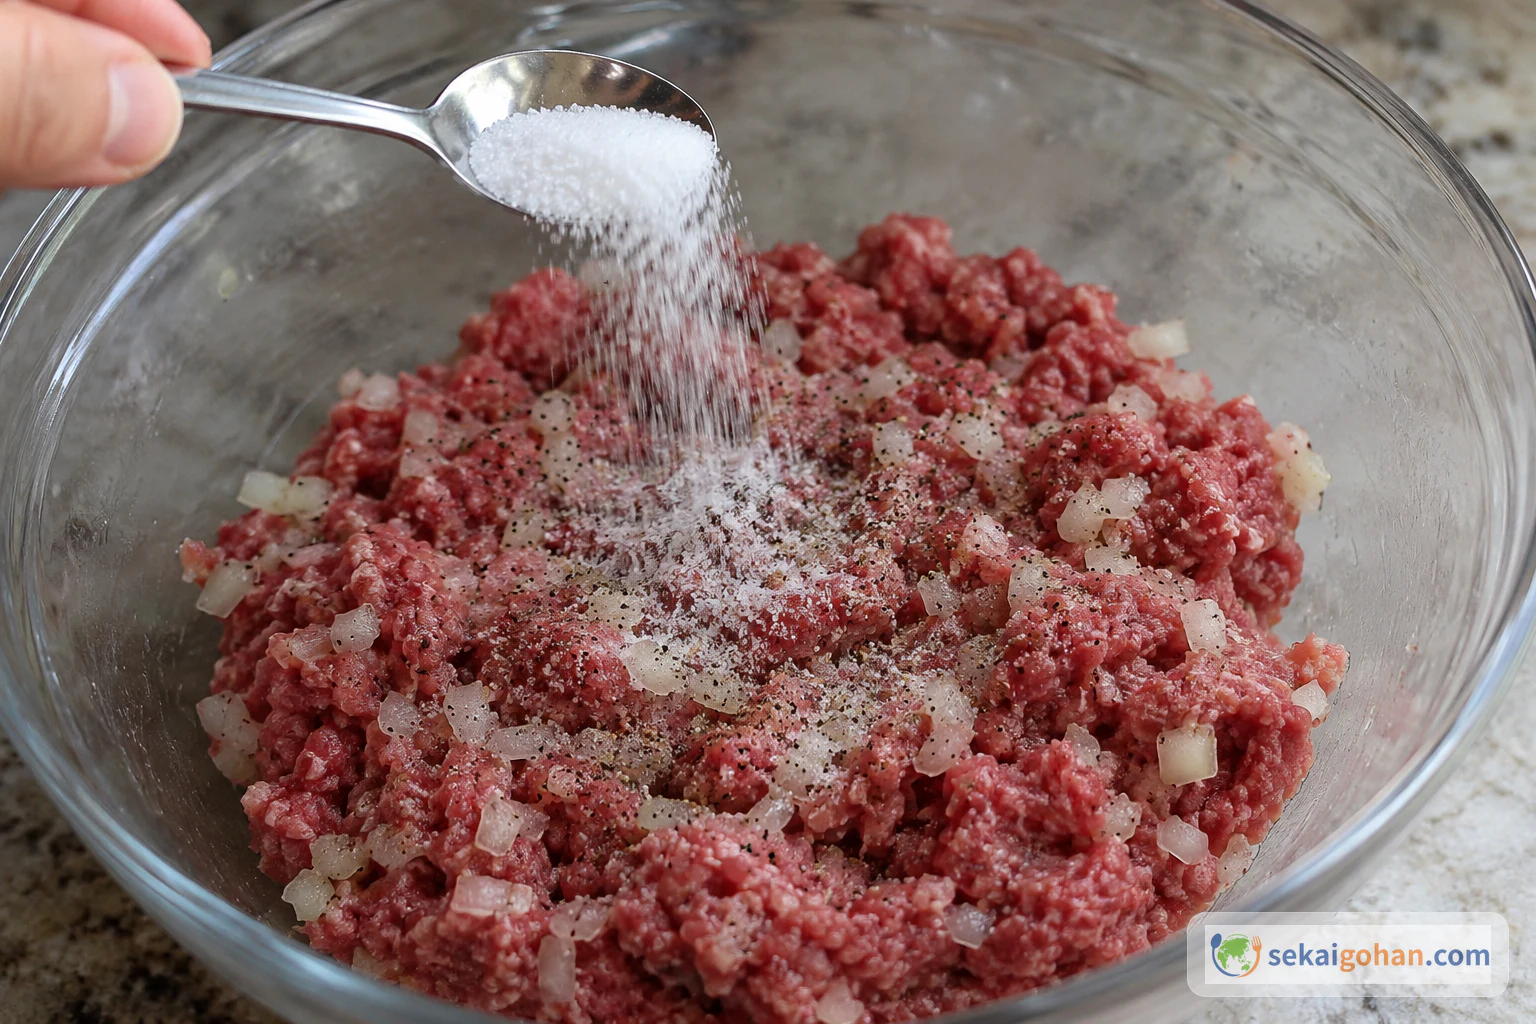
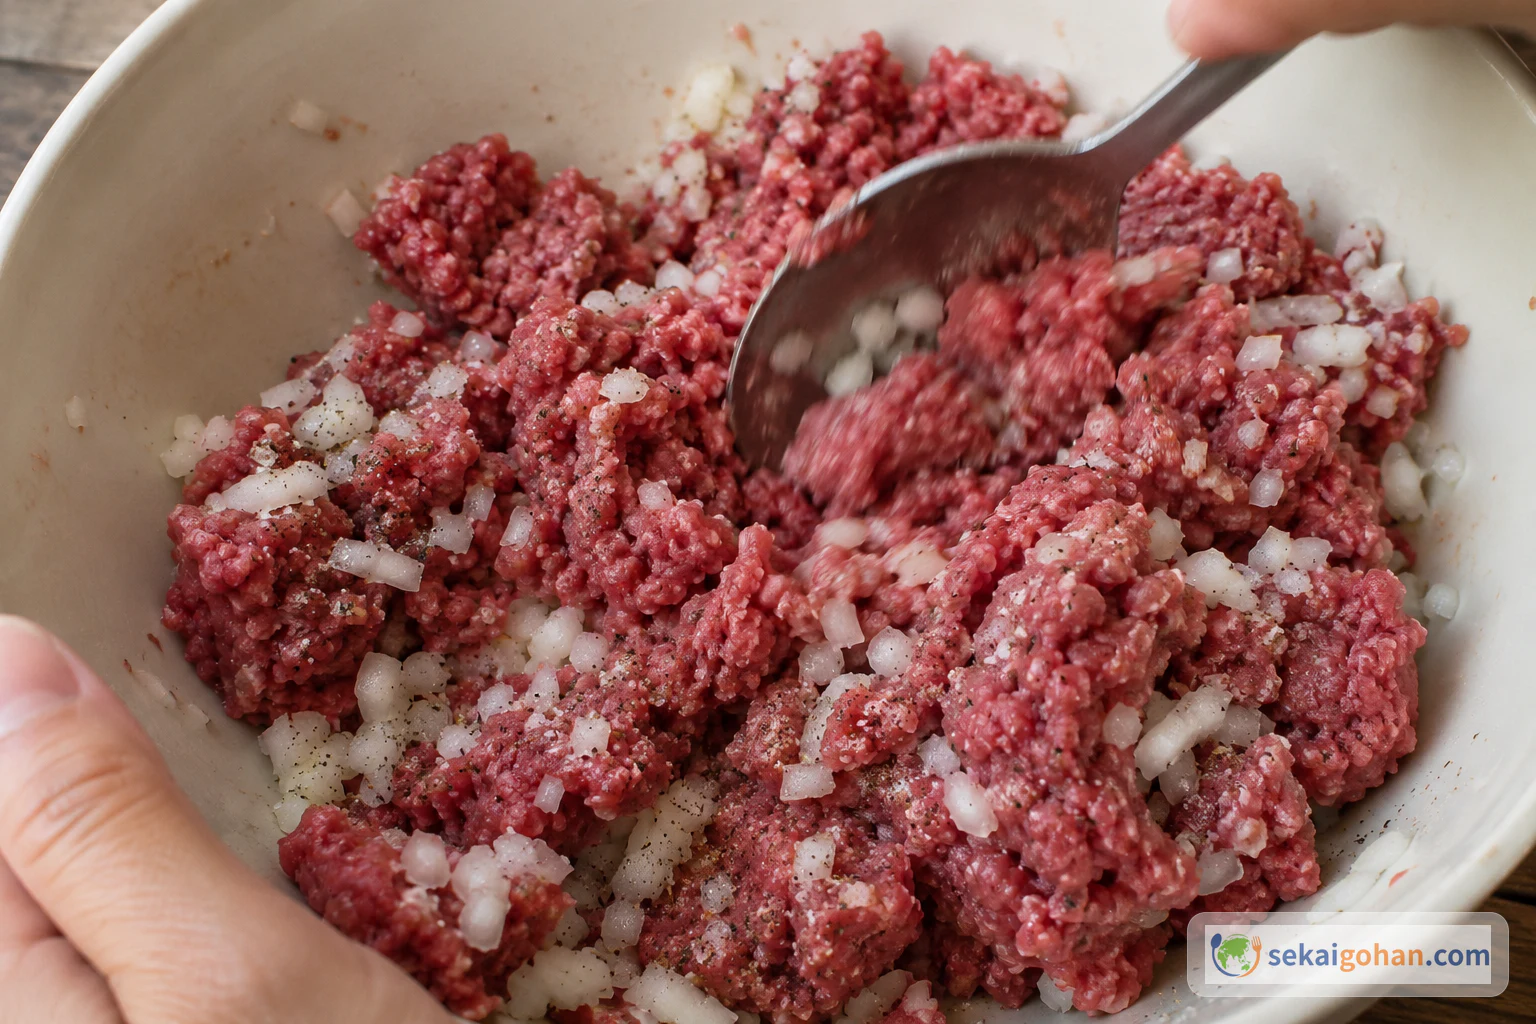
This article follows the khuushuur recipe that WPSU World Kitchen published from its program on Mongolia. On that program, WPSU invited Dr. Odgerel Batsaikhan to present khuushuur as a traditional Mongolian dish. The recipe is the beef version. It serves 4 and uses only seven ingredients. The filling is mixed in a set order: beef, onion and black pepper first, then salt. The dough rests for 15 minutes before shaping.
We have not test-cooked this recipe in our own kitchen. The amounts, sizes and frying cues below come from the WPSU World Kitchen recipe. The temperature check for the beef filling is a separate food-safety addition based on FoodSafety.gov, not part of the WPSU recipe.
What Khuushuur Is, and What This Version Includes
Mongolian cooking also has buuz, another filled dumpling. The Mongolfood.info recipe pages describe the two as different in shape and cooking method: buuz are steamed, while khuushuur are flat half-moons fried in oil. Here we use that comparison only to tell the two apart. Its own ingredients and edge-folding style are not used in this recipe.
The WPSU recipe PDF briefly notes that khuushuur is commonly made with lamb or beef. Its ingredient list is for ground beef, so this article uses beef only. The same PDF also includes a separate raw cabbage salad recipe and mentions optional condiments such as ketchup. Those are outside this article, which covers freshly fried khuushuur served plain.
A few details are not given in the recipe, and we have not filled them in:
- Cup size. The PDF gives cups but does not say which cup standard. We do not convert the flour or water to grams or to other cup sizes.
- Number of pieces. The recipe serves 4 but does not say how many khuushuur it makes.
- Oil temperature. The PDF says medium heat and gives no number.
- Overall time. The PDF lists 30 minutes of preparation, 20 minutes of cooking and a total of 1 hour. These figures do not line up with each other, so this article does not promise an overall time.
Ingredients (Serves 4)
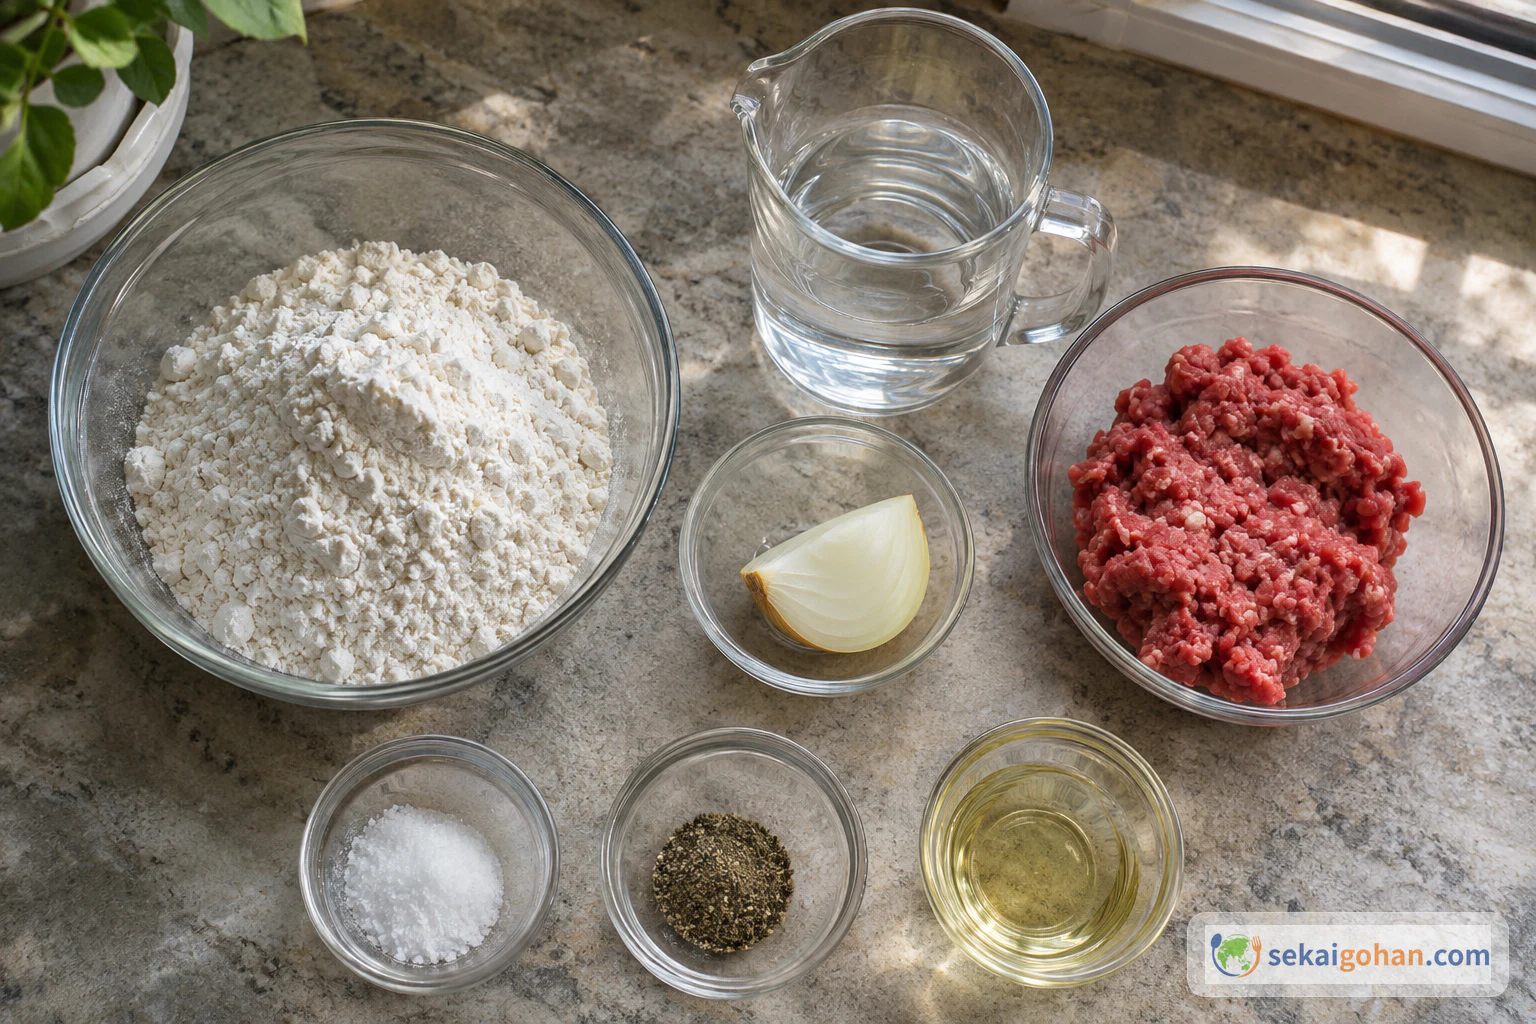
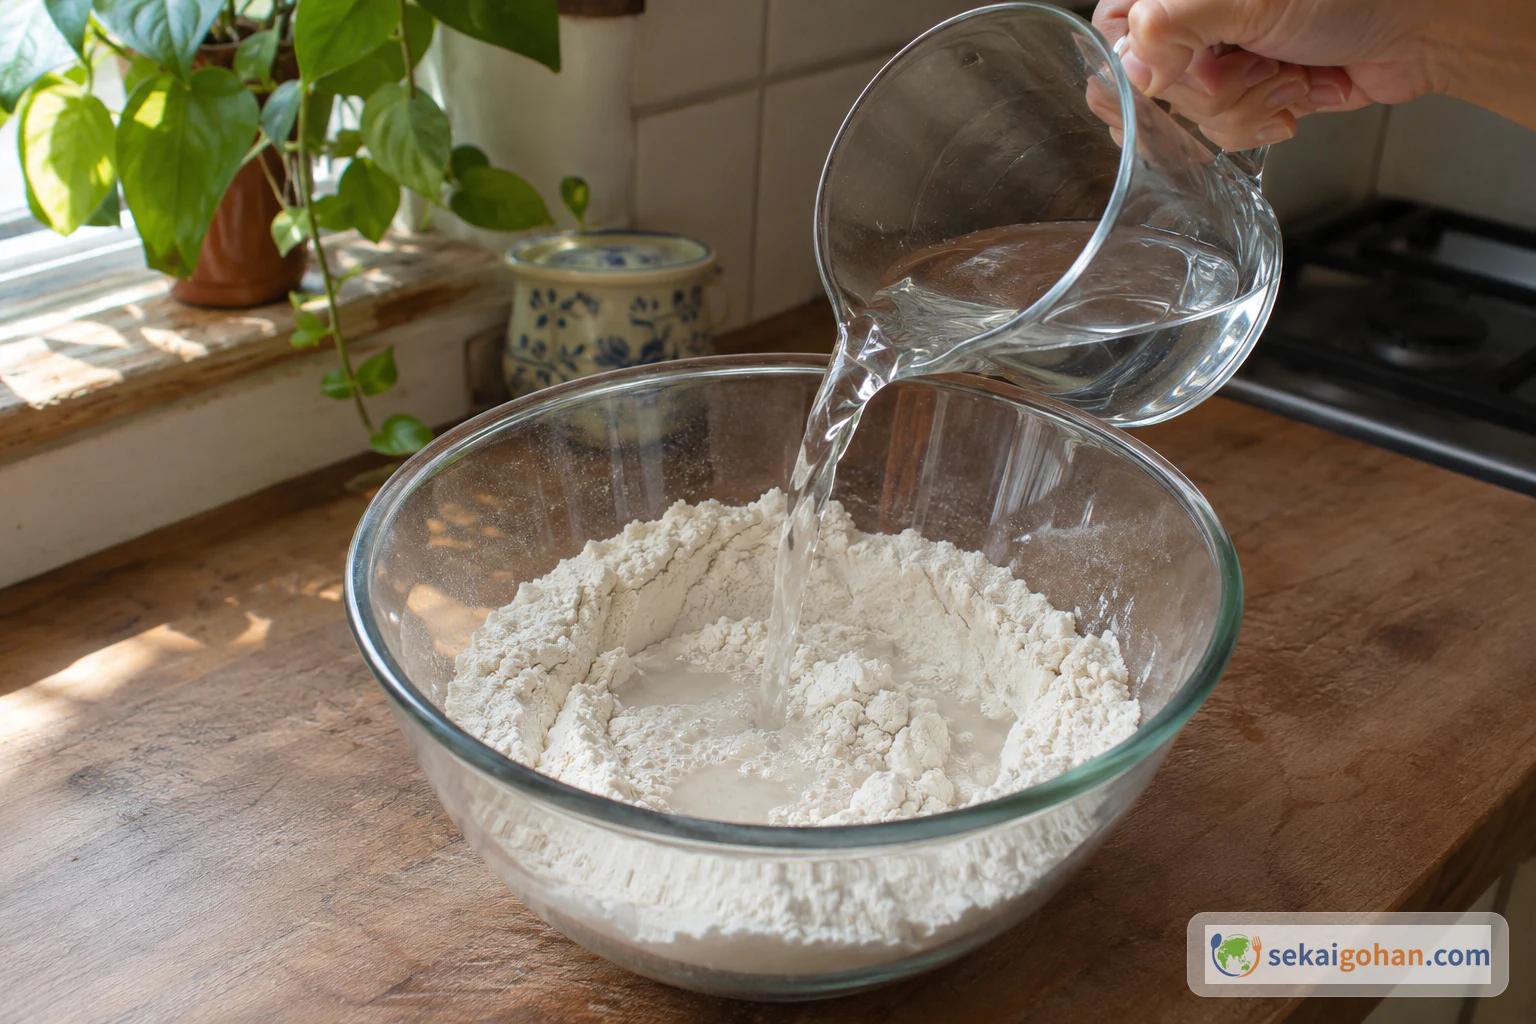
The dough uses flour and water only. The beef, onion, black pepper and salt all go into the filling. The canola oil is for frying.
Equipment
- Knife and cutting board
- Mixing bowl for the filling
- Mixing bowl for the dough
- Measuring cup and measuring spoons
- Rolling pin
- Spoon for the filling
- Frying pan
- Splatter screen
- Turner or tongs
- Food thermometer
- Wire rack set over a tray, and a skimmer
- Serving plate
Choosing and Handling the Ingredients
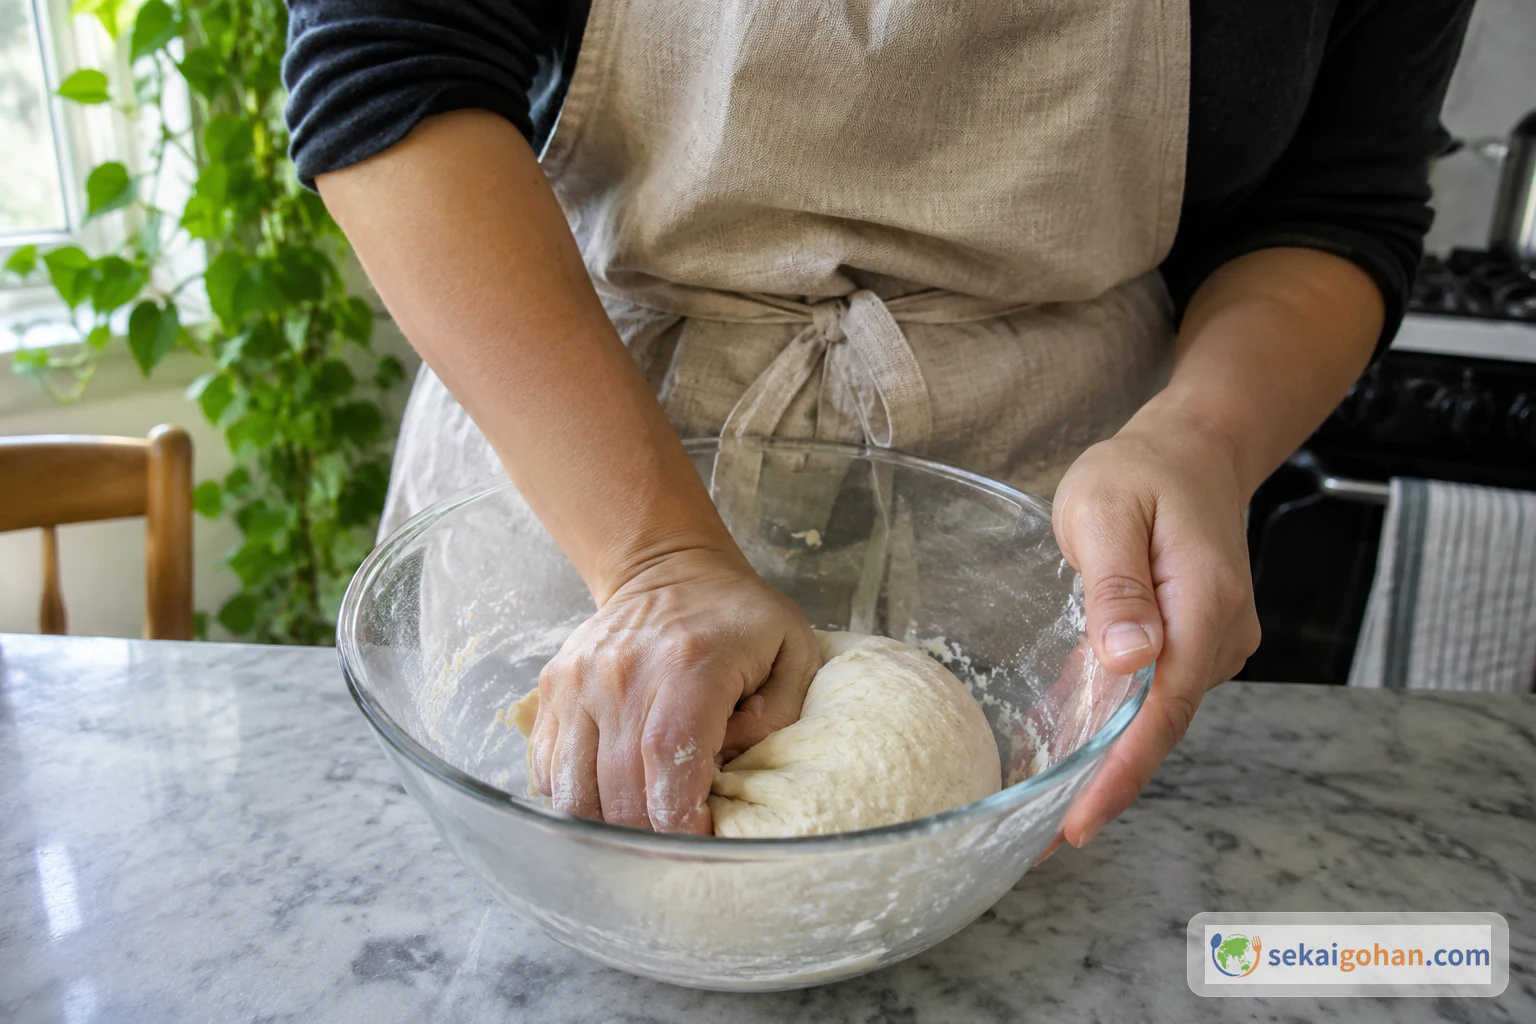
Keep the dough plain. The dough is flour and water only, with no salt or oil. All the seasoning goes into the filling.
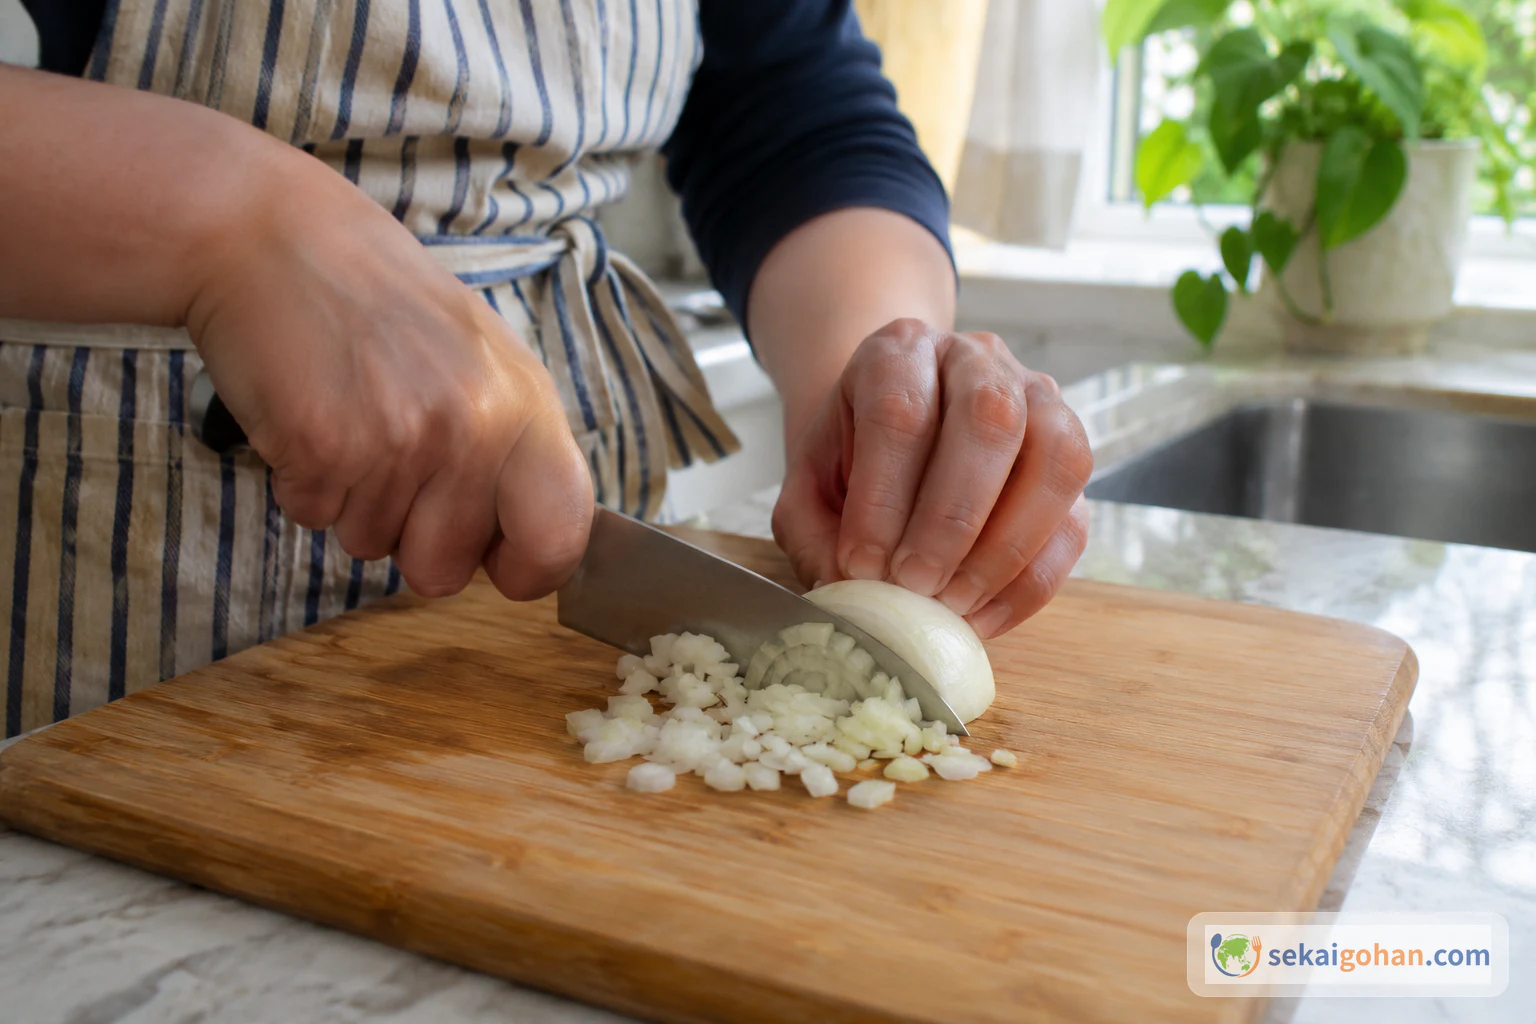
Keep the filling to beef, onion, black pepper and salt. Ground beef, onion, black pepper and salt are the whole filling. This version does not add water, garlic, herbs or other vegetables to the meat.
Keep raw meat separate. Keep the bowl, spoon and board used for the raw filling away from cooked food. Do not taste the raw filling to check seasoning.
Method: Filling, Dough, Shaping and Frying
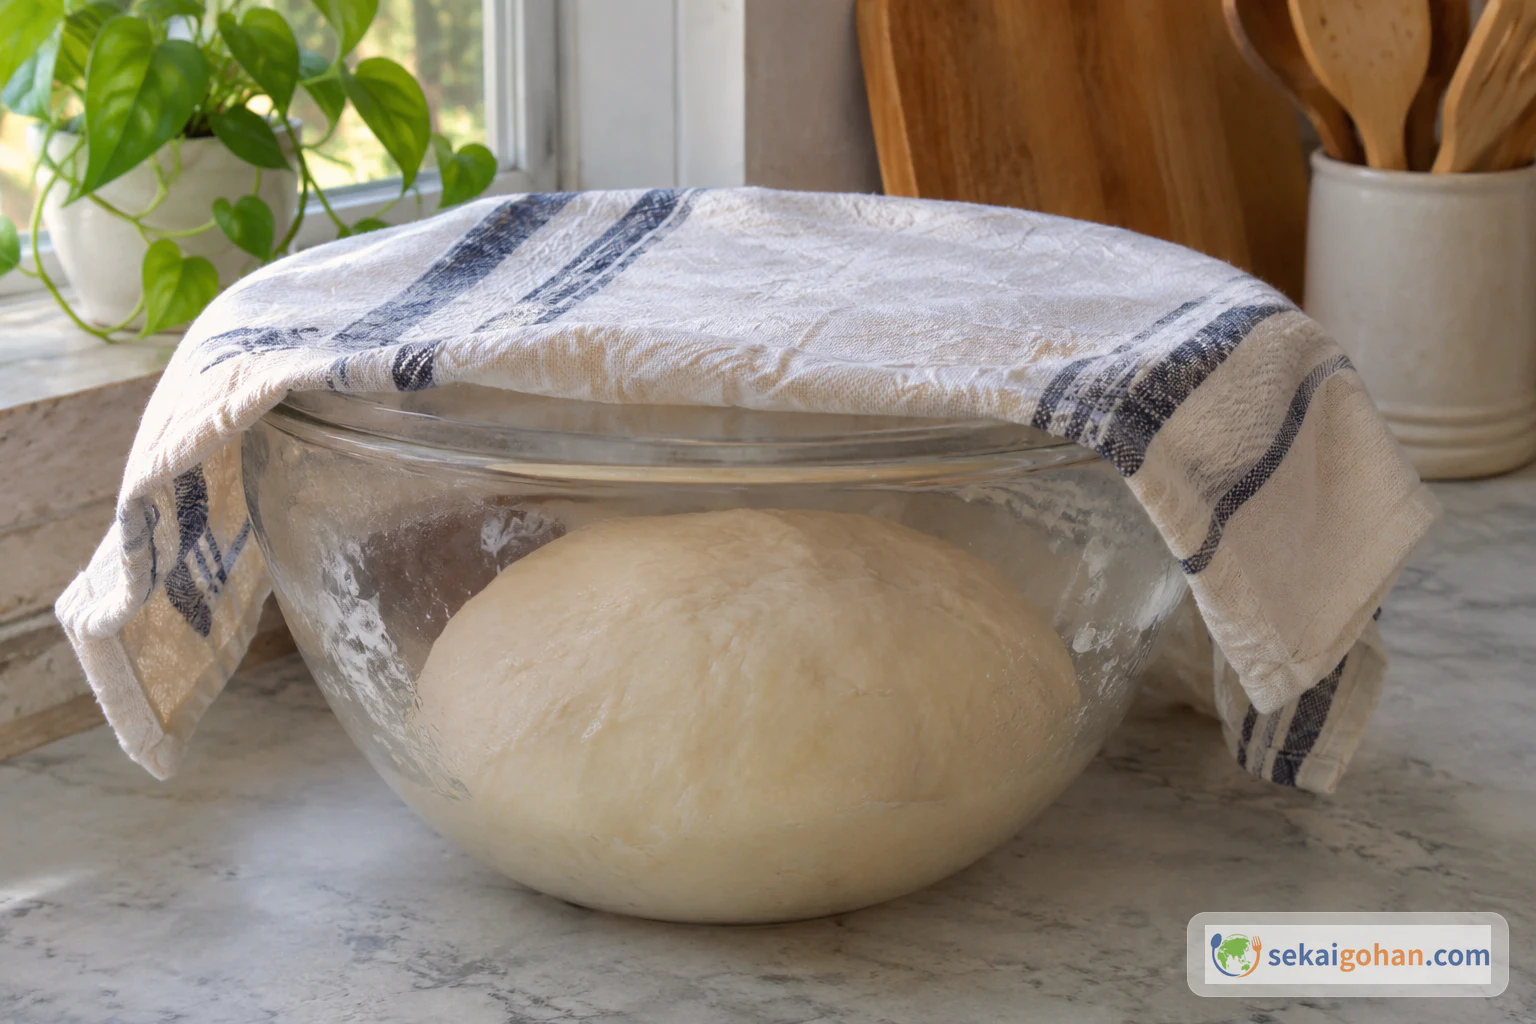
Make the filling first, then the dough. While the dough rests for 15 minutes, keep the raw filling in its own bowl. Shape only a few pieces at a time, so each round can be filled and closed soon after rolling.
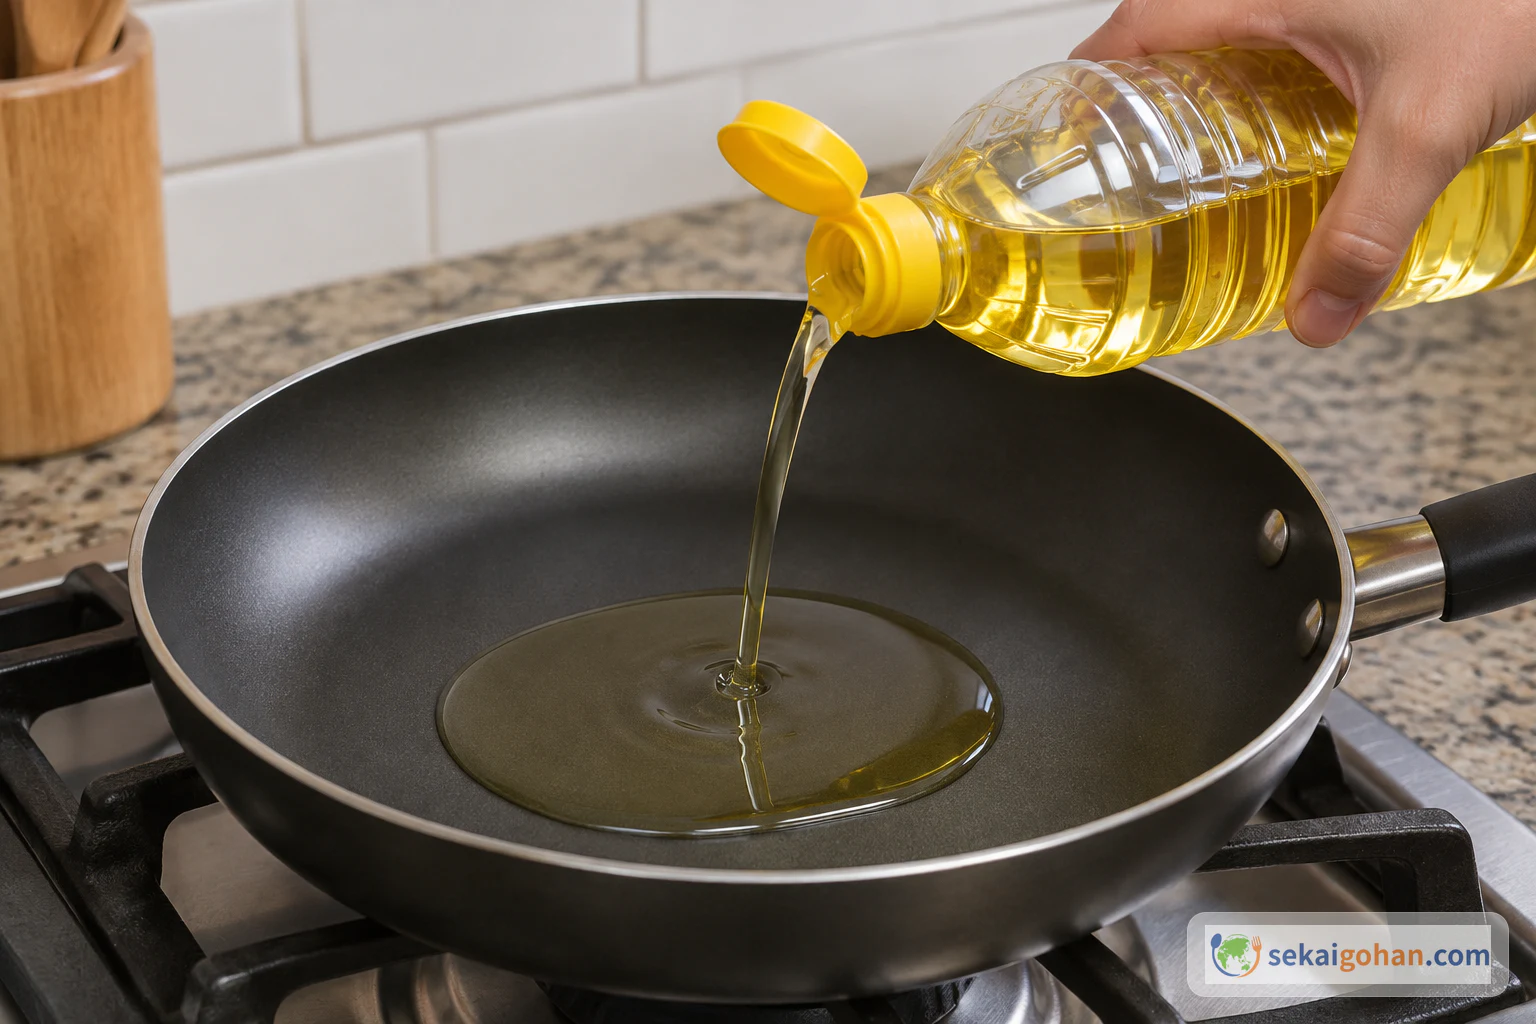
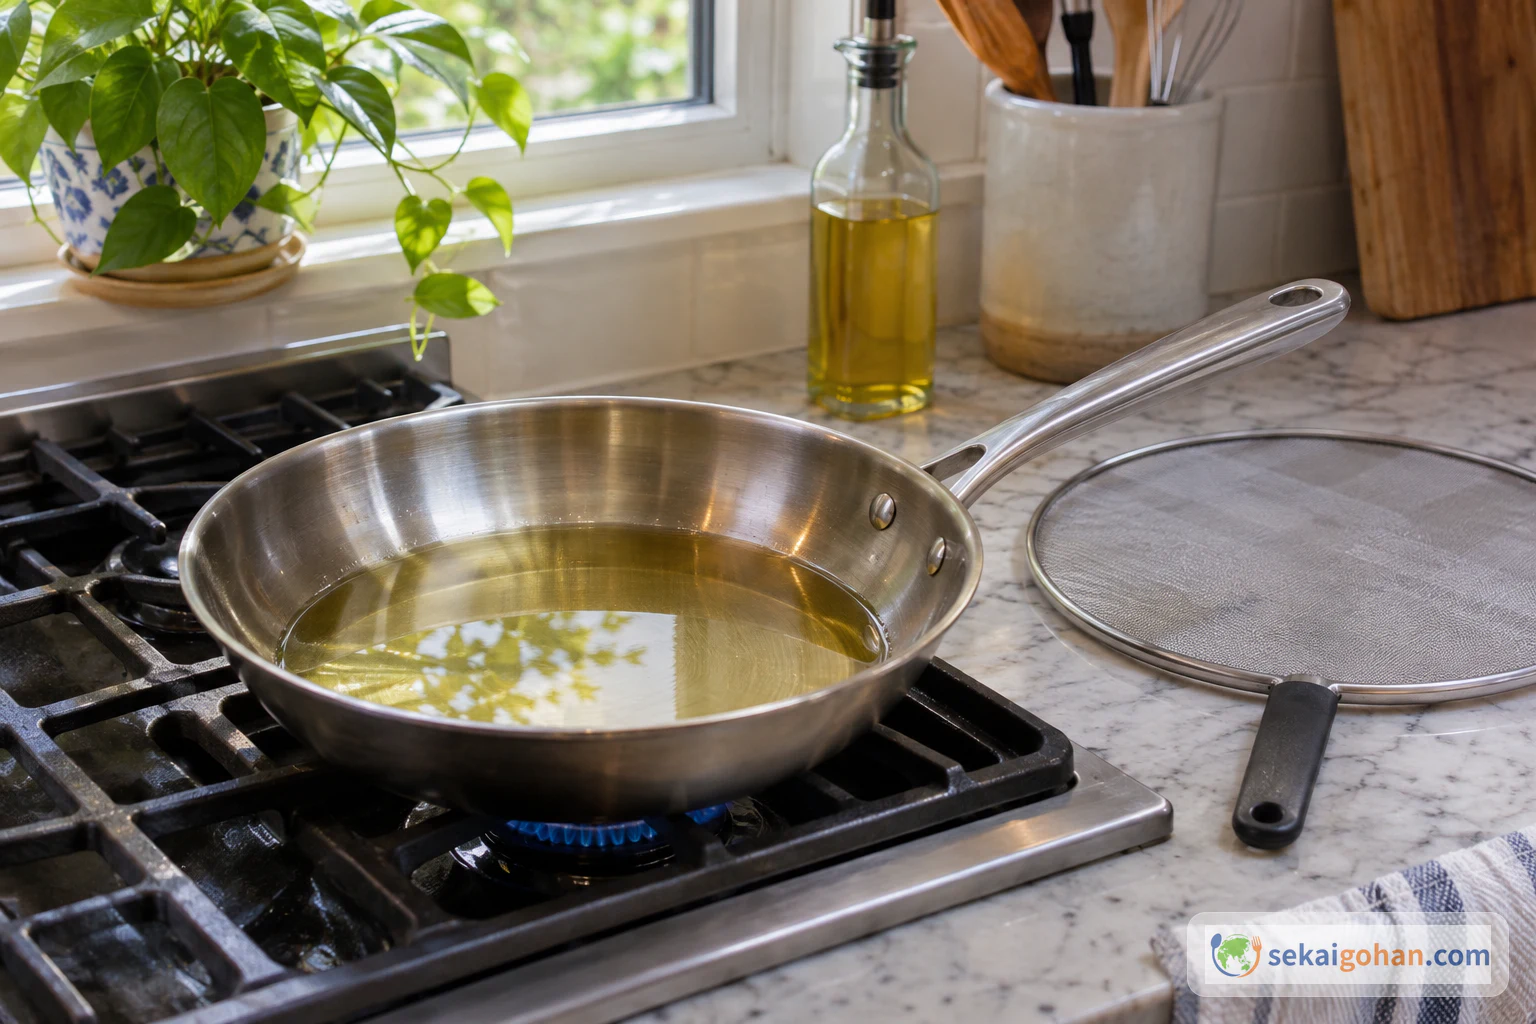
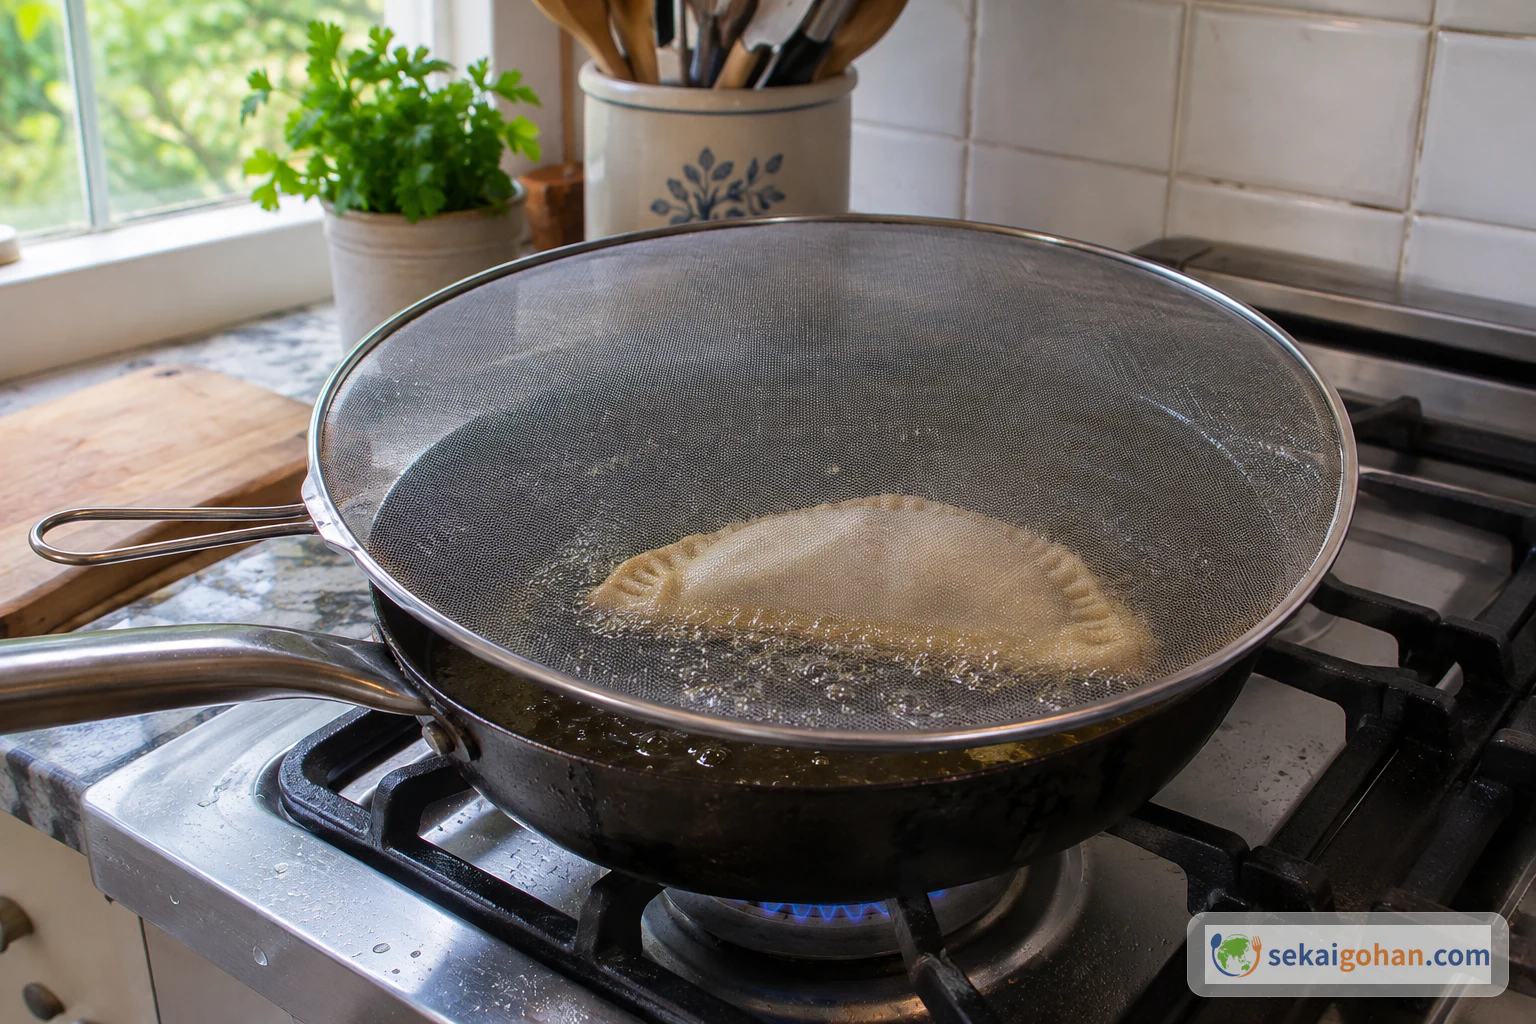
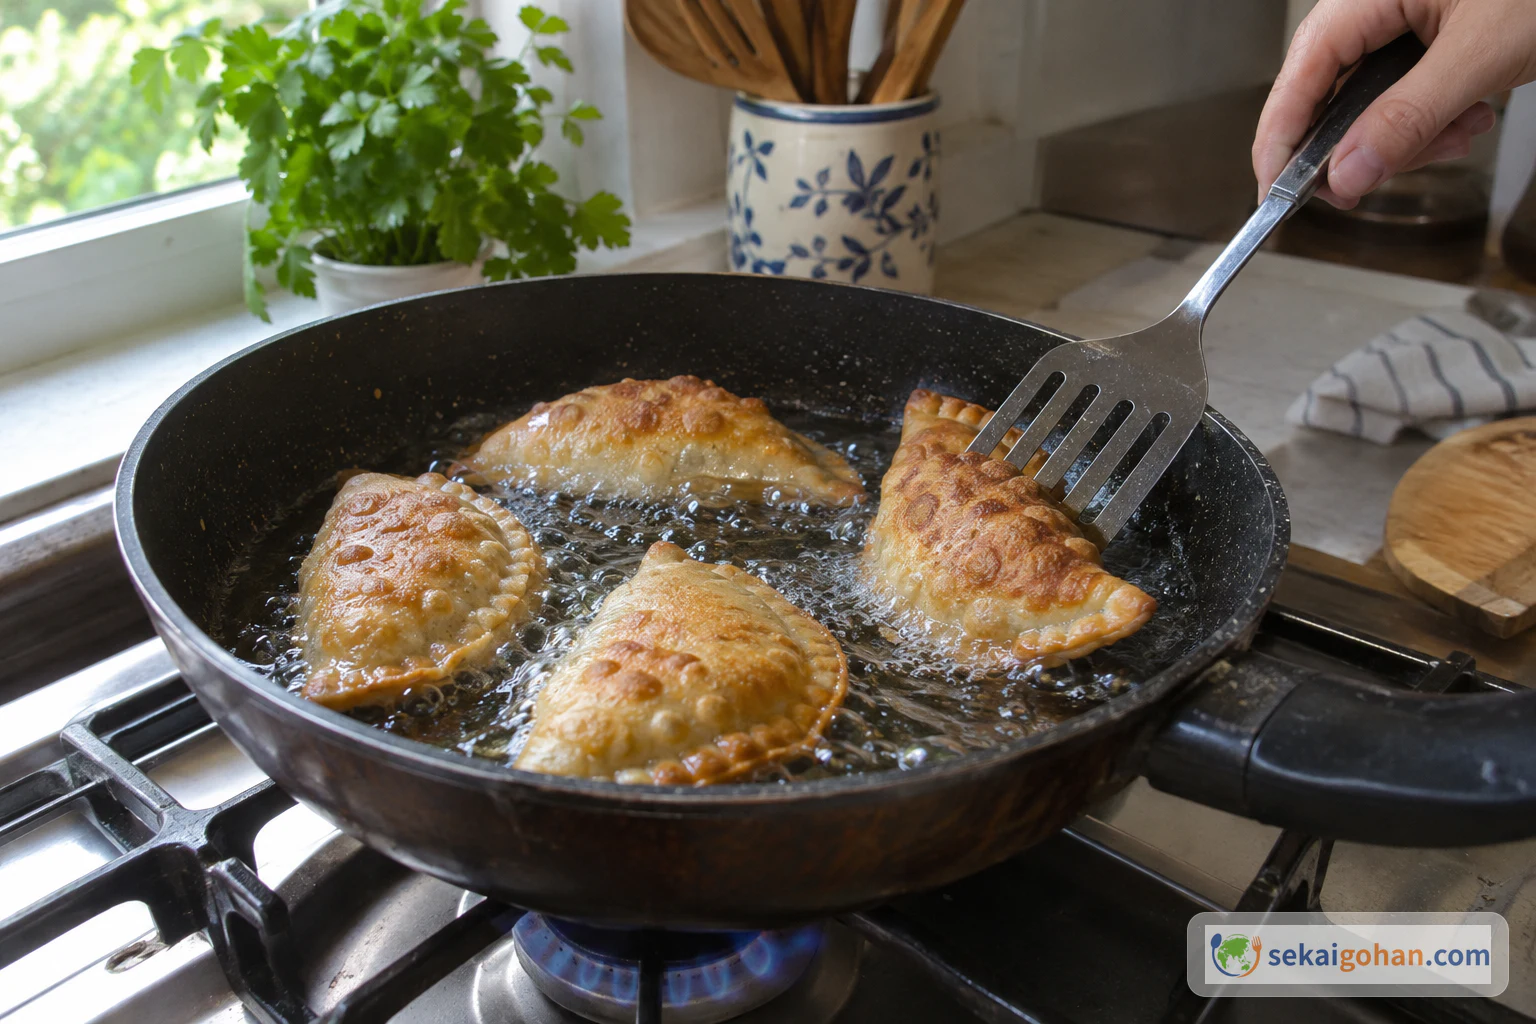
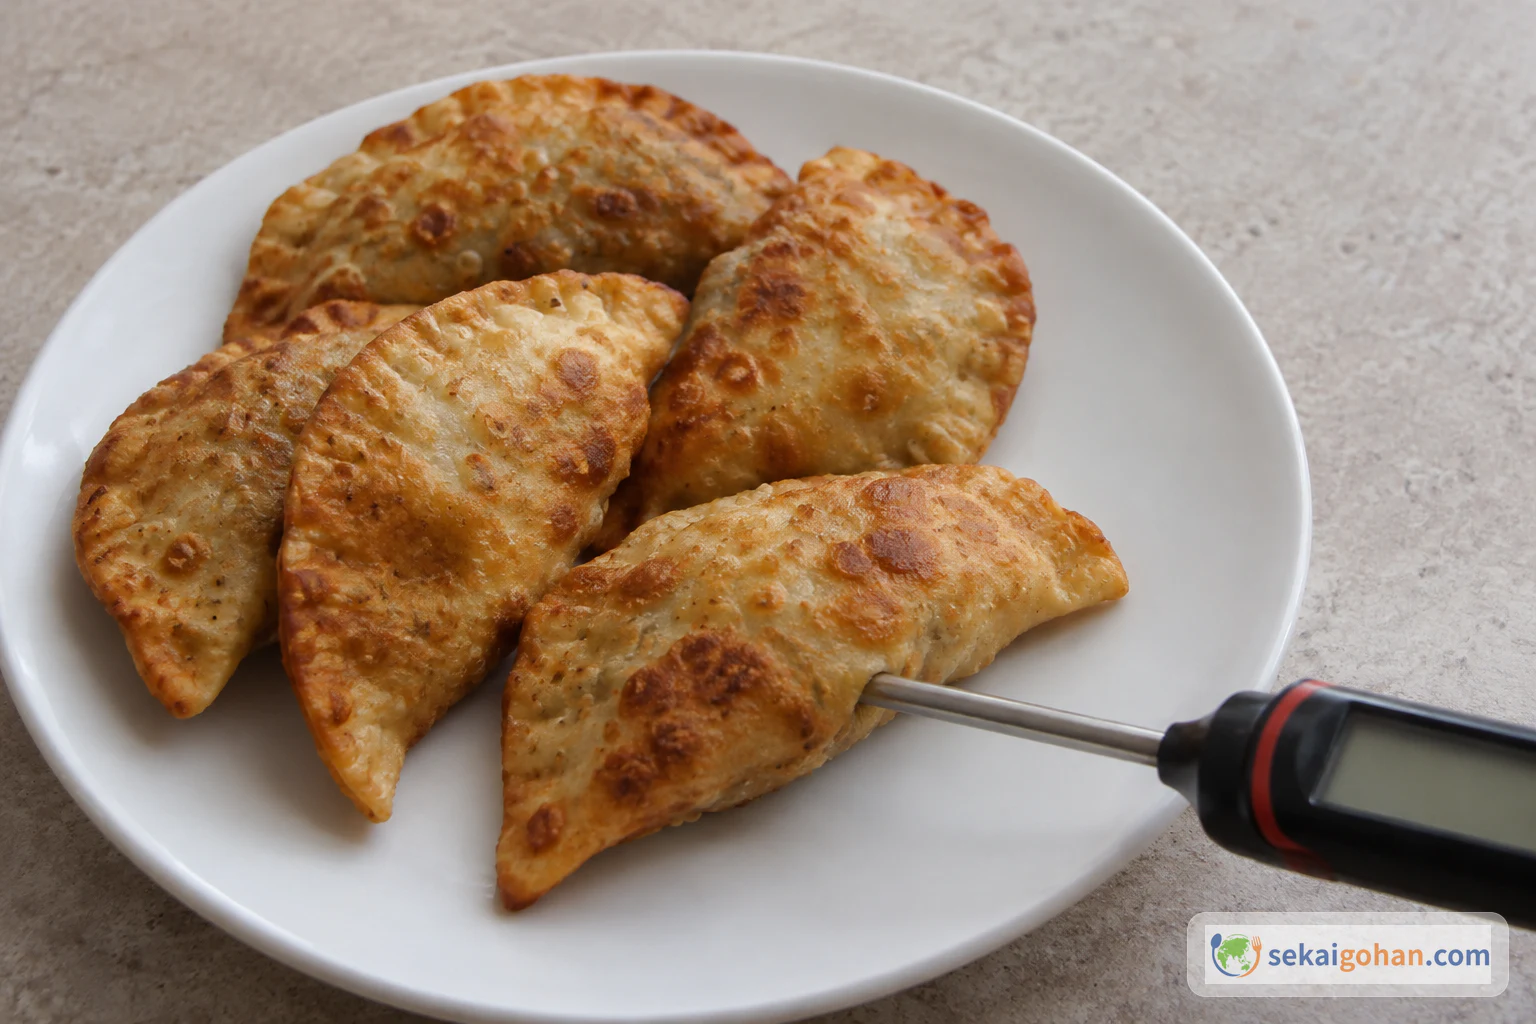
Fry the pastries over medium heat for about 2 minutes per side until golden. In step 23, check that the thickest beef filling reaches at least 160°F (71°C) with a food thermometer. Golden color, steam, frying time or a photo cannot stand in for a thermometer reading.
When Things Go Wrong
| What you see | What to do |
|---|---|
| The outside is golden, but the thermometer reads below 160°F (71°C) | Return the pastry to the oil, keep frying, and measure the thickest filling again. Golden color alone does not show the beef is cooked through |
| The edge will not stay closed | Leave a clean margin when you add the filling, keep to about 1.5 teaspoons, and press the aligned edges firmly along the whole curve |
| The rolled rounds dry out or get hard to close | Roll out only a few circles at a time so each one is filled and closed soon after rolling |
| Oil spits from the pan | Keep the splatter screen over the pan while frying. Do not switch to a tight lid, which would turn frying into steaming |
| You are not sure about the seasoning | Do not taste the raw filling. Season as written: black pepper mixed in first, salt added after |
What This Version Leaves Out
This recipe is the beef version, served plain and freshly fried. Anything beyond that would be a different recipe, not a small adjustment.
- Lamb. The WPSU PDF notes that khuushuur is commonly made with lamb or beef, but its ingredient list is for ground beef. This article gives no amounts for a lamb version.
- Extra filling ingredients. No garlic, water, herbs or other vegetables go into the meat here.
- Decorative edges. The WPSU recipe does not call for a braided or pleated edge. This article simply presses the edge closed. We do not present that as a traditional or required method.
- Sides and sauces. The WPSU PDF includes a separate raw cabbage salad and mentions optional condiments such as ketchup. They are not part of this recipe.
- Storage and reheating. This article covers making khuushuur and eating them right away. It does not give a method for storing or reheating them.
Frequently Asked Questions
How many khuushuur does this make?
The WPSU recipe gives a serving size of 4 but not a piece count, so we do not give one either.
What size cup should I use?
The recipe uses cups without naming a standard. Measure the flour and water with the same cup. We have not converted these amounts to grams or to other cup sizes.
How long does it take?
The WPSU PDF lists 30 minutes of preparation, 20 minutes of cooking and a total of 1 hour. These figures do not match each other, so we do not give an overall time. The specific times in the method are the 15-minute dough rest and about 2 minutes of frying per side over medium heat.
If the recipe says about 2 minutes per side, why use a thermometer?
Frying time and golden color are cues for how the outside looks, and pan heat varies. The WPSU recipe does not give an internal temperature. FoodSafety.gov lists 160°F (71°C) as the safe minimum internal temperature for ground beef and recommends checking with a food thermometer. This article adds that check as a separate safety step, measured in the thickest filling.
How is khuushuur different from buuz?
Both are Mongolian filled dumplings. According to Mongolfood.info, buuz are steamed, while khuushuur are shaped into flat half-moons and fried in oil.
Can I keep leftovers?
This article covers khuushuur fried and eaten fresh. It does not include storage or reheating instructions.
Sources
- WPSU World Kitchen, "Khuushuur: Mongolian Fried Meat Pockets" (3-page recipe PDF). Basis for the serving size of 4, the ingredients and amounts, the order for mixing the filling, the dough rest, shaping sizes, medium-heat frying for about 2 minutes per side until golden, the splatter screen, and the listed preparation, cooking and total times. https://wpsu.org/wp-content/uploads/2024/01/WPSU-World-Kitchen-Khuushuur-Recipe.pdf
- WPSU Digital, "World Kitchen: Mongolia." Program page describing how Dr. Odgerel Batsaikhan was invited to present khuushuur as a traditional Mongolian dish. https://wpsu.org/digital/worldkitchen/mongolia/
- Mongolfood.info, "Khuushuur - Fried Filled Pockets - Recipe from Mongolia." Used only for the comparison of khuushuur with buuz in shape and cooking method. https://www.mongolfood.info/en/recipes/khuushuur.html
- FoodSafety.gov, "Cook to a Safe Minimum Internal Temperature." Separate food-safety guidance: 160°F (71°C) for ground meat, checked with a food thermometer. Not part of the WPSU recipe. https://www.foodsafety.gov/food-safety-charts/safe-minimum-internal-temperatures