Pastel de Nata: Shattering Layers and Soft Custard
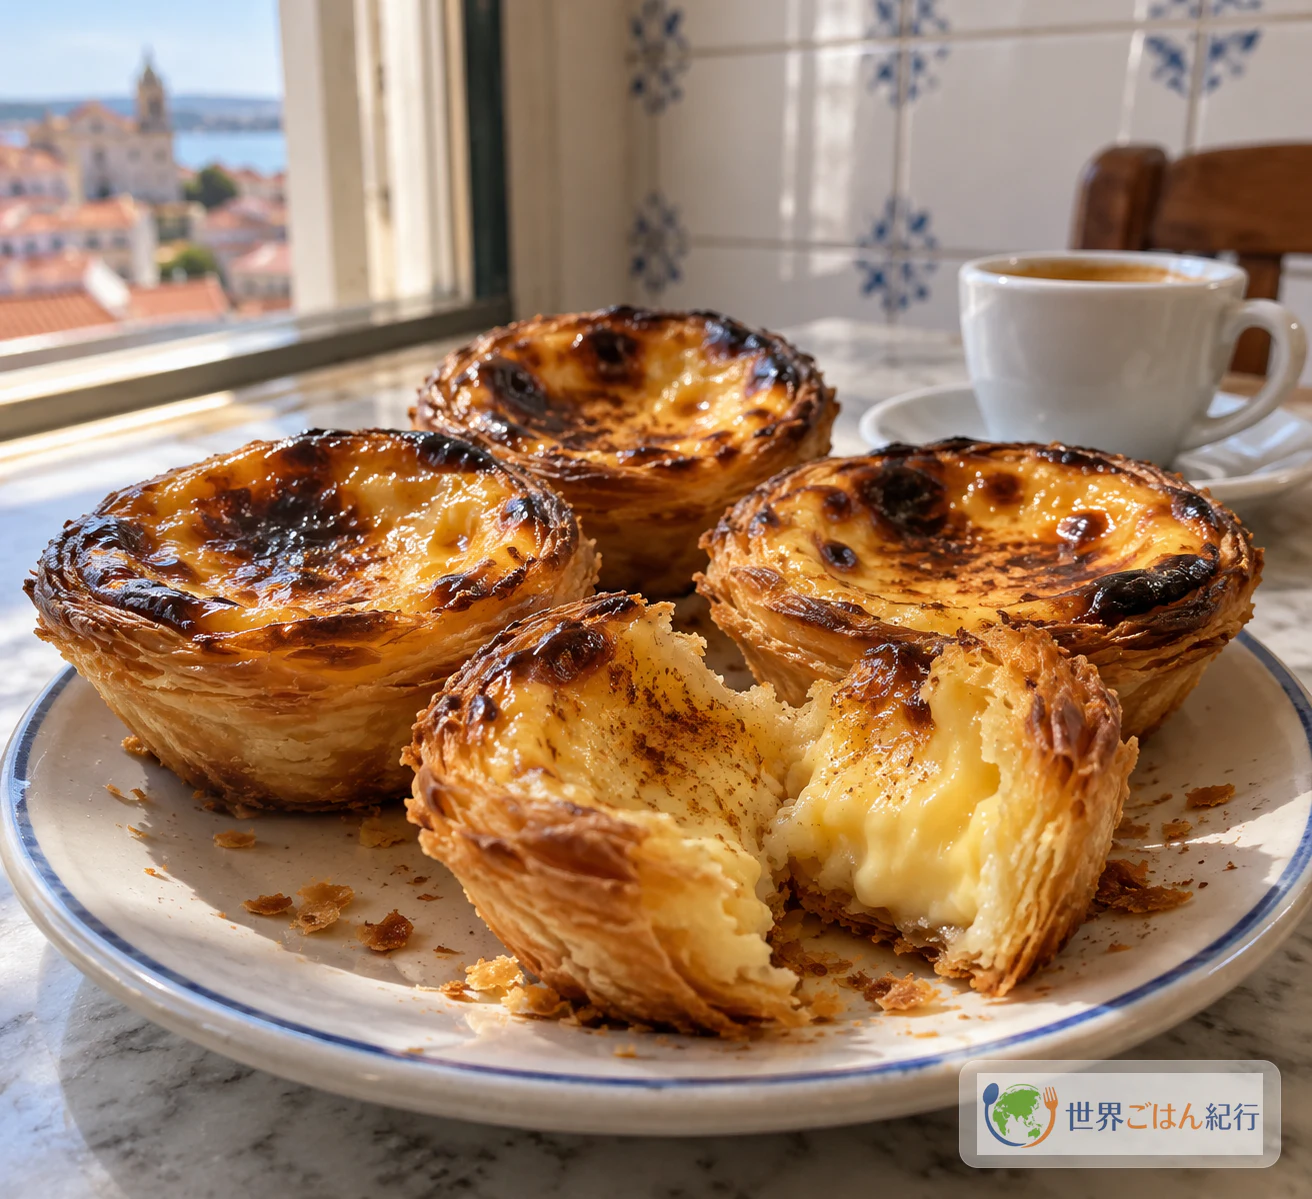
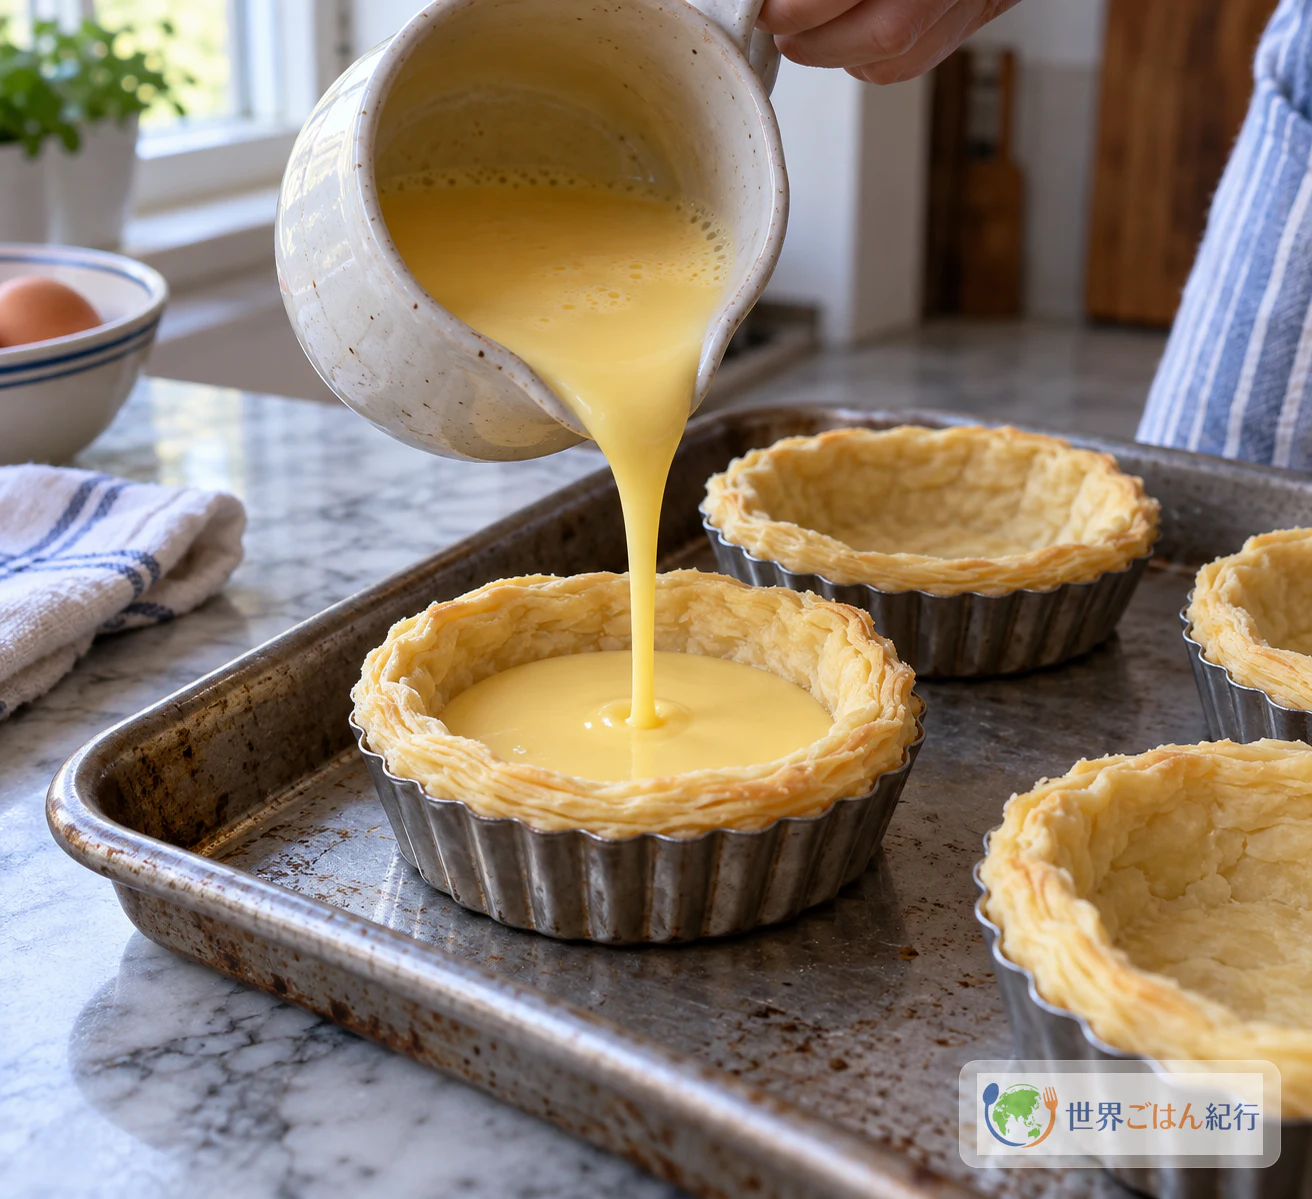
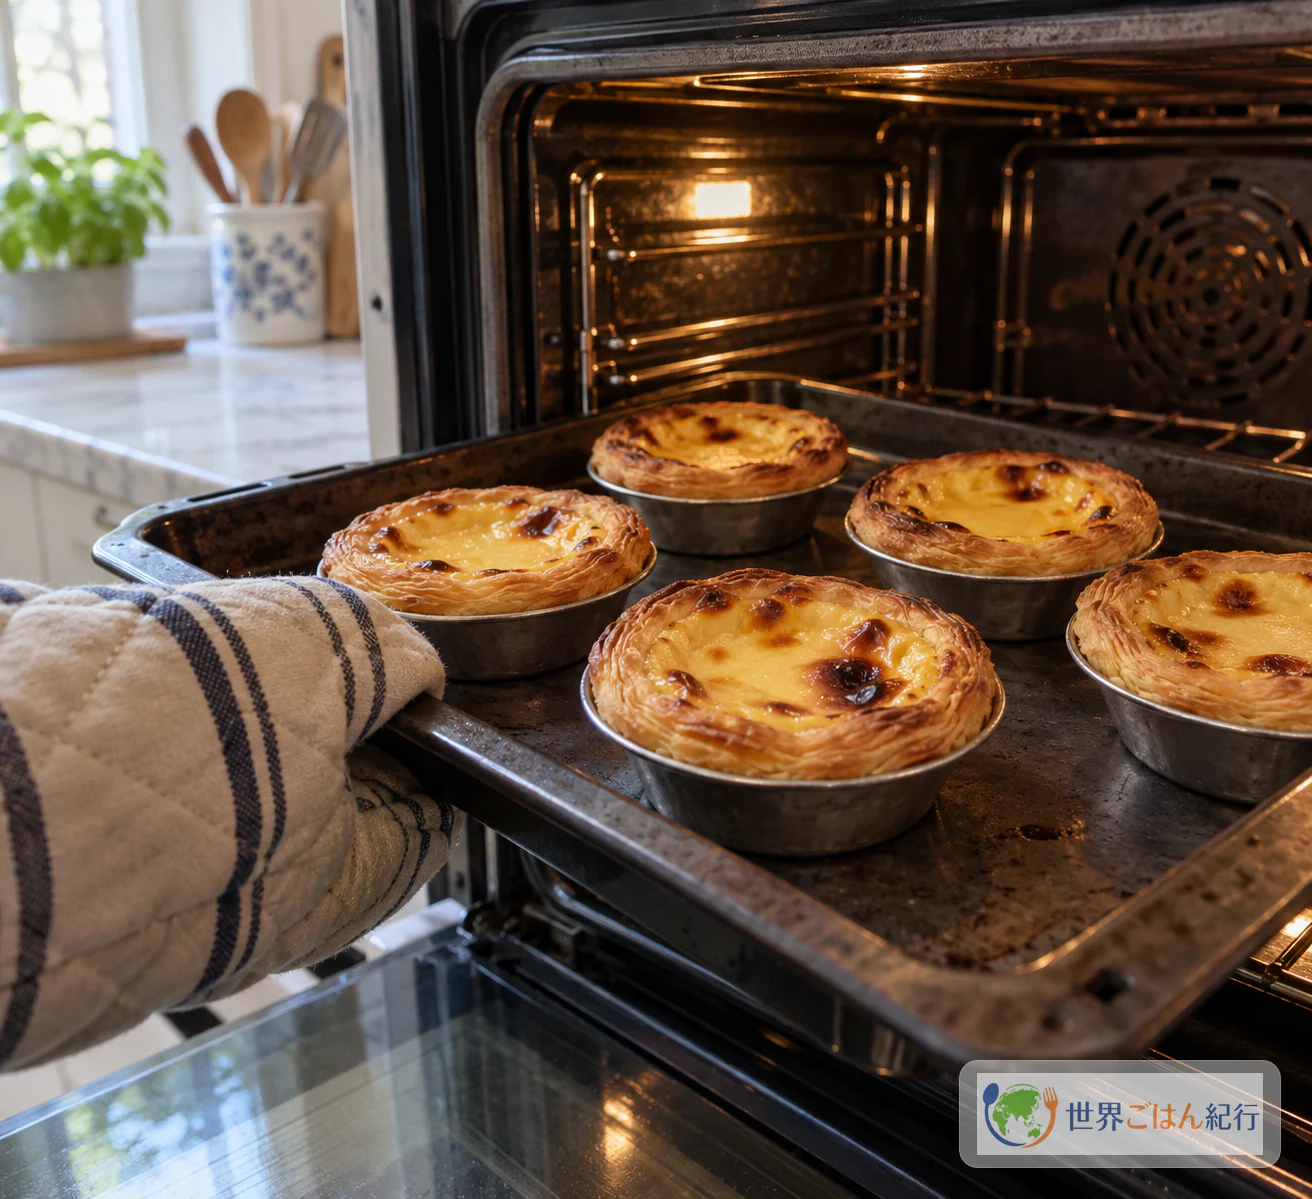
A thin, crisp spiral of puff pastry, a smooth custard that is just set, and dark scorched spots on top. Keep the custard gentle on the stove and the oven as hot as yours safely allows.
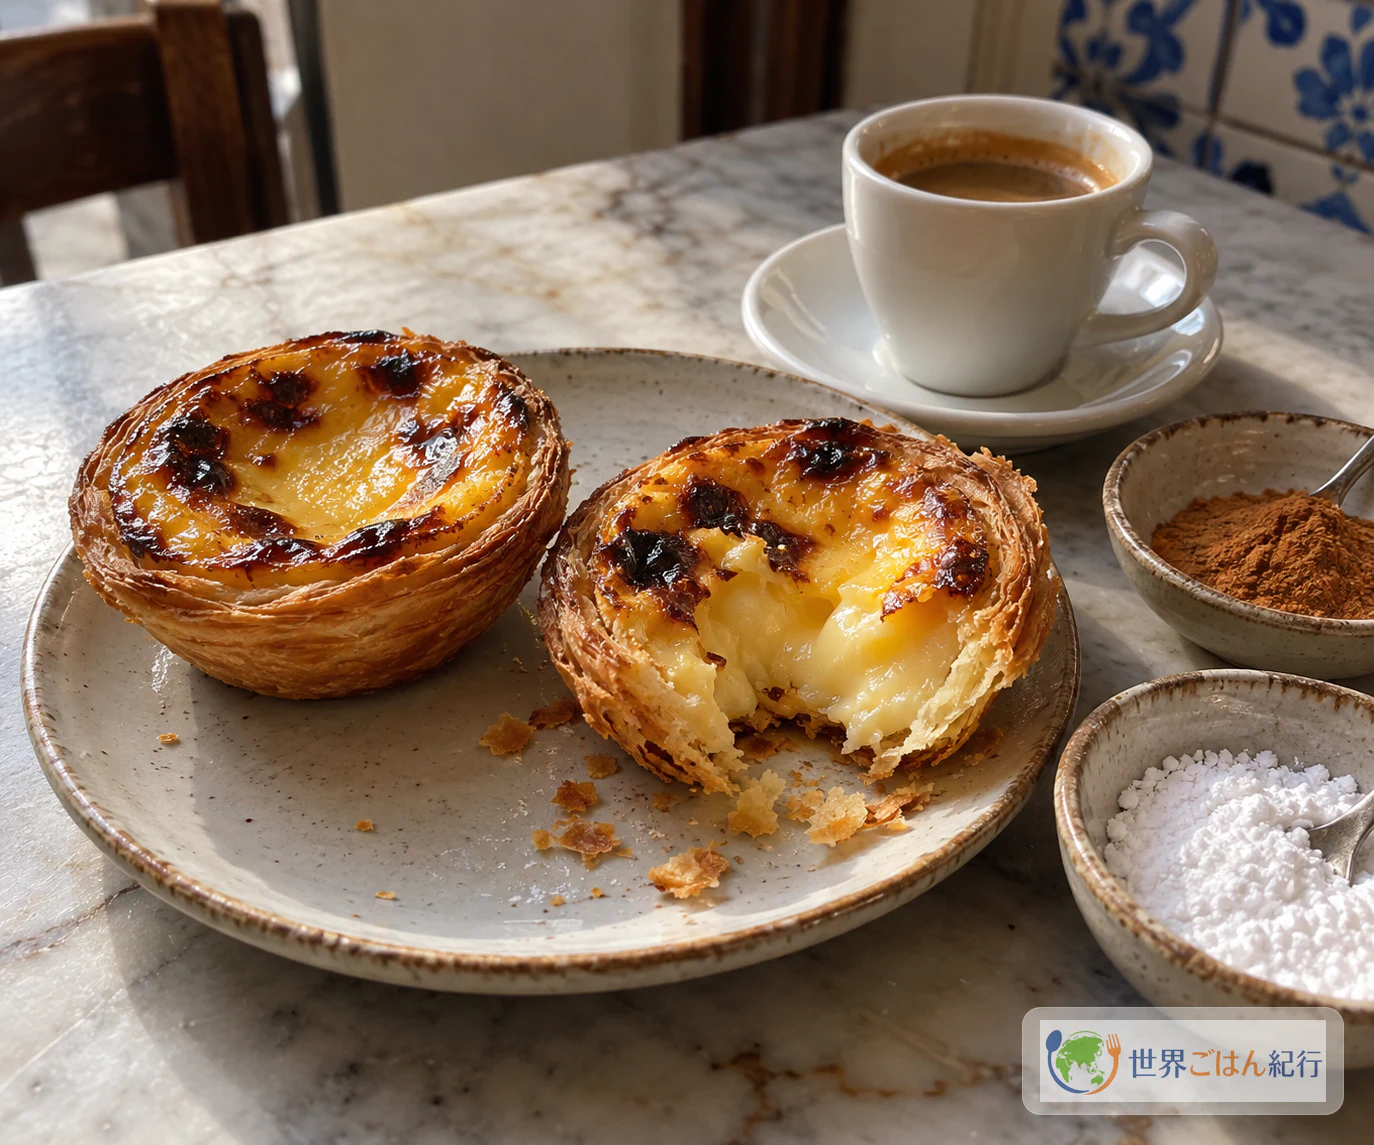
Picture a small tart still warm from the oven next to a hot coffee. Break it open and the thin layers of pastry come apart in flakes, while the custard inside stays soft, and the dark blistered spots on its surface give a toasty contrast to the egg-yolk cream. Portugal's tourism board presents the pastel de nata as a sweet to enjoy with coffee, and a Portuguese-recipe portal describes the same contrast of flaky pastry and milk-and-yolk cream, served warm.
The name is pastel de nata for one tart and pastéis de nata for several. This article is a home recipe for the Portuguese tart, written so you can make twelve with store-bought laminated puff pastry. It does not claim to reproduce the closely guarded recipe of any particular bakery in Belém. Using ready-made pastry lets you skip the whole folding process and focus on the two things that matter most at home: heating the custard gently and shaping the pastry thinly.
The recipe follows the twelve-tart version published by Pastéis.pt, unchanged in its amounts, order, temperatures and times. It has not been kitchen-tested by Sekai Gohan, and the yield of twelve is the recipe's stated yield rather than a measured one. For more of the country's cooking, see our Portugal page, where you can continue to dishes such as caldo verde, açorda and amêijoas à Bulhão Pato.
Ingredients for 12 Tarts
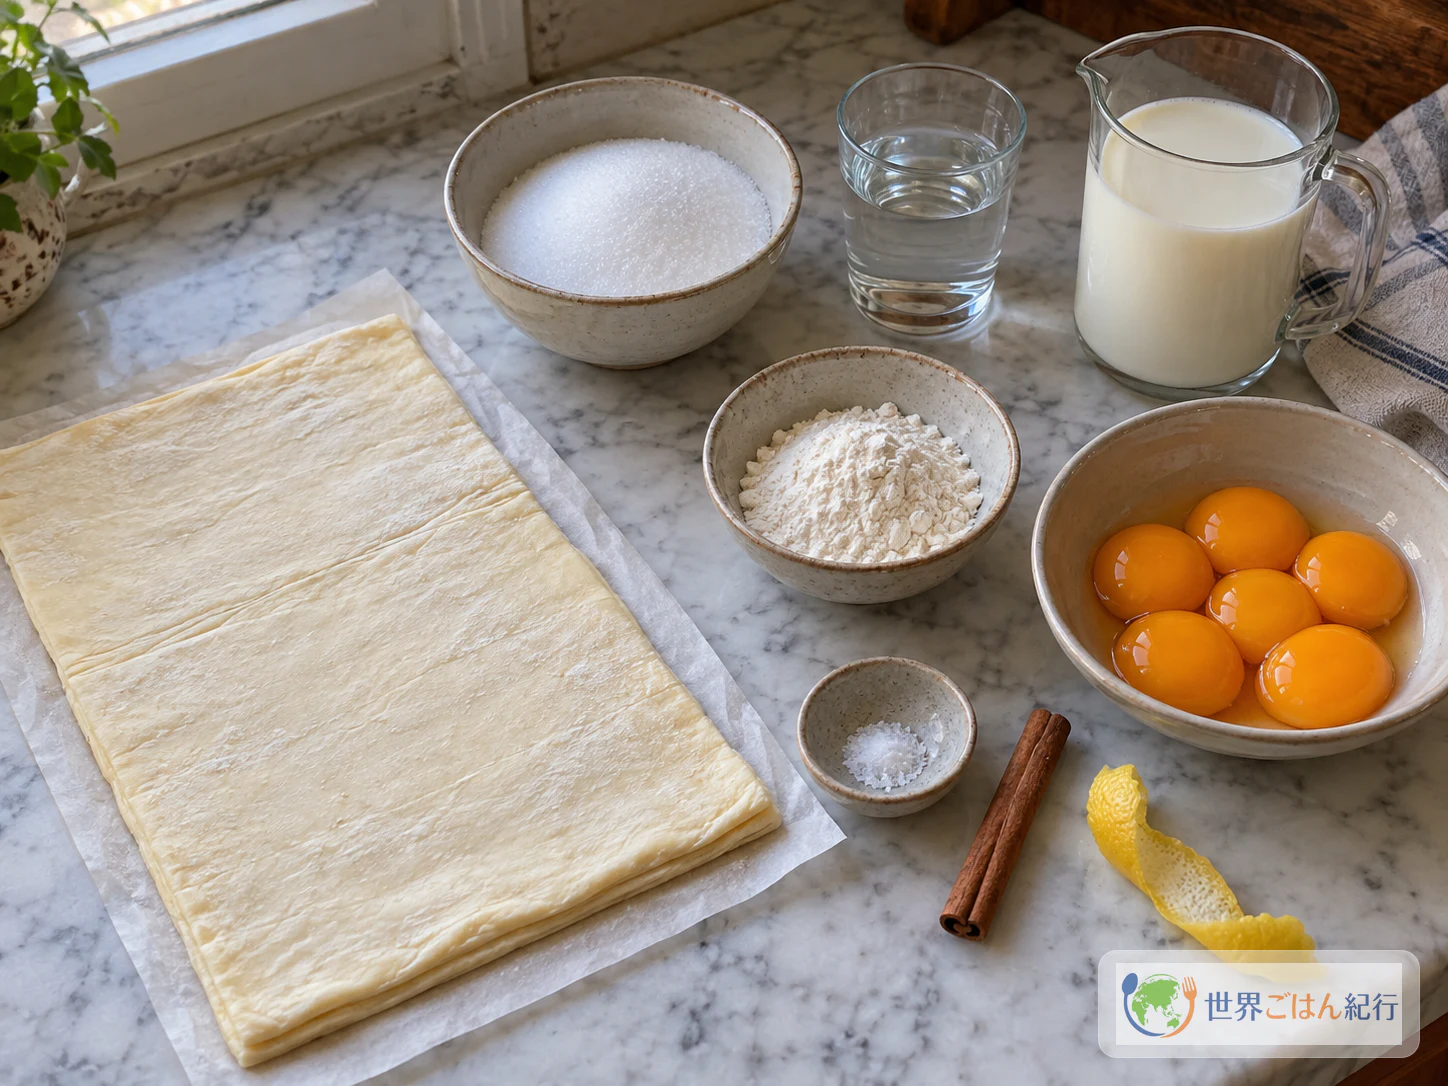
To finish, ground cinnamon and powdered sugar can be served alongside, as you like. They are optional and not part of the tart itself.
These tarts contain wheat, egg and milk. Store-bought puff pastry varies by product, so check the ingredient list and allergen labeling on the package you buy. Allergy-friendly substitutes have not been tested for this recipe, so we cannot say they give the same texture.
Equipment
- A small saucepan for the syrup
- A second saucepan for the milk and flour
- A whisk or spoon
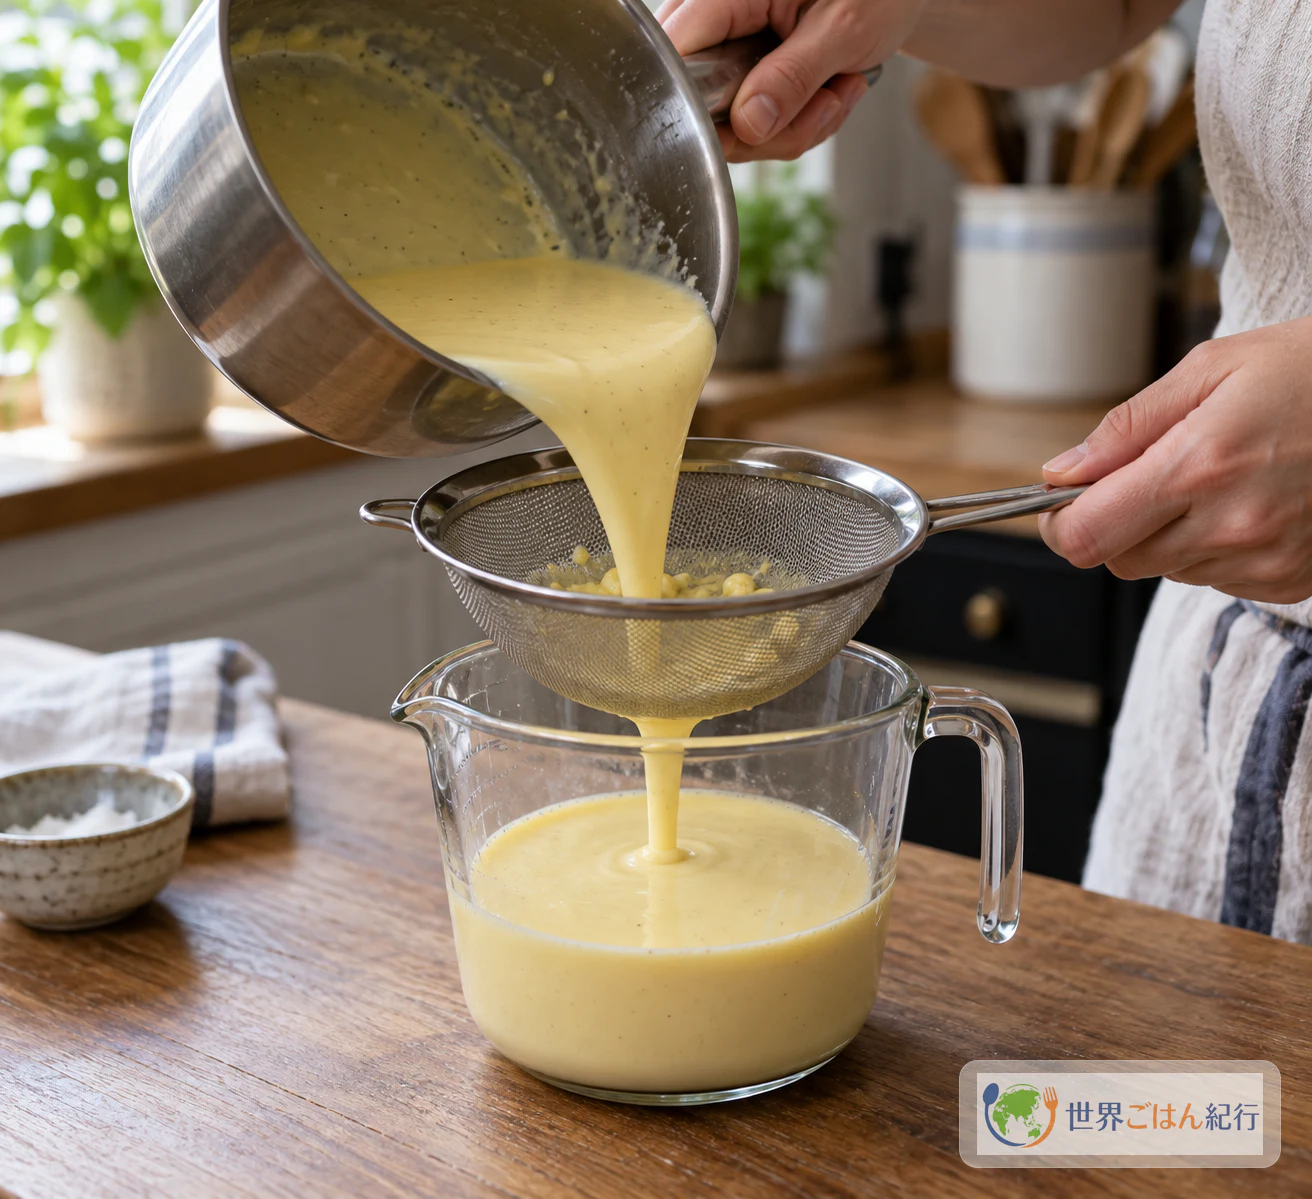
- A fine-mesh sieve and a jug or bowl to strain into
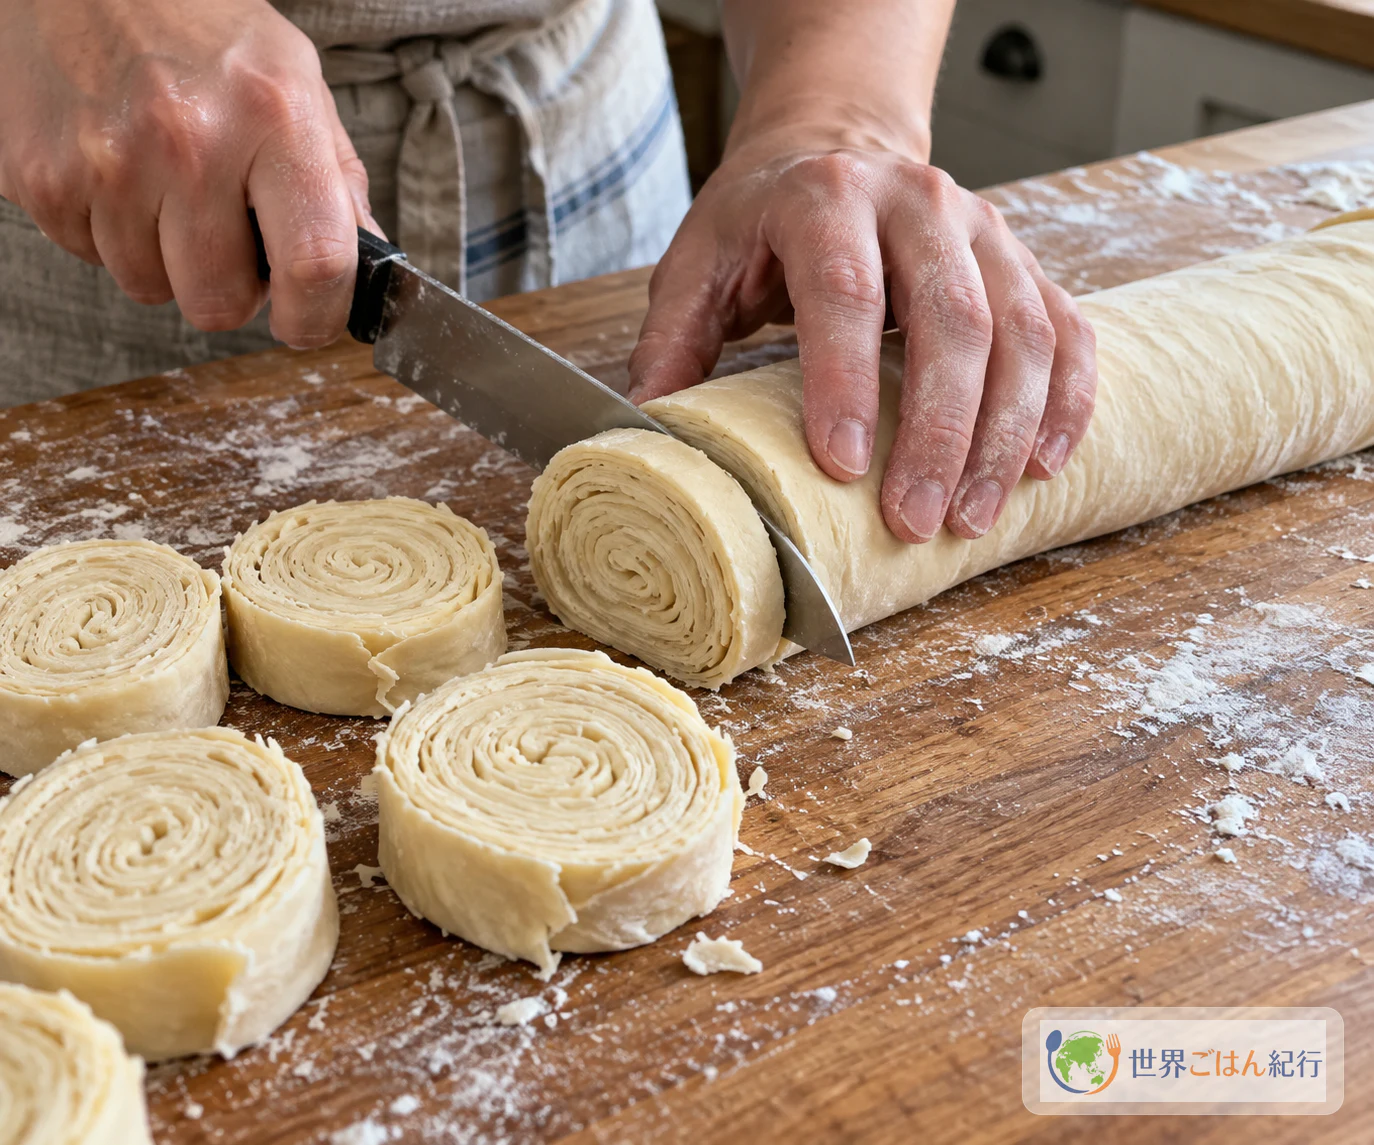
- A knife and a work surface for the pastry
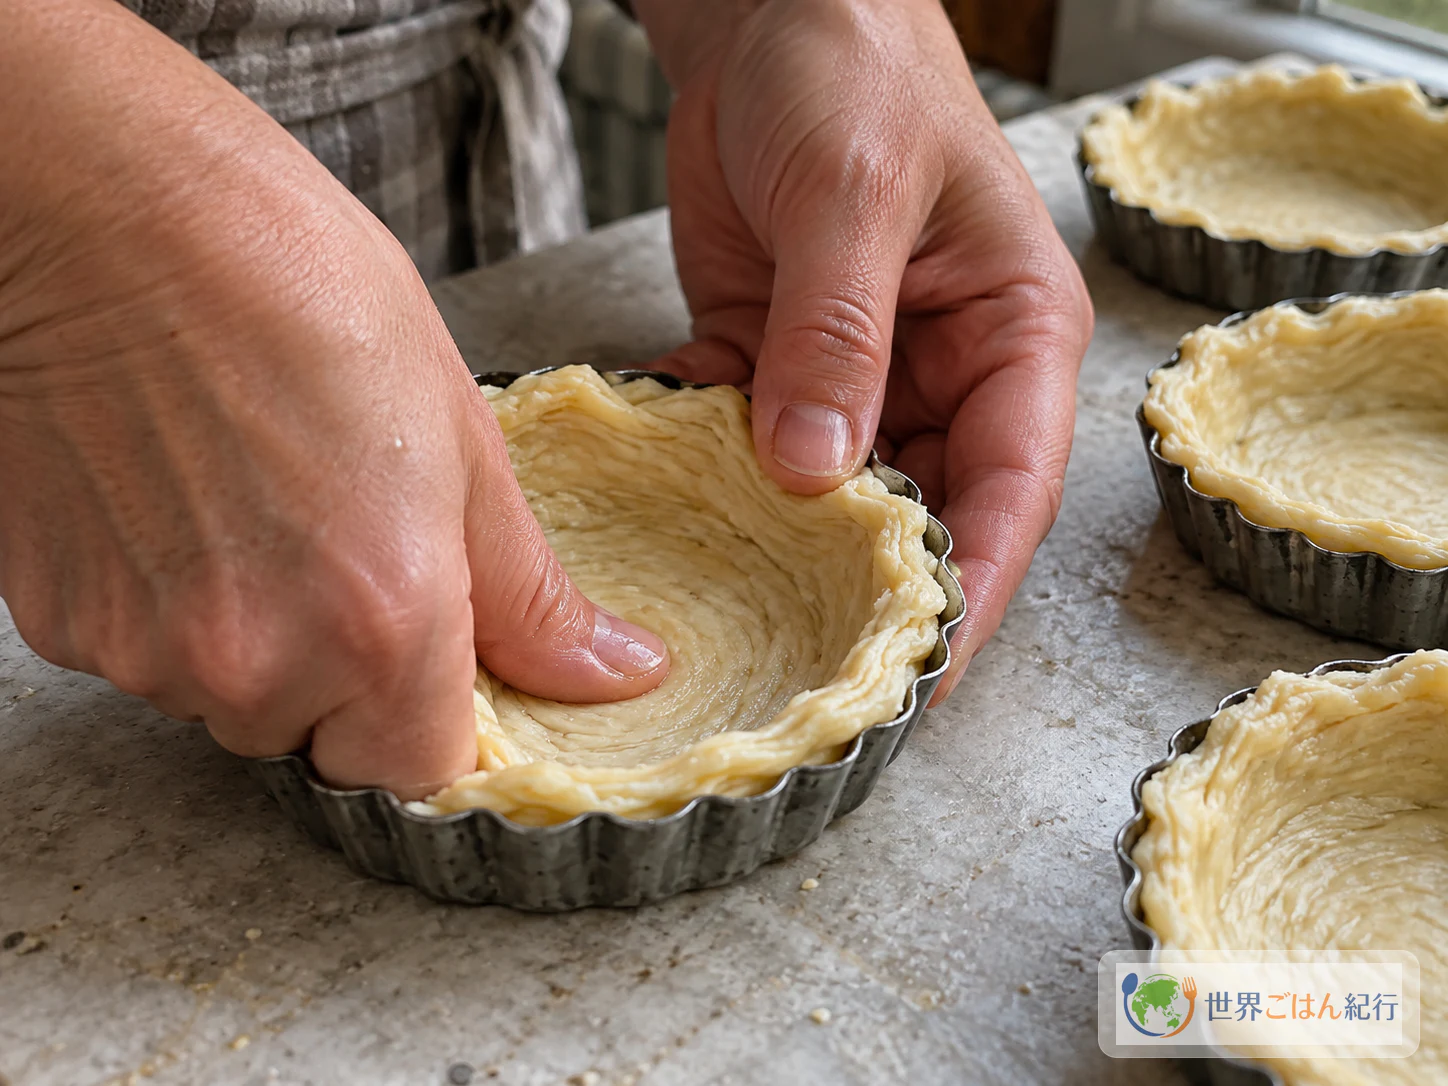
- 12 small metal tart tins
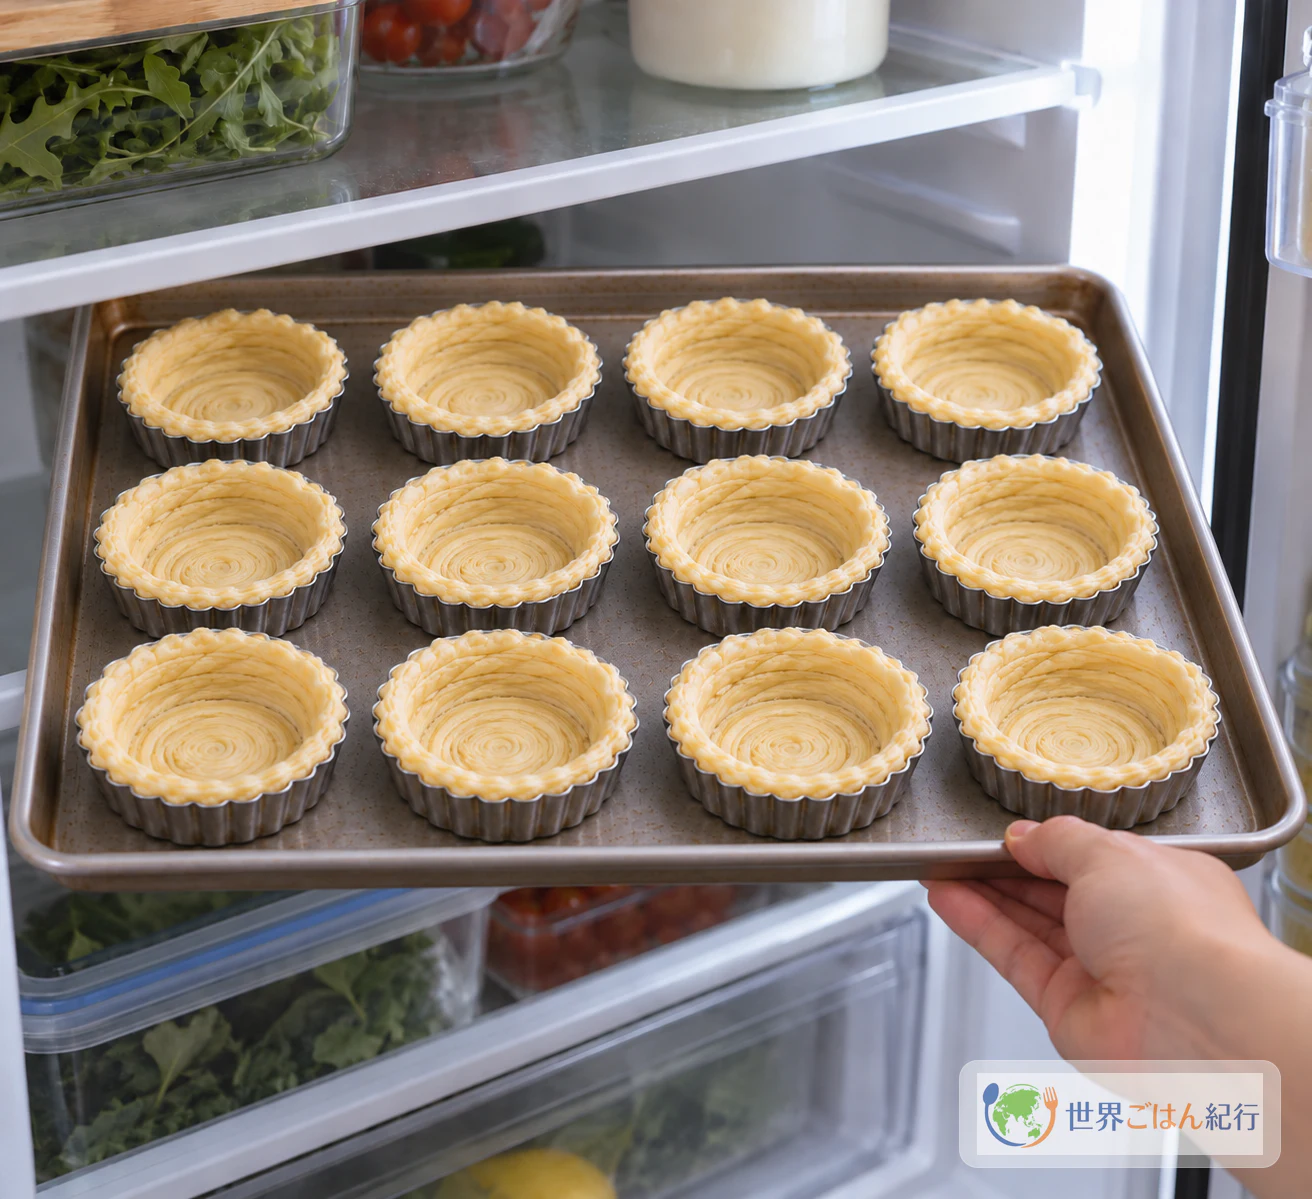
- A baking sheet that fits in your refrigerator and oven
- A sugar thermometer (optional)
Choosing the Pastry and Making Swaps
Use laminated puff pastry, not shortcrust. Look for frozen or chilled puff pastry sheets in the supermarket. Sweet tart dough or a rubbed-in pastry will not give the layered, flaky shell that defines this tart. Pastry made with butter brings a richer aroma, but pastry made with other fats also works; the difference shows in the scent, the color and how the layers rise, and no particular brand is required.
If your pack is a different size, do not change the other amounts to match it. Choose pastry that gives you about 250 g in total for the twelve shells.
Keep the wheat flour. Use 30 g of wheat flour. Swapping in cornstarch or rice flour would change the texture and has not been tested.
Keep the milk whole and the yolks as yolks. Low-fat milk will make the custard less rich, and whole eggs are not a stand-in for the six yolks.
Method: Syrup, Custard, Shells, and a Very Hot Oven
Have the pastry thawed and cold, the tins ready, and the milk cold. Make the syrup and custard first, then shape the shells and chill them while the oven heats.
Lumps, Curdling, Soggy Bases: Fixing Common Problems
Most problems with these tarts come from heat: too much on the stove, too little in the oven. Check what you see against the table below. The fixes are general kitchen advice, not guaranteed results.
| What you see | Likely cause | What to do |
|---|---|---|
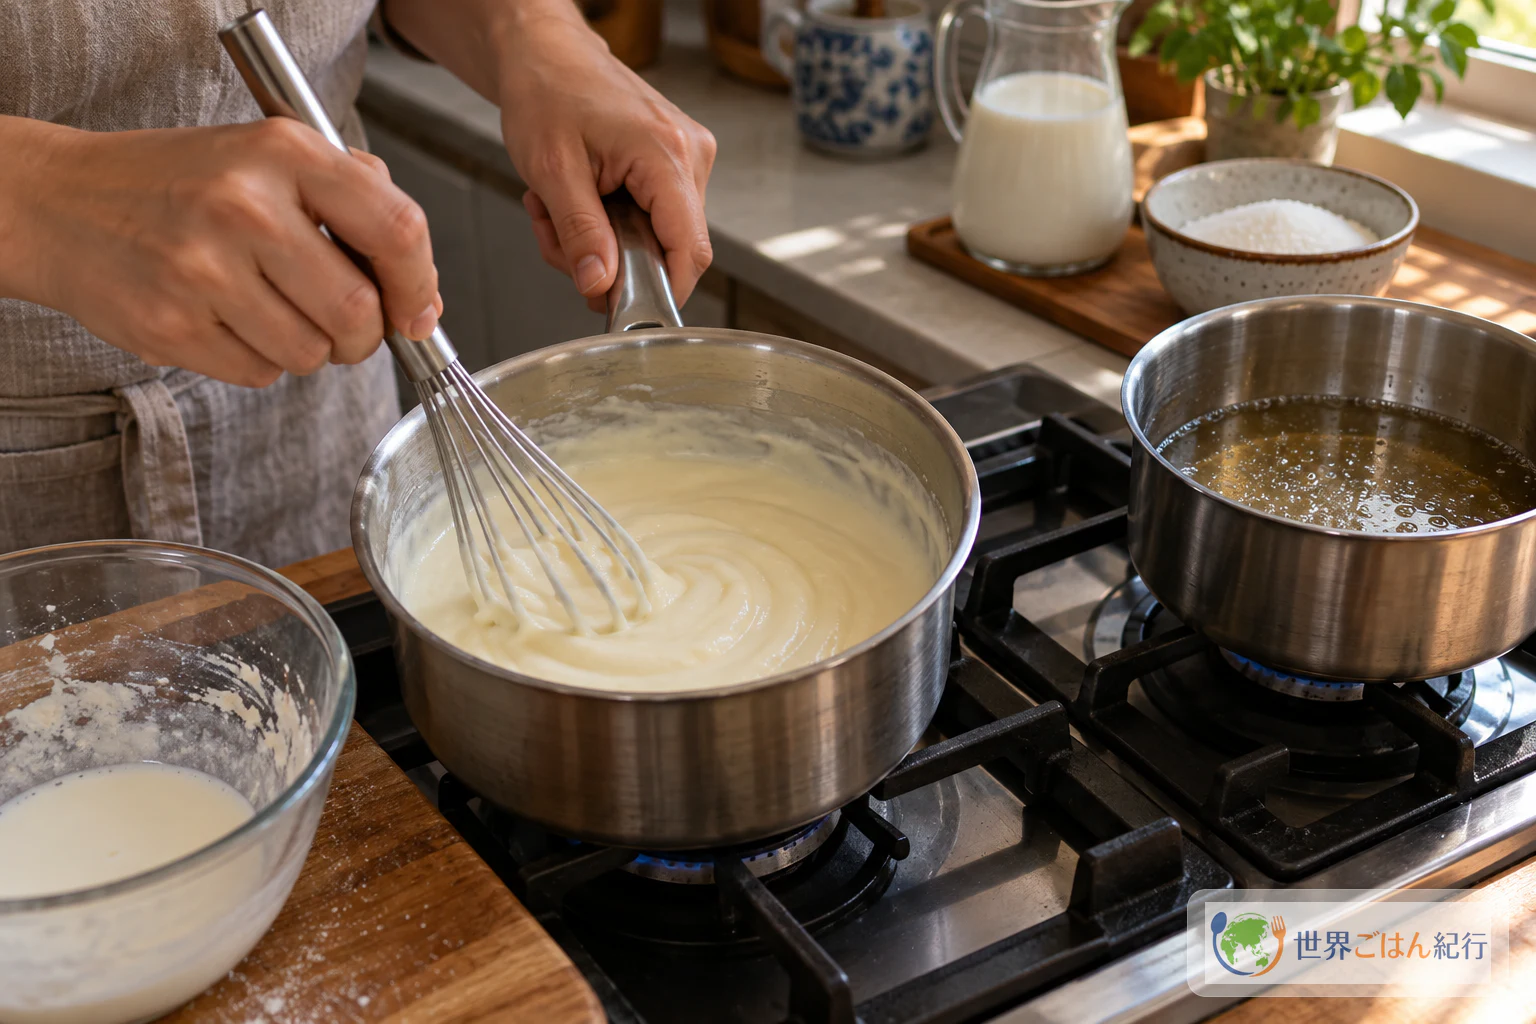
| Lumps of flour in the paste | Flour added to warm milk, or not stirred enough | Always dissolve the flour in the first 125 ml of cold milk before heating, and stir constantly on the stove. Straining in step 4 also catches small lumps |
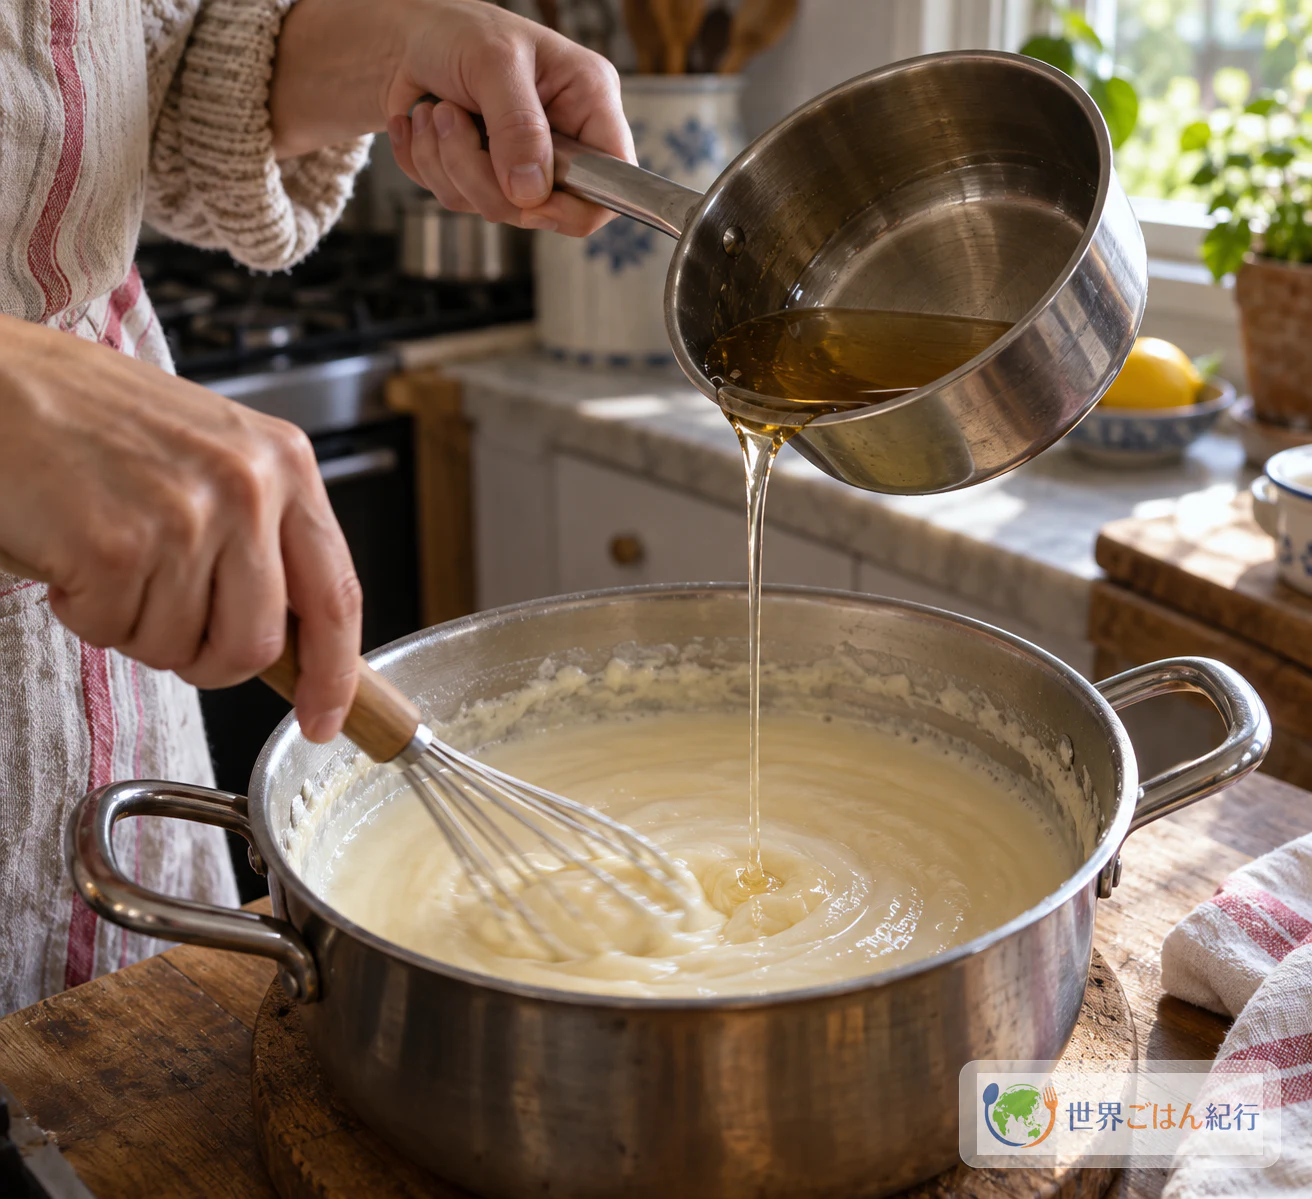
| Tiny cooked bits of egg in the custard | Yolks added while the mixture was still hot | Let the mixture cool down from hot before adding the yolks, then strain |
| The paste is very thick | Boiled hard or cooked too long | Keep the heat at medium and stop at a smooth paste; do not let it boil hard |
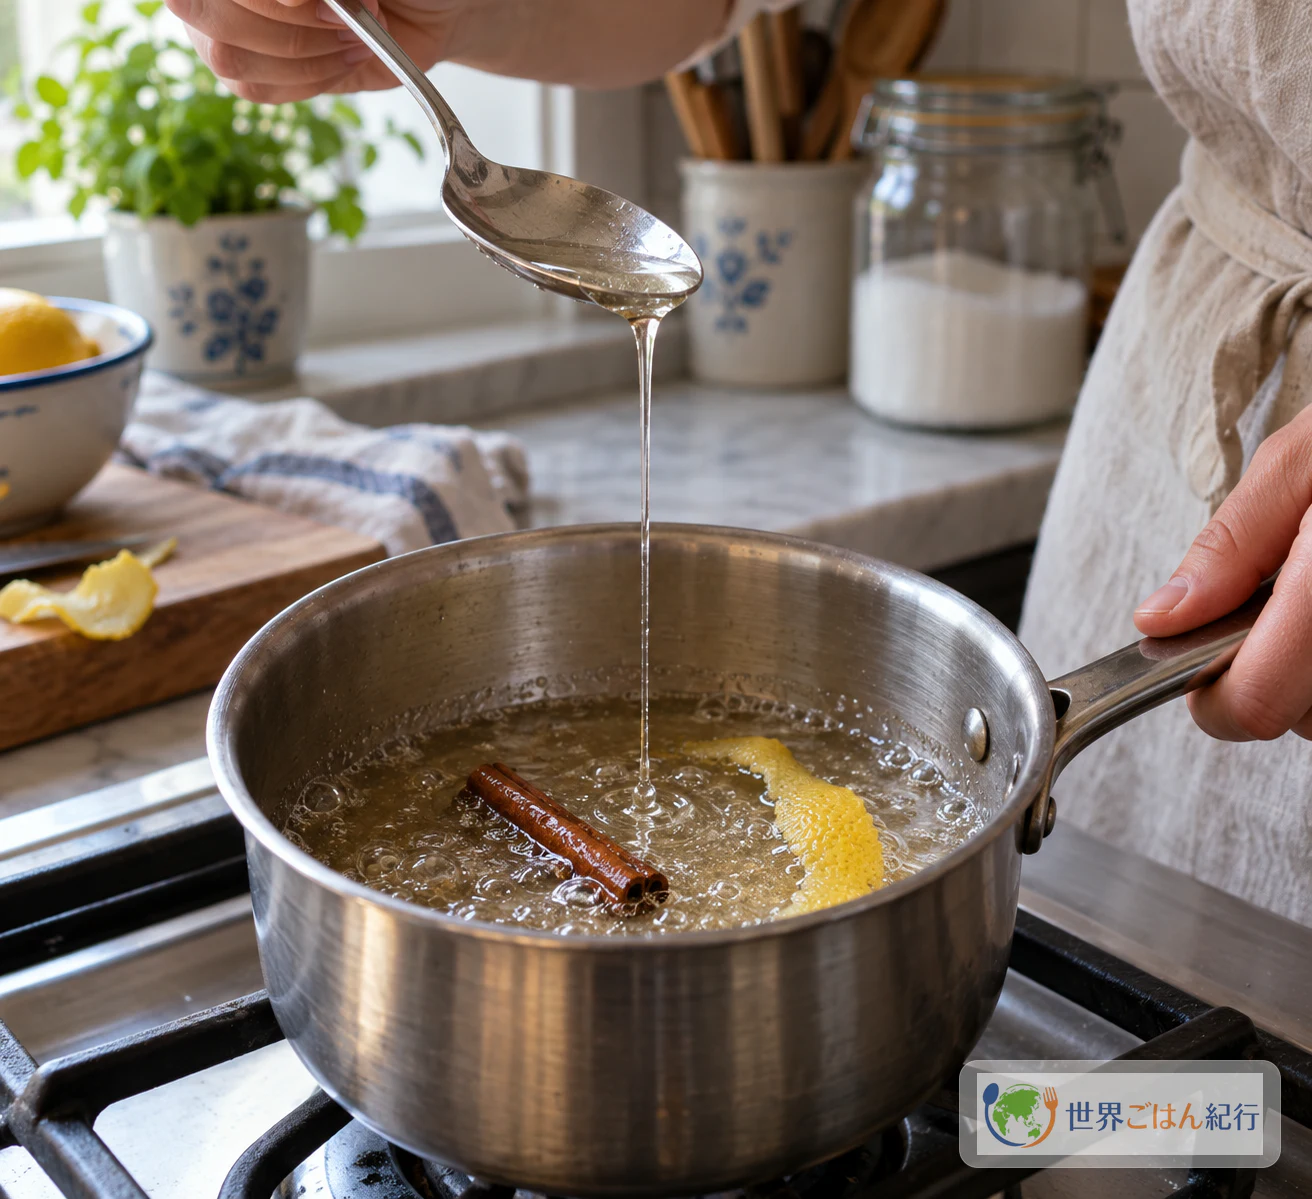
| The syrup turned brown | Cooked past the thread stage | Take it off the heat at about 105°C, when it falls in a fine thread. Judge by the thread, not by color |
| The base is soggy or pale | Pastry left thick, oven not fully hot, or overfilled | Press the pastry thin and even, preheat fully during the chilling time, and fill only to three-quarters |
| The center of the shell is thin and the walls are thick | Pastry not spread evenly | Press from the center outward with a moistened thumb until base and sides are even |
| The top is burning before the pastry is crisp | Strong top heat or rack too high | Check that the tray is on the lower rack, look at how your oven heats from above, and watch closely in the last minutes |
Variations Worth Trying
These are separate ideas from the main recipe above. Try one at a time so you can tell what changed.
- Butter pastry versus other puff pastry. Bake a batch with each and compare the aroma and how the layers rise and color.
- With or without cinnamon on top. The cinnamon is already in the syrup; dusting more at the table is a matter of taste.
- Less sweet. Reducing the sugar changes both the sweetness and how the syrup behaves, so treat it as your own trial rather than the recipe. We do not give a figure for it.
- Reading your own oven. If your oven tops out lower, bake a few tarts first and learn how long it takes to get crisp pastry and spots.
- Homemade laminated pastry. Making your own puff pastry adds a lot of work and changes how you manage the layers. Its recipe is not covered here.
A Belém Sweet in a Country of Pastries
Visit Portugal, the country's official tourism site, features the pastéis de nata of Belém among the signature sweets of Portuguese food: small custard pastries, lightly browned. Another Visit Portugal page suggests enjoying a pastel de nata with a coffee. These are introductions for visitors rather than food-history records, so they tell us how the tart is presented in Portugal today, not exactly where or when it began.
The same tourism board traces the roots of Portuguese pastry in general to the country's convents. That is a statement about Portuguese sweets as a whole; it does not establish that this particular tart was created in a convent, and this article does not claim an origin story or date for it.
Recipes vary too. The Portuguese-recipe portal Empório Portugal notes that traditional recipes change by region, family and baker. Visit Portugal publishes its own traditional version, credited to the Lisbon Tourism and Hotel Business School and based on Maria de Lourdes Modesto, which uses a different mix of milk, flour, cornflour, egg yolks, egg and sugar syrup, and warns against letting the filling boil. The recipe on this page keeps to a single twelve-tart version from Pastéis.pt, without mixing in amounts from the others.
Egg tarts made in the Macanese style are a related but distinct tradition and are not covered here.
Frequently Asked Questions
Is store-bought puff pastry all right?
Yes. This version is built around store-bought laminated puff pastry, and pastry made with butter is recommended for its flavor. Other puff pastry will still give you layered shells, with some difference in aroma and color.
My oven doesn't reach 290°C. What should I do?
Use your oven's highest setting and never exceed the limit in its manual. The 250–290°C and 12–15 minutes in the recipe are not guaranteed for every home oven, so rather than fixing the minutes, watch for crisp pastry and dark spots on the custard.
Can I use cornstarch instead of flour?
This recipe uses 30 g of wheat flour. Visit Portugal's traditional recipe uses cornflour, but as part of a different formula with different amounts, and the two should not be combined. Swapping cornstarch into this recipe would be your own variation; it is untested and the texture would change.
Is this the same as the tarts from the famous Belém bakery?
No claim is made to reproduce any shop's recipe. This is a Portuguese pastel de nata for home kitchens, following one published twelve-tart recipe.
How should I store leftovers?
Safe storage and reheating guidance has not been confirmed for this recipe, so we do not give storage times. The tarts are at their best eaten warm, soon after baking.
Sources
- Pastéis.pt, "Pastéis de Nata." The twelve-tart recipe used here: ingredients, amounts, yield, method, the about 105°C thread-stage syrup, shaping and chilling the pastry, baking at 250–290°C for 12–15 minutes, and the signs of doneness. It uses store-bought puff pastry, and its times and temperatures may not match every home oven. https://pasteis.pt/receitas/pastel-de-nata/
- Turismo de Portugal / Visit Portugal, "Traditional Portuguese Recipes: Pastéis de Nata (Custard Tarts)." A separate traditional recipe credited to Lisbon Tourism and Hotel Business School, based on Maria de Lourdes Modesto, using milk, flour, cornflour, egg yolks, egg and sugar syrup, with the note not to boil the filling. Its amounts are not combined with this recipe. https://www.visitportugal.com/en/content/traditional-portuguese-recipes-past%C3%A9is-de-nata-custard-tarts
- Turismo de Portugal / Visit Portugal, "The Portuguese Menu: fish, coriander and fantasy." The pastéis de nata of Belém presented as a signature Portuguese sweet. A tourism overview, not a history source. https://www.visitportugal.com/en/content/the-portuguese-menu-fish-coriander-and-fantasy
- Turismo de Portugal / Visit Portugal, "Gastronomy." Portuguese pastry in general linked to the country's convents, and the pastel de nata suggested with coffee. It does not show that this tart itself originated in a convent. https://www.visitportugal.com/en/experiencias/gastronomia-e-vinhos
- Empório Portugal, "Pastel de nata | Portuguese Recipe." The contrast of flaky pastry and milk-and-yolk cream served warm, and the note that traditional recipes vary by region, family and baker. An editorial portal, not a primary Portuguese source; its amounts are not used here. https://www.emporioportugal.com/en/receitas-portuguesas/pastel-de-nata/