Kidyo: Small Ridged Curls, Lightly Sweet and Fried Pale
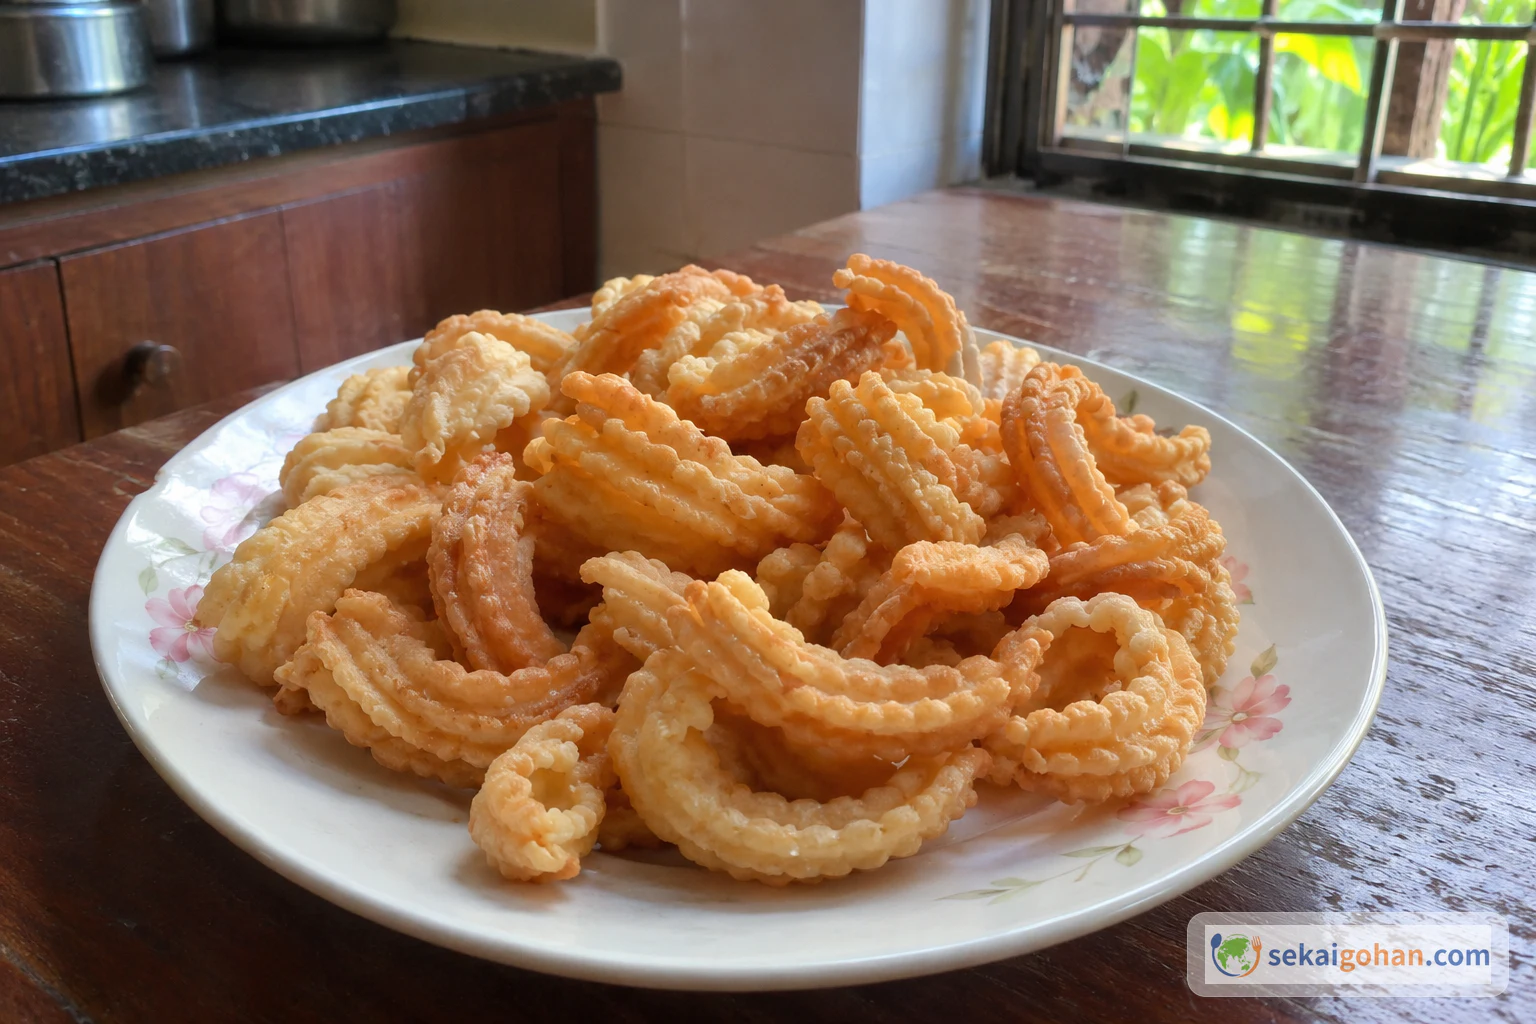
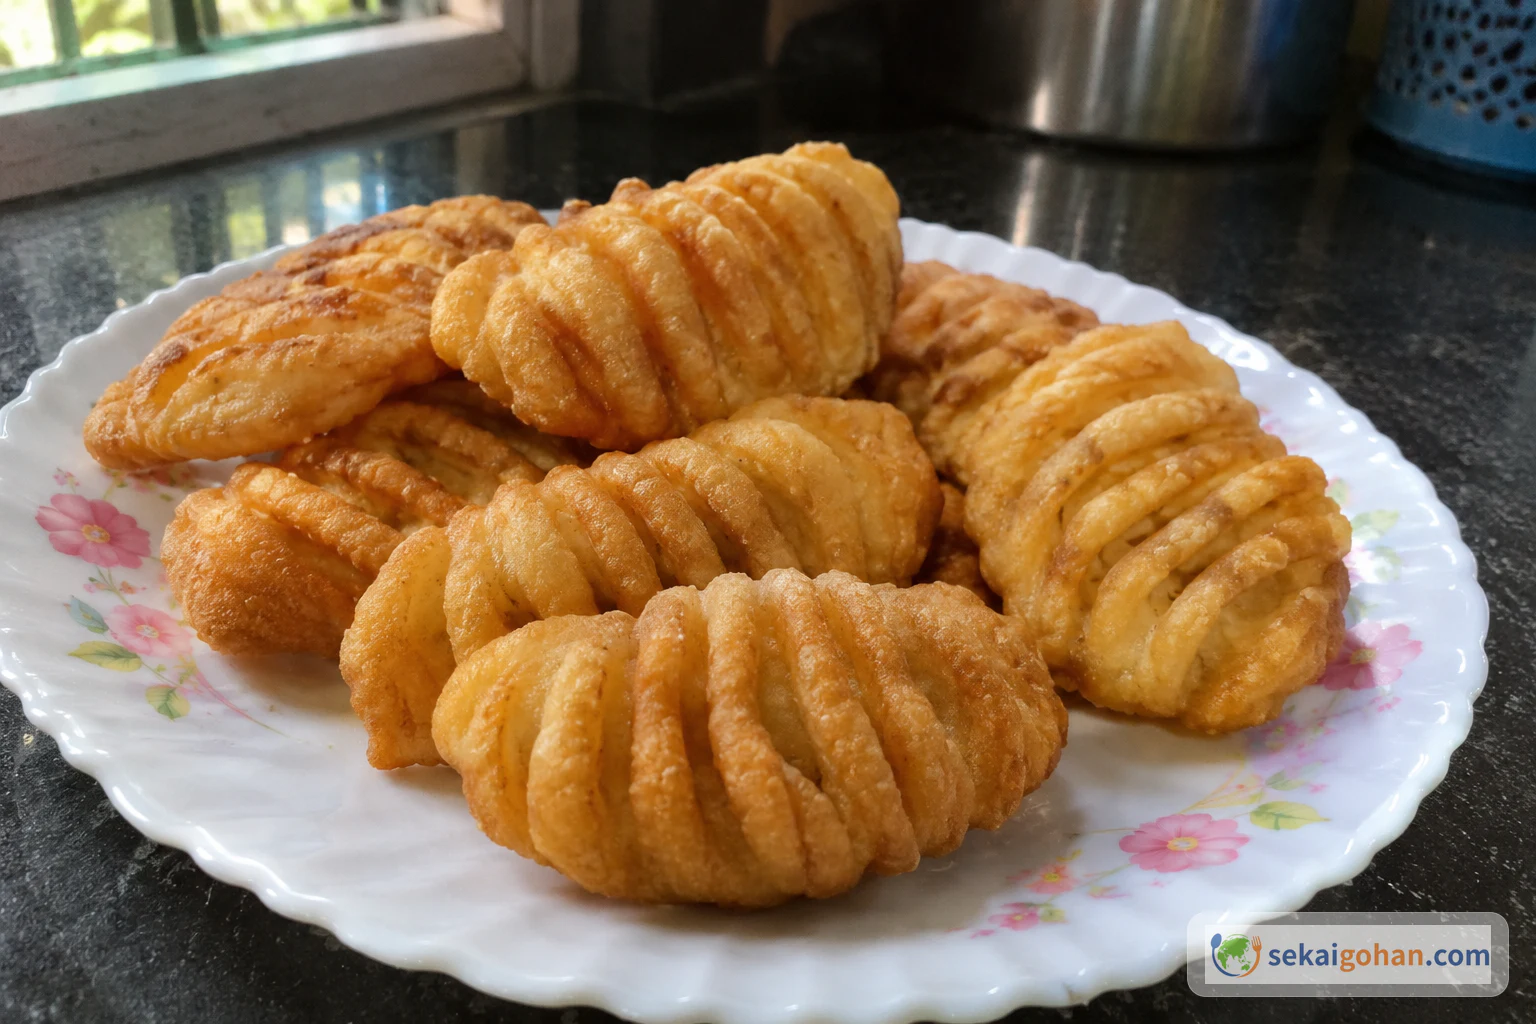
A thin sheet of dough pressed over fork tines, rolled into a small hollow curl that keeps its ridges, and fried only until pale golden pink. Plain, unglazed and lightly sweet.
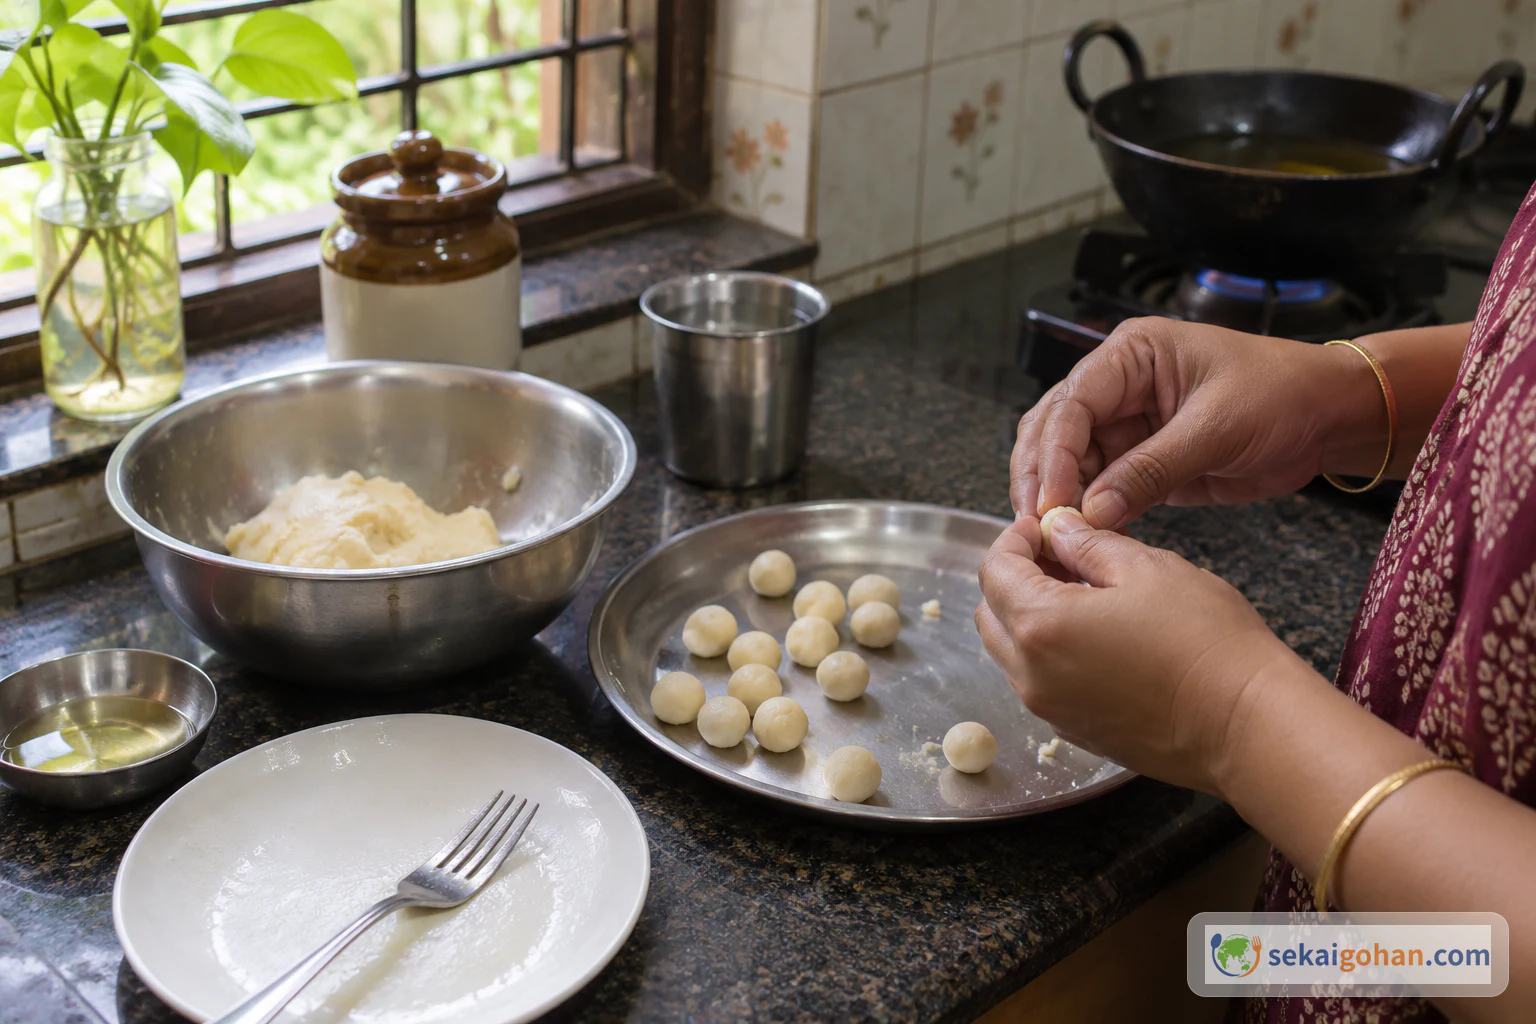
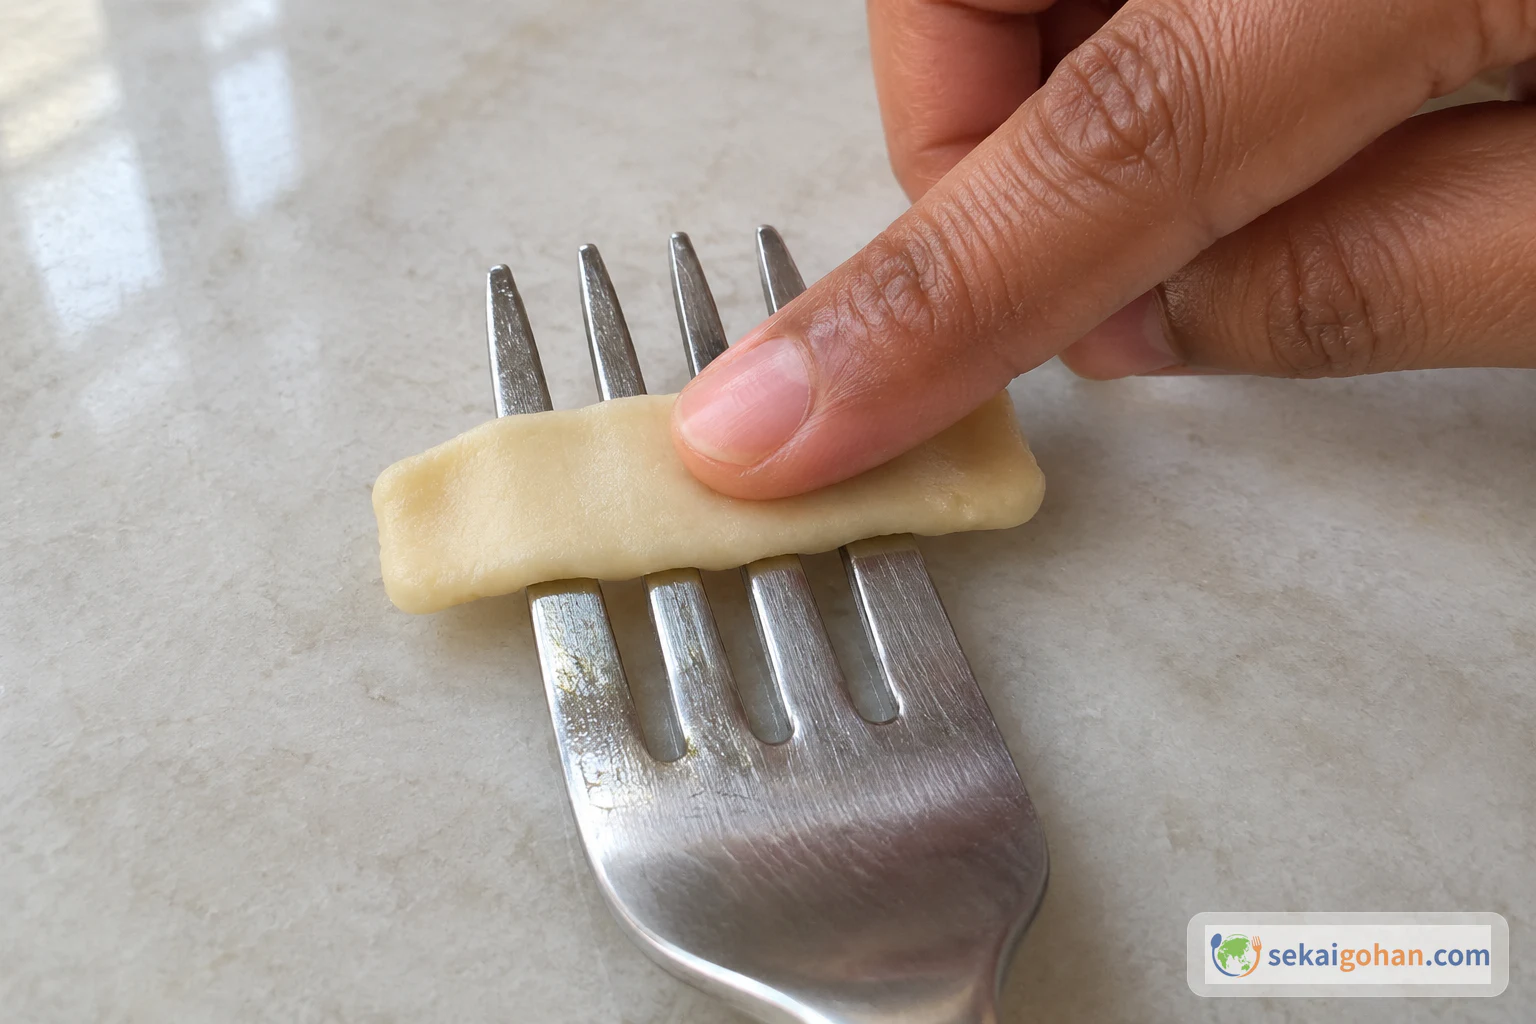
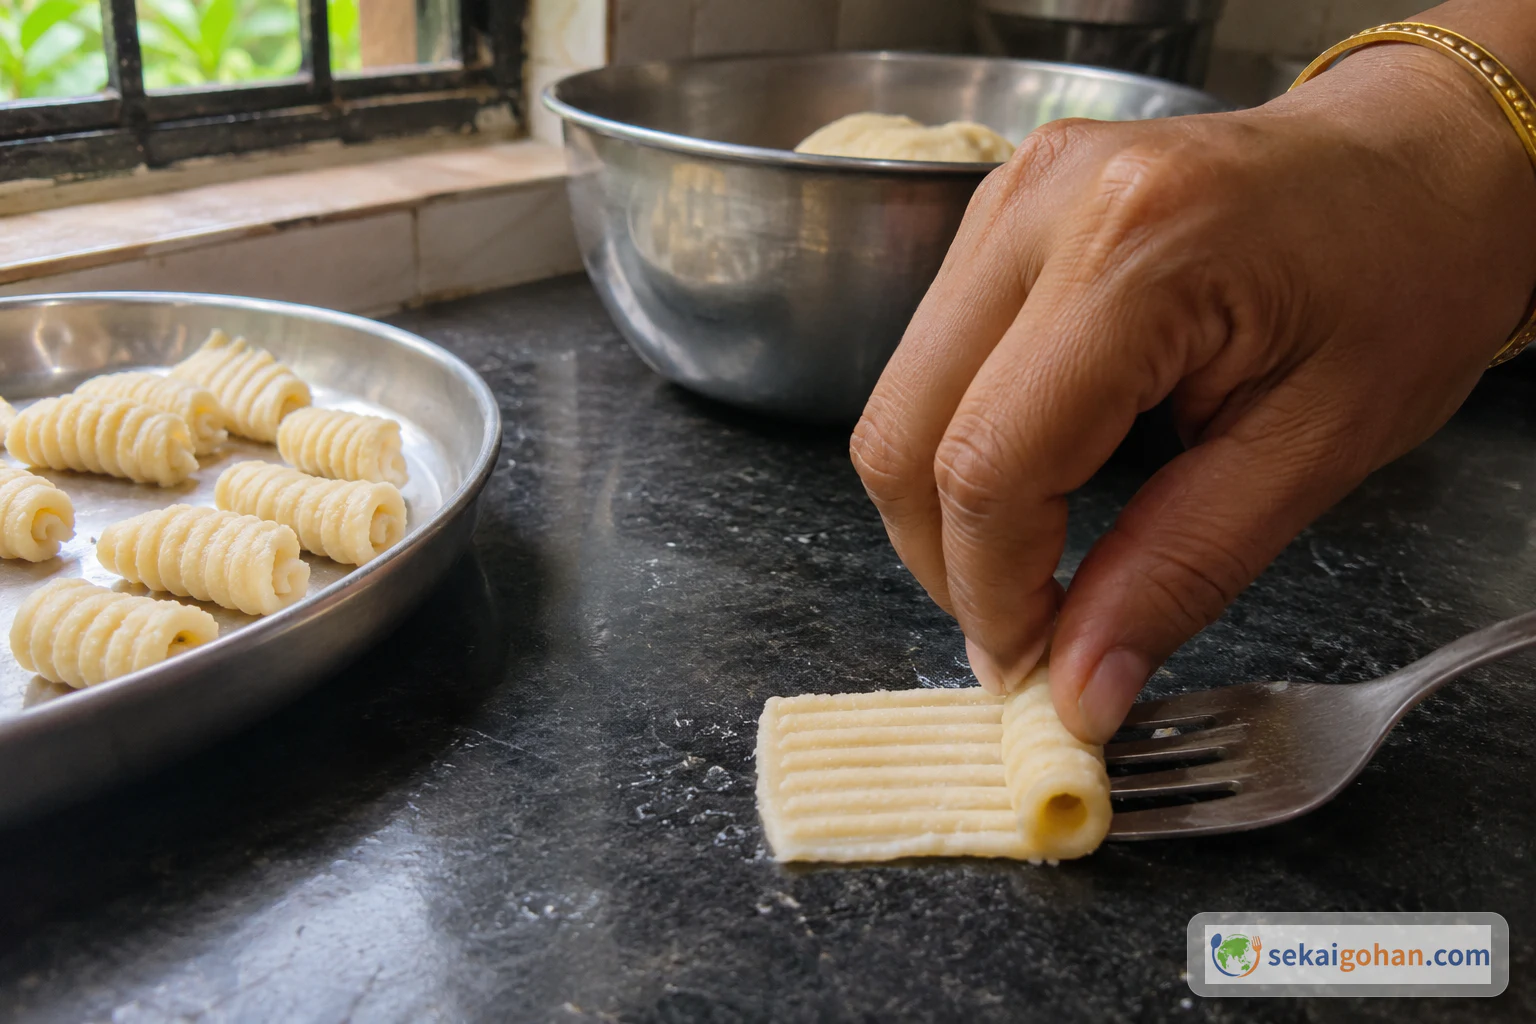
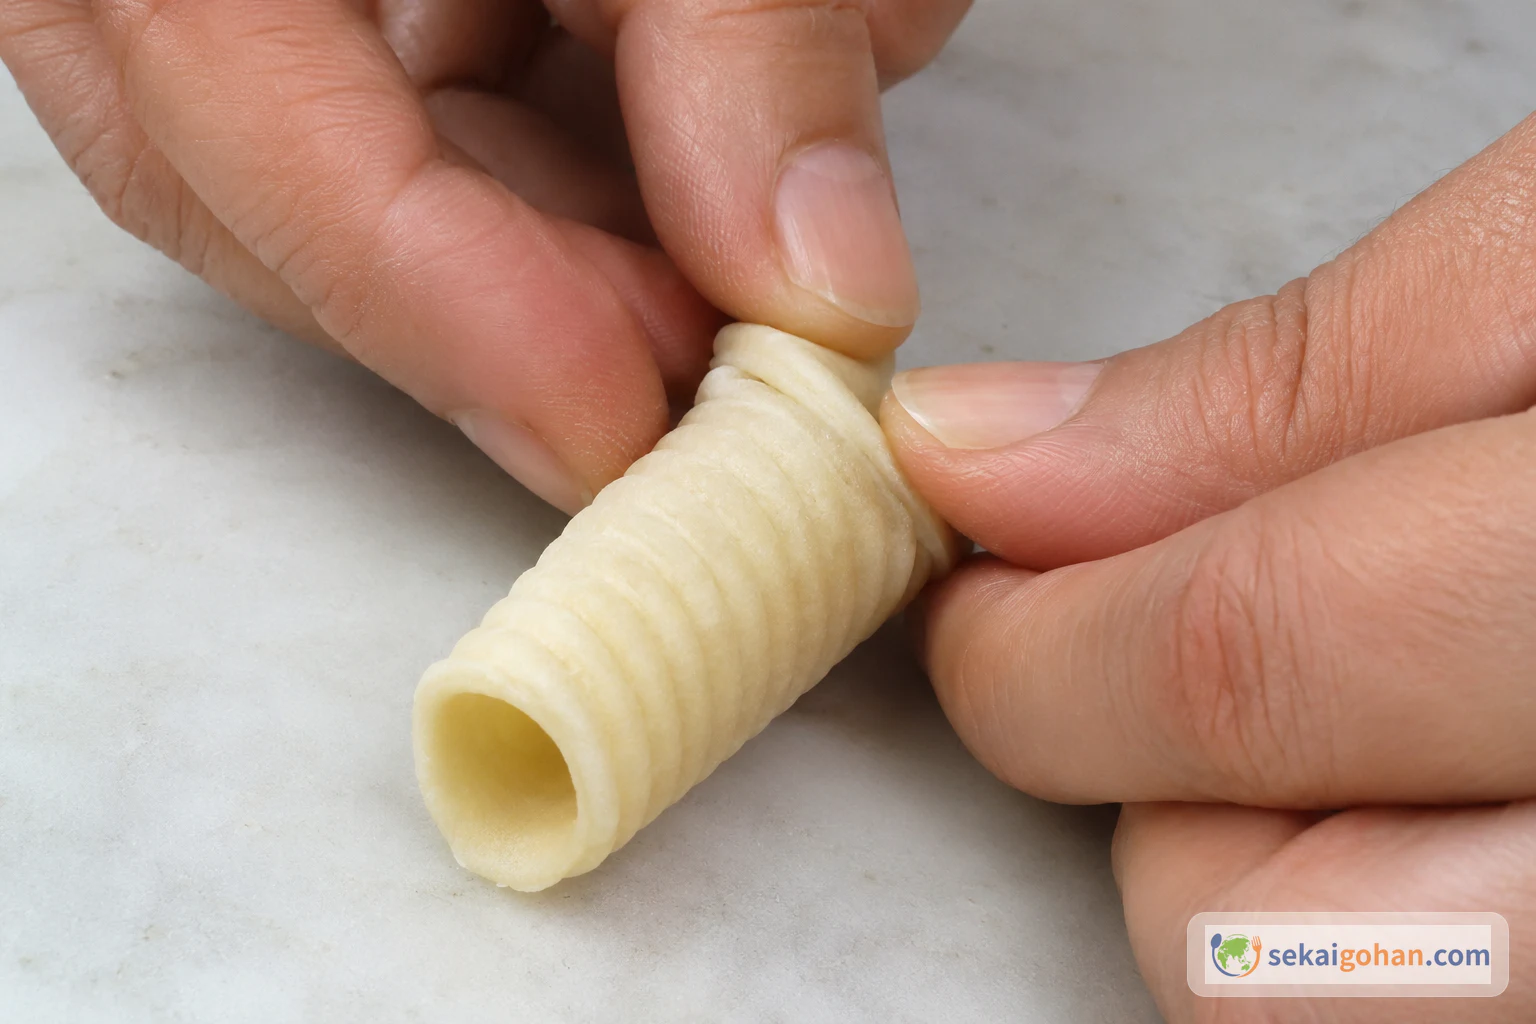
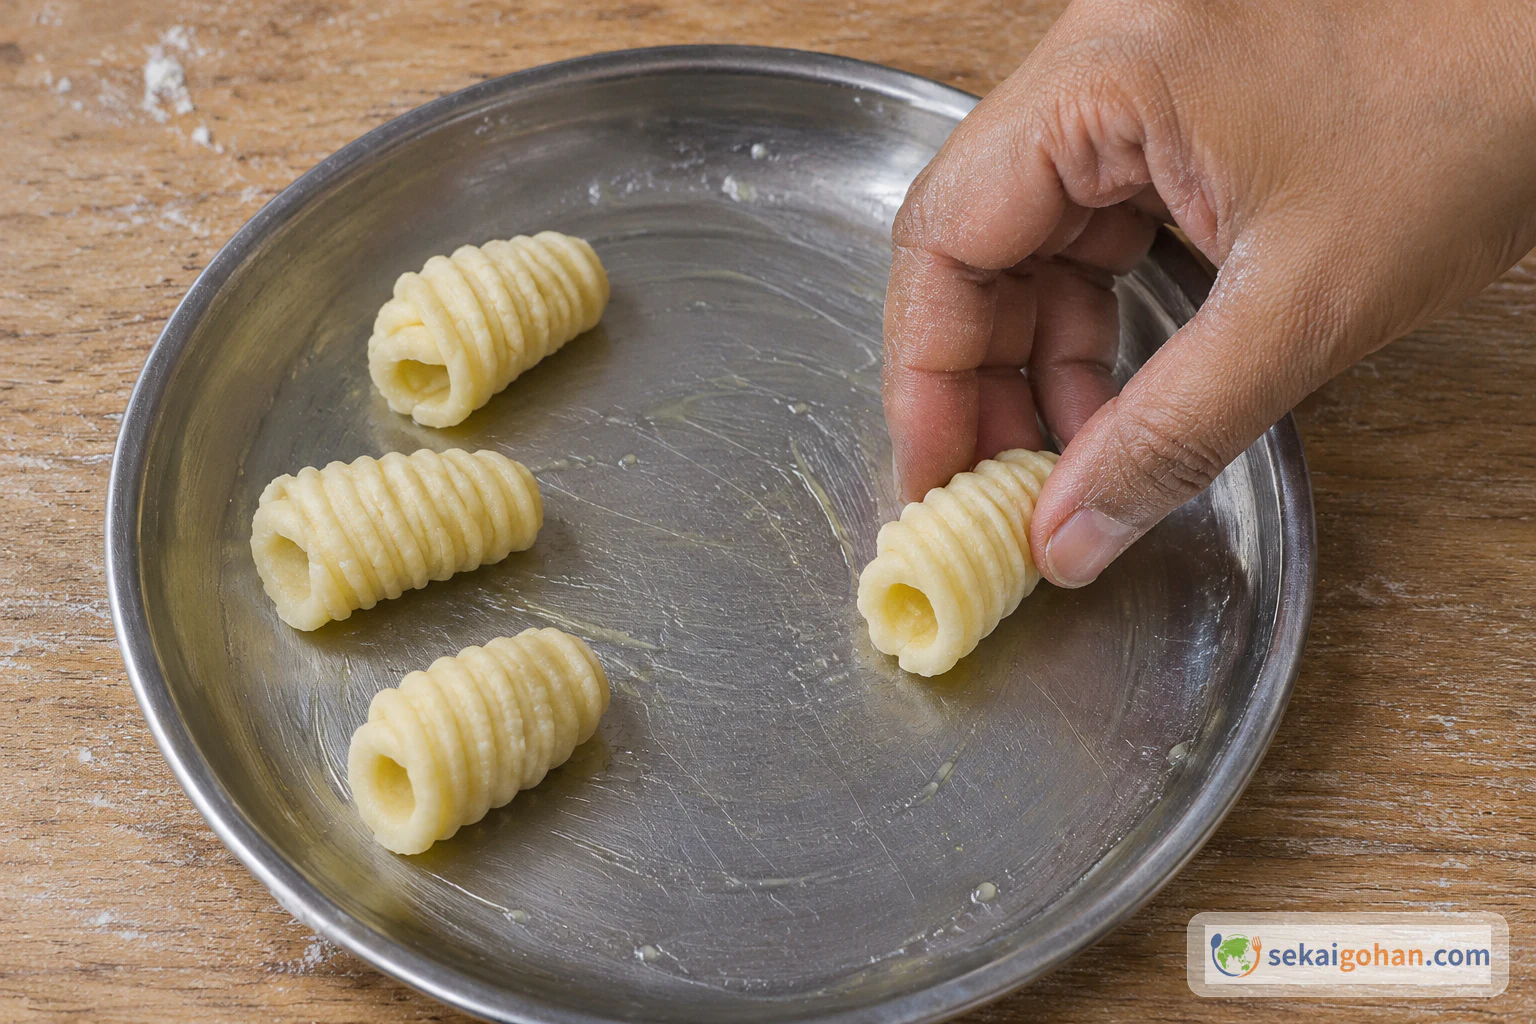
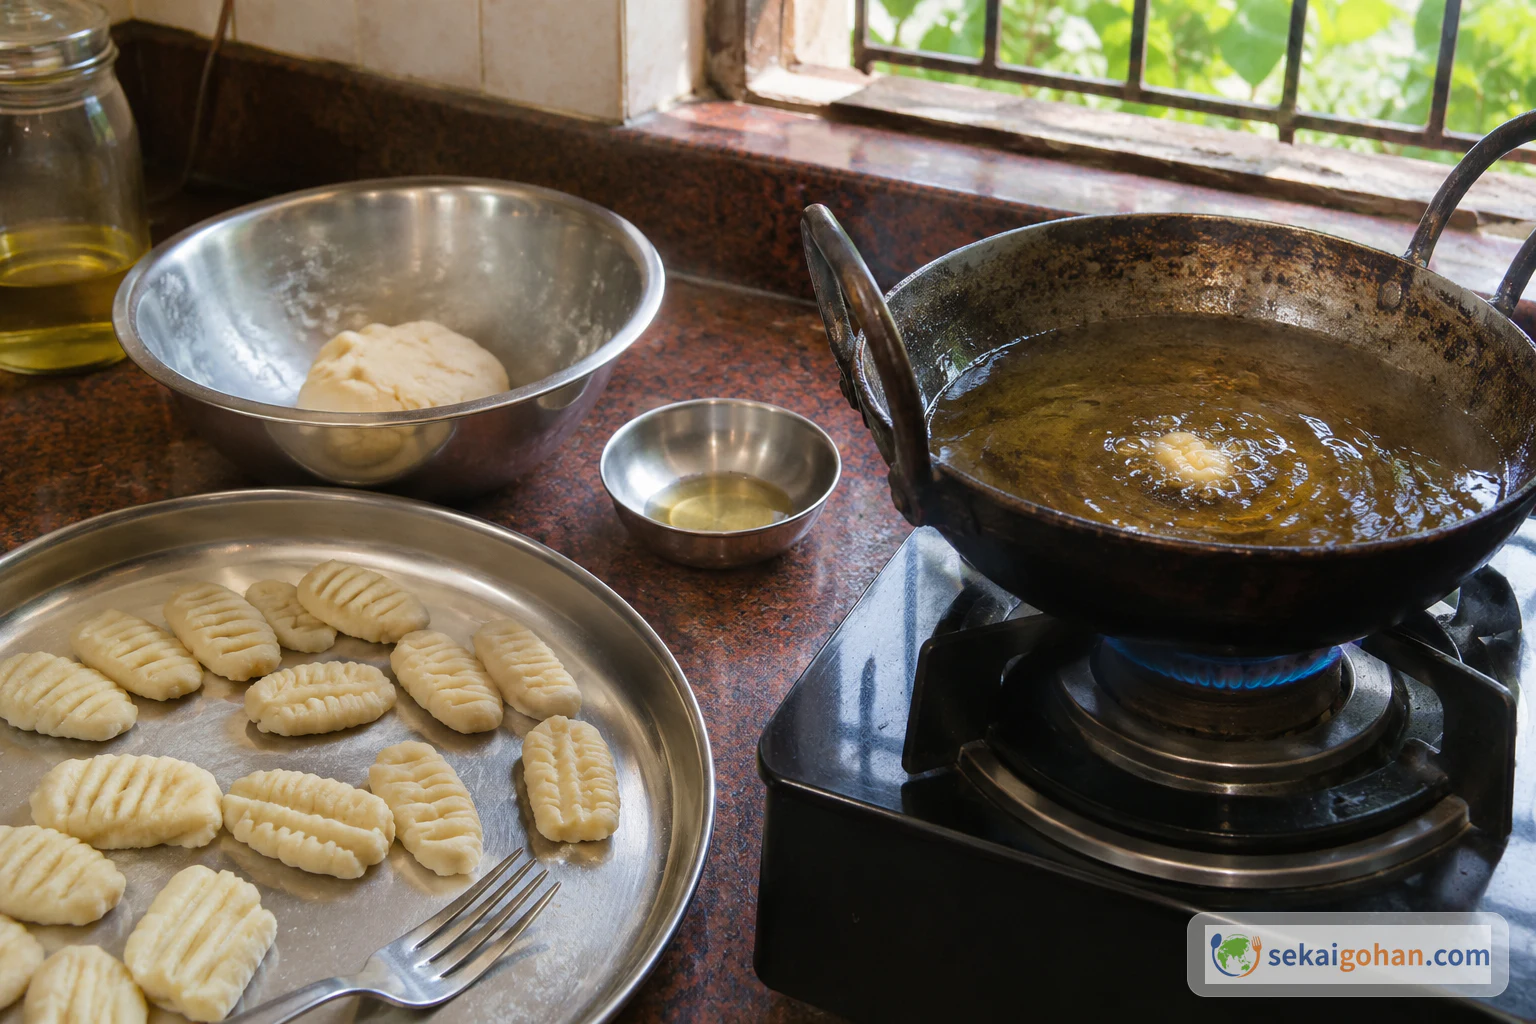
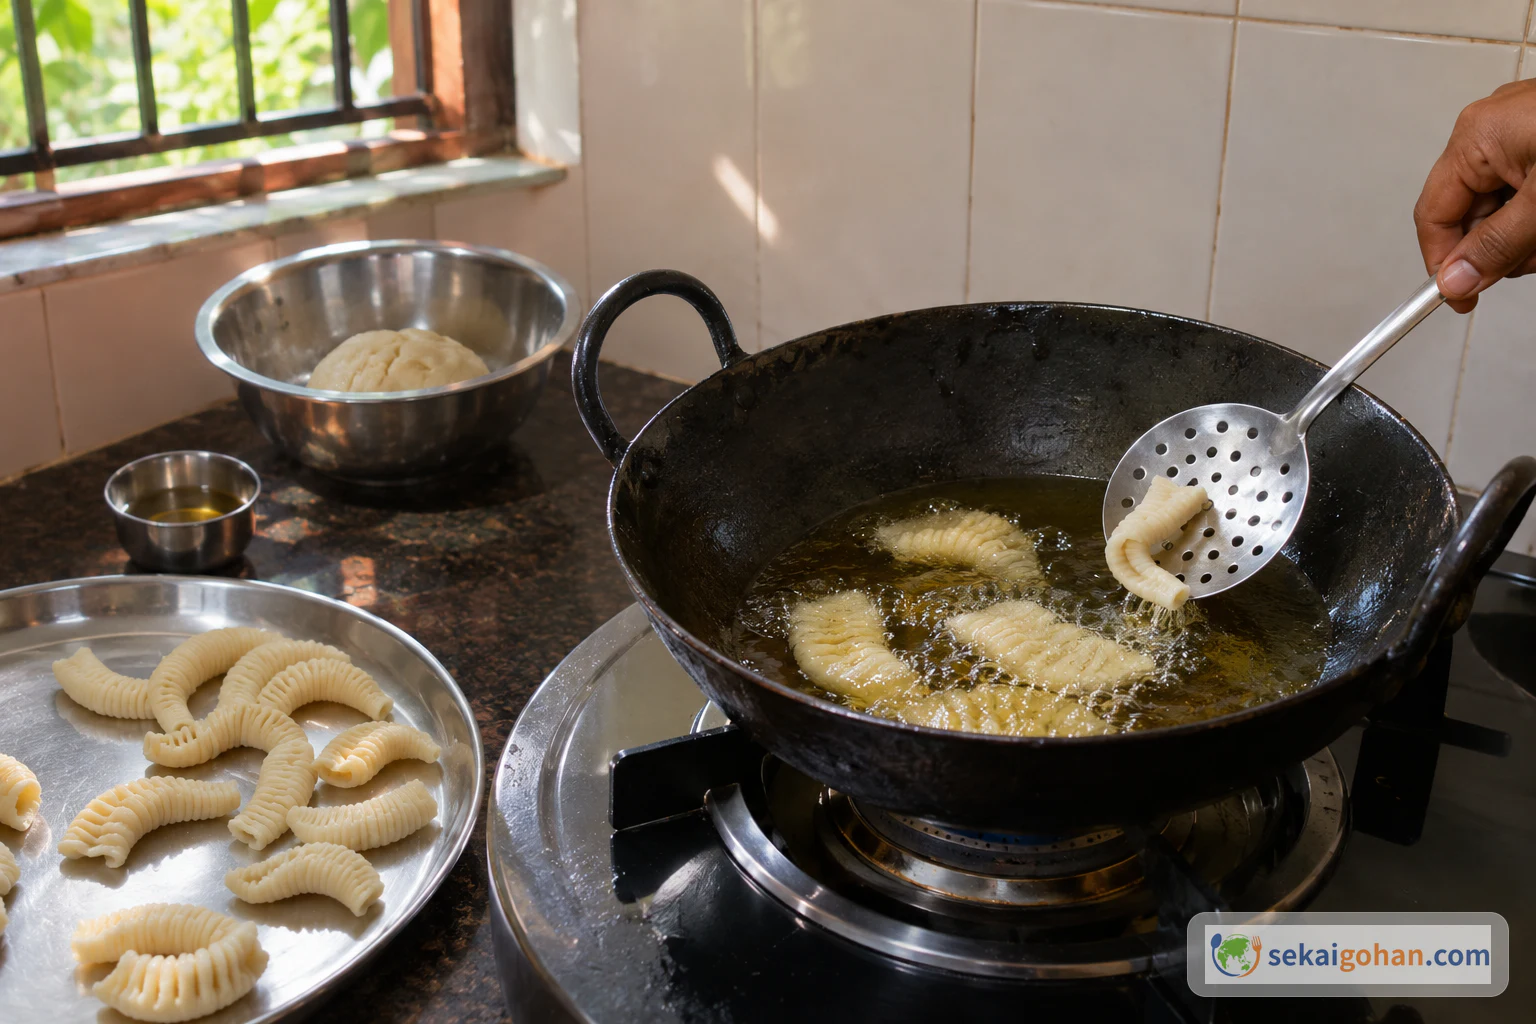
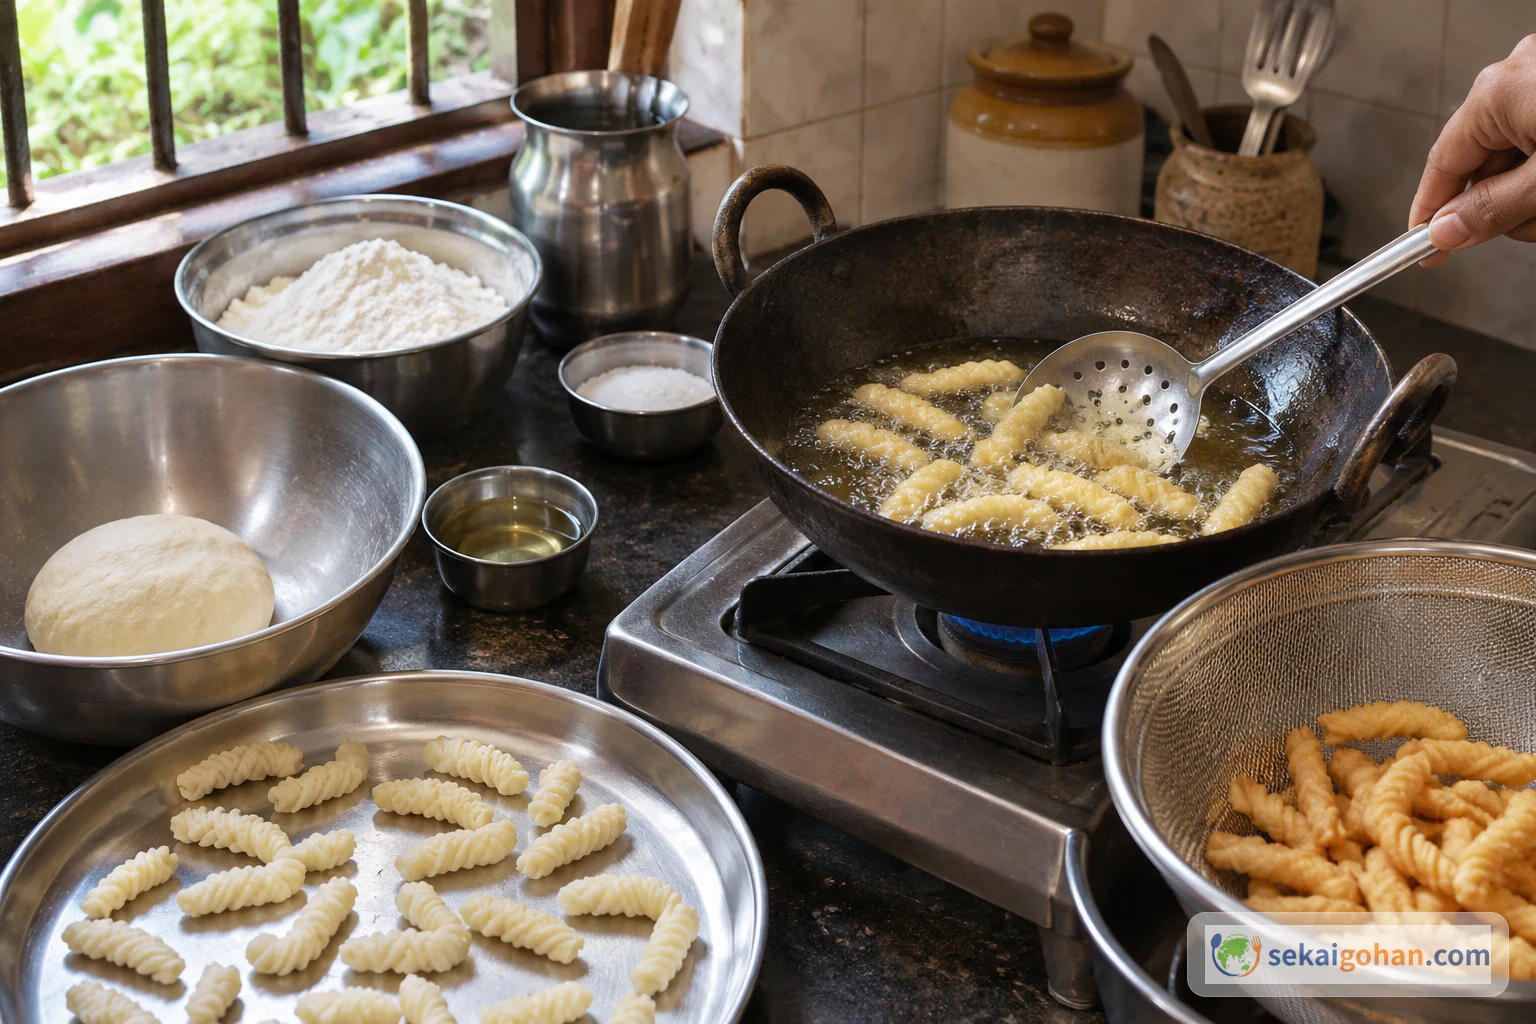
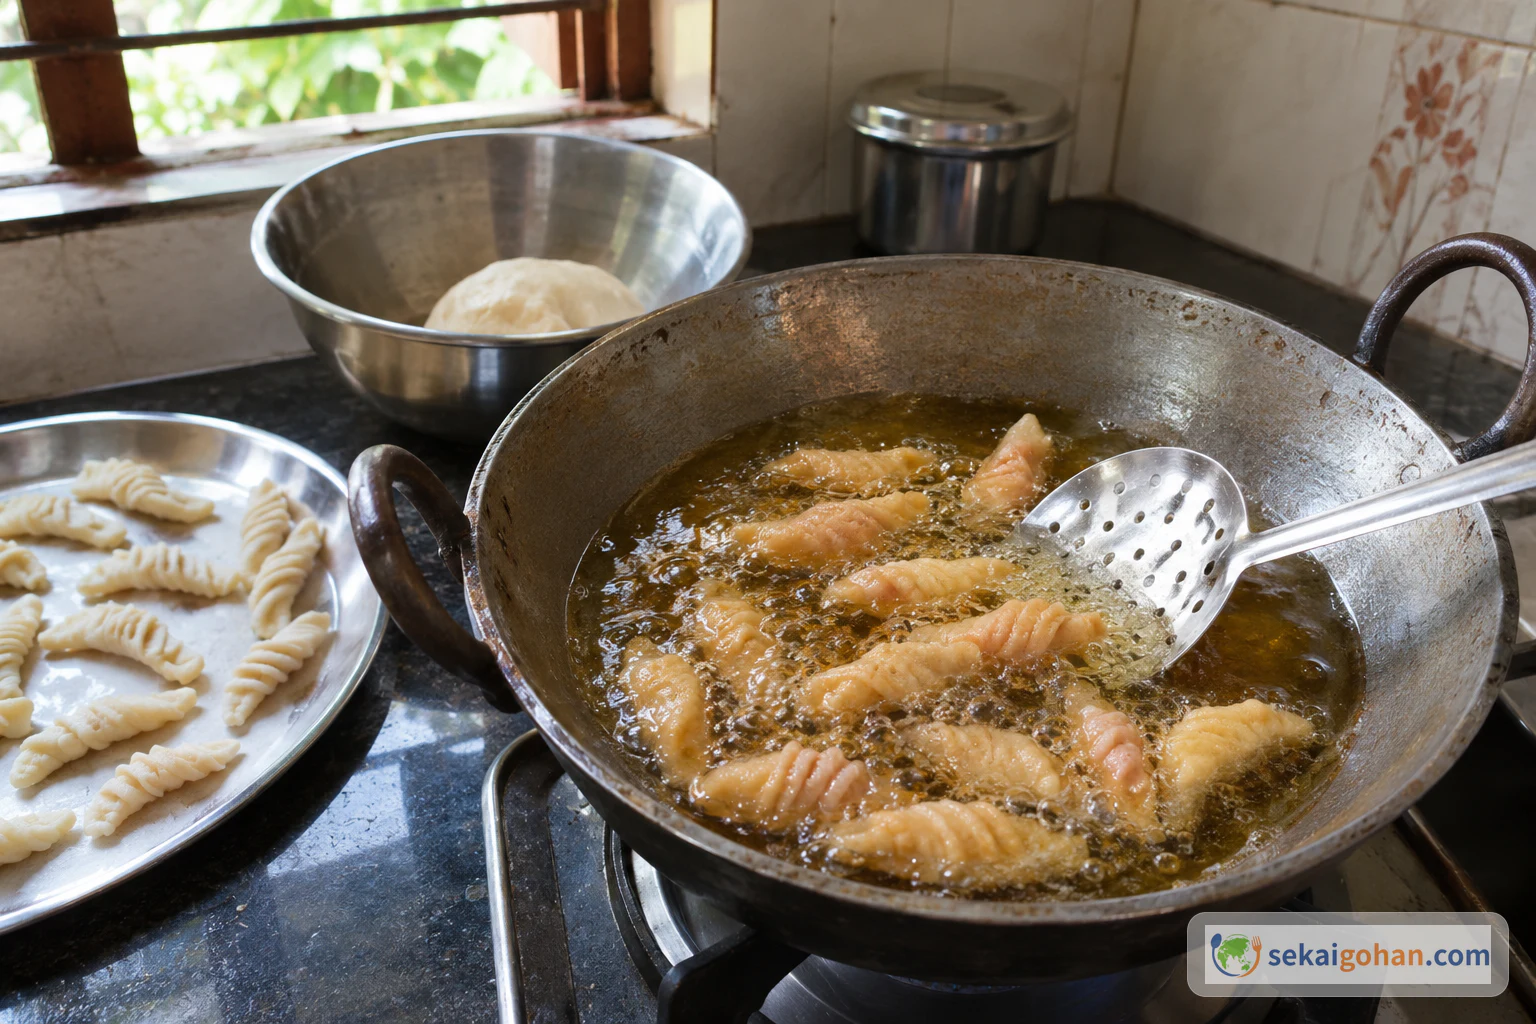
Kidyo are small curls of sweetened wheat dough. Each one starts as a marble of dough pressed thin across the tines of a fork, then rolled up from one side so the fork's ridges run along the outside. They go into hot oil raw and come out pale, the colour the recipe calls golden pink rather than brown.
This article follows the written recipe by Shireen Sequeira on her site Ruchik Randhap, where the dish appears as "Kidyo/Kidiyo/Kulkuls (Sweet Dough Curls)." In her introduction she places these curls within her own family's Christmas preparations and the Mangalorean Kuswar, describing curling them at home with a fork or a comb. Her recipe offers a few choices along the way; this version takes one consistent path through them: plain and unglazed, with the optional egg left out, and lukewarm water to bring the dough together.
Sequeira describes her quantities as one small batch, and writes in her text that it is enough for two to three people with average appetites. Treat that as her own rough estimate, not a fixed count of pieces.
For more dishes from across the country, see the India page.
The recipe's title lists three names: Kidyo, Kidiyo and Kulkuls. Searching under all three helps when looking for other versions.
Where Kidyo Sit: One Author's Family Christmas Table
Shireen Sequeira introduces herself on her About page as the author and photographer of Ruchik Randhap, born and brought up in Mangalore, and describes the site as a way of documenting family recipes and preserving Mangalorean culinary heritage. Her Kidyo recipe opens in that spirit: she writes about these curls as part of her family's Christmas and Kuswar preparations.
That is the frame this article keeps. It is one cook's account of her own household, not a claim about how every Mangalorean family makes or shares Kidyo, and this article makes no claim about where the dish first came from.
How this version was put together
A few points in this recipe come from reading Sequeira's ingredients, method and notes together, and it's worth being open about them:
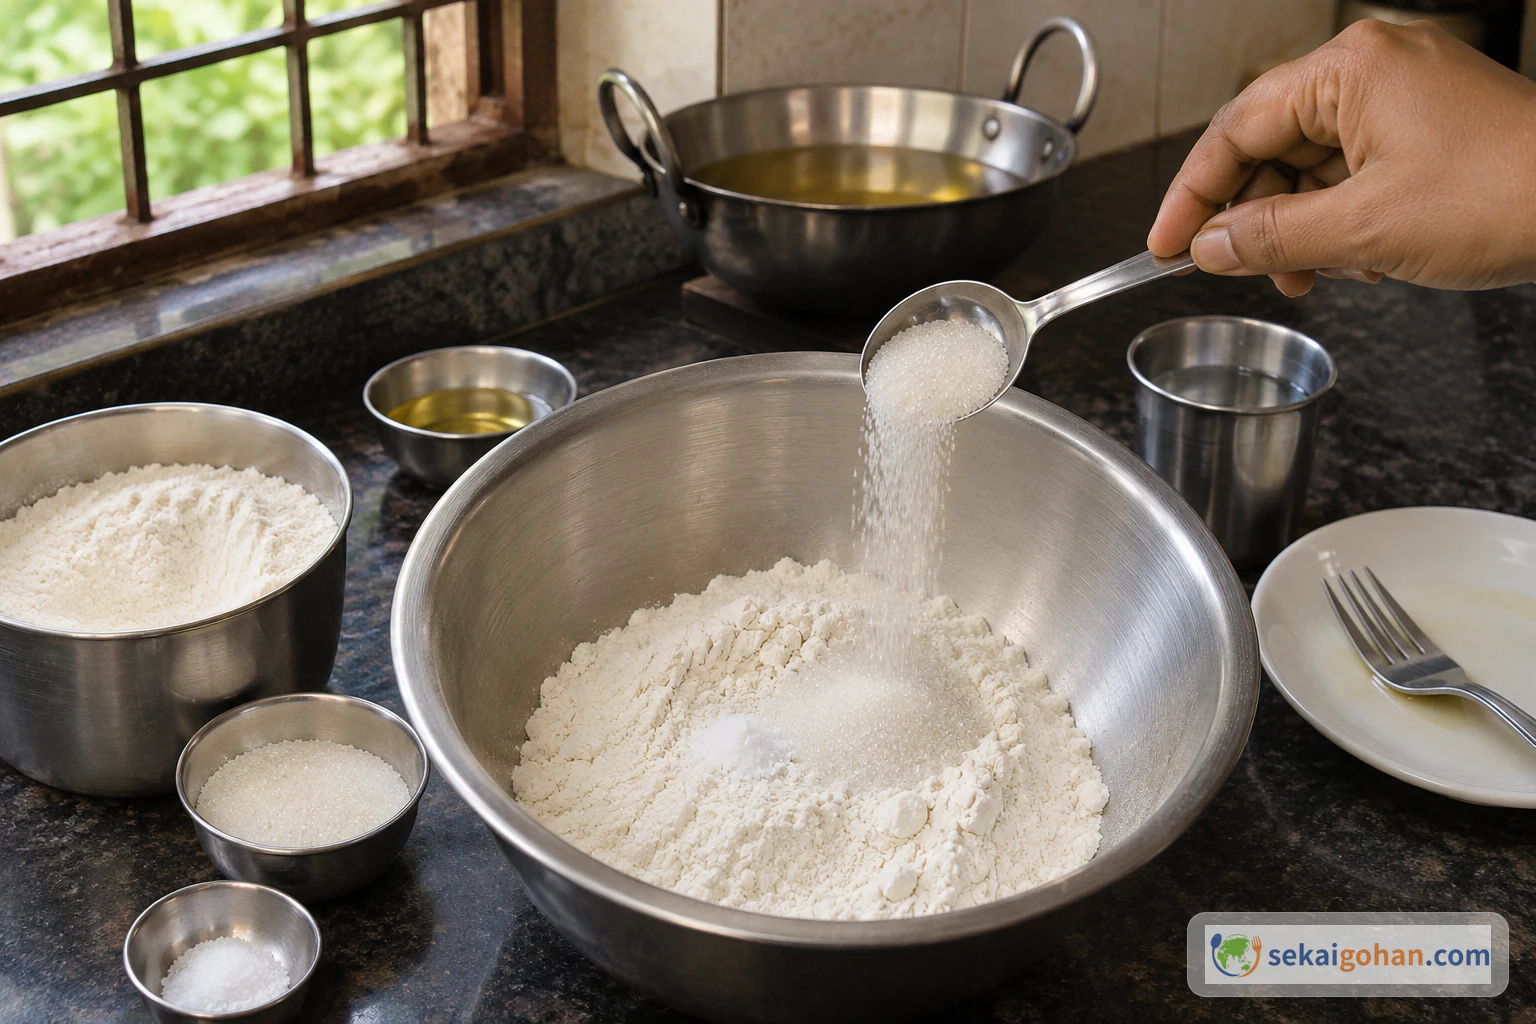
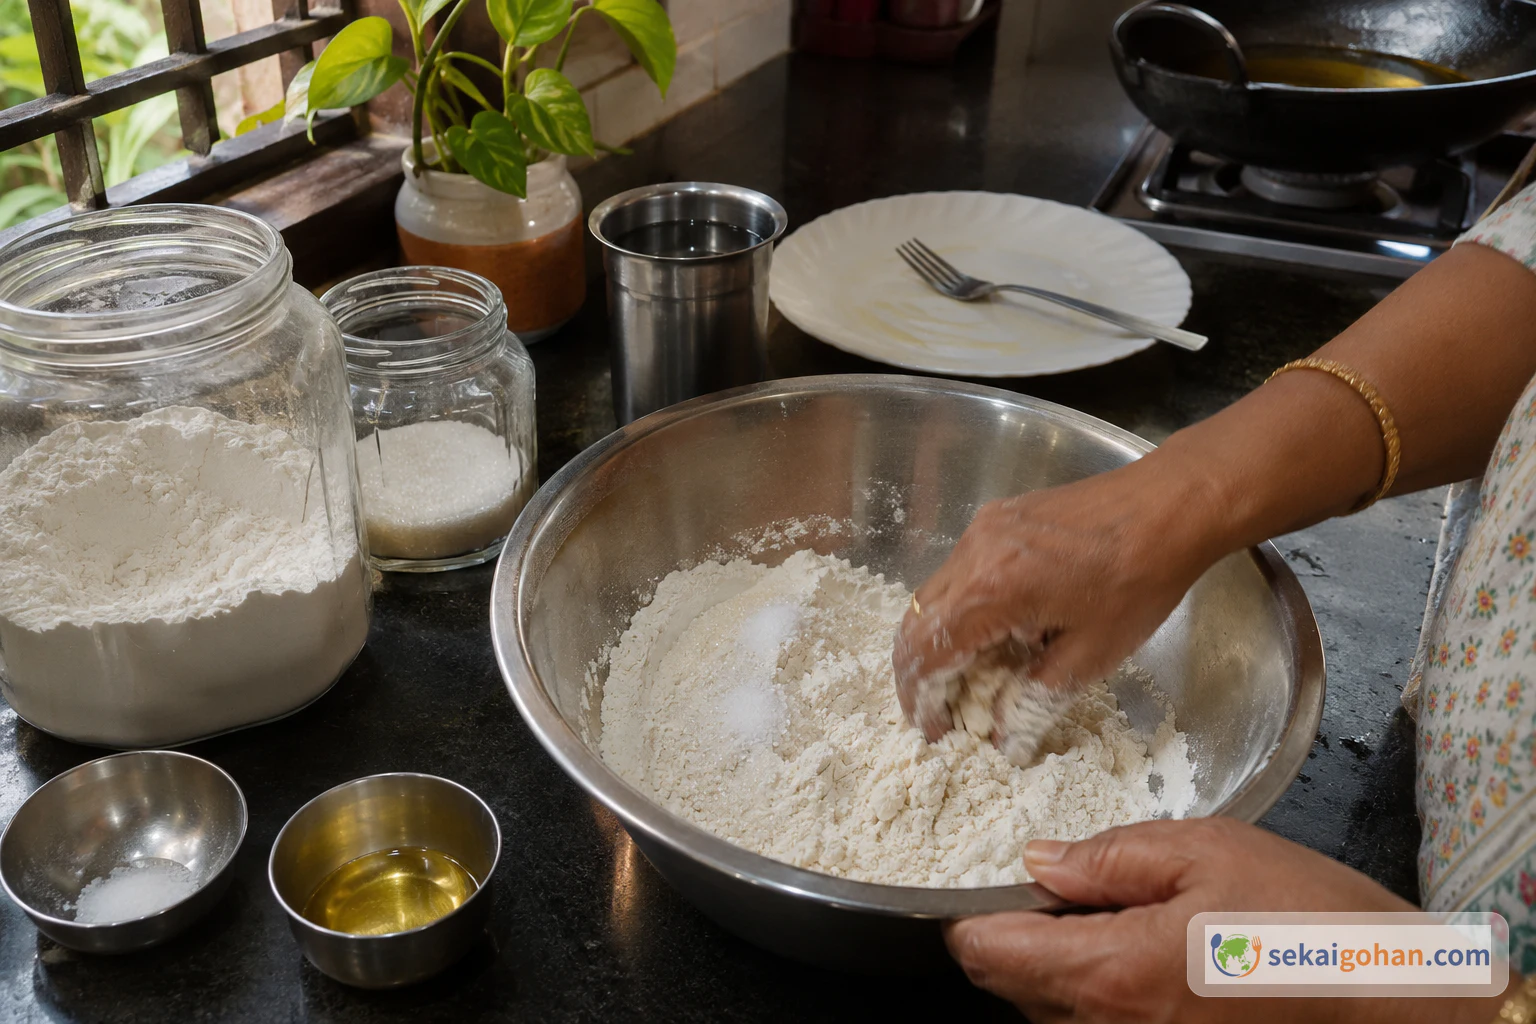
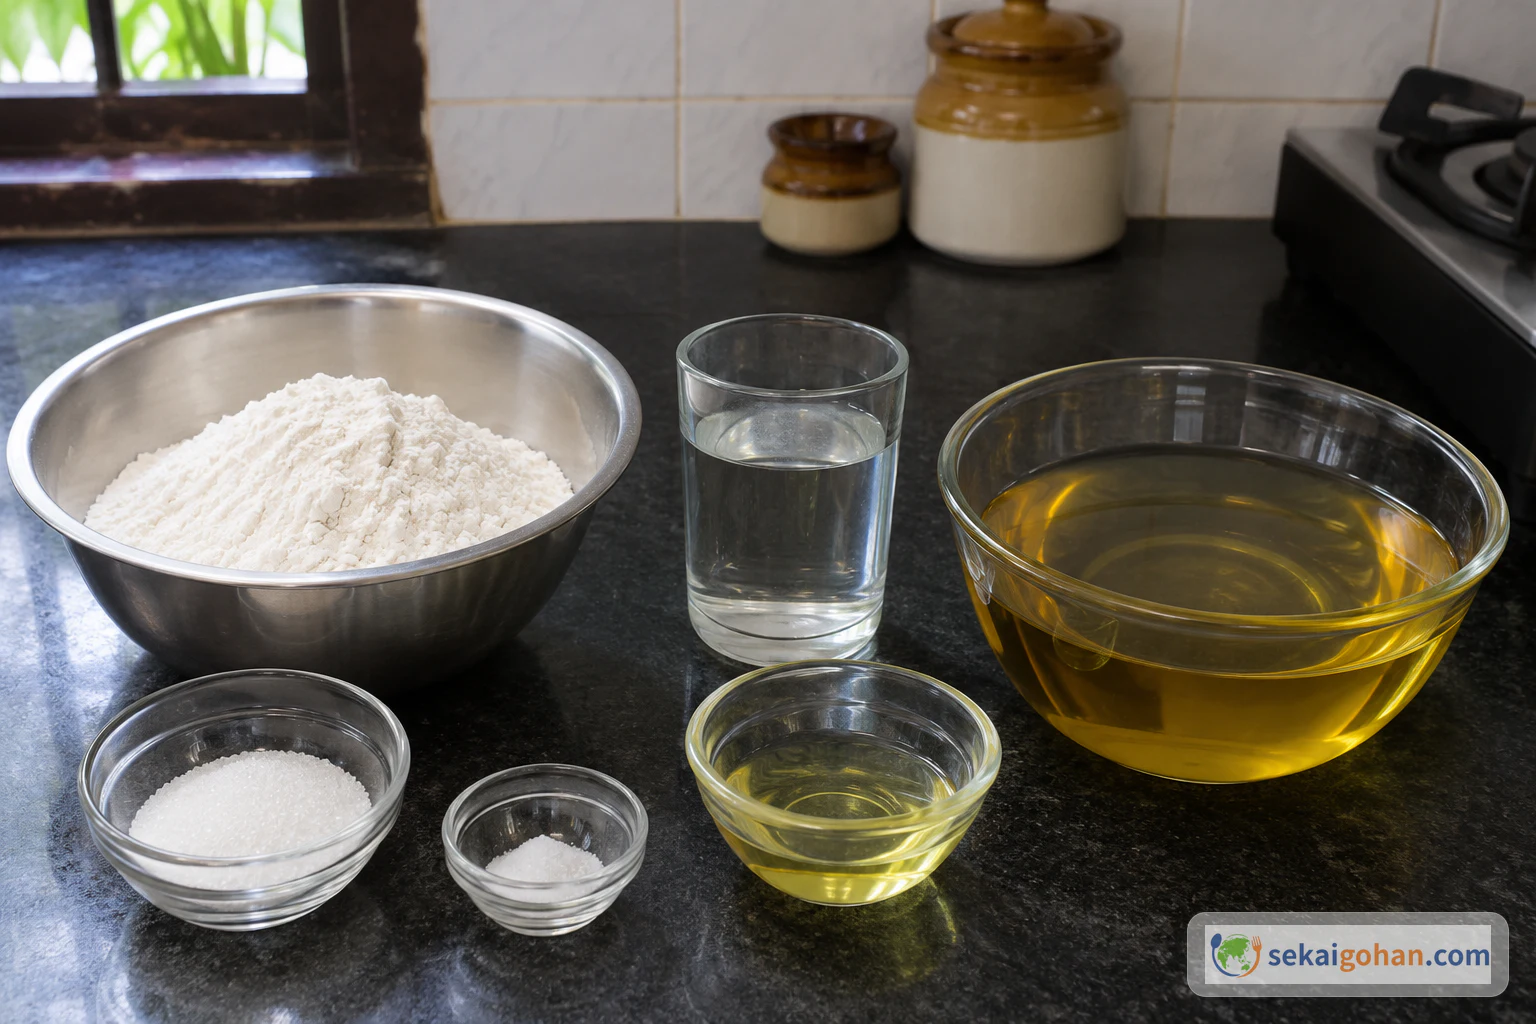
- Sugar: her ingredient list gives 1 tablespoon sugar, and a note adds 1 more tablespoon if you are not glazing the curls. Since this version is unglazed, the dough uses both: 2 tablespoons in total.
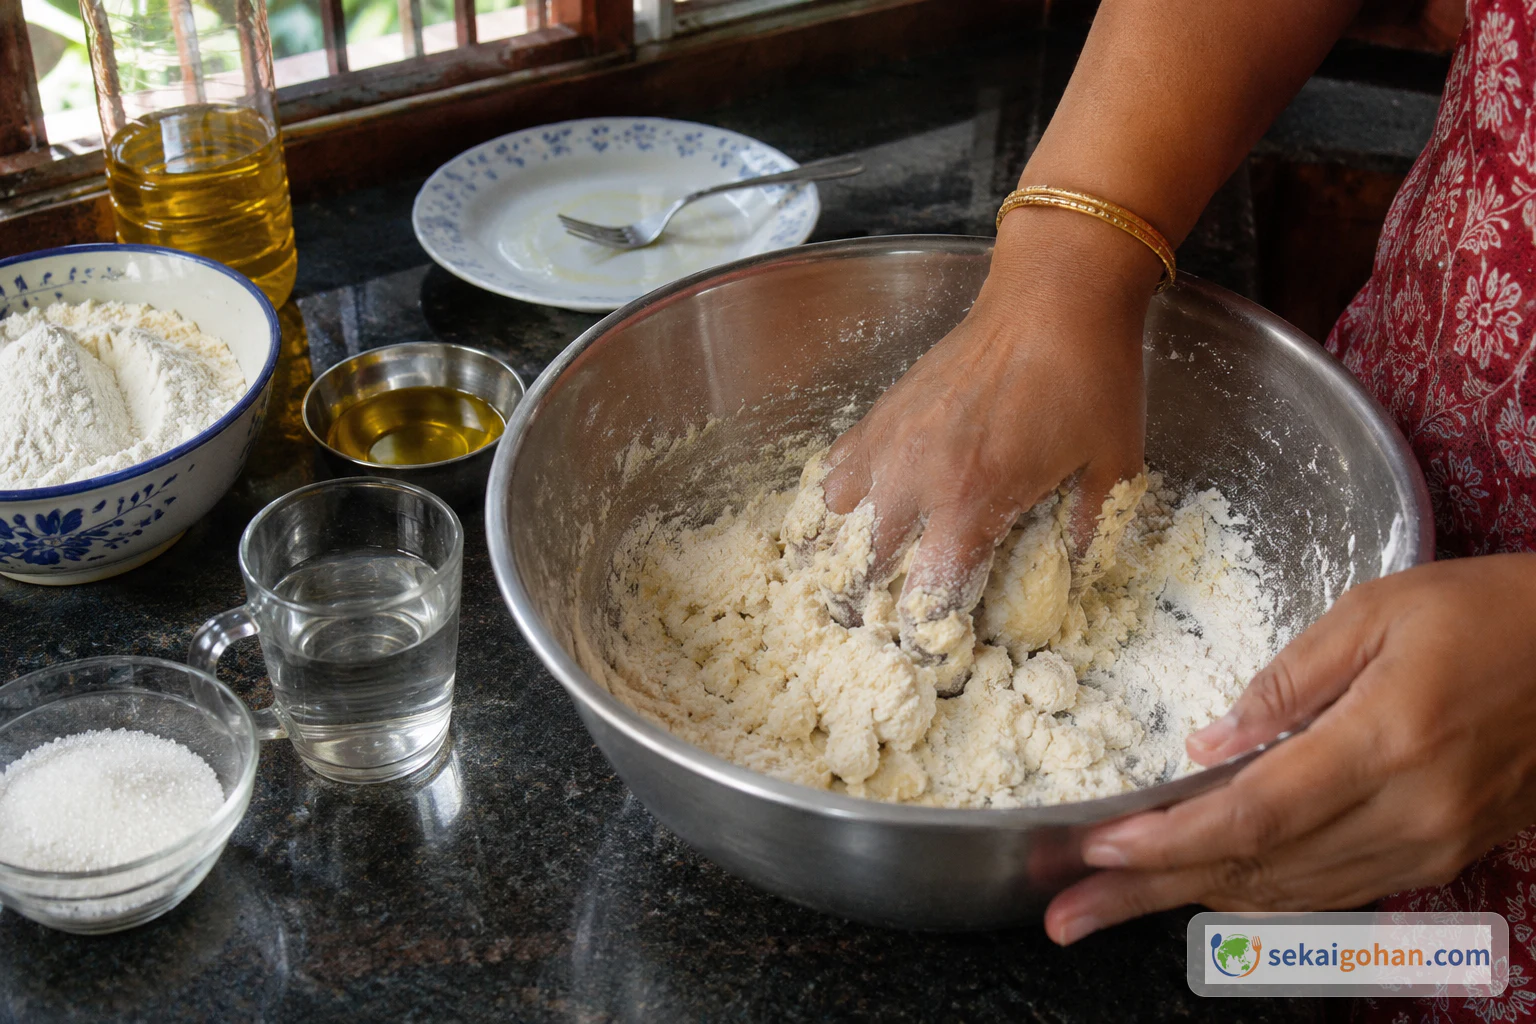
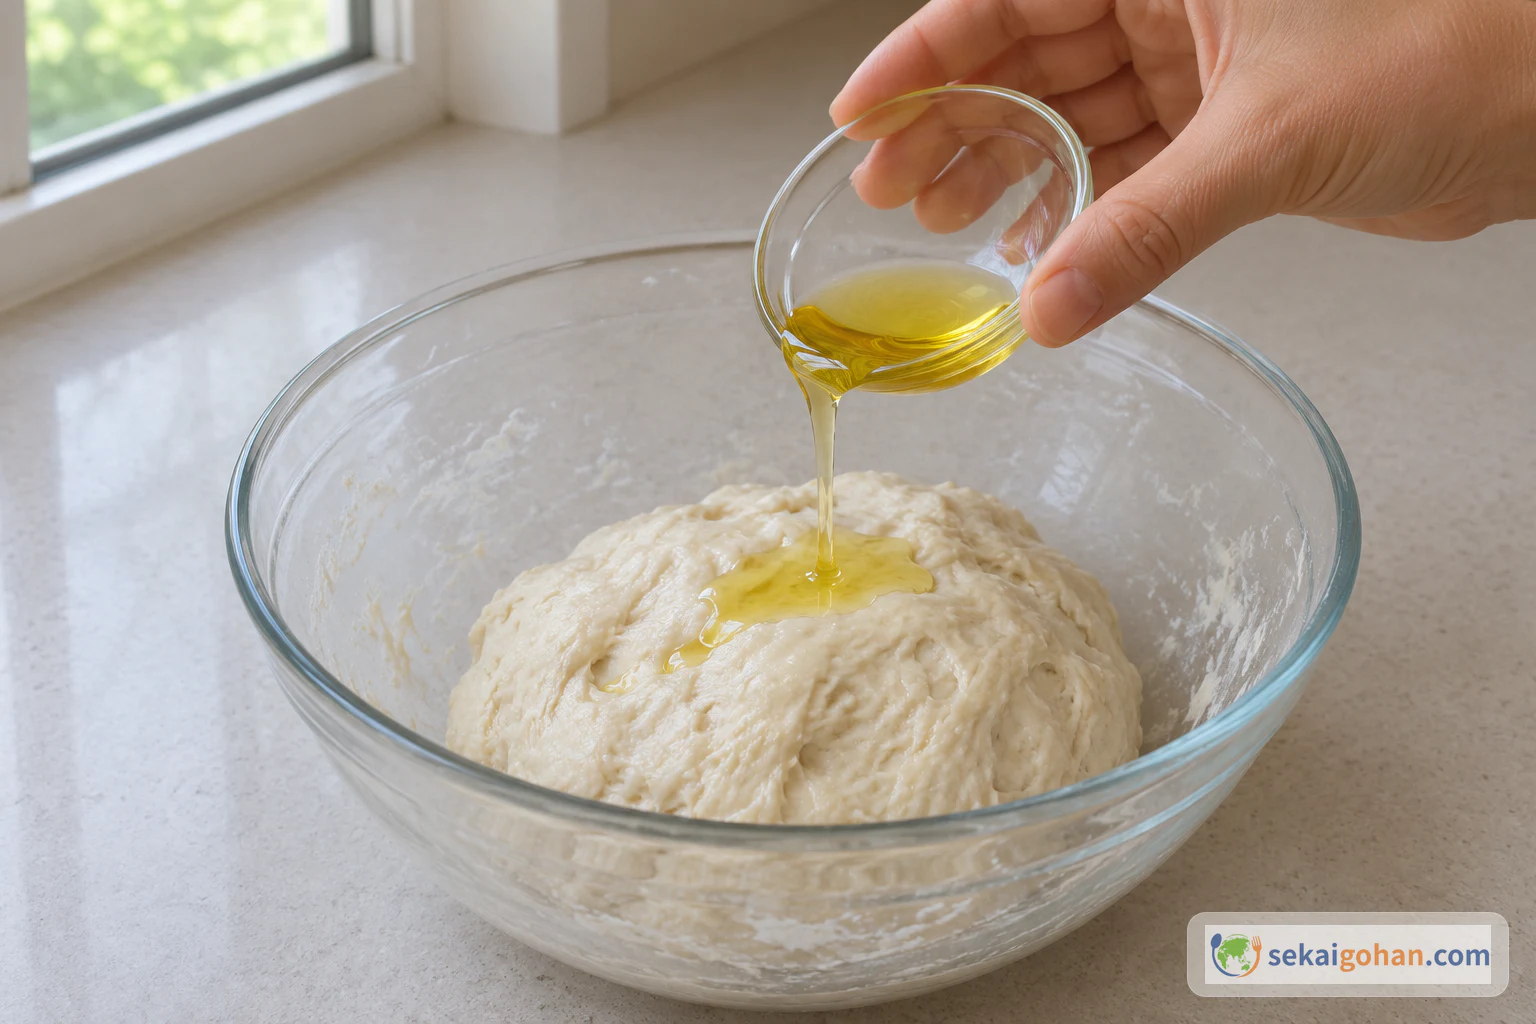
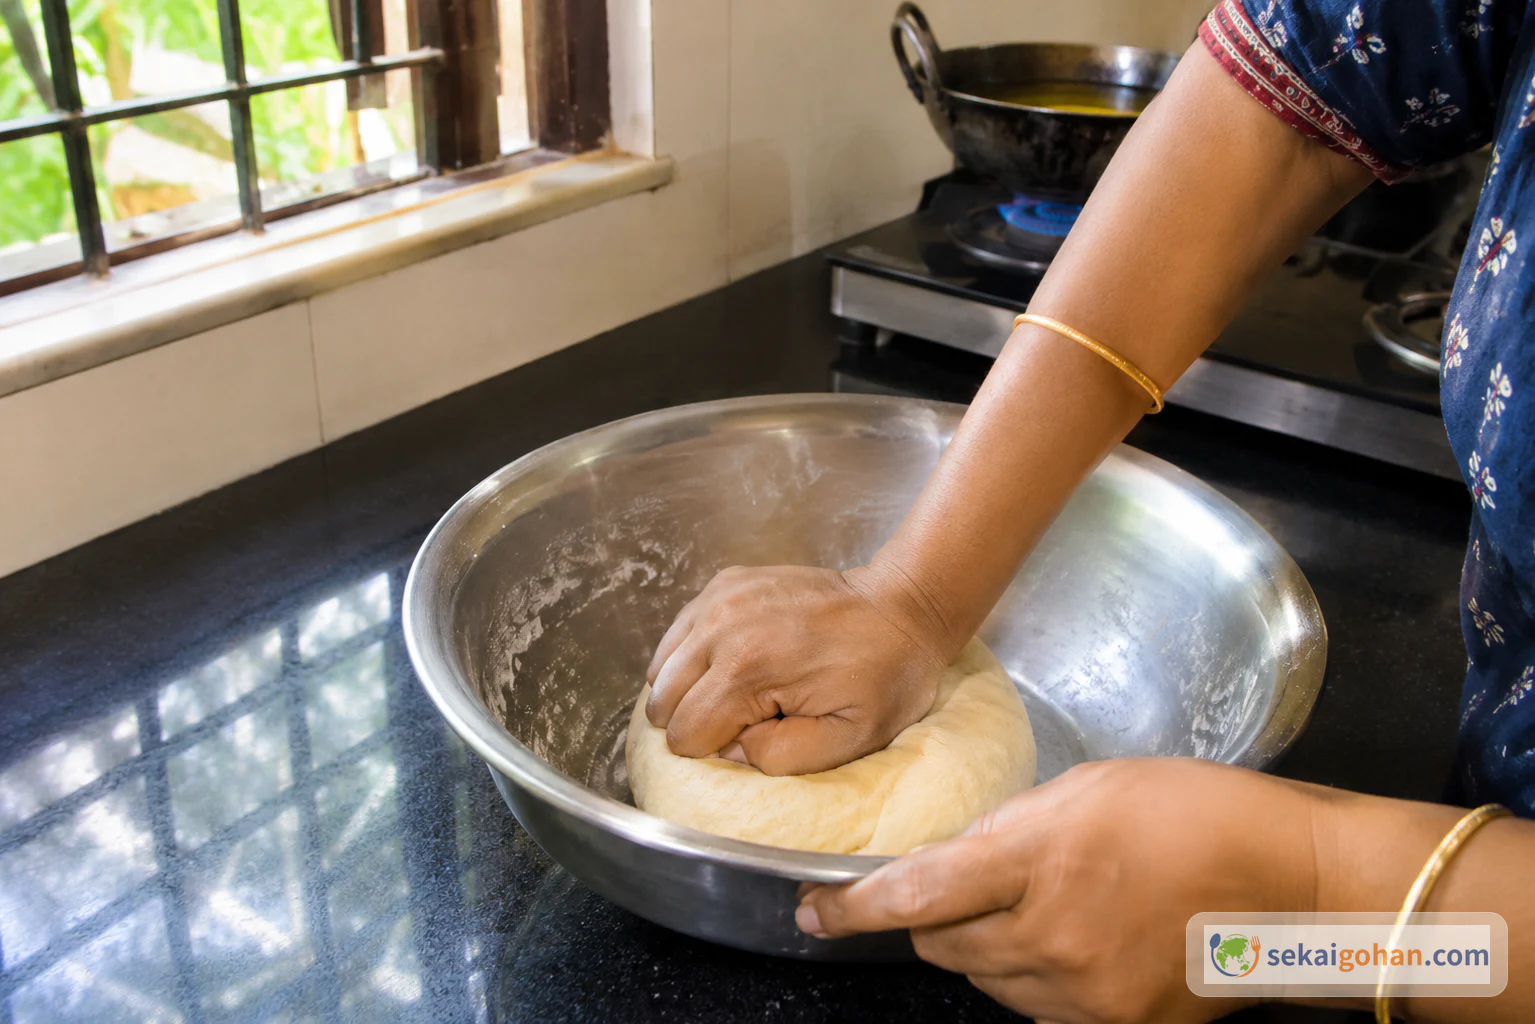
- Warm oil: 1 tablespoon warm oil is in her ingredient list, but her main method doesn't say exactly when it goes in. Her first note recommends kneading with a little oil, so this article adds it during kneading. That placement is an editorial reading of her note, not a quoted step.
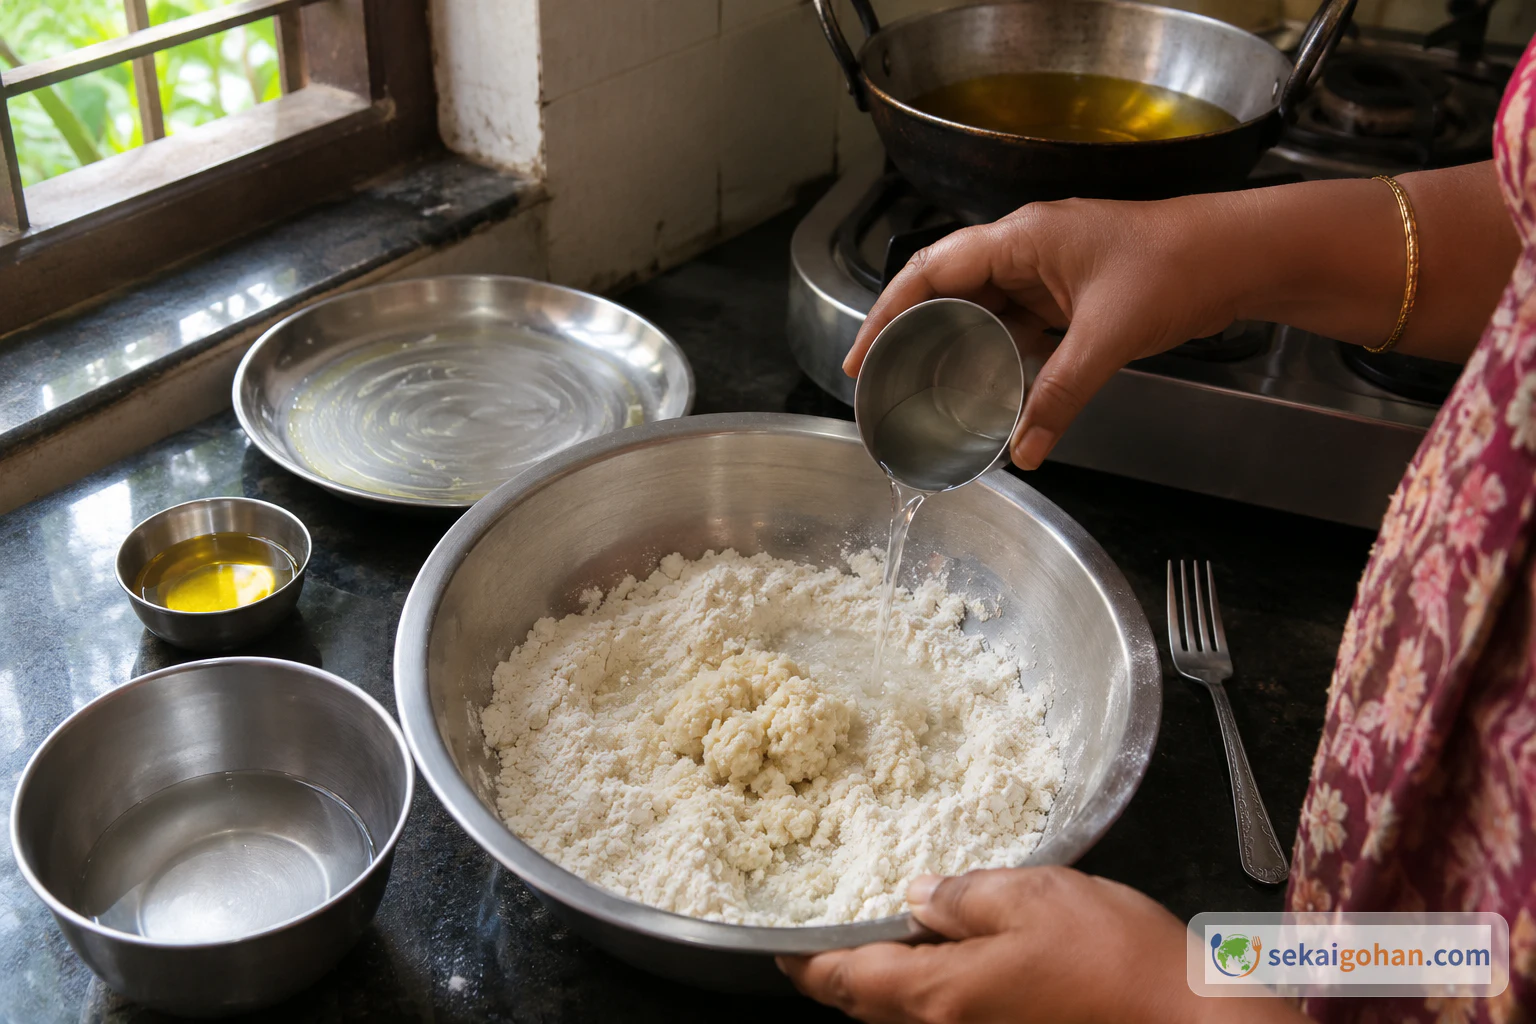
- Water: her list gives about 1/4 cup lukewarm water. It is a rough guide, not a limit and not an amount you must use up. Add it in parts, only as the dough needs.
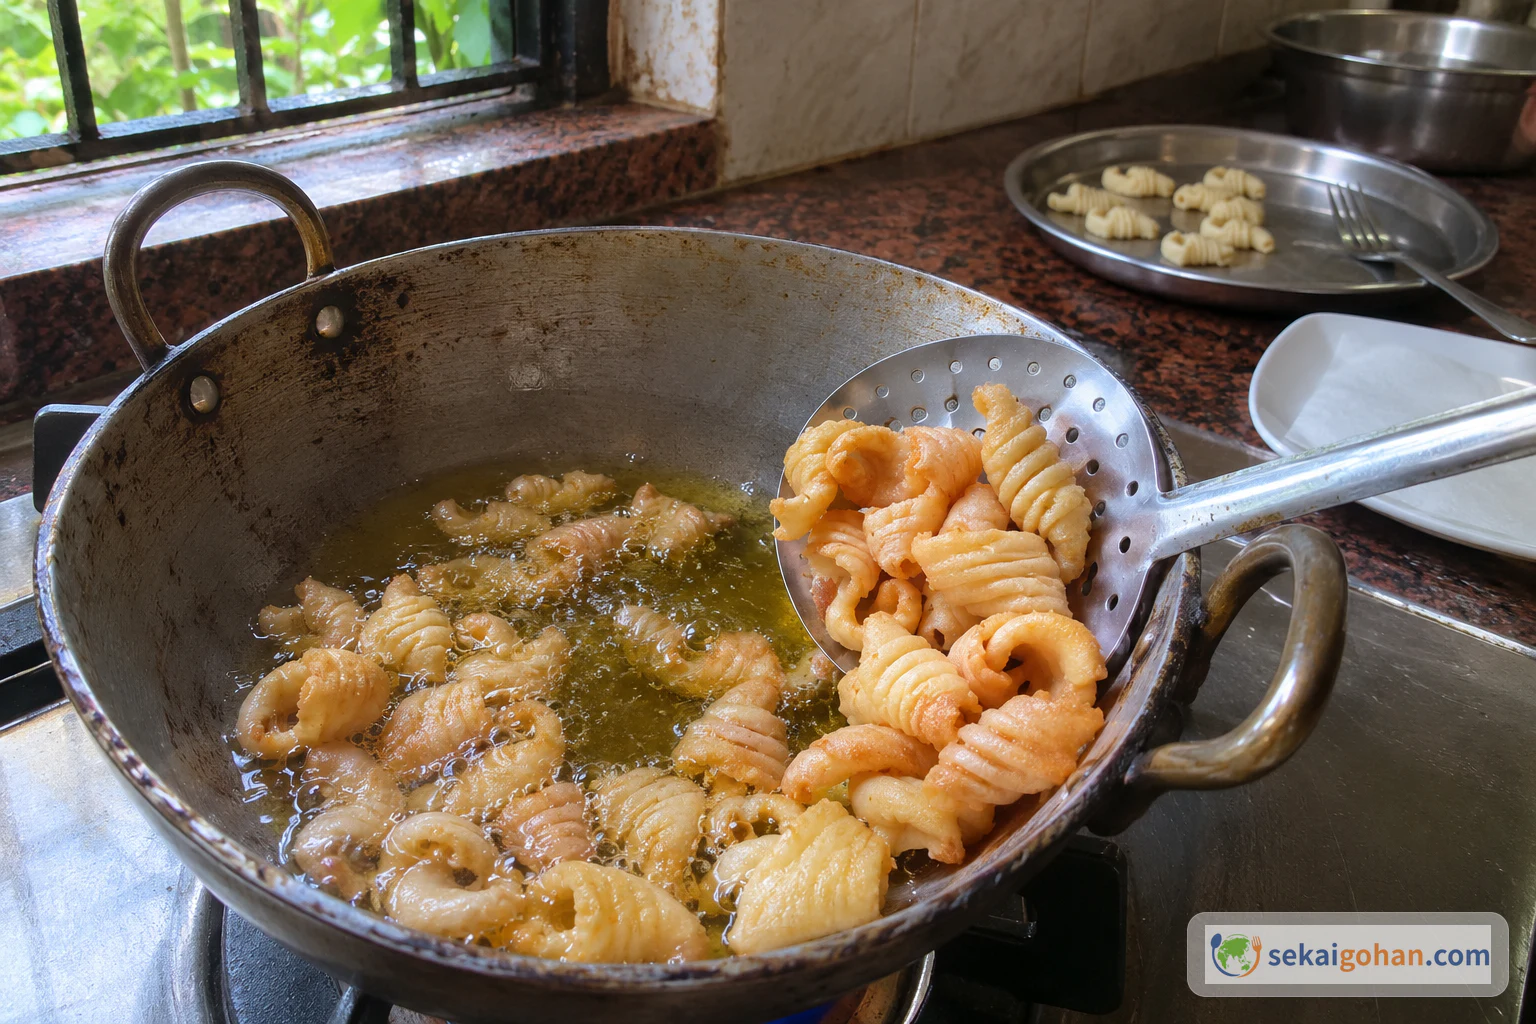
- Turning in the oil: her method covers frying in batches and draining. Gently turning the curls with a slotted spoon, shown in one of the step photos, is an editorial visual aid added here, not a separate instruction from her recipe.
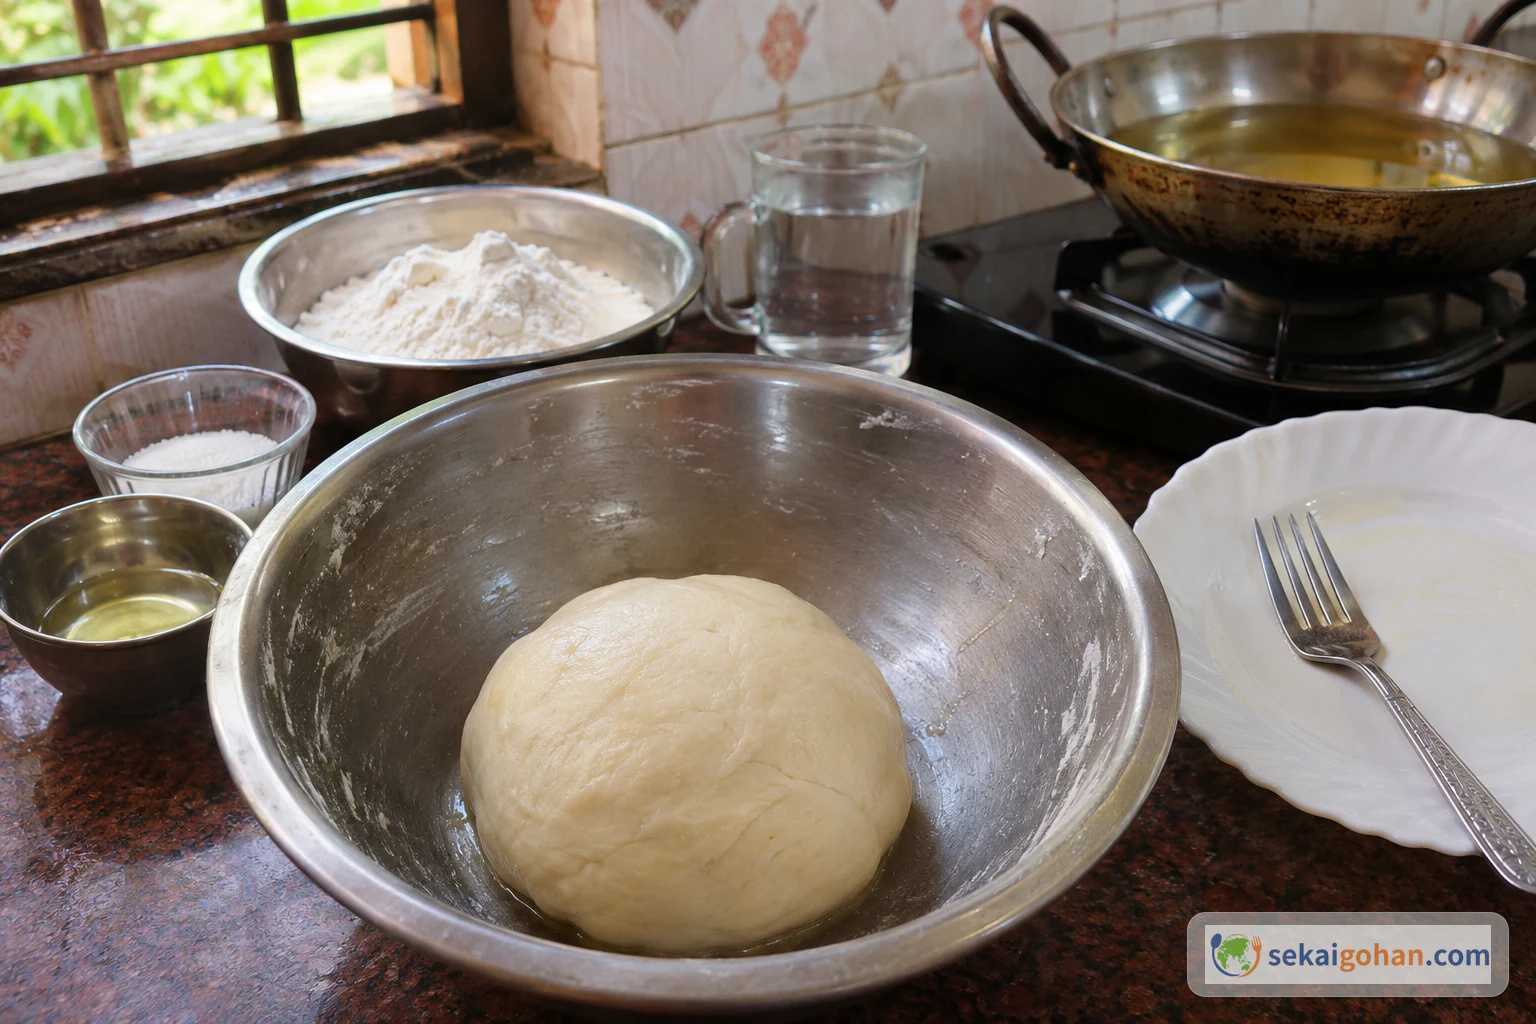
Ingredients
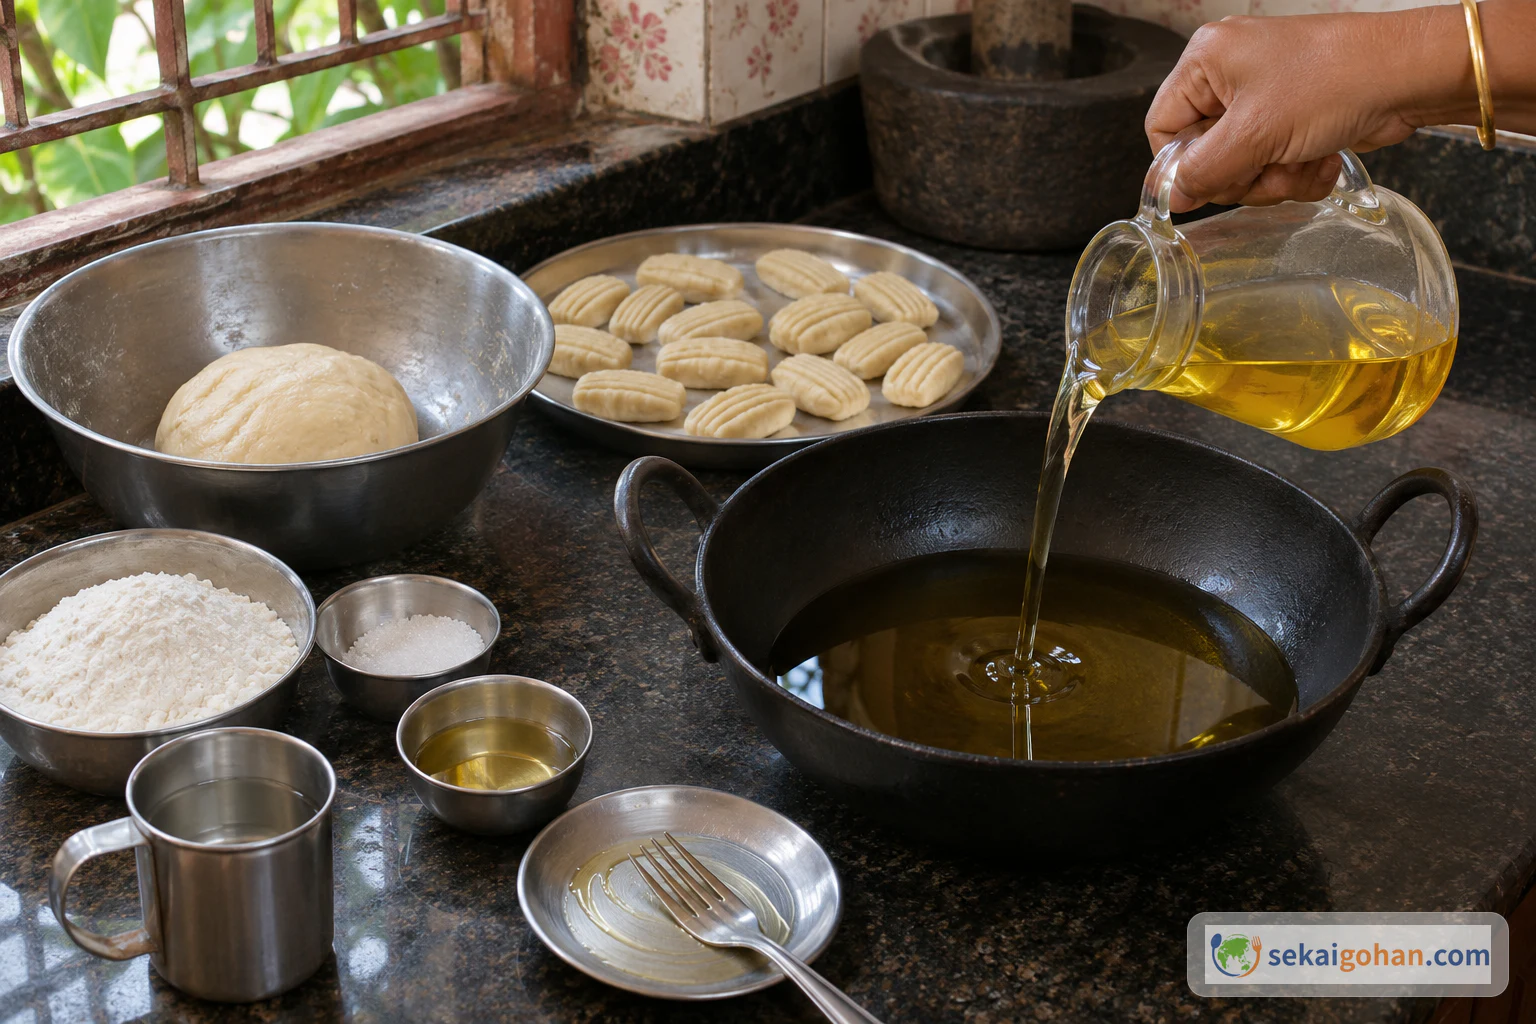
Equipment
- Mixing bowl
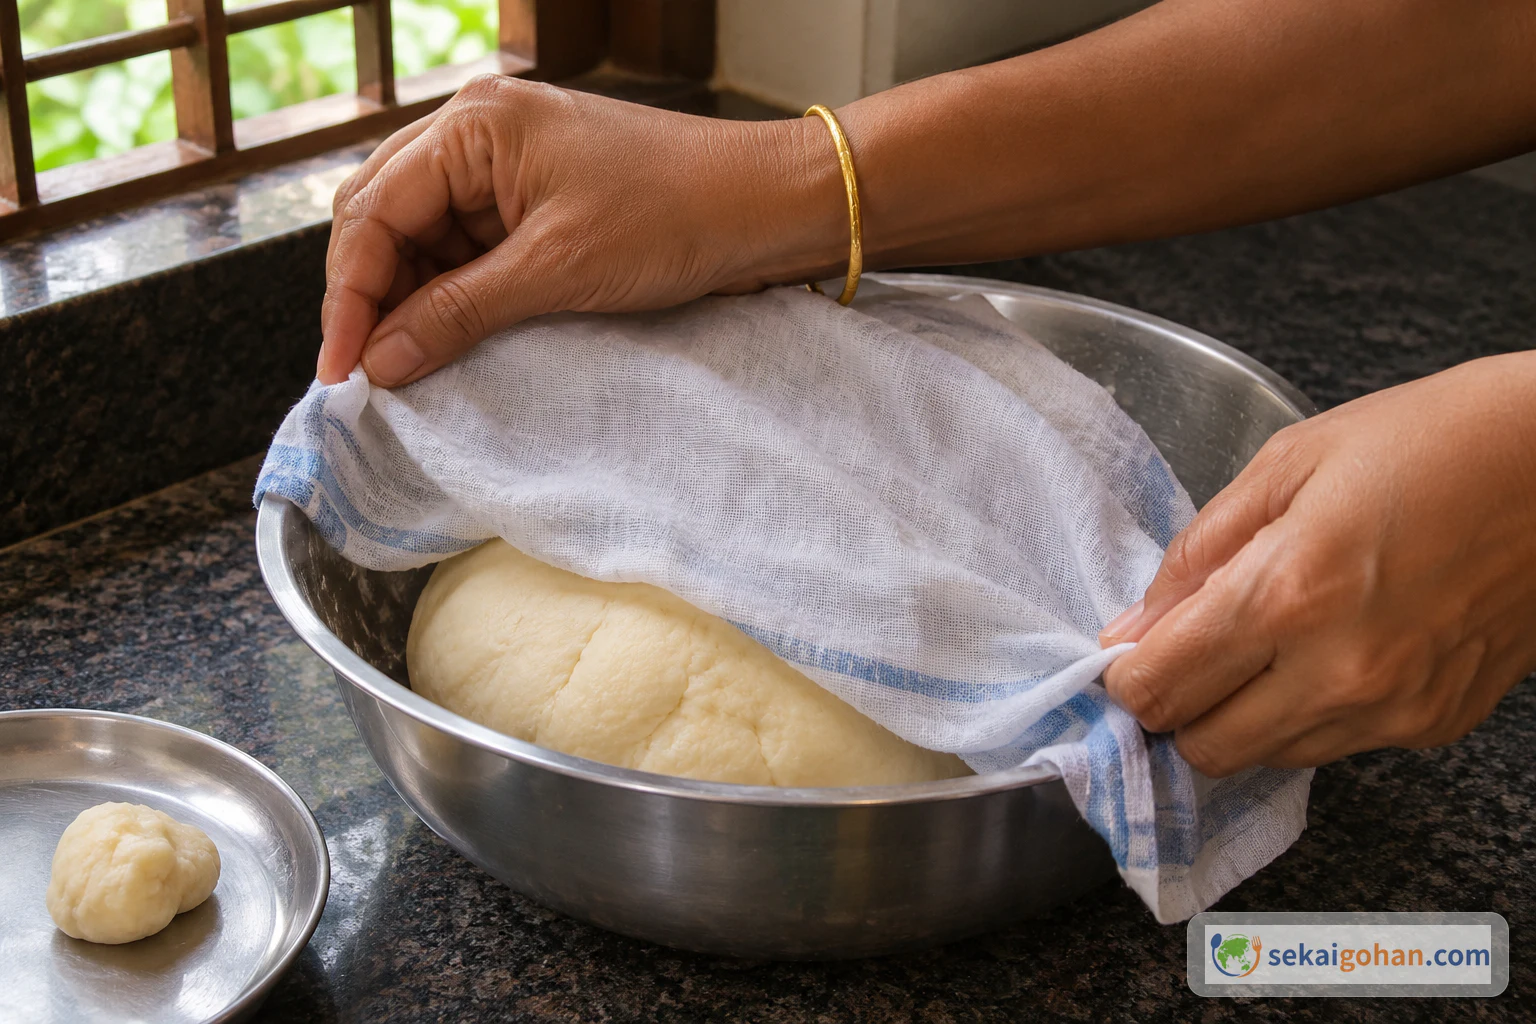
- Clean, damp cloth
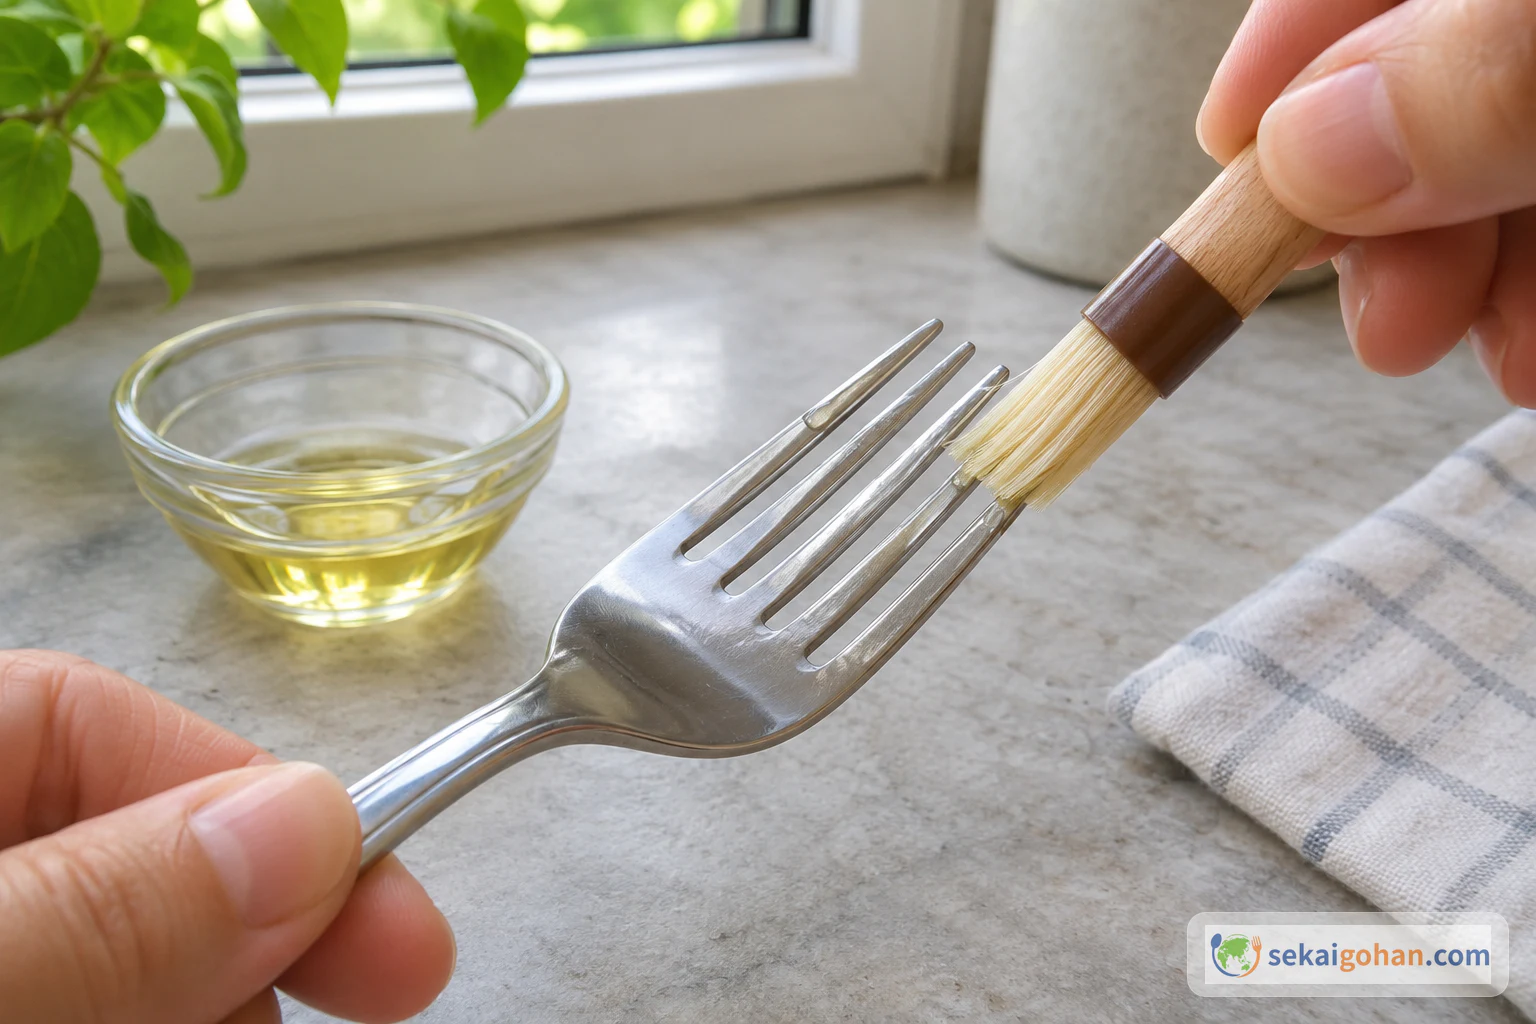
- Fork for shaping
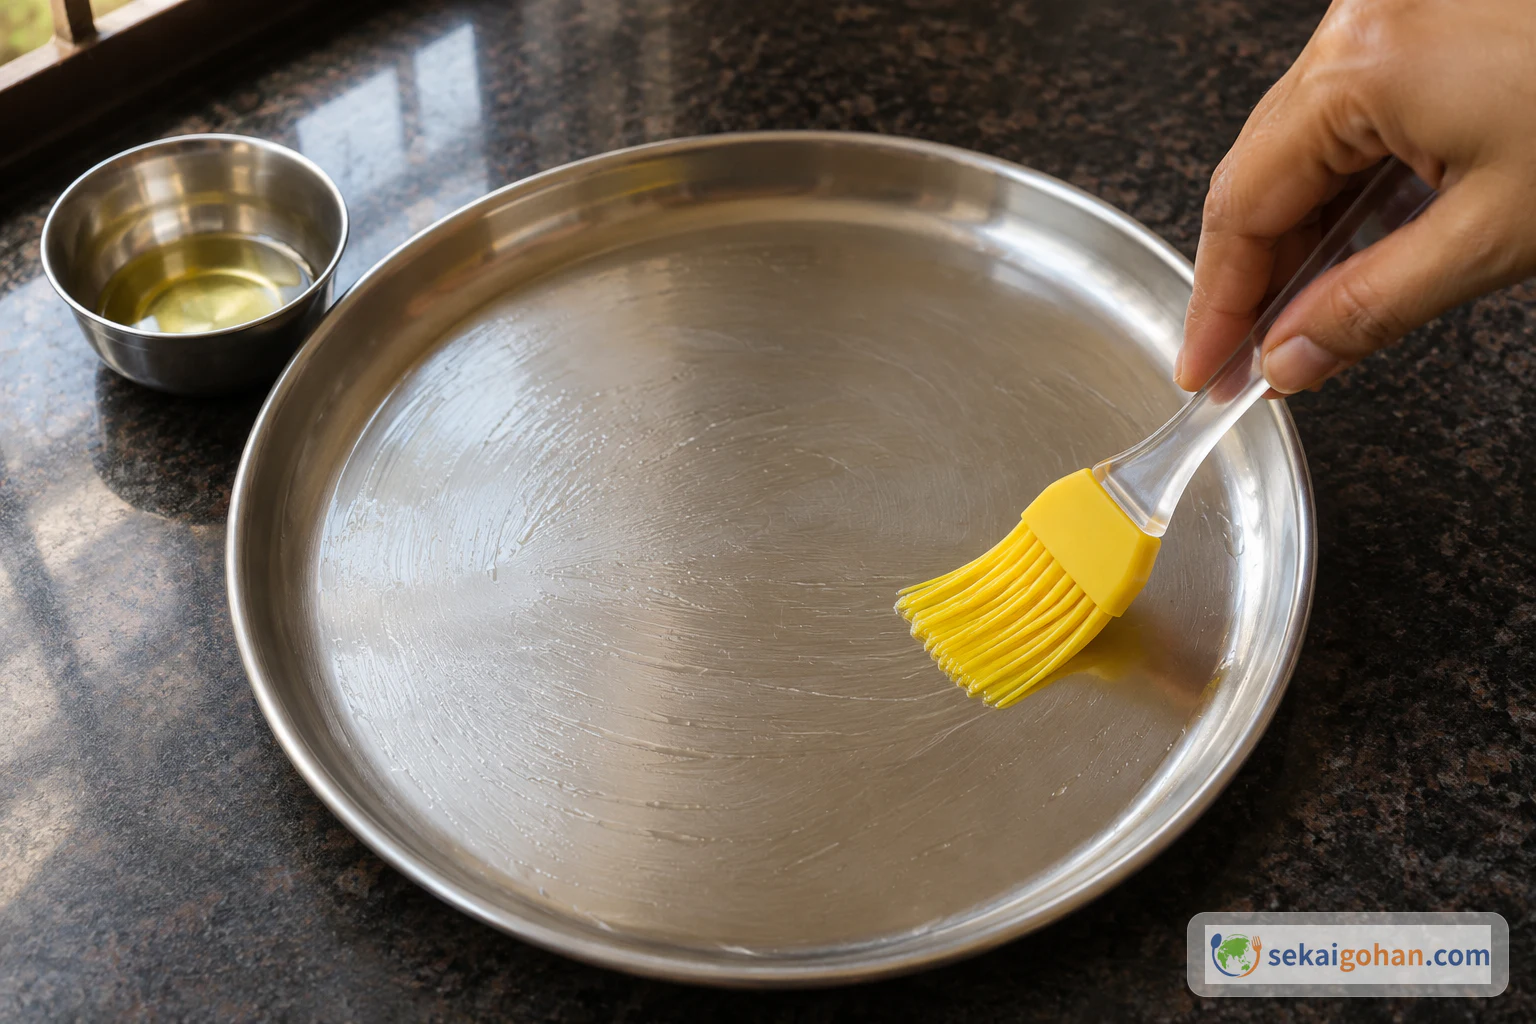
- Flat plate for holding the shaped curls
- Kadai or other sturdy, deep frying pan
- Slotted spoon
- Absorbent kitchen paper
Choosing and Substituting
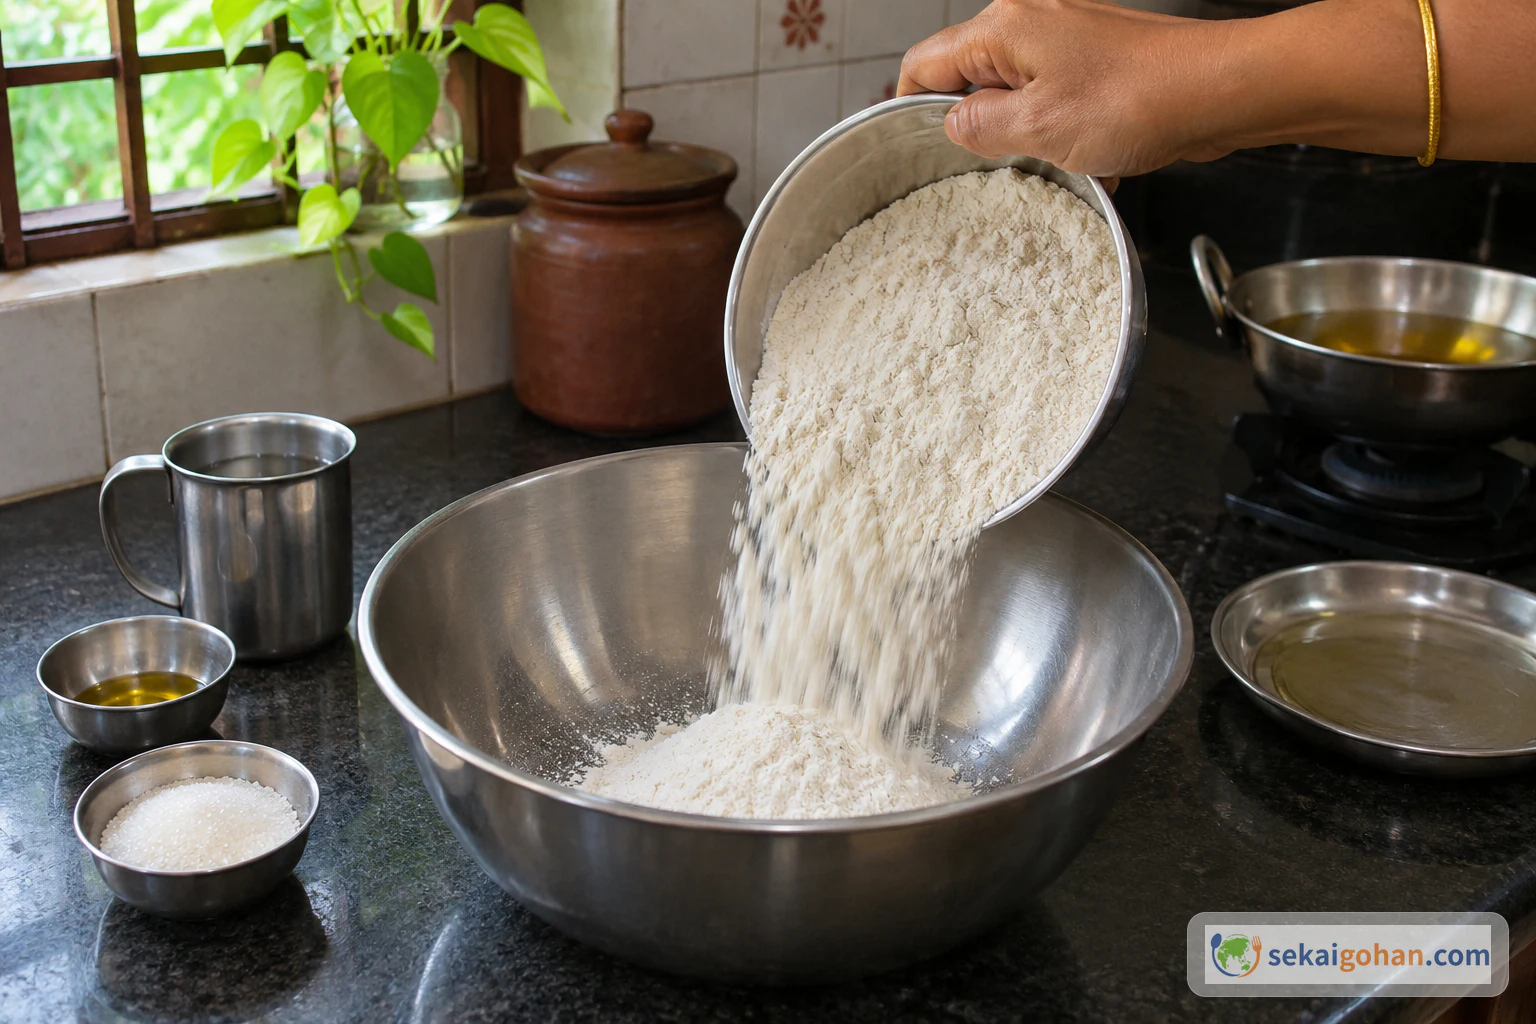
Flour. Use all-purpose wheat flour (maida).
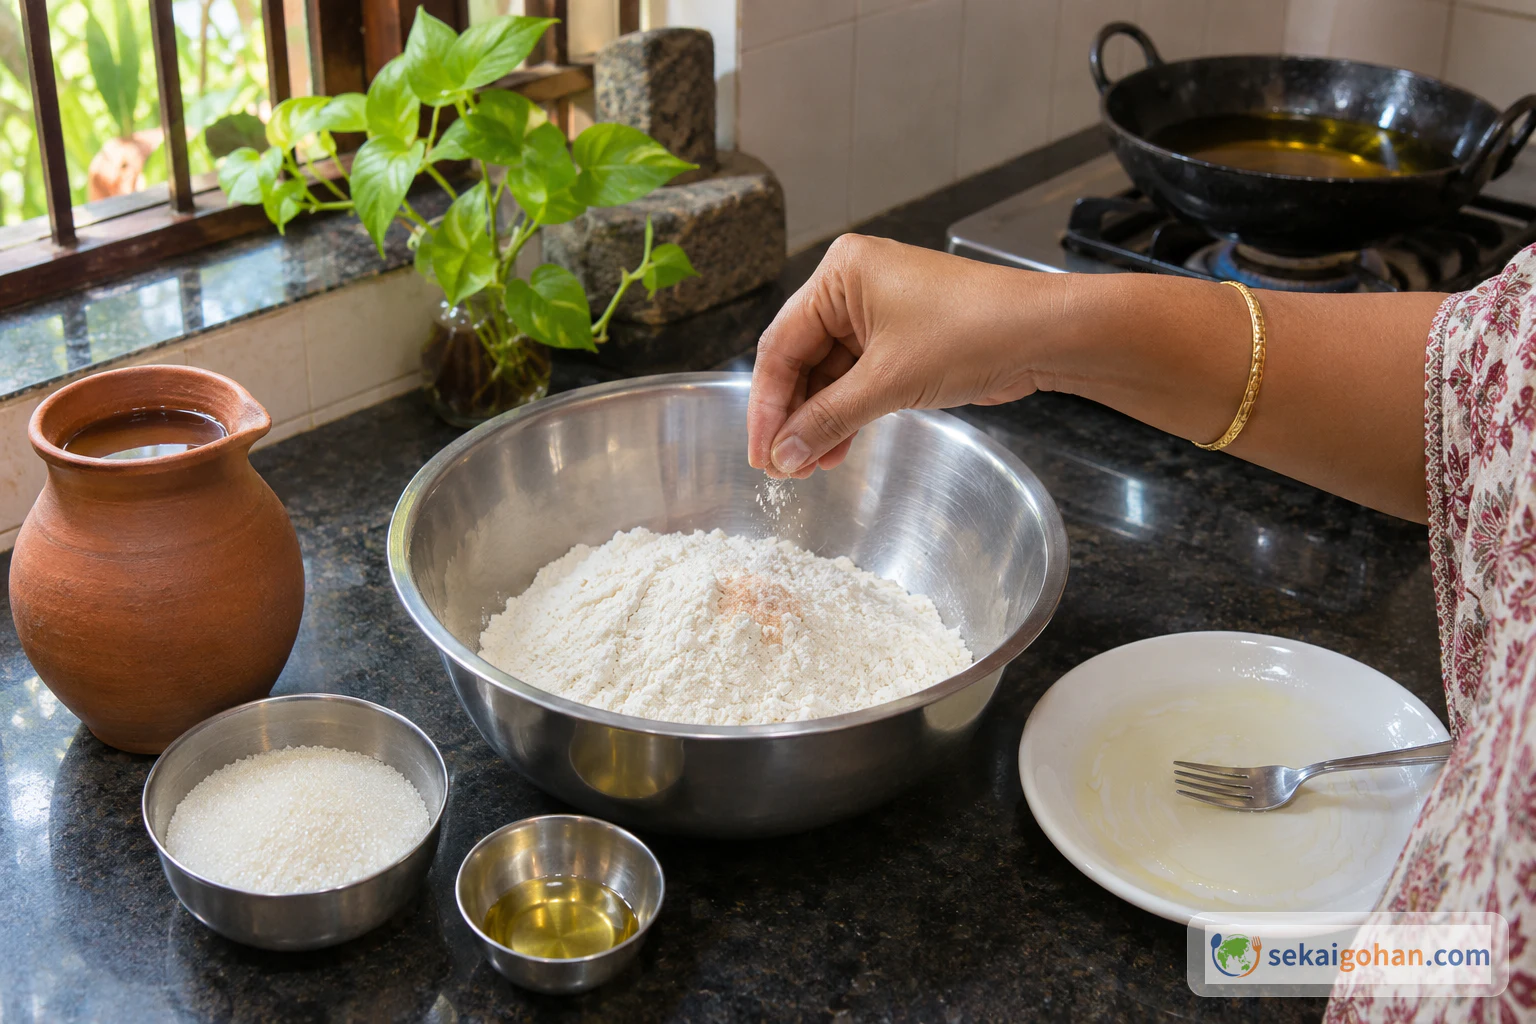
Egg. No egg is used. The dough contains flour, sugar, salt, water and oil.
Water. Use lukewarm water, added in parts as needed.
Glaze. Serve these curls plain and unglazed. The dough includes an extra 1 tablespoon sugar for a total of 2 tablespoons. Glazed curls use a different dough sugar amount.
Shaping tool. Use a fork to shape the curls.
Method: From Dry Bowl to Pale Golden-Pink Curls
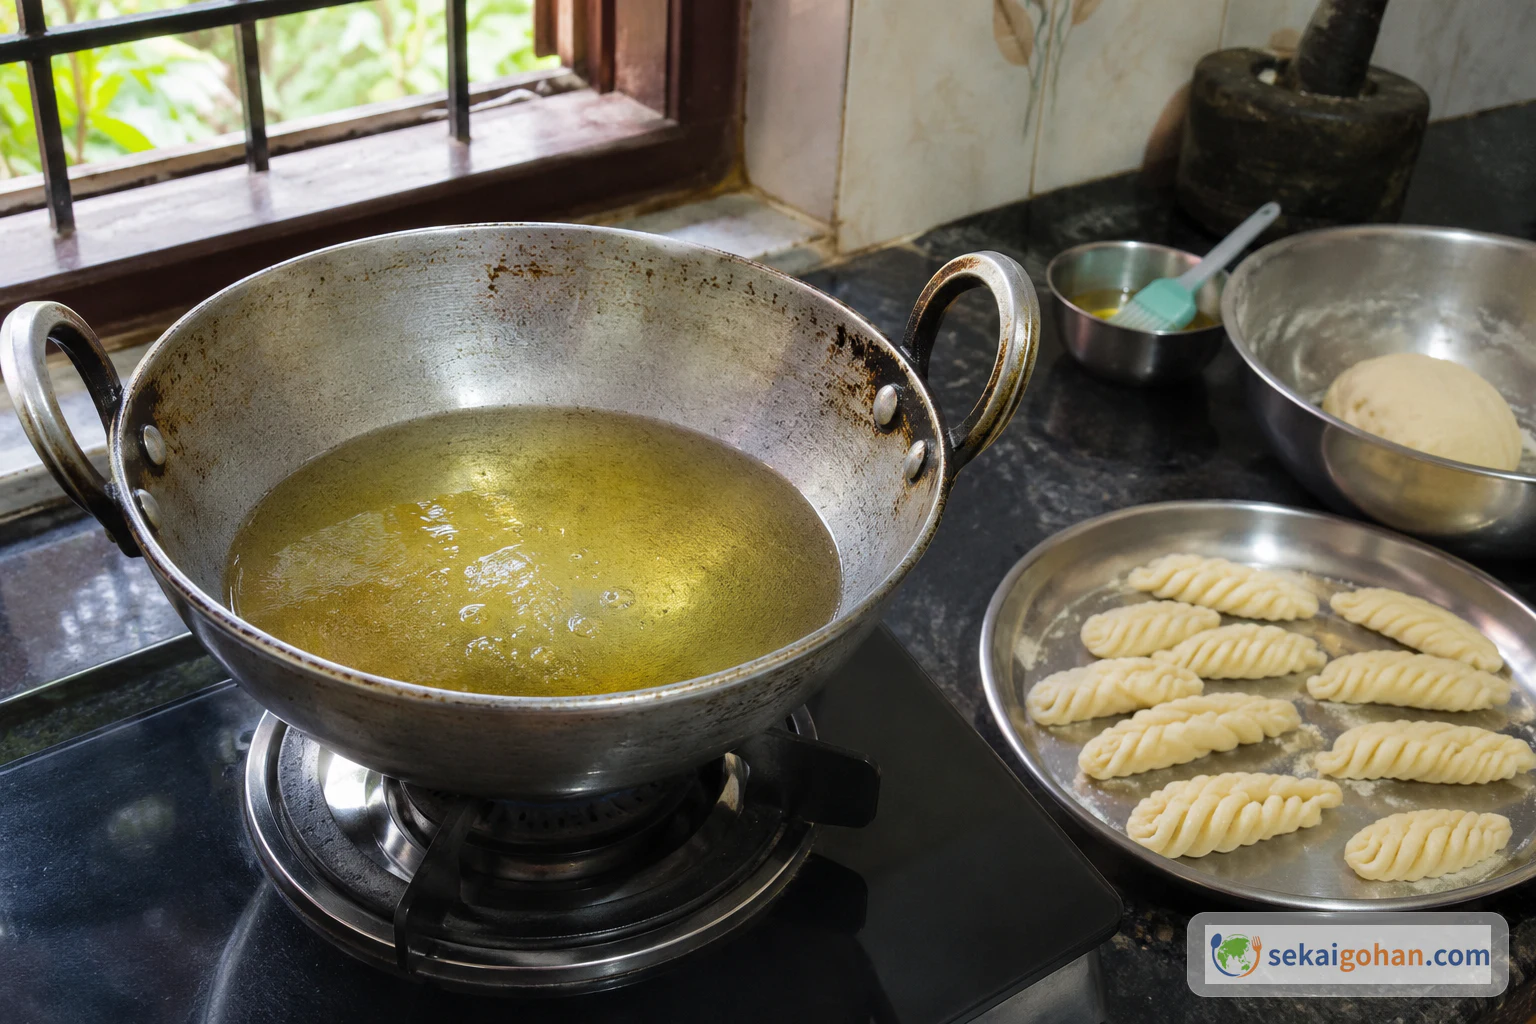
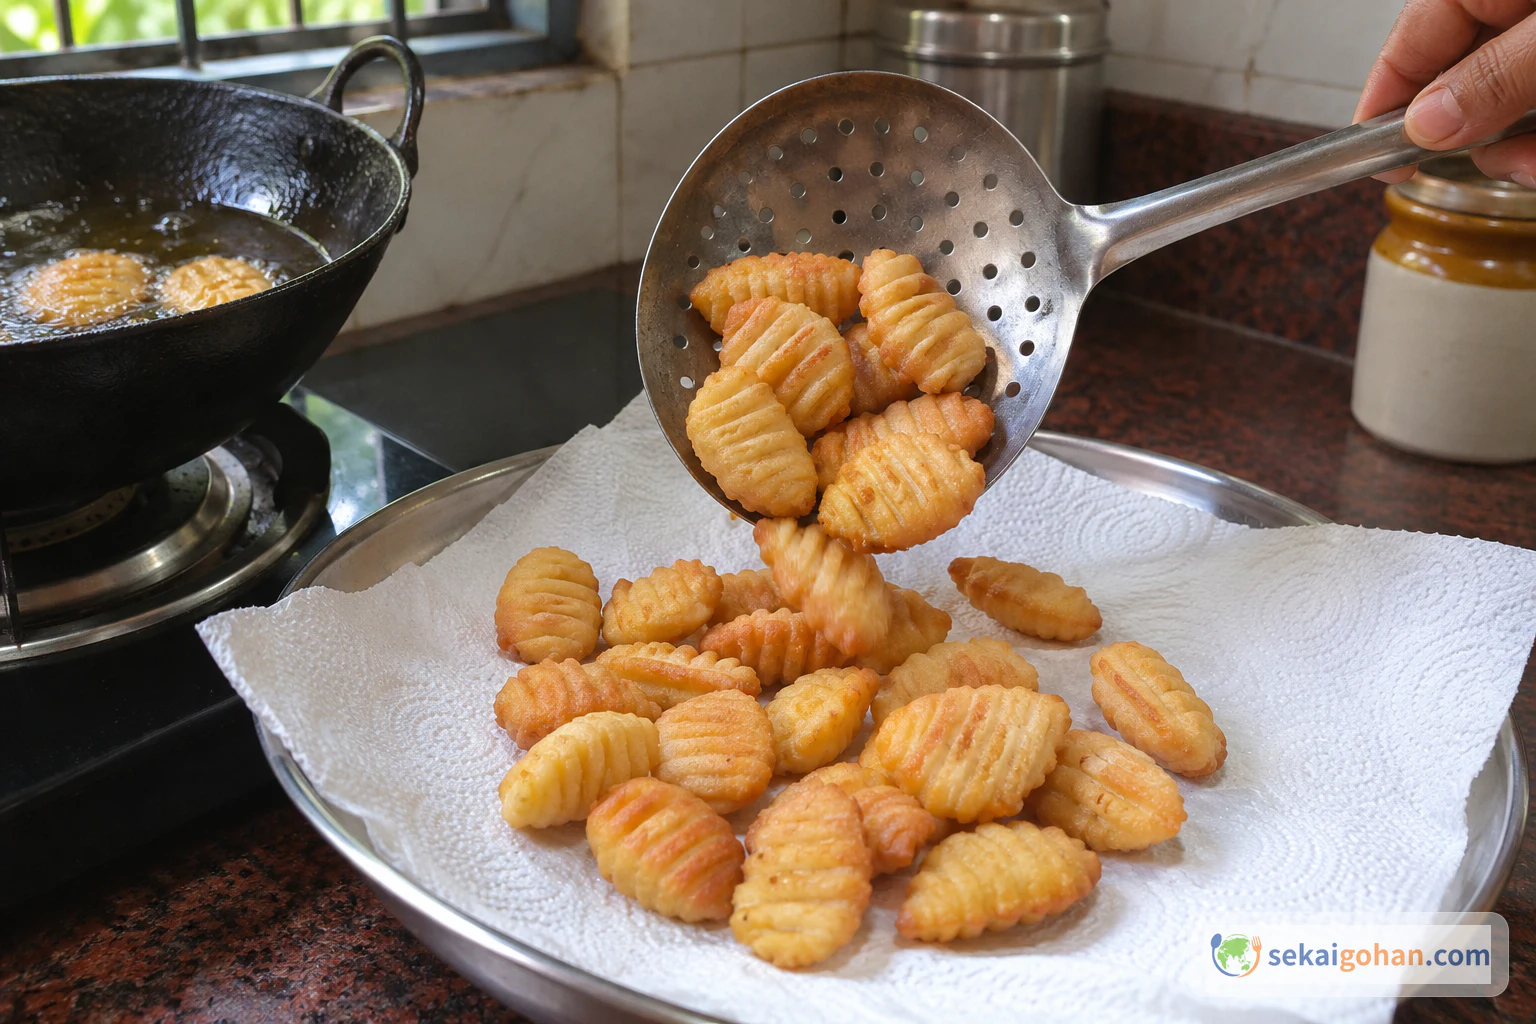
Knead for at least 5–7 minutes. Everything else is judged by feel and sight: a smooth, pliable dough, a test piece that rises quickly in the oil, and a pale golden-pink colour. The photos show each stage, but they can't tell you whether your own curls are cooked through.
Keep hands and faces away from the hot oil, lower the curls in with a utensil, and don't heat the oil until it smokes. Don't taste the raw flour or dough to check the salt or sugar.
When Things Go Wrong
| What you see | Likely reason | What to do |
|---|---|---|
| The dough won't come together | Not enough water yet | Add a little more lukewarm water and keep working it in |
| The dough is sticky | Water went in too fast | Next time add water in smaller parts; stop as soon as the dough is cohesive |
| The dough feels rough after kneading | Needs more working | Add a few drops of oil and knead a little longer |
| The dough dries out while you shape | Left uncovered | Keep the unused dough under the damp cloth and take out only a little at a time |
| Curls open up | Seam not sealed | Press the loose edge gently to seal, without flattening the ridges |
| The test piece doesn't rise quickly | Oil not ready yet | Wait and test again with another tiny piece |
| The oil smokes | Too hot | Lower the heat before frying |
| Curls darken before they are cooked through | Heat too high | Lower the heat a little and fry the next batch to golden pink |
Variations Beyond This Plate
Glazed curls. Sequeira's recipe also has a glazed finish; this article doesn't cover it. A separate eggless frosted version of Kidiyo/Kidyo/Kulkuls appears on Celebration In My Kitchen, the site of a cook who signs her About page as Jessie. It is a different recipe with its own ingredients and method, and nothing from it is mixed into this one.
With egg. Egg is optional in Sequeira's recipe. This version omits it.
Comb-curled. Sequeira mentions shaping the curls with a comb as well as a fork. Only the fork method is described here.
Frequently Asked Questions
Why 2 tablespoons of sugar?
Sequeira's ingredient list has 1 tablespoon sugar, and her note says to add 1 more tablespoon if you aren't glazing. Since these curls are served plain, both go into the dough.
When does the tablespoon of warm oil go in?
Her ingredient list includes 1 tablespoon warm oil, but her method doesn't pinpoint when to add it. Her first note recommends kneading with a little oil, so this article adds it just before kneading. That is an editorial placement based on her note.
Do I have to use all the water?
No. About 1/4 cup is her approximate amount, not a requirement or a ceiling. Add the water in parts and stop when the dough is smooth and pliable.
Does the dough need to rest?
No. The damp cloth is only there to keep the dough from drying while you shape the curls.
Do I have to turn the curls while frying?
Her recipe describes frying in batches and draining; turning is not a separate step in it. The turning photo here is an optional visual aid.
How many does this make?
Sequeira calls the recipe one small batch and writes that it serves two to three people with average appetites. There is no fixed number of pieces.
Can I make them ahead and keep them?
This article covers only serving the plain curls fresh, after they have cooled completely, at the same meal. It doesn't give any storage time.
How hot should the oil be?
No thermometer reading is given. Start on medium-high heat, use the tiny-dough-piece test (it should rise within 2–3 seconds), lower the heat if the curls colour too fast, and never let the oil smoke.
Sekai Gohan has not kitchen-tested this recipe as a whole.
Sources
- Shireen Sequeira, "Kidyo/Kidiyo/Kulkuls (Sweet Dough Curls) + Video!", Ruchik Randhap. The written recipe followed here: ingredients, shaping, frying cues and notes for the plain, egg-free, water version; the author's own family Christmas and Kuswar context; and her small-batch serving estimate. https://www.ruchikrandhap.com/kidyokulkuls-sweet-dough-curls/
- Shireen Sequeira, "About Ruchik Randhap," Ruchik Randhap. The author's self-introduction as author and photographer, born and brought up in Mangalore, documenting family recipes and Mangalorean culinary heritage. https://www.ruchikrandhap.com/about/
- Jessie, "Eggless Frosted Kidiyo/Kidyo/Kulkuls," Celebration In My Kitchen. Mentioned only as a separate frosted version; not used for this recipe's quantities or method. https://www.celebrationinmykitchen.com/eggless-frosted-kidiyokidyokulkuls
- Jessie, "About," Celebration In My Kitchen. The About page signed by the site's author, Jessie. https://www.celebrationinmykitchen.com/about.html