Kerala Parotta: Thin Dough, Coiled and Cooked into Layers
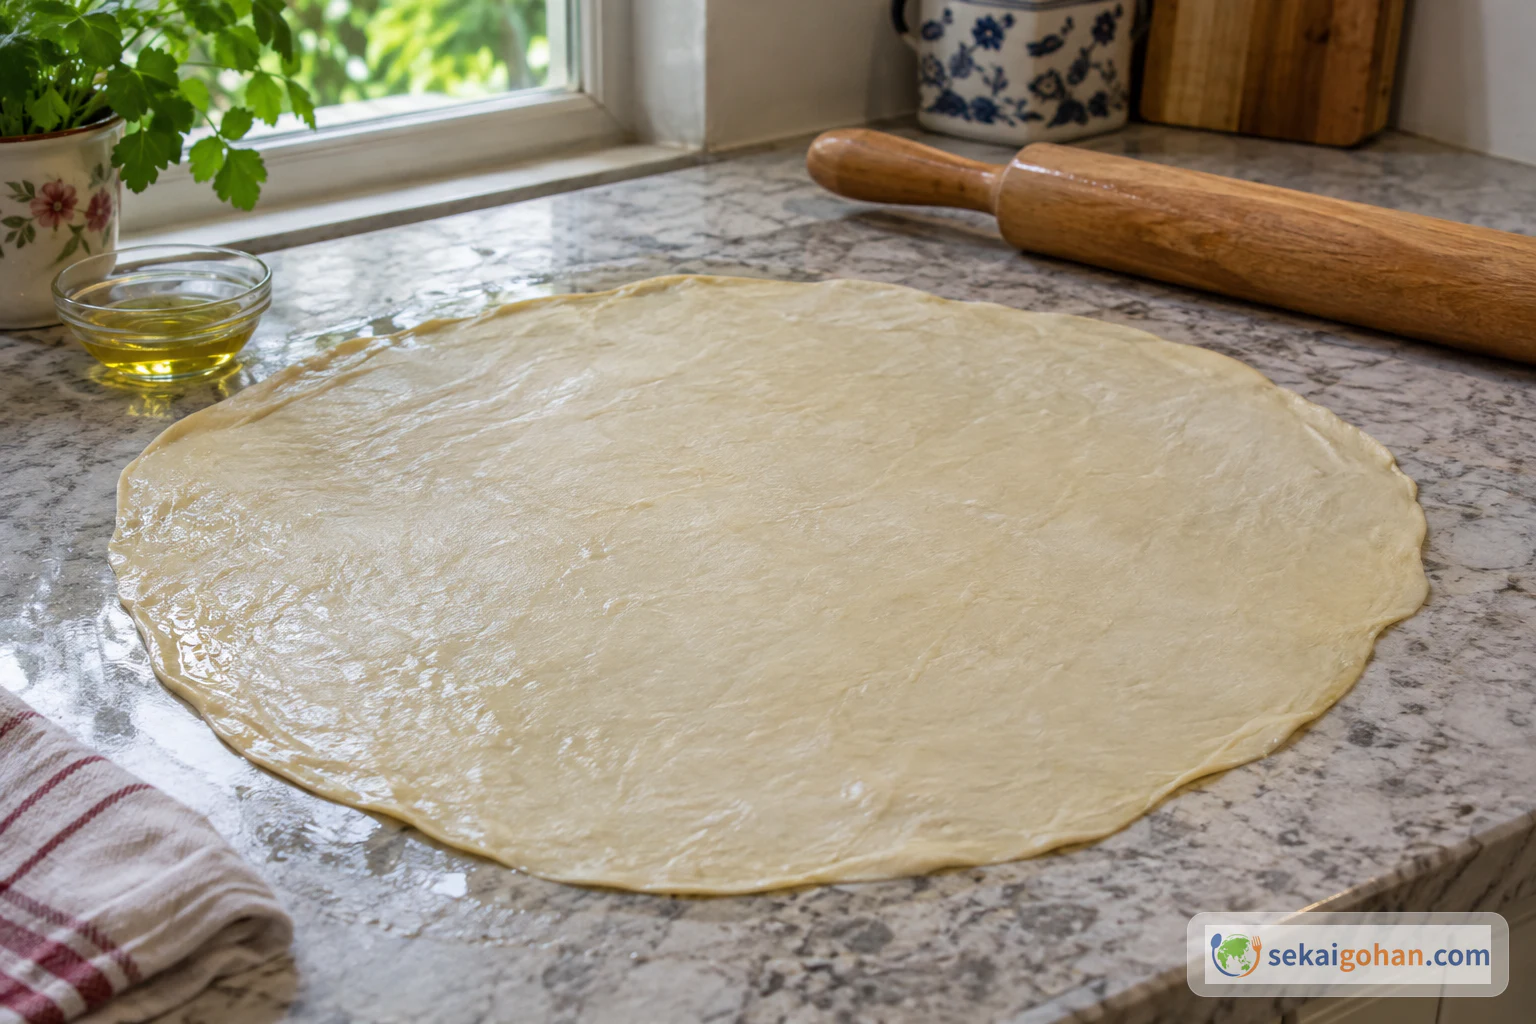
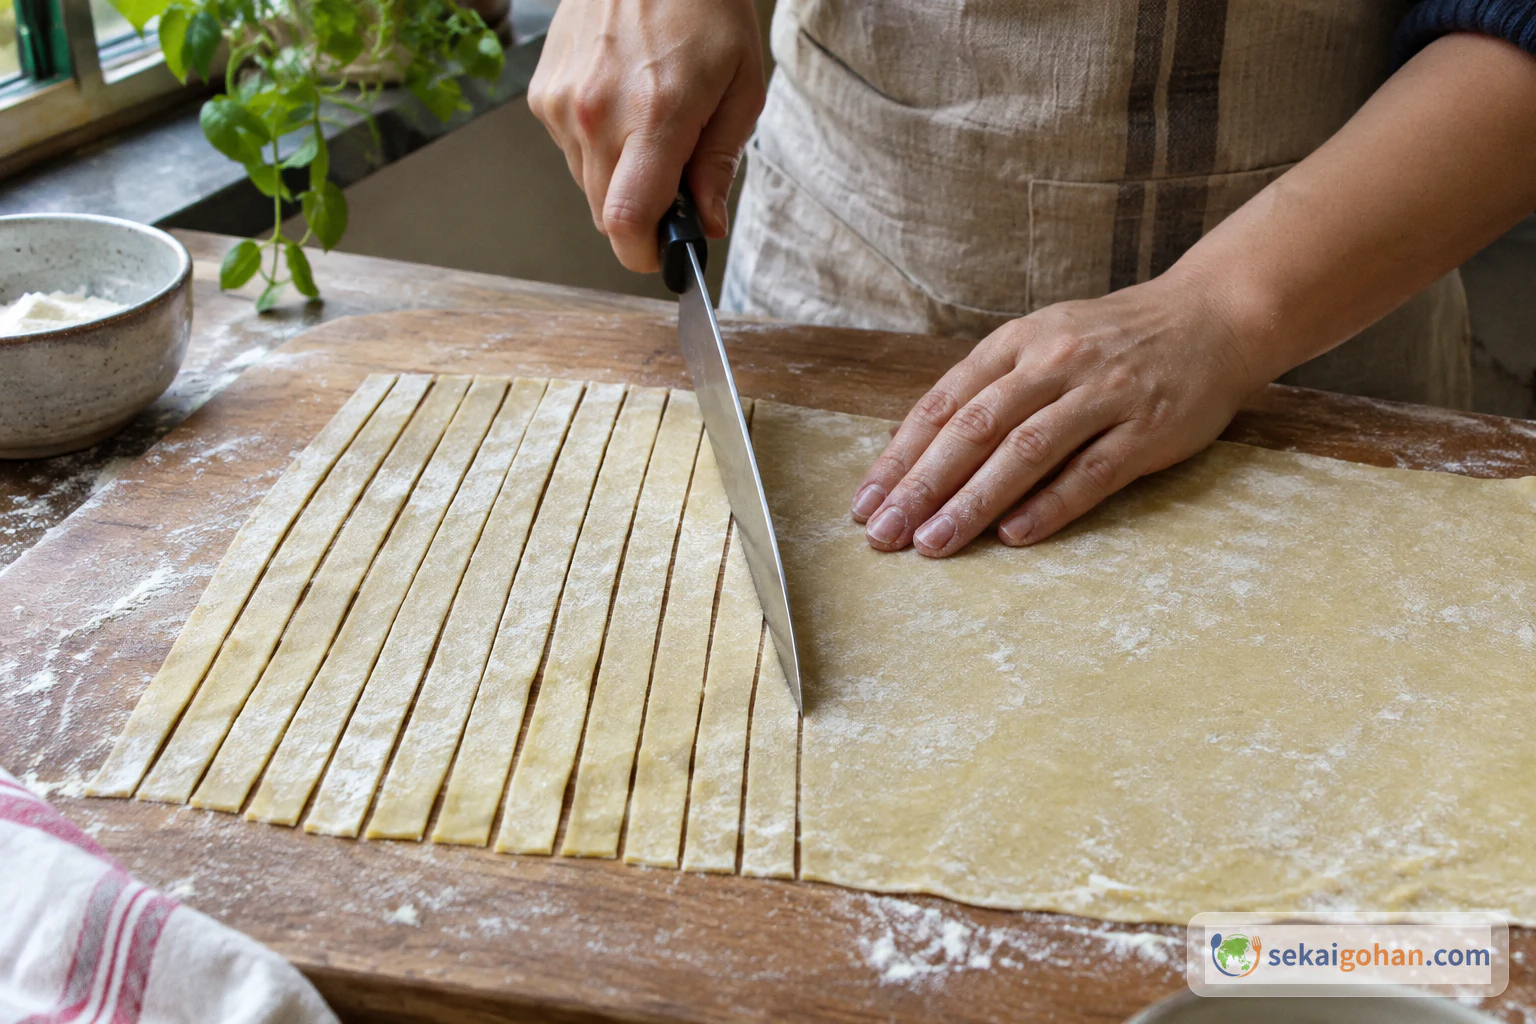
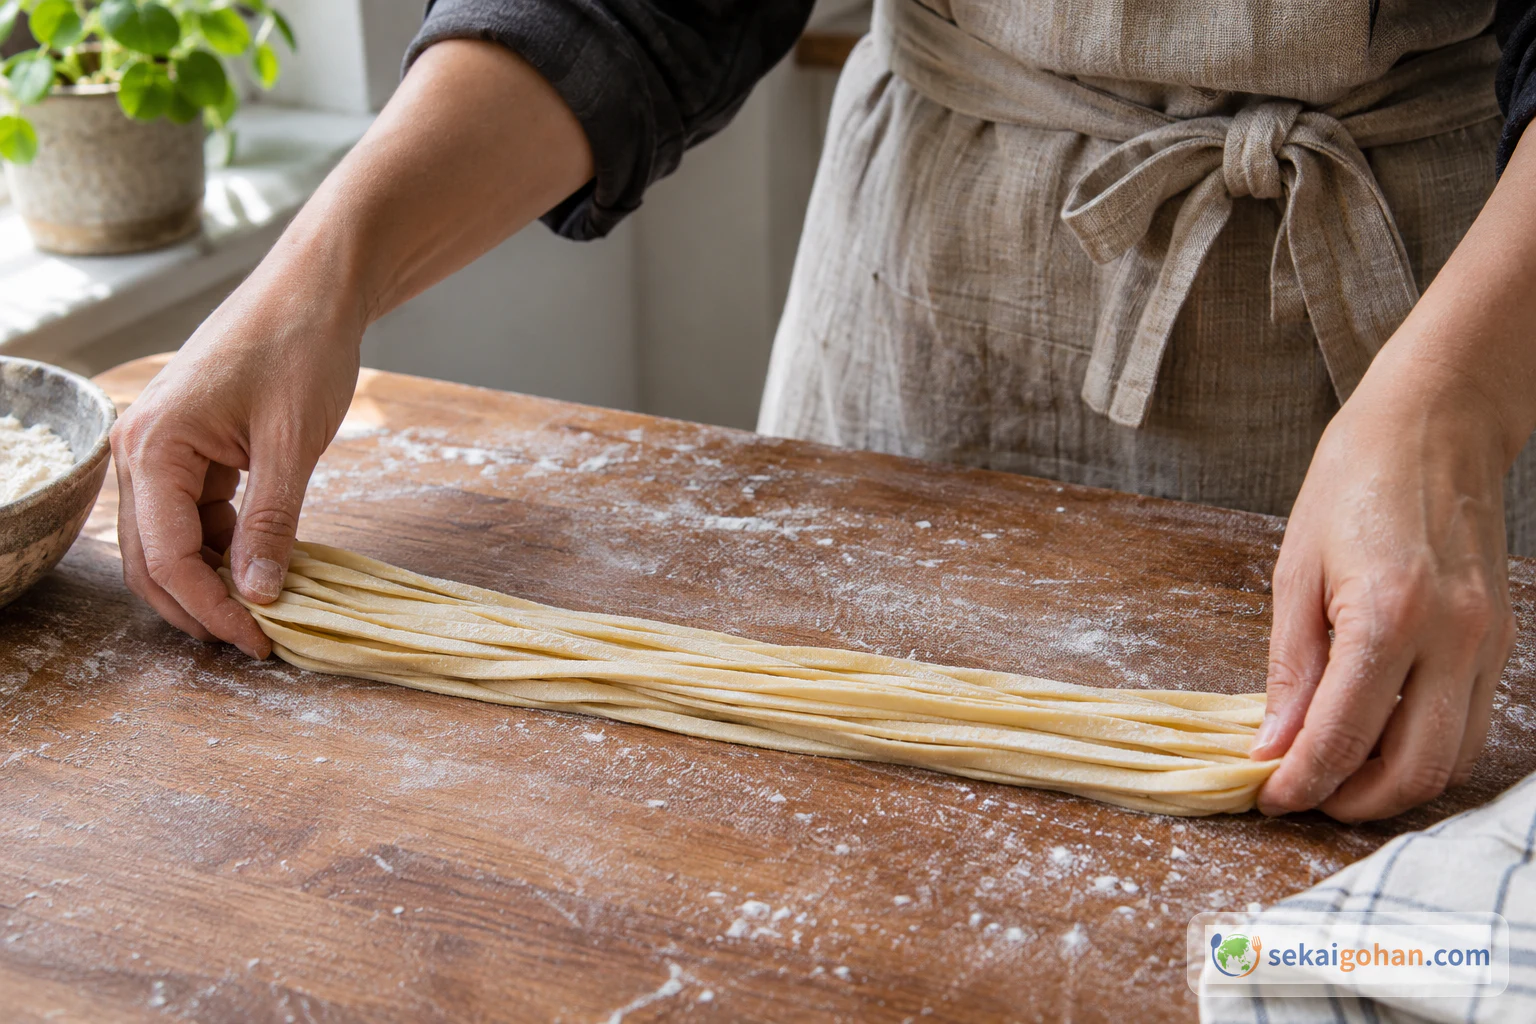
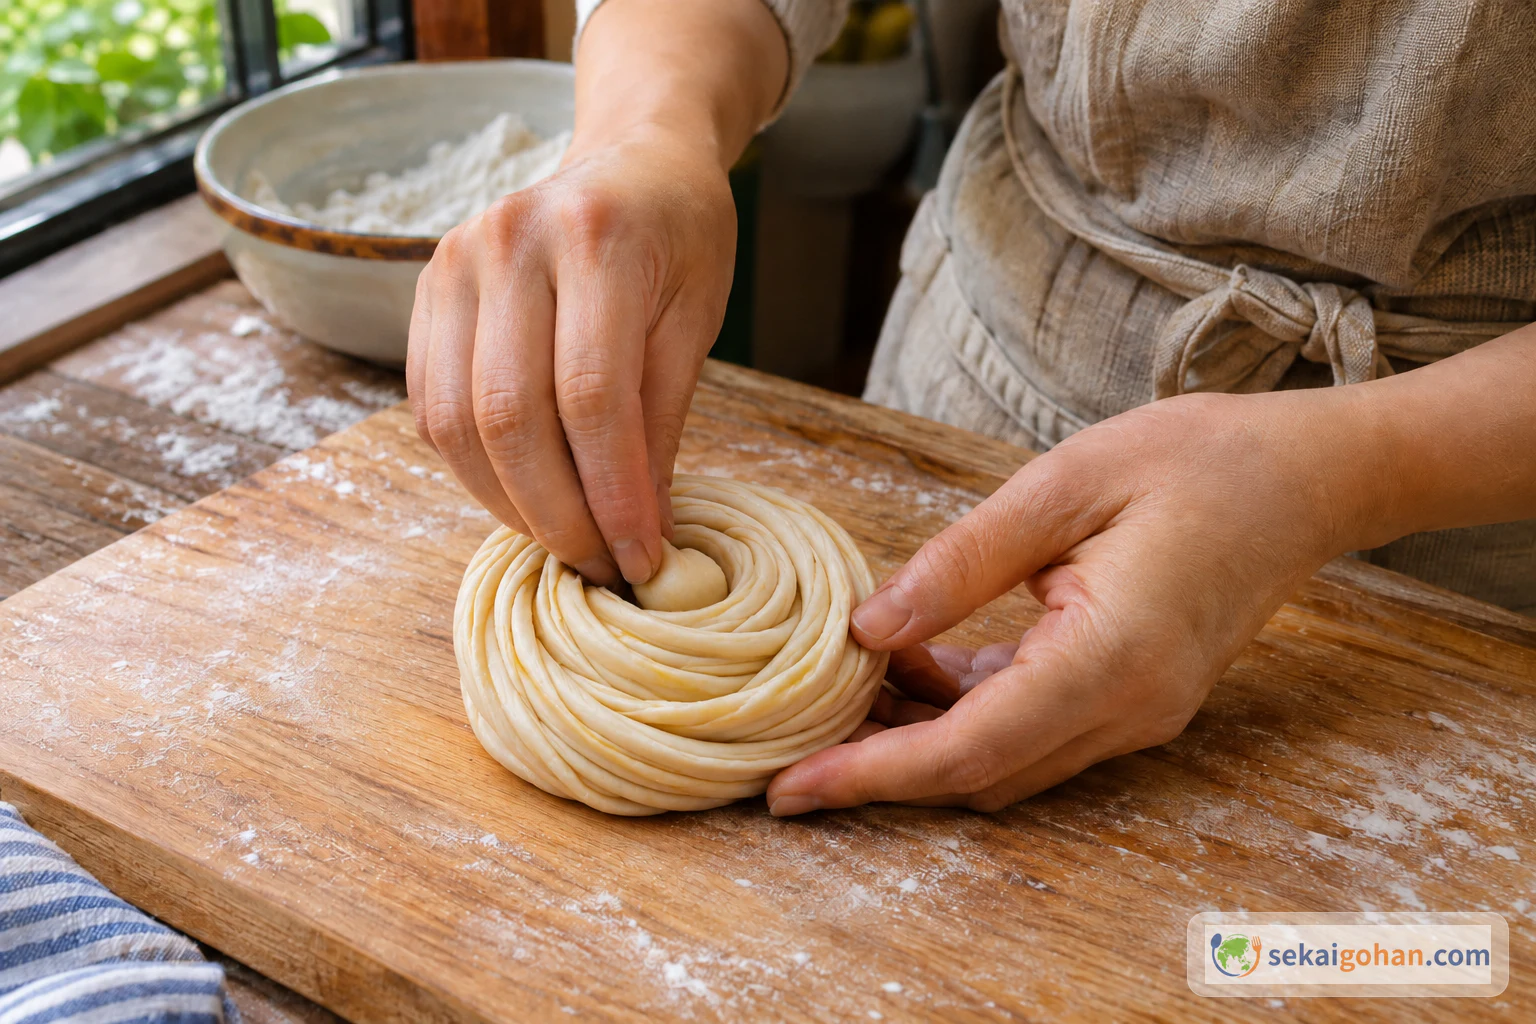
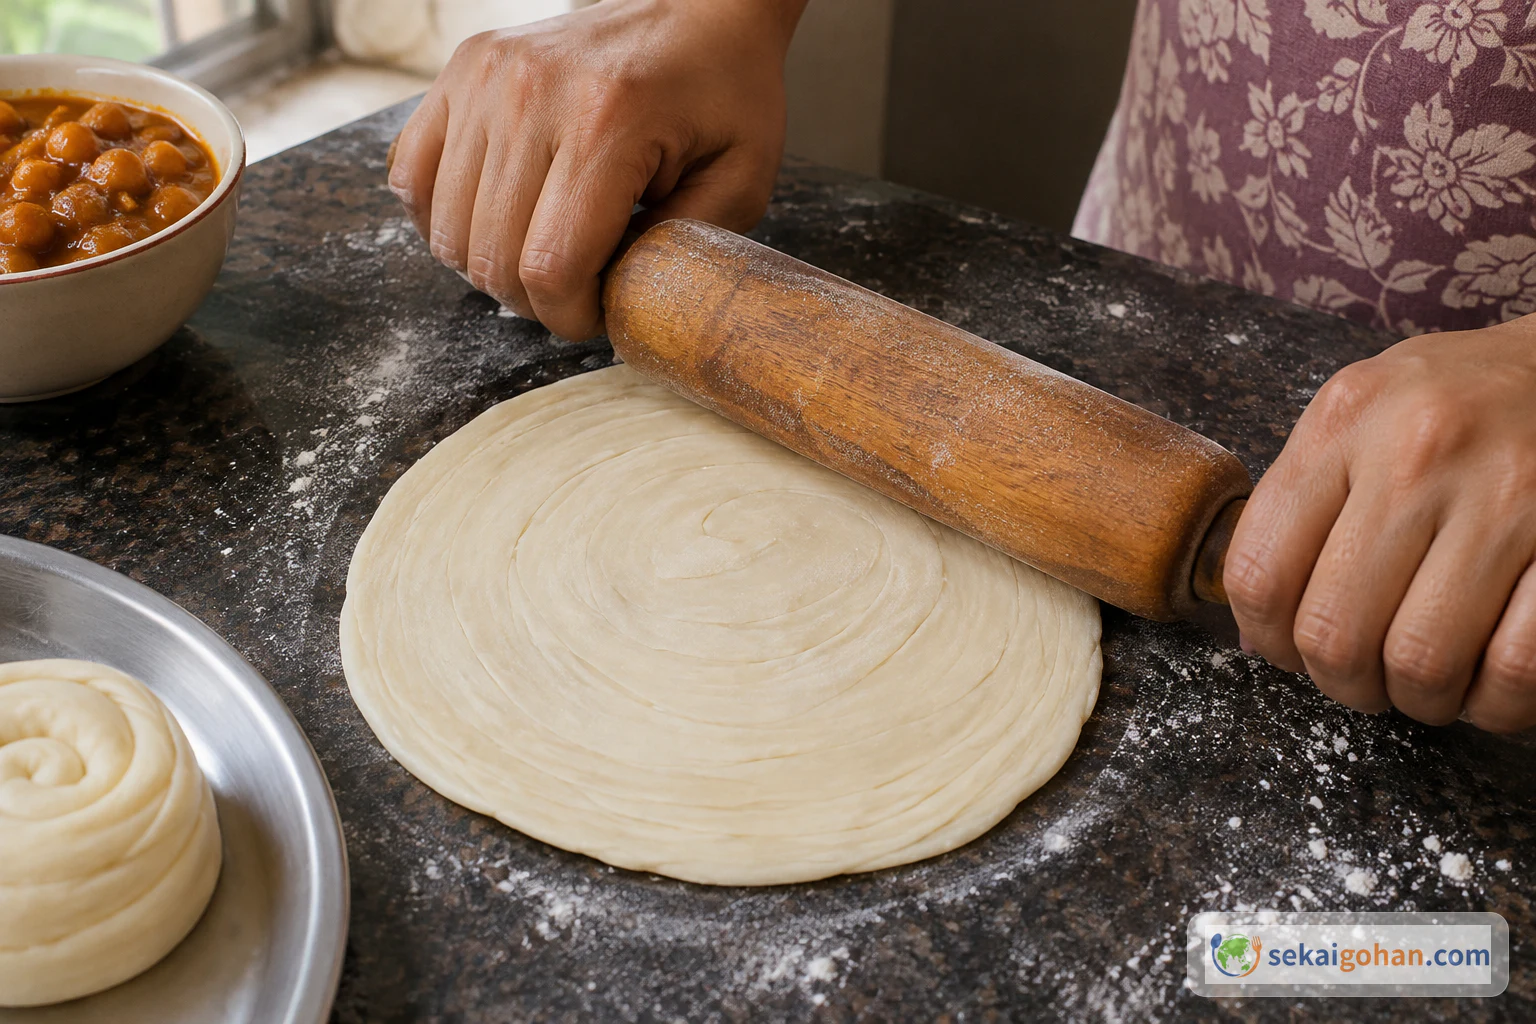
A soft dough, a sheet rolled thin, and strips coiled back together. The layers come from the shaping, and no egg or yeast goes into this version.
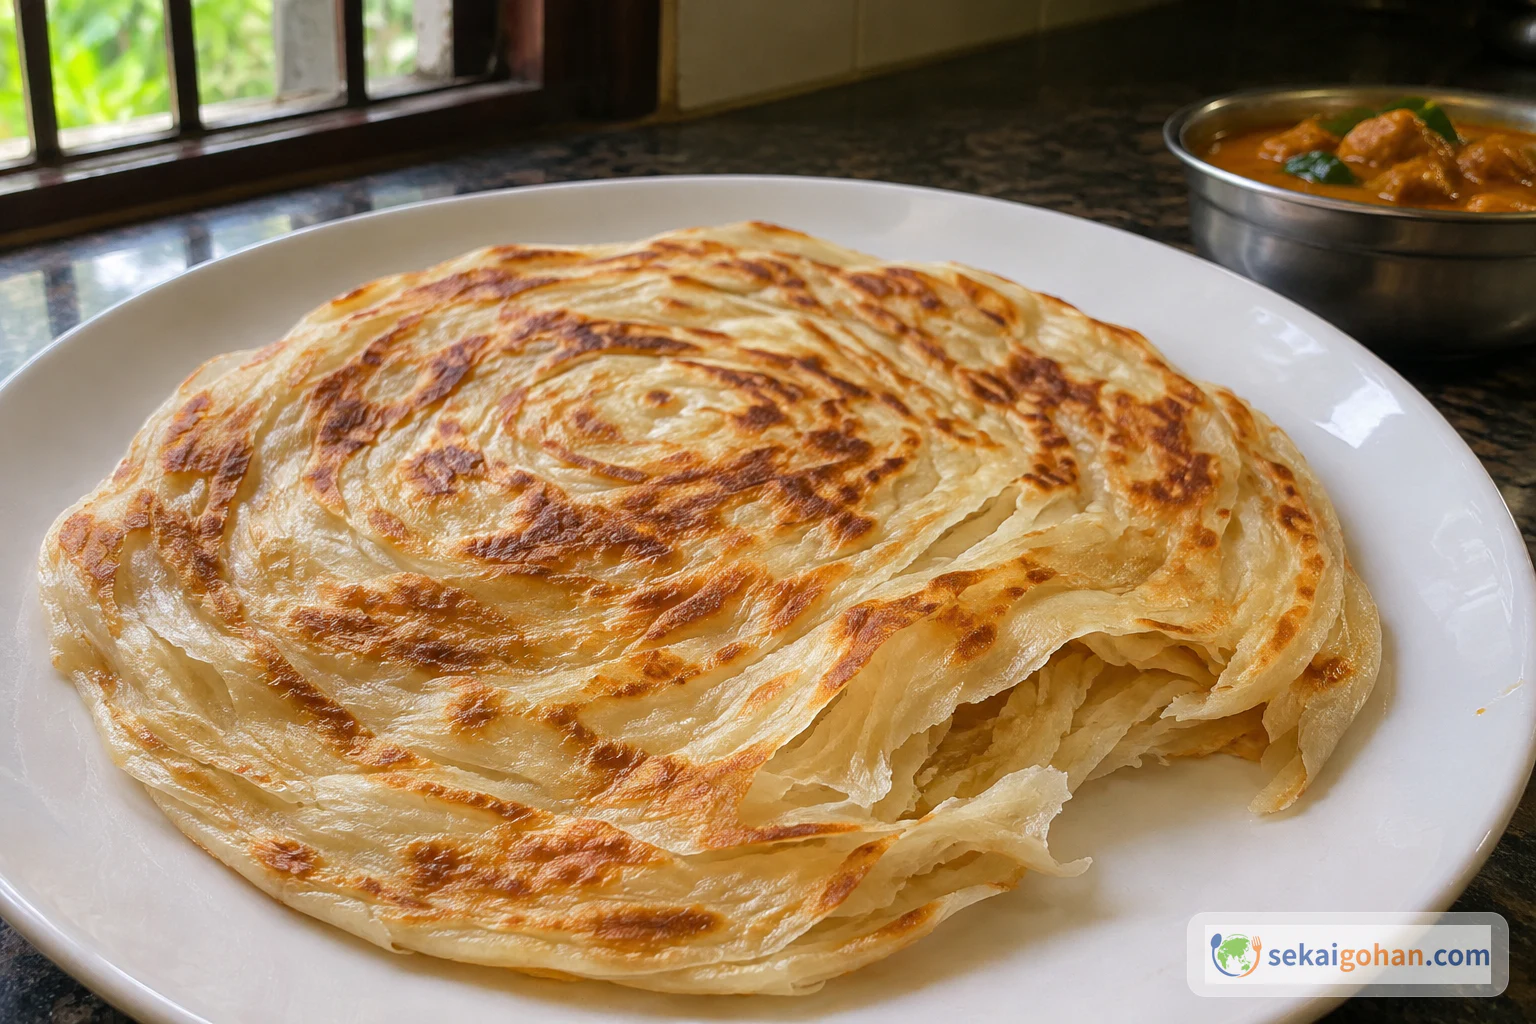
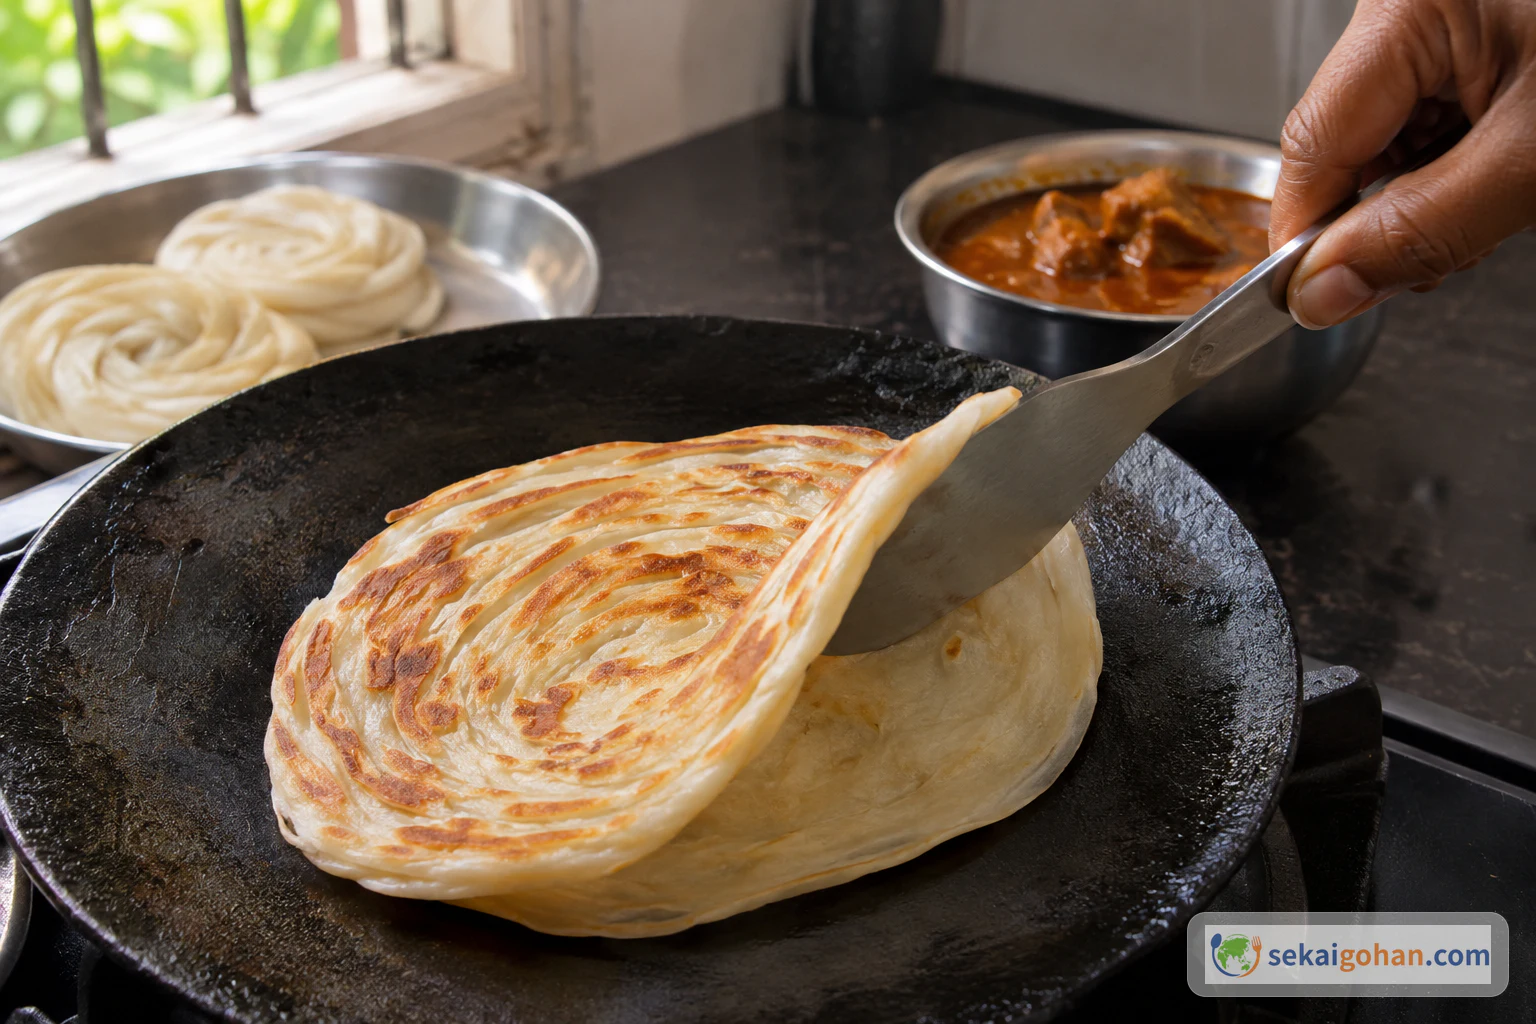
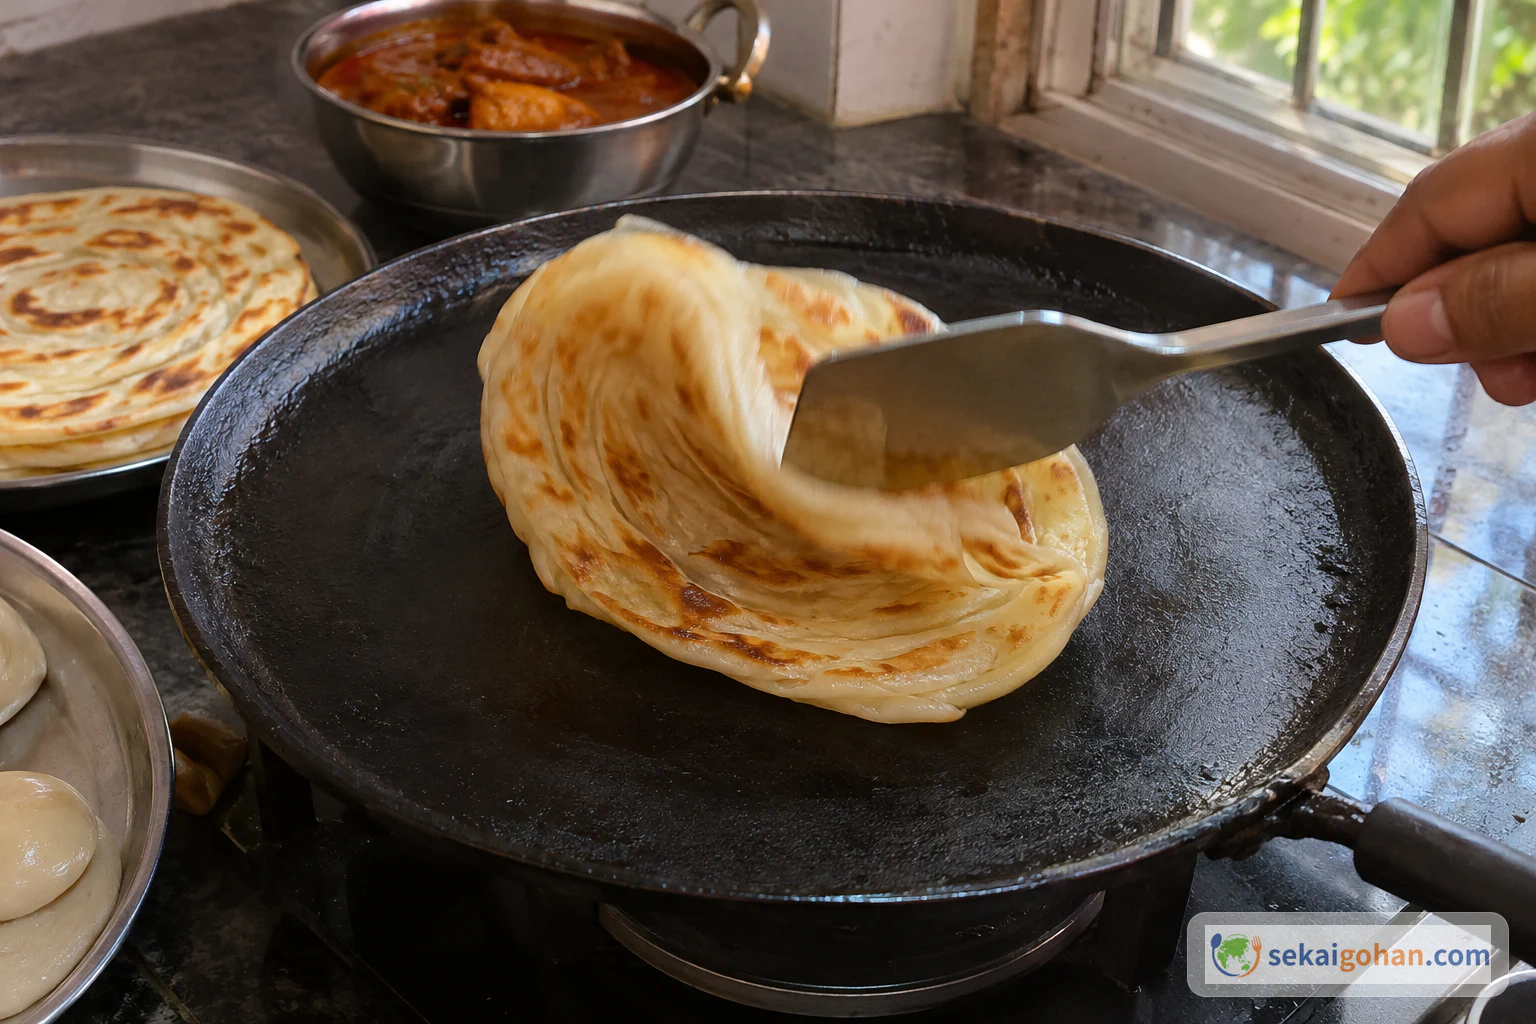
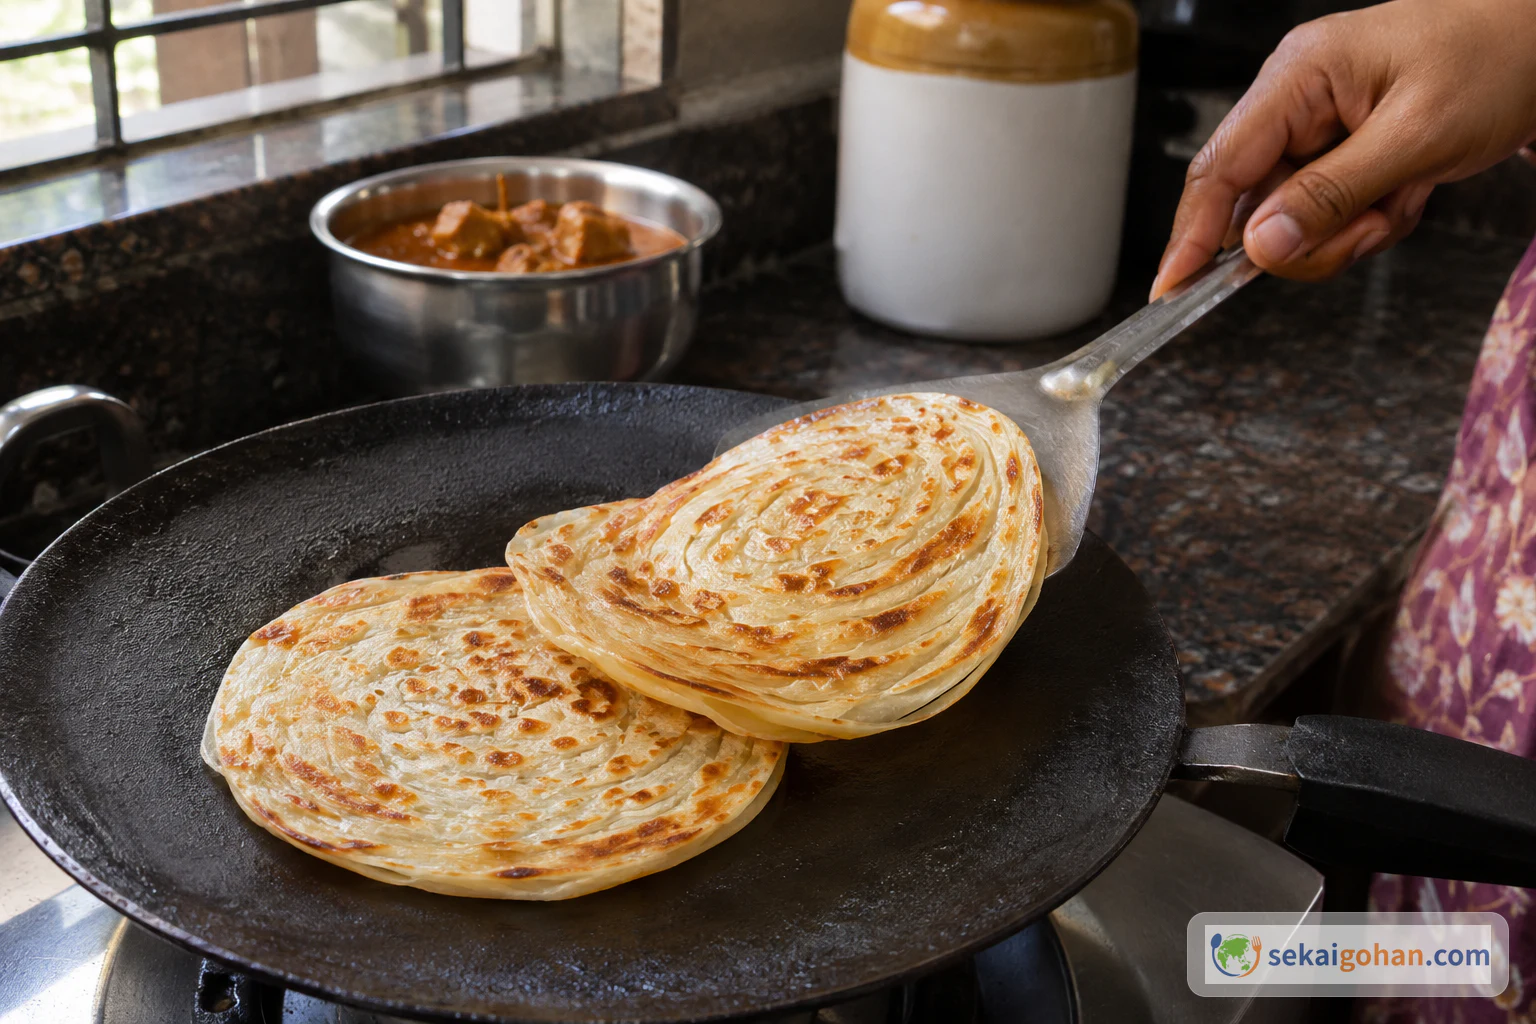
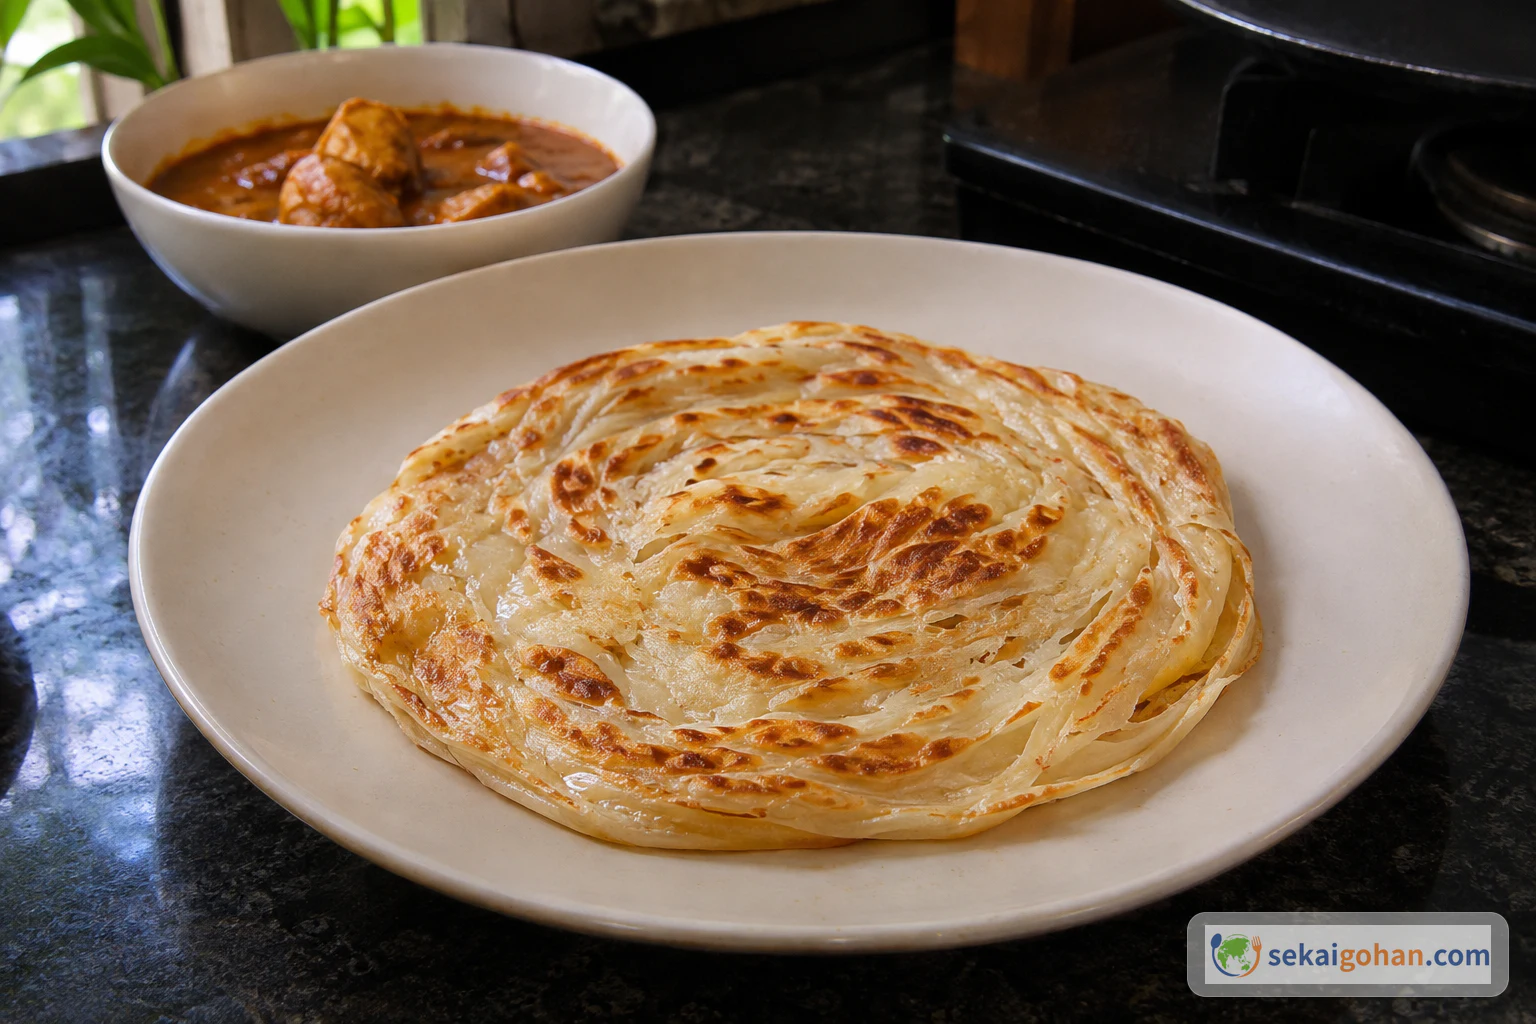
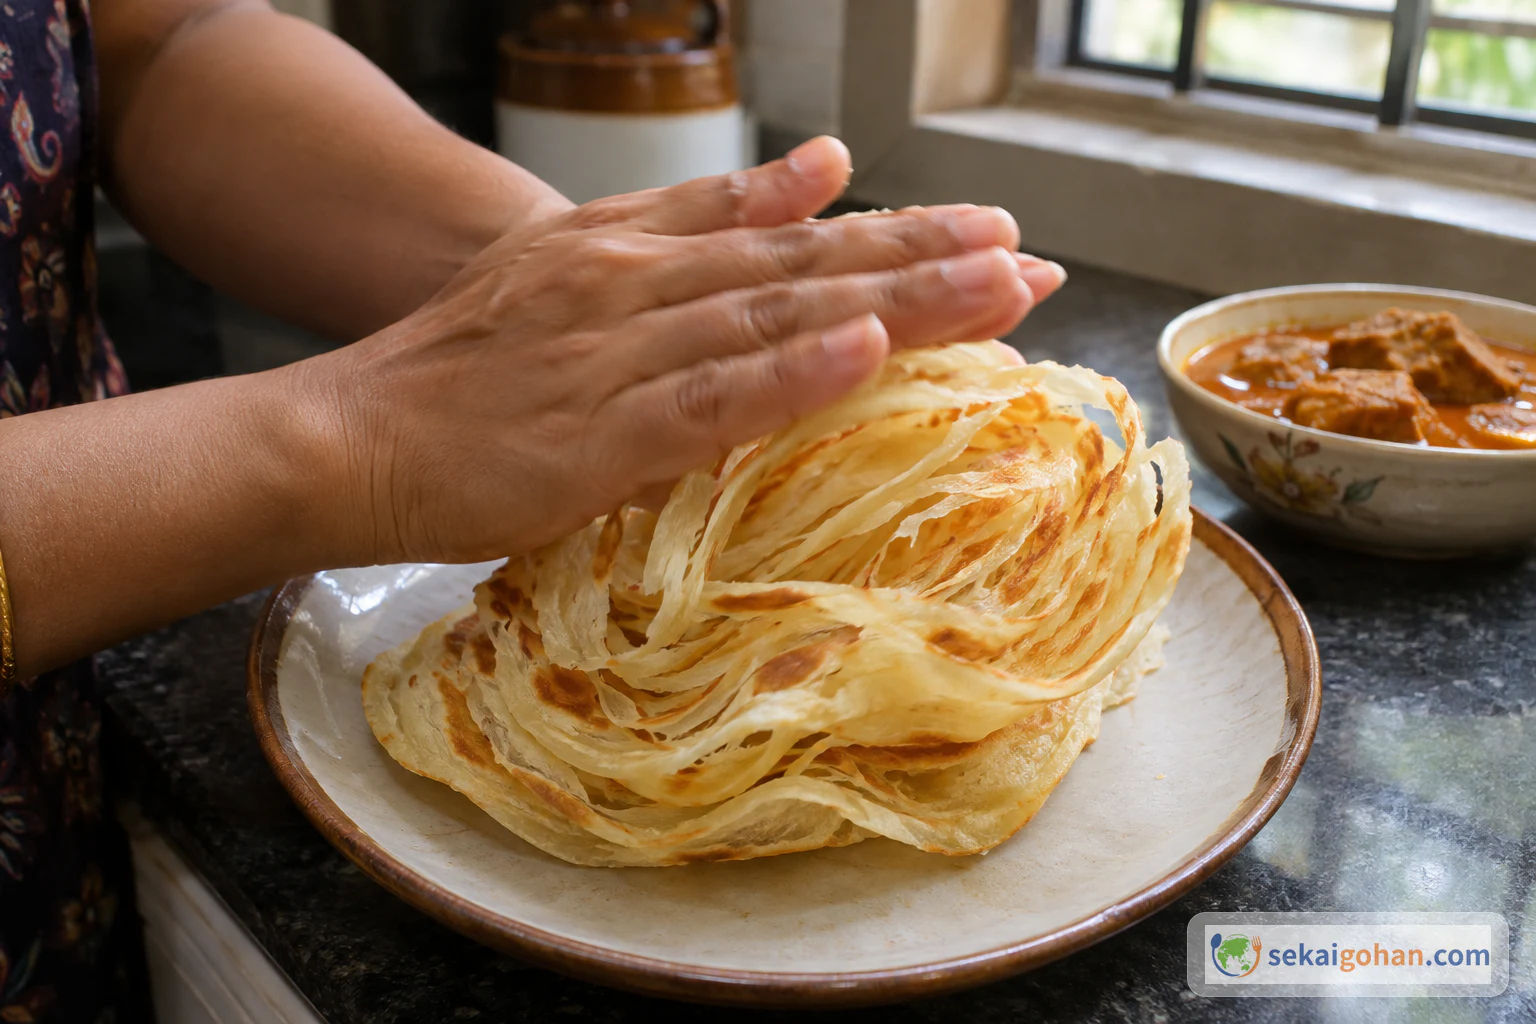
In Kerala, porotta is a familiar sight at eateries and roadside stalls, and it often arrives with curry. Kerala Tourism describes it that way, and it is the best picture to keep in mind: a flatbread flecked with golden brown, its layers ready to pull apart and meet the sauce.
You will see the name written Parotta and Porotta, and also Malabar paratha or Kerala paratha. The Indian Express calls the bread's origins hazy, so this article makes no claim about where the name or the dish began. For more dishes from the country, browse more recipes from India.
The recipe here follows one version only: Dassana Amit's Kerala/Malabar parotta on Dassana's Veg Recipes, which is plain, egg-free and made without yeast. That page gives two ways to form the layers. We use Method 1, where a thin sheet is cut into vertical strips, gathered and coiled. Sekai Gohan has not kitchen-tested this recipe as a whole. The amounts and cues come from that recipe.
Ingredients for 8 Parottas
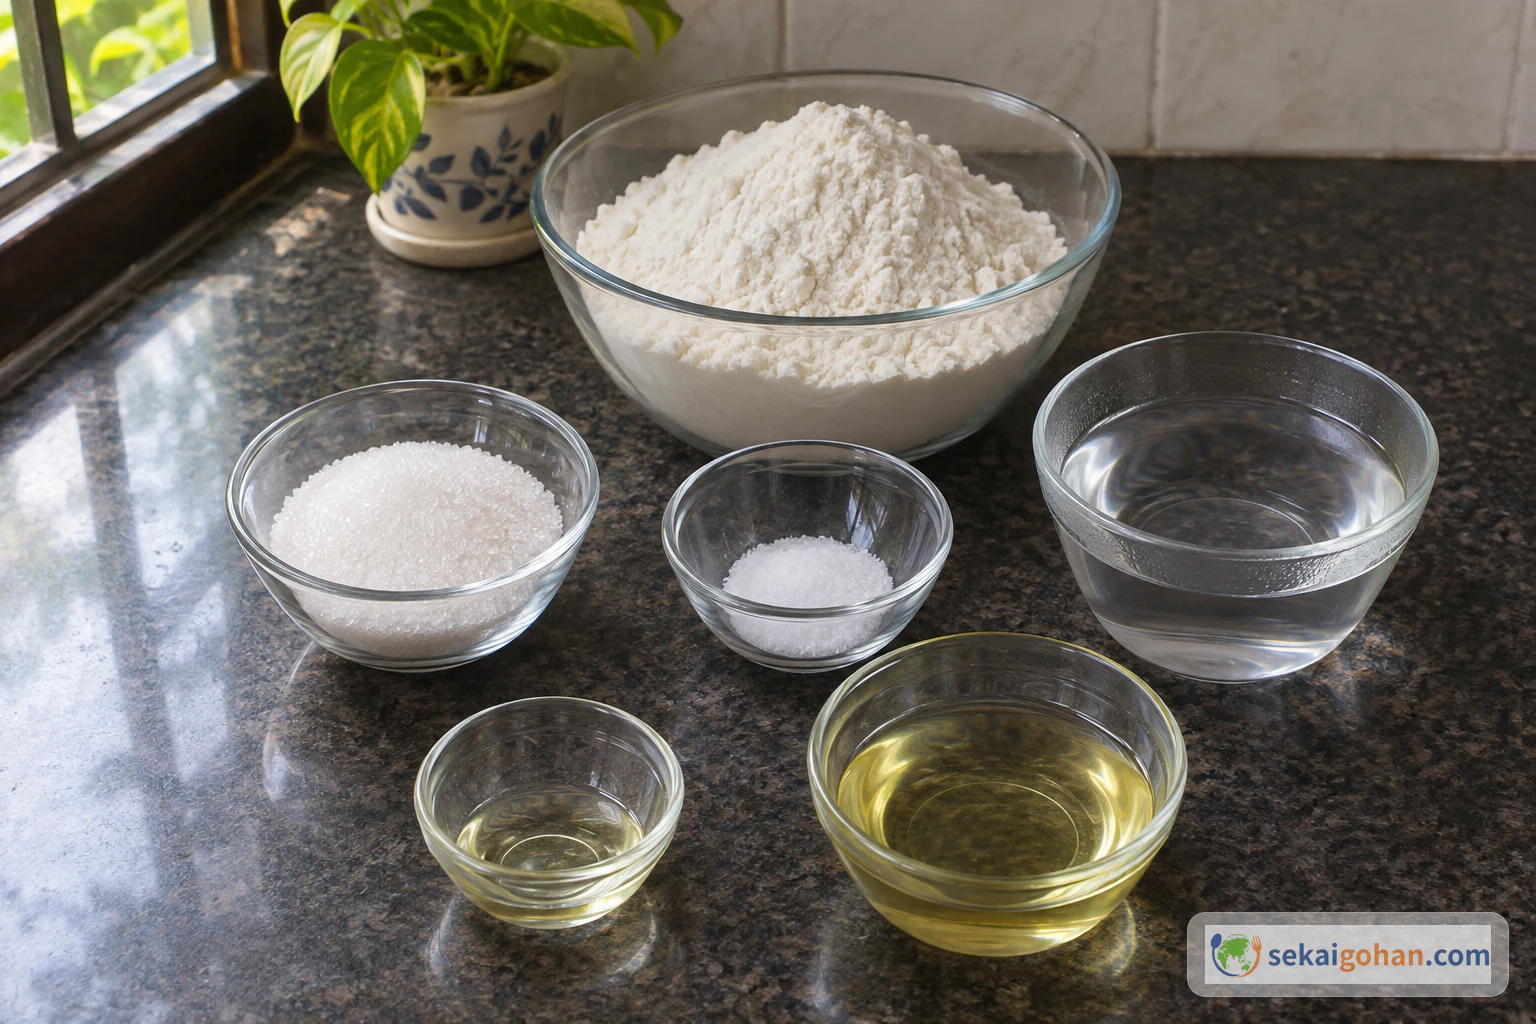
This makes 8 parottas. The two oil rows are separate uses, so keep them apart.
Equipment
- Mixing bowl and spoon
- Measuring cups and spoons
- Moist cloth and a cover for resting the dough
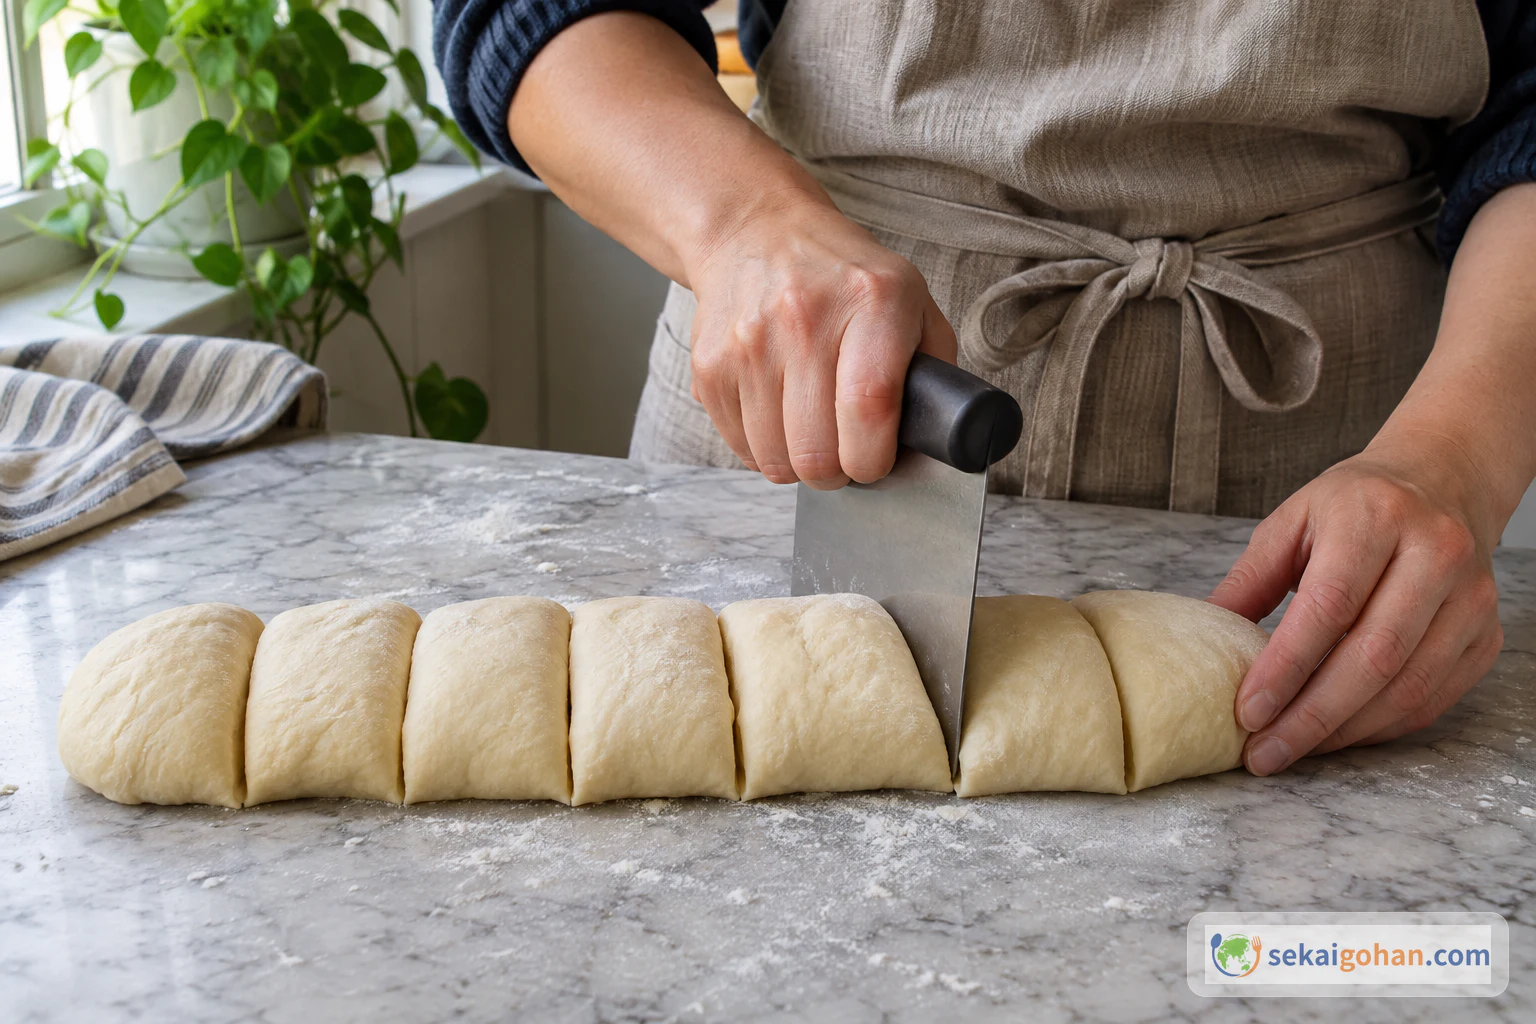
- Bench scraper or knife for dividing the dough
- Rolling pin
- Knife for cutting strips
- Tawa or flat griddle
- Spatula
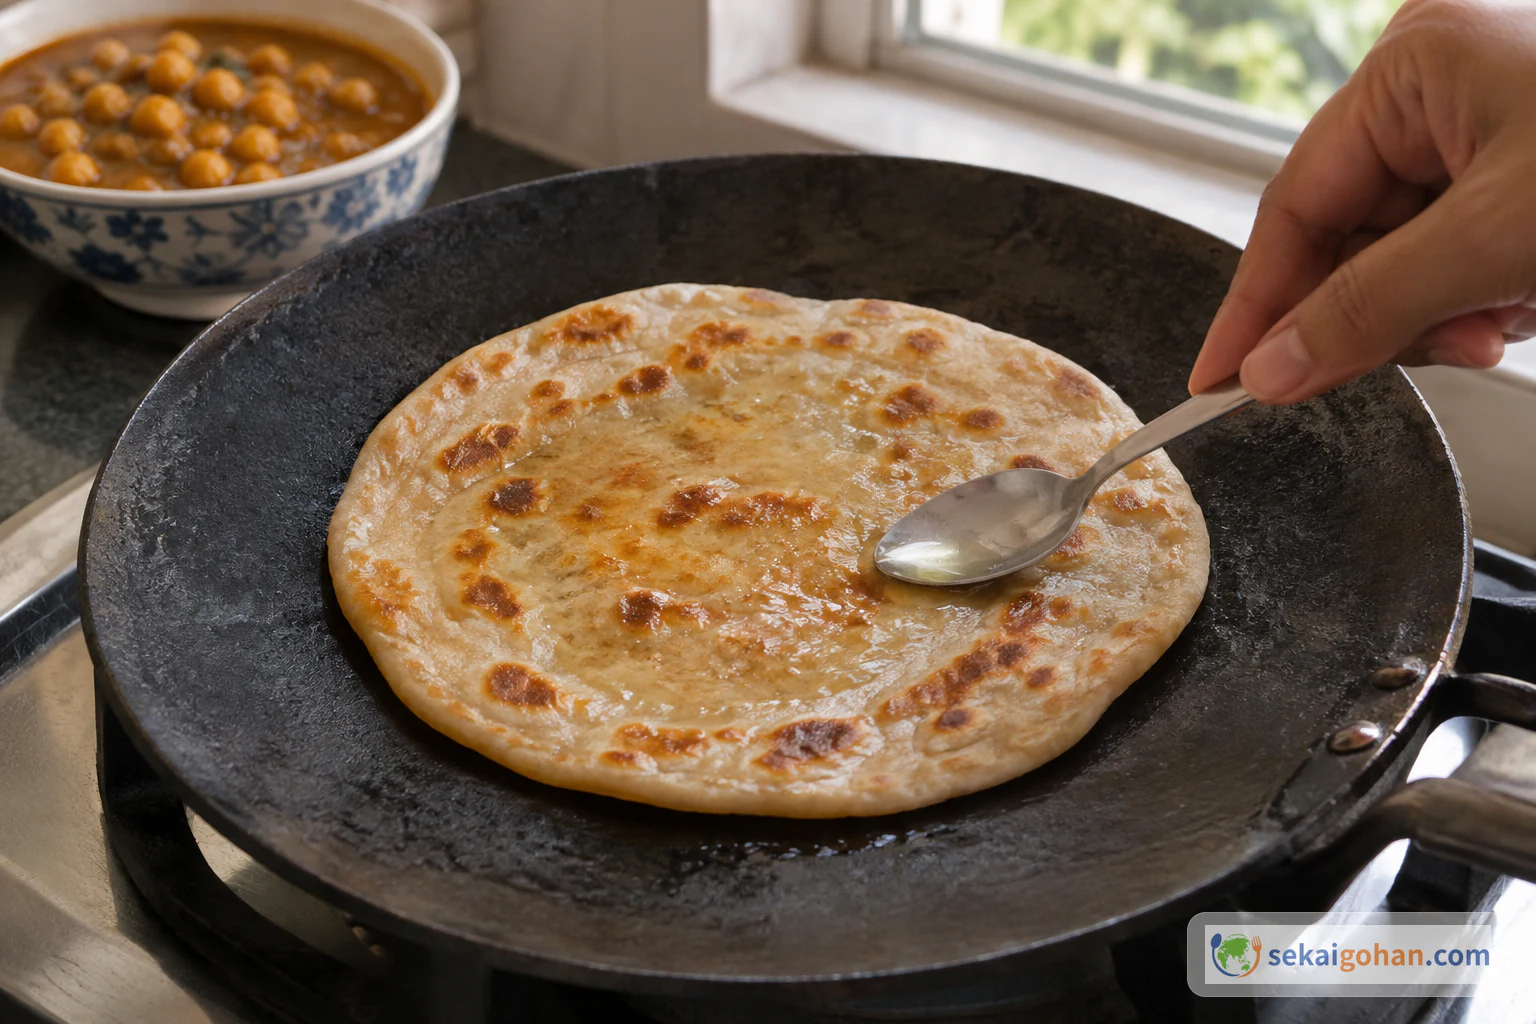
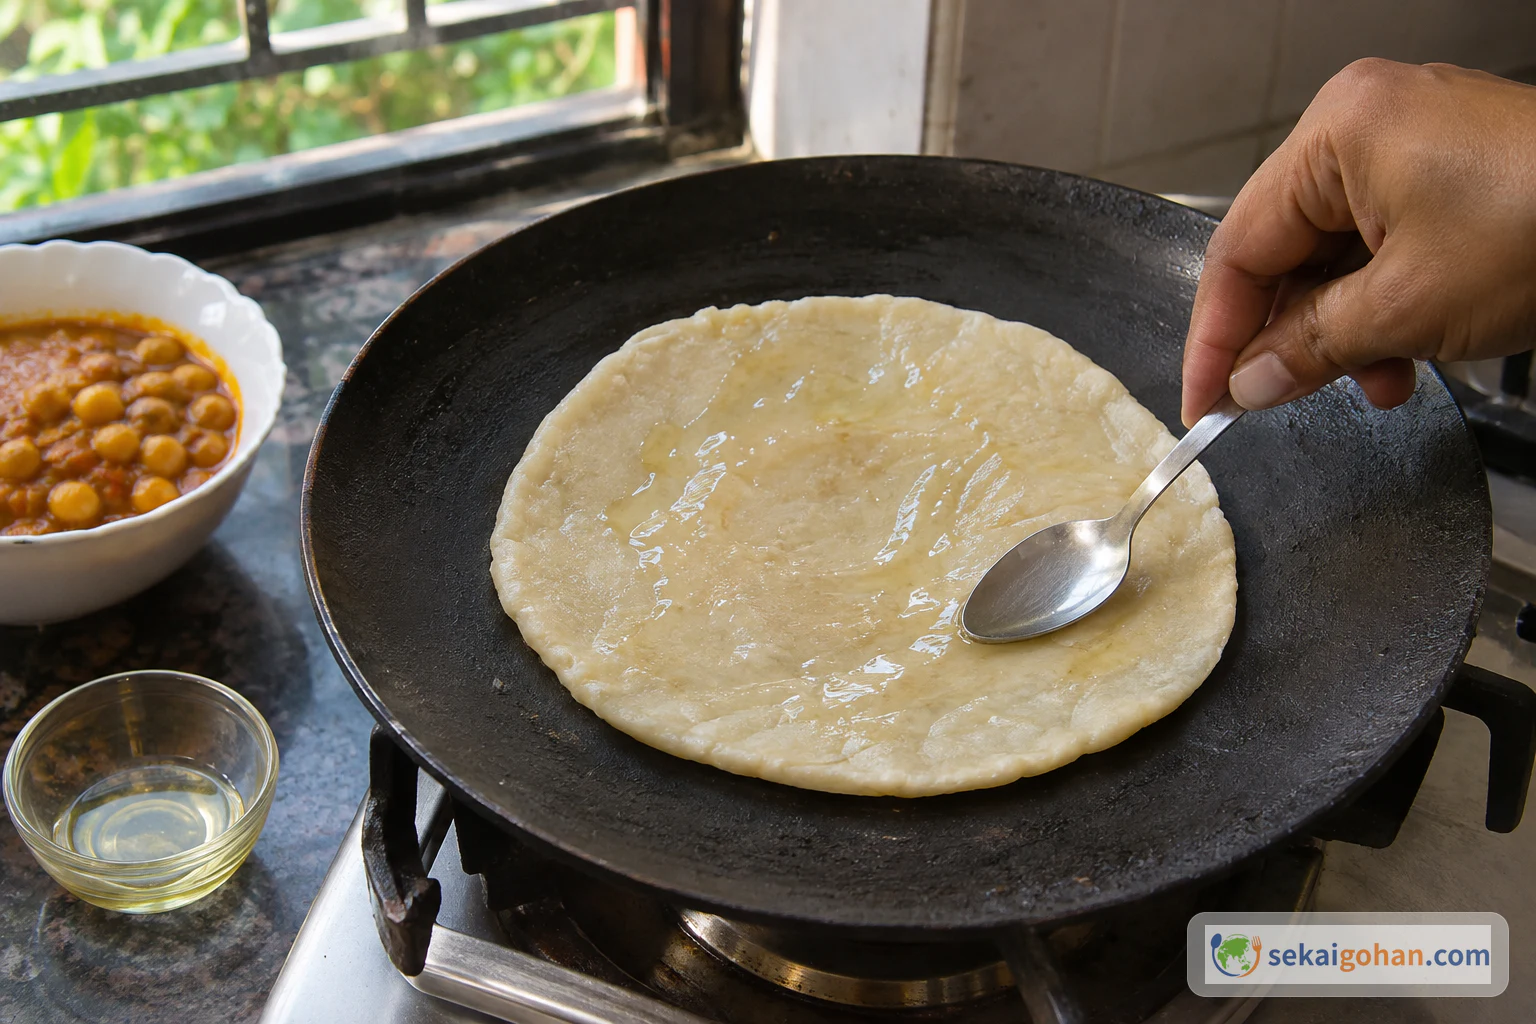
- Small spoon for the roasting oil
- Plate
Choosing Flour and Oil
Maida is a refined wheat flour; use all-purpose flour for this version. Other flours are not interchangeable with it. Japanese cake flour, for example, should not be treated as the same thing, and any other flour may change the texture. We have no tested amounts for those swaps, so treat them as your own experiment.
Atta leads in North Indian lachha paratha, which is a different bread from this maida-led parotta. If you want a stuffed atta flatbread, aloo paratha with its potato filling is a separate dish altogether.
Use neutral oil. Ghee, egg, milk, yeast and baking powder are not part of this version.
Method: From Soft Dough to Coiled Layers
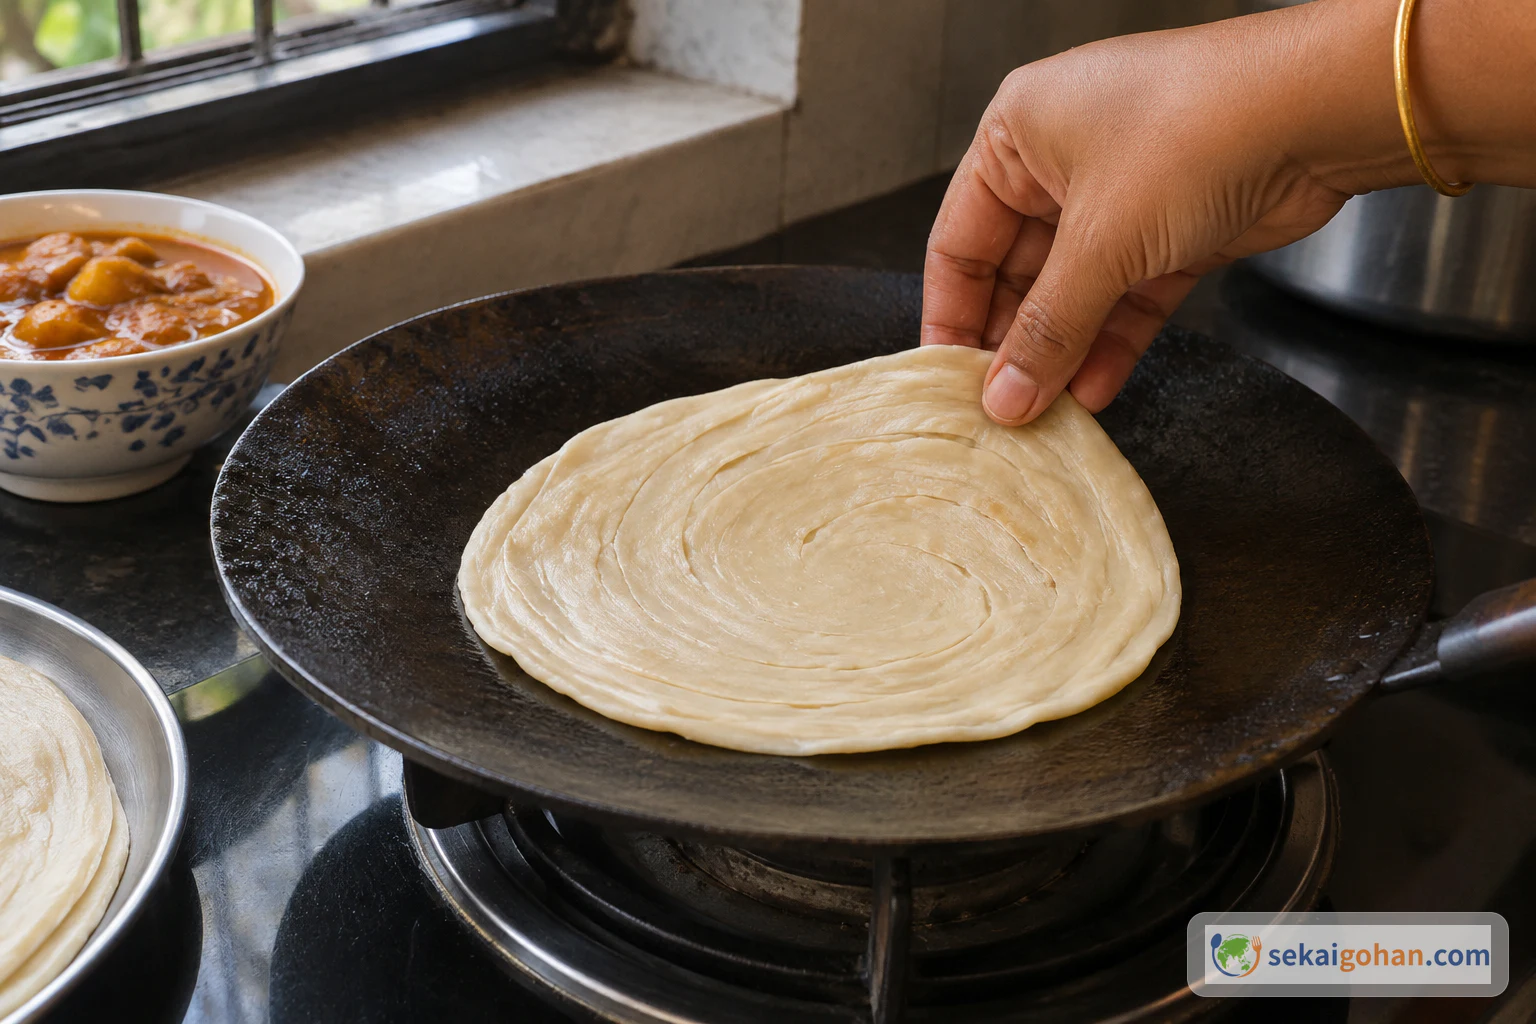
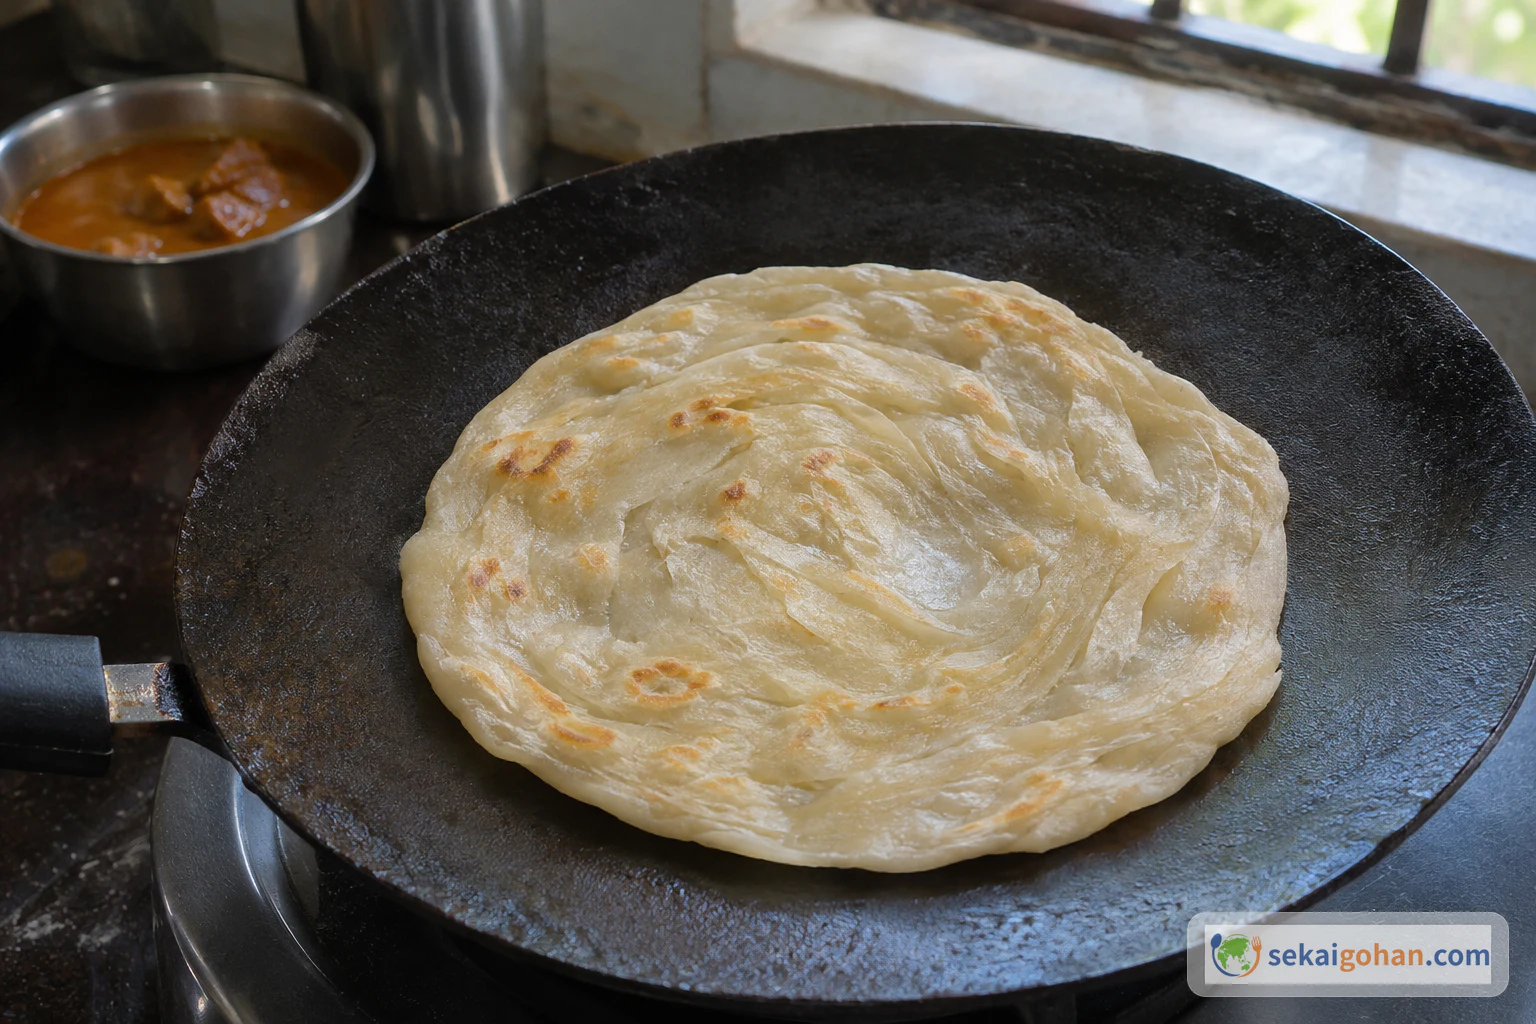
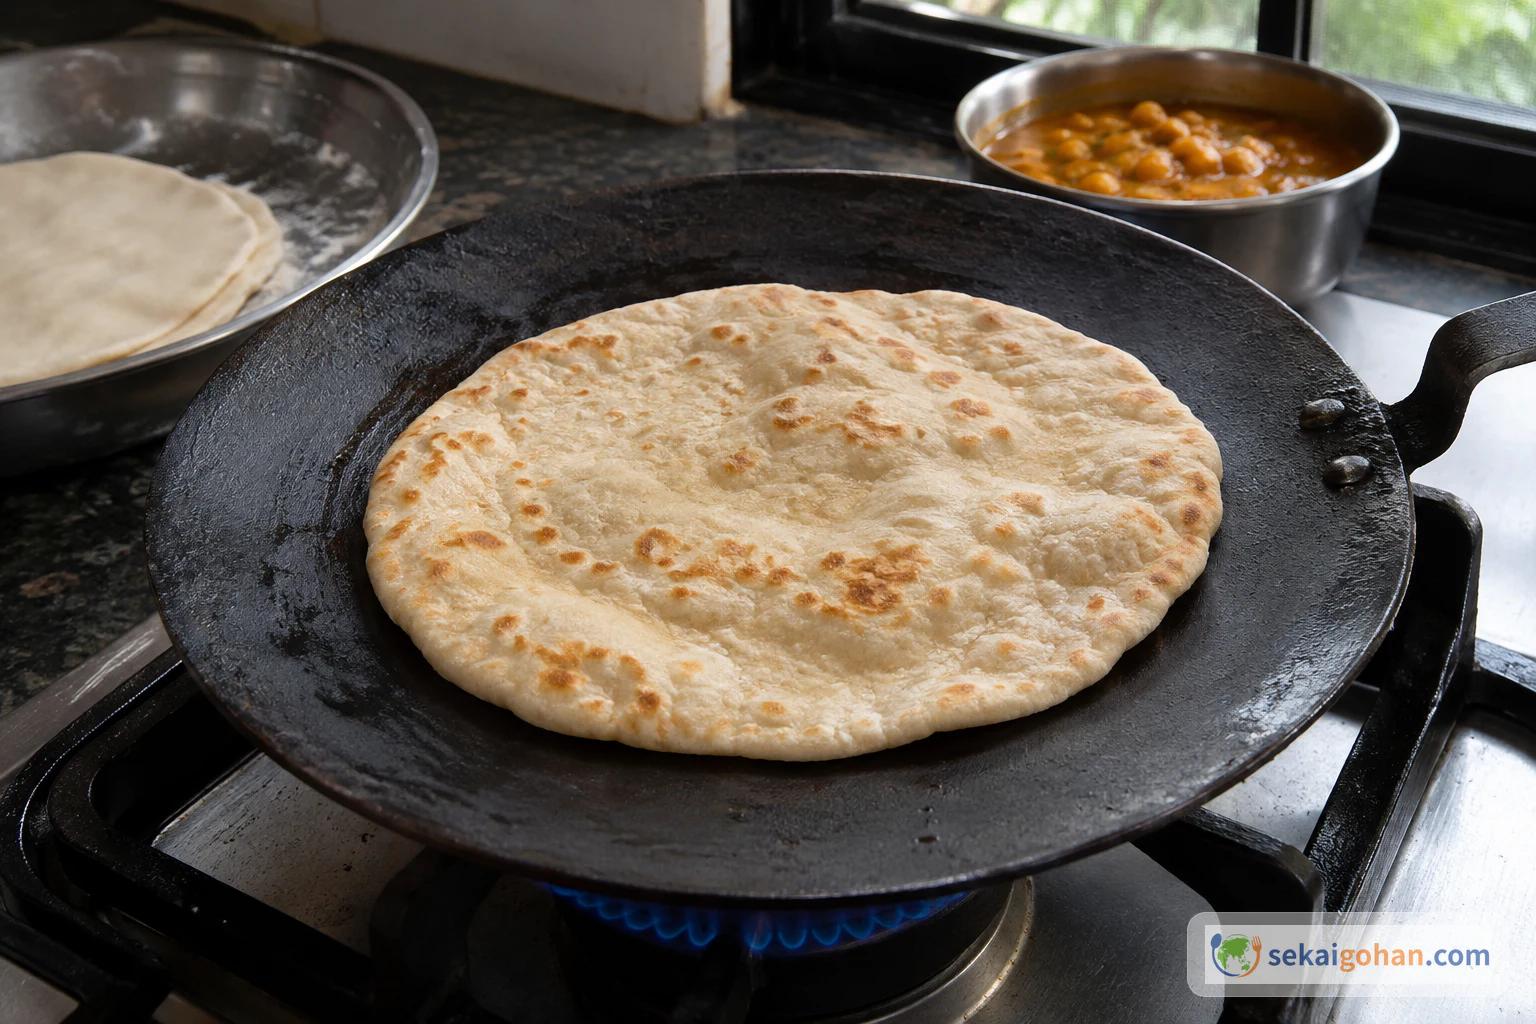
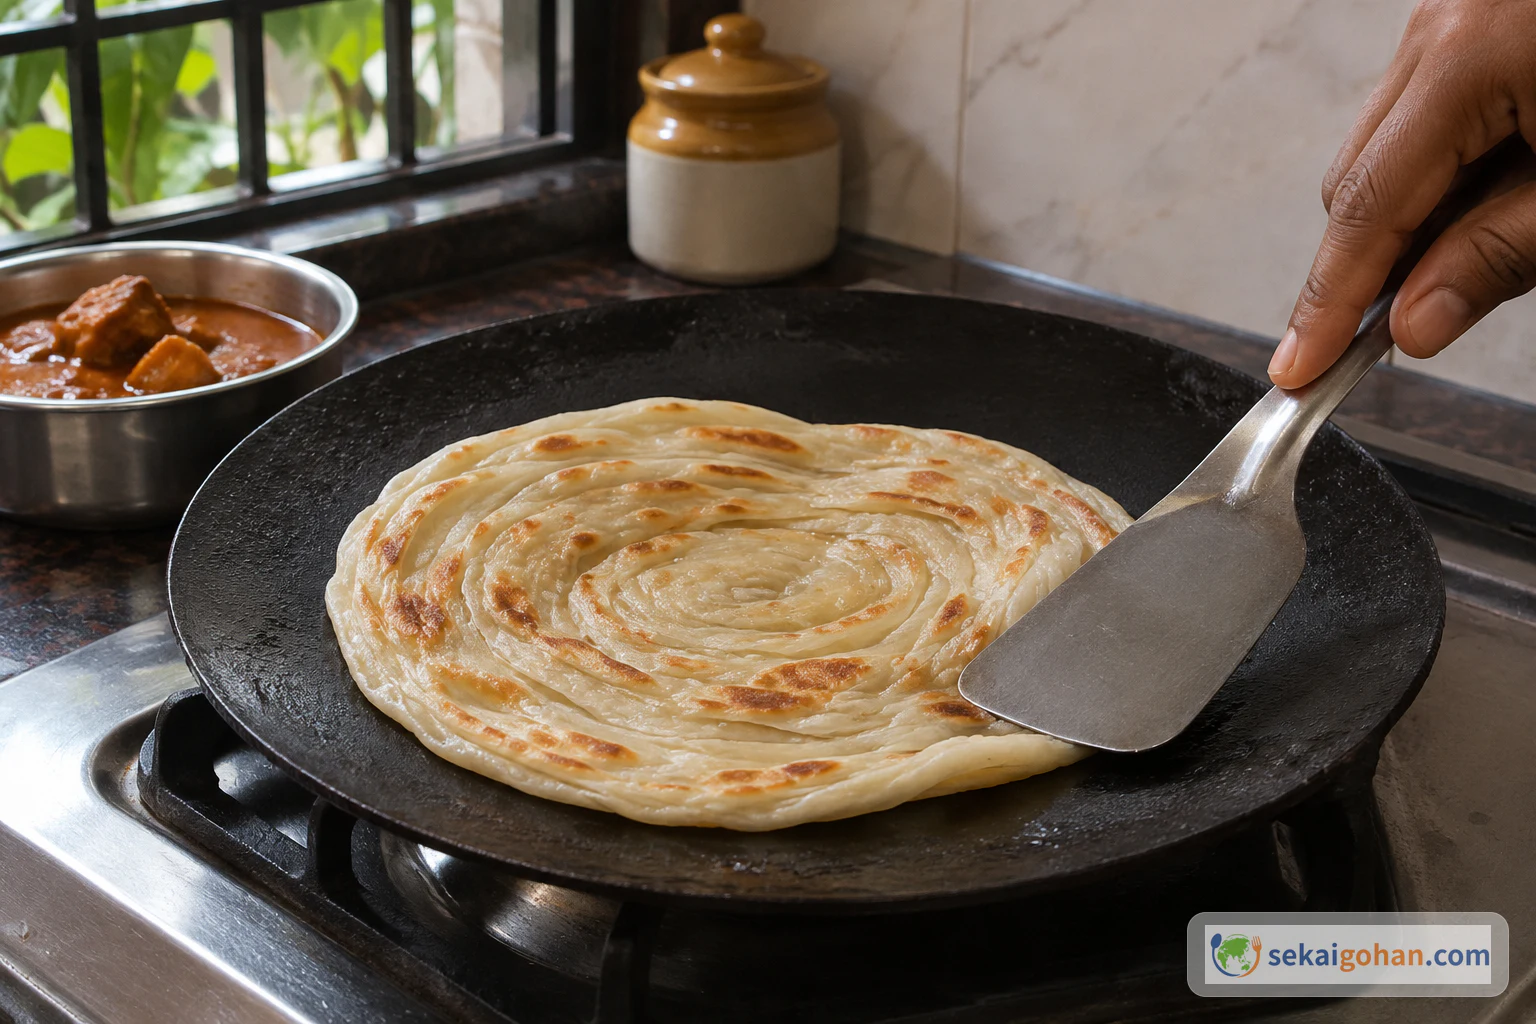
The "about 30 seconds" on the tawa applies only to the first cooking of each side. It is not a total cooking time. Watch the color and crispness.
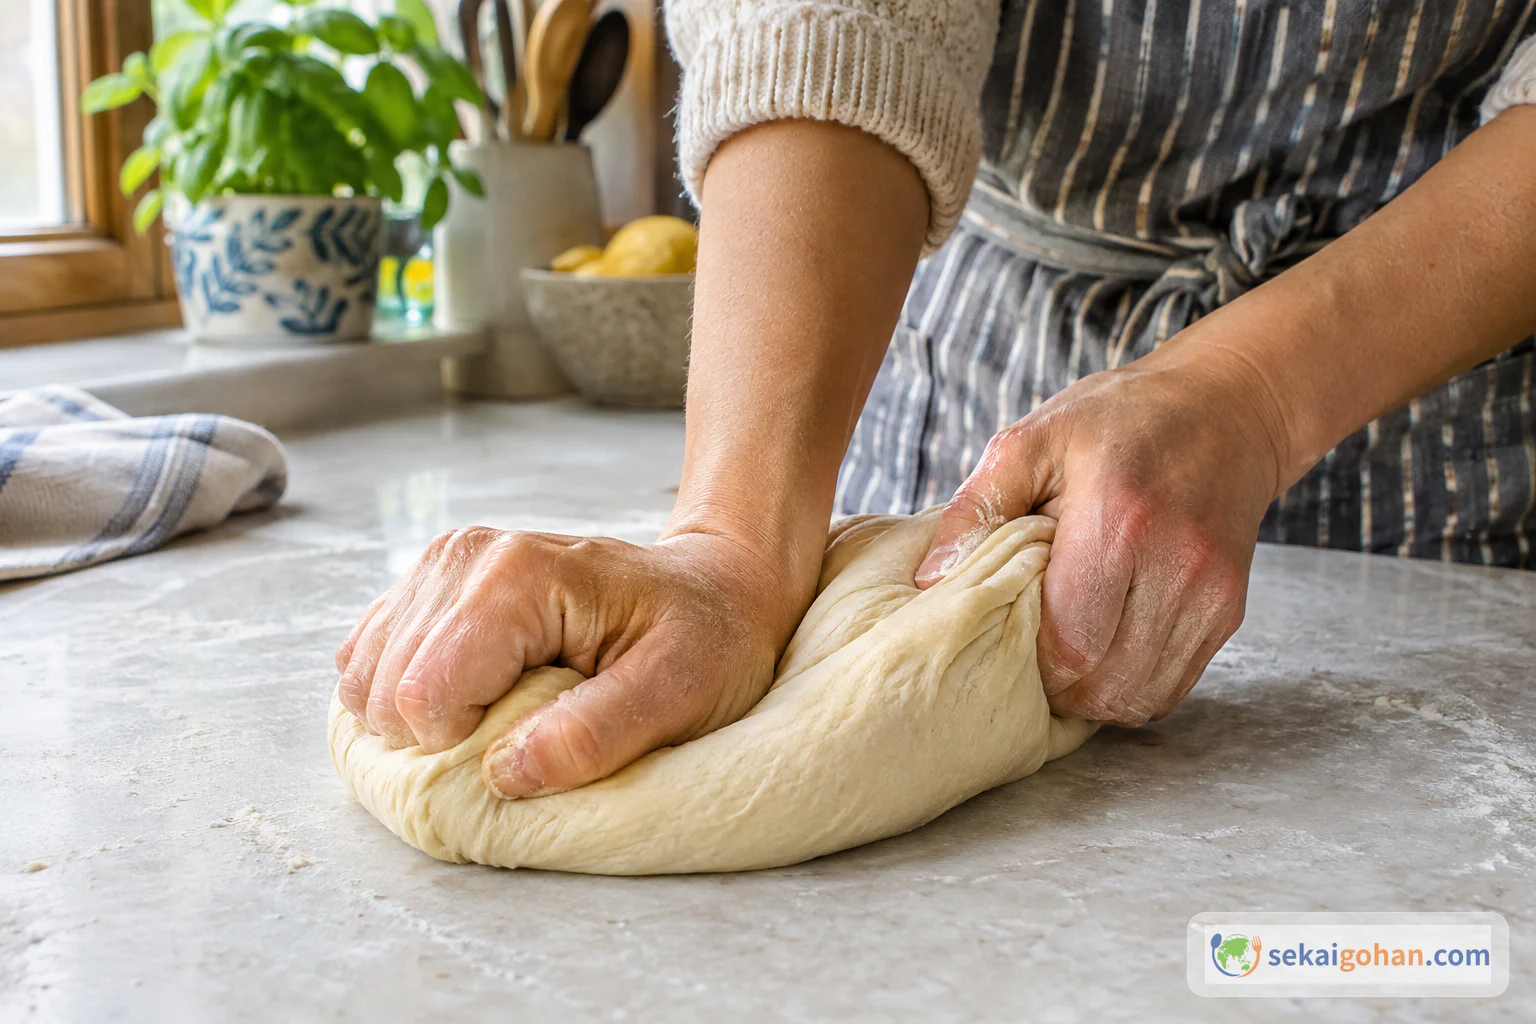
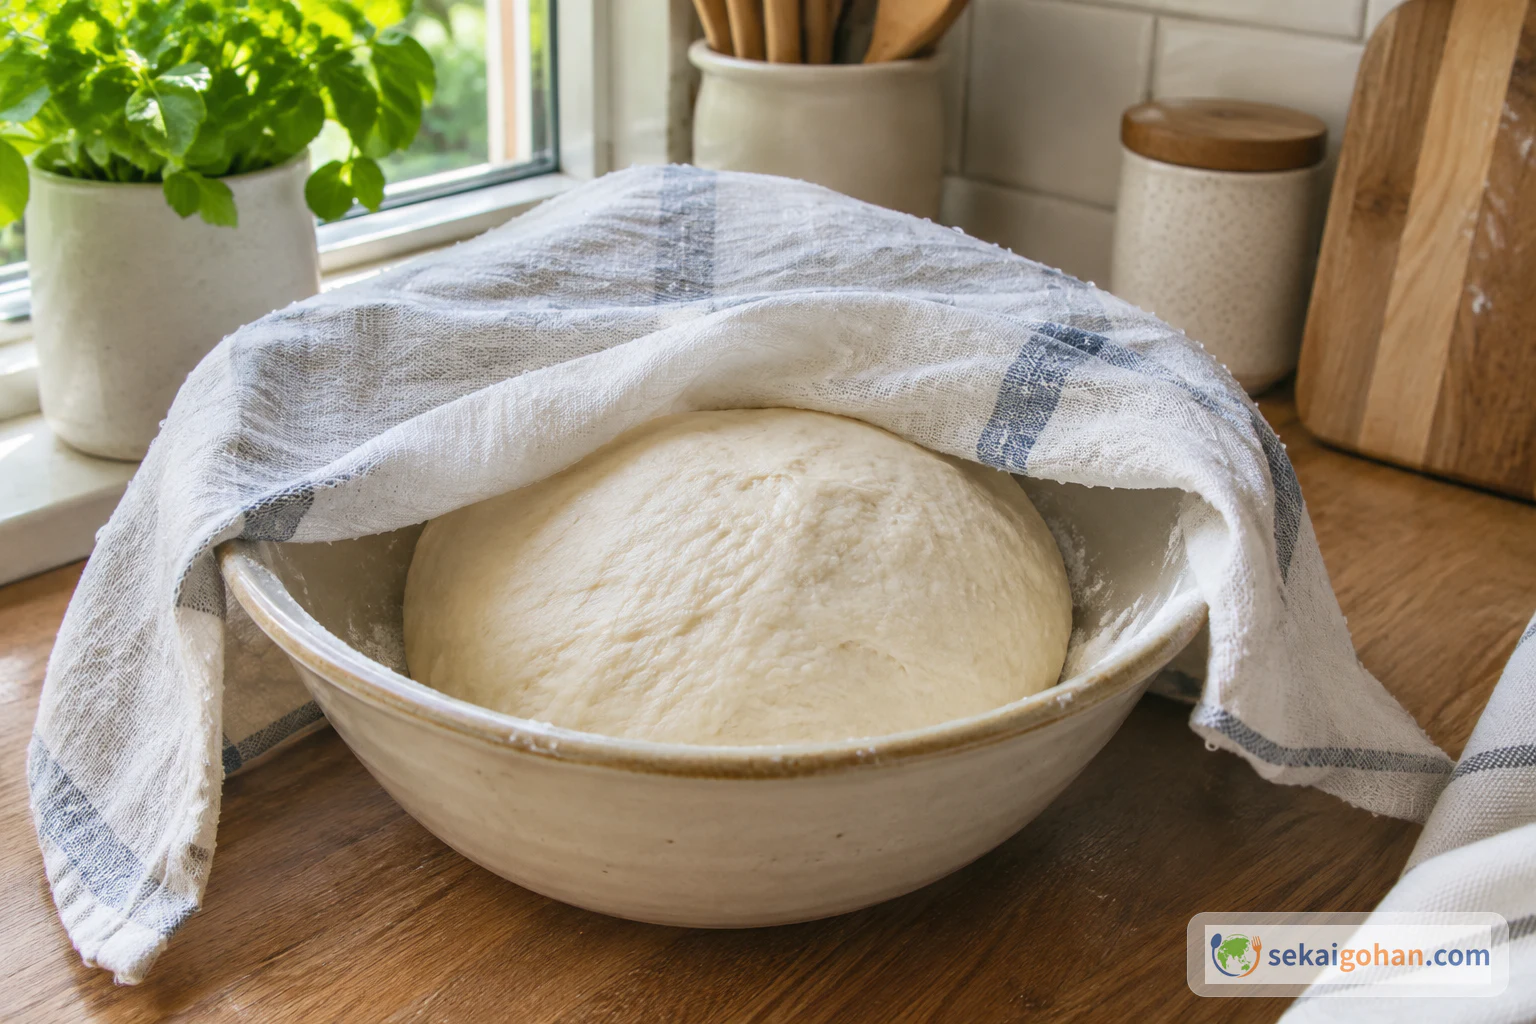
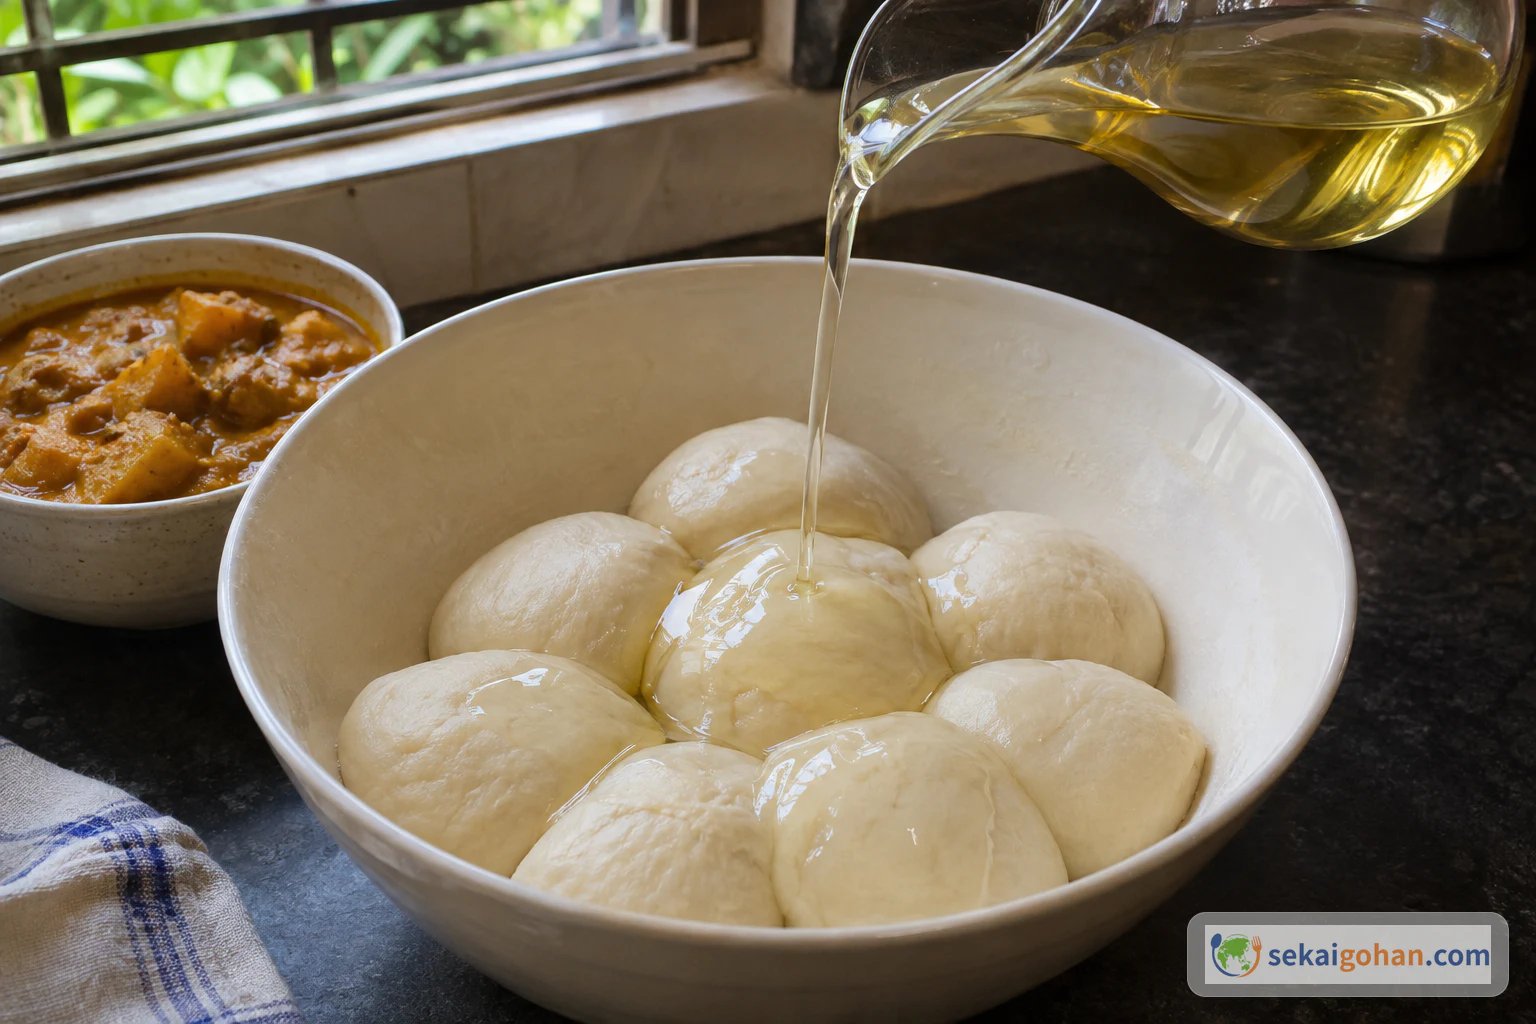
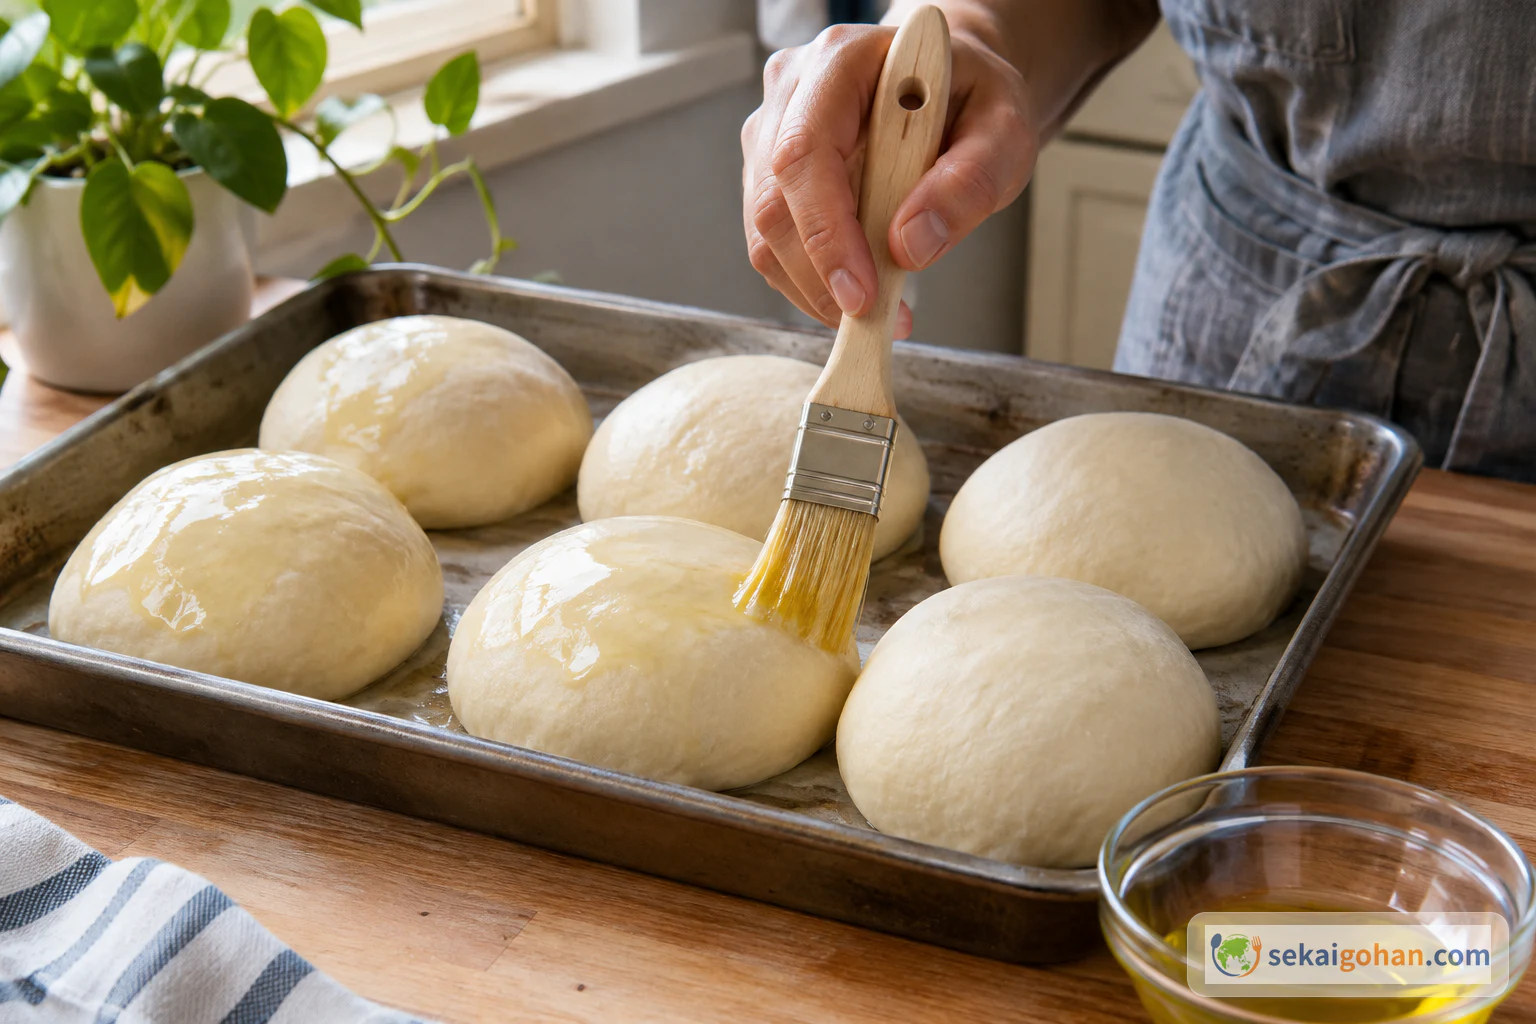
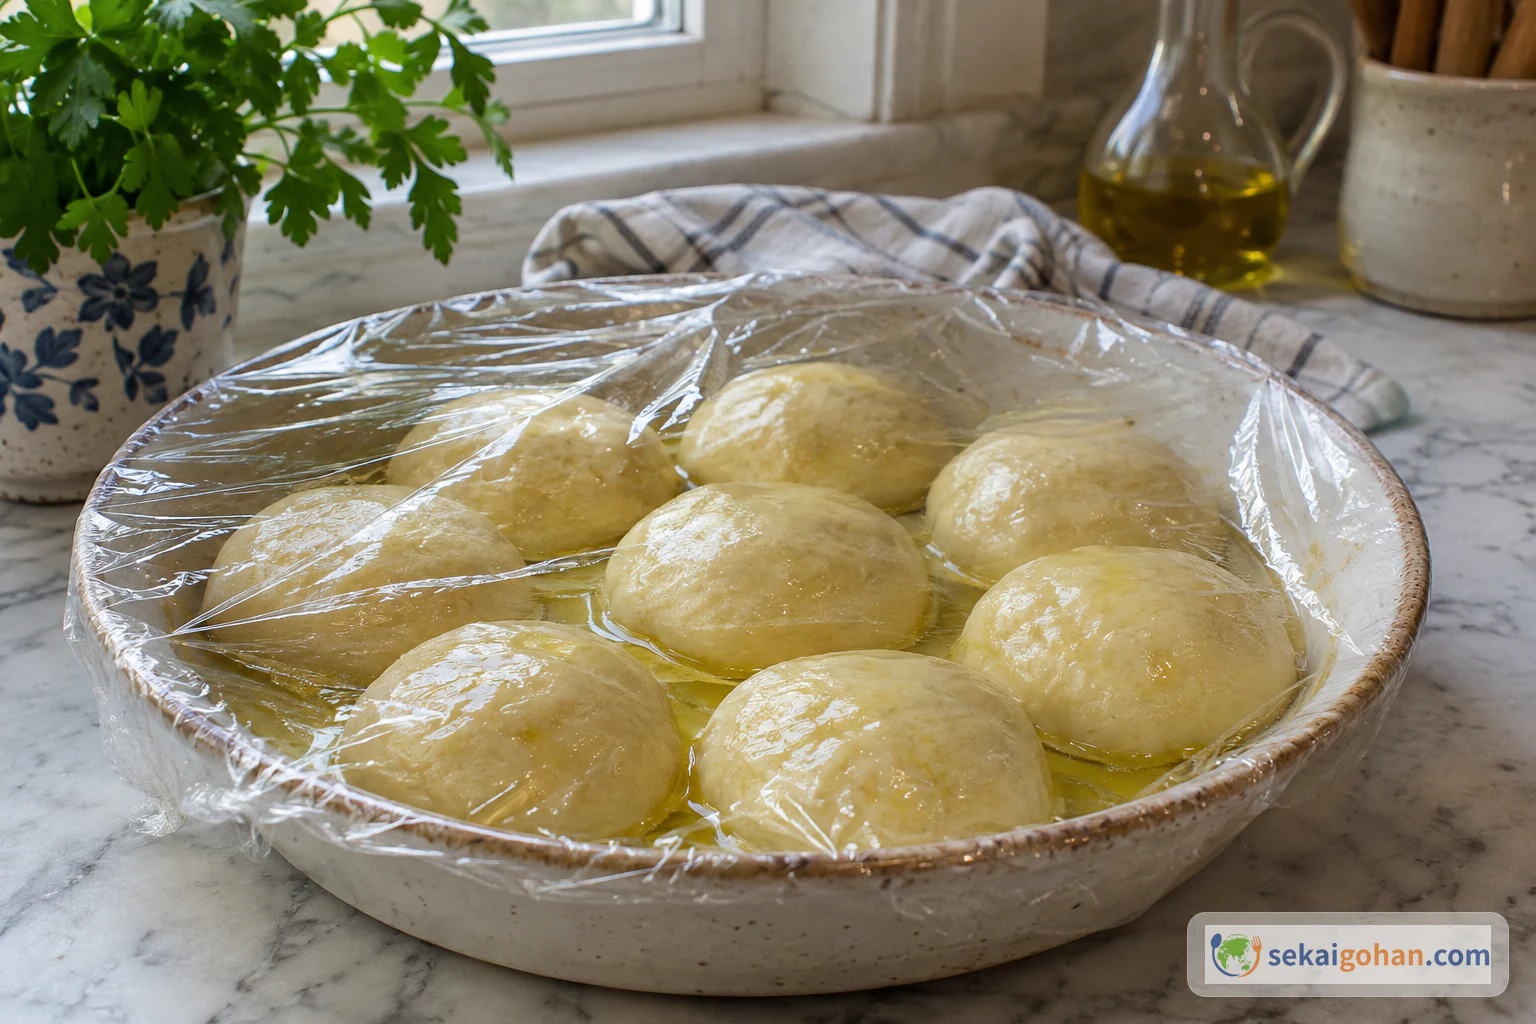
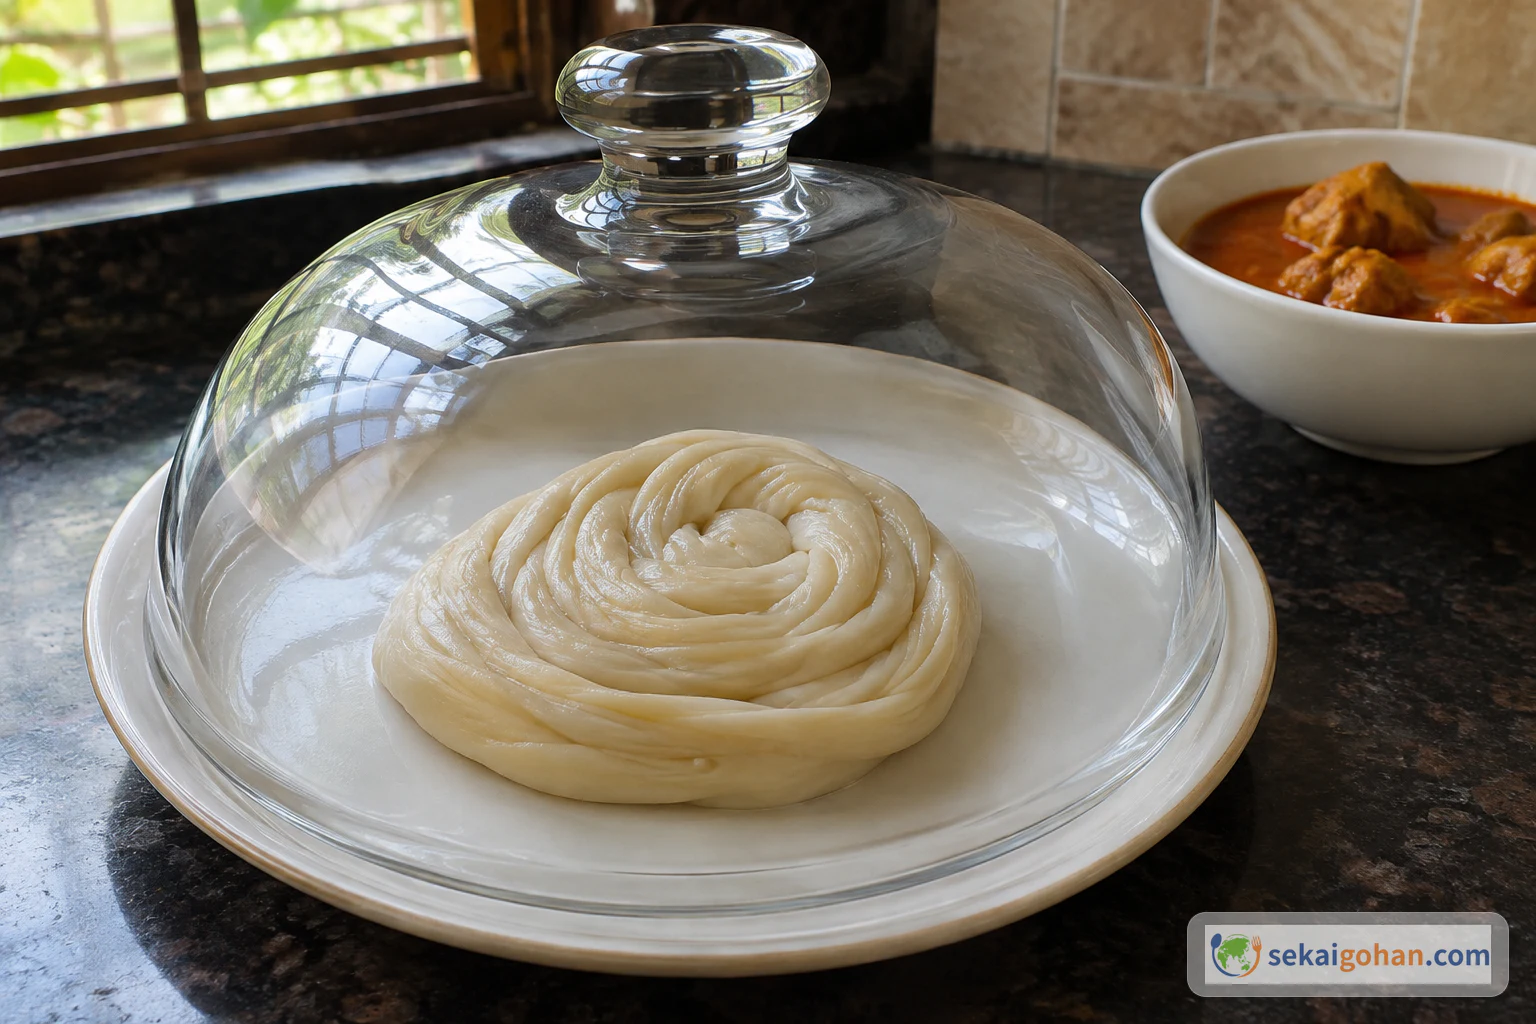
None of the rests here is fermentation. There is no yeast in the dough, and they are ordinary covered rests. The 15-minute rest after coiling is a step of its own, so don't skip it.
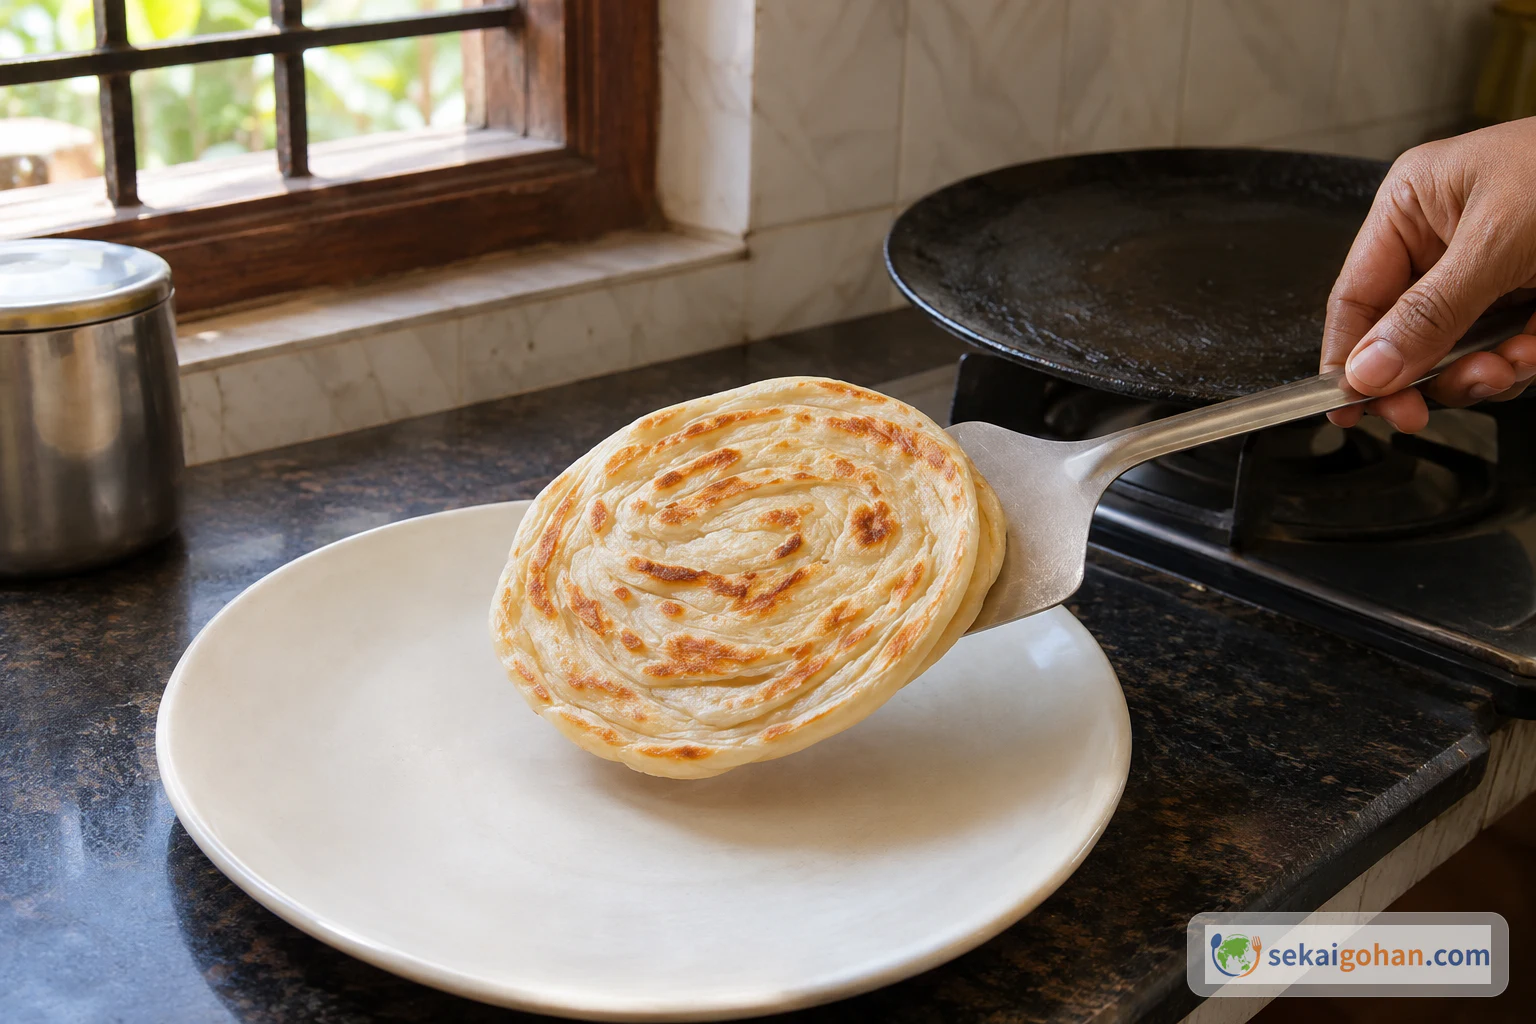
Steam from hot bread can burn your hands. The short wait on the plate is not a guarantee that the bread is safe to touch. Loosening the layers by hand is optional, and it should wait until the steam has settled and you can handle the bread comfortably.
Serving: Curry on the Side
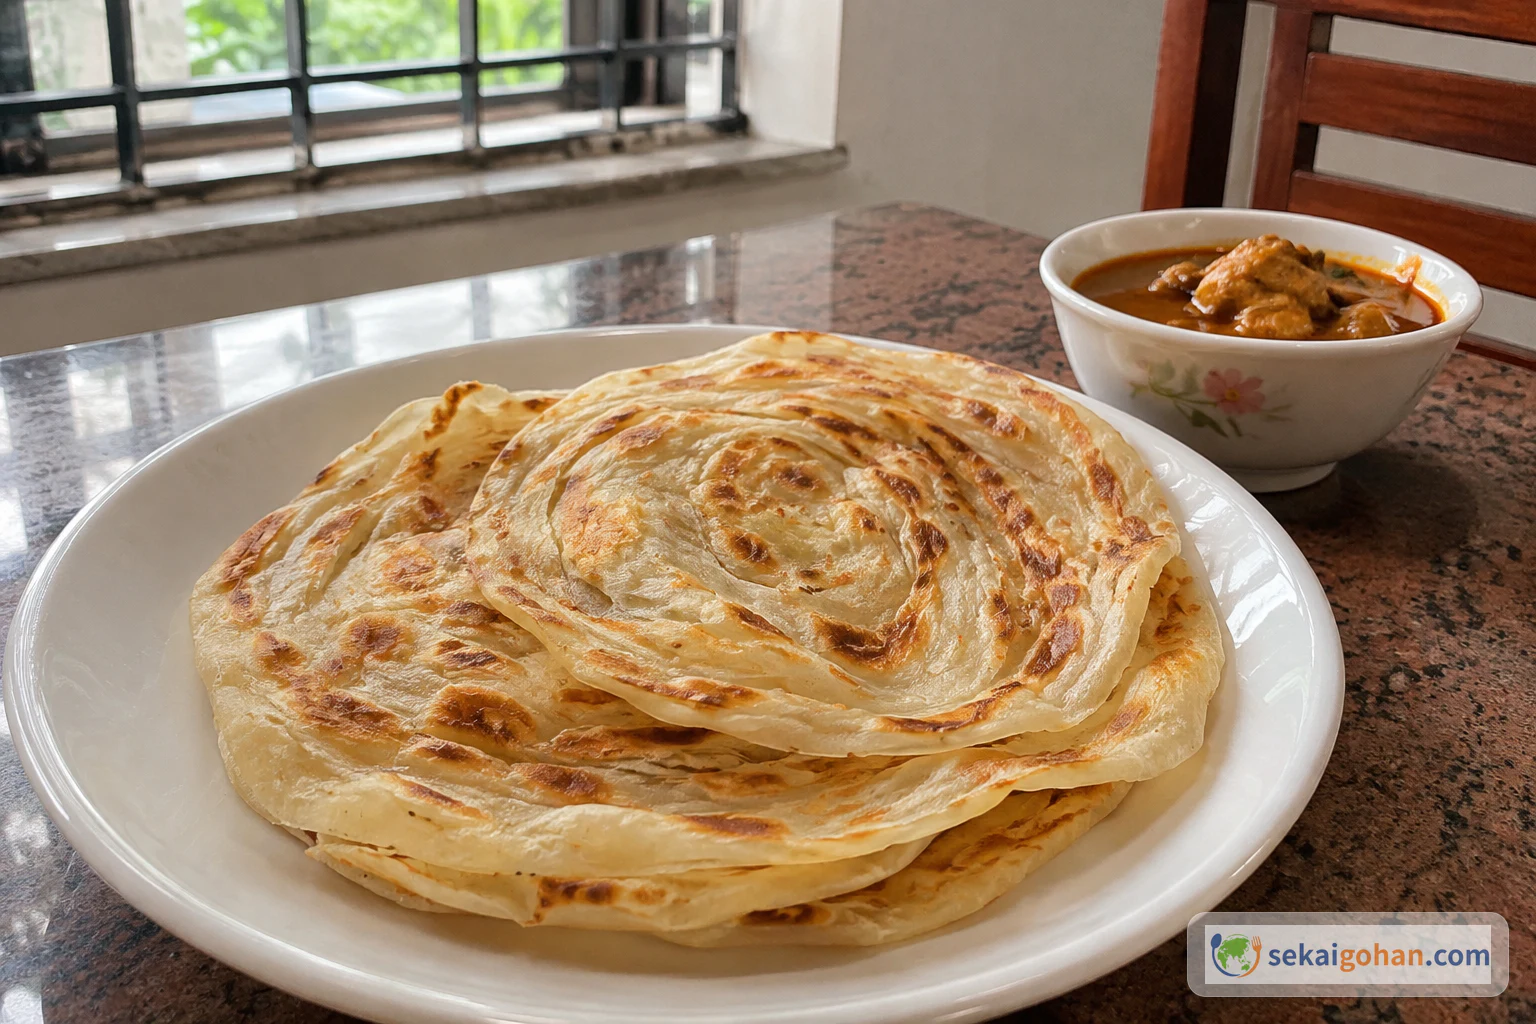
Serve parotta with curry. Curry is a serving example and not a required partner. Kerala beef fry is one dish you could set beside it.
Troubleshooting: What to Check
These are points to recheck against the method. They are not guaranteed fixes.
| What you notice | What to check |
|---|---|
| The layers don't show | Was the sheet rolled thin, were the strips 0.5–1 cm wide, and did the coil get its full 15-minute rest? |
| The layers were lost in rolling | Roll the rested coil gently, and only to about 7–7.5 inches |
| The dough is too wet or too stiff | The water amount is a guide, so add it little by little and stop when the dough feels right. Knead for the full 12–15 minutes |
| The bread is still pale after the first turns | About 30 seconds is only an early cue for each side. Keep flipping until it is golden and crisp all over |
| The rim seems underdone | Press the edges against the tawa with the spatula |
| The bread is too hot to loosen | Keep waiting, or skip the step. Clapping is optional |
Variations: Other Ways to Shape and Mix
A different shaping method. The same Dassana's Veg Recipes page offers Method 2, where a thin sheet is lifted and gathered into pleats. It is a separate technique, so choose one or the other rather than combining them. The steps above use the strip method only.
Maida and atta. Mixing in atta moves the bread away from the maida-led version here and changes the texture. Keep in mind that North Indian lachha paratha, which is atta-led, is its own bread.
Richer restaurant-style dough. Onmanorama publishes a separate restaurant-style formula with egg, milk, ghee, lemon and baking powder. Kerala Tourism also notes oil or ghee, and egg in some areas. These are different recipes, so follow any one of them as a whole rather than adding its ingredients to this dough.
Porotta in Kerala: What We Can and Can't Say
Kerala Tourism places porotta in everyday settings, at eateries and roadside stalls. It describes the bread as made from maida or wheat flour, oil or ghee, and water, with egg in some areas, and often served with curry. That range is why it helps to name the version you are cooking.
The history is less clear. The Indian Express article calls the origins hazy, and none of the sources we used settles the origin or the etymology, so we leave both open. The same article describes the technique in terms that match this method: develop the gluten, rest the dough, cut a thin sheet into strips, gather or coil them, griddle the bread and loosen the layers.
A parotta is also not the same as every layered or stuffed flatbread in the region. Mughlai paratha from Bangladesh, for instance, is a Bengali-style stuffed bread with egg and meat, which makes it a different dish.
Frequently Asked Questions
How many people does this feed?
The recipe gives a yield of 8 parottas, not a number of servings. How many people that feeds depends on your meal.
Is this parotta egg-free?
Yes. This version uses only flour, water, sugar, salt and neutral oil, so it has no egg, dairy or yeast. Other recipes do use egg or milk, so check the ingredient list if you are following a different one.
Can I replace the maida?
The recipe lists maida and all-purpose flour together, so all-purpose flour is the straightforward choice. Other flours will likely change the texture, and we have no tested amounts for them.
Is the dough fermenting during the rests?
No. There is no yeast in this dough, and the rests are ordinary covered rests rather than fermentation.
Why are my layers not showing?
Start with the thickness of the sheet and the rests, especially the 15-minute rest after coiling. Then roll the disc gently. Clapping can help loosen the layers, but it is optional and should wait until the bread is comfortable to handle.
How long does parotta keep, and how do I reheat it?
We don't give a storage period or a reheating method, because the sources we used don't establish them.
Sources
- Dassana Amit, Dassana's Veg Recipes, "Malabar Paratha | Kerala Paratha | Parotta Recipe." The basis for the recipe: ingredients and amounts, the yield of 8 parottas, Method 1 shaping, rests, cooking cues, and the comparison with Method 2 and lachha paratha. https://www.vegrecipesofindia.com/kerala-paratha-kerala-parotta/
- Kerala Tourism, "Porotta | Kerala Cuisine | Kerala Dishes." Porotta at Kerala eateries and roadside stalls, the regional range of ingredients, and serving with curry. Not used for recipe amounts. https://www.keralatourism.org/photo-gallery/porotta-kerala-cuisine/2732/
- The Indian Express, "The Back Burner: Learn how to make Malabar parotta." The note that origins are hazy, a description of the technique, and the warning about steam from hot bread. Its recipe amounts are not used here. https://indianexpress.com/article/lifestyle/food-wine/the-back-burner-how-to-make-malabar-parotta-recipe-6681294/
- Onmanorama, "Craving for super soft restaurant-style porotta? Make it easily at home." A separate restaurant-style formula with egg, milk, ghee, lemon and baking powder, and varied curry pairings. Not merged into this recipe. https://www.onmanorama.com/food/recipe/2023/03/02/restaurant-style-kerala-porotta.html