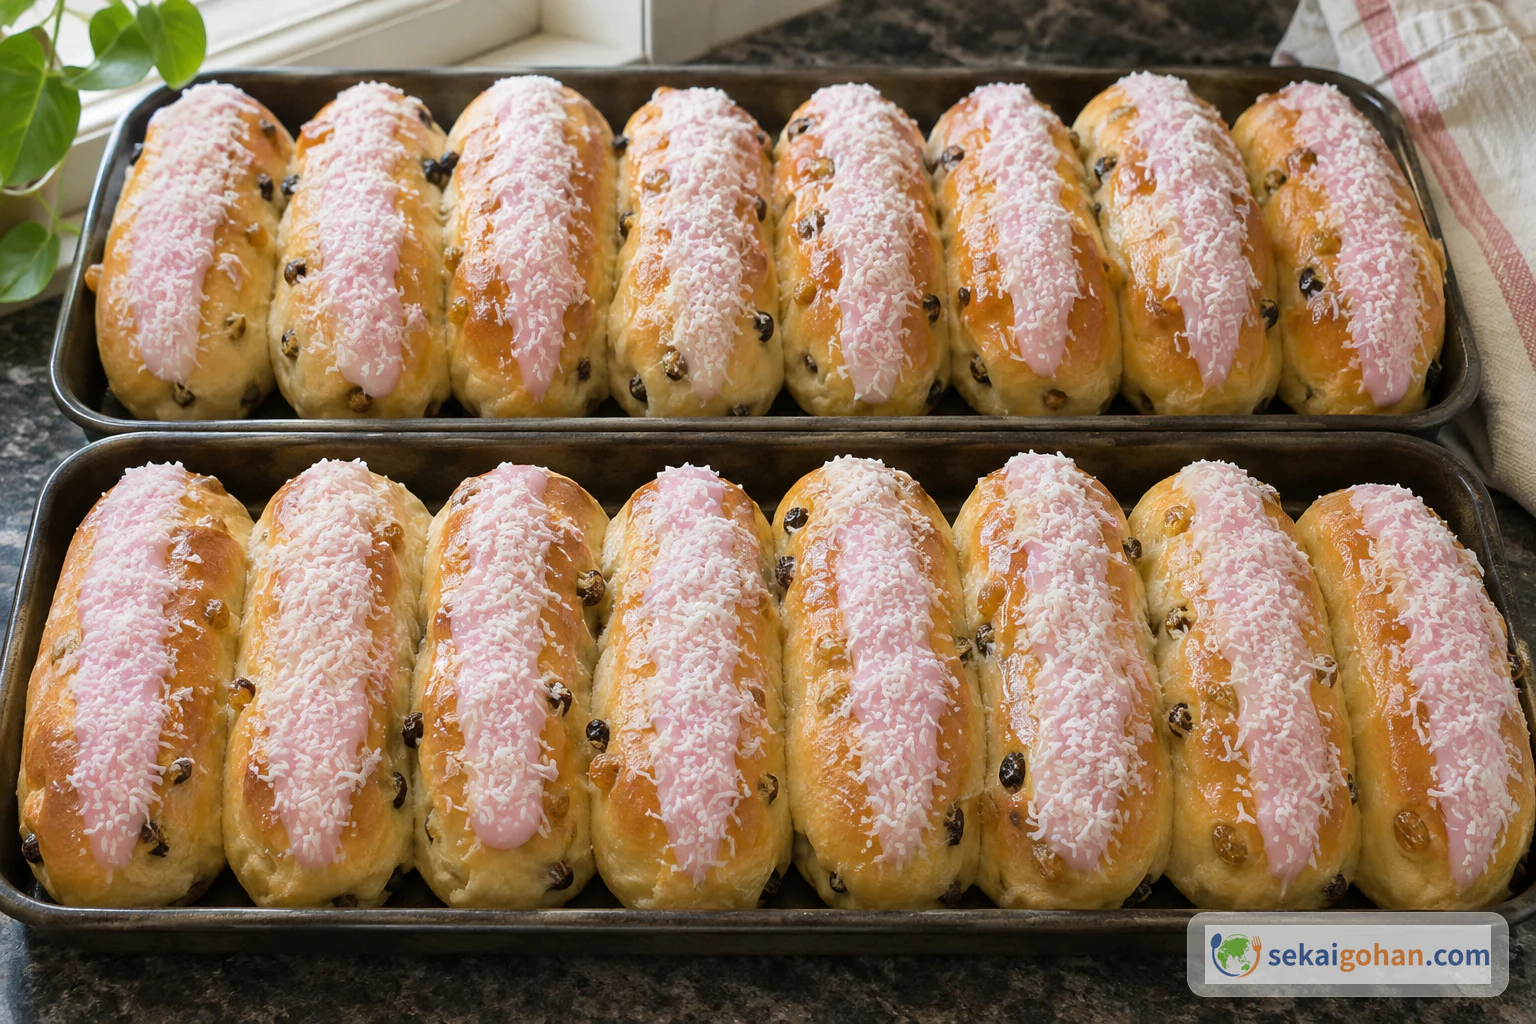
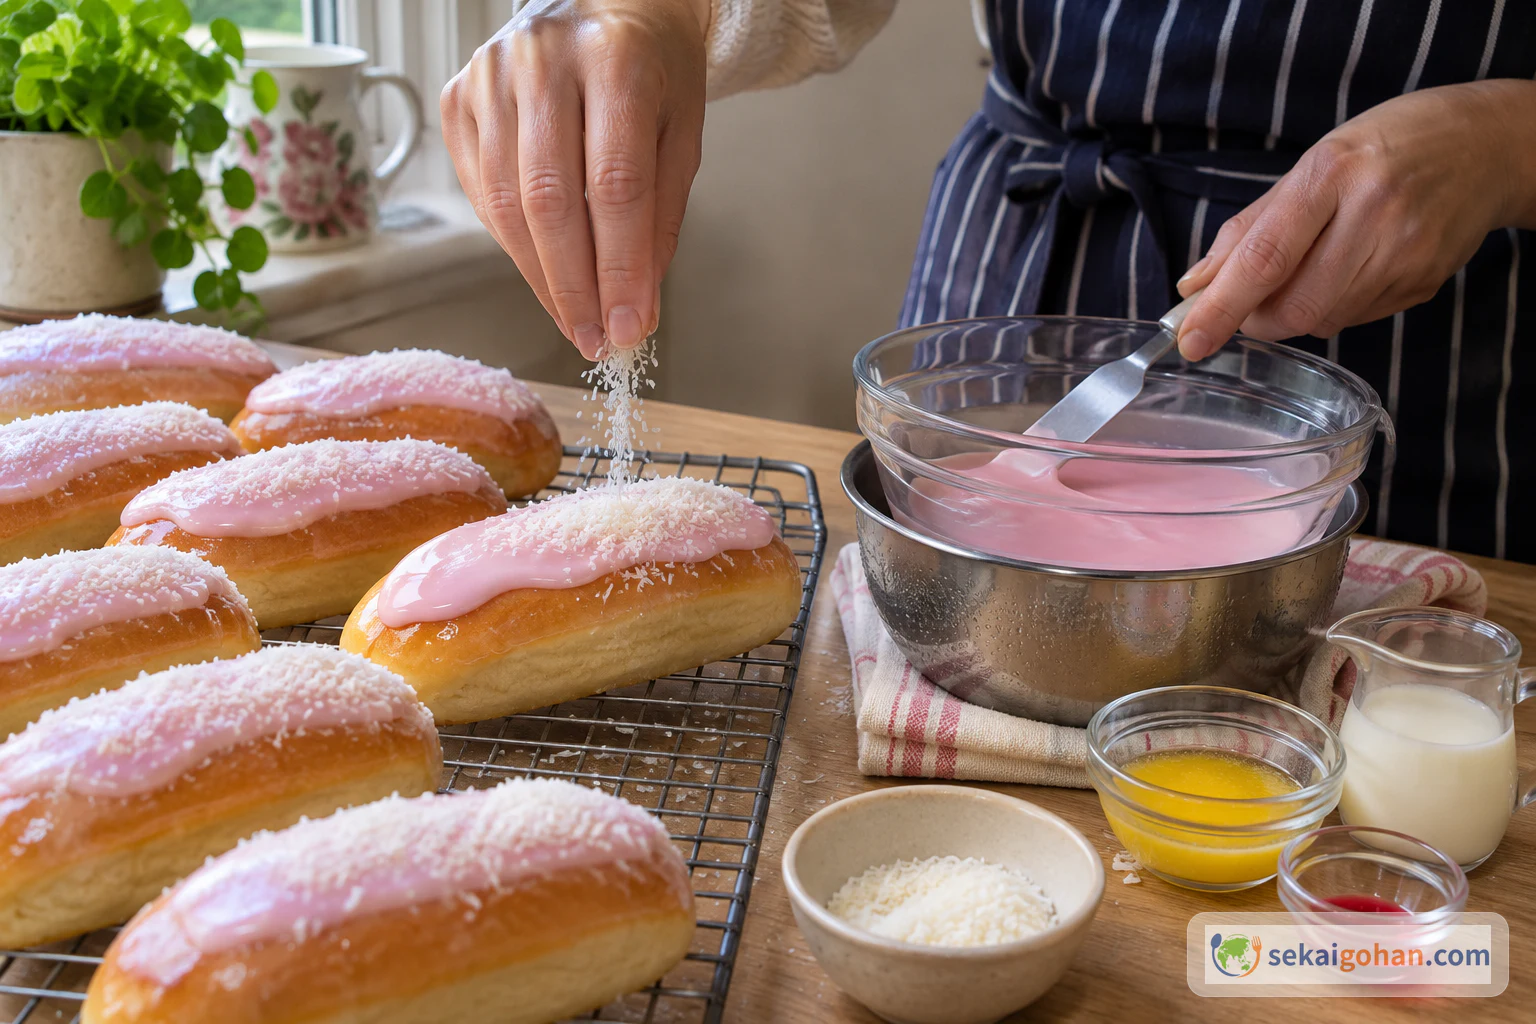
Behind the glass of an Australian bakery they lie in rows: long golden buns, each with a stripe of pink icing down the middle and a dusting of fine coconut that comes off on your fingers. You buy one, the counter hands it over in a brown paper bag, and most people start eating before they reach the door. The bread is soft and lightly sweet, made with milk. Sultanas and currants run through it, a thin sugar glaze gives the crust a shine, and the icing sits on top with the coconut. You get a little chew and a lot of fluff, and the icing should be balanced against the bread so the bun stays more bread than cake.
From the Bakery Case to the Paper Bag
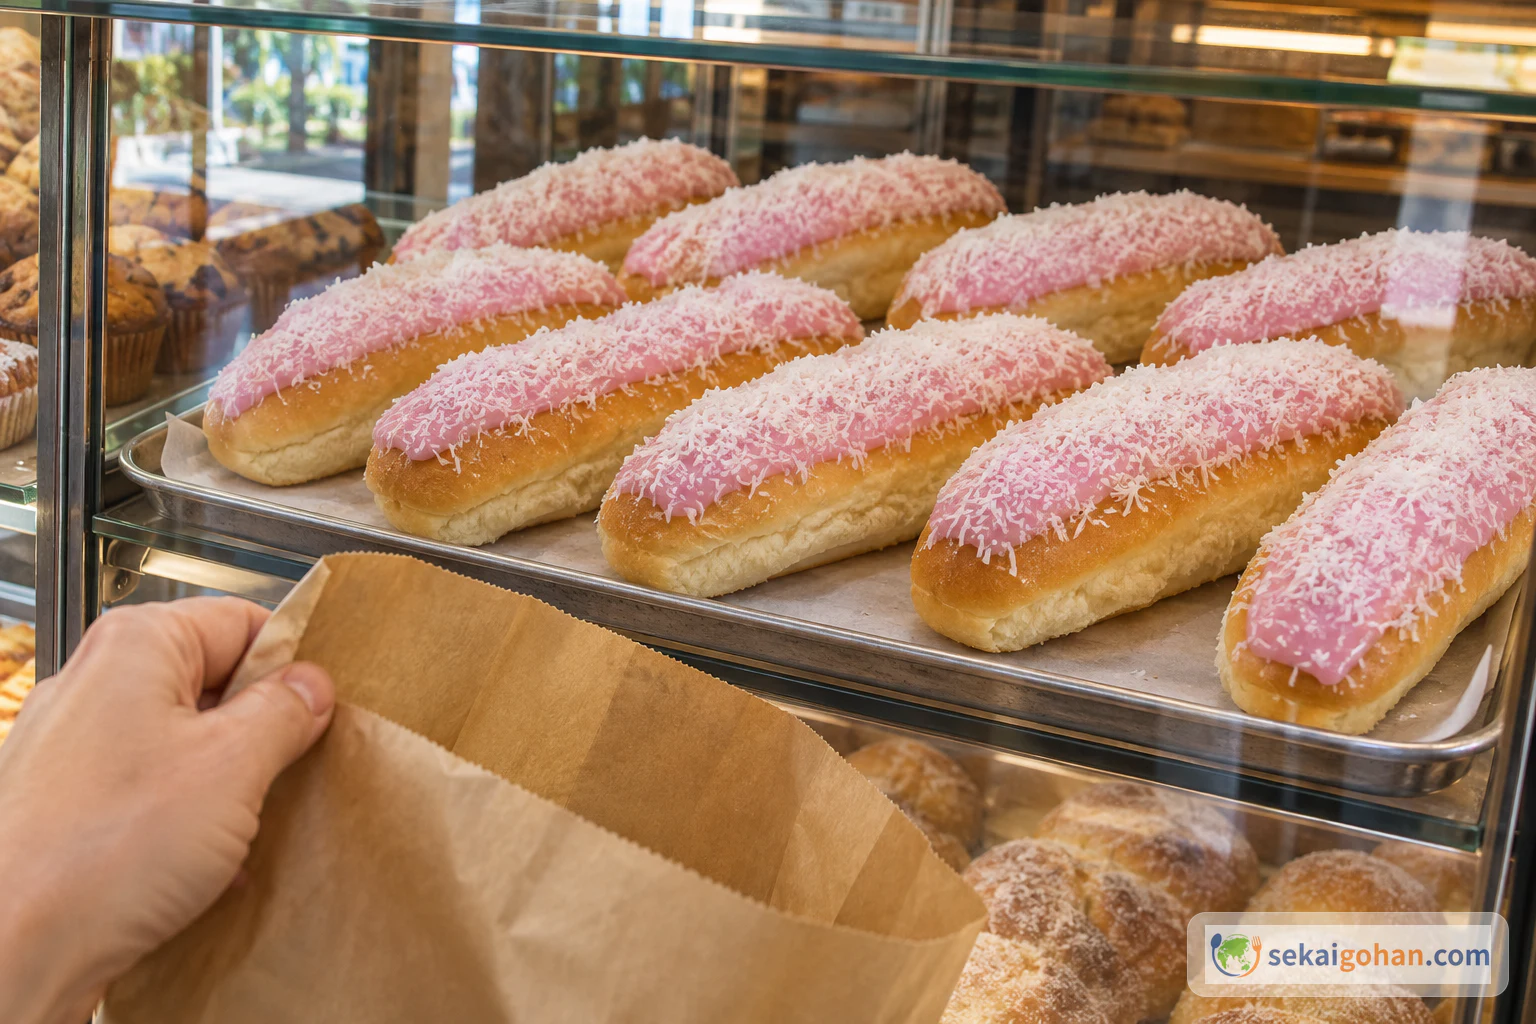
In Britain the same family of bread is called an iced bun. In Australia, the long finger shape and the pink stripe are what make it a finger bun. Some bakeries knead dried fruit into the dough and many leave it out. The plain, fruitless bun under a thick coat of pink fondant is the standard at big chain bakeries, and it sits in the same case as the fruit version. The recipe here keeps the fruit.
Two neighbors are easy to confuse with it. The Kitchener bun also wears pink and coconut but is filled with jam and cream. The Boston bun is round. If you want to see how the finger bun fits into the wider spread of Australian cooking, it belongs with the everyday baking of bakeries and school canteens, not the special-occasion table.
Ask what makes a finger bun and you usually get a short rule back: dried fruit is a must and pink icing is a must, while butter and coconut are optional. The chain-bakery bun without fruit breaks the first rule, and nobody stops buying it.
Trays in the 1930s, the stripe in the 1970s
Where the finger bun began is not settled. The usual account traces it to German and British rolls and buns that bakers adjusted to Australian taste and to the ingredients they could get. There is also a story that it descends from the Sally Lunn bun, a yeasted, brioche-like bread said to have been sold in Bath from 1881, but that story is legend. The older bun was round and sweetened mostly with dried fruit, because sugar was expensive, and it was finished with a thin sugar glaze. The long, iced bun grew out of it.
The earliest Australian trace is in 1930s bakery-equipment advertisements offering "lady finger bun trays." In the next decade the buns were common in bakeries such as the Rogers food hall in Goulburn. The look Australians know today, with icing and a pink stripe down the center, settled in the 1970s, when bakeries wanted their display cases bright and colorful. One of the country's large bakery chains has had finger buns on its menu from its early years. Some accounts put that at its opening in 1981 and others at the late 1980s.
Tuckshop, Paper Bag, and a Second Life
For many Australians the finger bun goes with the school tuckshop and the bakery stop after school. You eat it straight from the brown paper bag, or split it lengthwise and spread it with butter (at home often margarine). Grown-ups still split and butter it, now usually with a coffee.
Since about 2021 the bun has had a revival. Sydney bakers fill the milk dough with cranberries, golden raisins and currants, top it with deep-pink cream cheese frosting and serve a thick slab of Australian butter alongside. Other bakeries pair cardamom with coffee cream and almonds. A Brisbane café uses lemon custard and figs, and the bun has turned up on a London restaurant menu. In 2024 a Sydney bakery's version was named the best in the country in a national search and won a best-finger-bun award the same year. Cake-sized versions followed. Underneath all of it is still white bread with fruit and frosting.
Ingredients (makes 16 buns)
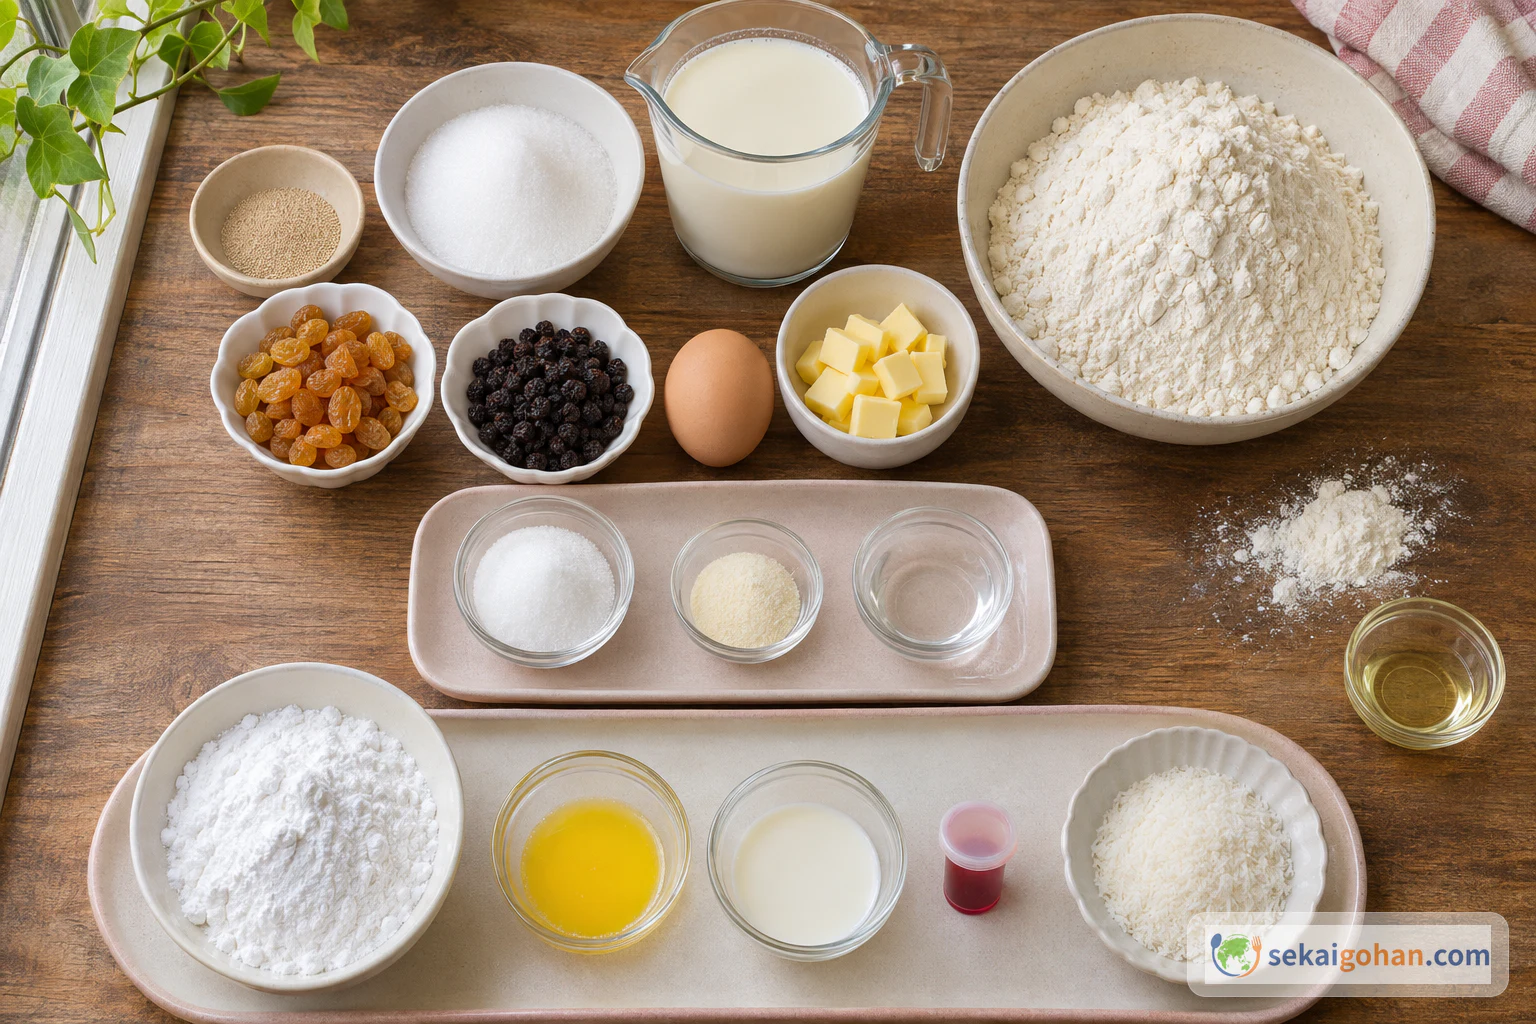
The sugar, milk and butter each show up at more than one stage. Measure each portion into its own dish before you start, so the glaze and icing portions never end up in the dough. The coconut is used only as the final topping.
Weigh the flour, sugar, fruit, coconut and icing sugar instead of scooping them. Weighing removes the small cup differences and keeps the dough's softness where it should be.
The buns contain wheat, milk, egg and coconut. The gelatine in the glaze is animal-derived. Commercial pink fondant can be colored with cochineal (Colour 120), so vegetarian and vegan eaters should check the label on any food coloring. Bought finger buns are labeled as containing wheat, gluten and soy, and as possibly containing egg, milk, tree nuts and sesame, among others.
Equipment
- Two 8 × 12-inch (20 × 30 cm) baking trays. If yours are smaller, bake in two rounds.
- A small bowl for the yeast mixture and a large mixing bowl
- A sifter
- Plastic wrap
- A bench scraper or knife for dividing the dough
- Aluminum foil
- A small saucepan for the glaze
- A pastry brush (a spoon works in a pinch)
- A wire cooling rack
- A heatproof bowl that sits over a pan of hot water, for the icing
- A small palette knife or spatula
- A toothpick for adding food coloring
- Oven mitts
Choosing and Substituting
Flour decides the rise. Australian plain flour is the all-purpose type, a little stronger than cake flour, and all-purpose flour is the direct match. If you only have bread flour and cake flour, mix them 2 to 1: 14 oz (400 g) bread flour with 7 oz (200 g) cake flour. Cake flour alone gives a slack dough and a shallow rise.
For the sugar, caster sugar dissolves fastest, and granulated sugar works too. Use whole milk, because lower-fat milk thins out the dairy aroma of the bread. Unsalted butter keeps the seasoning in your hands. Golden sultanas bring a soft sweetness and currants bring a sharper tang. If you cannot find currants, use raisins alone, about 4¼ oz (120 g). The bun will still work, but the fruit will taste flatter. Buy fine desiccated coconut, not shredded flakes, so it clings to the icing.
The gelatine is what turns the glaze into a shiny film. Without it the glaze still sweetens the crust, but the surface dries matte, and leaving it out is the simple fix for vegetarian eaters. For the icing, look for pure icing sugar without added cornstarch. Ordinary confectioners' sugar that contains cornstarch sets faster and harder and is harder to spread. Food coloring is strong, so add it from the tip of a toothpick, a little at a time, until you have a soft pink.
Measure the glaze and icing spoonfuls with a standard 15 ml tablespoon and adjust the icing by feel. It should start as a firm paste and become spreadable once warmed.
Method
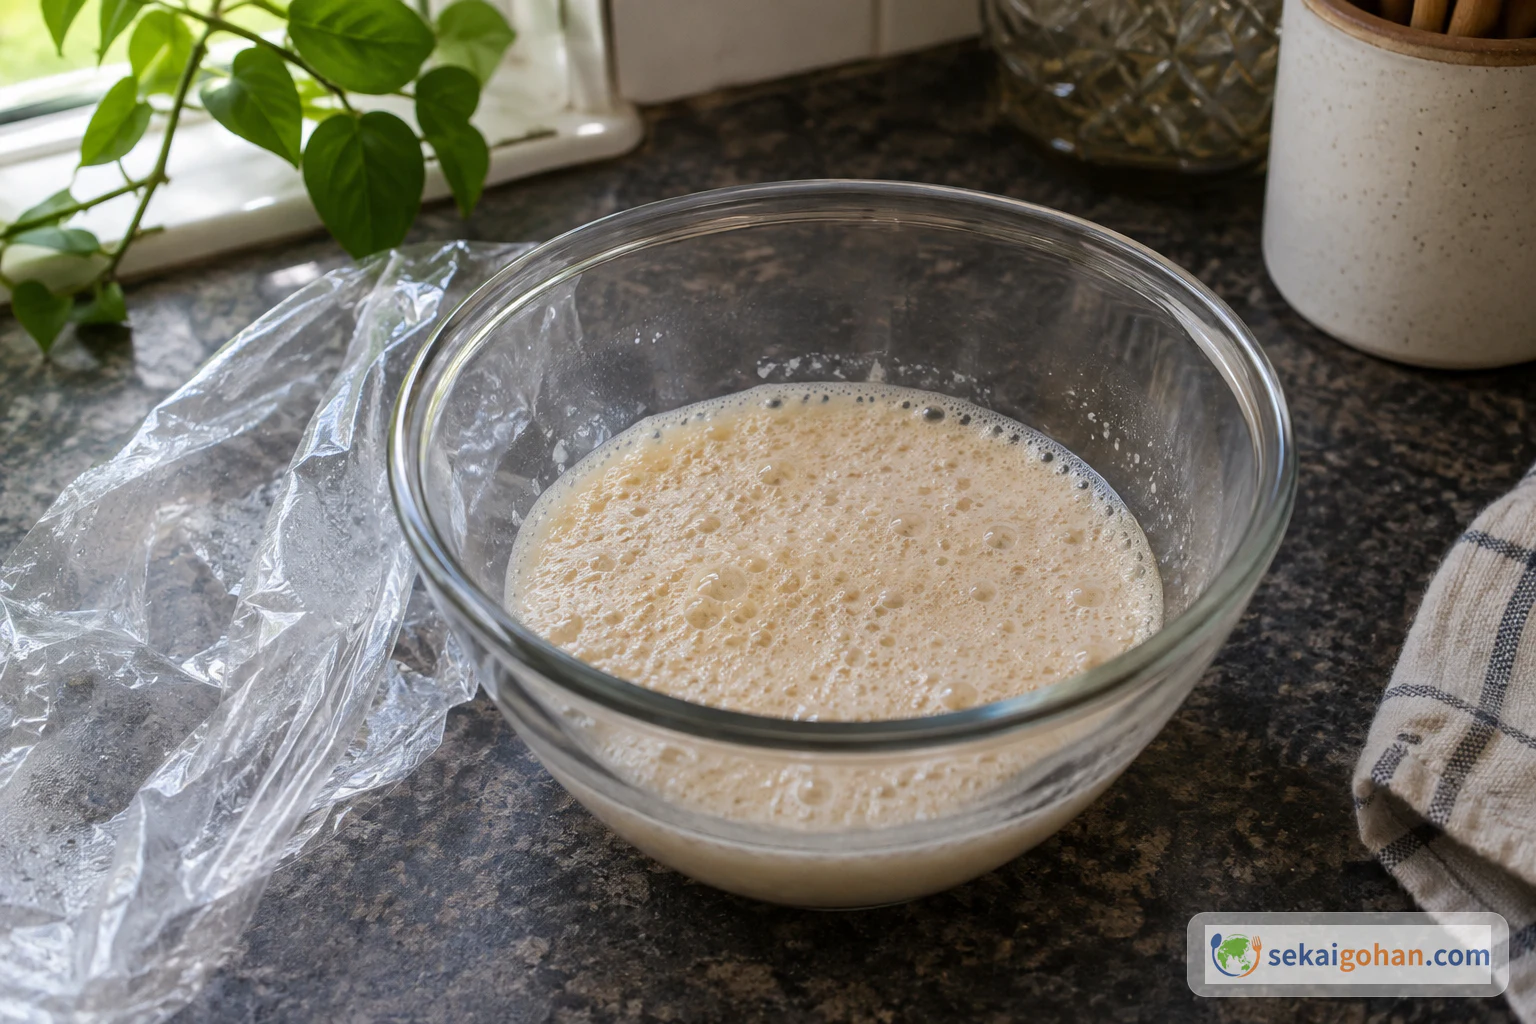
The yeast mixture starts first, and everything else follows its timing. Most of the waiting happens while the dough rises in its bowl. Measure the glaze and icing ingredients during that rise so they are ready when you need them, because the glaze goes on the moment the buns leave the oven. The buns need to cool completely before they are iced.
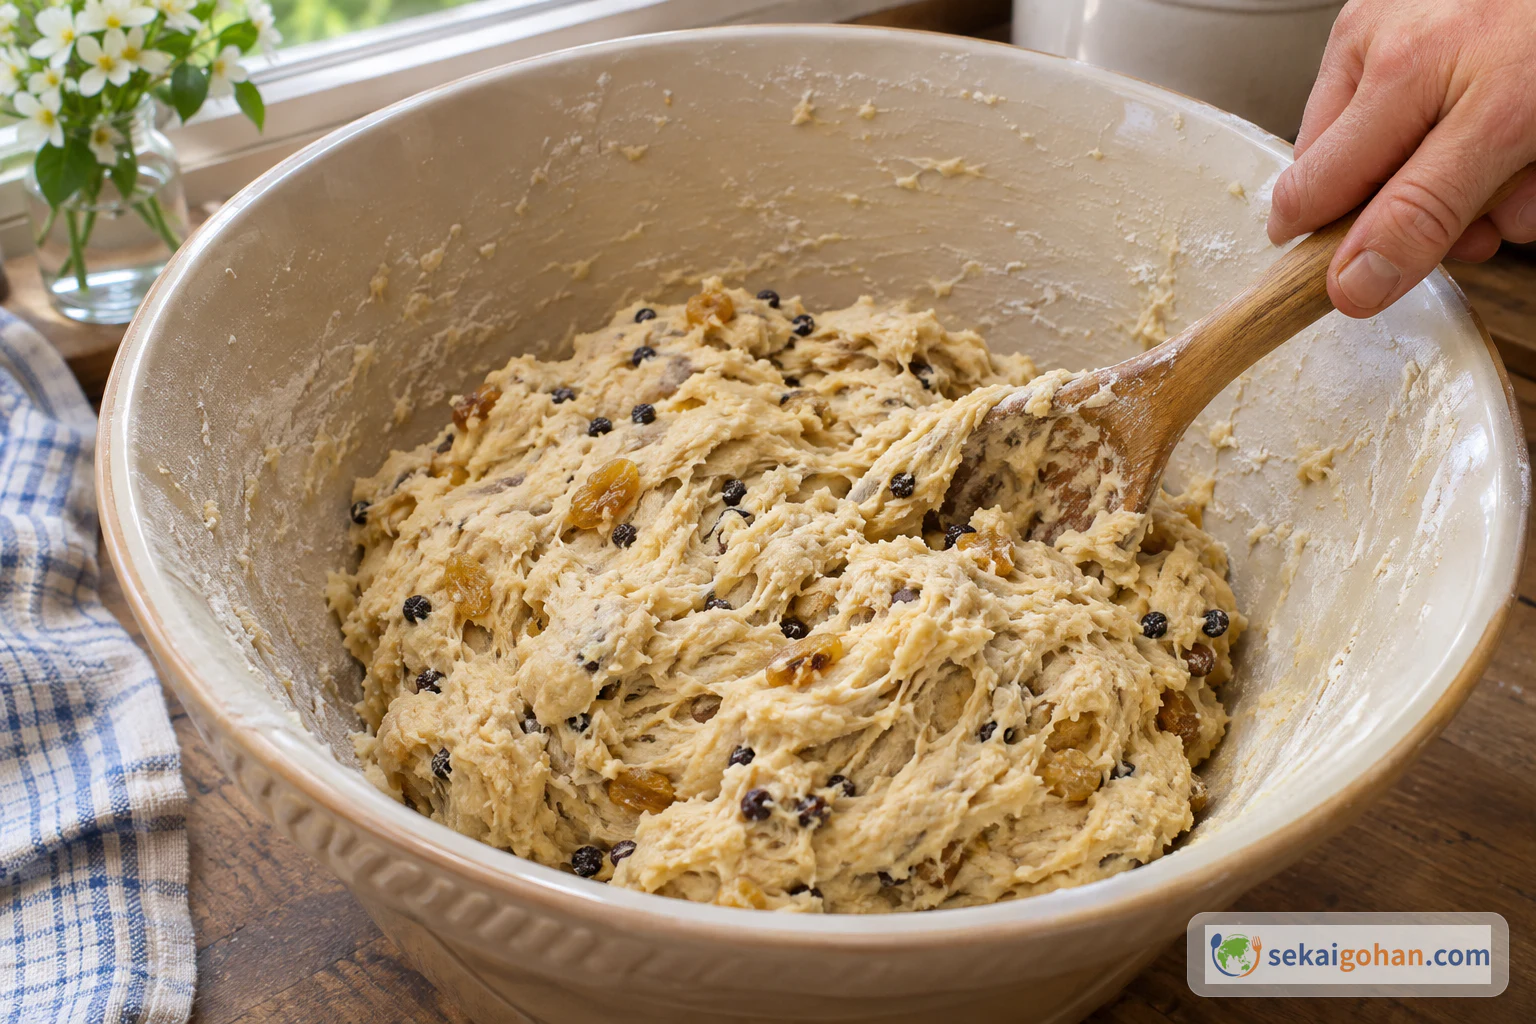
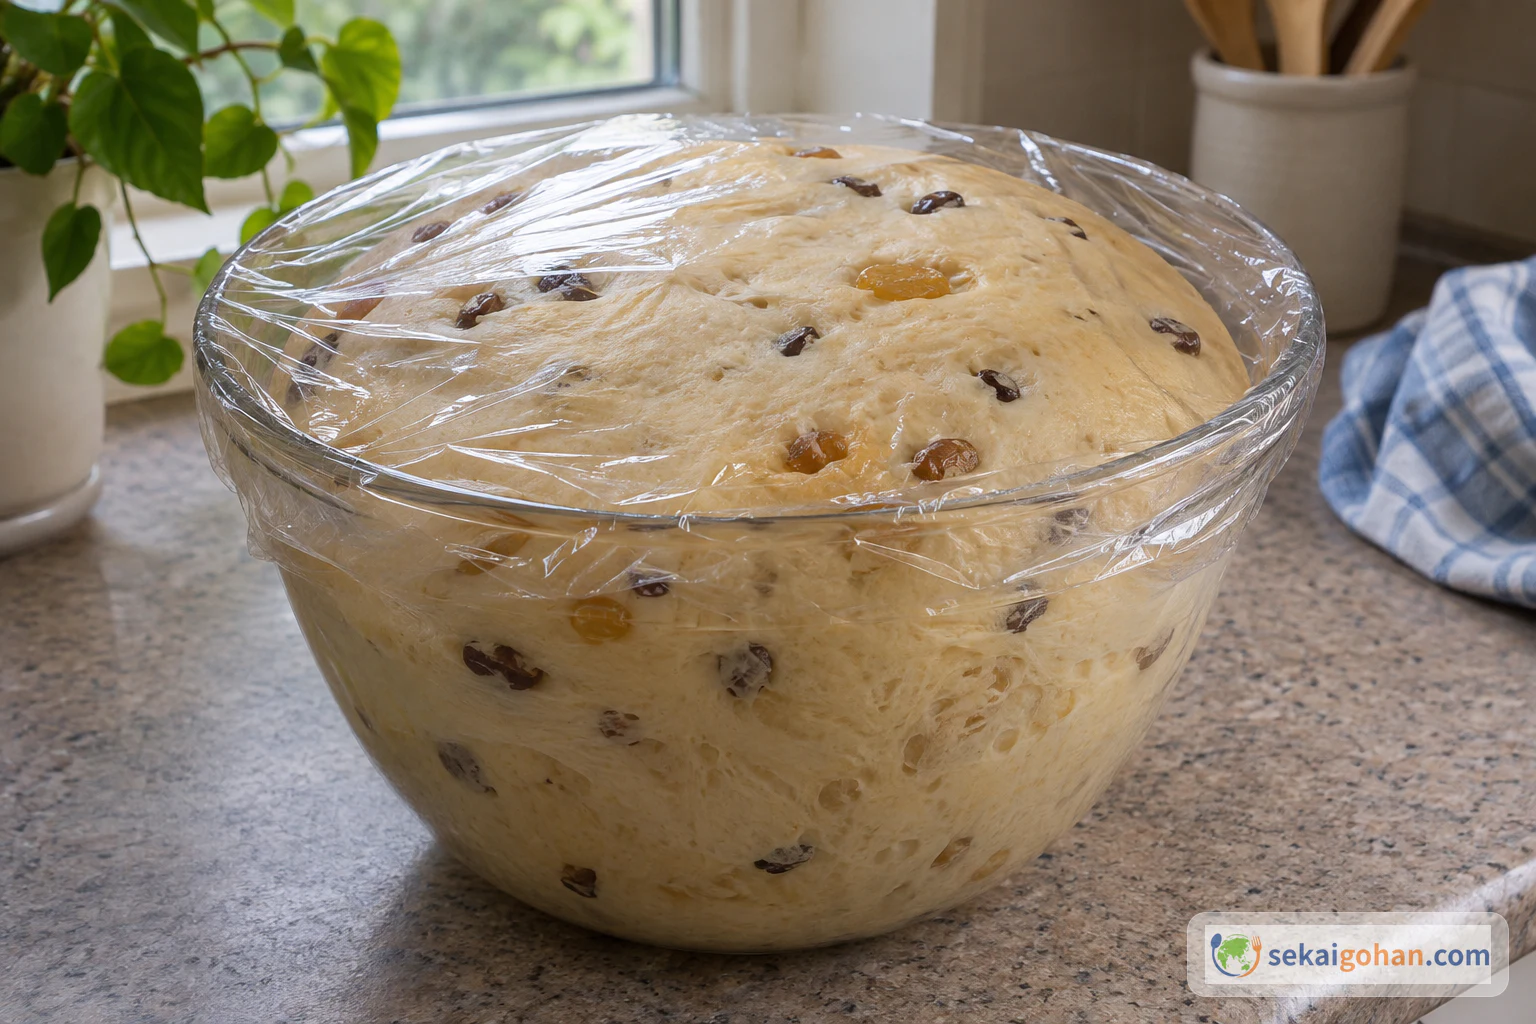
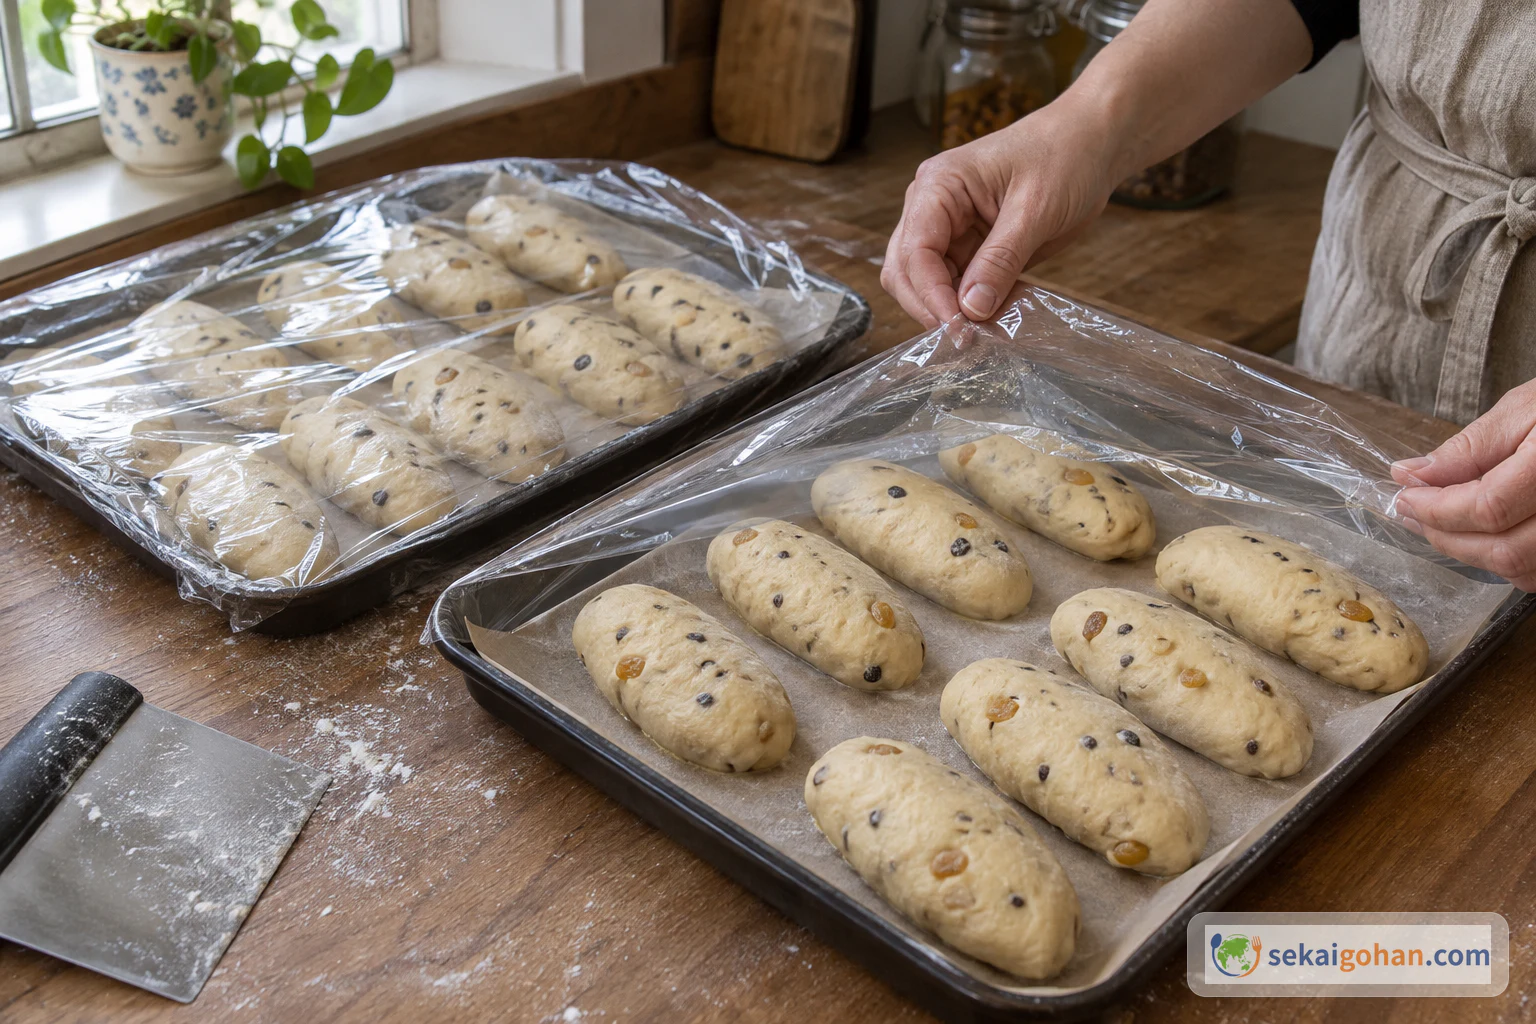
Both rises end when the dough looks right. The first rise is done when the dough has doubled in size, and the second when the shaped buns are well puffed. On a warm day the dough gets there sooner, so check early and move on as soon as it is ready.
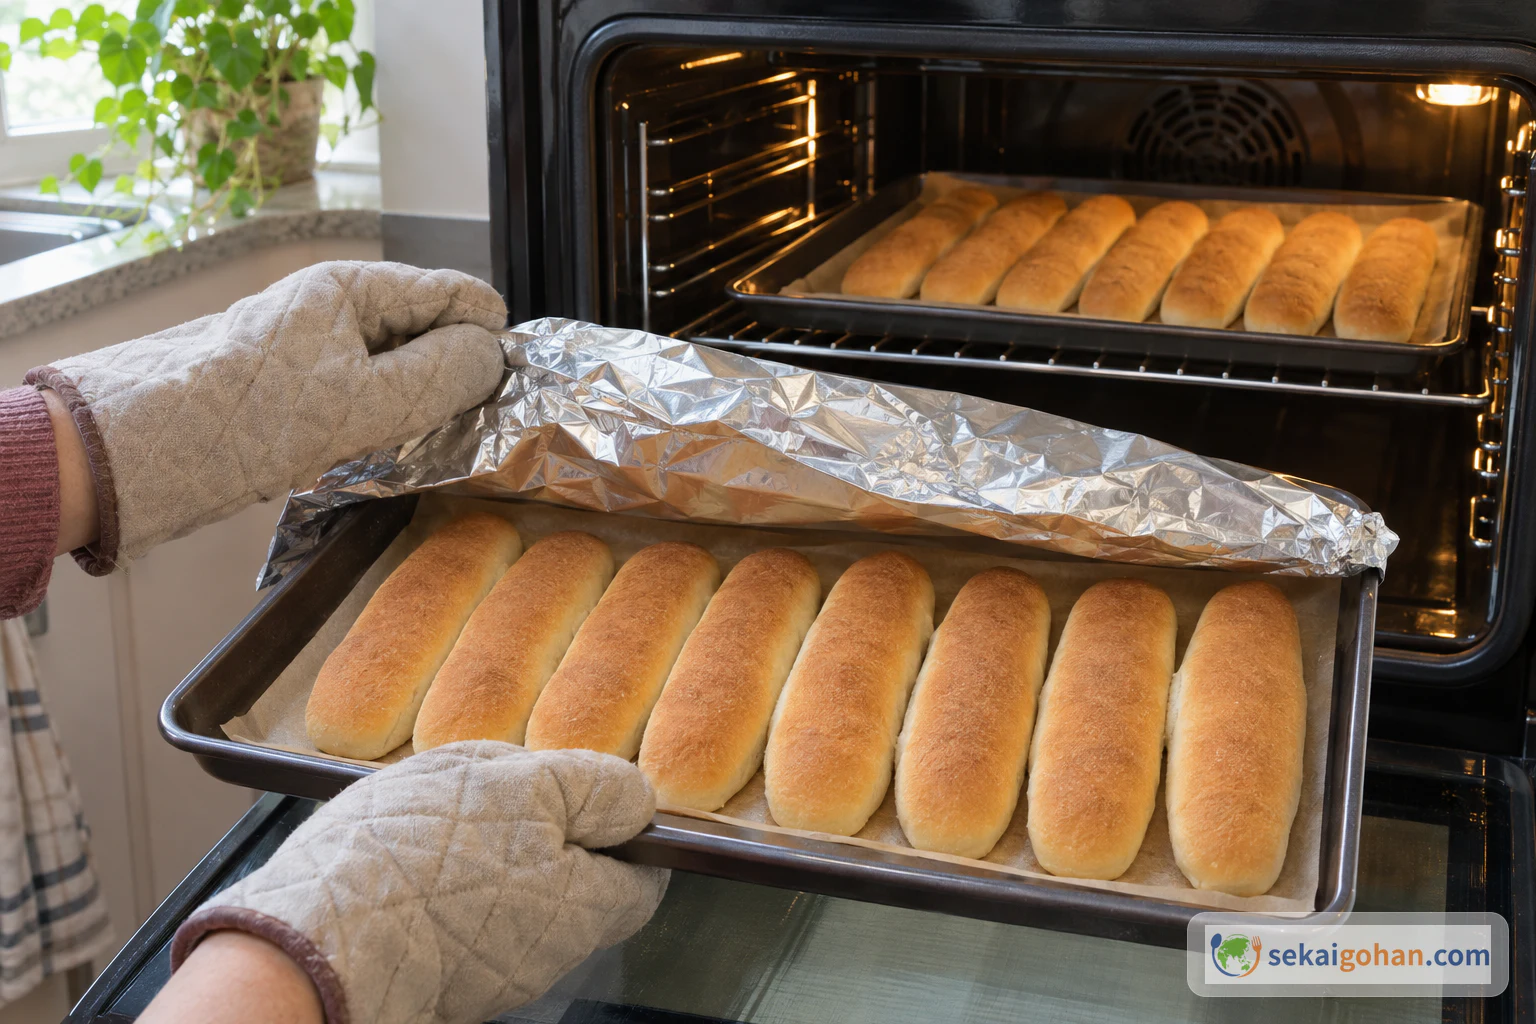
The oven runs at 425°F (220°C), and the foil goes on partway through the bake. Pull the rack out with oven mitts, lay the foil over the buns without leaning across the open door, and set the hot trays on a heatproof surface.
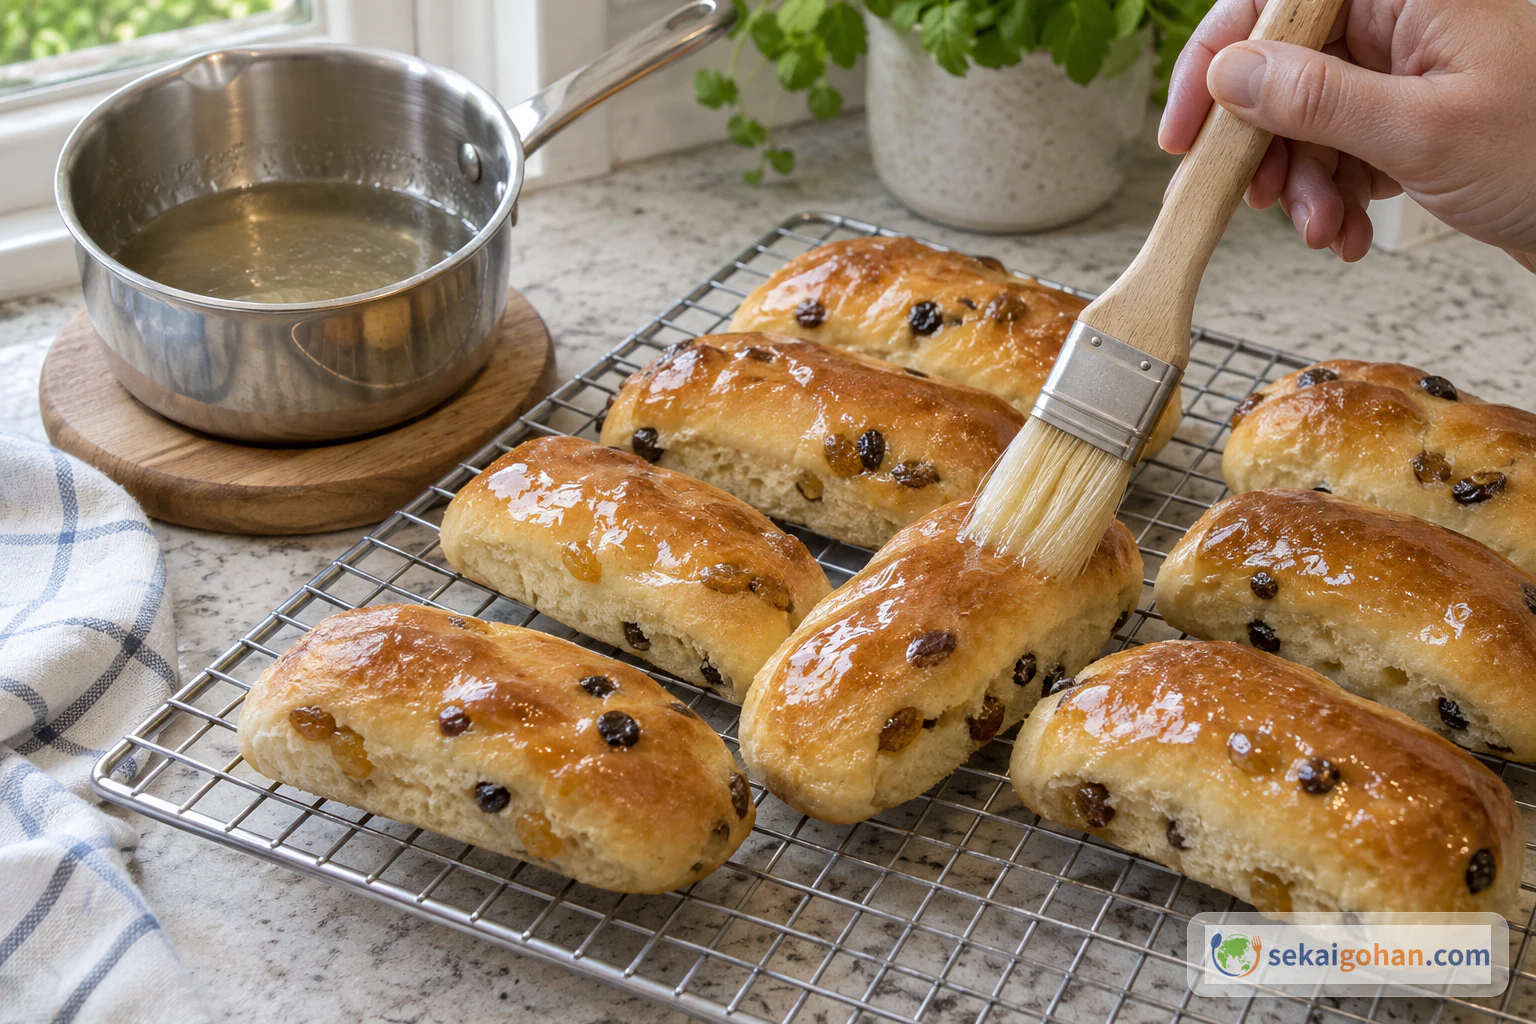
The glaze goes on hot buns, so it sinks in and dries to a thin film. The icing goes on cooled buns, so it stays in a neat stripe without melting. Beat the icing well before it goes on. Icing with air beaten in tastes lighter and less sweet, while flat icing sits heavy on the bun.
When It Goes Wrong
| What you see | Why | What to do |
|---|---|---|
| No froth in the yeast mixture | The milk was too hot, or the yeast is old | Start again with fresh yeast and milk that feels only warm |
| Dough rises too fast and smells sour | The room is warm and the dough overproofed | Go by size, not time. Move on as soon as the dough has doubled |
| Buns are dry inside | Overbaked | Keep the 8-minute bake and the 5 minutes under foil exactly, then take them out |
| Icing tastes heavy and too sweet | Not enough air beaten in | Beat the icing longer before spreading |
| Icing runs off the buns | Too much milk, or the buns were still warm | Start firmer and loosen over hot water. Ice only fully cooled buns |
| Coconut falls off | The icing dried before the coconut went on | Ice and coat one bun at a time |
If the dough feels slack while you knead, your flour absorbs less liquid. Dust a little more flour on the surface as you knead, but keep the recipe amounts the same.
Serving and Variations
At the Table
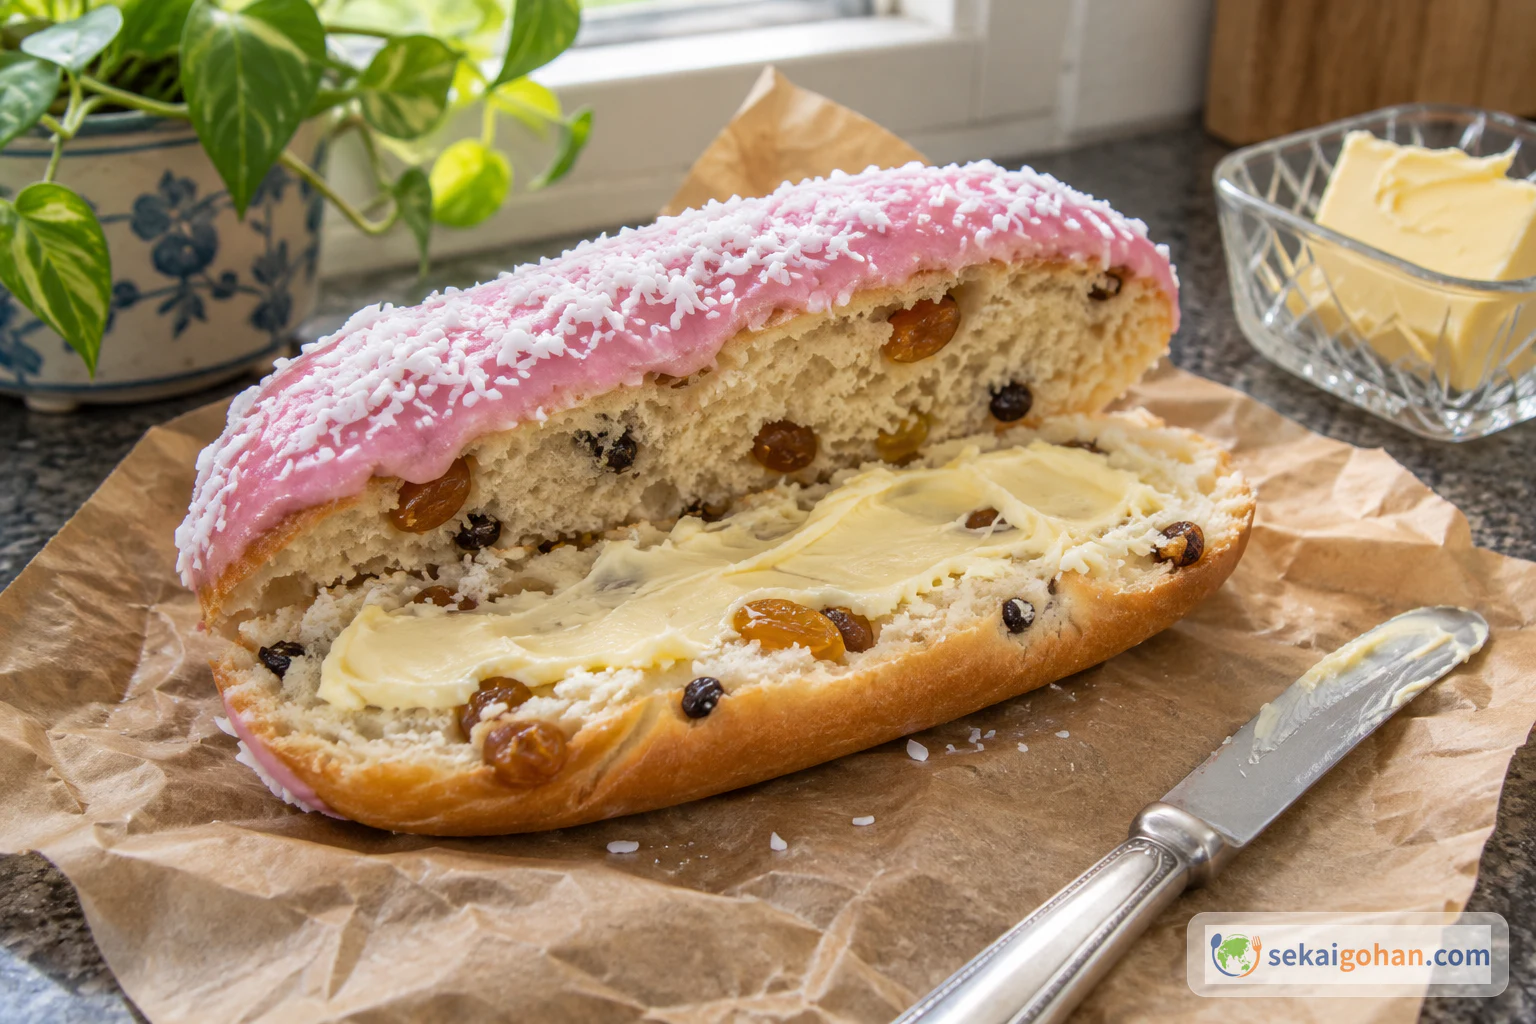
The everyday way is to eat it straight from a paper bag, icing first. The grown-up way is to split it lengthwise like a book and spread it with butter. Butter against pink icing is what people remember, and a coffee goes well alongside. If you have bought or baked a whole tray, put it on the table with butter and a knife and let everyone split their own.
Variations
- No fruit. Leave out the sultanas and currants for the plain white bun of chain bakeries. You get a softer, sweeter bun where the icing does all the work.
- Another color or white. Skip the coloring or pick another color for the icing, and leave off the coconut if you like. The bun looks different but tastes the same.
- Cream cheese frosting and a slab of butter. Swap the icing for a deep-pink cream cheese frosting and serve a thick piece of butter alongside, as the newer bakery versions do. The tang of the cream cheese cuts the sweetness, making it richer and less sugary.
Leftovers
Finger buns are best on the day they are baked. Once the icing has dried, wrap leftovers in plastic wrap and keep them at room temperature. Warm them briefly before eating to bring back the aroma.
Frequently Asked Questions
Can I make a half batch?
Yes. Halve every ingredient. For the egg, beat it and weigh out 25 g (about 1 oz) for the dough, and use the rest elsewhere. Shape eight buns and bake them on one tray.
Should I brush the buns with egg before baking?
No. The egg goes into the dough only. The shine comes from the sugar-and-gelatine glaze brushed on straight after baking, which gives a thinner, clearer gloss than egg wash would.
My oven browns things fast. Should I lower the temperature?
Keep it at 425°F (220°C). A hot, short bake keeps the crumb soft and moist. If the tops are darkening before the 8 minutes are up, lay the foil over them then and finish the bake under it.