Jilapi: Bangladeshi Fried Yogurt-Batter Spirals in Saffron Syrup

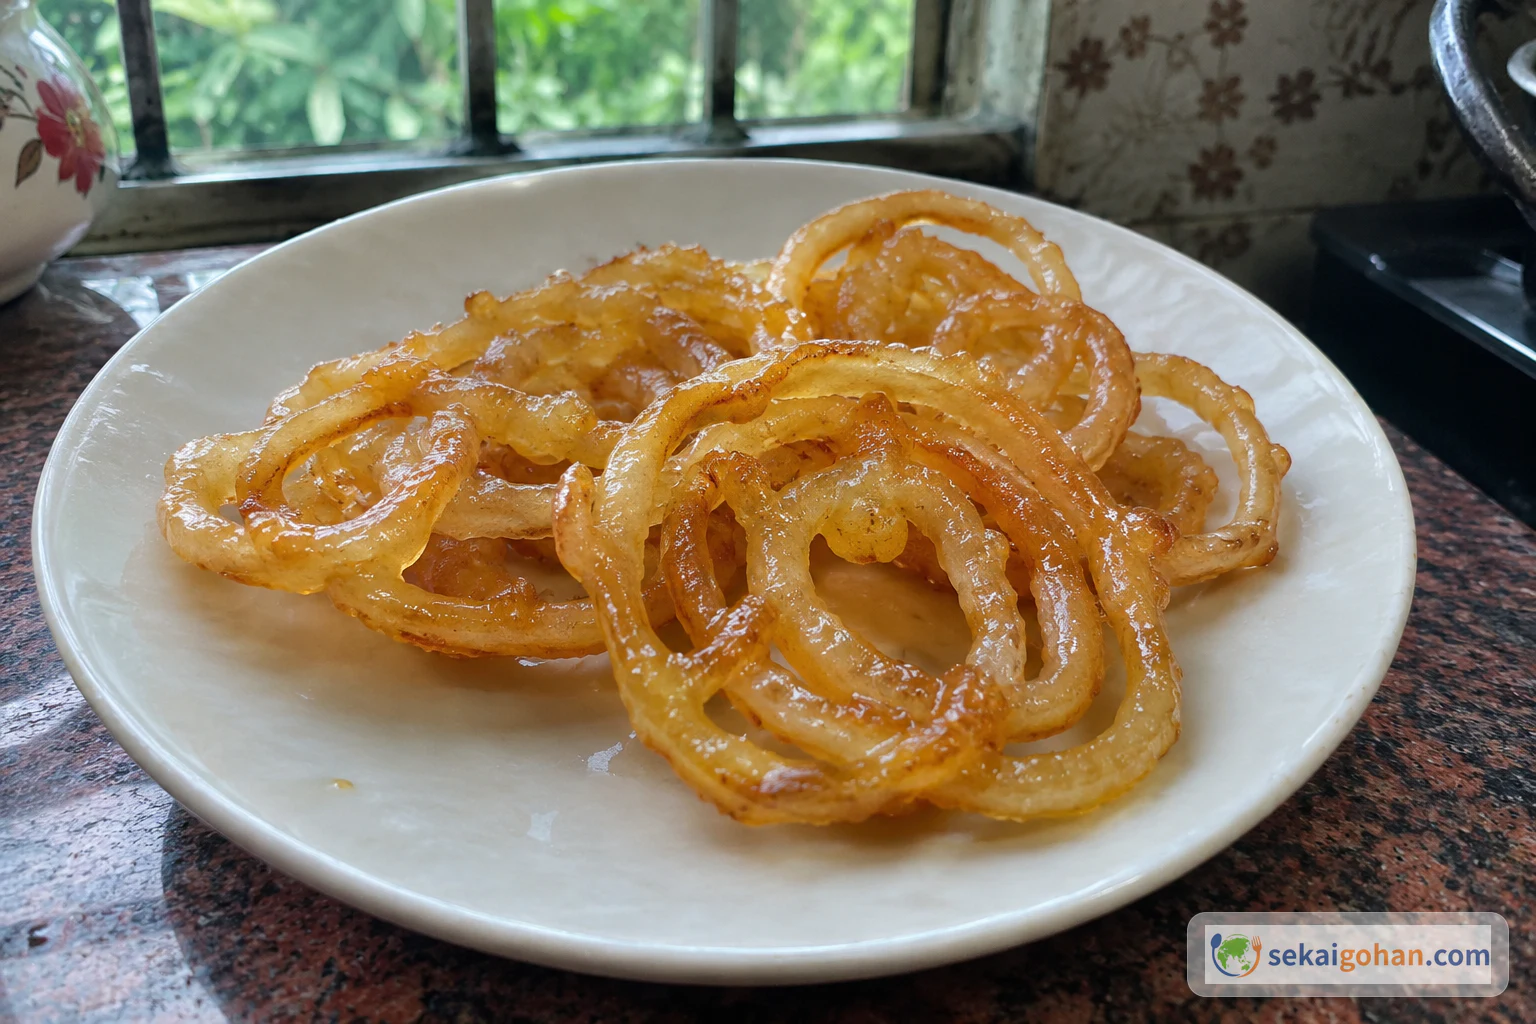
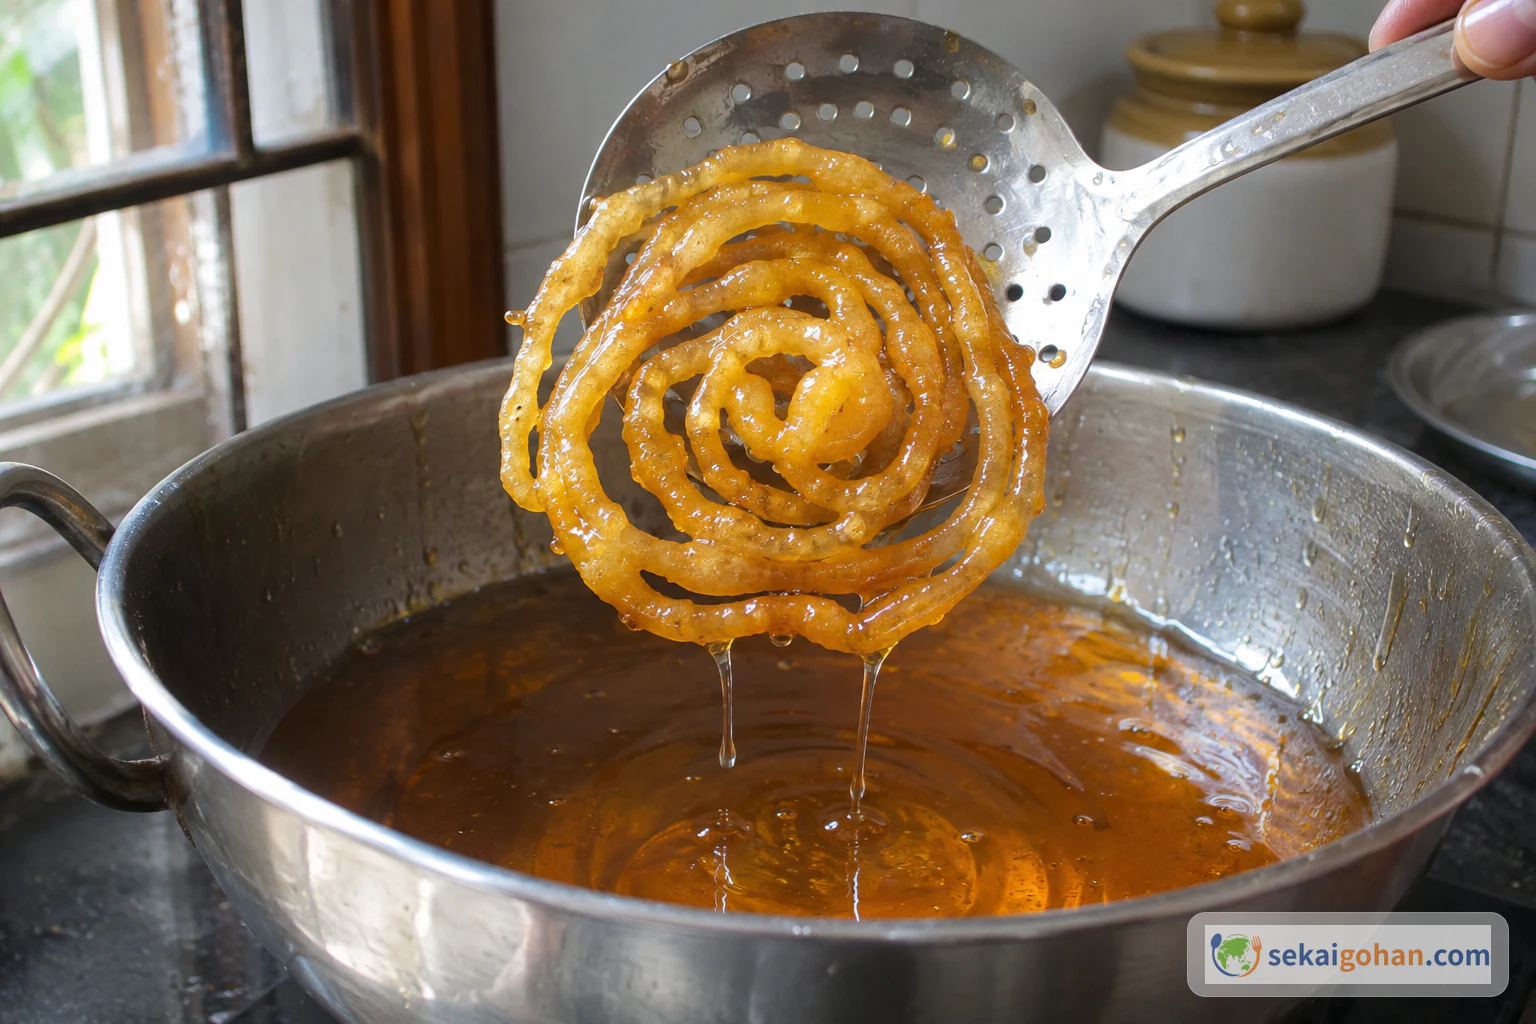
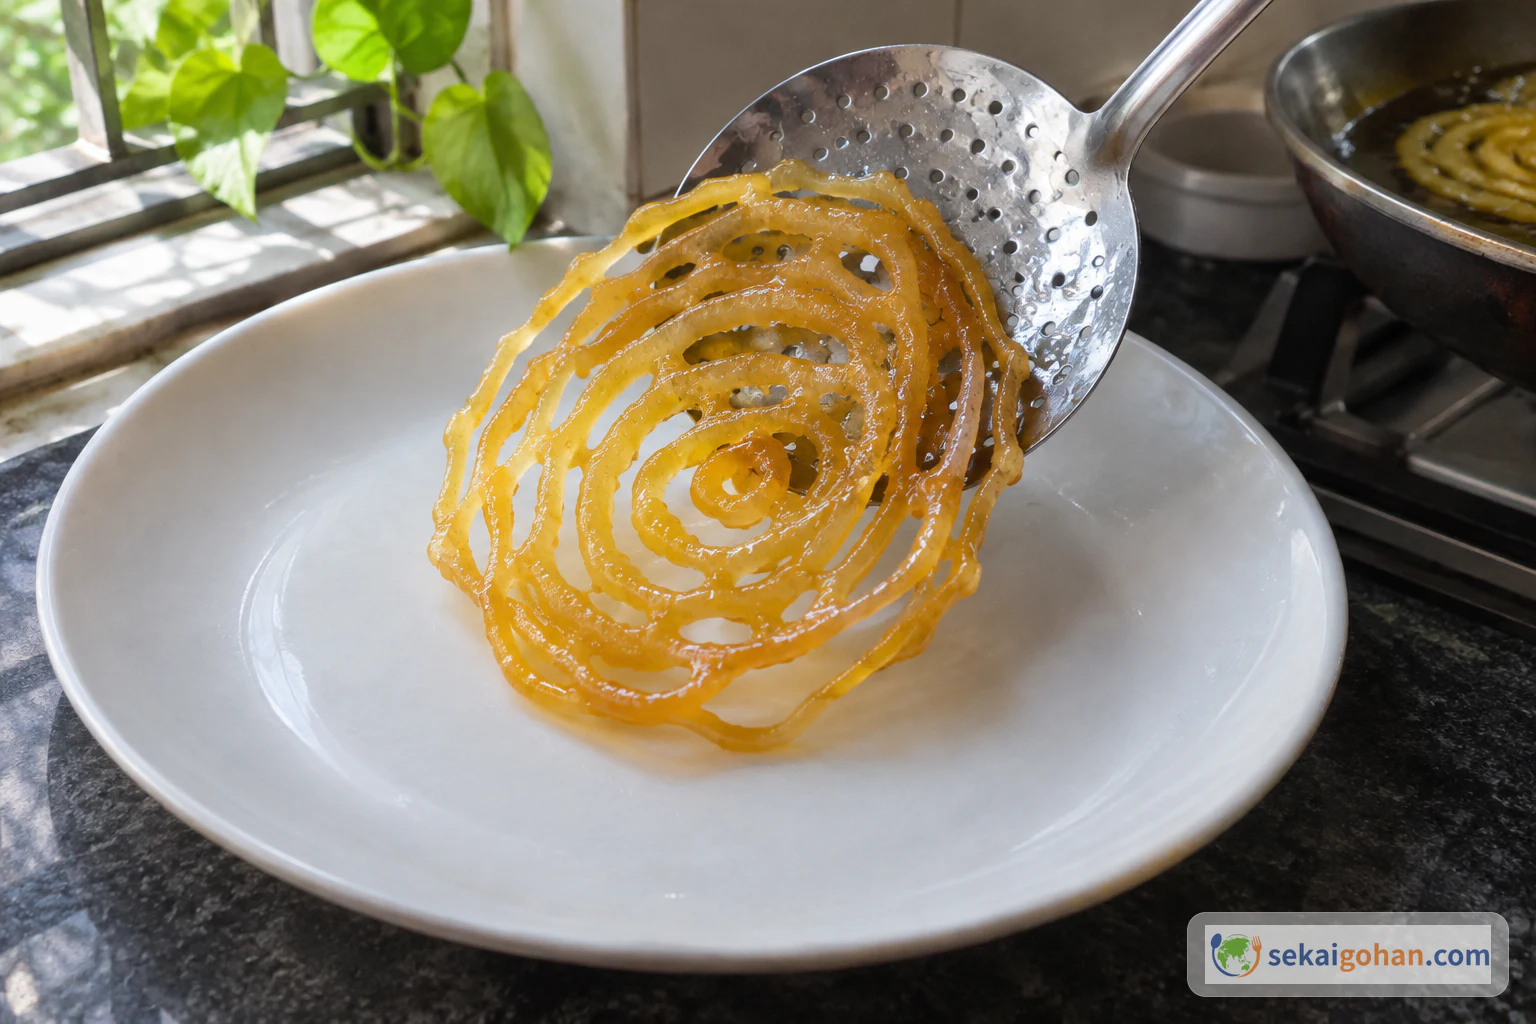
Freshly fried Bangladeshi jilapi spirals glossy with saffron syrup
Cuisine
Bangladeshi

Jilapi from Bangladesh: fermented flour and yogurt batter piped into spirals, fried and soaked in saffron syrup. See the batter, syrup thread and frying cues.

Cooking flow

Cooking steps

STEP 11 / 14

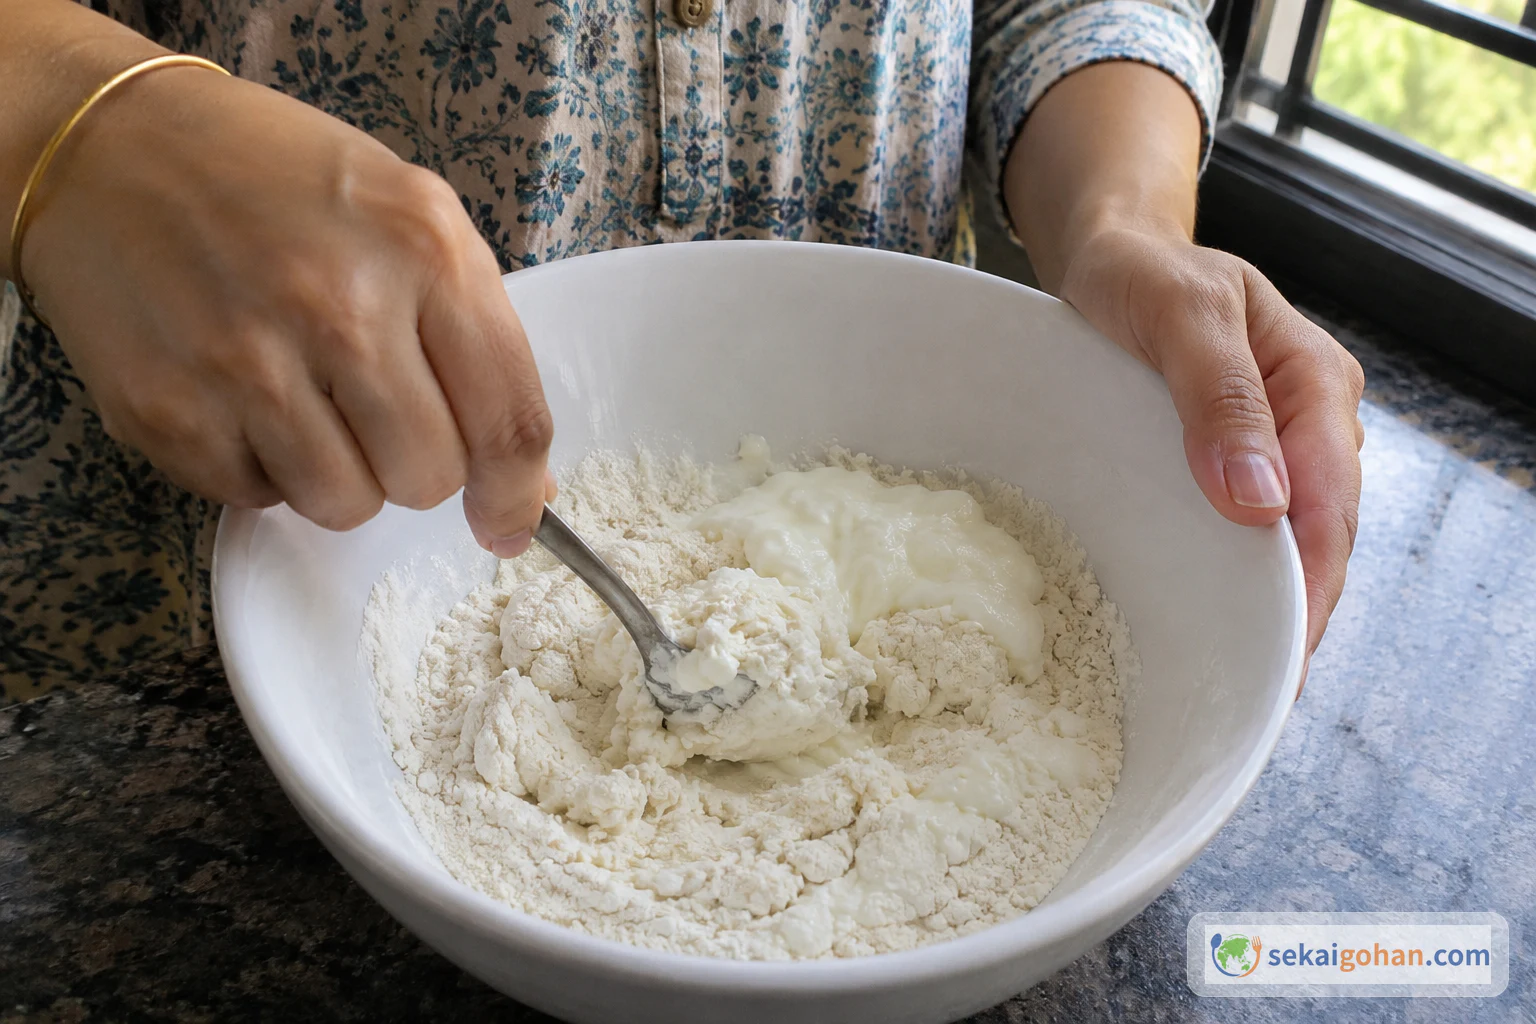
Mix the flour and yogurt

Hands stirring flour and plain yogurt together in a clean bowl
Only flour and yogurt go into the bowl at this point

Put the maida and yogurt in a clean bowl. Stir with a spoon, pressing any lumps against the side of the bowl. The mixture starts out thick and rough. Keep stirring until no dry flour shows and the paste looks smooth.

STEP 22 / 14

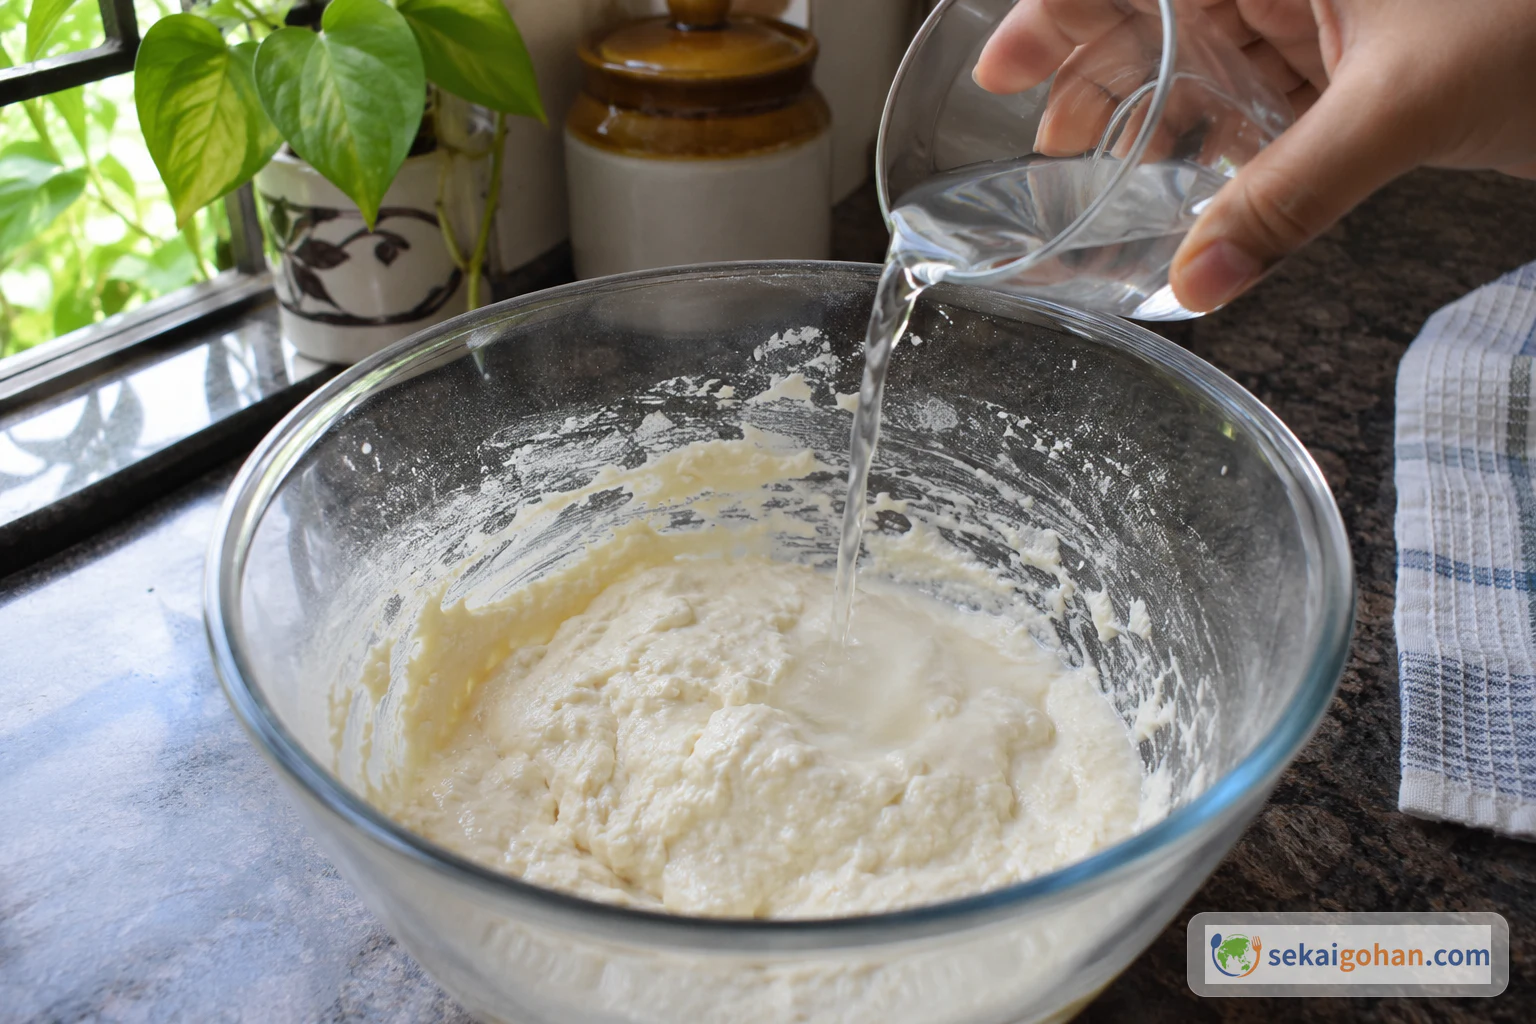
Bring the batter to a dropping consistency

A small trickle of water going into the thick flour and yogurt batter
Add water in a trickle, never a splash, and stir it in fully before adding more

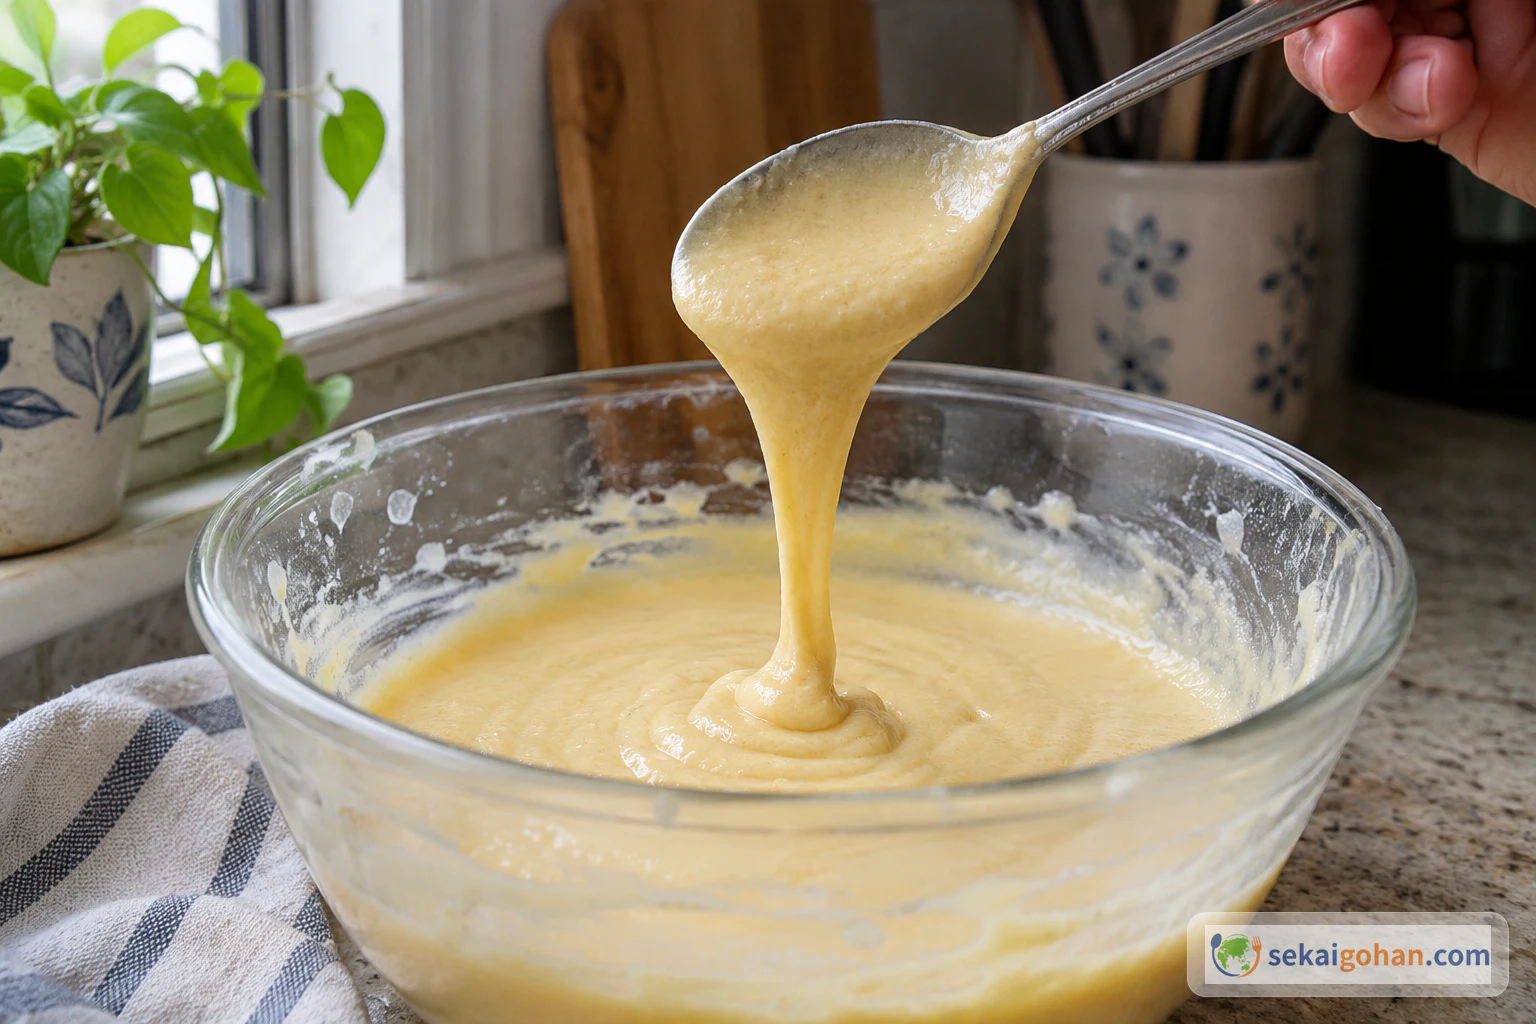
Lift a spoonful and watch how it falls. If it clings in a stiff lump, add water a little at a time and stir well after each addition. Stop as soon as the batter moves freely off the spoon. It is right when it is thick and smooth and drops back into the bowl in a heavy fall rather than pouring in a thin stream.

A spoon lifting smooth thick batter that drops back into the bowl
The batter falls from the spoon in a thick, smooth drop and settles back slowly
STEP 33 / 14

Leave the batter to ferment

A clean bowl of pale flour and yogurt batter resting on a kitchen counter
A clean bowl and clean hands at the start set up the whole rest

Leave the batter in its clean bowl for 6 to 7 hours. The weather sets the pace, so the exact moment it is ready changes from day to day. The bowl needs nothing from you while it rests. Toward the end of the rest, small bubbles begin to show on the surface.

STEP 44 / 14

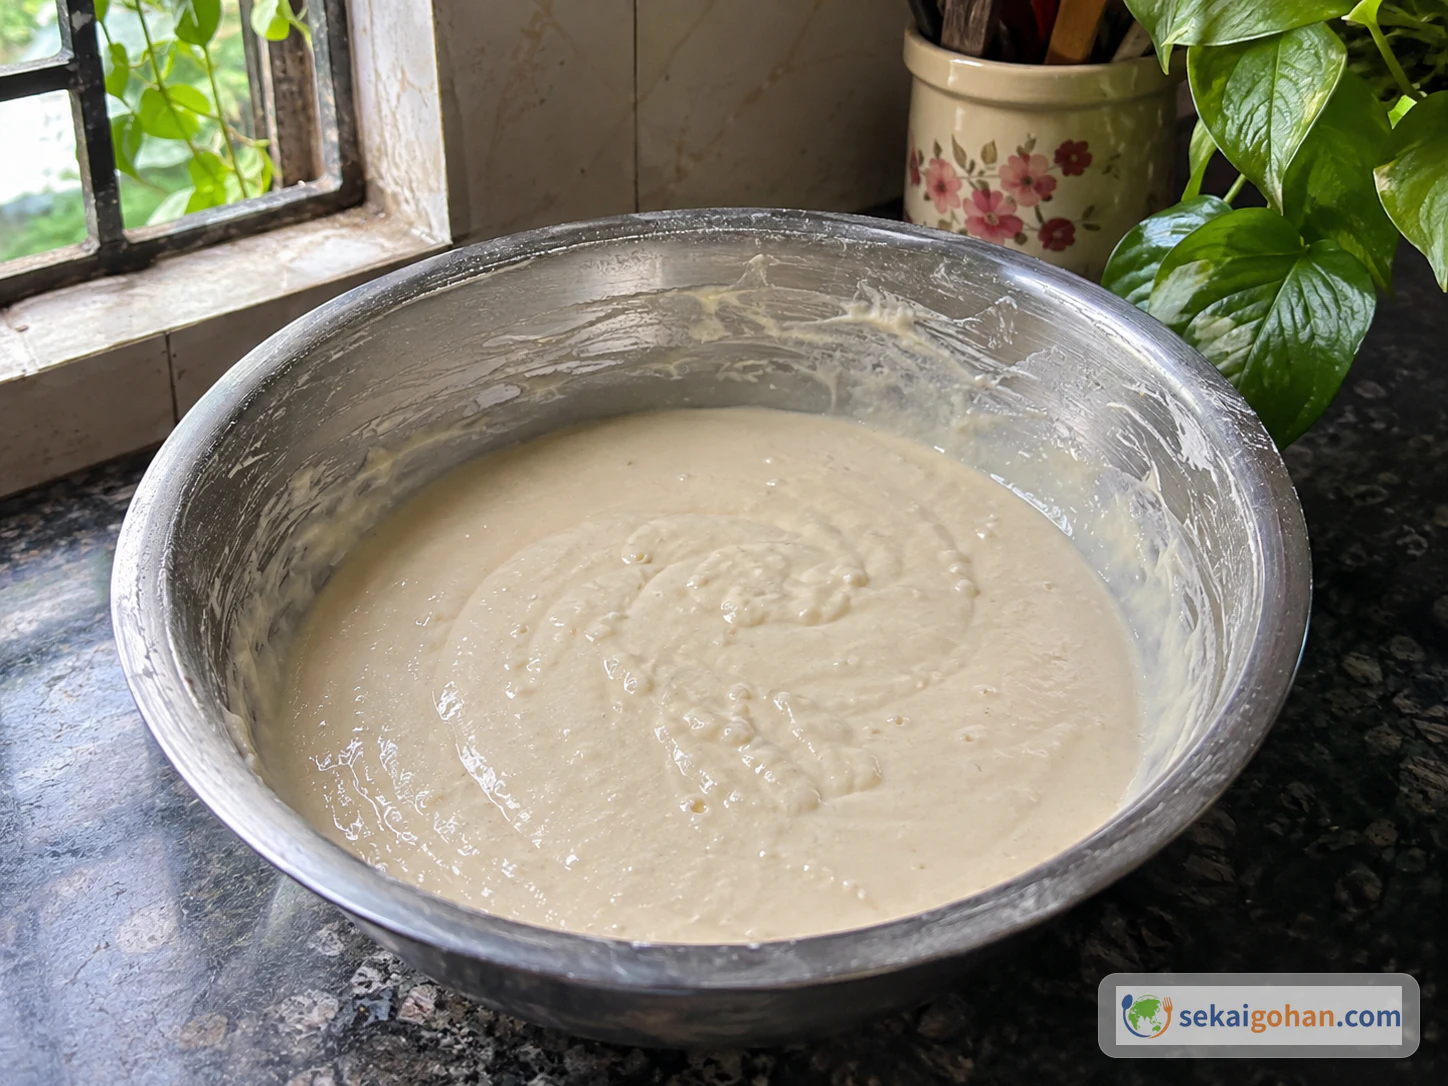
Check that the batter has fermented

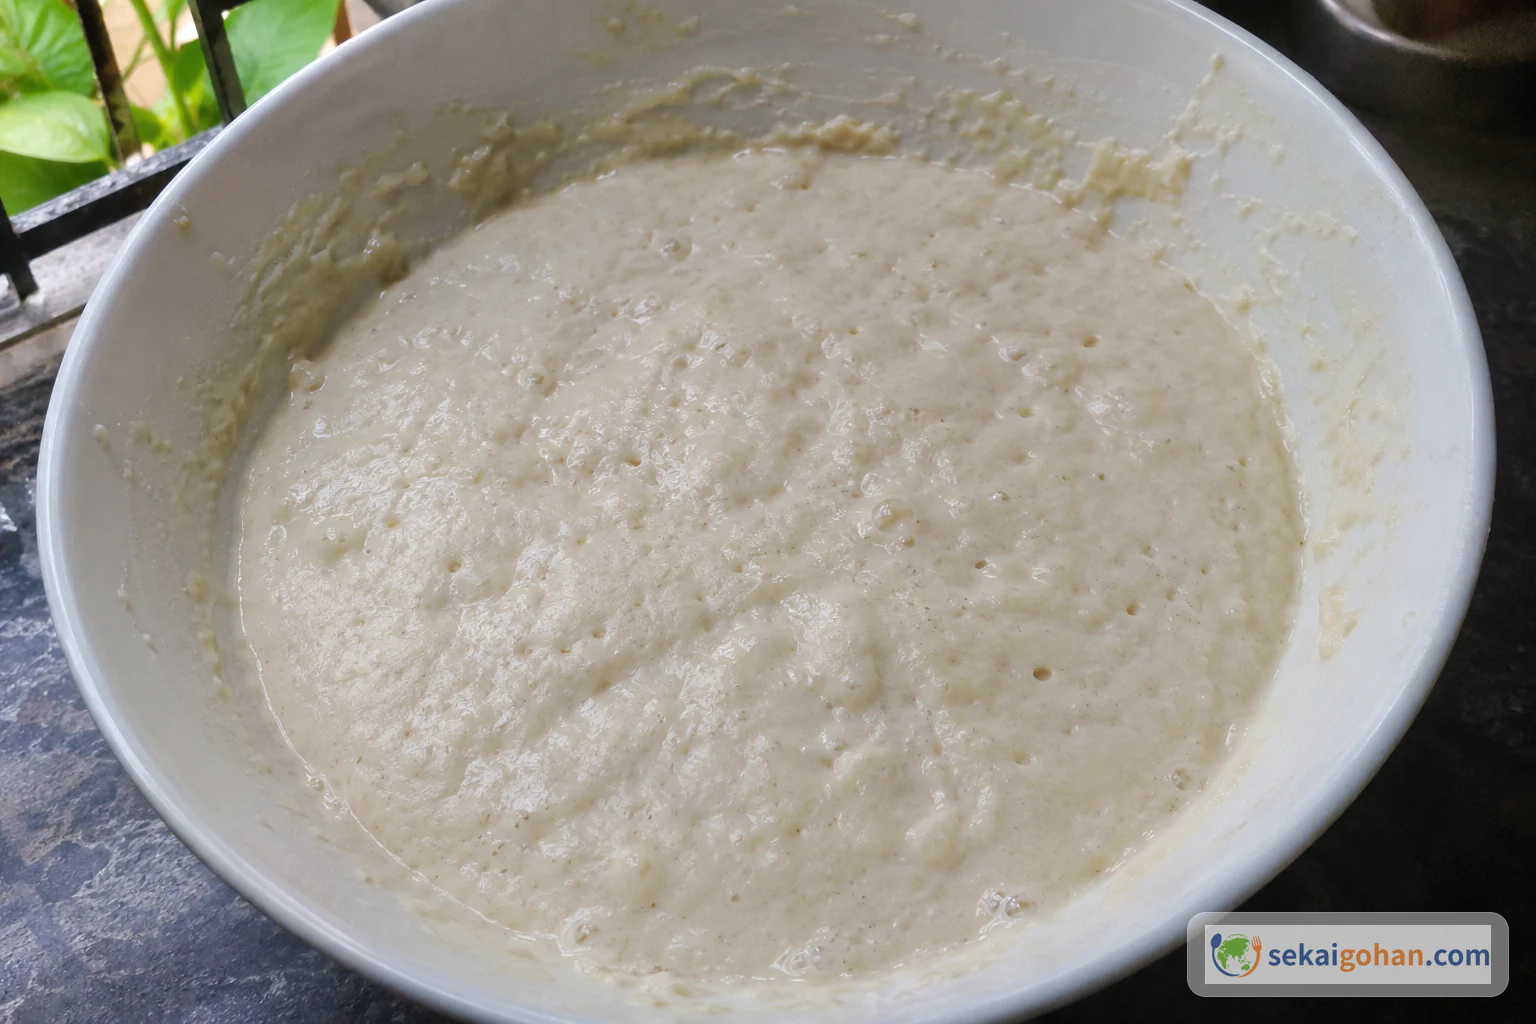
Close view of fermented batter with a spongy surface and small bubbles
Bubbles spread across the whole surface, with an uneven, spongy look

Look at the top of the batter. Small bubbles cover the surface, and the batter looks spongy rather than dense. The smell is pleasantly sour. That is the batter you fry.

STEP 55 / 14

Dissolve the sugar and saffron

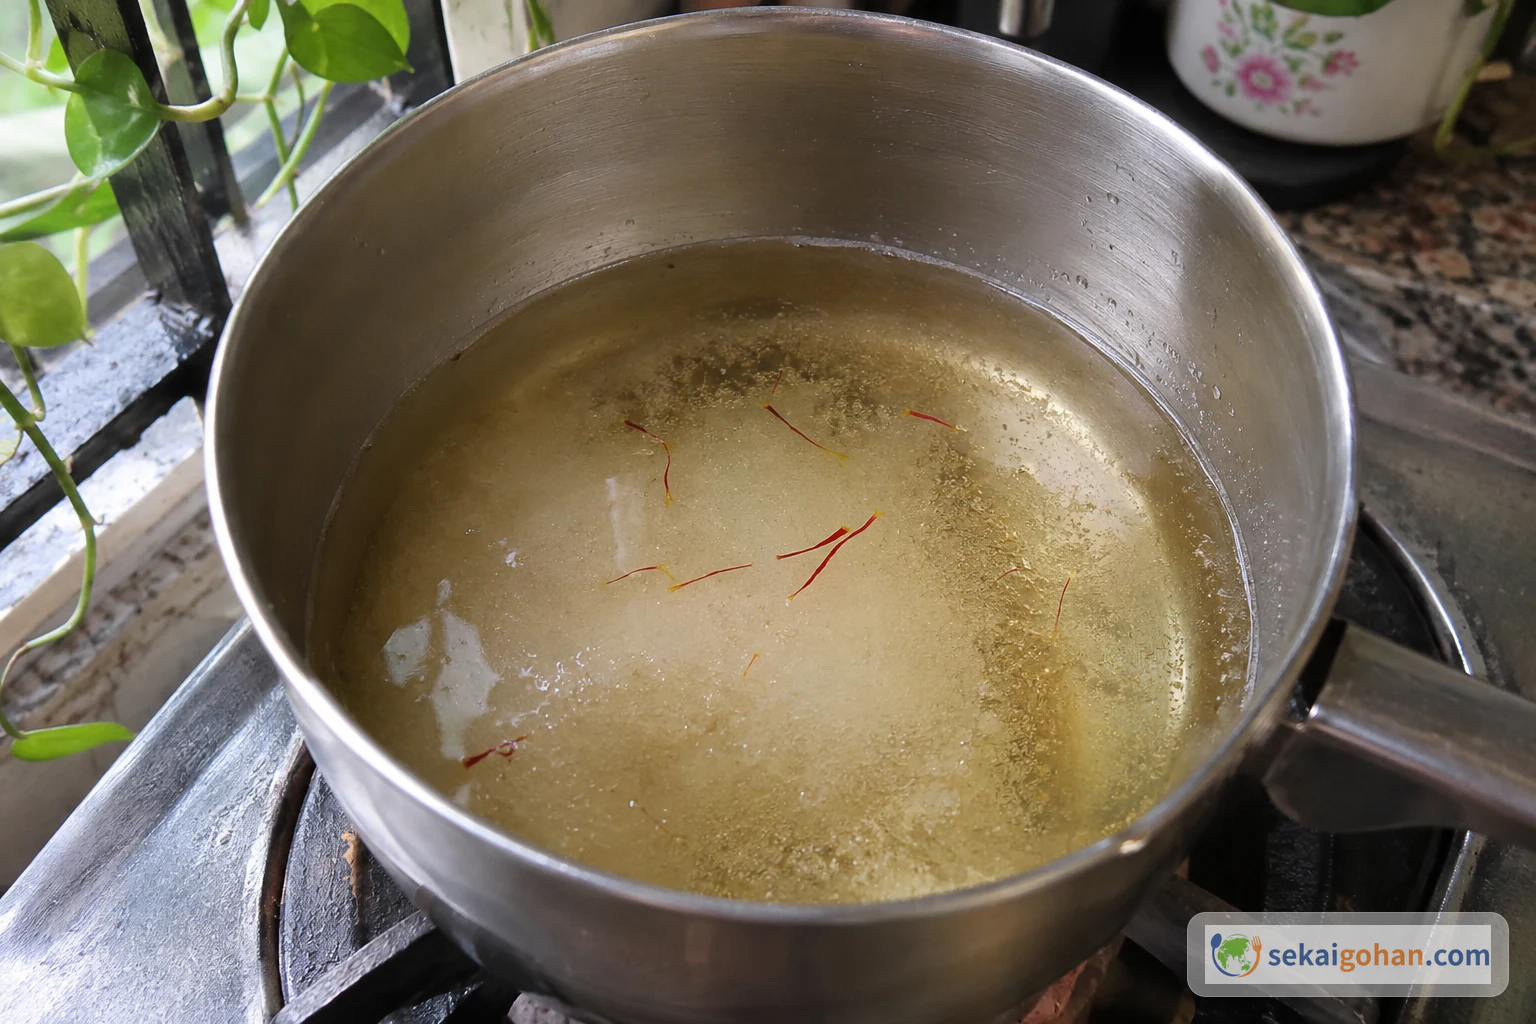
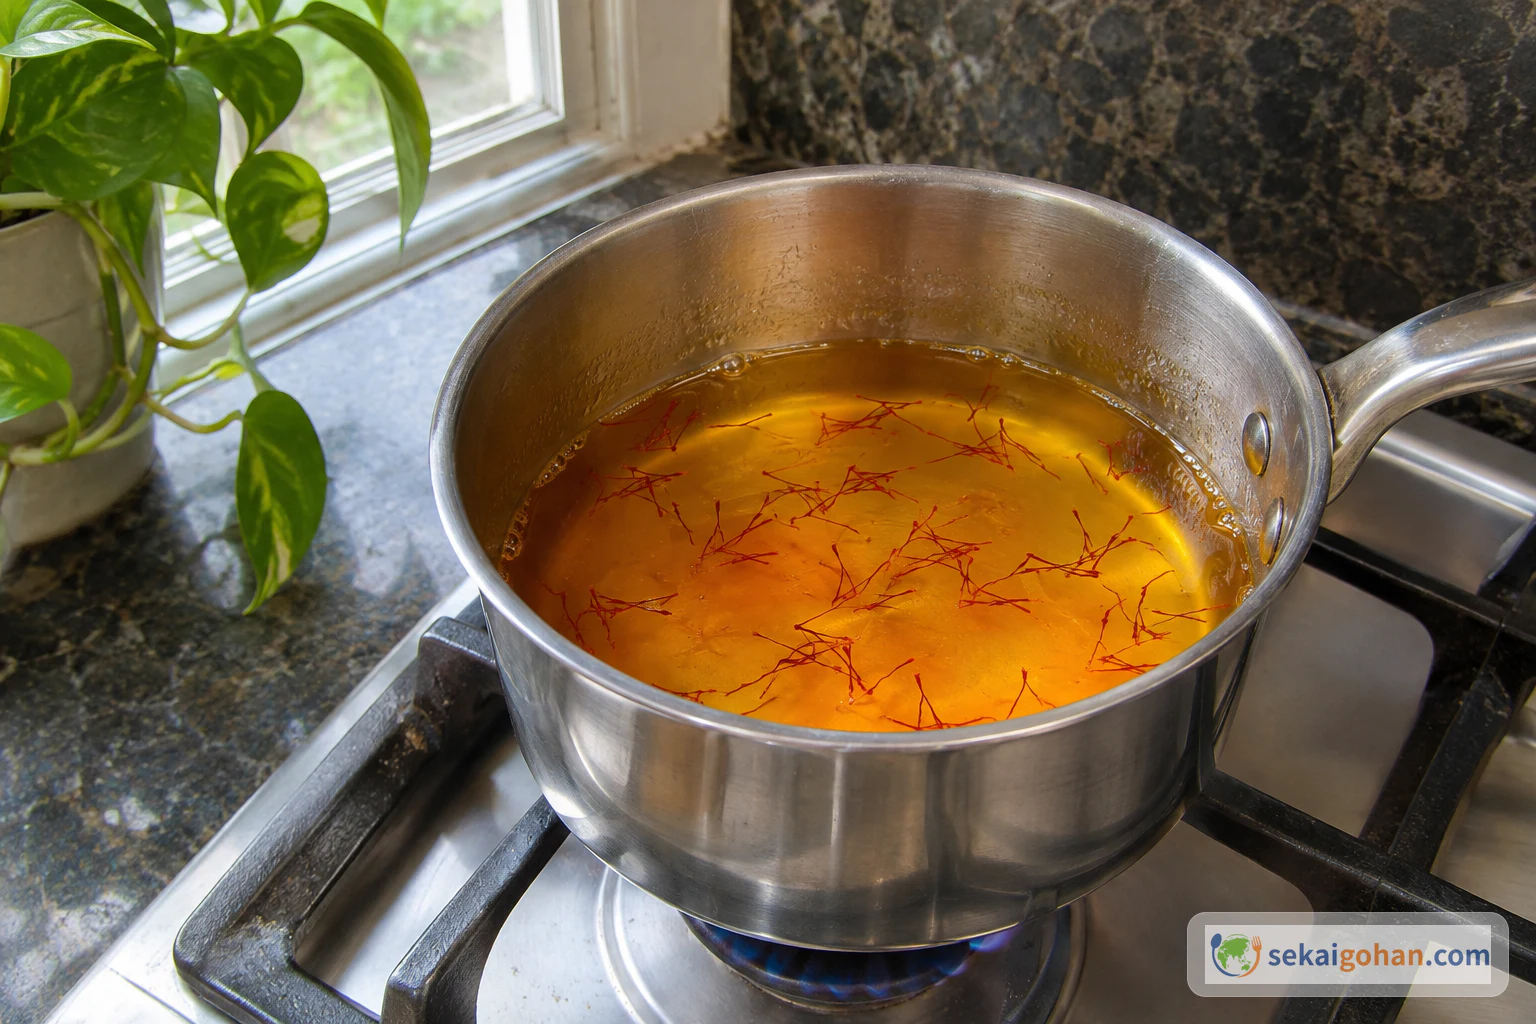
Sugar, water and saffron dissolving in a small saucepan over gentle heat
Saffron threads float and tint the liquid gold as the sugar melts

Put the sugar, the syrup water and the saffron in a small saucepan over low heat. Stir gently while the sugar dissolves and the saffron threads release their colour. Keep the heat low through this stage so the sugar melts evenly. The syrup is ready to reduce when it looks clear and golden and the spoon finds no grains on the bottom of the pan.

STEP 66 / 14

Reduce the syrup to a thread

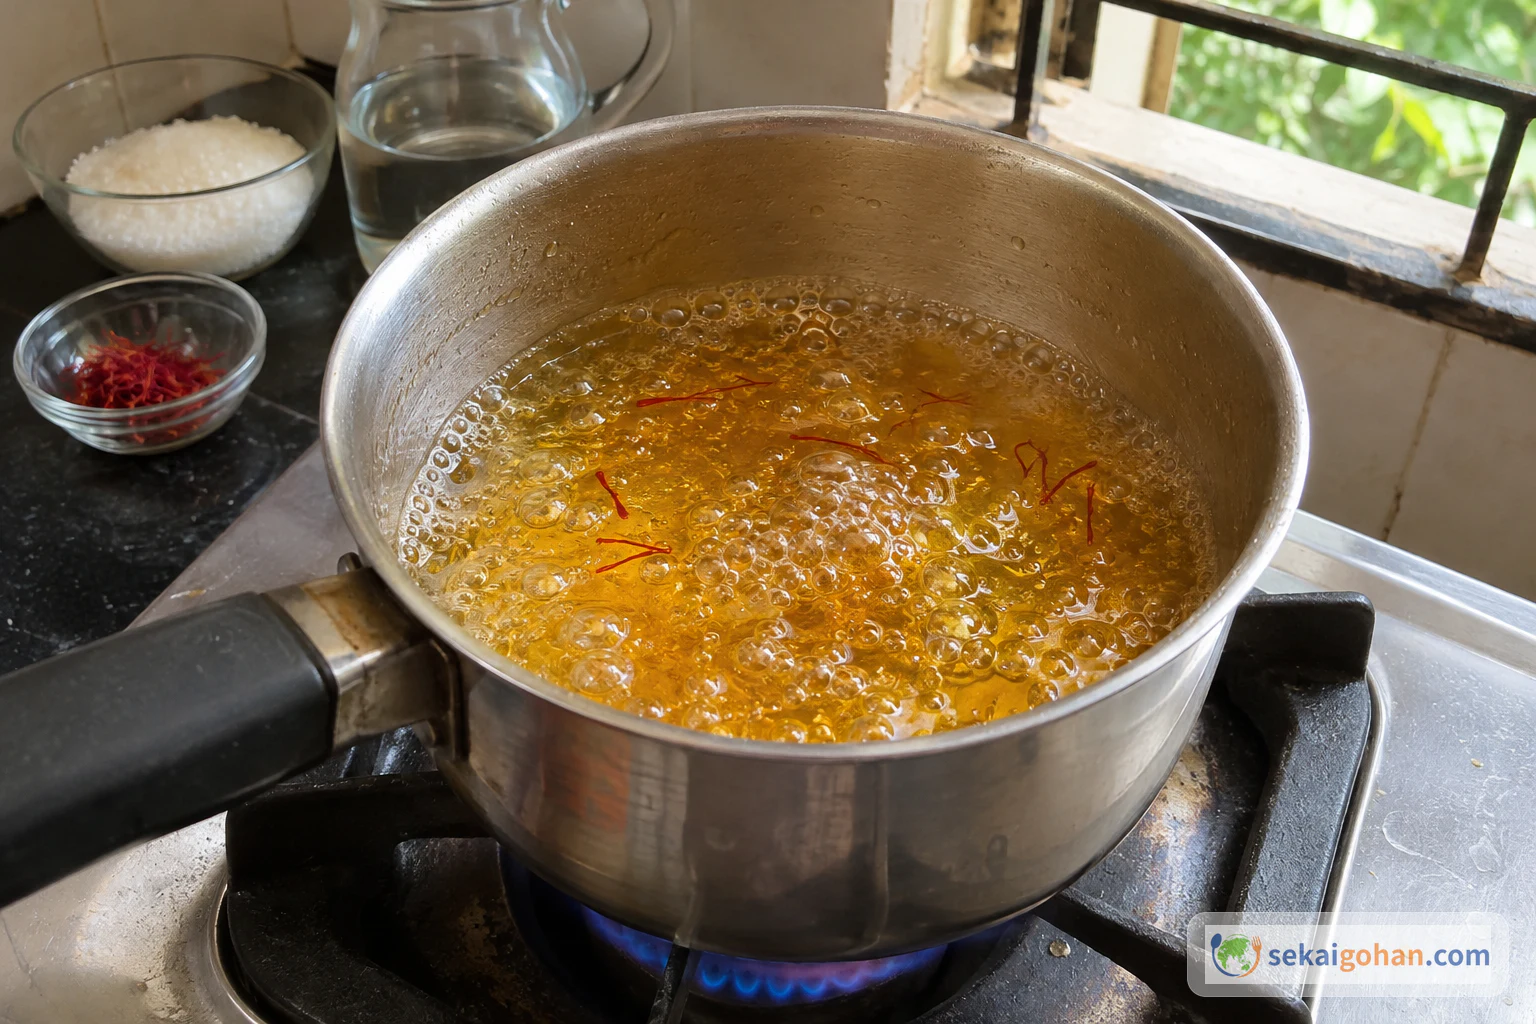
Saffron syrup bubbling in a saucepan on a lit stove
Keep the boil brief; the syrup only needs to thicken a little

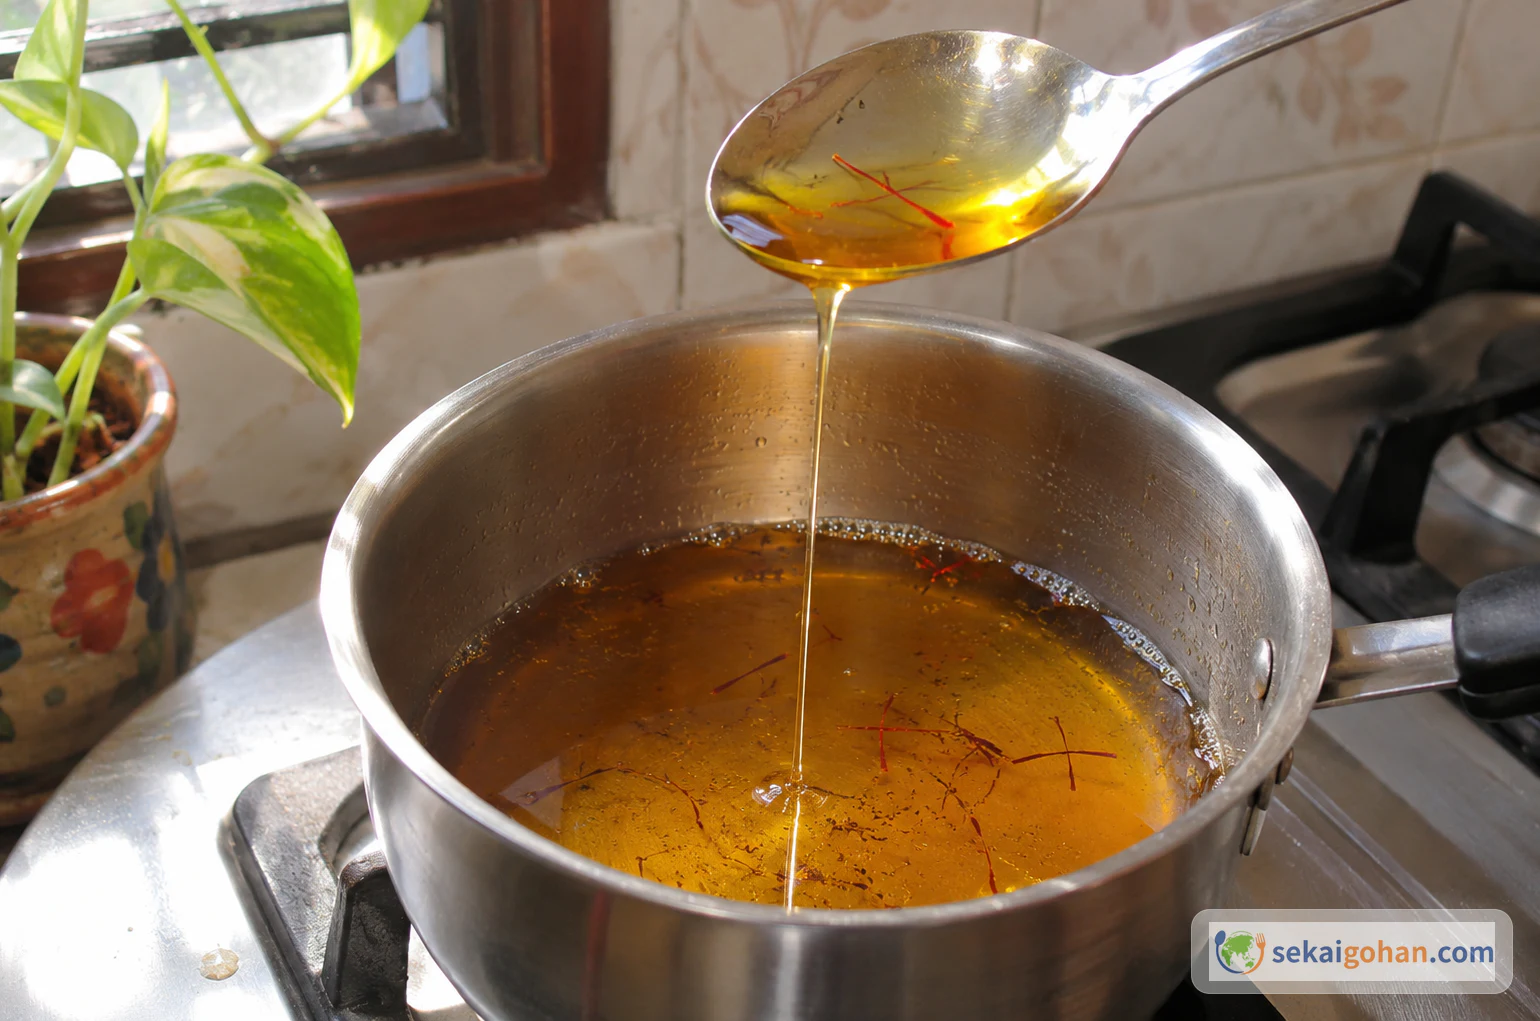
Turn the heat up to high and let the syrup boil so it reduces slightly. Stir once or twice so it heats evenly. Lift the spoon above the pan and let the syrup run back. When it falls in a thin, smooth thread, the syrup is done.

A spoon held over the saucepan with a thin stream of saffron syrup falling back
One unbroken thread from the spoon, with no separate drops
STEP 77 / 14

Keep the syrup warm and heat the oil

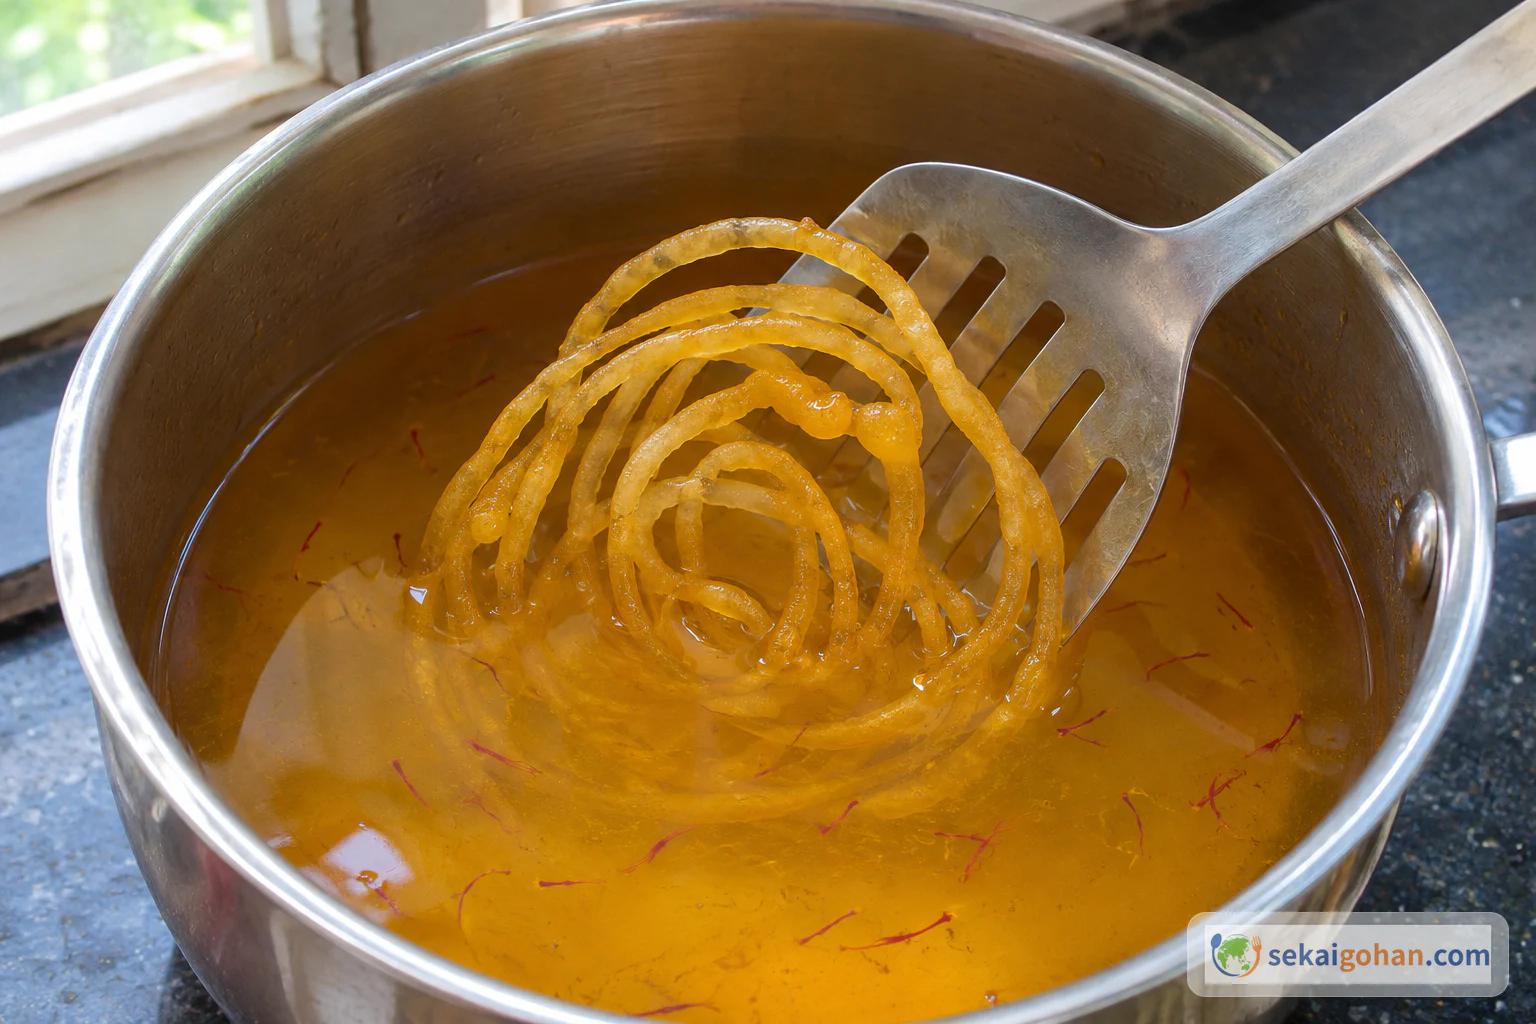
Amber saffron syrup kept warm in its saucepan on the stove
The syrup stays in its own pan, warm, until the first spirals are fried

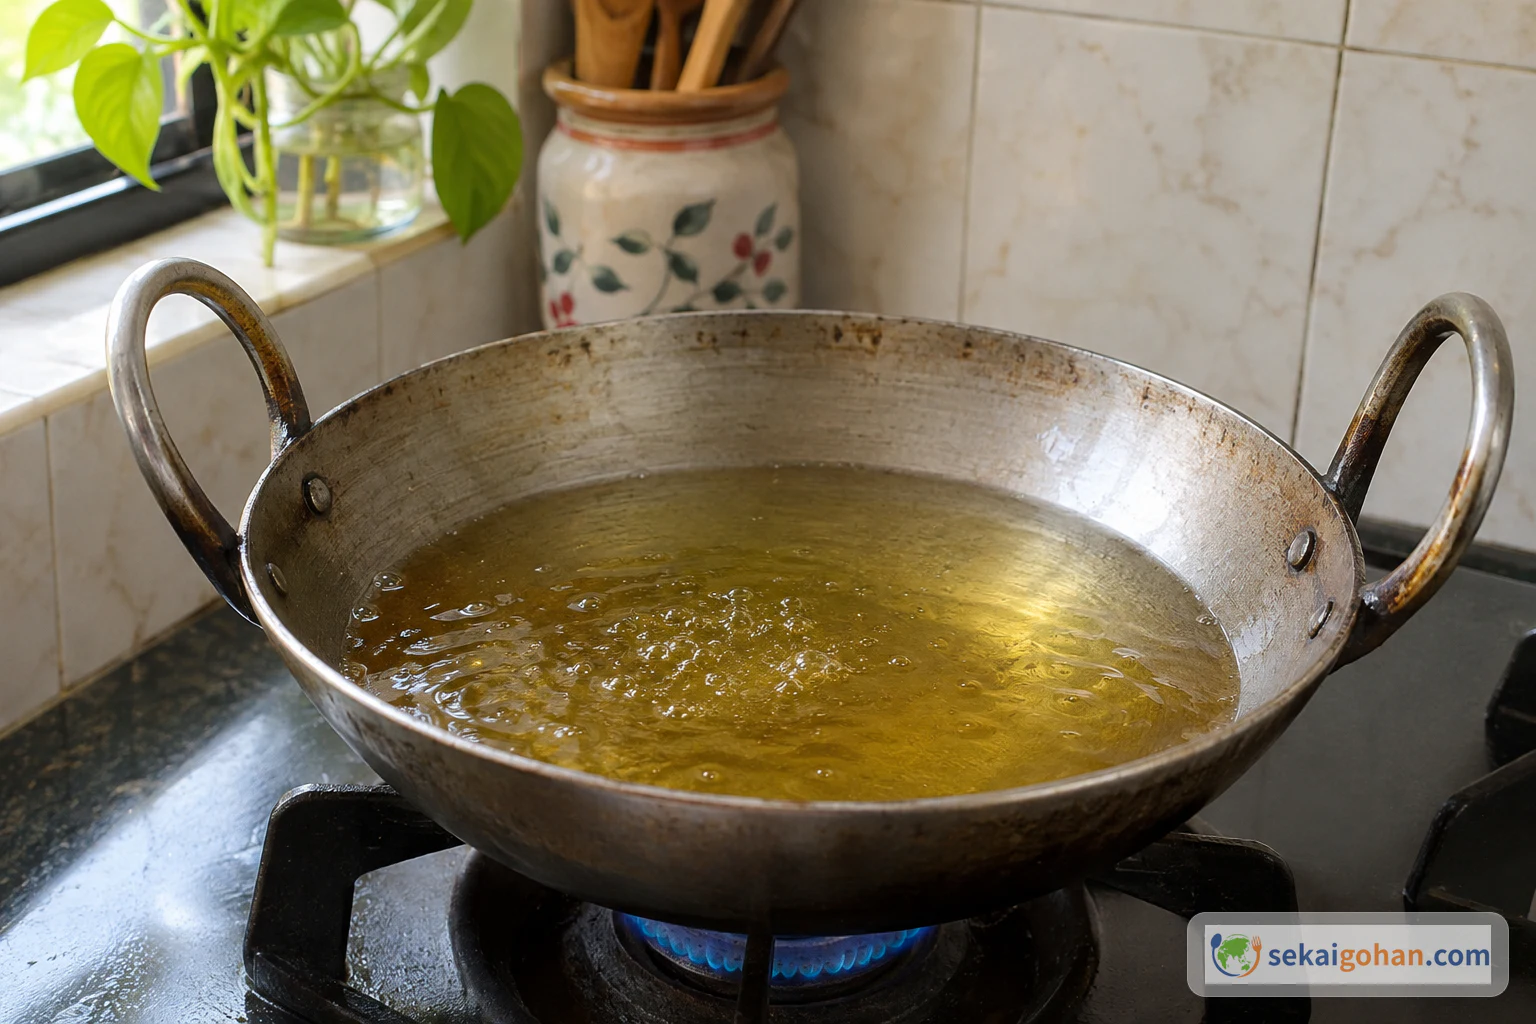
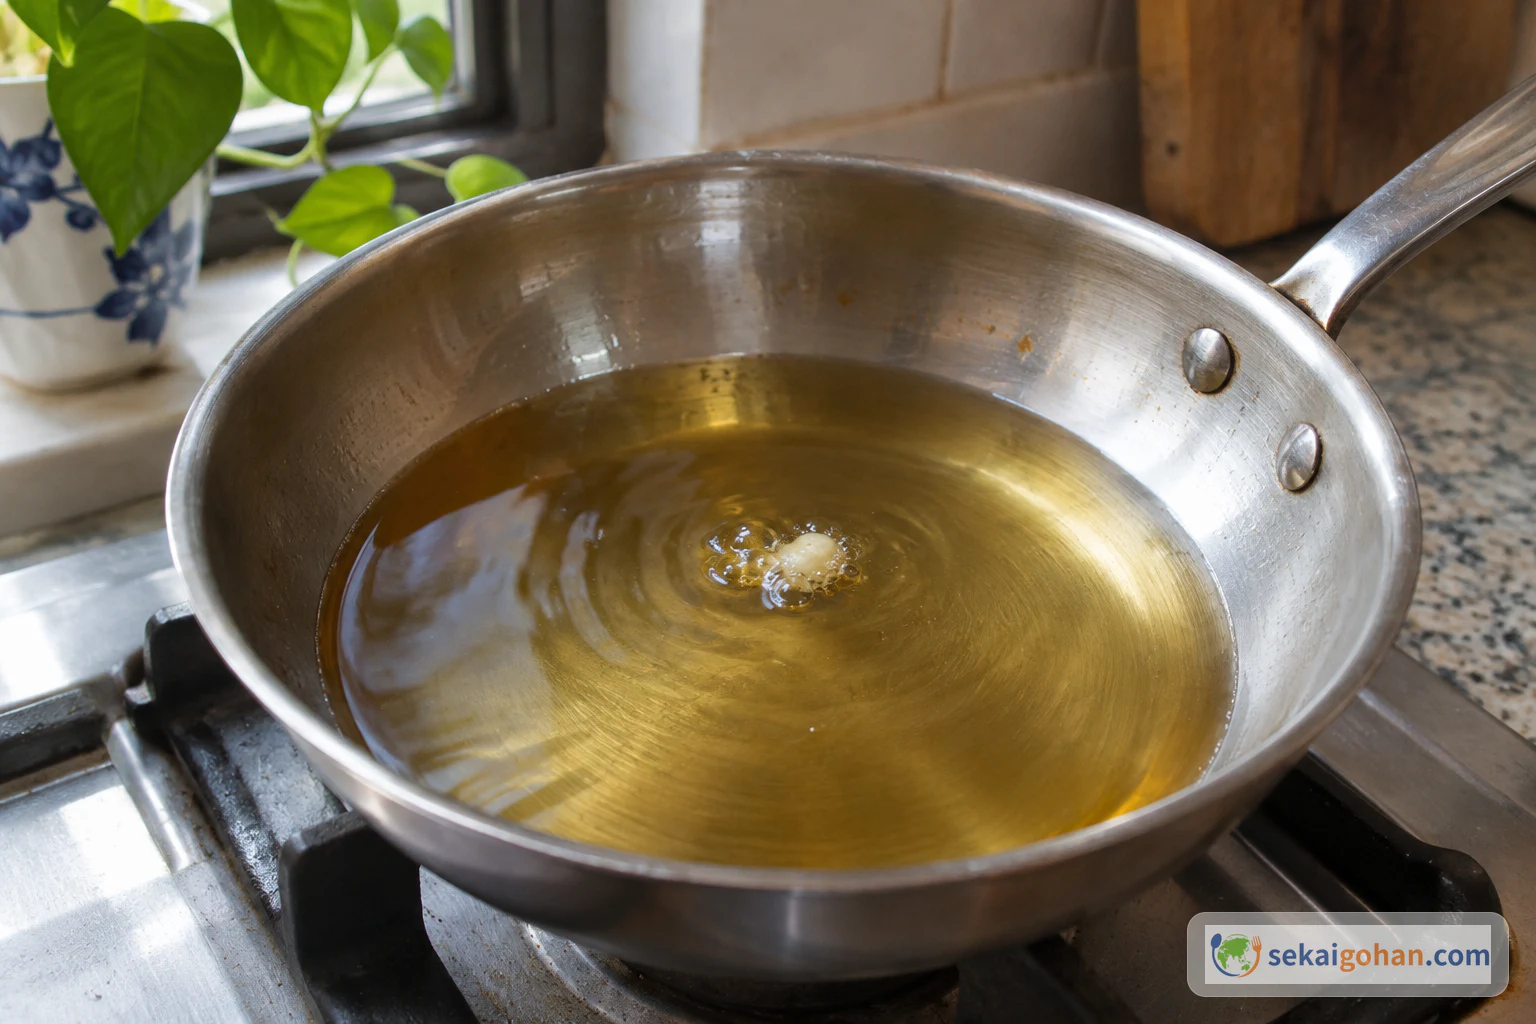
Set the syrup aside in its pan, keeping it warm. Pour neutral oil into the shallow, heavy pan, leaving plenty of room below the rim, and heat it. Drop a small bit of batter into the oil to test it. When the drop rises to the surface at once, the oil is ready.

A shallow heavy pan of neutral oil heating on the stove
The oil sits well below the rim of the pan
A small drop of batter floating on the surface of hot oil
The test drop bubbles lightly as it floats; a drop that sinks and stays means the oil needs more heat
STEP 88 / 14

Fill, twist and snip the bag

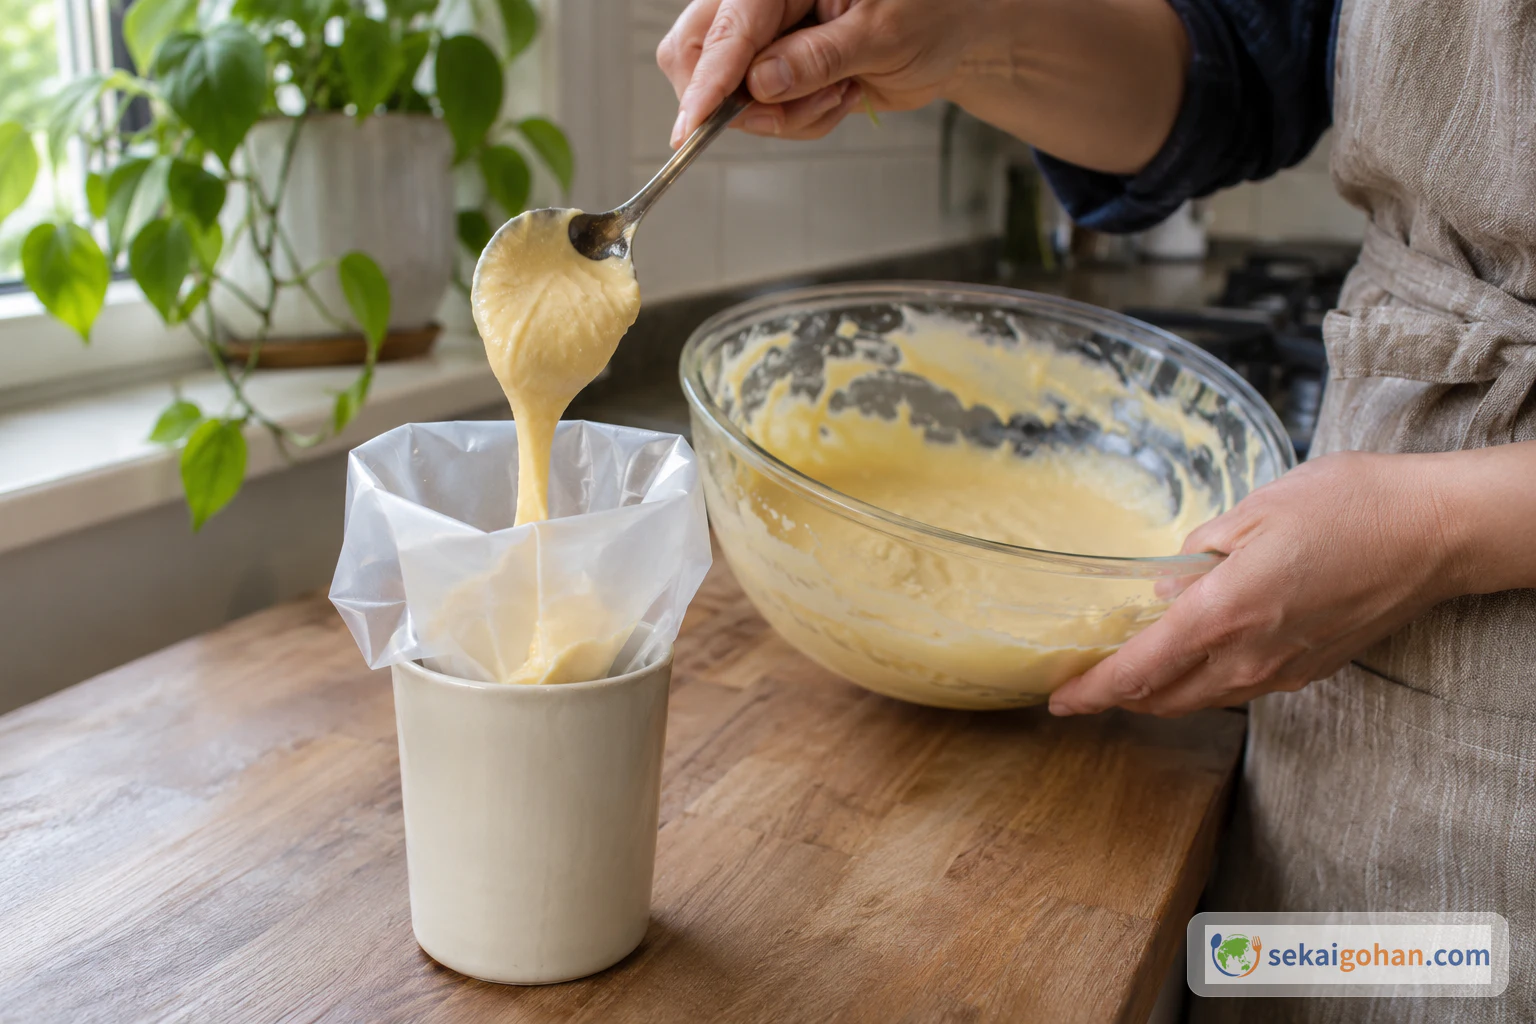
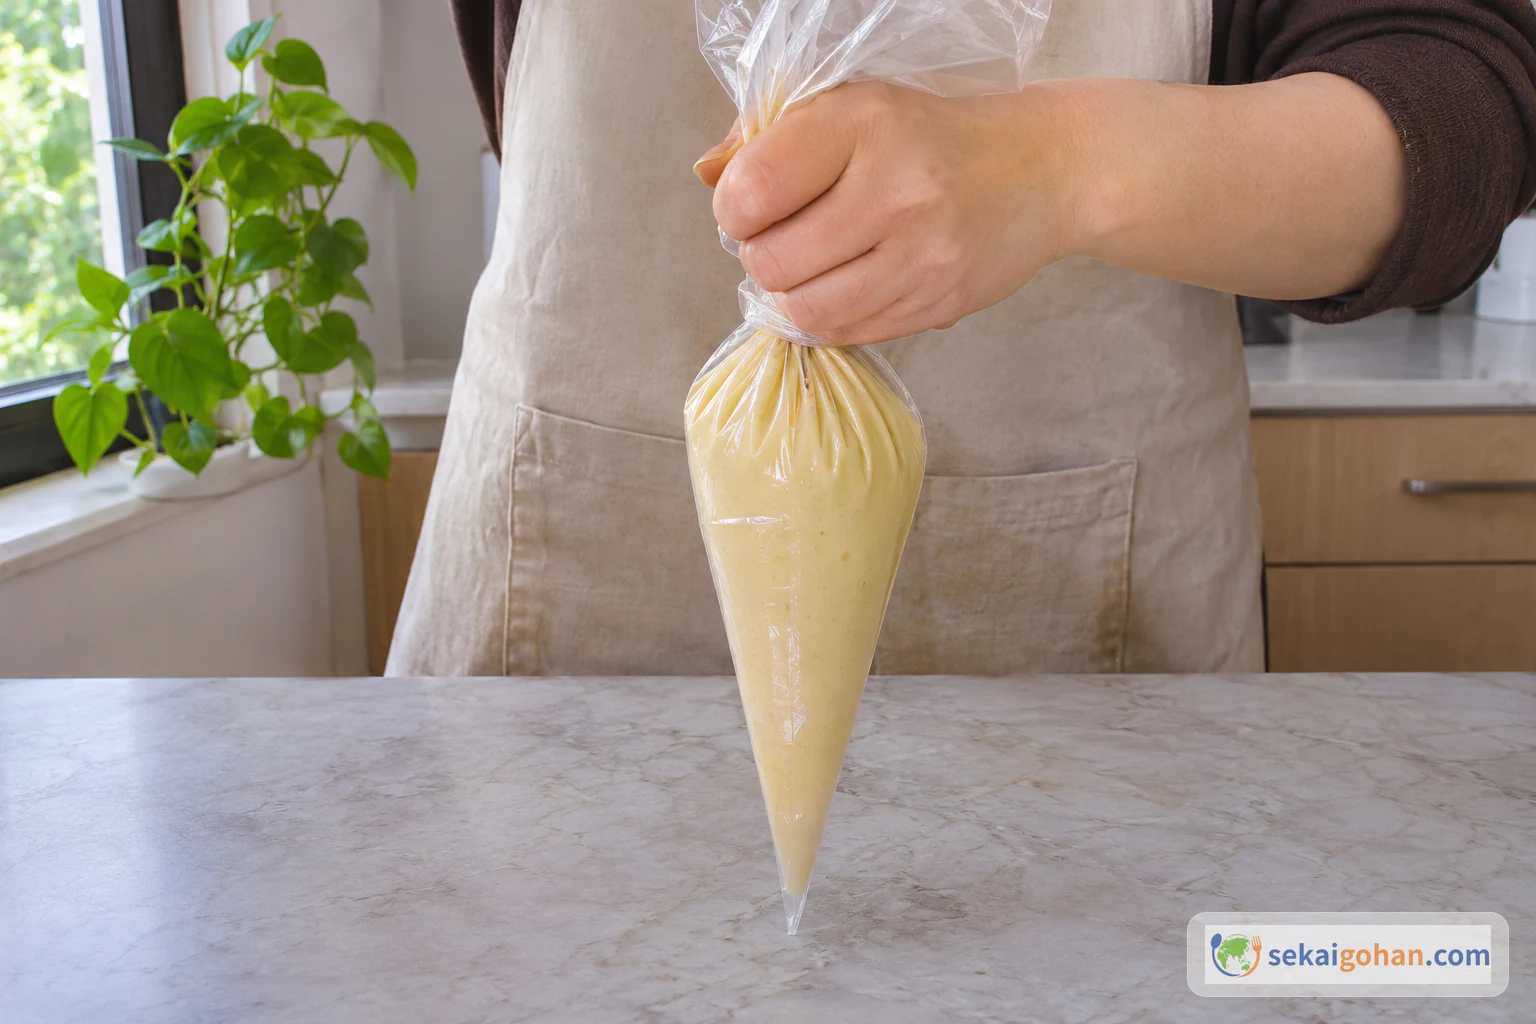
Batter being spooned into a food-safe piping bag standing in a deep vessel
A tall vessel holds the bag open so both hands are free for the batter

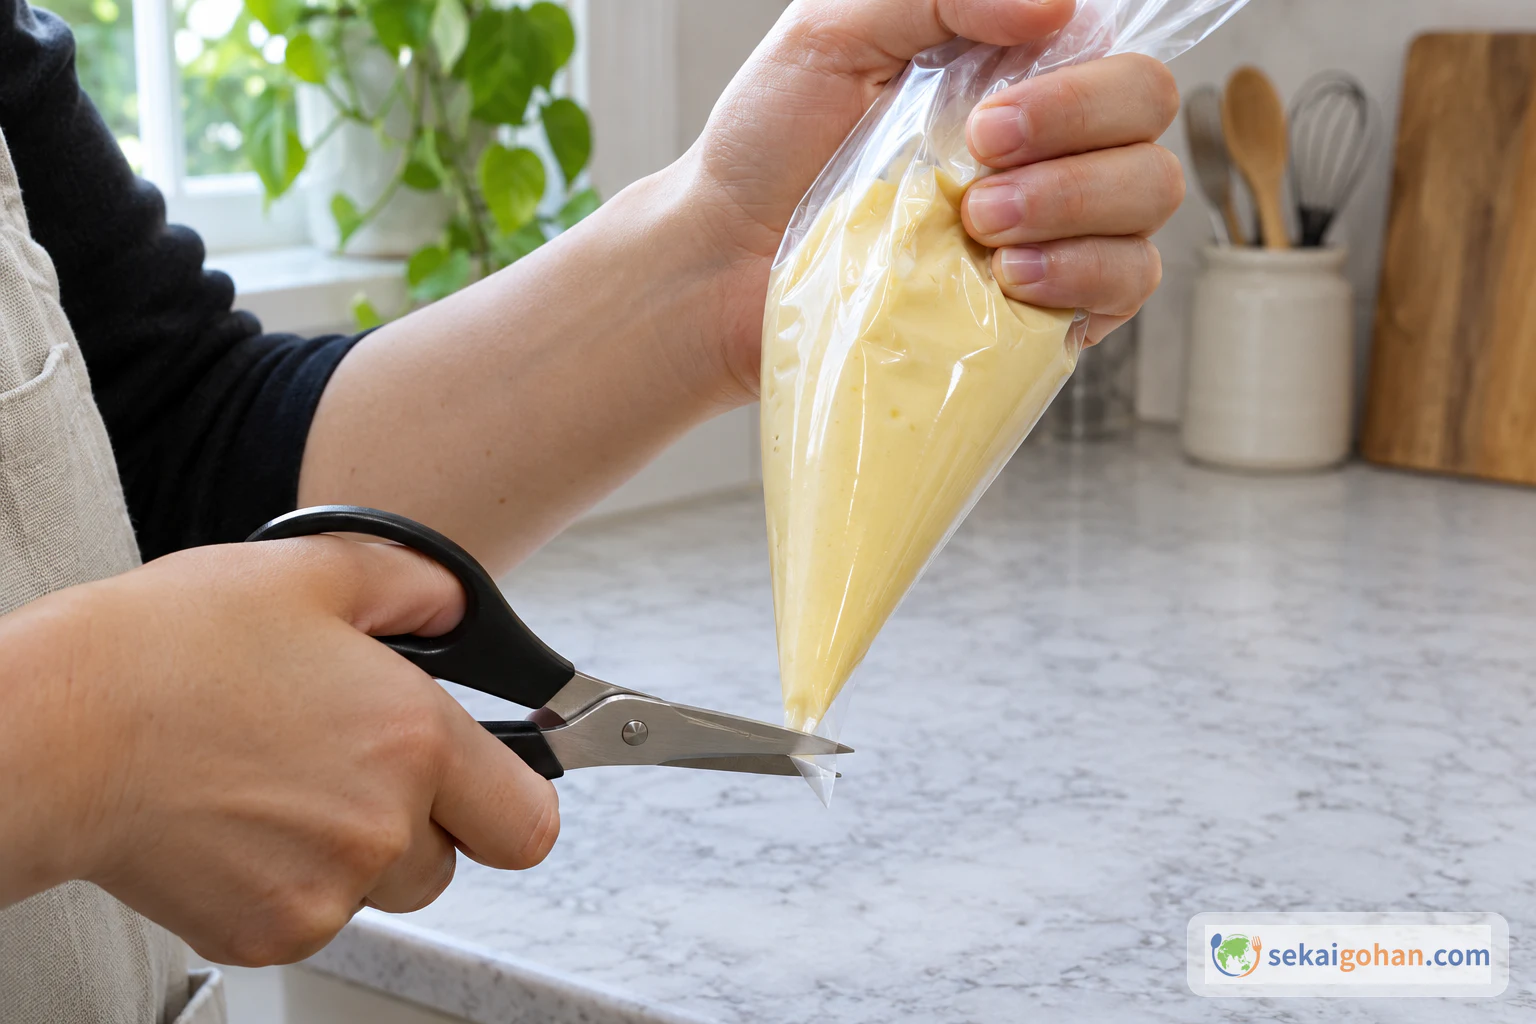
Stand the bag in a clean, deep vessel on the counter, away from the stove, and spoon the batter in. Twist the top of the bag closed so the batter is pushed down toward the point. Snip one small lower corner with scissors. The bag is ready when it feels firm in your hand and the batter sits right at the hole.

Hands twisting the top of a filled clear plastic piping bag on a clean counter
The point stays sealed while you twist; the hole comes last
Kitchen scissors snipping a small lower corner of the batter-filled bag
Cut only the very tip of the corner
STEP 99 / 14

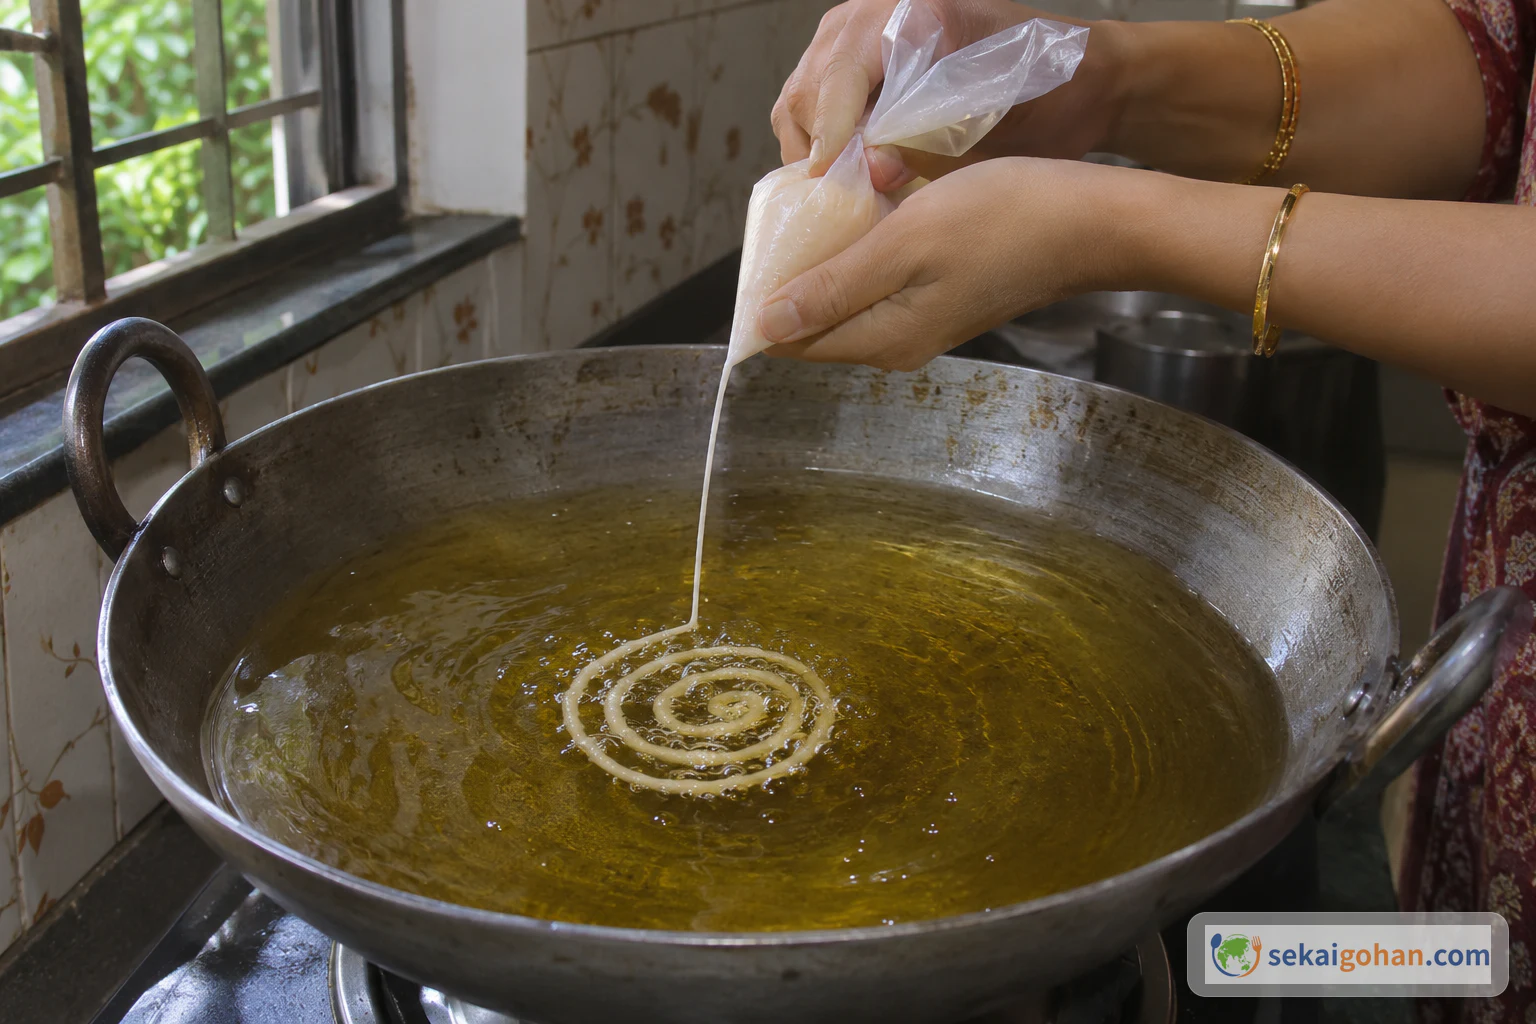
Pipe the spirals into the oil

A cook piping one thin spiral of batter into hot oil from a snipped plastic bag
A slender stream gives narrow strands with open gaps between the turns

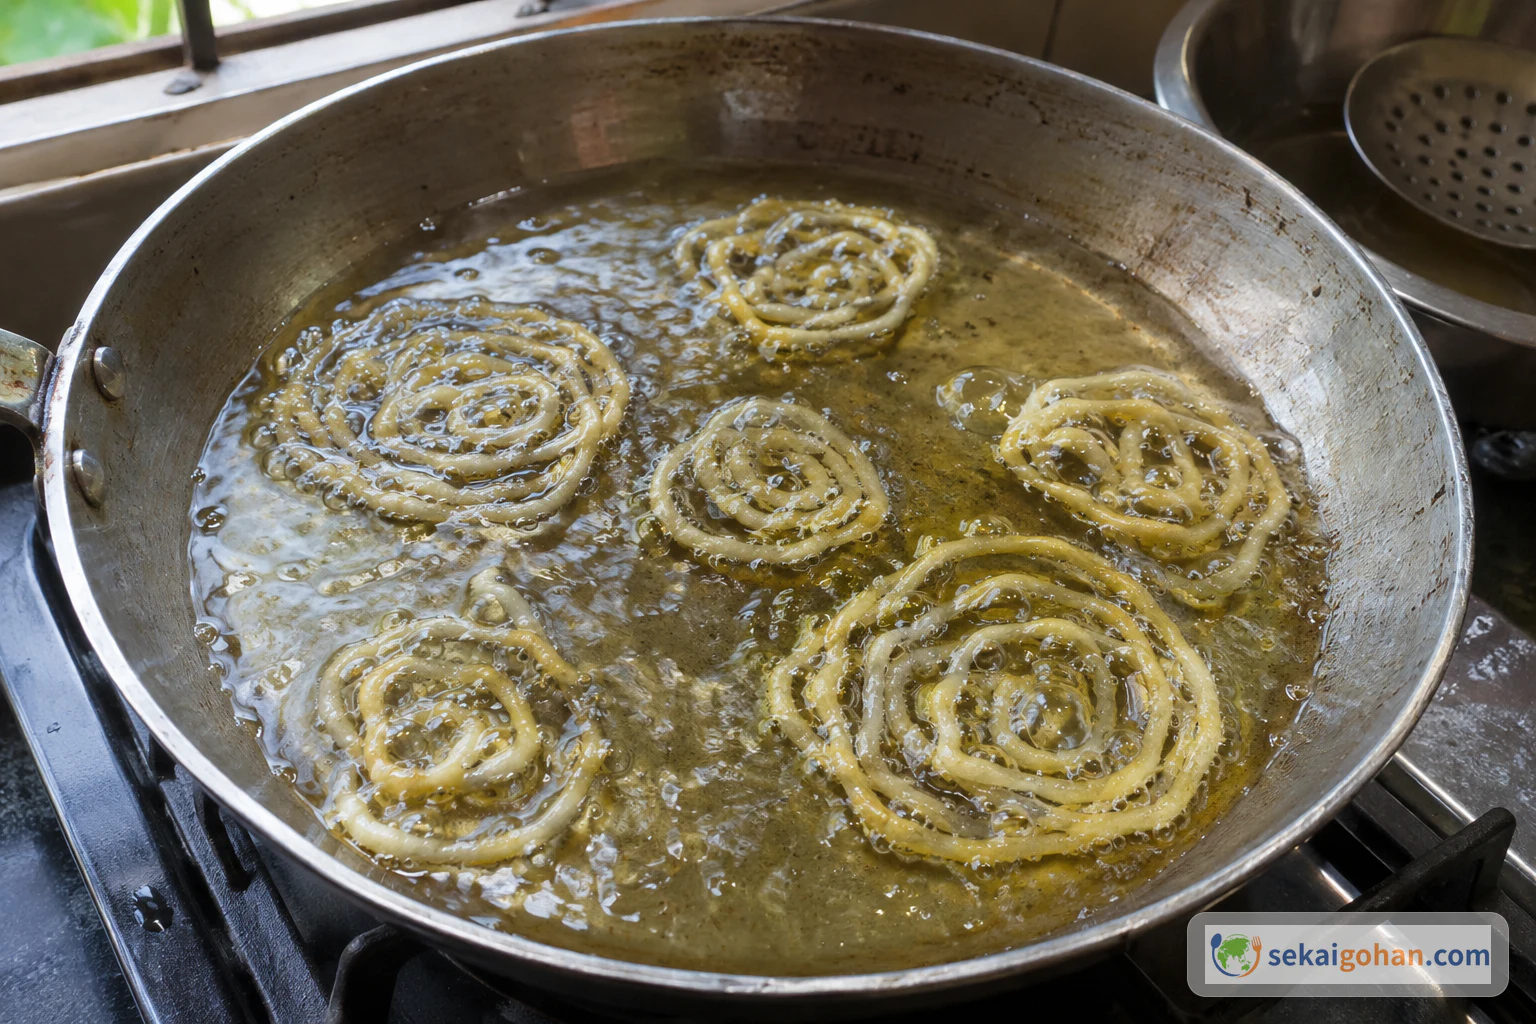
Hold the bag above the hot oil with your hands well clear of it. Squeeze steadily and pipe a loose spiral, round and round from the centre outward. Leave space so no spiral touches the next, and pipe only as many as the pan holds with room around each. The strands set in the oil almost at once and the spiral holds together.

Several thin spirals frying in a shallow pan with space between them
Open oil around every spiral keeps them from fusing into one piece
STEP 1010 / 14

Lower the heat and turn

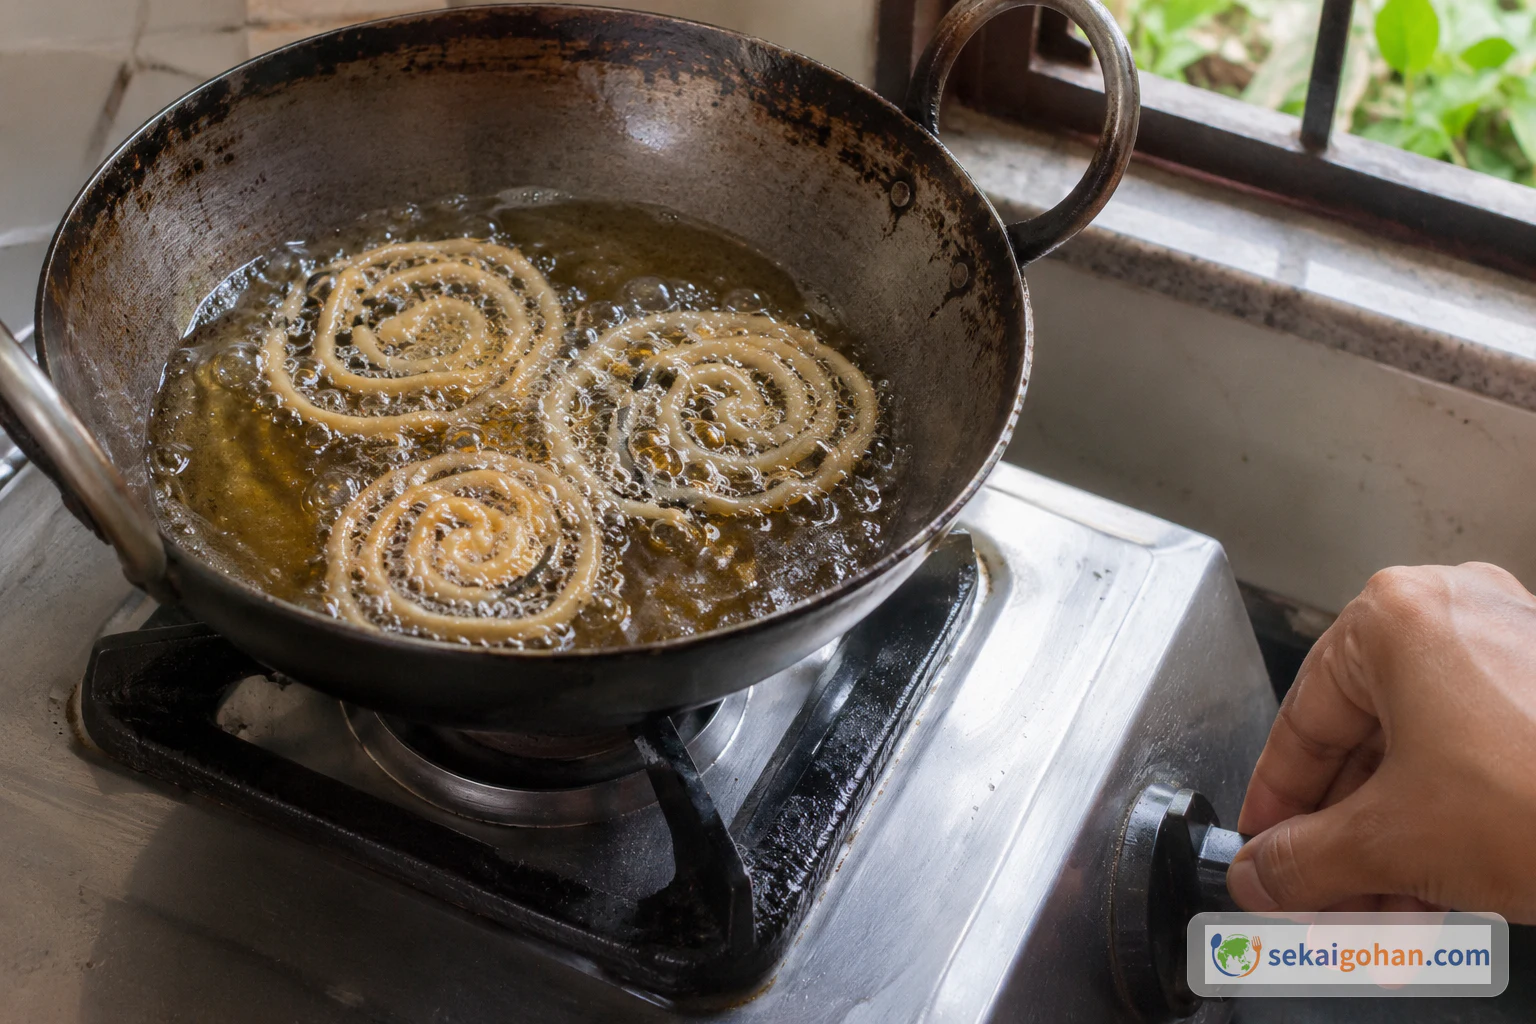
A hand turning the stove control down while spirals fry in the pan
Turn the heat down as soon as the last spiral of the batch is in

Once the spirals are in, turn the heat down to medium. Let the underside fry while the top stays pale. Slide the slotted spoon under each spiral and turn it over in one movement. The side that comes up is light brown.

A slotted spoon turning one thin spiral over in the oil
Lift from underneath so the coil stays whole
STEP 1111 / 14

Fry both sides light brown and lift out

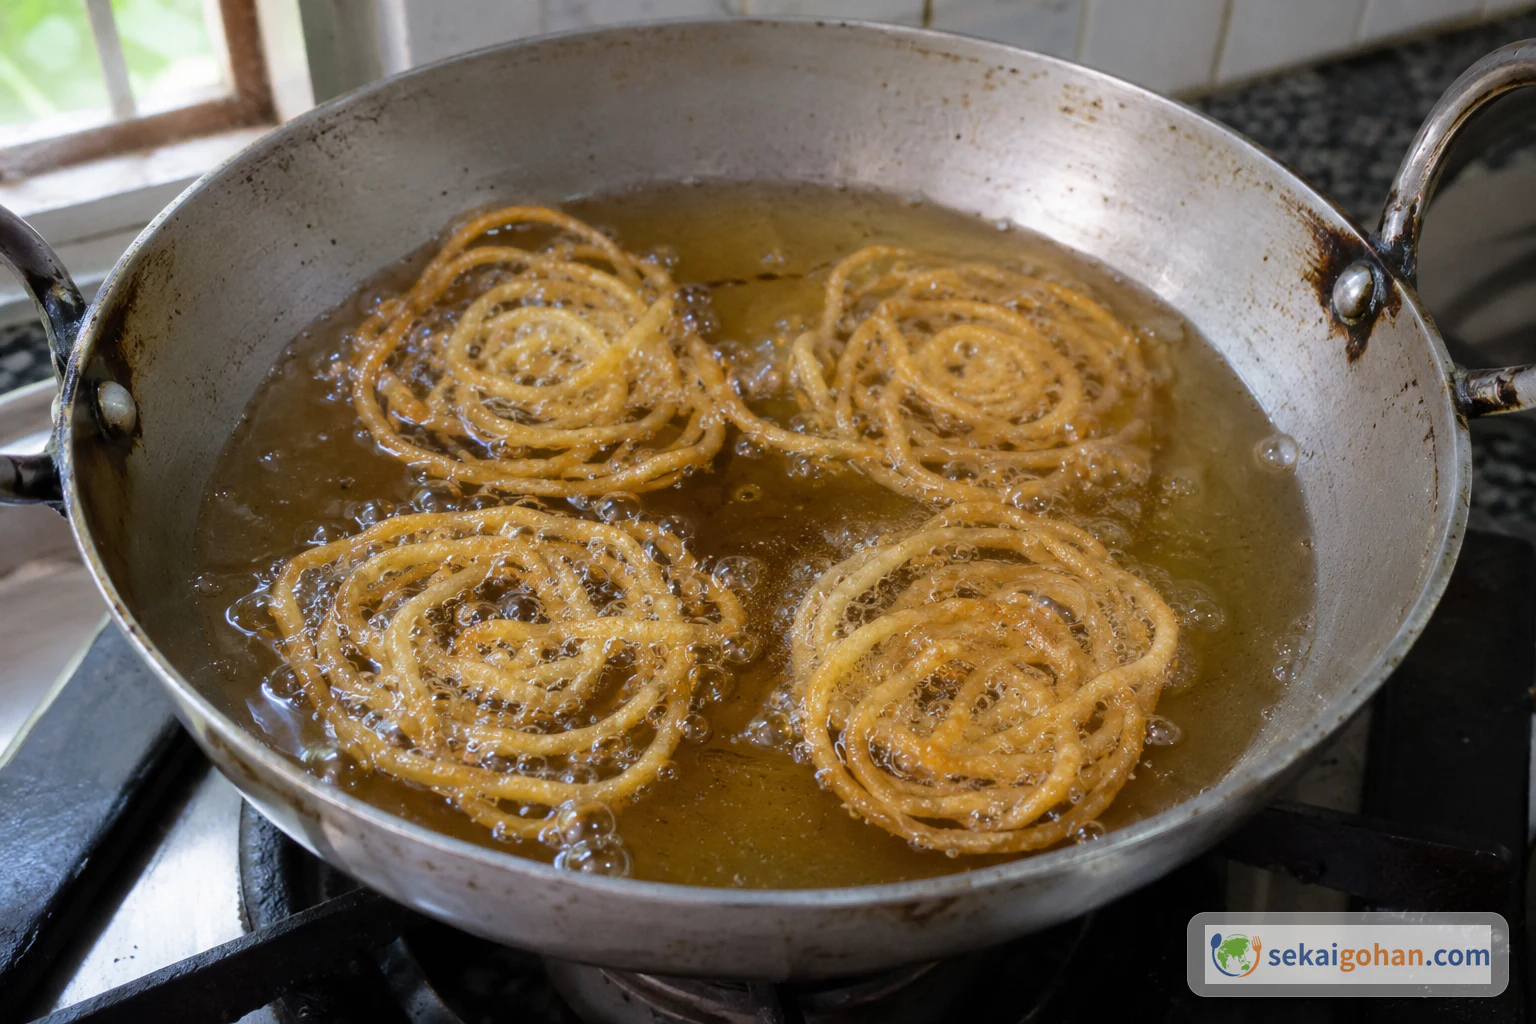
Thin spirals frying to light golden brown in the oil
Light brown on both sides, with no dark, scorched edges

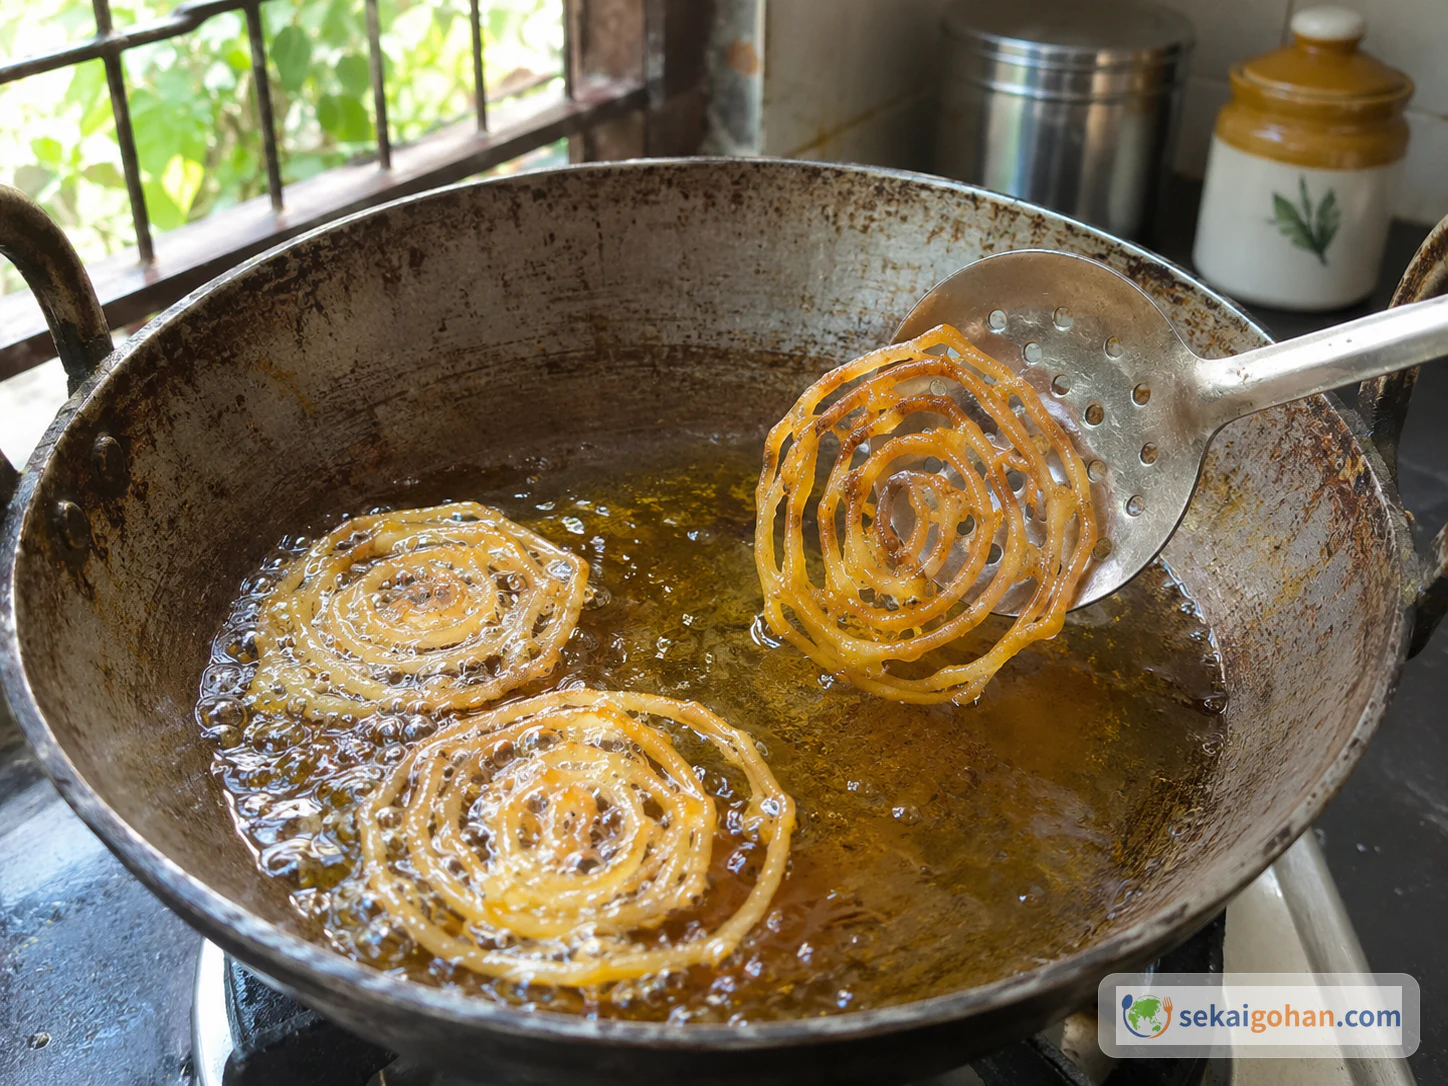
Fry the second side until it matches the first. Watch the colour rather than the clock. When both sides are an even light brown with no dark patches, lift each spiral out of the oil with the slotted spoon.

A slotted spoon lifting a golden spiral clear of the oil, the syrup pan nearby
Keep the syrup pan close but separate from the frying pan
STEP 1212 / 14

Drain the oil and lower into the syrup

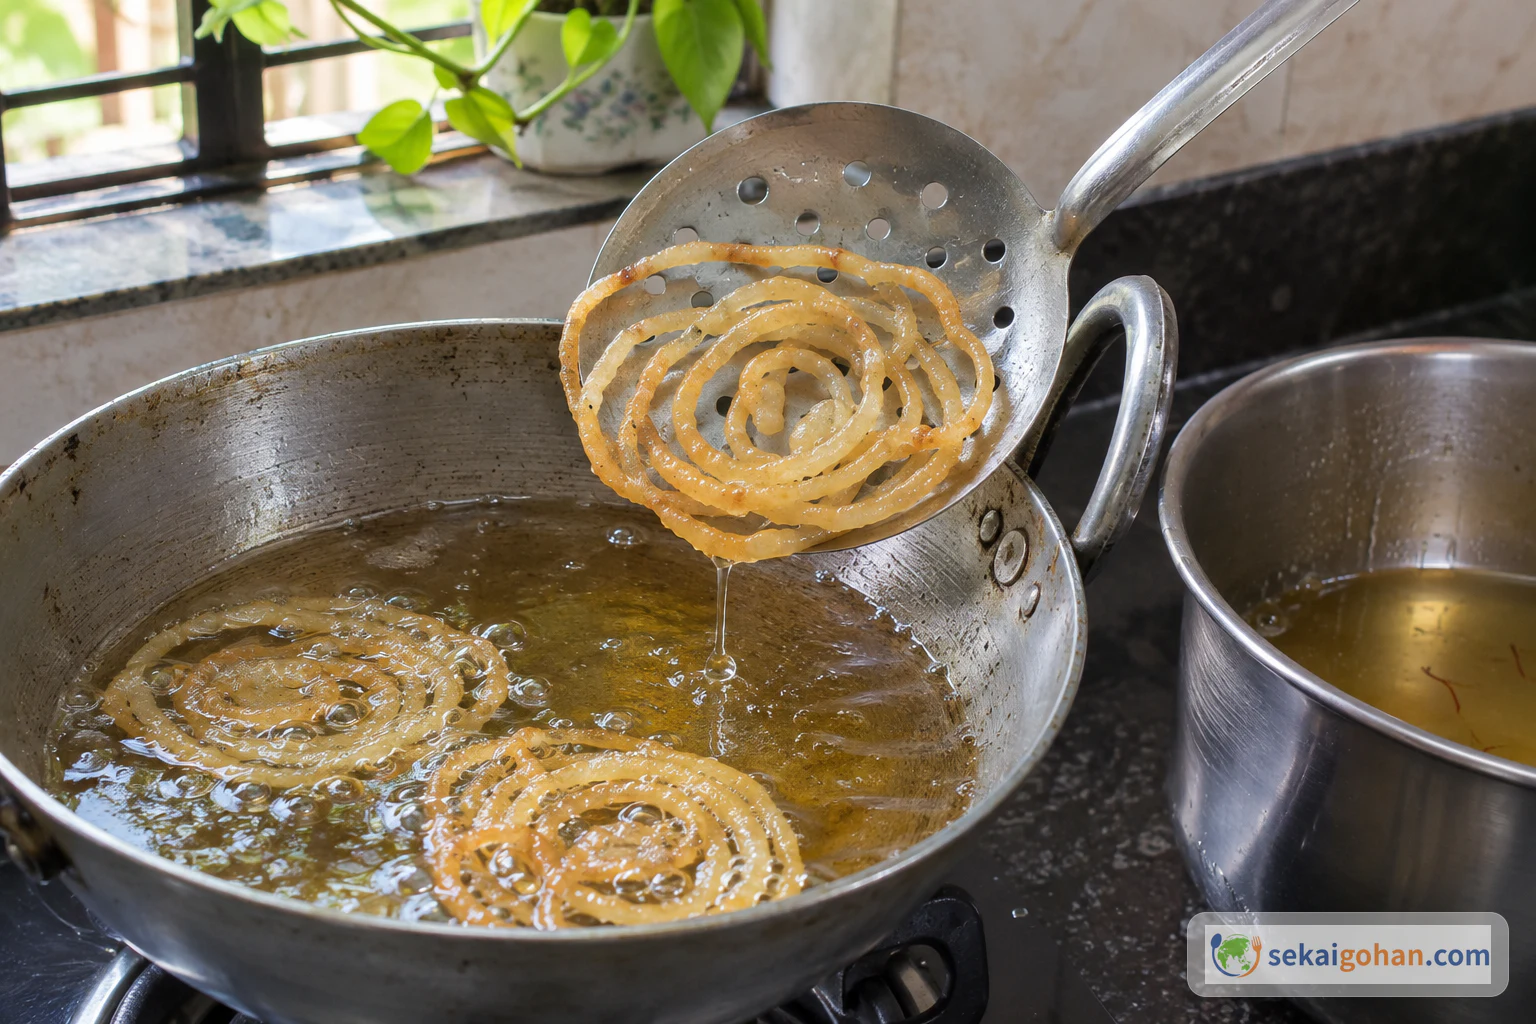
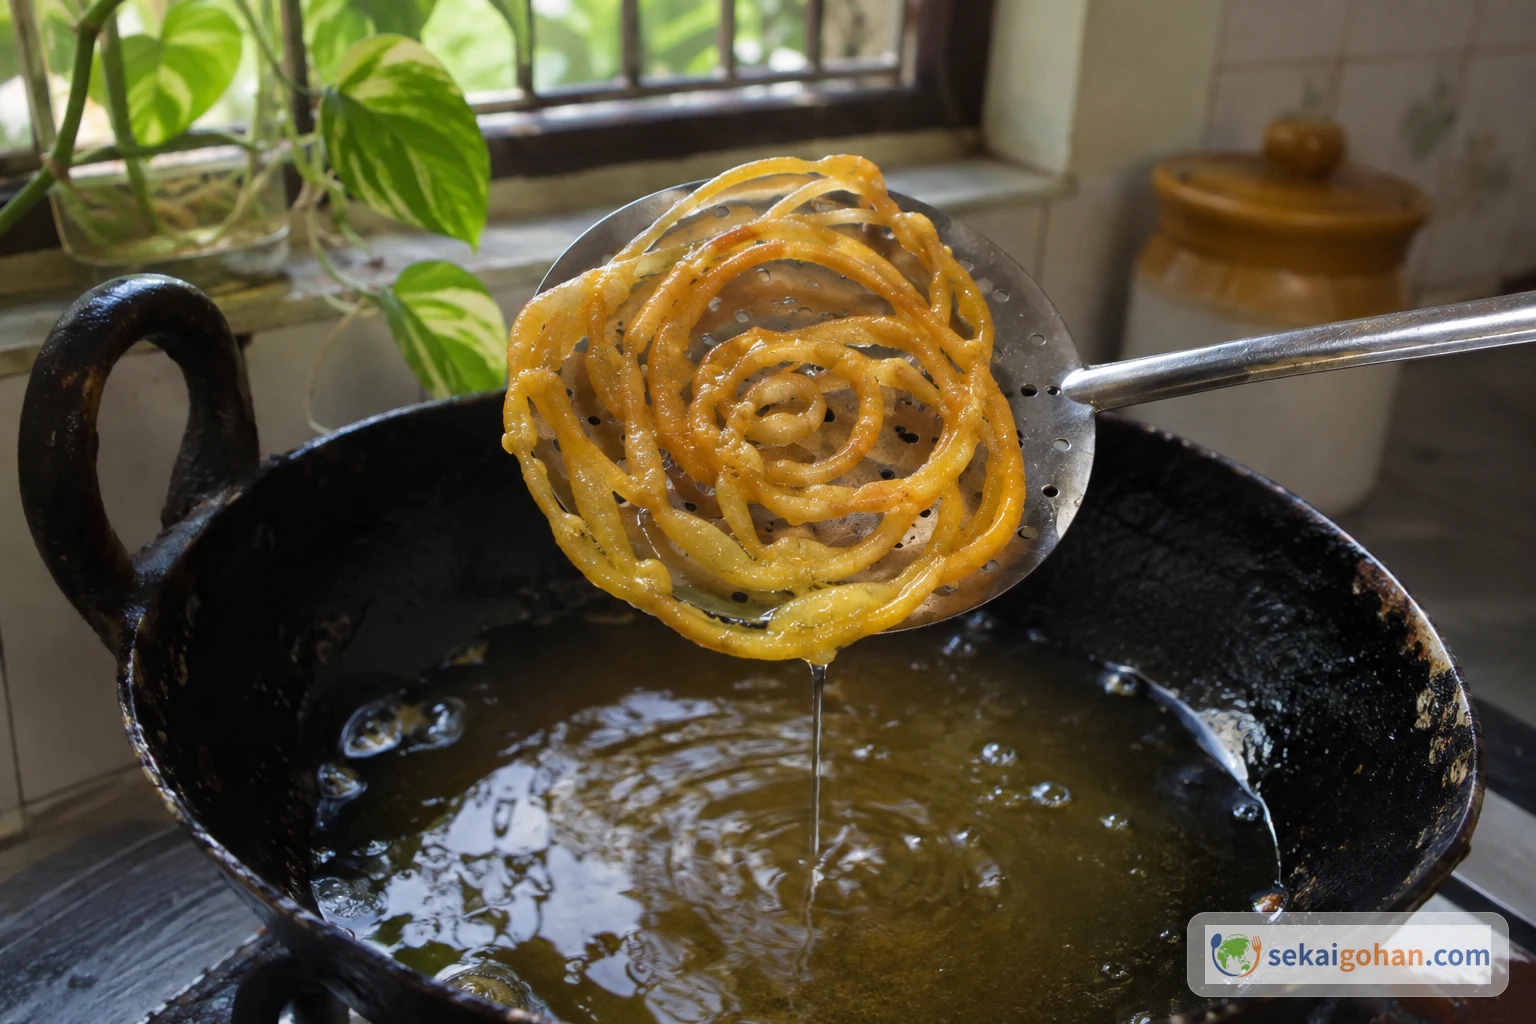
A fried spiral on a slotted spoon above the pan with oil dripping back
Drained spirals take up syrup instead of carrying oil into it

Hold the spiral on the slotted spoon above the frying pan and let the oil drip back. Wait until the dripping slows to almost nothing. Lower the spiral into the warm syrup. It is in properly when syrup surrounds and wets the strands.

A golden spiral being lowered into warm saffron syrup
The lower strands disappear under the syrup first
STEP 1313 / 14

Soak for about a minute and lift

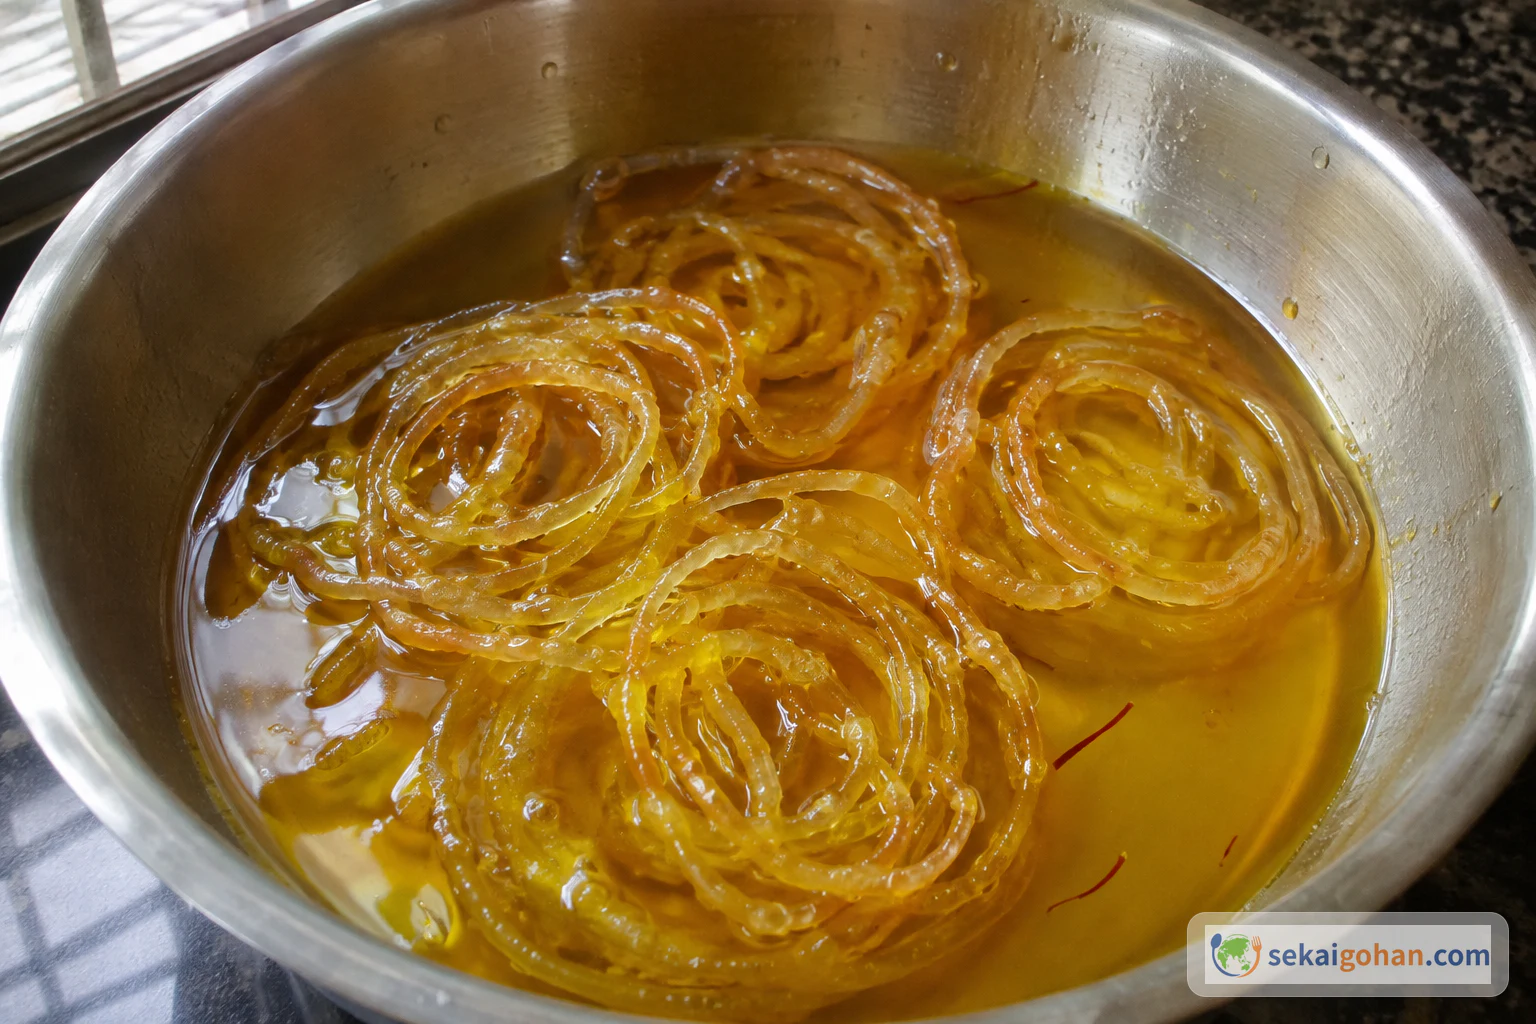
Thin fried spirals sitting in warm saffron syrup
Every strand sits in the syrup, with the gaps between turns filled

Leave the spirals in the warm syrup for about 1 minute. Fry the next batch while they soak if your pan and hands allow it. Lift each spiral out with the slotted spoon. It comes up glossy all over.

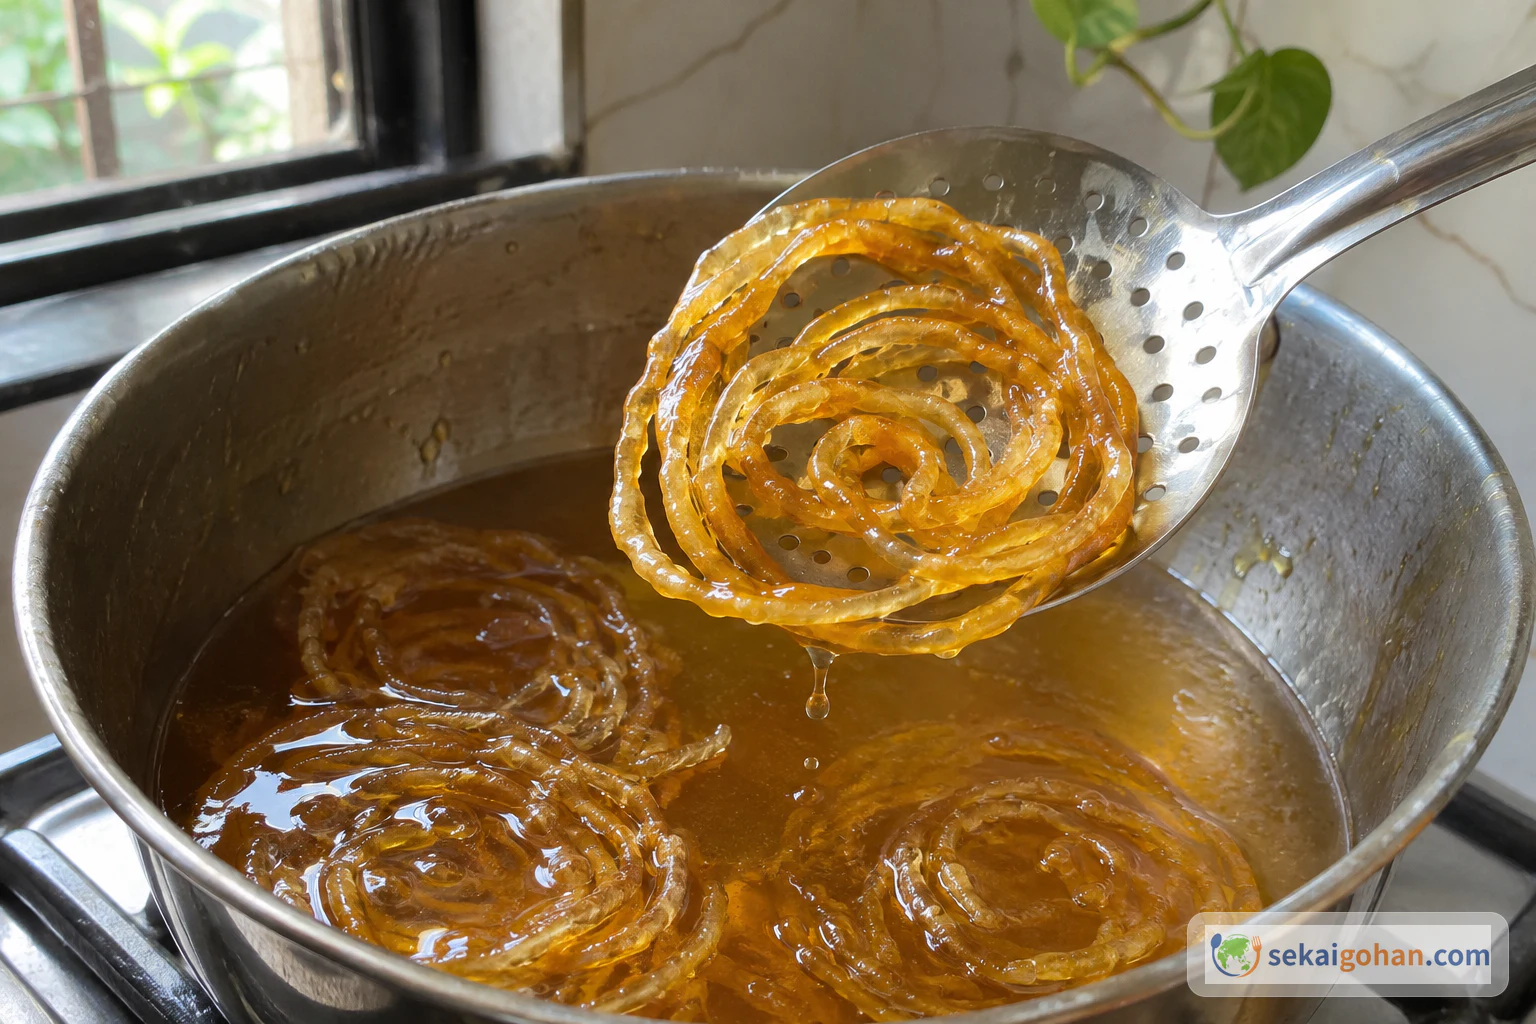
A slotted spoon lifting a glossy syrup-soaked spiral from the saucepan
A shine across the whole coil means the syrup has reached every strand
STEP 1414 / 14

Drip off the extra syrup and serve warm

A glossy spiral held above the syrup pan with syrup dripping back
Slow drops, not a stream, before the spiral goes on the plate

Hold the spiral above the syrup pan and let the extra syrup run back. When the stream turns to slow drops, move it to a plain plate. Serve the jilapi while they are still warm. Go back to step 9 for the next batch until the batter is used up.

A slotted spoon placing a glossy golden spiral onto a plain plate
Plate each spiral flat so the coils keep their shape
0 / 0
Ingredients

Ingredients

1 / 1

Ingredients

Ingredient Amount Role
Refined wheat flour (maida) ½ cup The body of the batter
Plain unsweetened yogurt (doi) ¼ cup (60 ml) Moisture and the start of fermentation
Water, for the batter as needed Loosens a stiff batter to a dropping consistency
Sugar 1 cup The syrup
Water, for the syrup 1 cup The syrup
Saffron ½ tsp Colour and aroma in the syrup
Neutral frying oil as needed For frying in a shallow pan
0 / 0

The batter leaves the snipped corner of the bag in a thin stream and lands in the hot oil as loose, uneven rings that puff and set almost at once. A few minutes later they come out light brown, drip for a moment, and sink into a pan of warm syrup tinted gold with saffron. After about a minute they come up glossy and sticky, and they go to the plate while still warm. That is jilapi, Bangladesh's spiral sweet: a batter of flour and yogurt left to ferment for most of a day, fried, and soaked in sugar syrup, so each bite is fried and sweet at once with saffron in the syrup.

Jilapi in Bangladesh

Jilapi, also written jalapi, is eaten across Bangladesh all through the year, and more of it is eaten during Ramadan. It belongs among the country's fermented foods: the batter is refined flour and doi, the local yogurt, mixed and left to stand until it turns bubbly and spongy before it ever meets the oil. That long rest is what separates a jilapi batter from a pancake mix stirred and used on the spot.

The spiral, fried and dropped into syrup, is shared with jalebi across the border in India, and where the sweet first began is not settled. The batters differ between kitchens and regions; some jalebi batters are built on gram flour, while the Bangladeshi form here is flour and yogurt alone. Amriti, which sits next to jilapi in sweet shops, is a separate sweet altogether: it is made from pulse flour and piped into a flower shape rather than a loose coil.

At home, the spiral comes out thin and a little irregular, each one slightly different from the last, with open gaps between the turns. If you are cooking your way through the food of Bangladesh, this is the sweet to make on a day when you are home for the long rest of the batter.

Jilapi, jalapi, জিলাপি

The name is written Jilapi or Jalapi in English, and জিলাপি in Bengali script. Searching for jalebi as well brings up the same spiral form from neighbouring kitchens, though the batter and syrup often change.


Ingredients
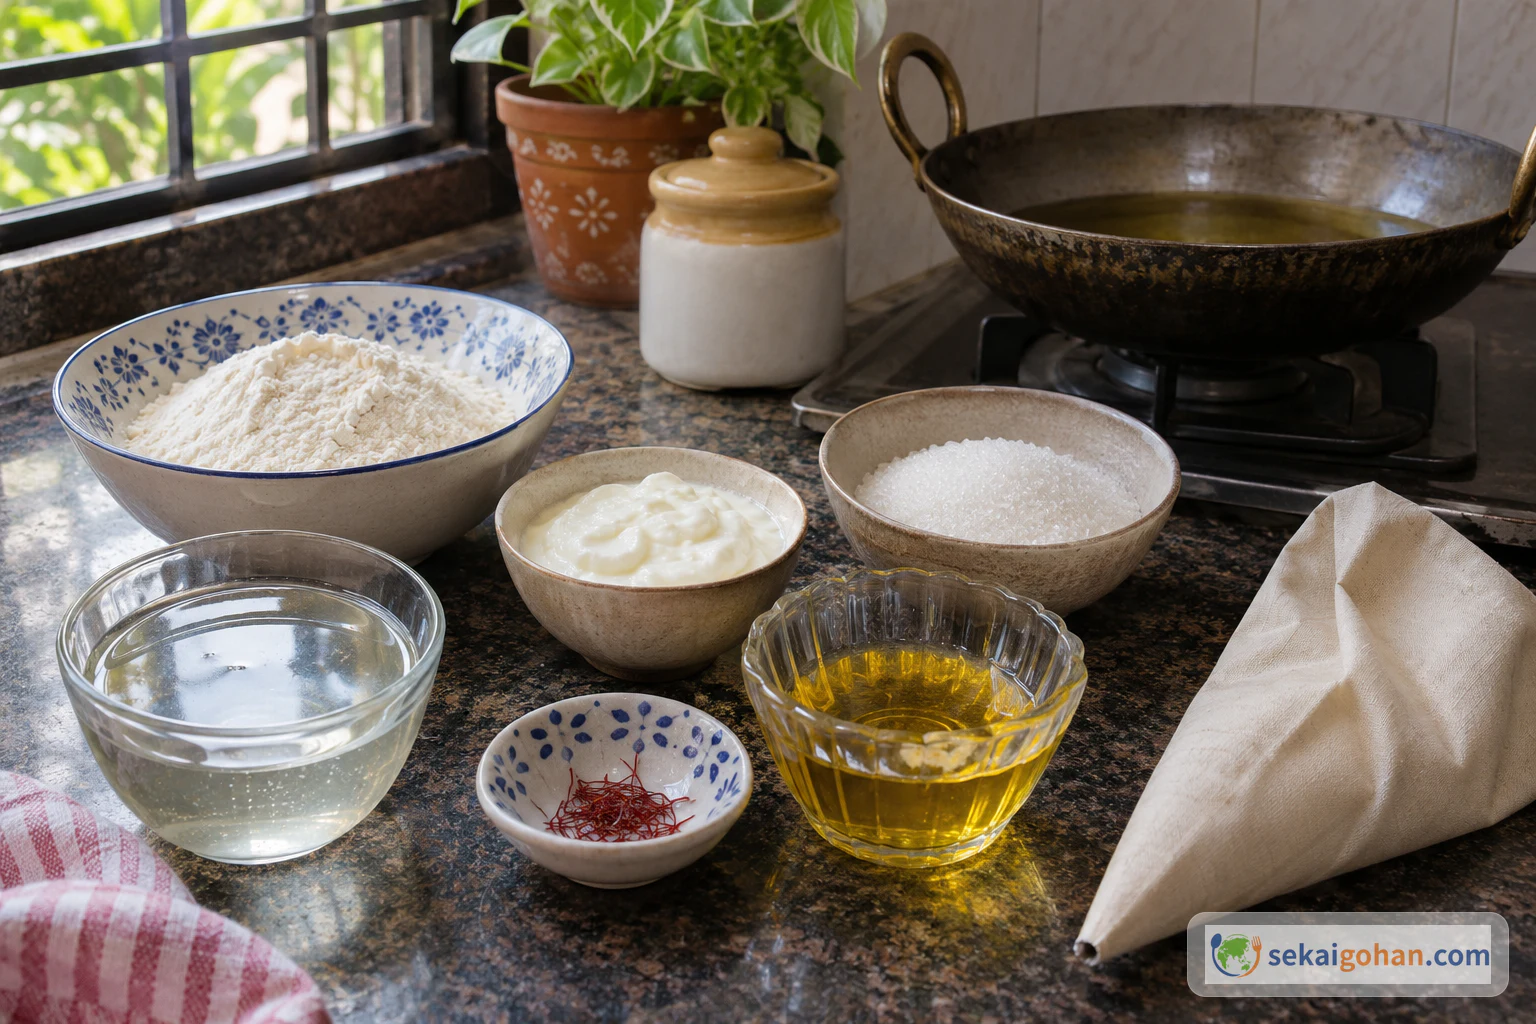
Bowls of maida, plain yogurt, sugar, syrup water, saffron and neutral oil beside a piping bag and a shallow heavy pan
Keep the syrup water apart from the batter; the batter takes water only if it needs it
Judge the batter by the spoon

The batter water has no fixed measure because flour and yogurt absorb differently. Stop adding water the moment the batter drops from the spoon in a heavy fall; a runny batter spreads in the oil and loses its spiral.

Allergen information

Jilapi contains wheat (the flour) and milk (the yogurt). Frying in ghee instead of oil adds more milk.

Equipment

  • Mixing bowl and spoon
  • Small saucepan for the syrup
  • Shallow, heavy pan for frying
  • Sturdy food-safe piping bag, or a thick cloth with a small hole
  • Kitchen scissors
  • Slotted spoon
  • Plain serving plate
Hot oil and hot syrup

Fill the frying pan only partway, well below the rim. Dry the pan, the spoon and your hands before the oil goes on the heat, and keep every drop of water away from it. Hold the bag above the oil with your hands clear when you pipe. Test the syrup with a spoon only; it burns skin.

Cut the hole small

A smaller hole gives thinner strands, and thin strands give the light, open spiral. Start with a tiny snip; you can always cut a little more.

Choosing and substituting

Maida is the finely milled refined wheat flour of South Asian kitchens, sold at Indian, Bangladeshi and other Asian grocers and online. Plain all-purpose flour works in its place; it absorbs water a little differently, so lean on the spoon test rather than on habit. For the yogurt, use plain and unsweetened, the closest match to doi; a sweetened or flavoured pot adds sugar and flavour the batter does not want.

Saffron is the only flavour in the syrup, so buy it from a spice shop or grocer you trust. Leaving it out gives a plain sugar syrup with a paler colour and no floral aroma. A neutral oil such as canola or rapeseed keeps the taste on the batter and syrup; ghee is the other frying fat used for jilapi and brings a buttery, dairy aroma. The main recipe keeps to these ingredients alone, with no food colouring, rosewater, lemon, baking soda or Eno, which is why the finished spirals are golden amber rather than bright orange.


Method

The batter comes first and then rests for most of the day, so mix it in the morning if you want jilapi in the afternoon. Nothing needs doing during the rest. When the batter is ready, make the syrup, then heat the oil and fry in batches, moving each batch straight from the oil into the syrup and out onto the plate.

Syrup before oil

Make the syrup before the oil goes on the heat. It then sits warm and ready when the first spirals come out, and the frying can run from batch to batch without a pause.

Fermenting the batter

Wash your hands with soap and running water, and use a bowl and spoon washed in warm soapy water. Keep to the 6 to 7 hour rest. Do not taste the raw batter. Throw the batch away if it smells unpleasant rather than pleasantly sour, grows mould, shows orange or red spots, turns slimy or takes on an unexpected colour.

When it goes wrong

Most problems show up either at the spoon or in the pan, and each has a quick fix. The two that matter most are the batter's smell and the size of the hole.

What you see Why What to do
The batter clings to the spoon in a stiff lump It needs a little more water Add water a little at a time, stirring well after each addition, until it drops
The rested batter smells foul, shows mould, coloured spots or slime The batch has spoiled Throw it away, wash the bowl and start again
The syrup falls from the spoon in drops It has not reduced enough Boil a little longer on high heat and test again
The test drop sinks and stays down The oil is not hot enough Heat the oil longer and test again
Spirals stick together in the pan They were piped too close Pipe fewer at a time with open oil around each
Strands come out thick and heavy The hole is too big Move the batter to a fresh bag and snip a smaller hole

Serving and variations

On the table

Jilapi goes to the plate warm, straight from the syrup, with nothing on top. The saffron syrup is the only finish it needs. Make it on a day you can serve each batch soon after it leaves the pan, because warm is how it is eaten.
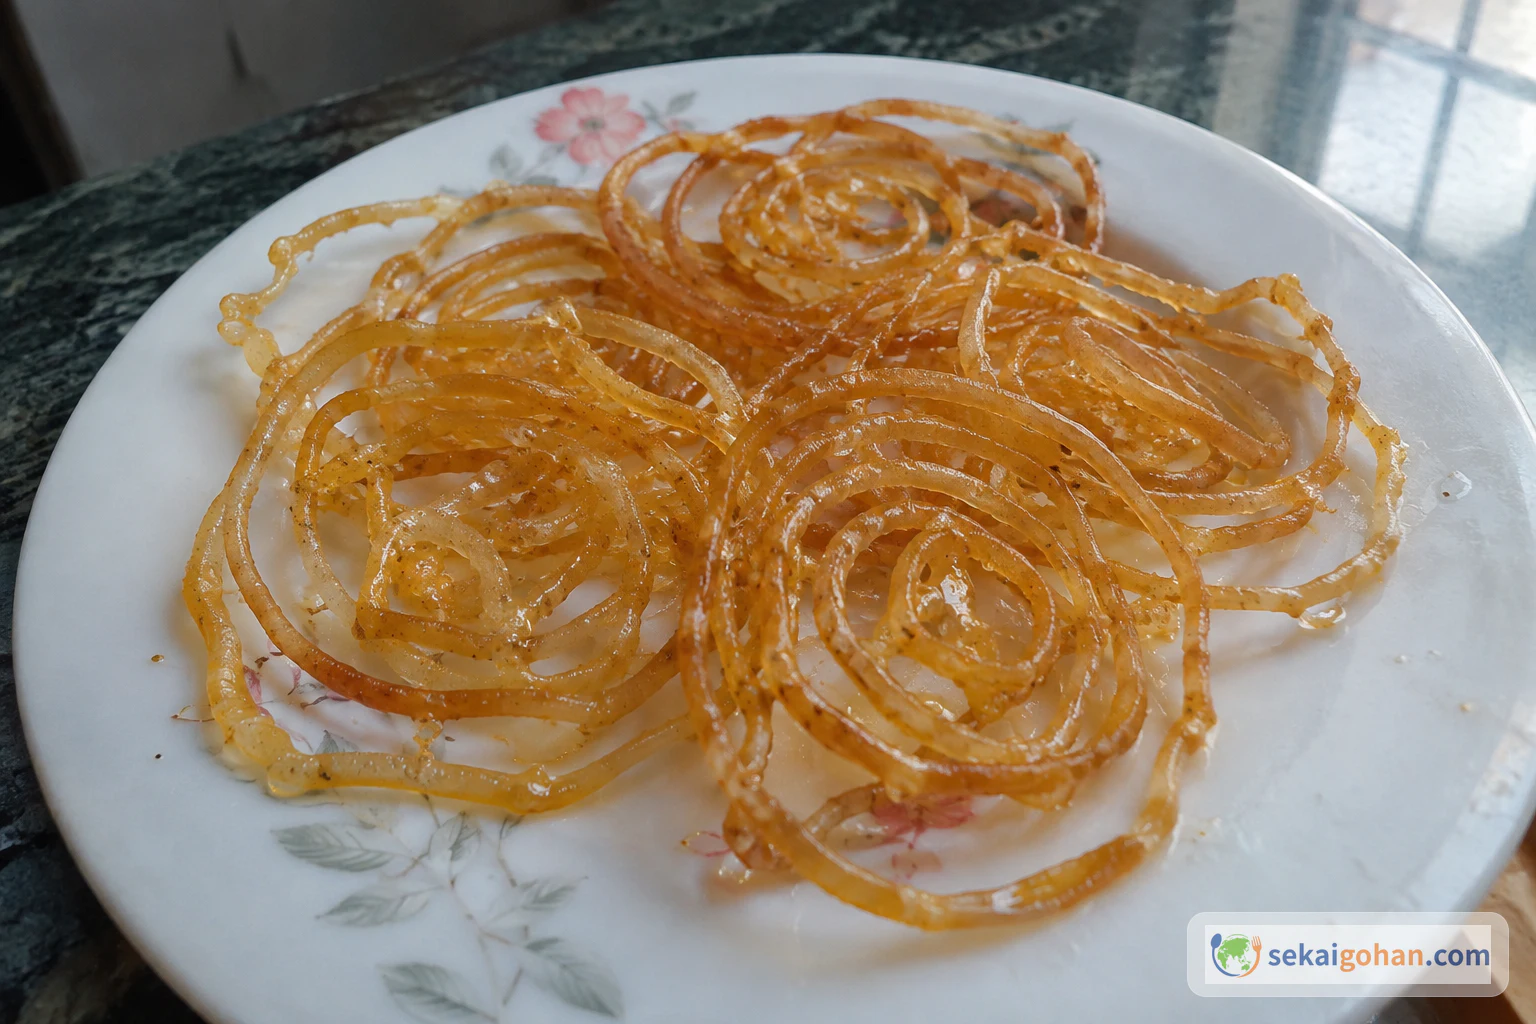
A plate of warm Bangladeshi jilapi with a light saffron-sugar sheen
Uneven, hand-piped spirals with open gaps are the look to aim for

Variations

  • Fried in ghee. Ghee in place of neutral oil gives the spirals a buttery, dairy aroma and adds milk to the allergen list.
  • Without saffron. A plain sugar syrup gives a paler spiral and a simpler sweetness with no floral note.
  • Rose-scented syrup. Rose-scented syrup is another syrup used for jilapi in Bangladesh. This recipe keeps to the saffron syrup above and gives no rose amount.
  • Quick versions. Some jilapi batters use Eno fruit salt and skip the long rest, with food colouring added. They are separate batters with their own measures, and the yogurt-and-rest method here stays as it is.

Frequently asked questions

Does the batter need yeast or baking soda?

No. The flour and yogurt batter rises during its long rest, and the bubbles and spongy surface show it has fermented. Adding yeast or soda changes the batter into a different recipe with its own timing.

Why are my jilapi golden instead of bright orange?

The bright orange of many sweet-shop spirals comes from food colouring. Here the colour comes from frying to light brown and from saffron in the syrup, which gives a golden amber shine.

Can I pipe with a cloth instead of a bag?

Yes. Use a thick, clean cloth with a small hole, gather it around the batter and twist the top closed, then squeeze from above just as with a bag. Hold it well above the oil so the cloth never touches it.
Sources