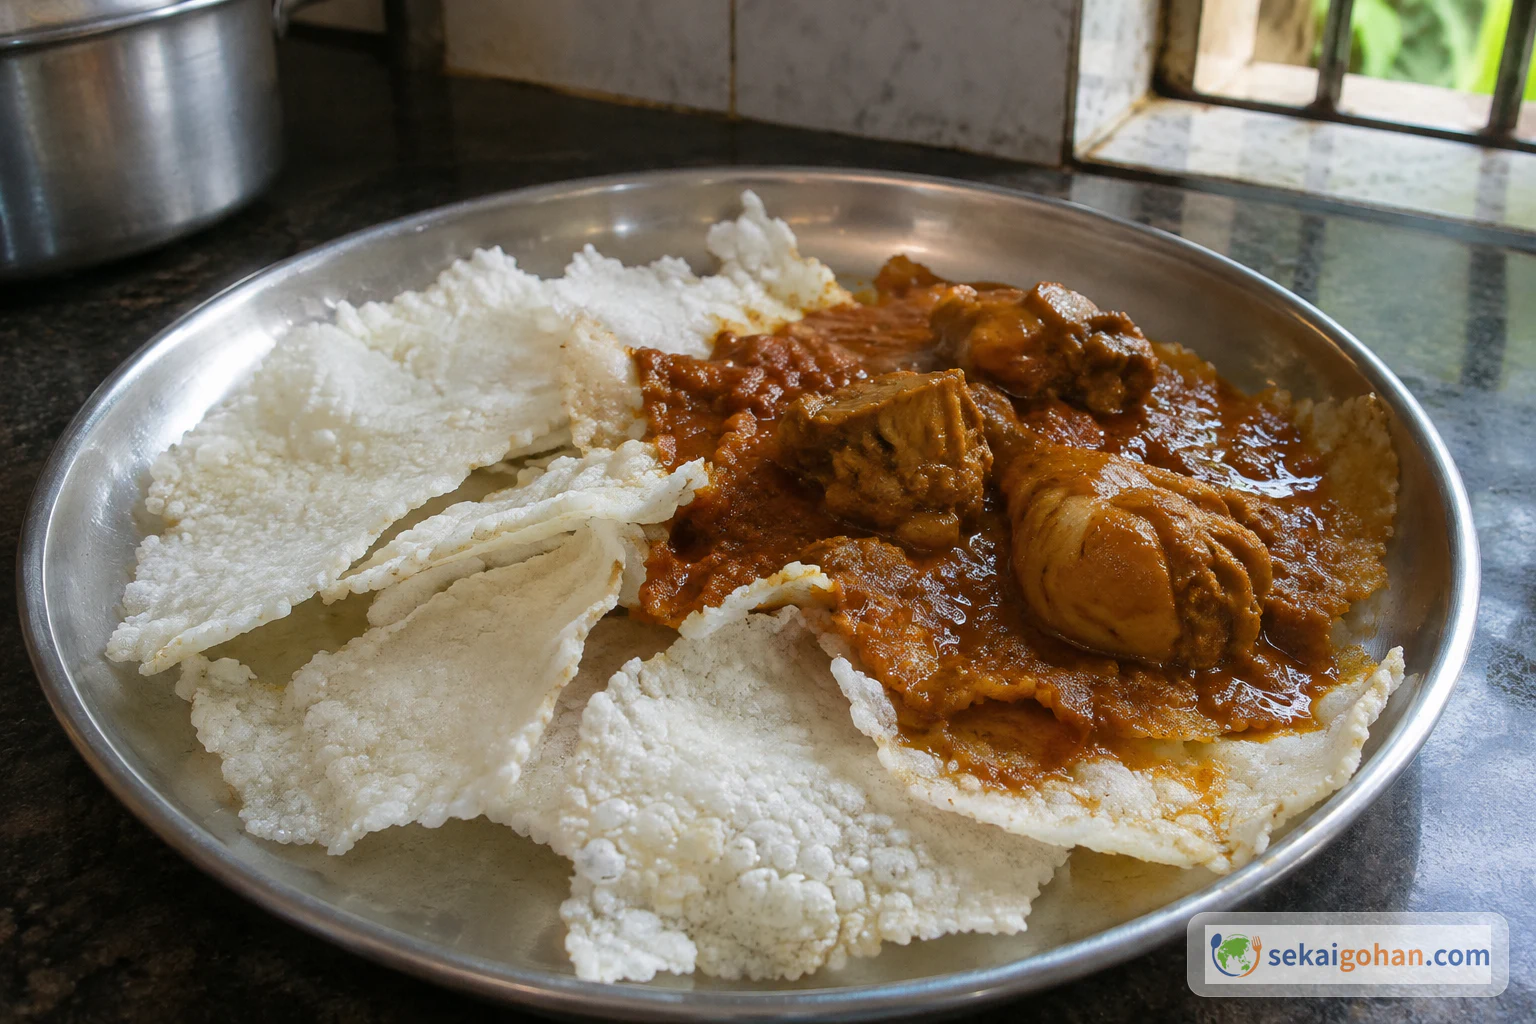
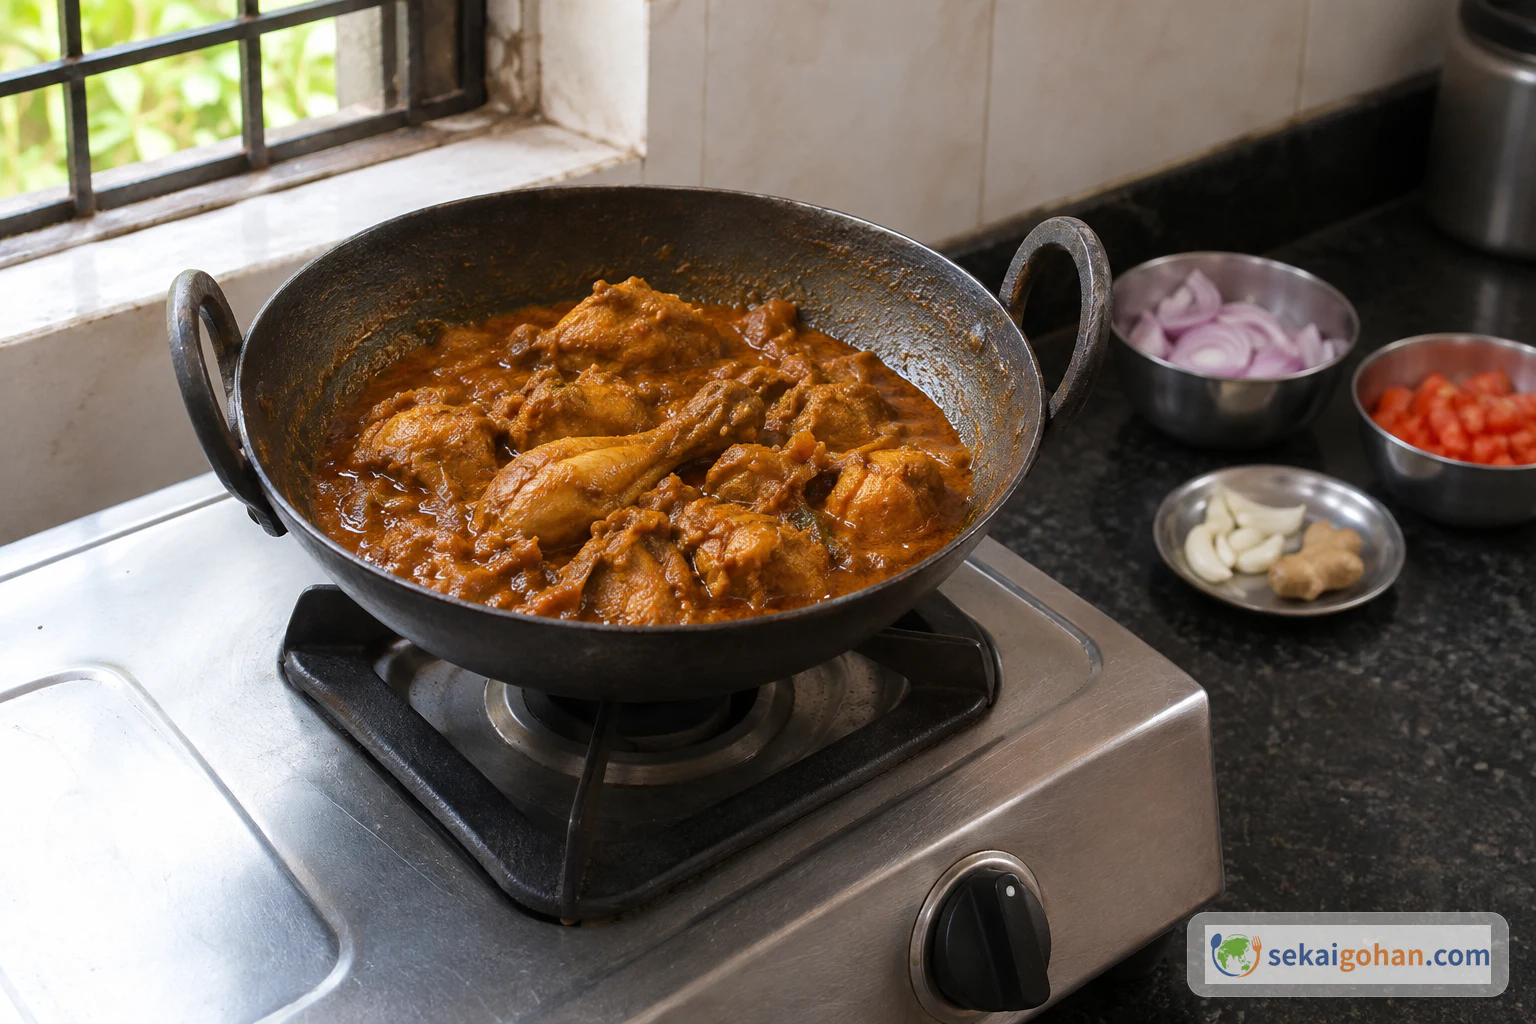
Kori rotti: spiced chicken curry ladled over thin rice wafers served on the side
Serves8 servings
CuisineIndian (Mangalorean)

Kori Rotti: Mangalorean Chicken Curry Poured Over Crisp Rice Wafers

How to make kori rotti, the coastal Karnataka pairing of a coconut-and-roasted-chilli chicken curry with thin, dry rice wafers. It follows one home cook's version learned from a Bunt neighbour, with every step in order: dry-roasting the masala, grinding it with tamarind, saving the grinder-rinse water, cooking the chicken to a safe temperature, and mixing the curry into broken wafers to eat at once.

Cooking flow

Cooking steps

STEP 11 / 23

Prepare the onions, garlic and tomato

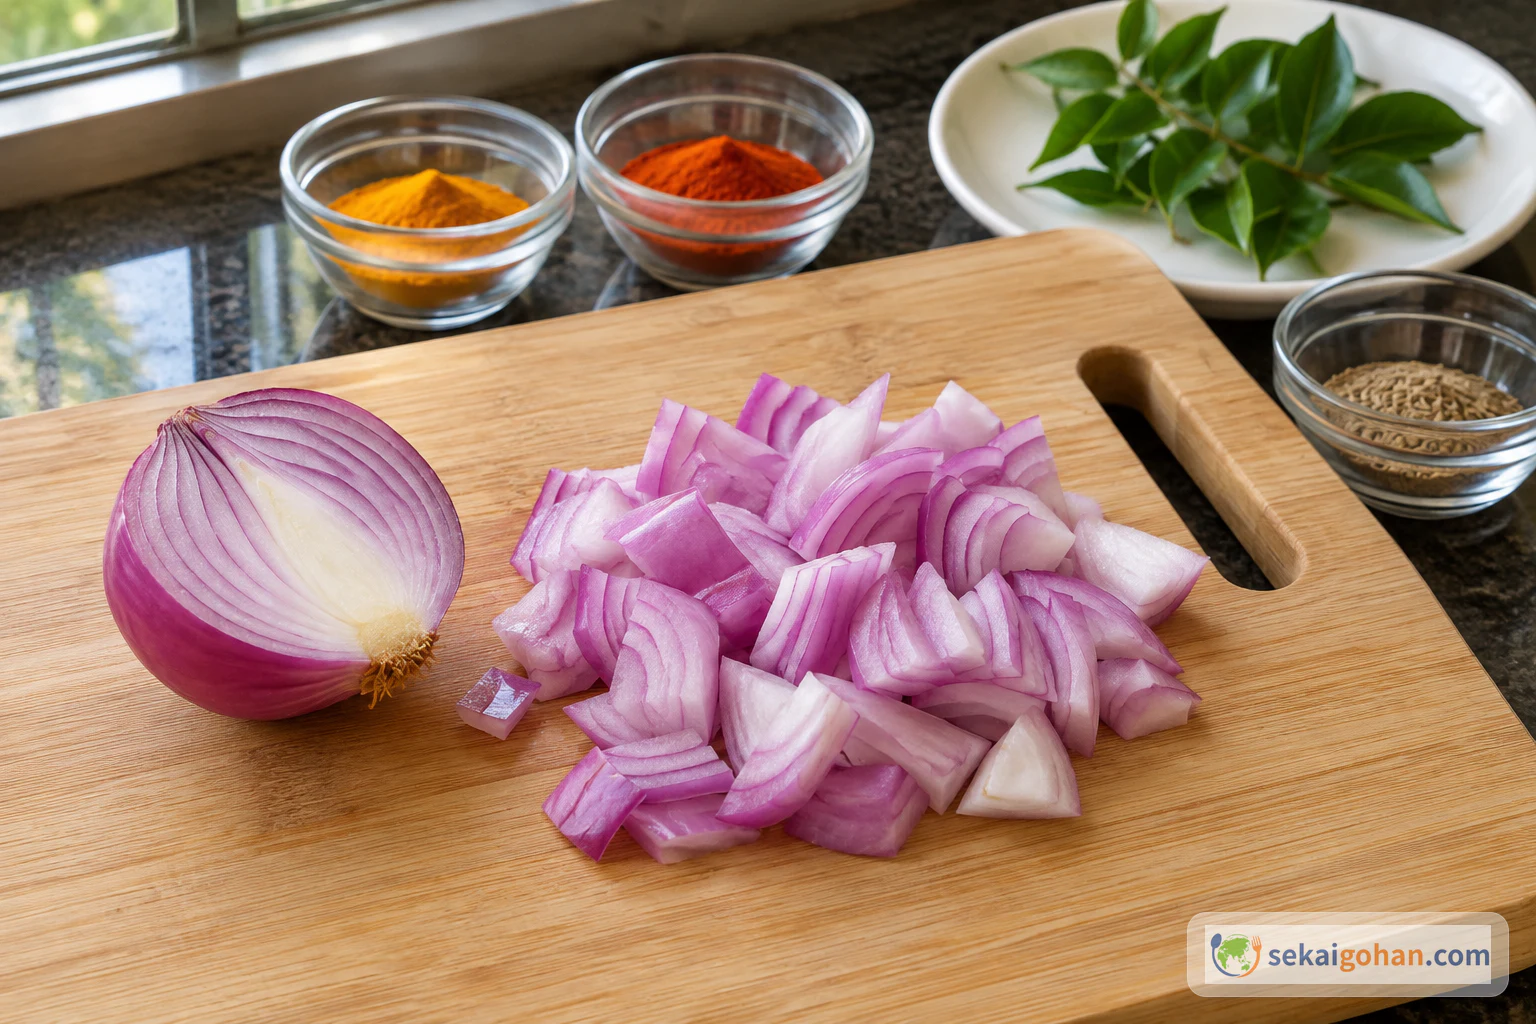
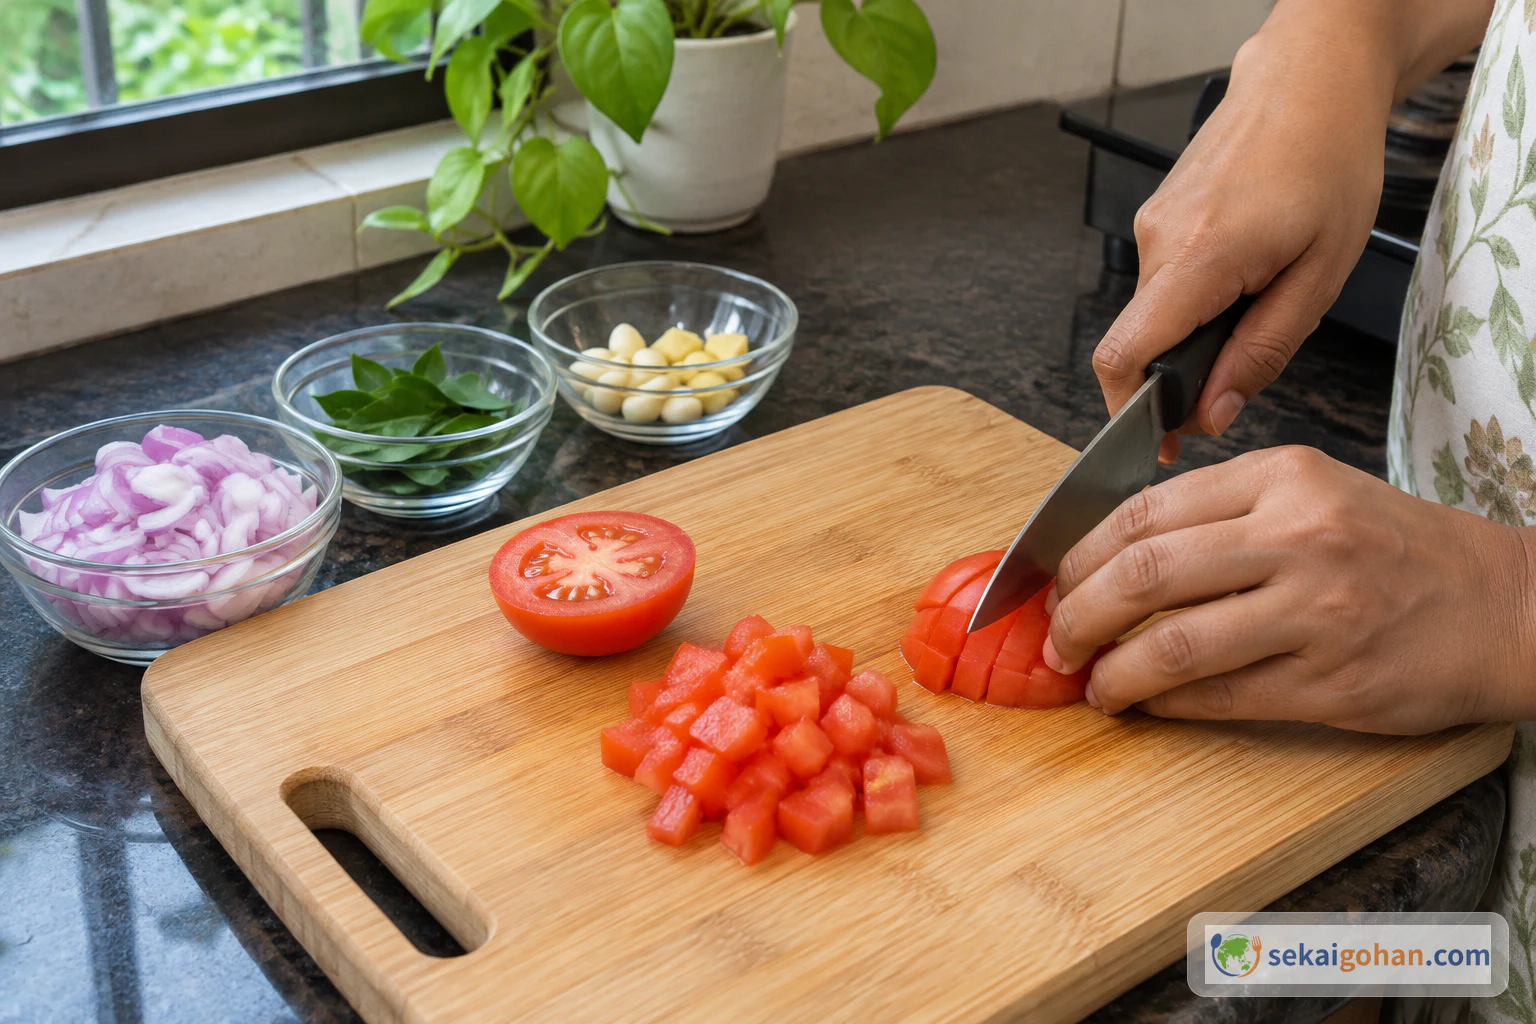
Chopping the medium onion for the masala on a clean board
The medium onion is for the masala

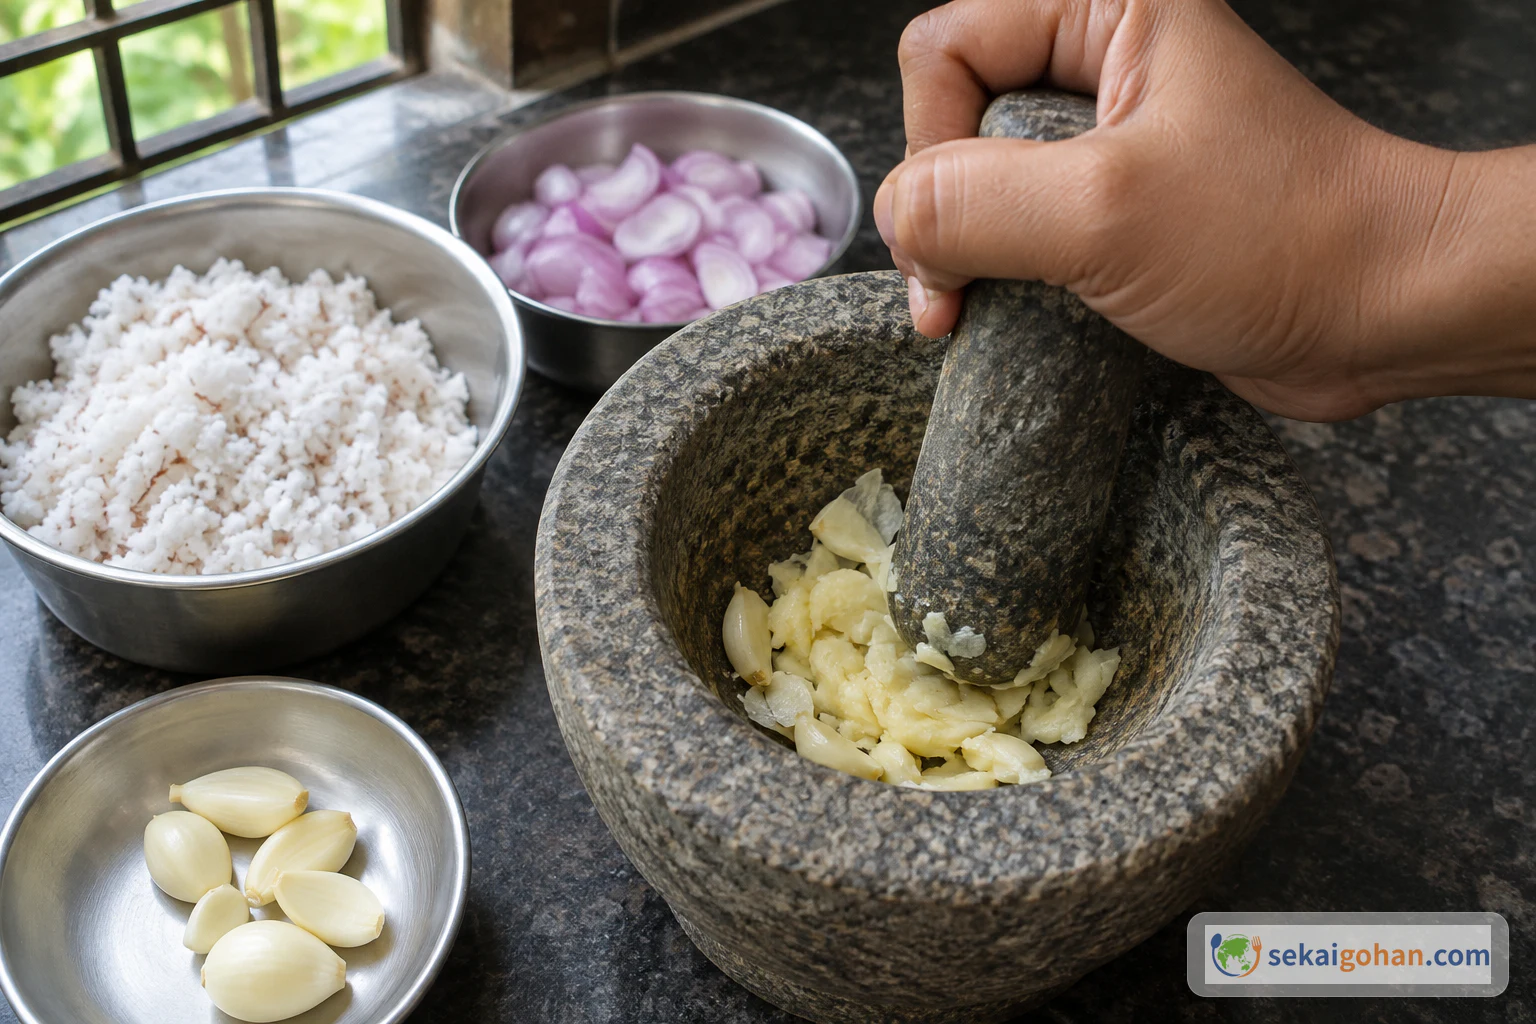
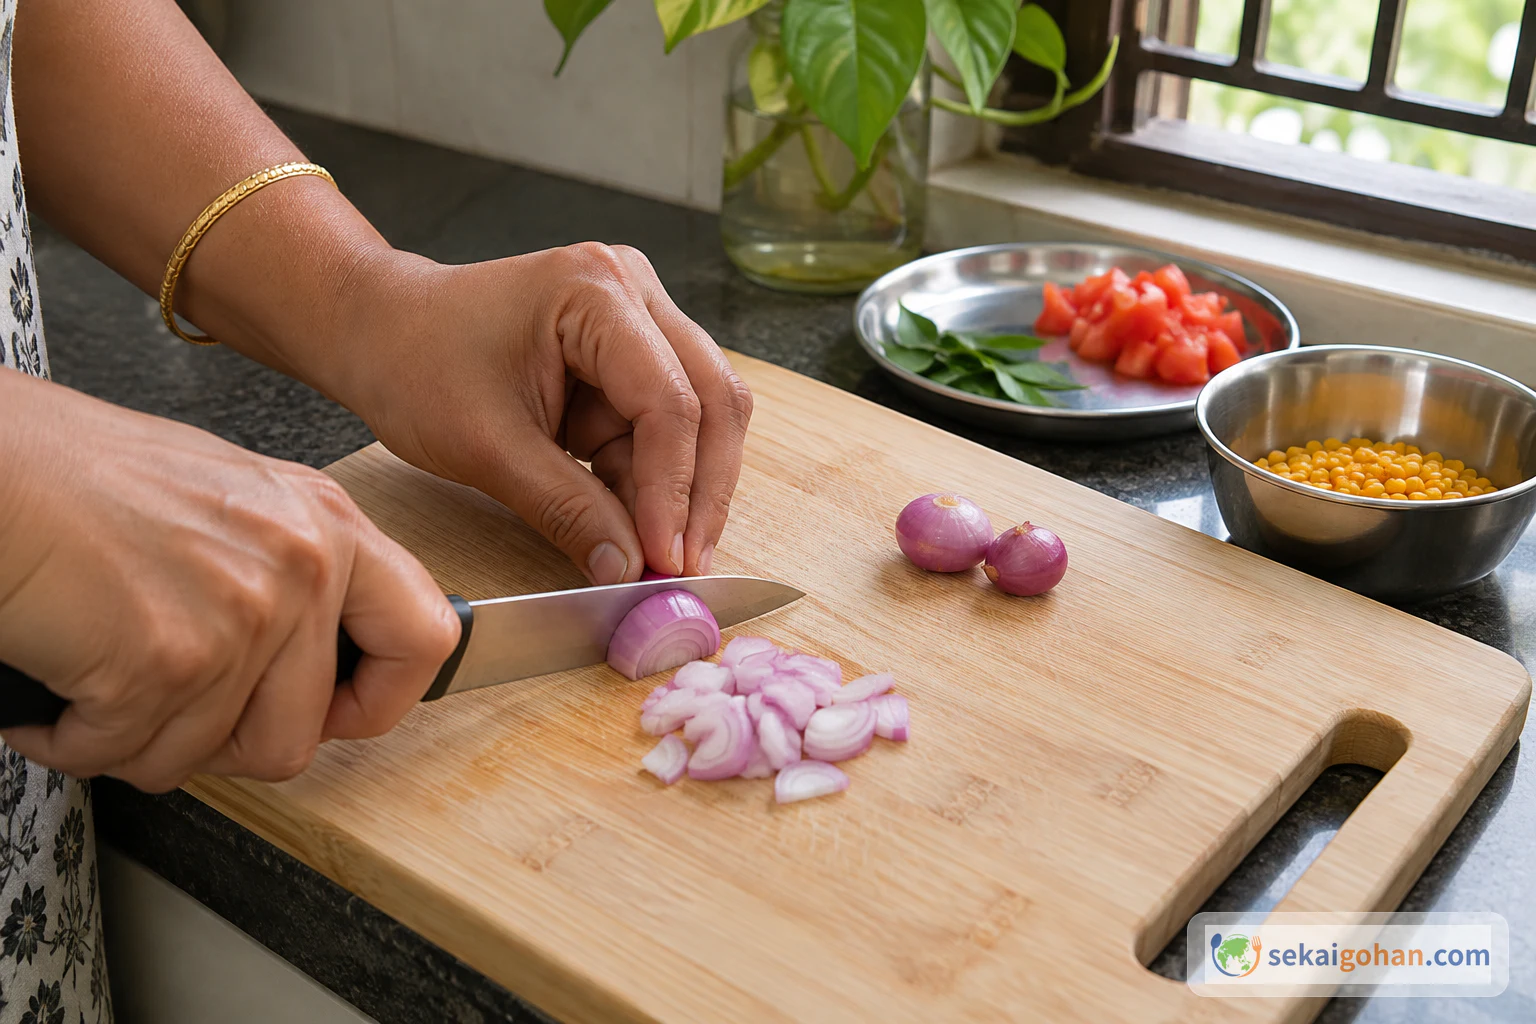
Chop the medium onion for the masala. Peel and crush the 10 garlic cloves. Chop the small onion for the tempering, then cut the tomato. Keep each in its own bowl so the masala onion and the tempering onion don't get mixed up.

Crushing peeled garlic cloves
Crush the garlic; it will be dry-fried with the coconut
Chopping the small onion for the tempering
The small onion is kept separate for the tempering
Cutting the tomato for the tempering
The tomato waits for the tempering stage
STEP 22 / 23

Warm a dry pan

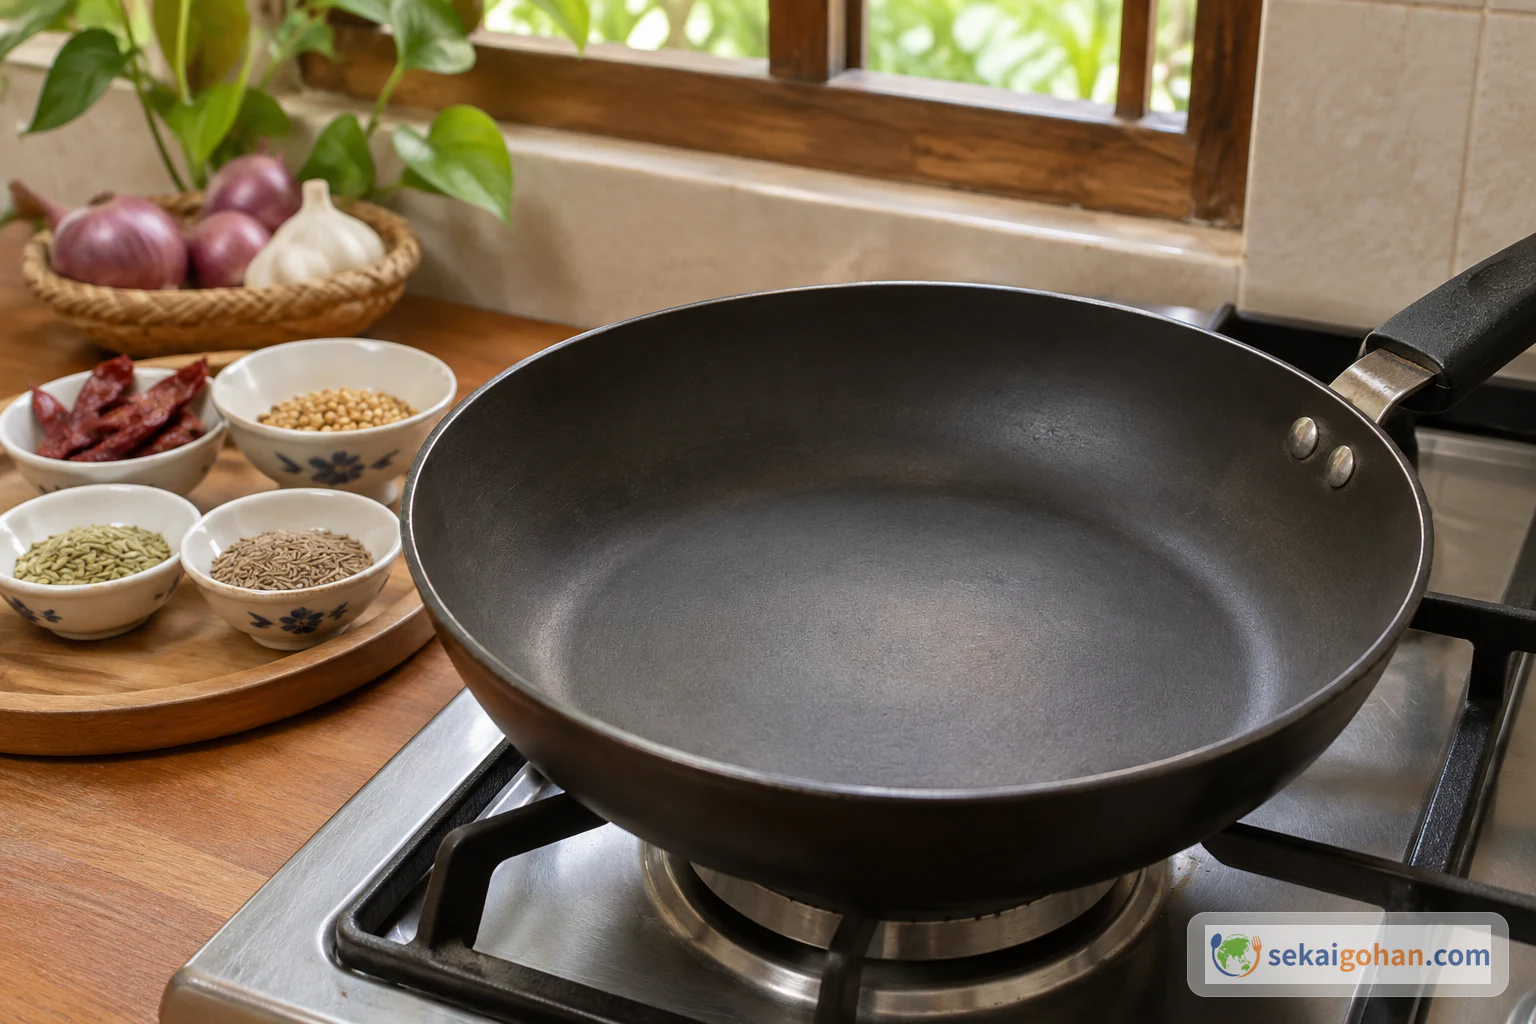
An empty dry pan warming on the burner
No oil goes into the pan for roasting the masala

Set a heavy pan over the heat with no oil in it.

STEP 33 / 23

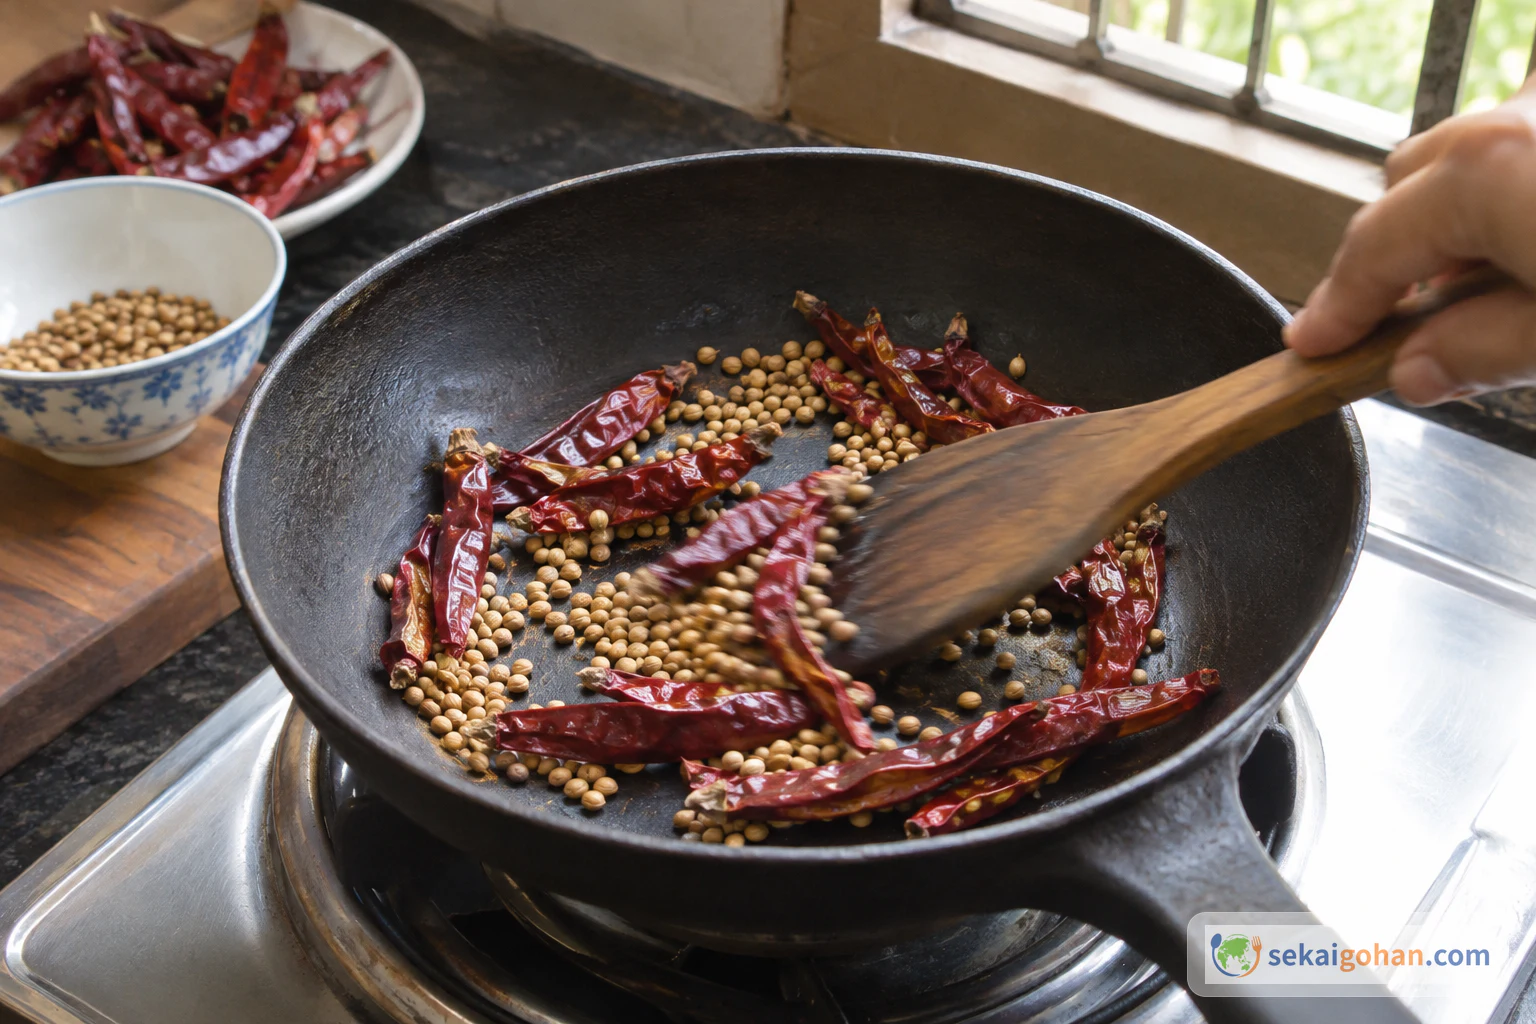
Dry-roast the red chillies

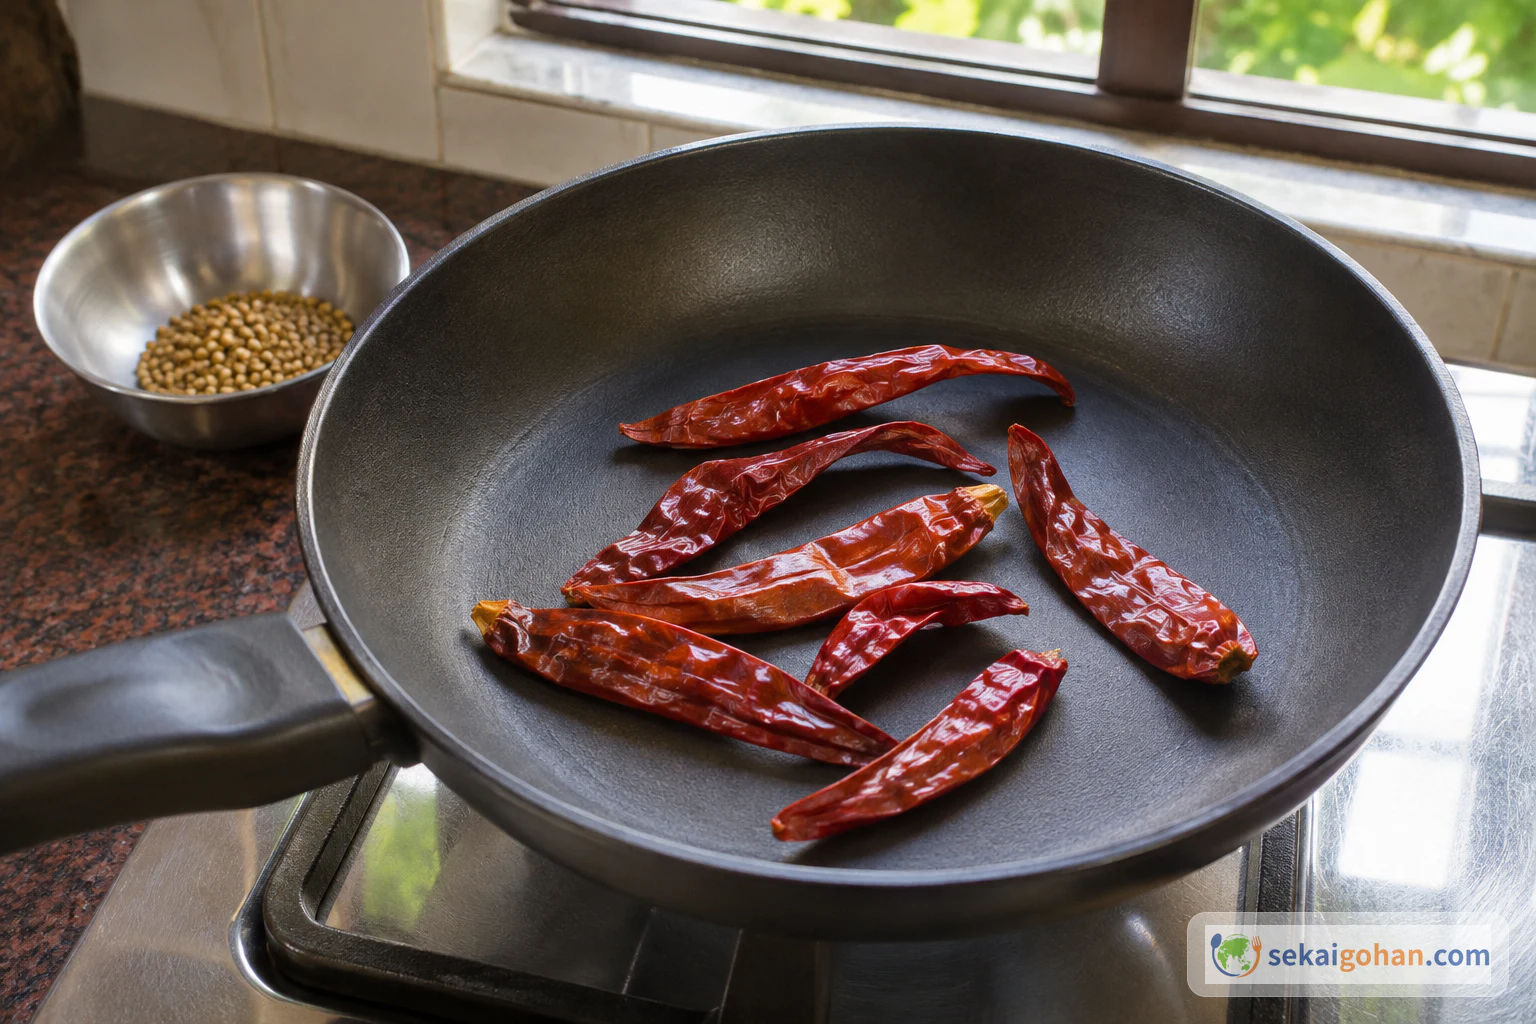
Red chillies dry-roasting alone in the pan
The chillies go in first, before the coriander

Put the 25 red chillies into the dry pan on their own and roast them, stirring.

STEP 44 / 23

Add the coriander and keep roasting

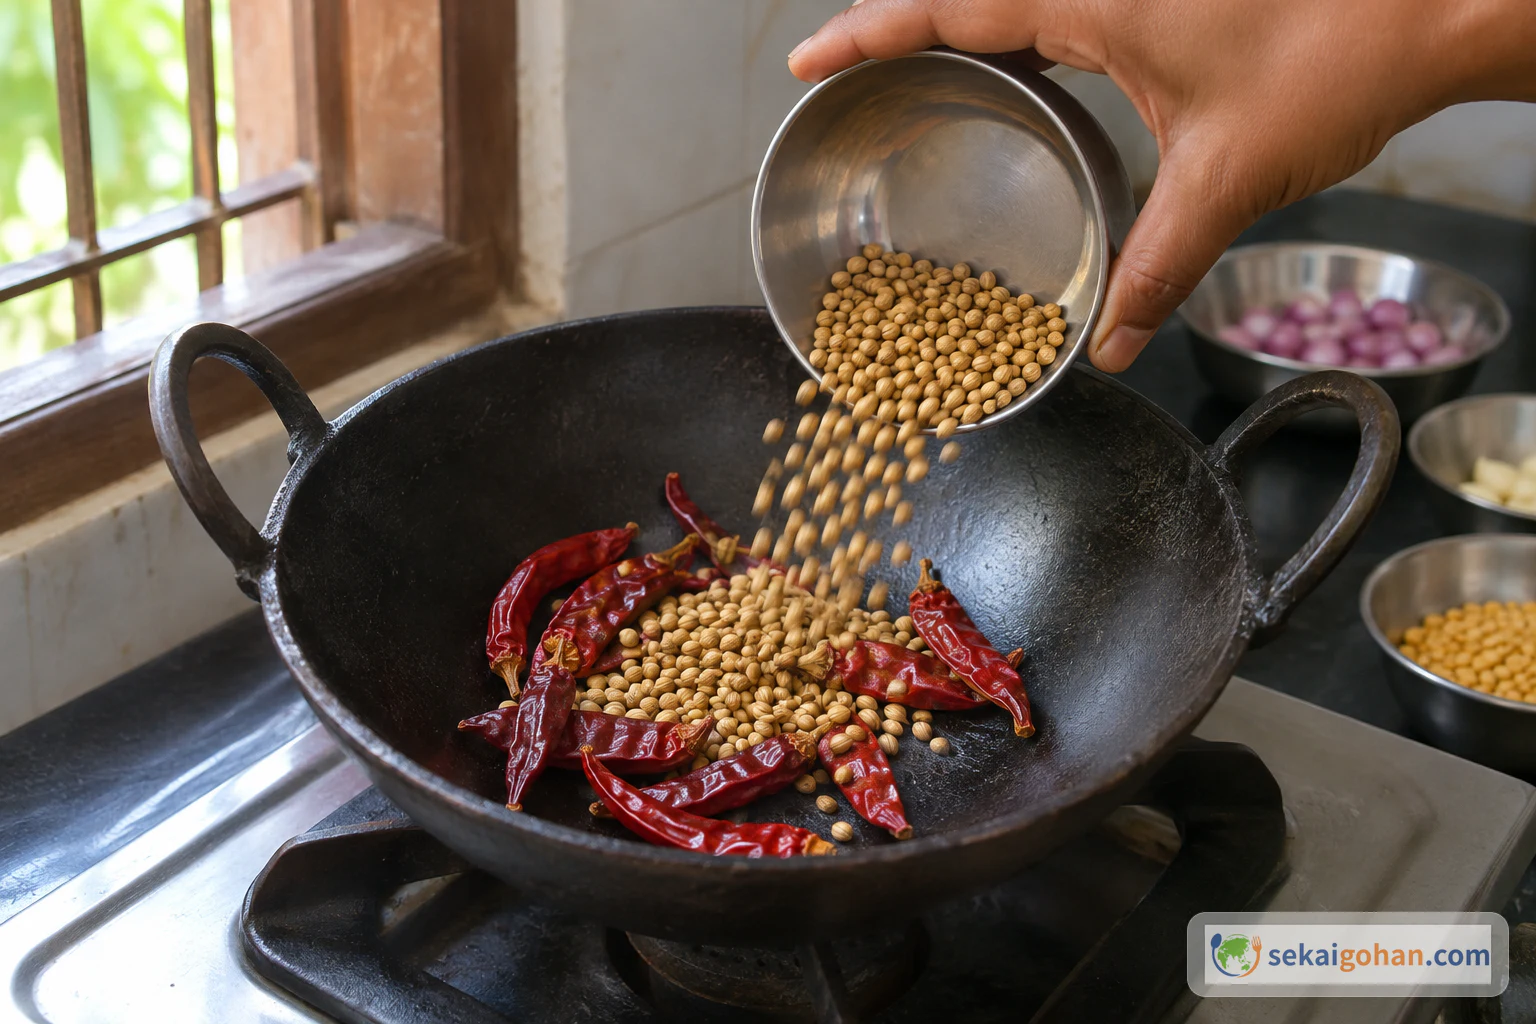
Coriander seeds being tipped into the pan of roasted red chillies
Coriander joins the chillies in the same pan

Tip the coriander seeds into the pan with the chillies and stir them together as they roast.

Stirring red chillies and coriander seeds together in the dry pan
Only chillies and coriander are in the pan at this point
STEP 55 / 23

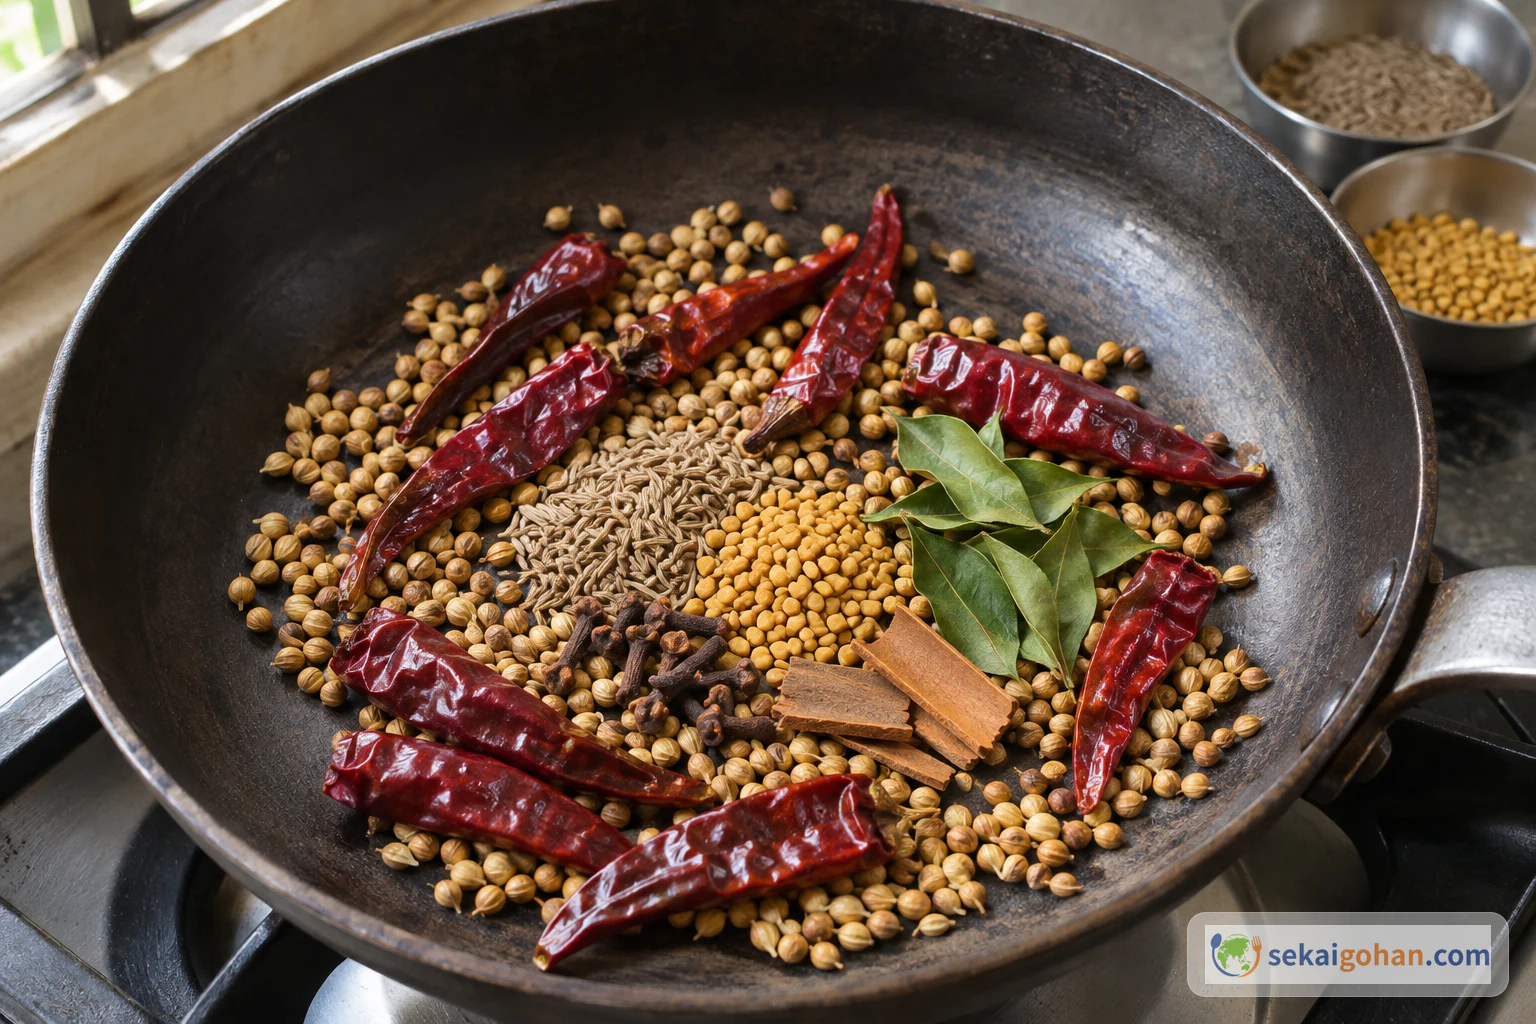
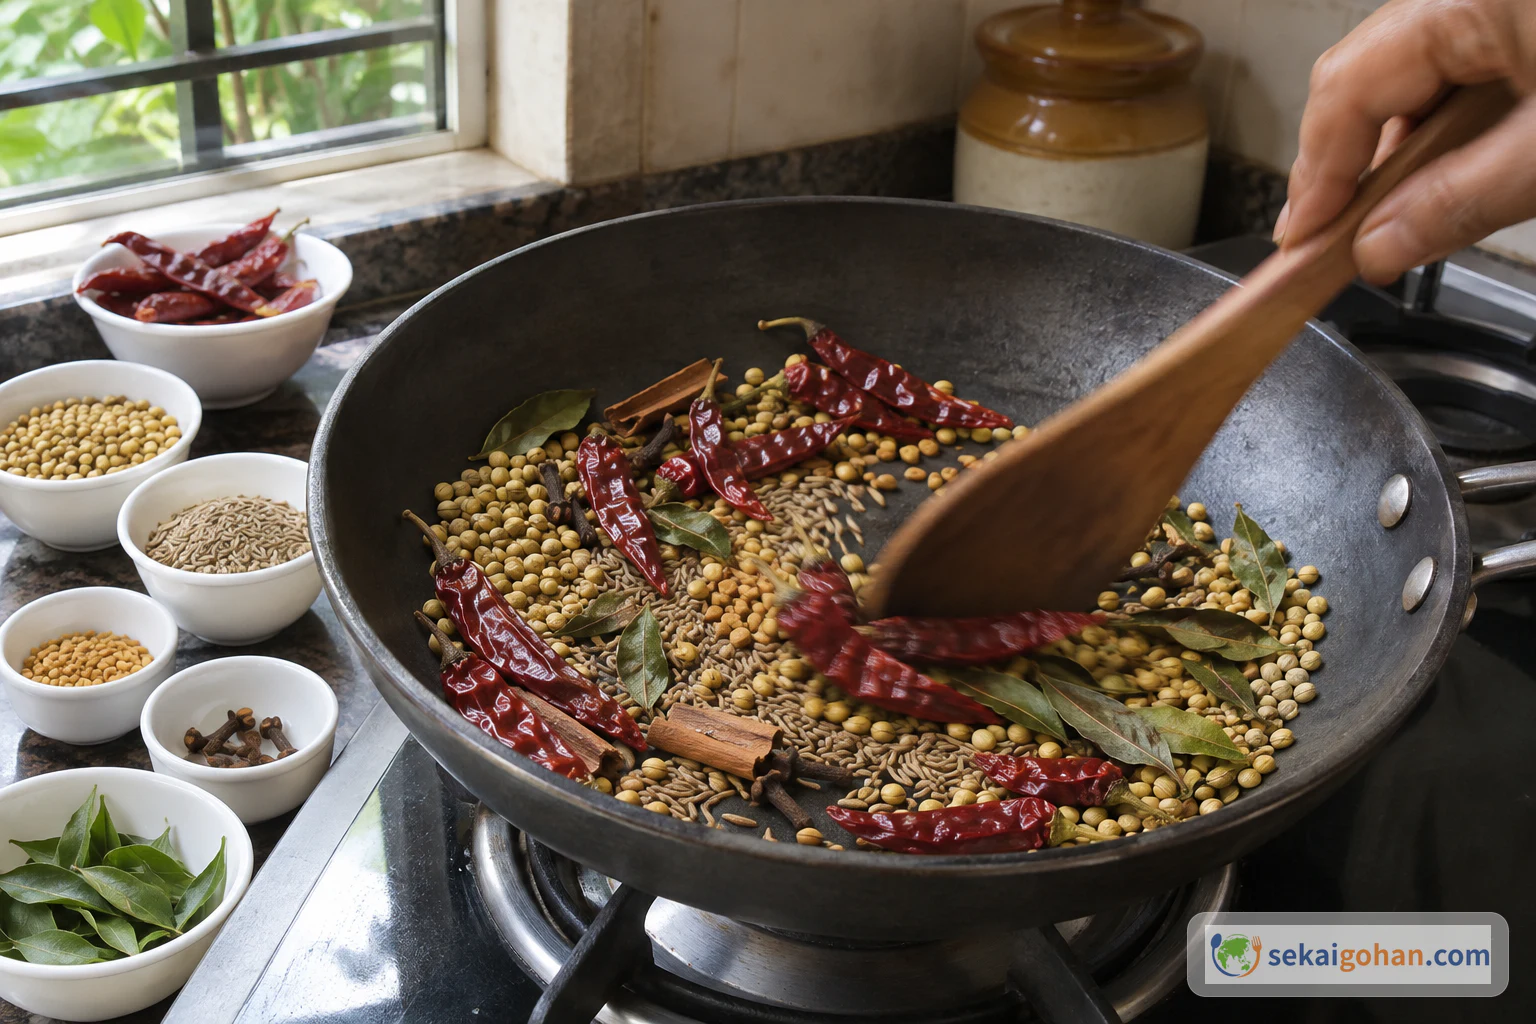
Add the remaining spices and the masala curry leaves

Adding cumin, fenugreek, cloves, cinnamon and curry leaves to the chillies and coriander
Coconut, onion, garlic and tamarind are not added yet

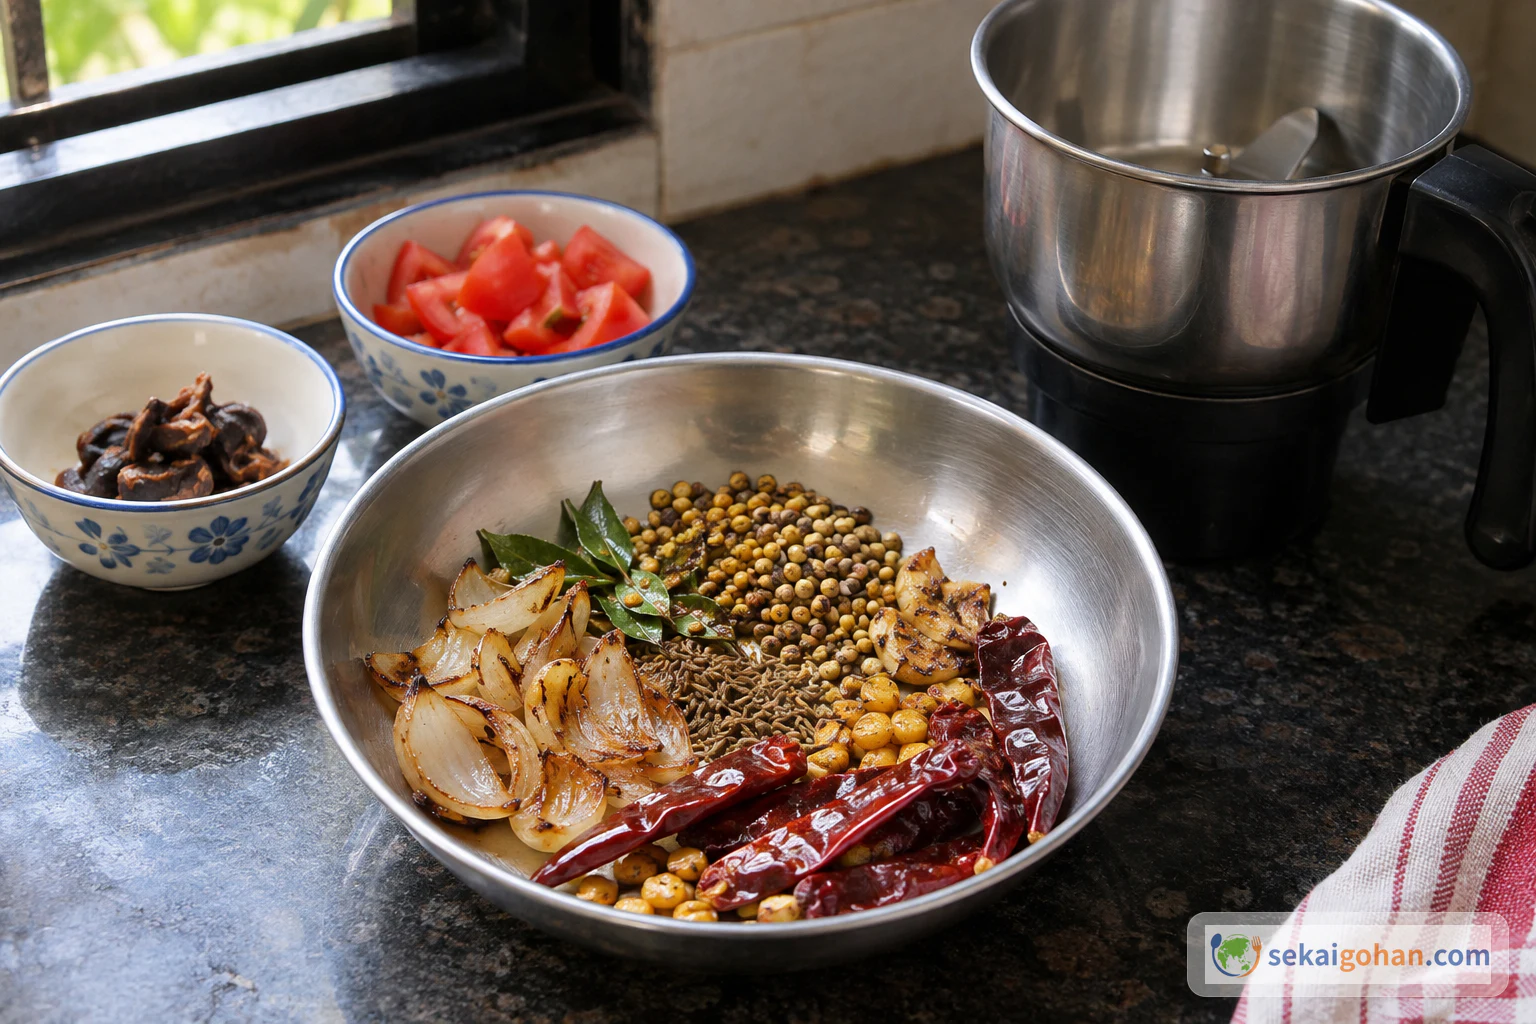
Add the cumin, fenugreek, cloves, cinnamon and the masala curry leaves. Keep the coconut, onion, garlic and tamarind out for now. Stir and dry-roast everything together.

Stirring the combined spices and curry leaves in the dry pan
All the dry spices roast together without oil
STEP 66 / 23

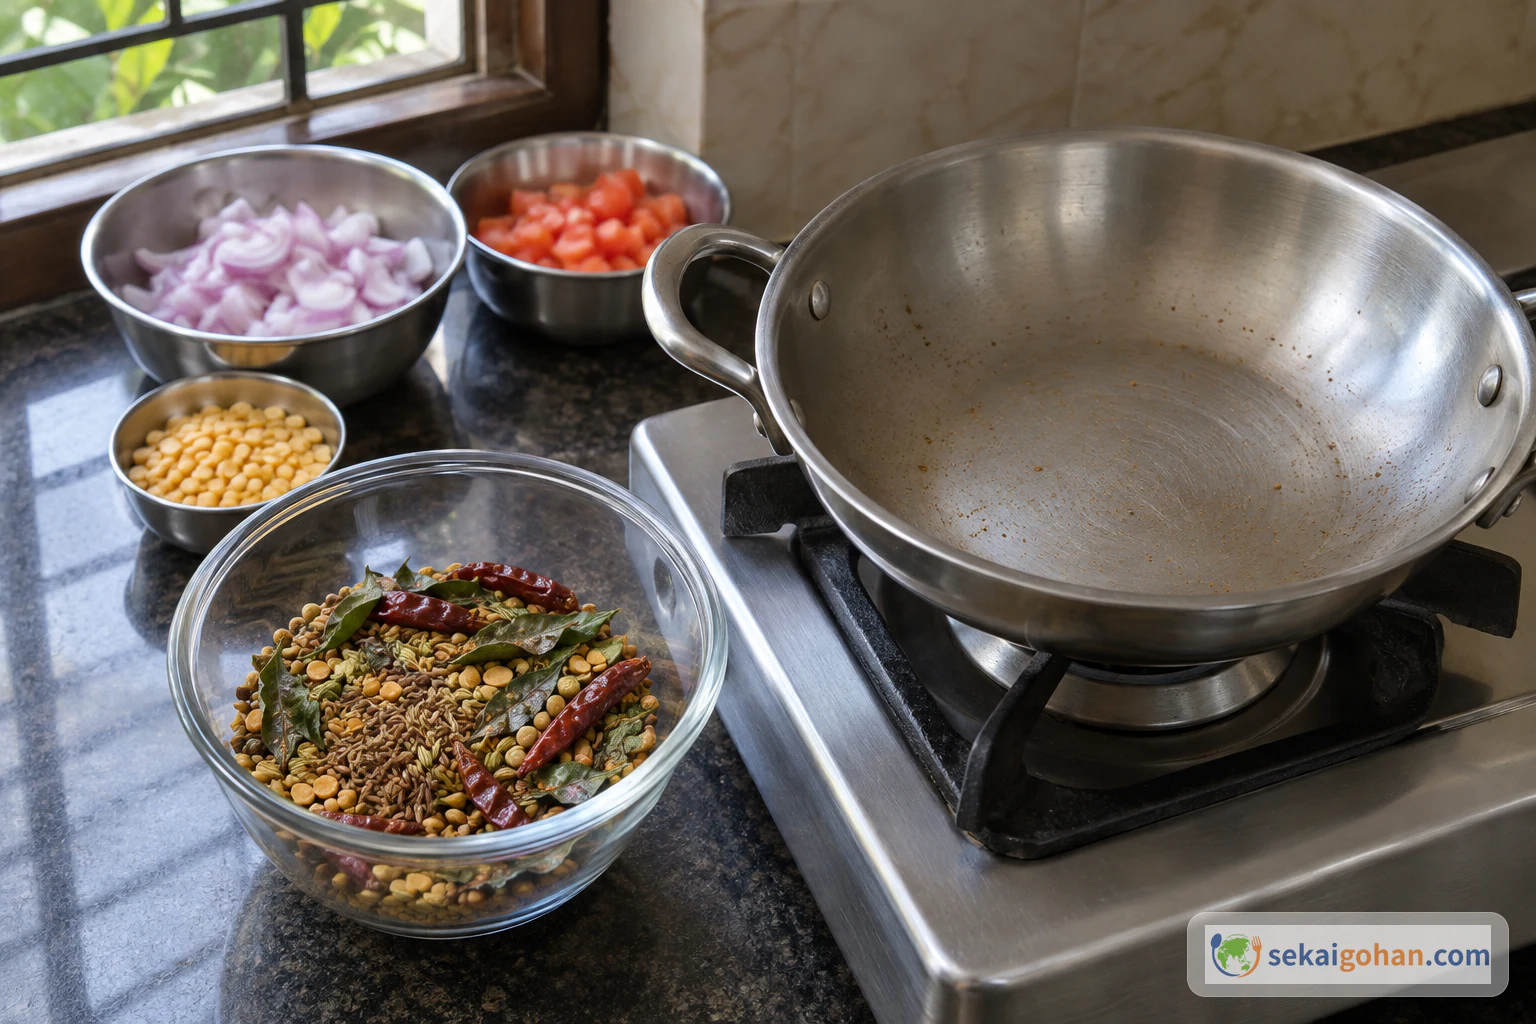
Set the roasted spices aside

Roasted spices and curry leaves moved into a separate heat-safe bowl
Clear the pan for the coconut

Move the whole roasted spice and curry-leaf group into a heat-safe bowl.

STEP 77 / 23

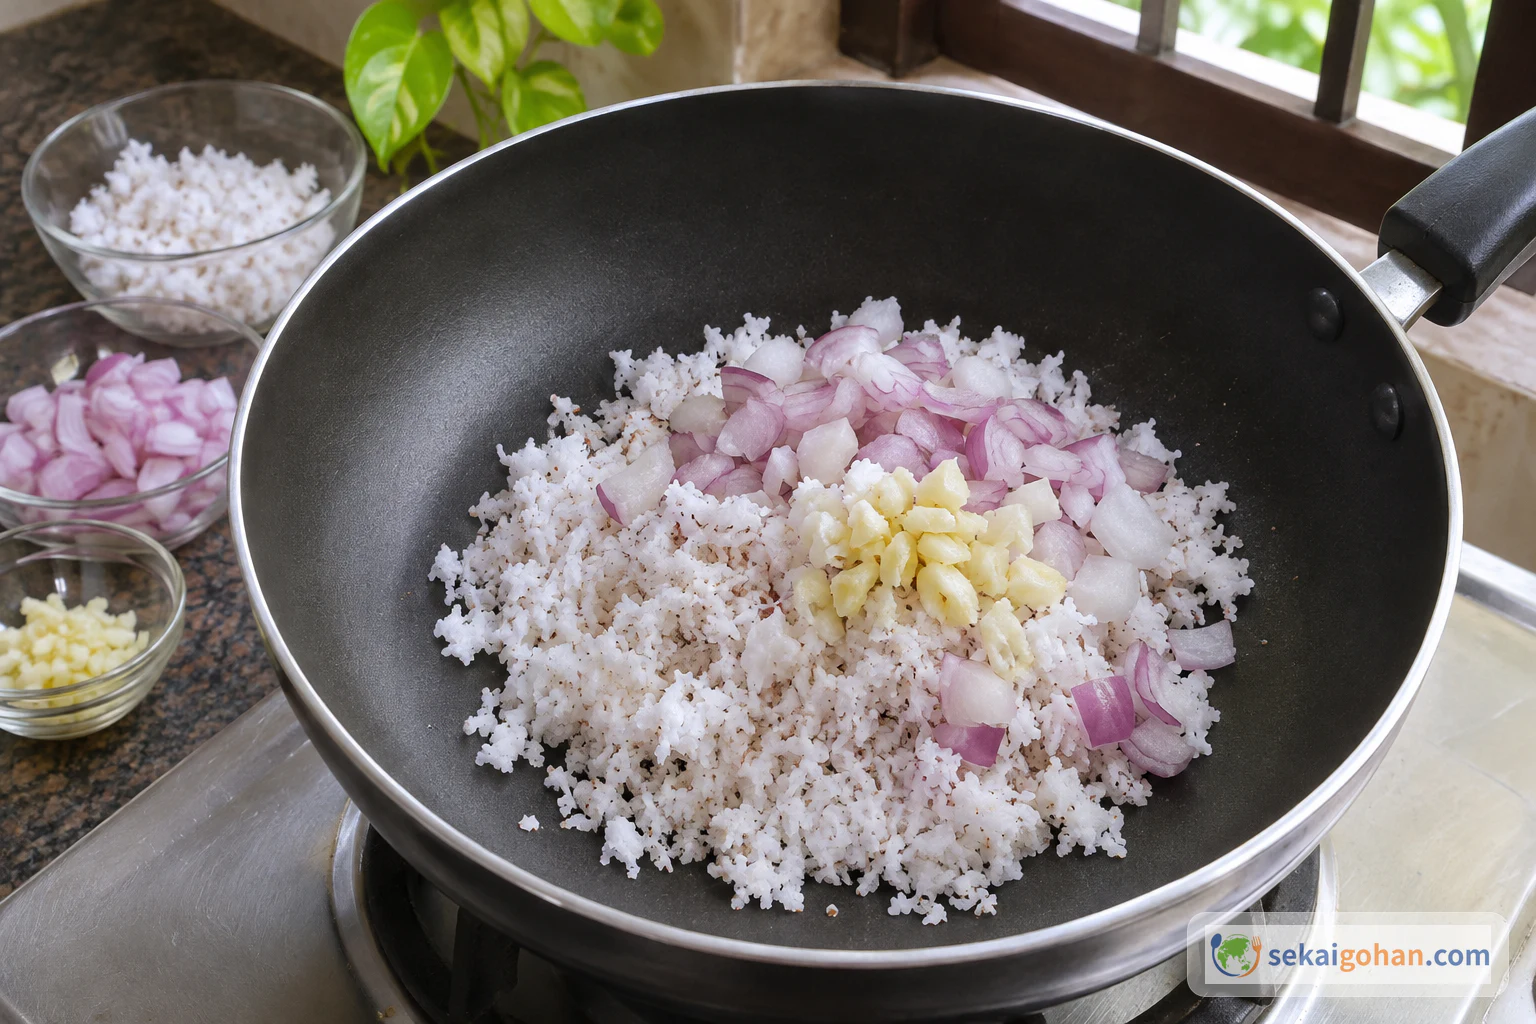
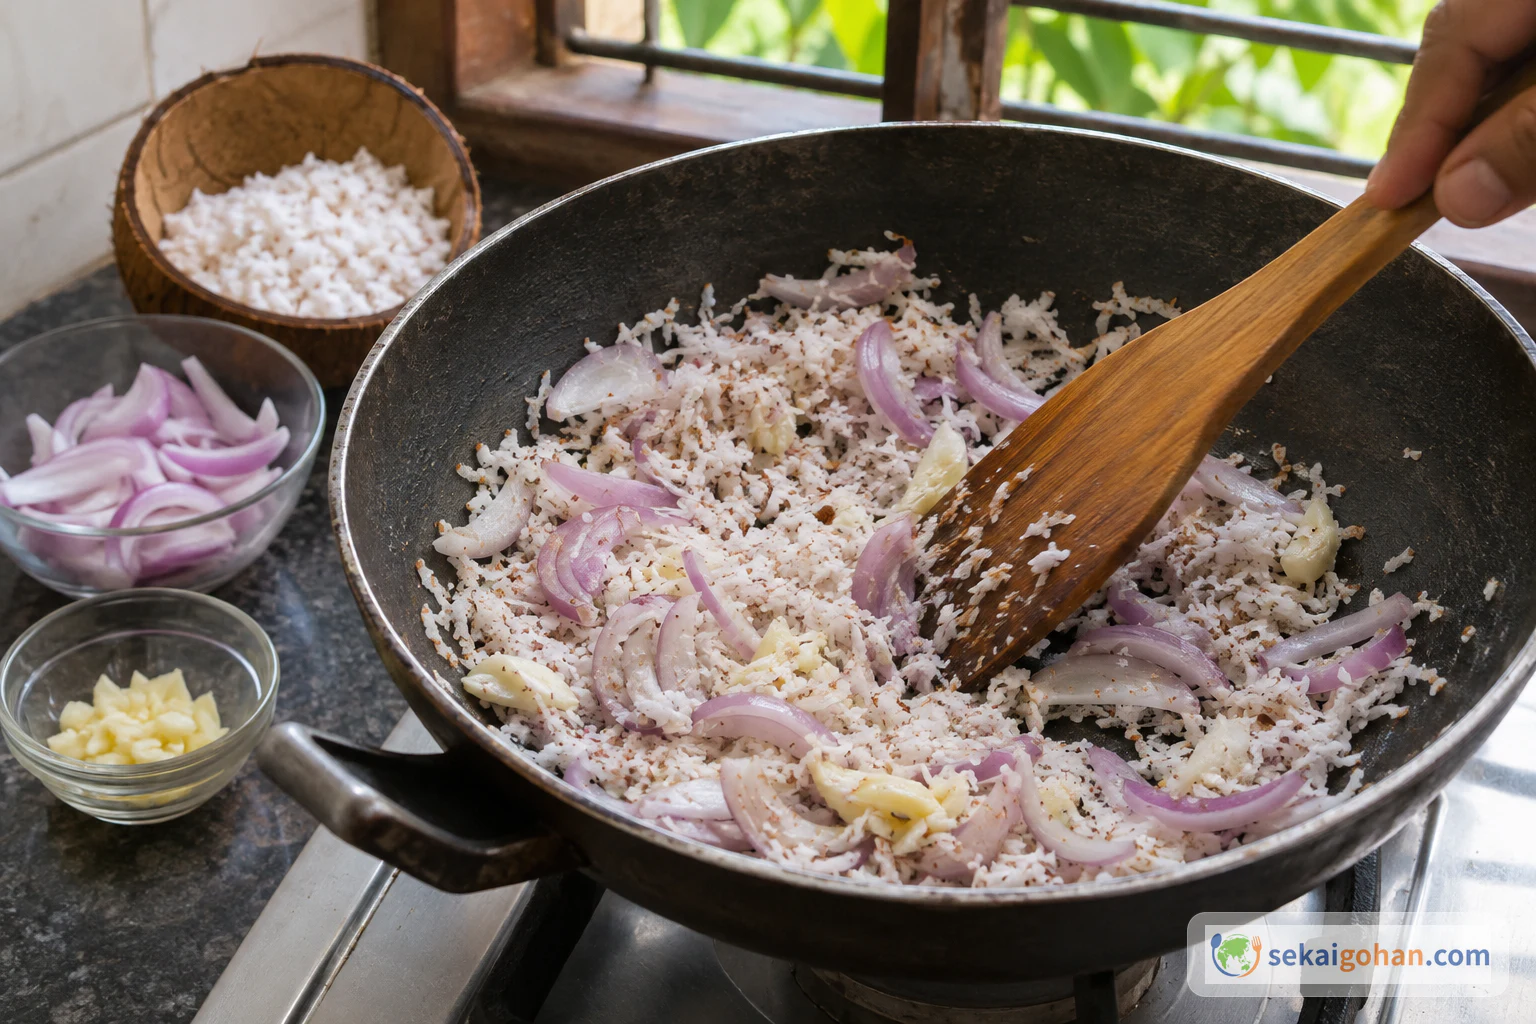
Dry-fry the coconut, onion and garlic without oil

Grated coconut, chopped onion and crushed garlic going into an empty dry pan
Coconut, the medium onion and garlic go in together

Put the grated coconut, the chopped medium onion and the crushed garlic into the dry pan. Stir and fry them without any oil.

Coconut, onion and garlic being stirred in the pan without oil
Still no oil, and no tamarind yet
STEP 88 / 23

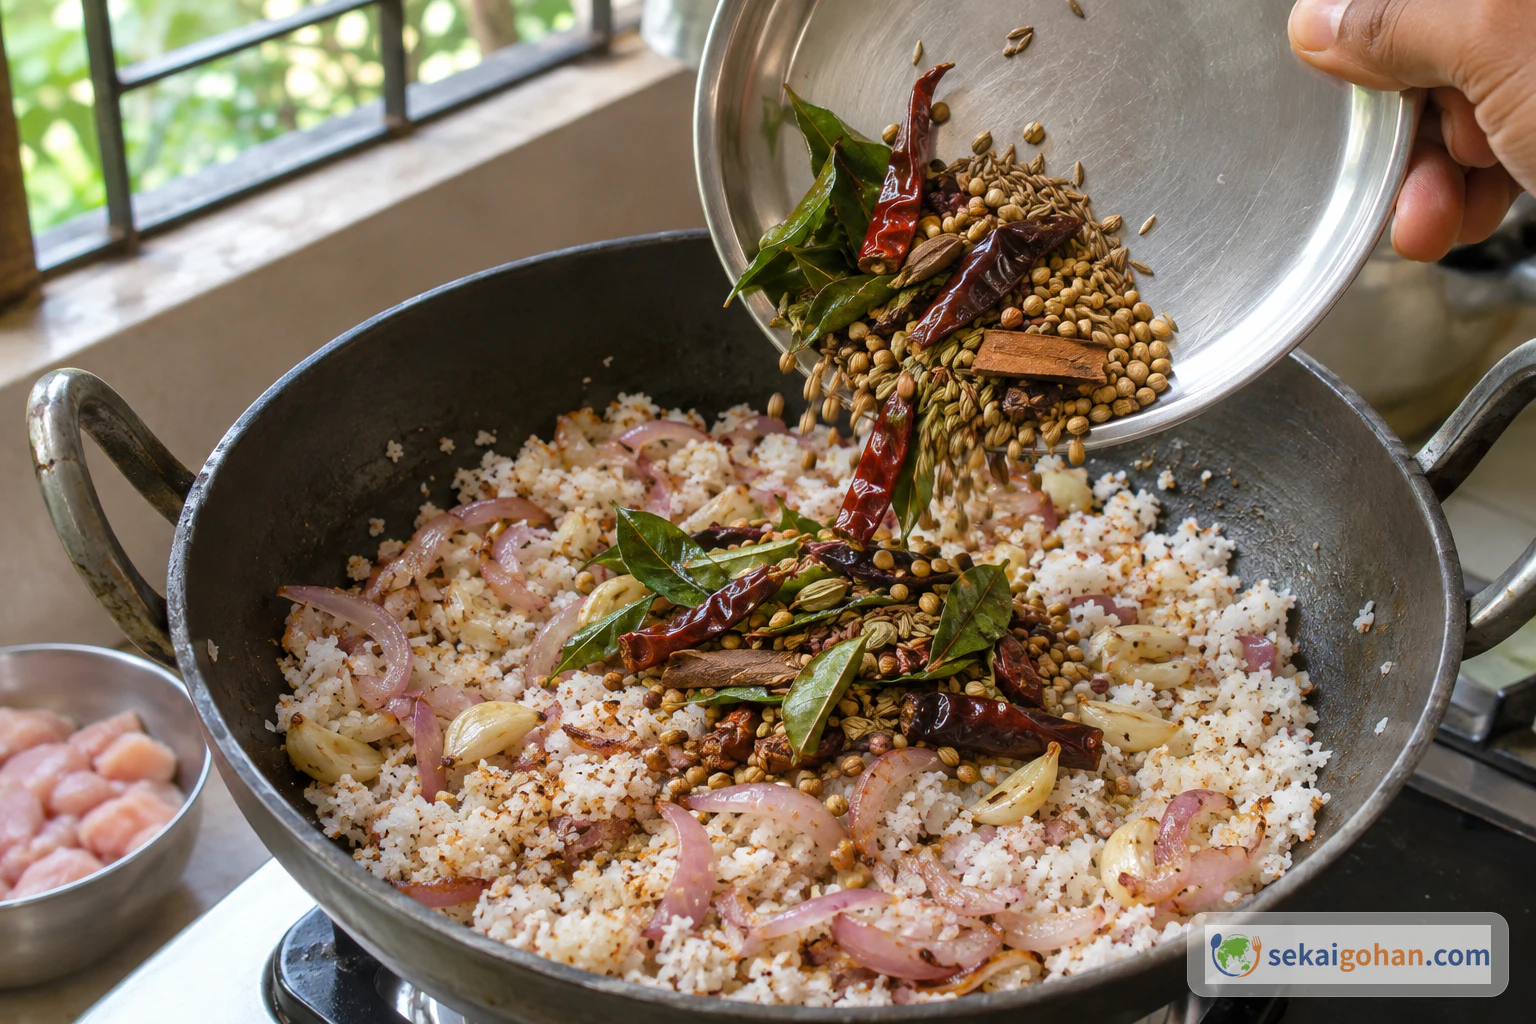
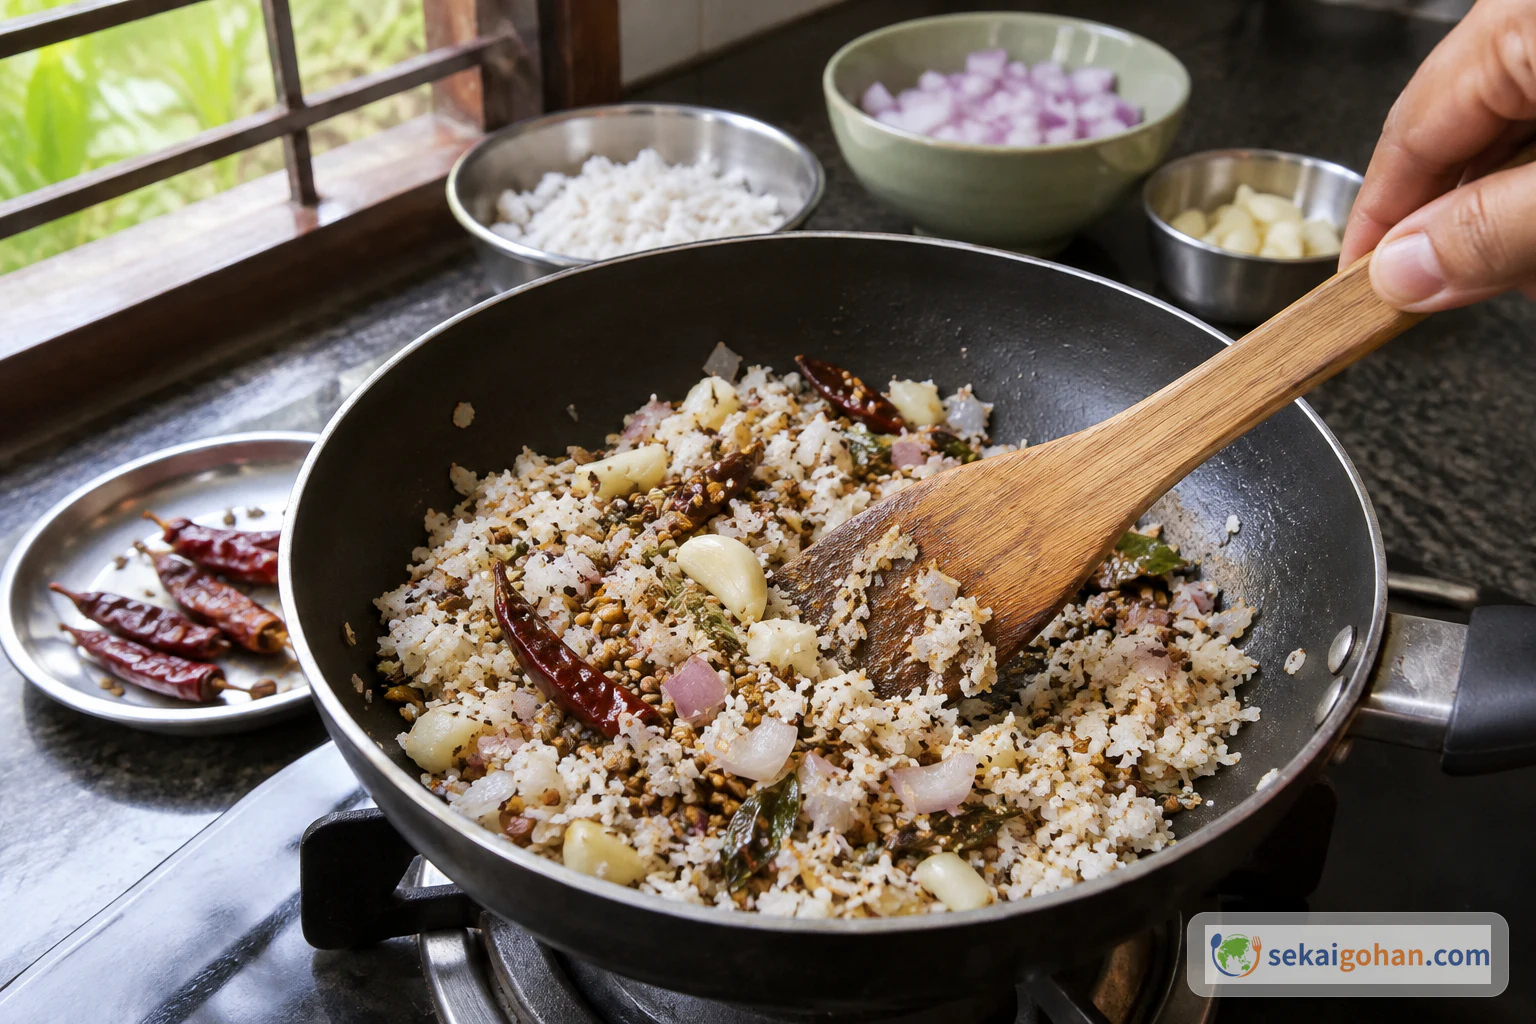
Mix in the roasted spices

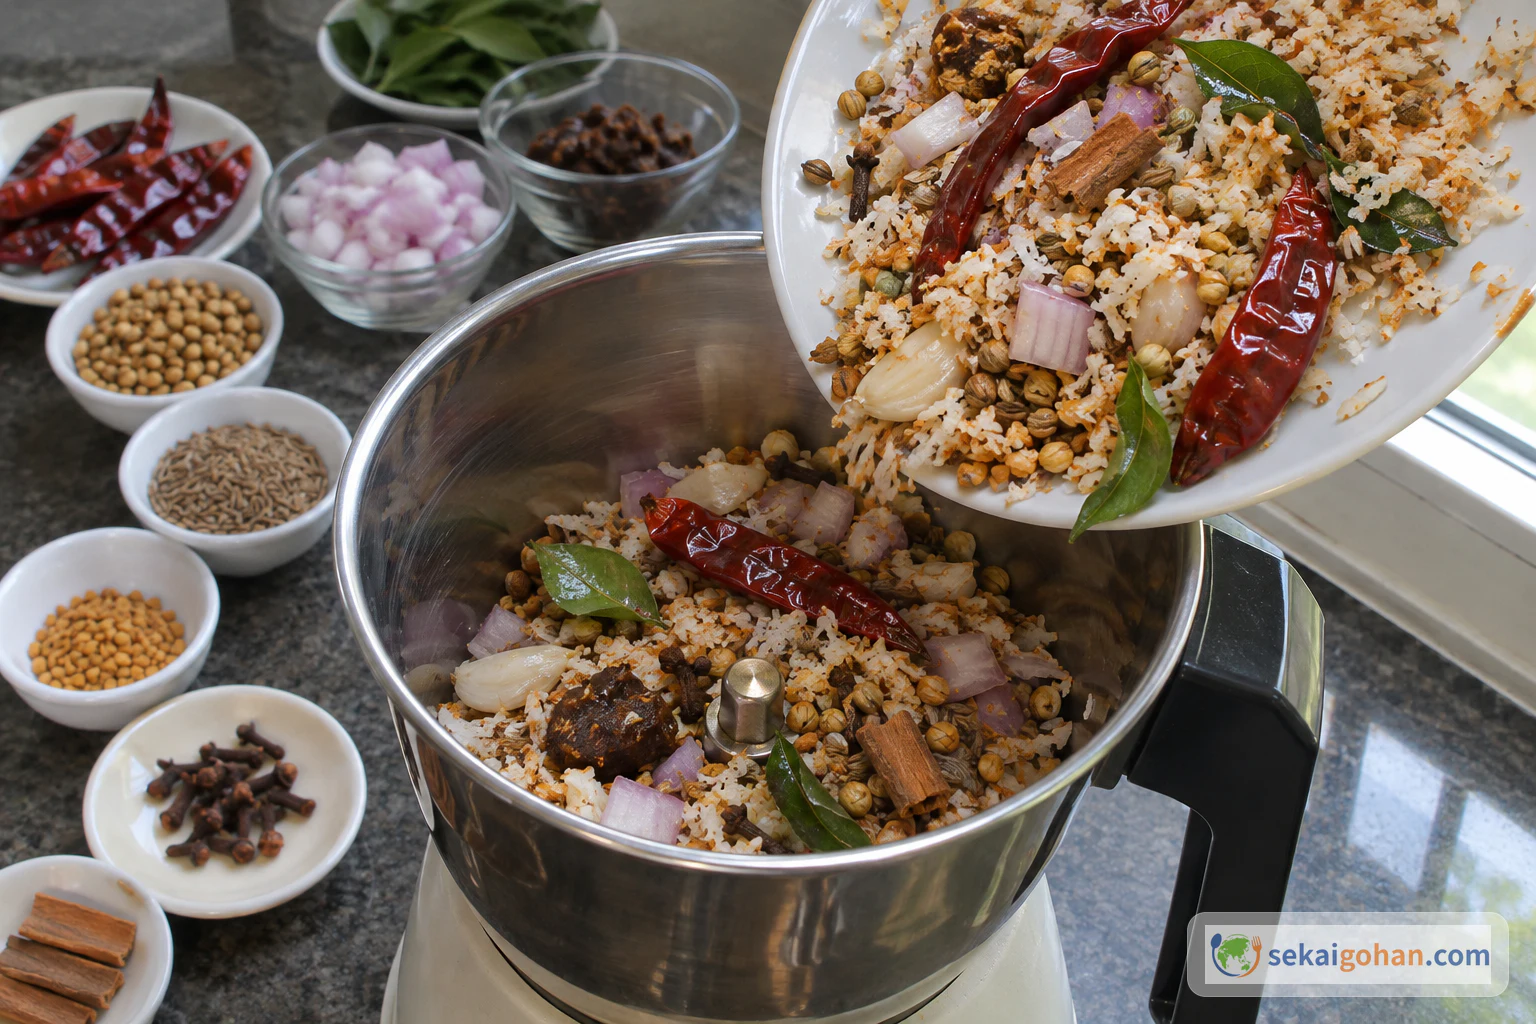
Reserved roasted spices being tipped into the pan of coconut, onion and garlic
The two roasted groups come together

Tip the reserved roasted spices and curry leaves into the pan of coconut, onion and garlic, and stir the two groups together.

Stirring the roasted spices and coconut mixture together
Mix well before the tamarind goes in
STEP 99 / 23

Add the tamarind and load the grinder

Adding the tamarind to the roasted masala mixture
Tamarind goes in with the roasted masala before grinding

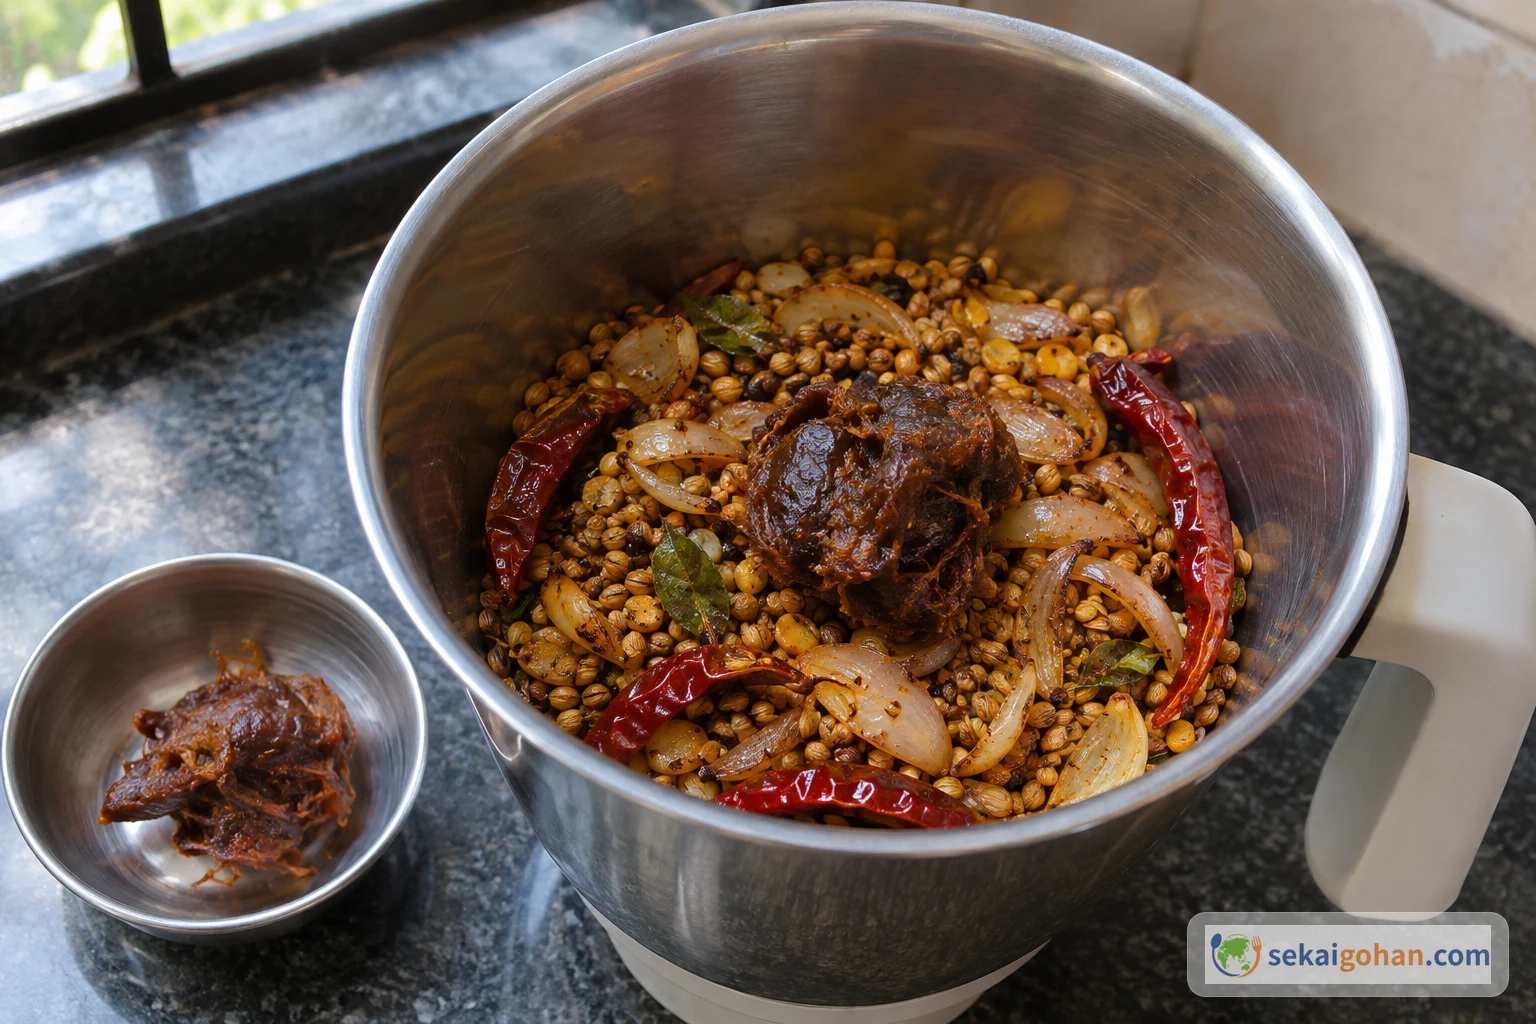
Add the tamarind to the roasted mixture. Take everything off the heat into a heat-safe bowl and let it reach the state your grinder's instructions allow for loading. Don't seal and run a hot mixture unless your appliance's instructions permit it. With the grinder switched off, load the whole roasted mixture and the tamarind into the jar.

Roasted masala resting off the heat in a heat-safe bowl beside a switched-off grinder
Bring the mixture to a state your grinder can safely take
Loading the roasted masala, coconut and tamarind into a switched-off grinder jar
Load only while the grinder is off
STEP 1010 / 23

Grind to a fine paste

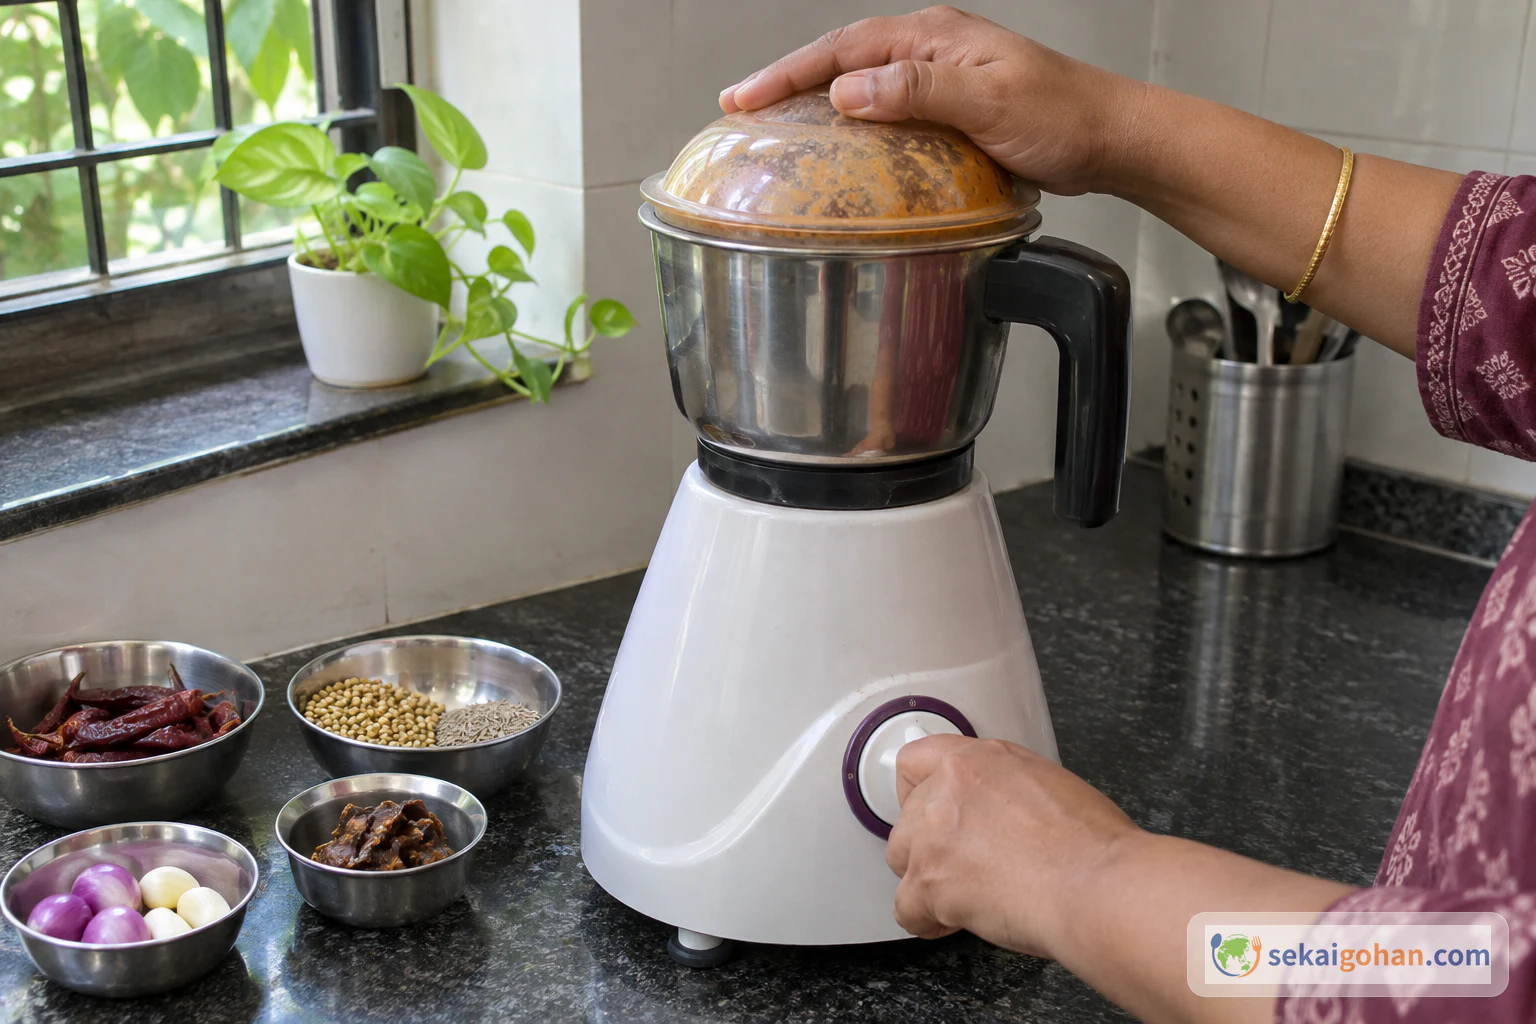
Grinding the masala with the grinder lid secured
Grind with the lid locked in place

Secure the lid and grind the masala to a fine paste, following your grinder's instructions.

STEP 1111 / 23

Transfer the paste to its own bowl

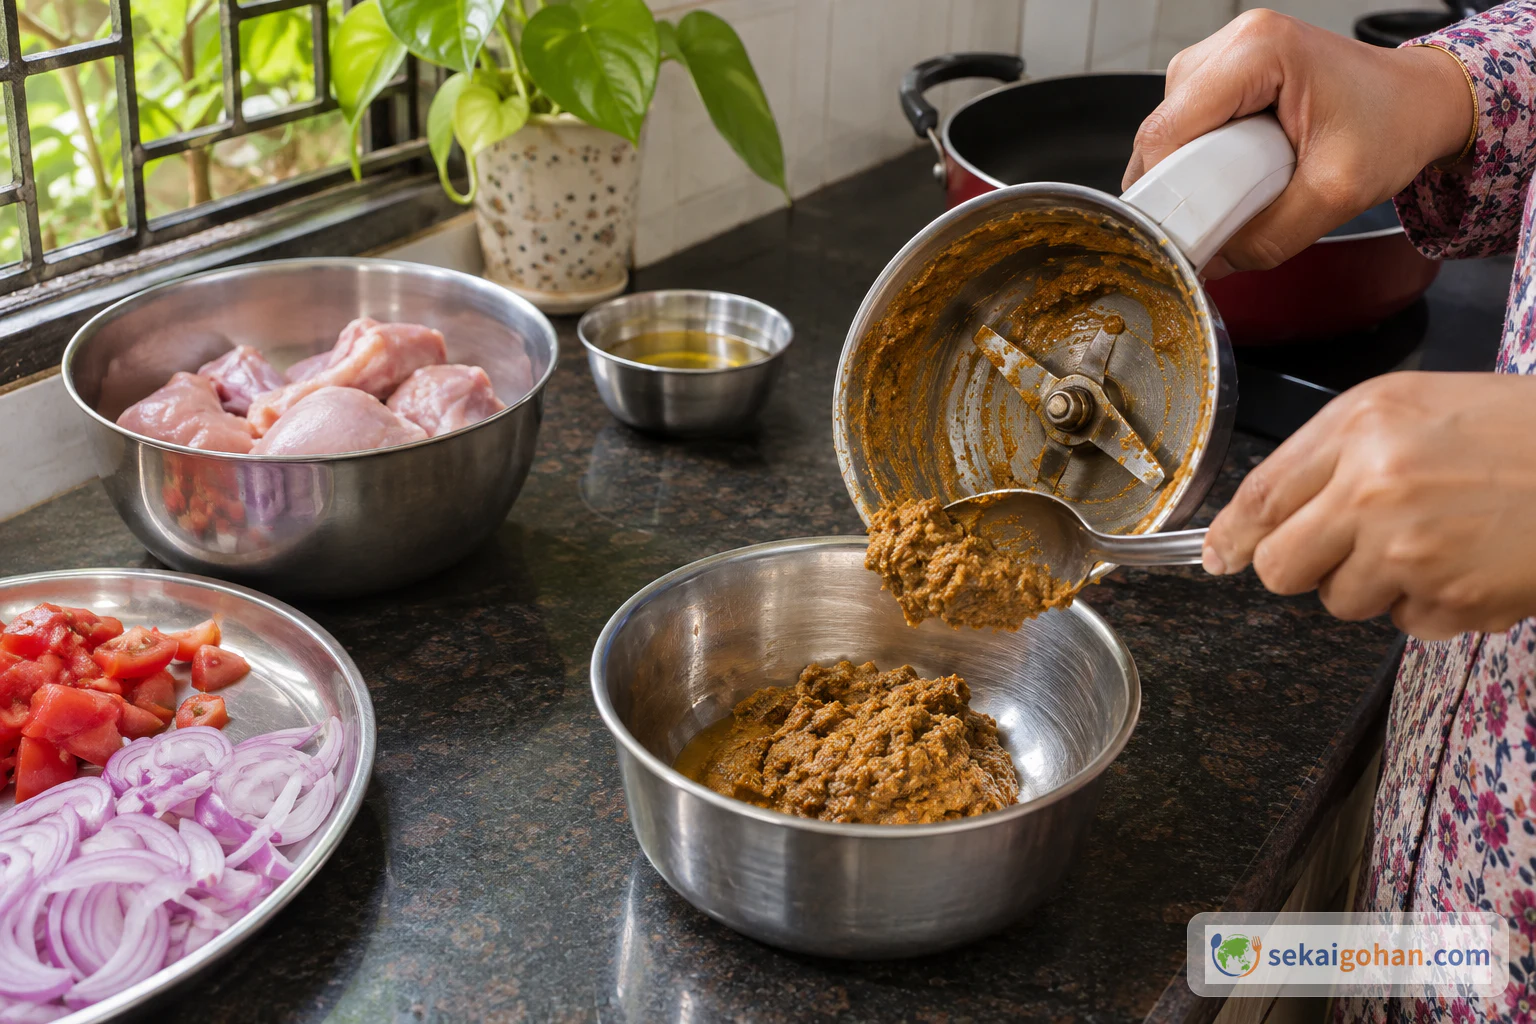
Moving the ground masala paste from the stopped grinder into a clean bowl
The thick paste waits on its own

Stop the grinder and scrape the paste into a clean bowl. Set it aside; it goes into the curry last.

STEP 1212 / 23

Rinse the grinder and keep the masala water

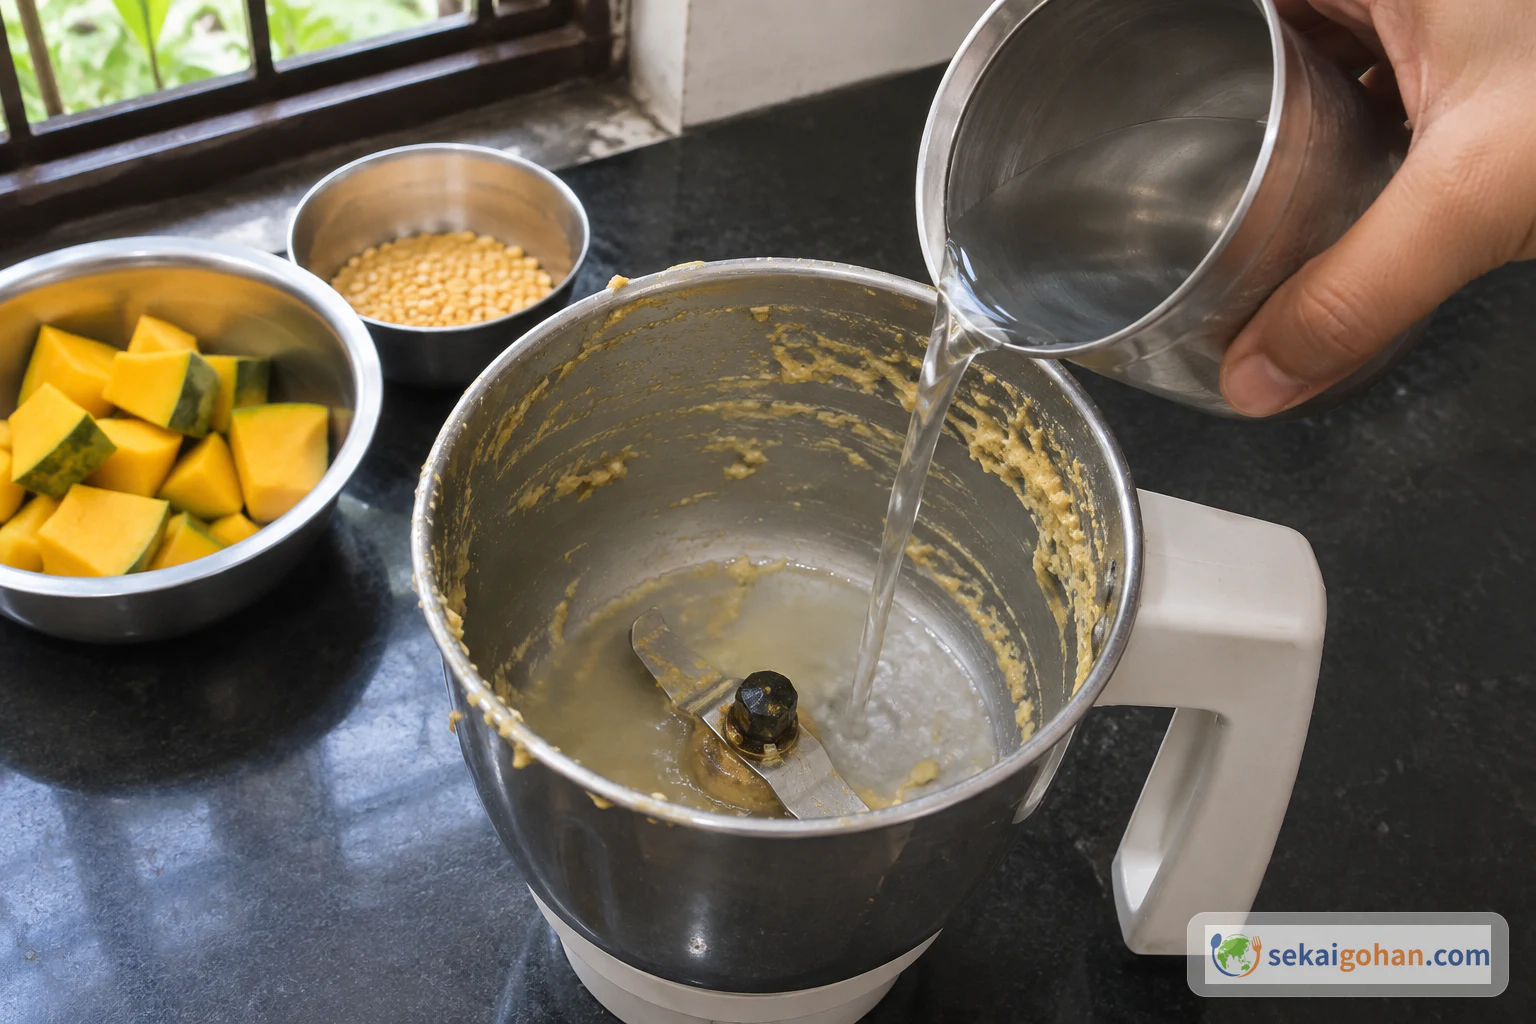
Pouring a little water into the empty grinder jar
Just a little water

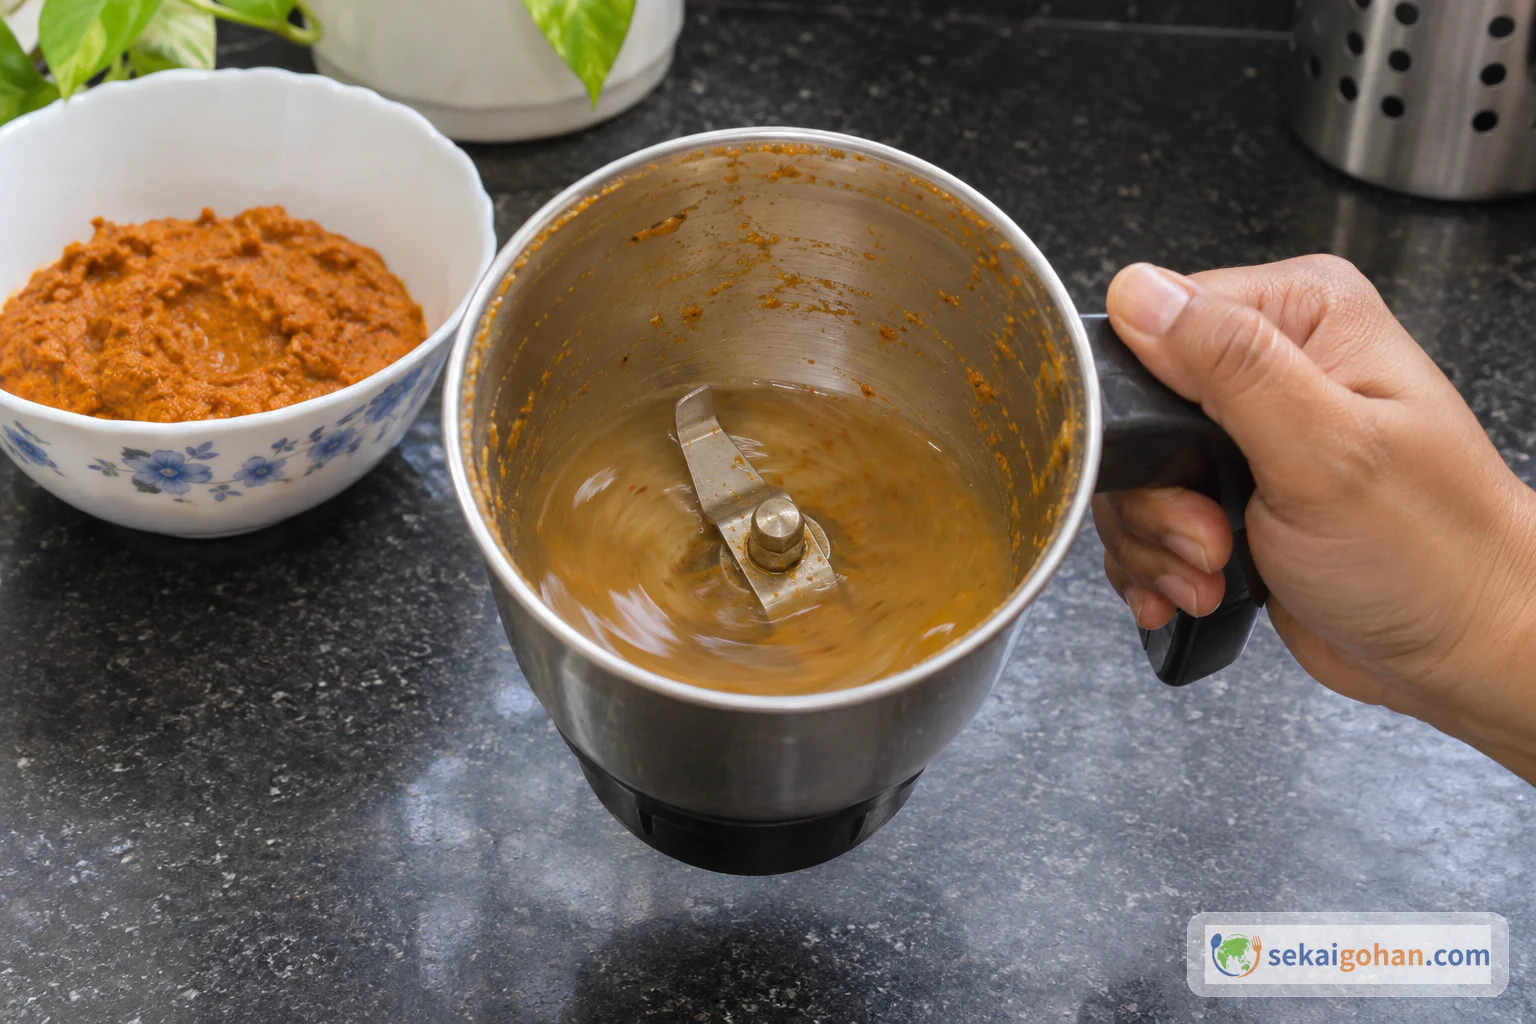
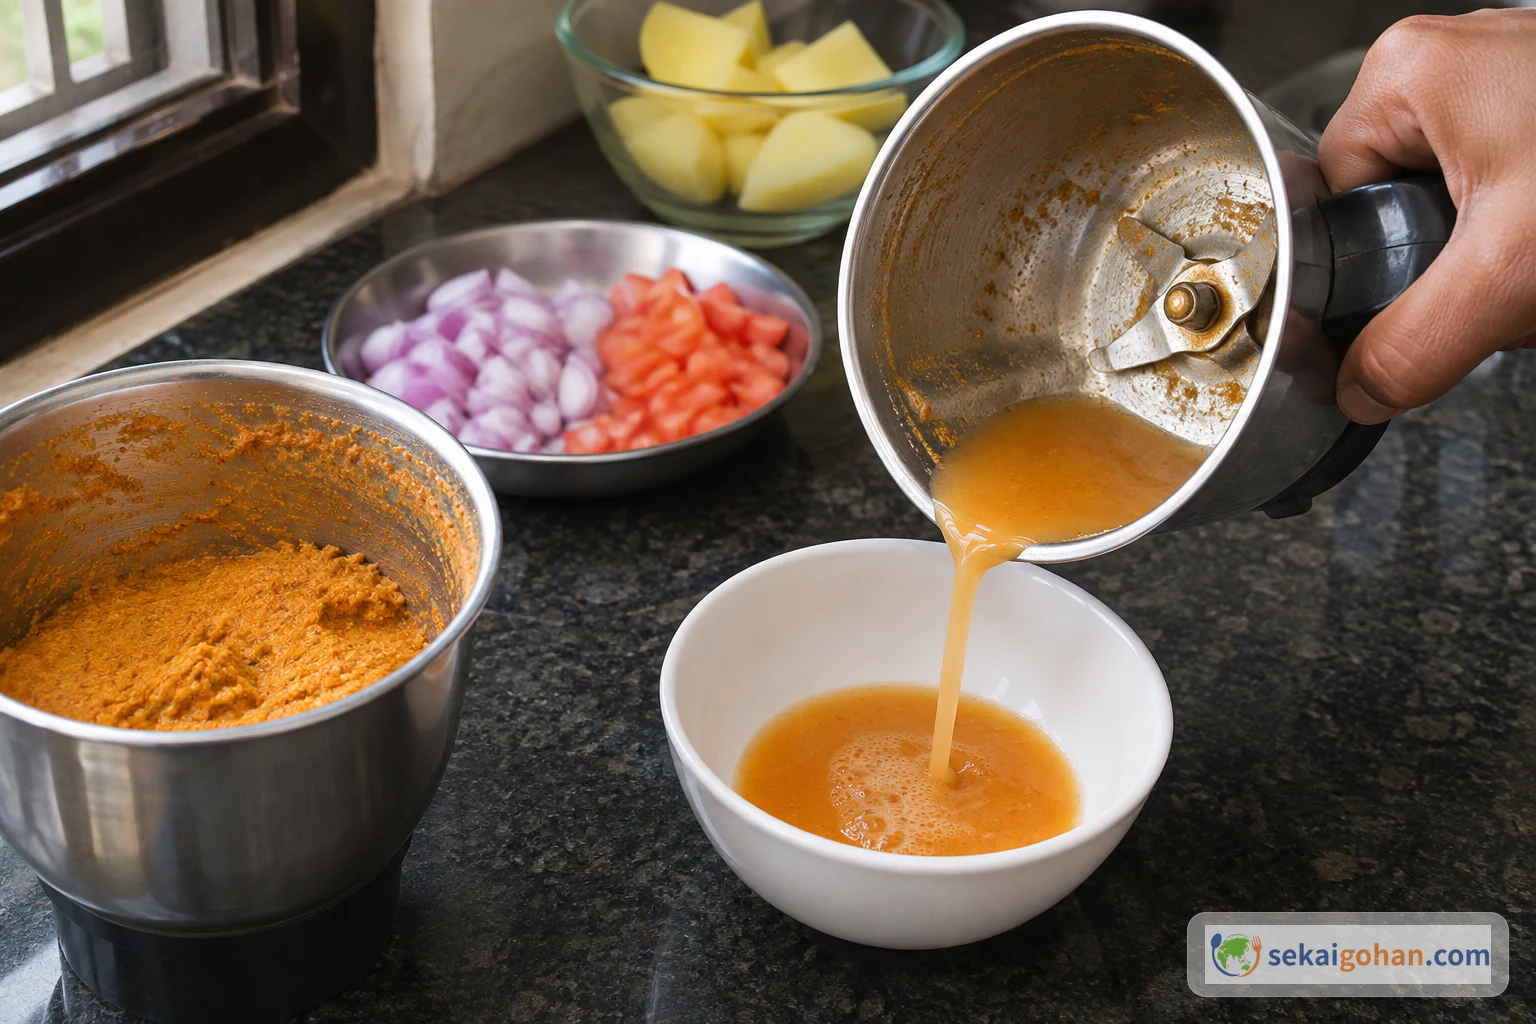
Pour a little water into the empty jar, swirl it to pick up the masala left inside, then pour this masala water into a separate small bowl. Keep it apart from the paste.

Swirling water inside the upright grinder jar to rinse off the masala
Swirl inside the jar to loosen the leftover masala
Pouring the masala-tinted rinse water into a small bowl
The masala water is kept separate from the paste
STEP 1313 / 23

Heat the oil and ghee

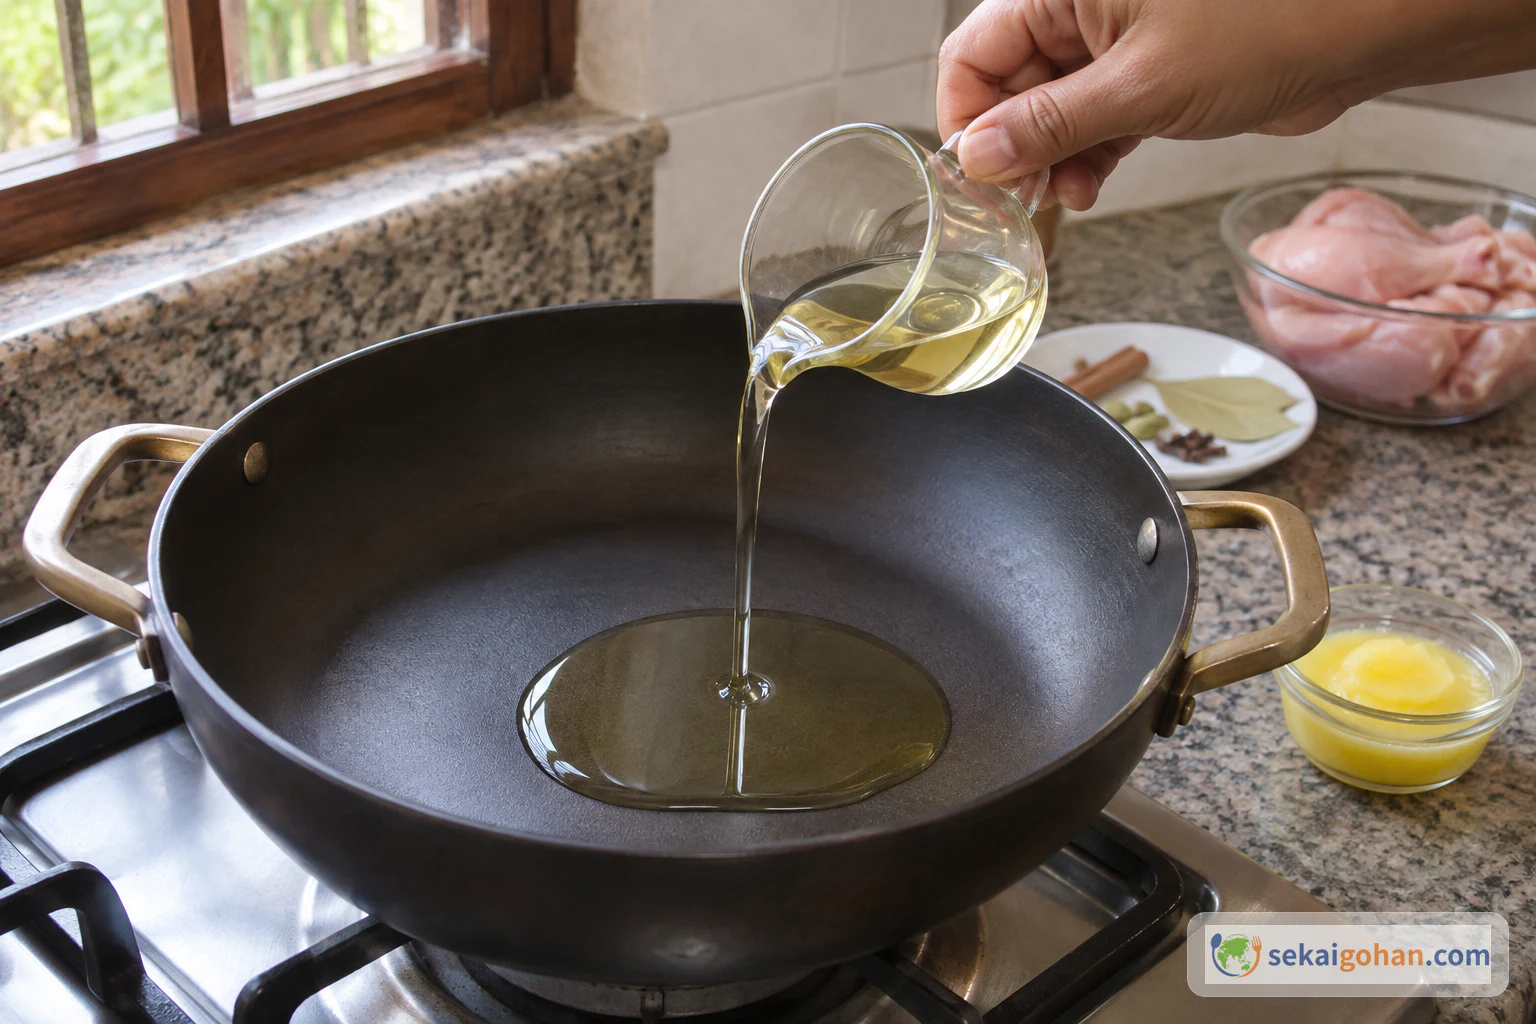
Pouring oil into an empty cooking pan
Oil goes in first

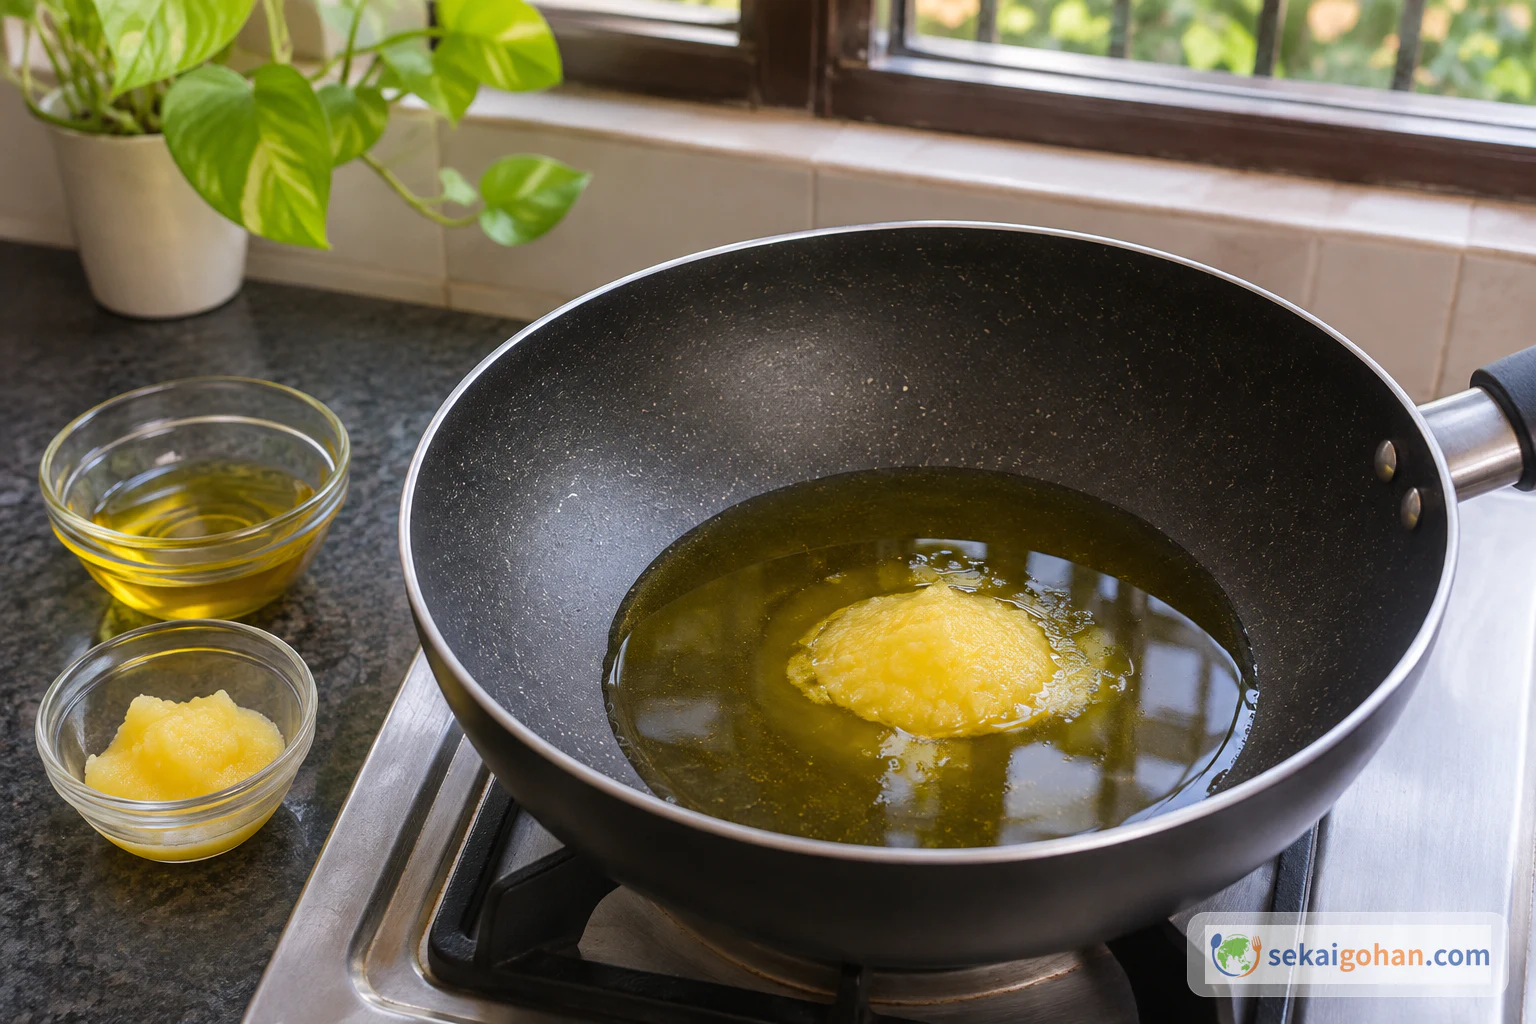
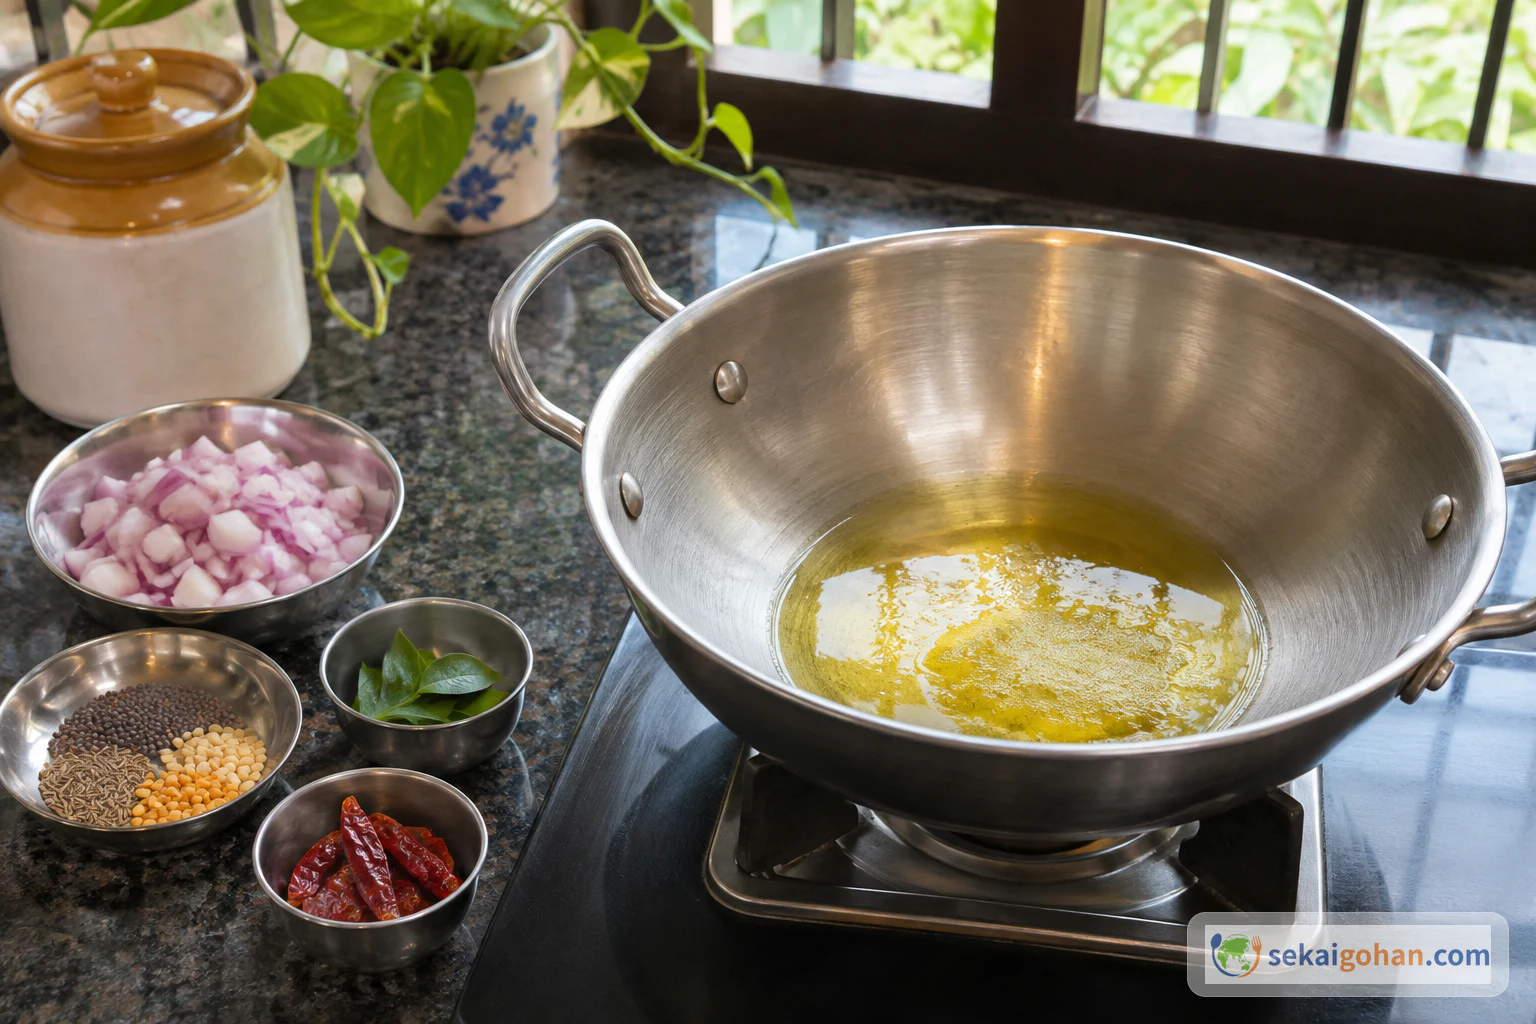
Put the 3 tbsp oil into the cooking pan, add the 1 tbsp ghee, and heat them together.

Adding a spoonful of ghee to the oil in the pan
Ghee joins the oil
Oil and ghee heating together in the pan
Heat both fats before the tempering
STEP 1414 / 23

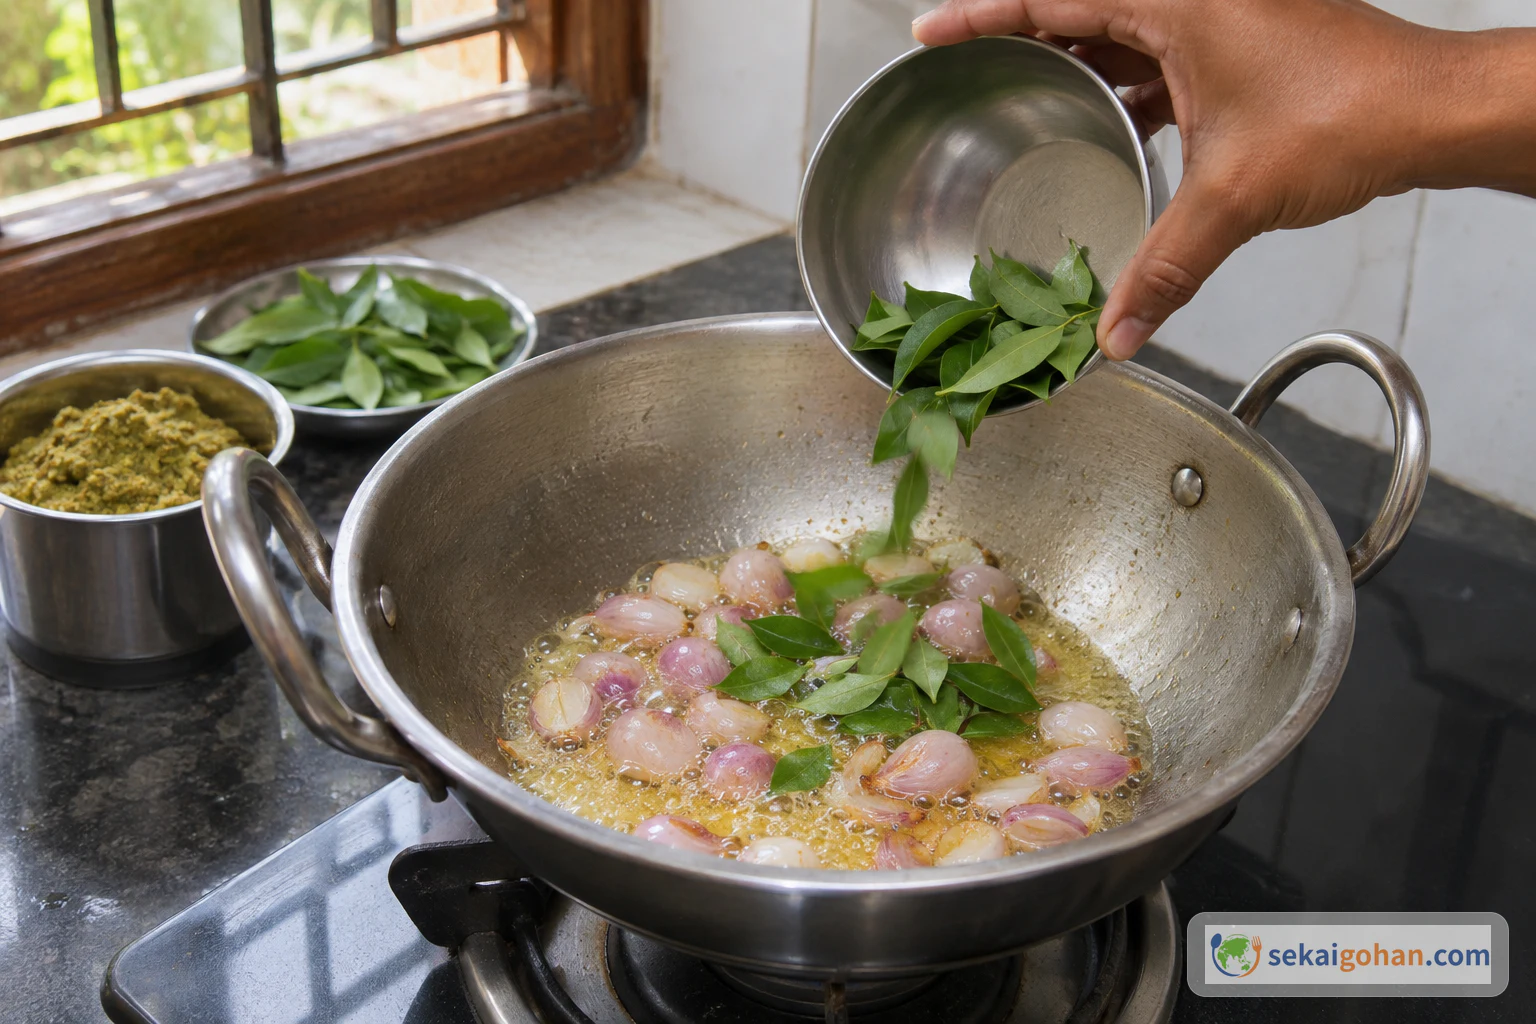
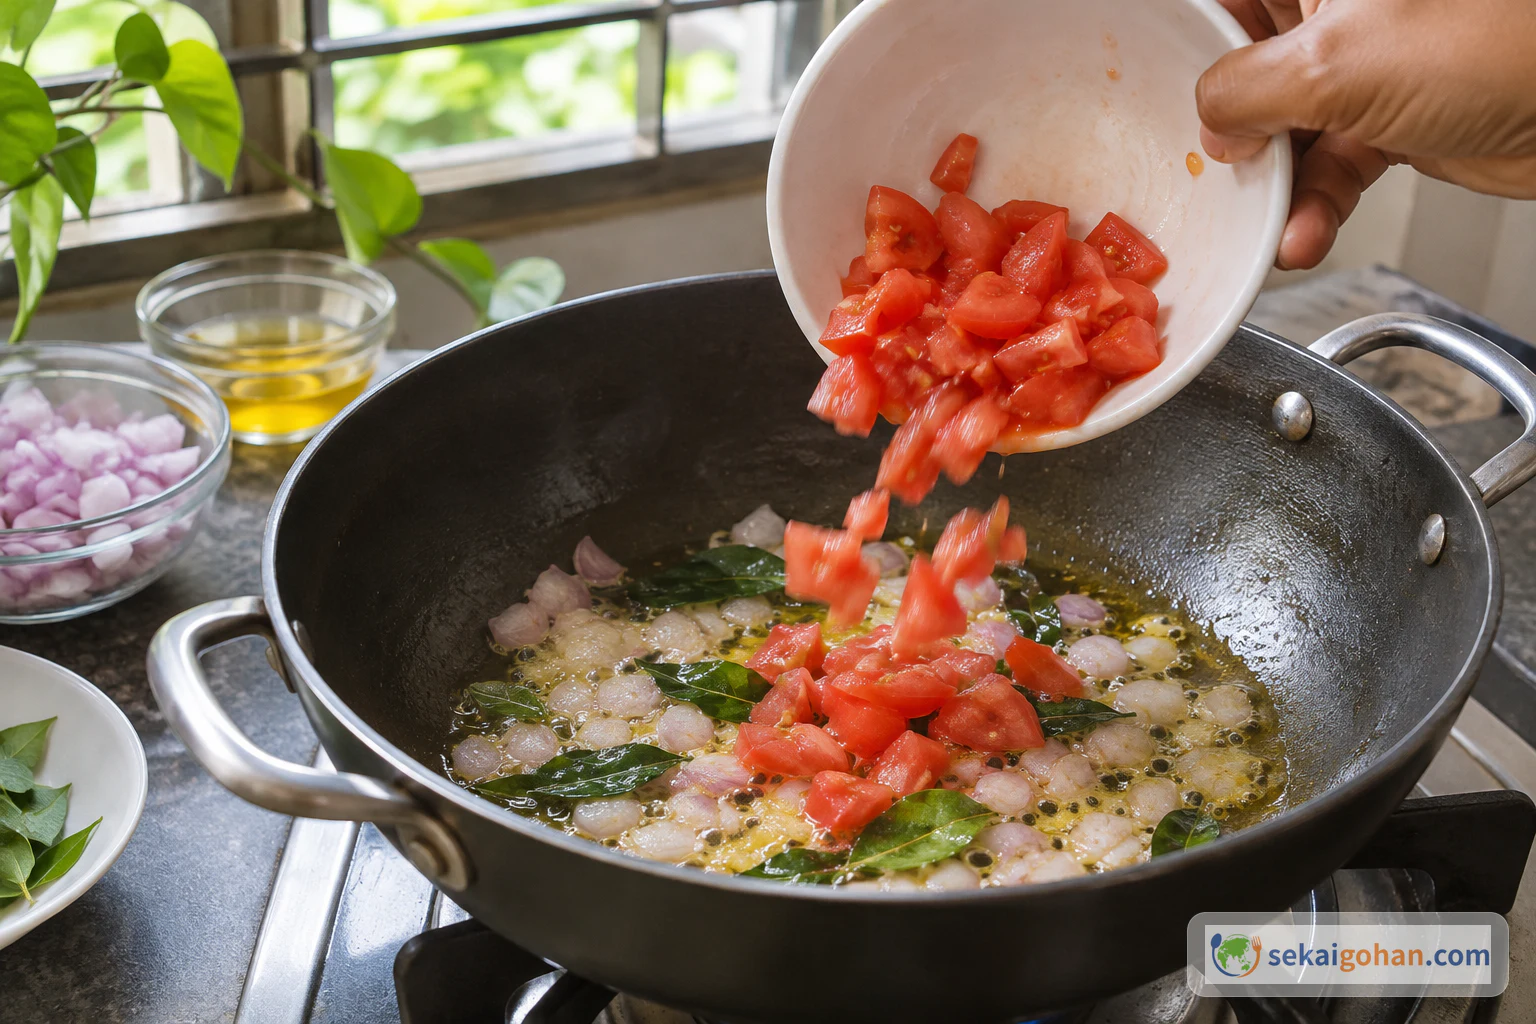
Add the small onion, curry leaves and tomato

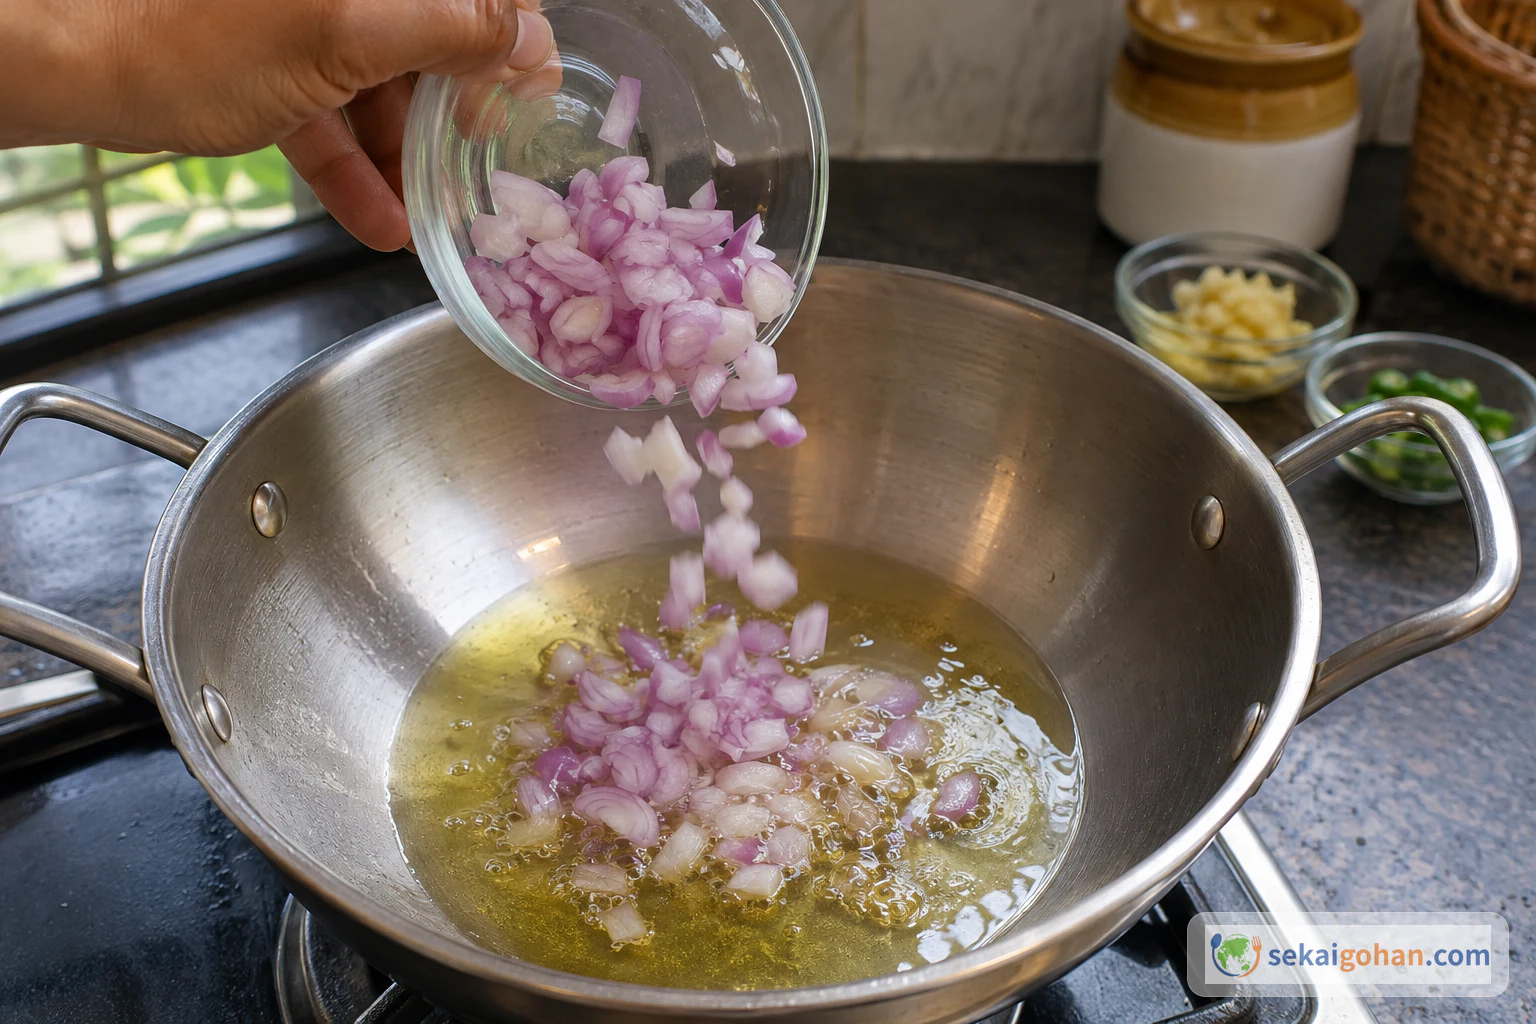
Chopped small onion falling from a bowl into the hot oil and ghee
The small tempering onion goes in first

Add the chopped small onion to the hot fat, then the tempering curry leaves, then the tomato.

Adding the tempering curry leaves to the onion in the pan
These are the second set of curry leaves
Chopped tomato falling into the pan of onion and curry leaves
Tomato goes in before the chicken
STEP 1515 / 23

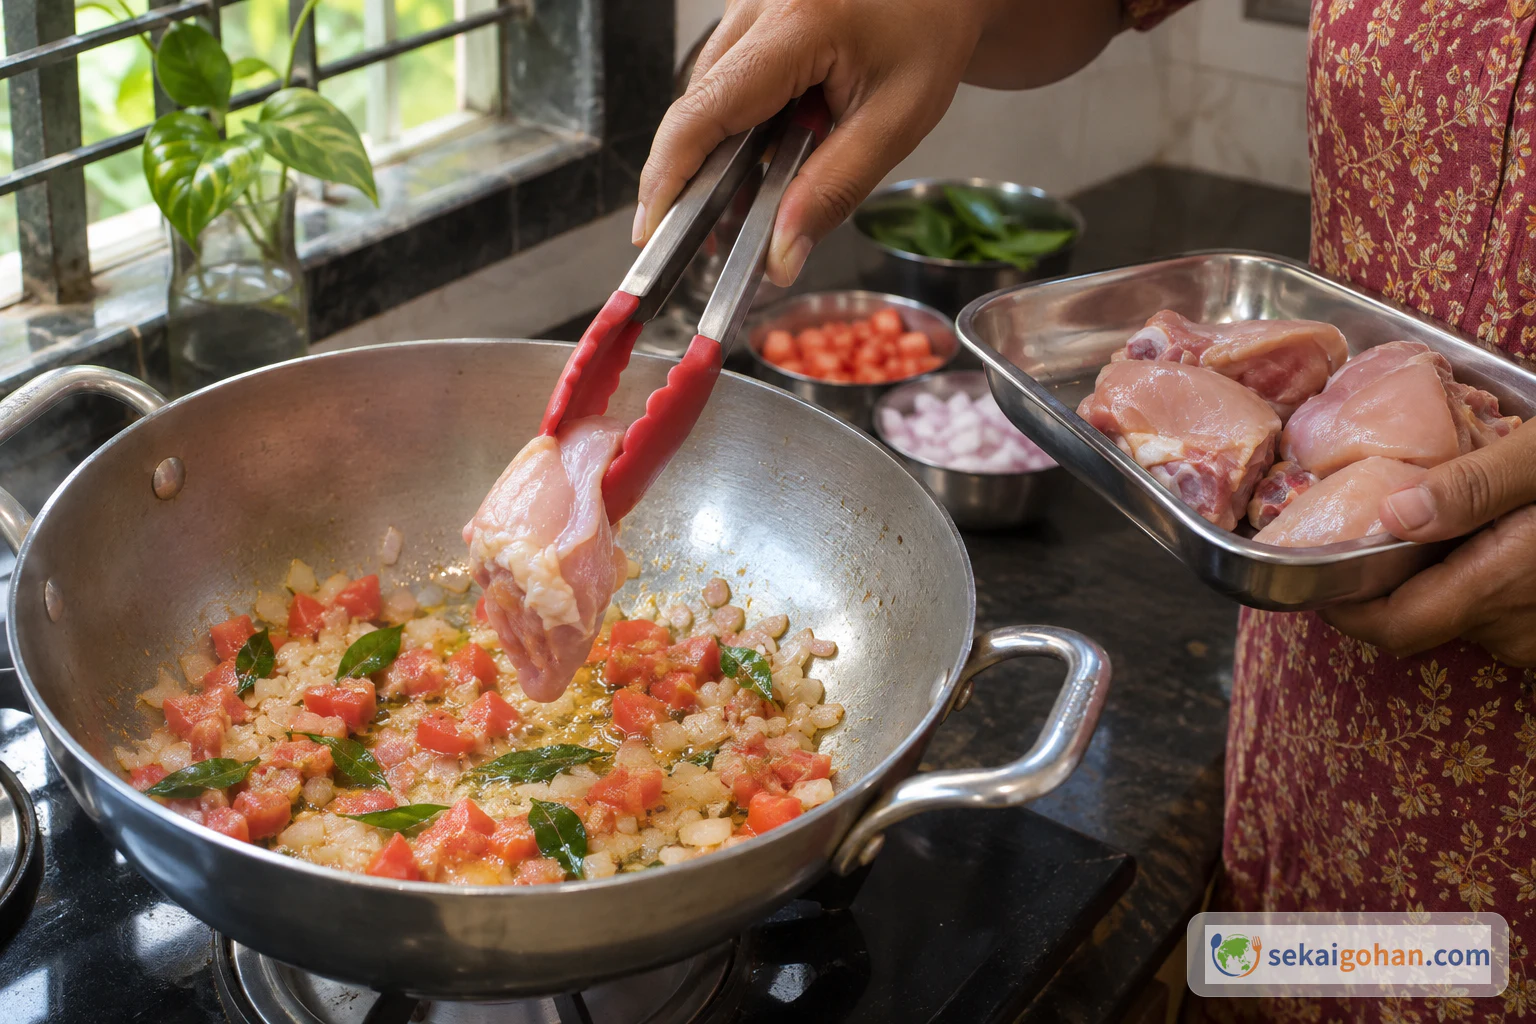
Add the chicken

Raw chicken piece held in tongs, moving from a separate tray into the pan
Use tongs that touch only raw chicken

Using tongs kept for raw chicken, lower the chicken pieces from their tray into the pan. Don't rinse the chicken first. Keep the raw-chicken tray and tongs away from the wafers and cooked food.

STEP 1616 / 23

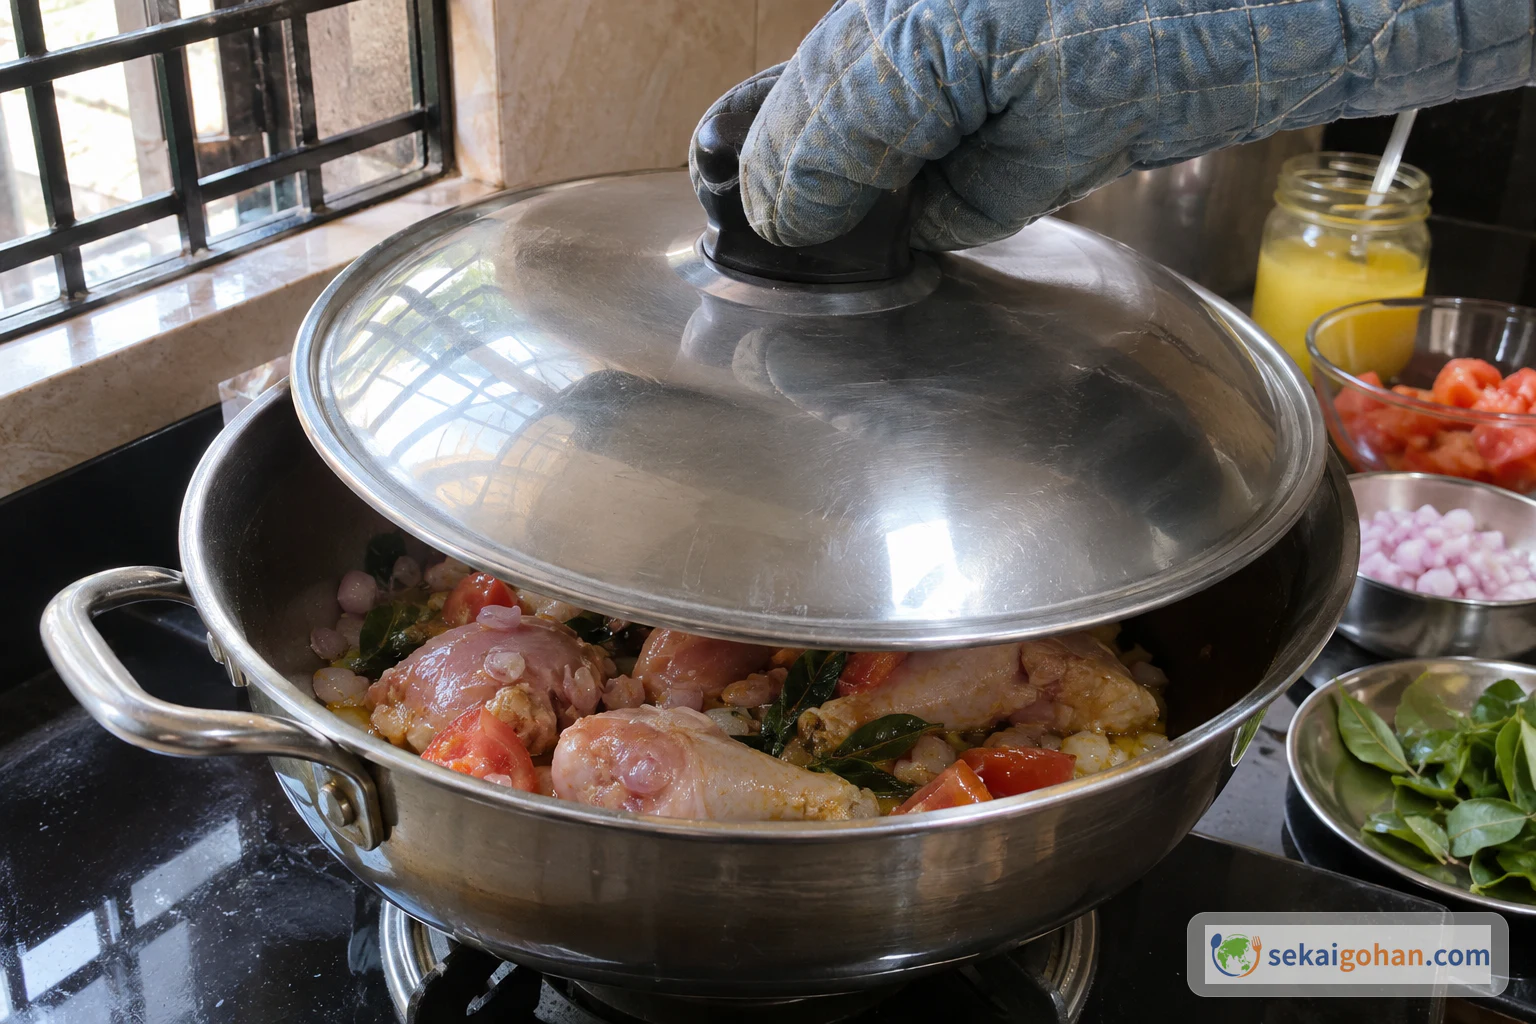
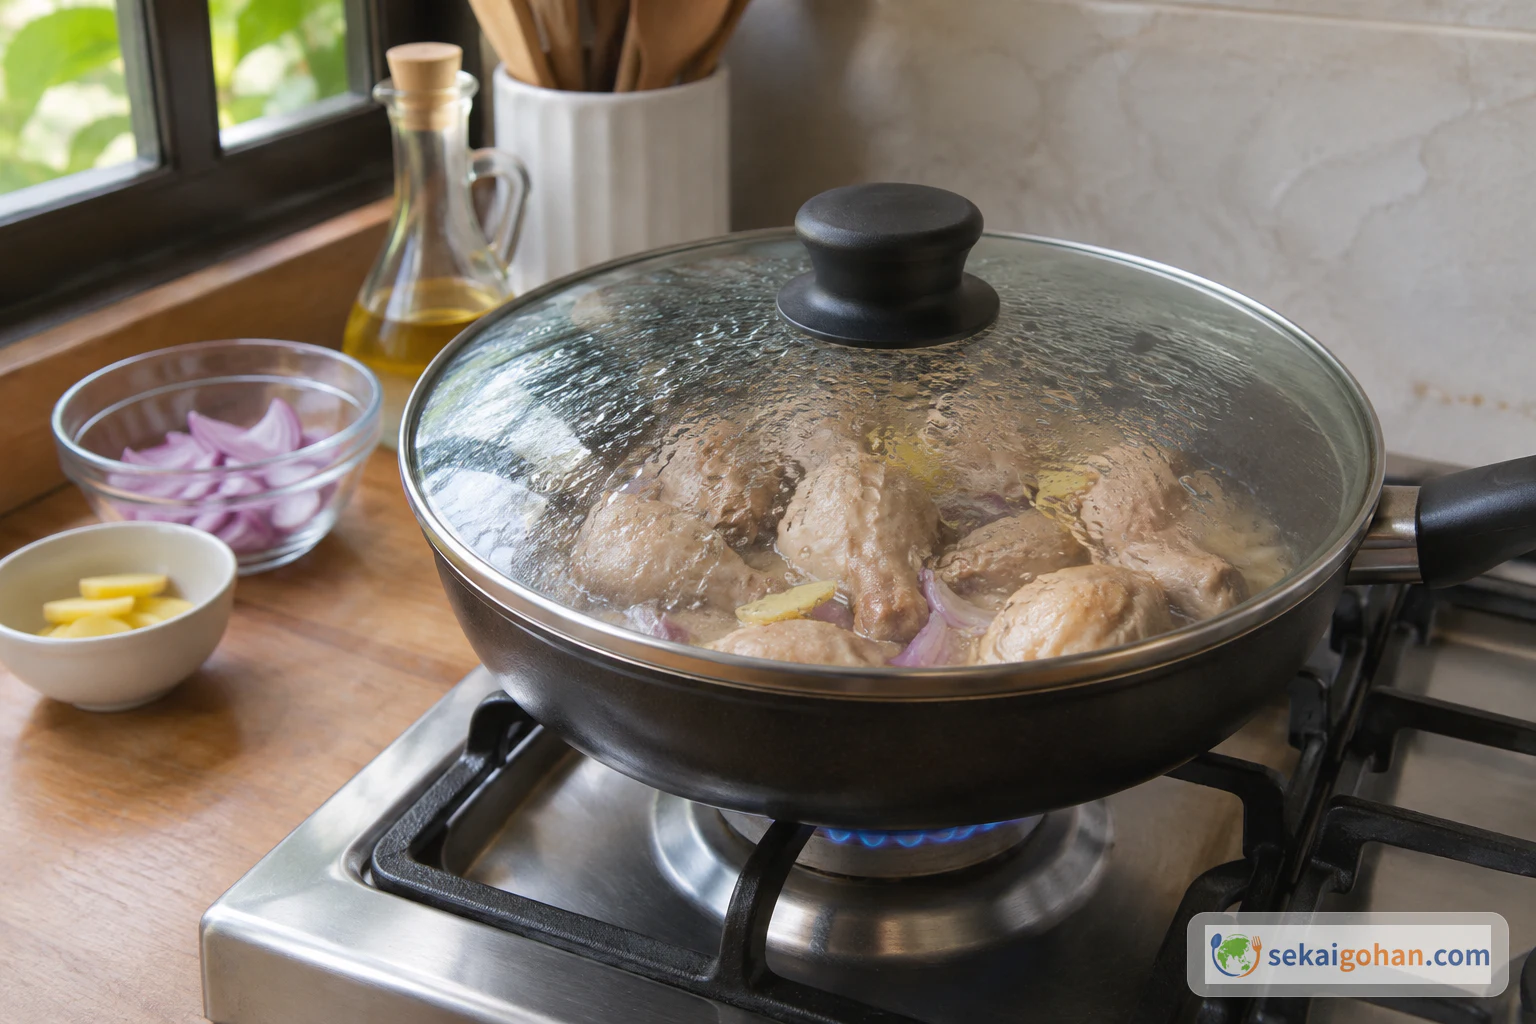
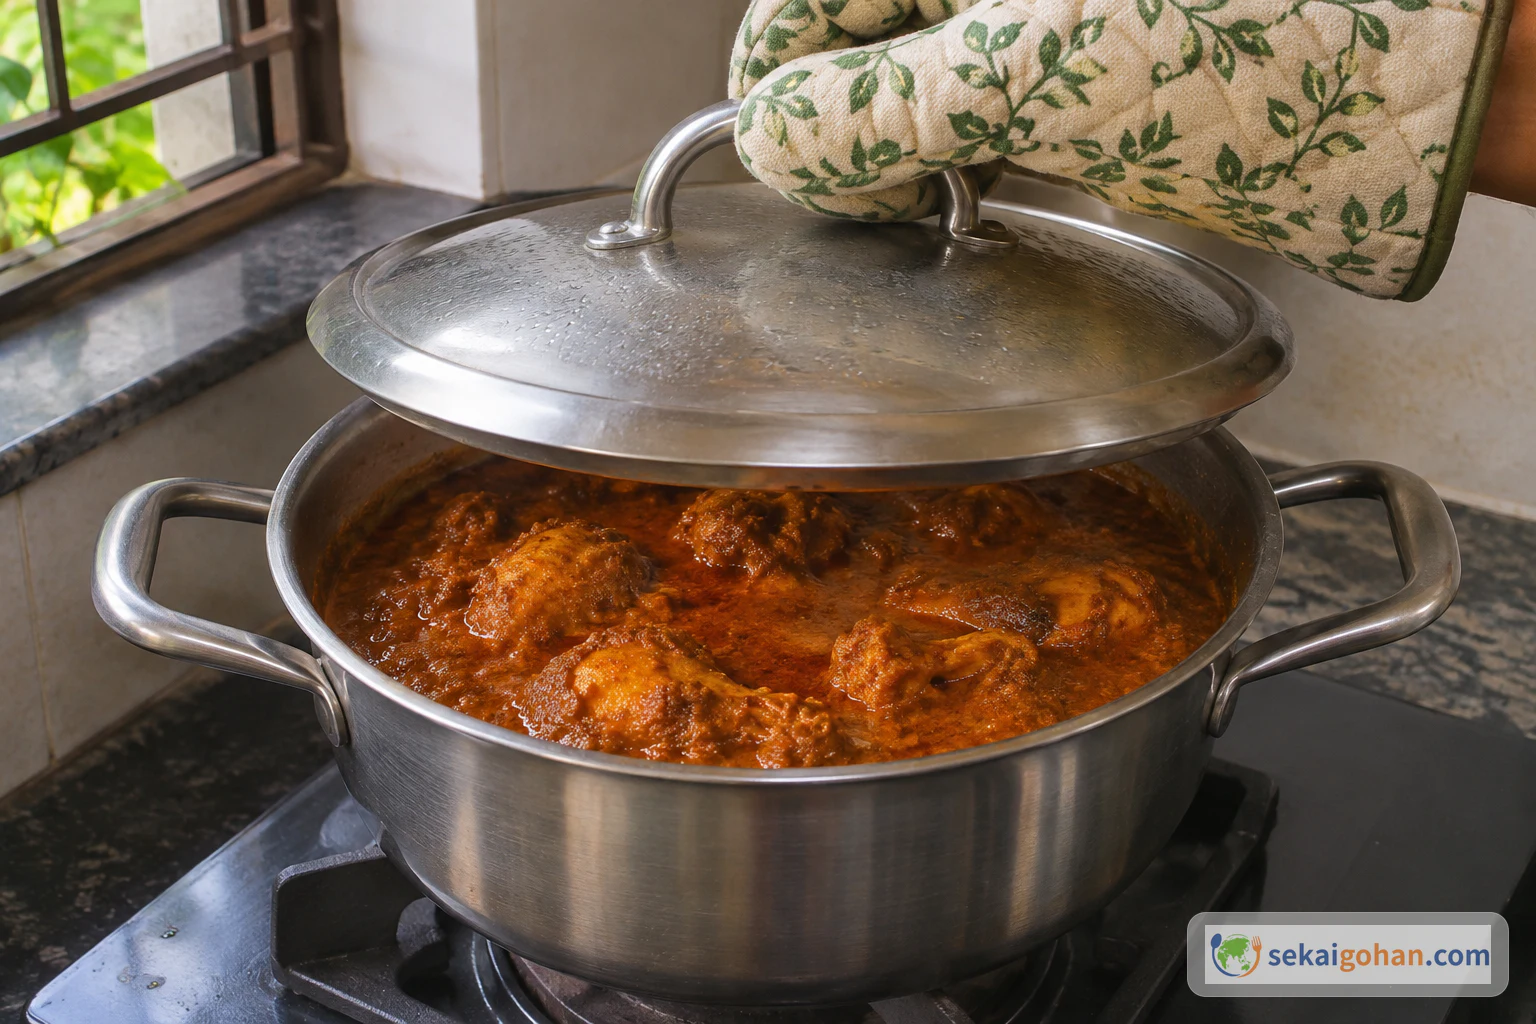
Cover and cook for 10 minutes

A hand in an oven mitt lowering a lid onto the chicken pan
Cover the pan for the first stage

Put the lid on and cook for 10 minutes. This is only the first stage; confirm doneness with the thermometer check below.

The covered chicken pan cooking on the burner
The first covered stage is 10 minutes
STEP 1717 / 23

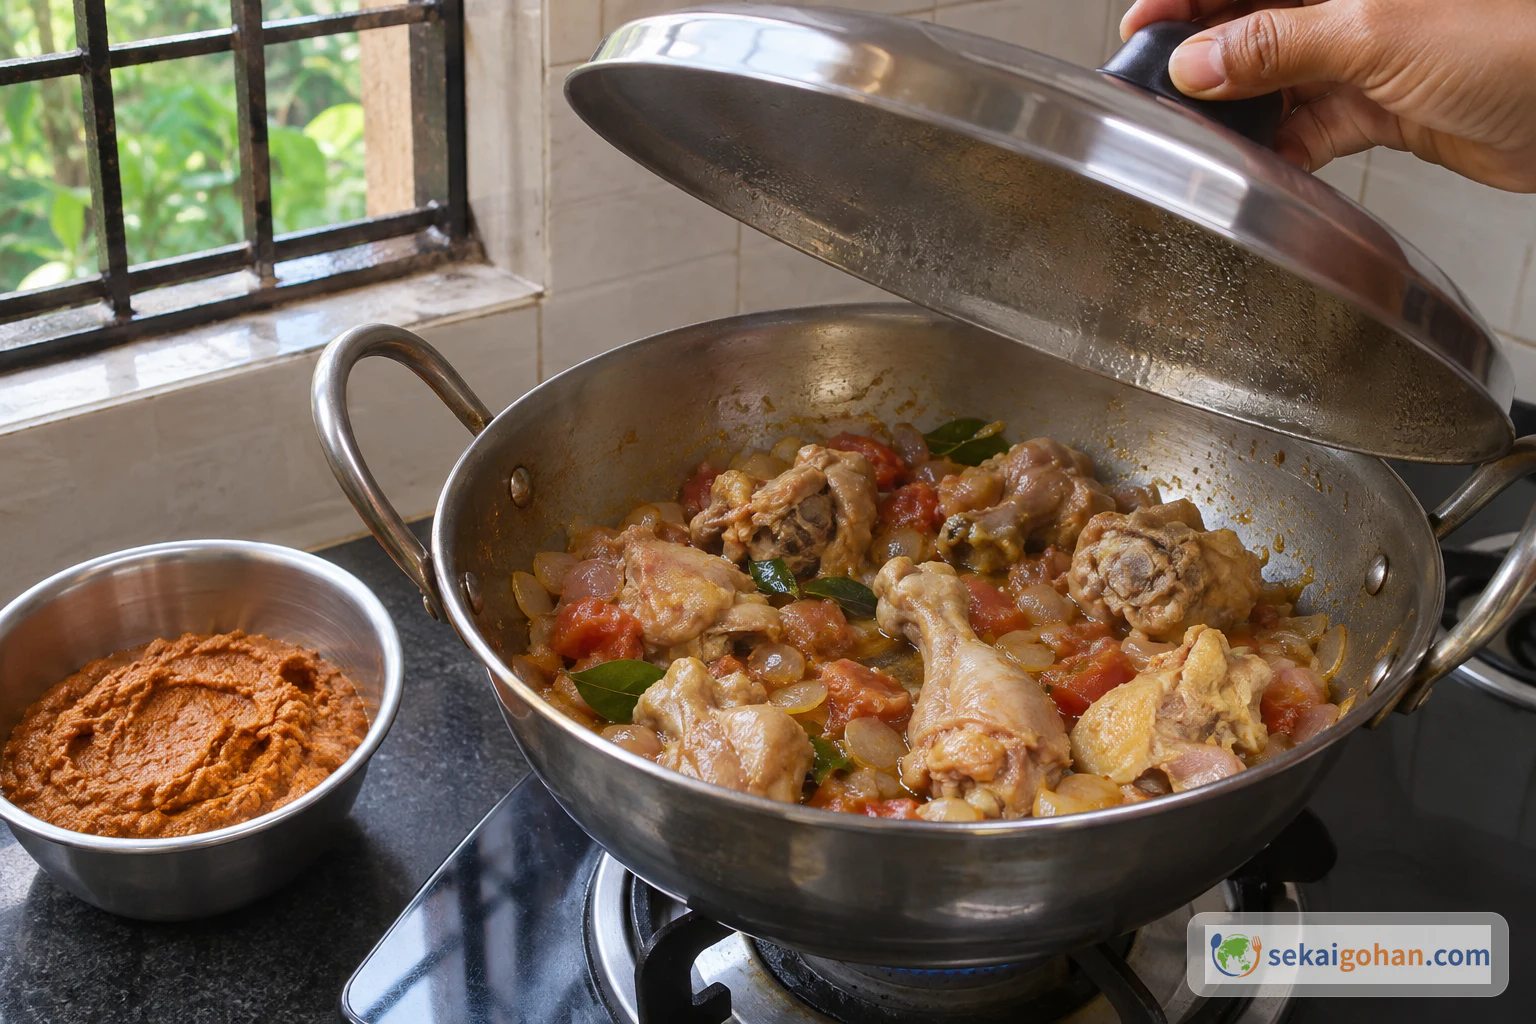
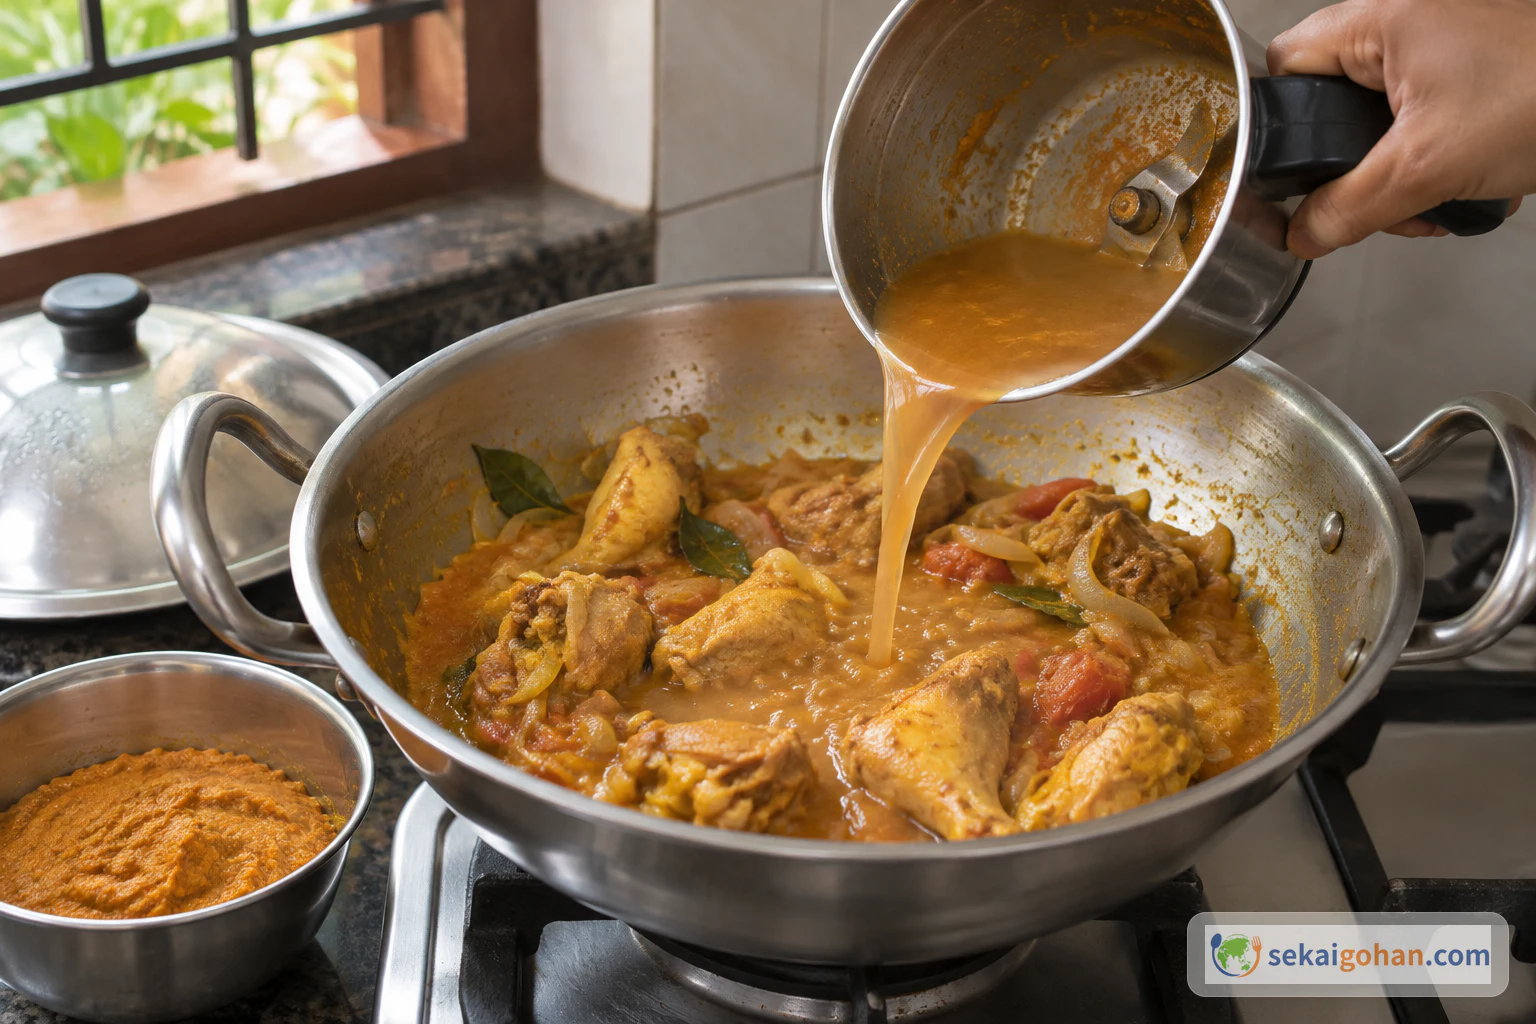
Add the masala water and keep cooking the chicken

Lifting the lid off the pan to reveal partly cooked chicken
Lift the lid away from you

Lift the lid away from you to let the steam escape. Pour in the reserved masala water (not the paste) and keep cooking, moving the chicken around now and then, until it is cooked through.

Pouring the reserved masala water into the chicken pan
The thin rinse water goes in now; the thick paste waits
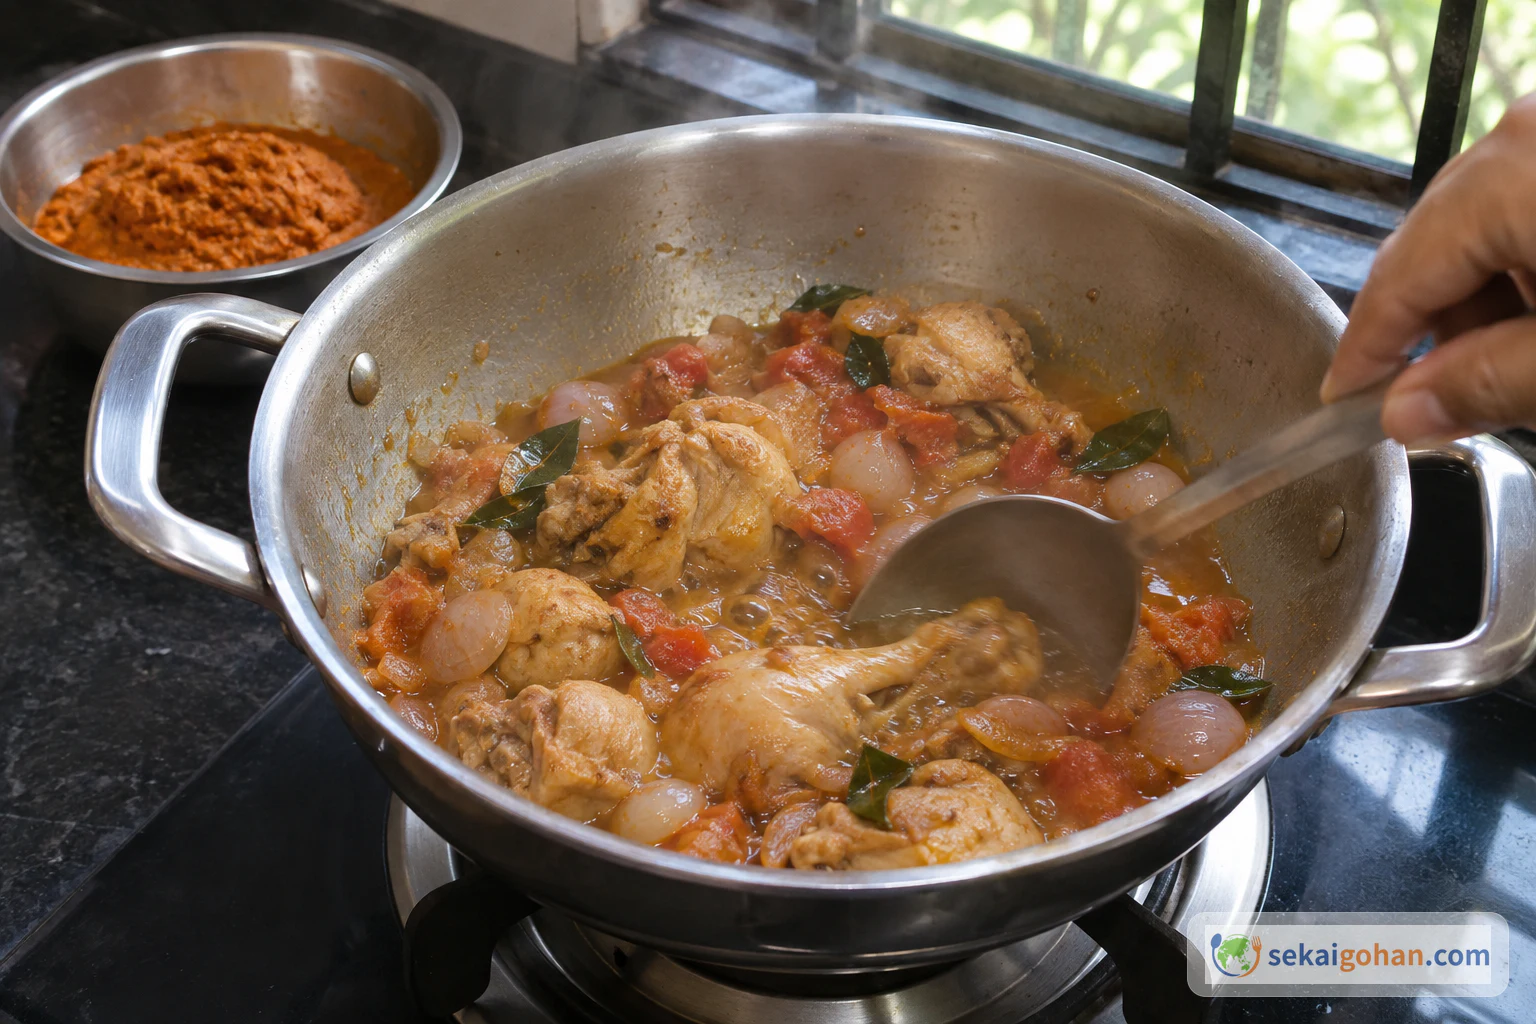
Chicken continuing to cook in the pan with the masala water
Keep cooking until the chicken is cooked through
STEP 1818 / 23

Check the chicken with a thermometer

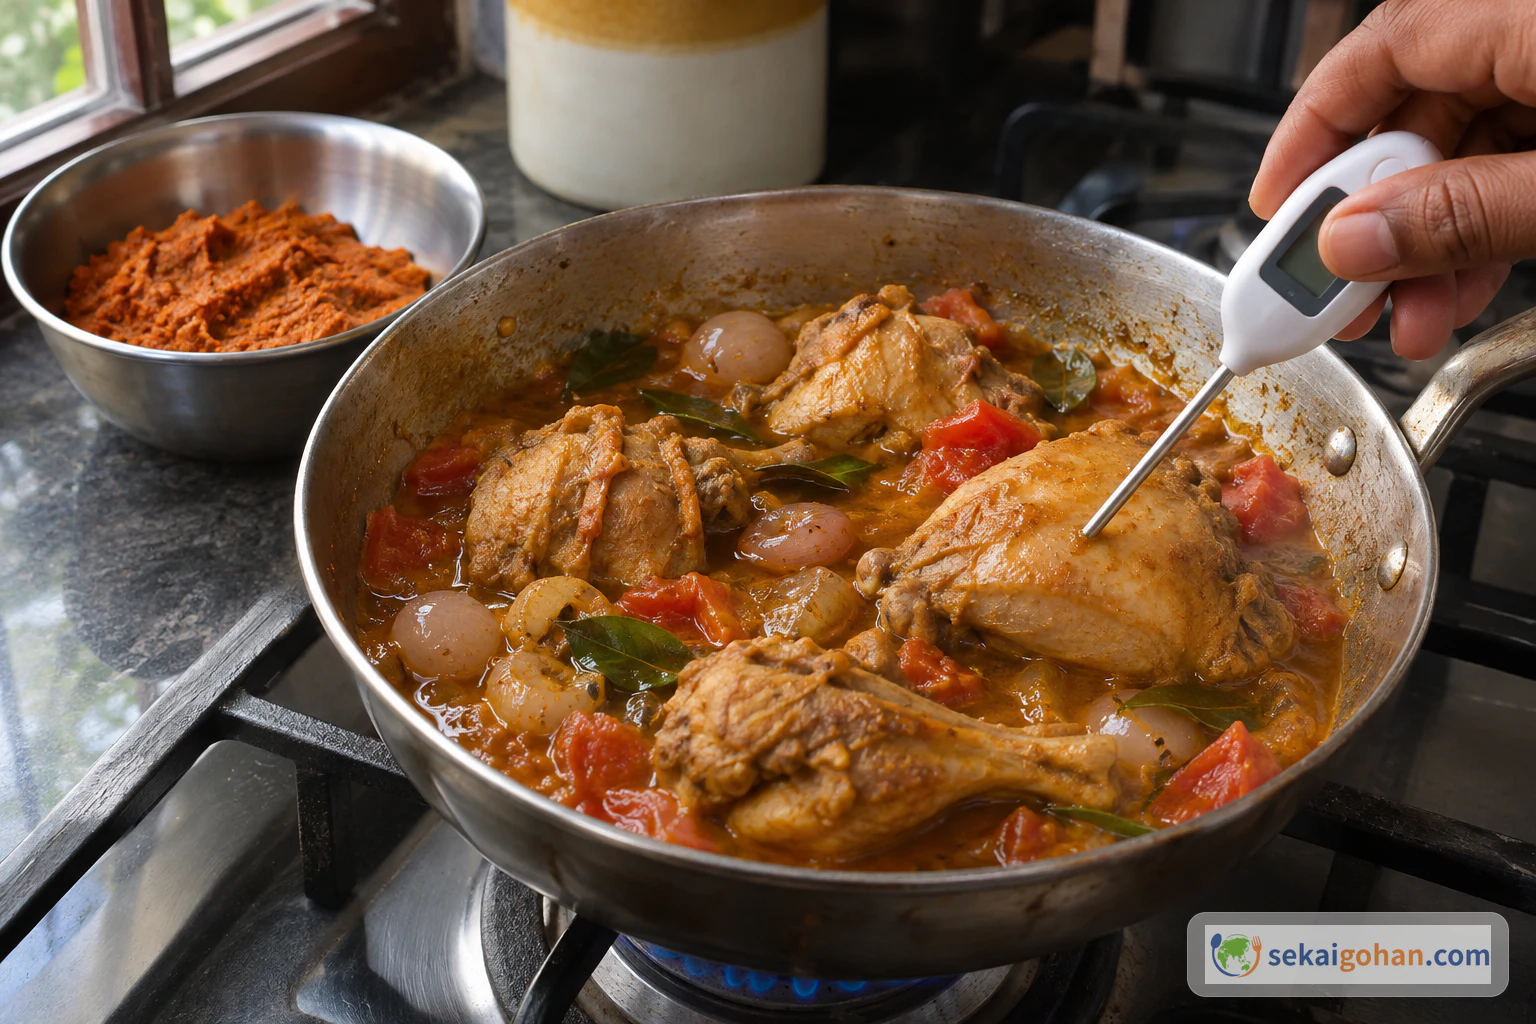
A thermometer probe inserted into the thickest part of a chicken piece in the pan
Measure in the thickest meat, avoiding the bone

Push a clean food thermometer into the thickest part of a piece of chicken, away from the bone. It must read at least 74°C (165°F). If it hasn't reached that, keep cooking and check again. Color, bubbling and time are not a substitute for this reading.

STEP 1919 / 23

Add the ground masala and bring to a boil

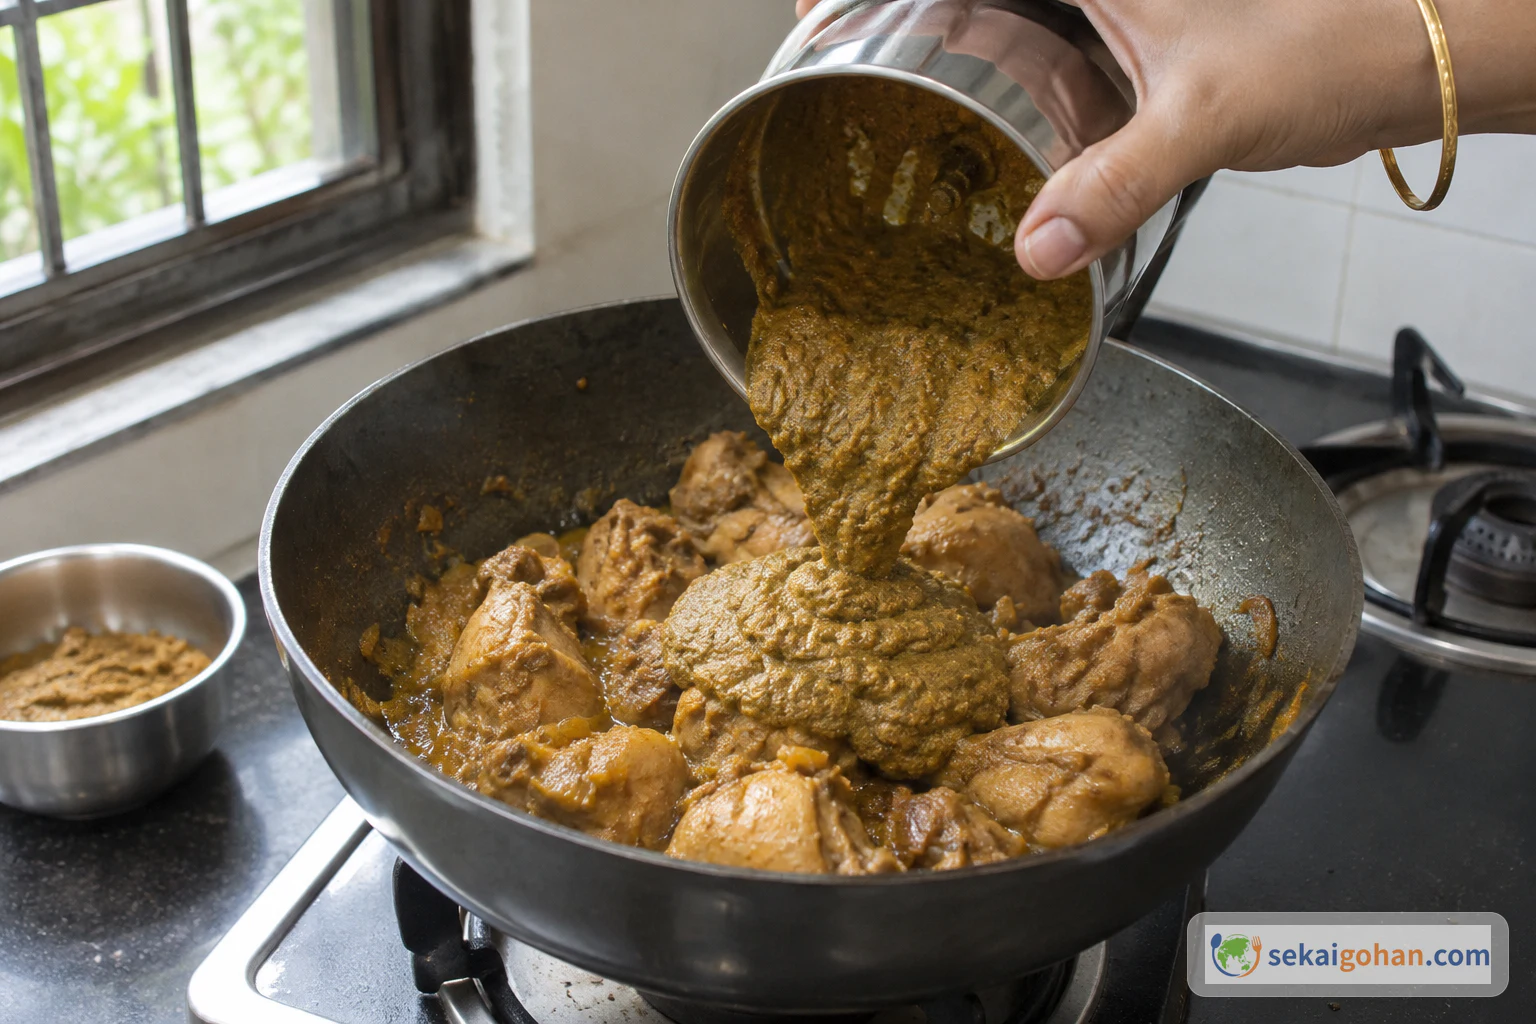
Adding the thick ground masala paste to the cooked chicken
The paste goes in only after the chicken is cooked through

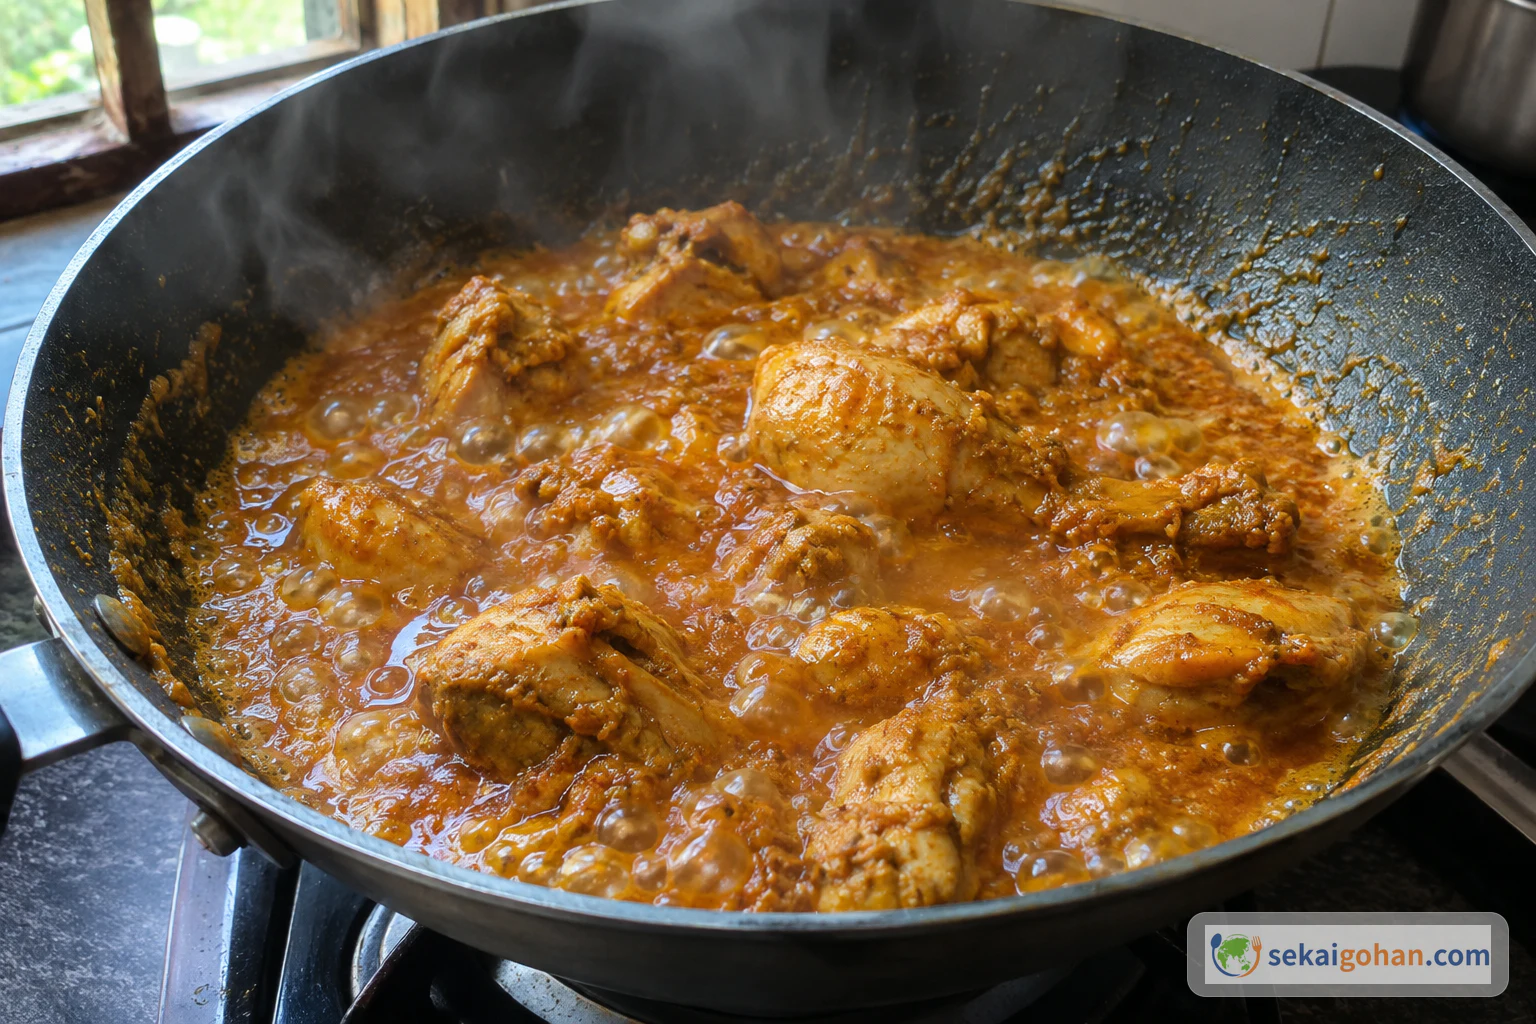
Once the chicken has reached 74°C (165°F), stir in the reserved masala paste and bring the curry to a boil.

Chicken curry with masala bubbling in the pan
Bring the curry to a boil
STEP 2020 / 23

Turn off the heat and cover

Turning the cooker off under the finished curry
Heat off

Switch off the heat and put the lid on the pan.

A protected hand lowering the lid onto the finished curry
Cover the pan once the heat is off
STEP 2121 / 23

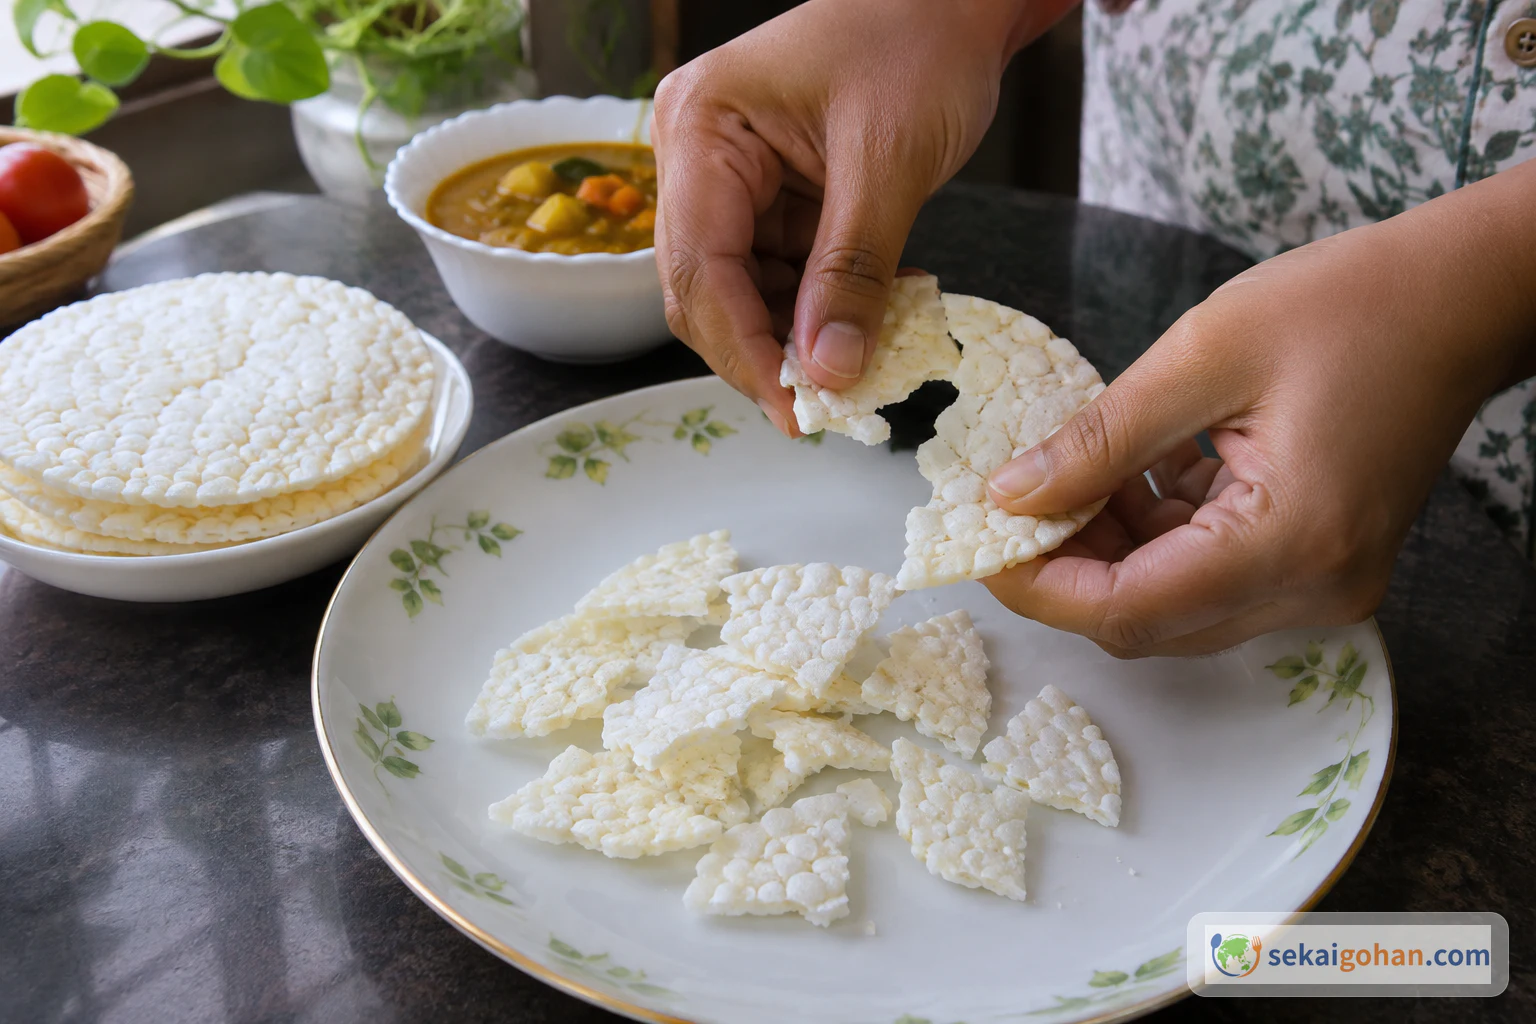
Break the rice wafers

Breaking ready-made dry rice wafers on a serving plate
Wafers are broken on the plate, away from the curry pan

On a clean serving plate, break the dry rice wafers into pieces.

STEP 2222 / 23

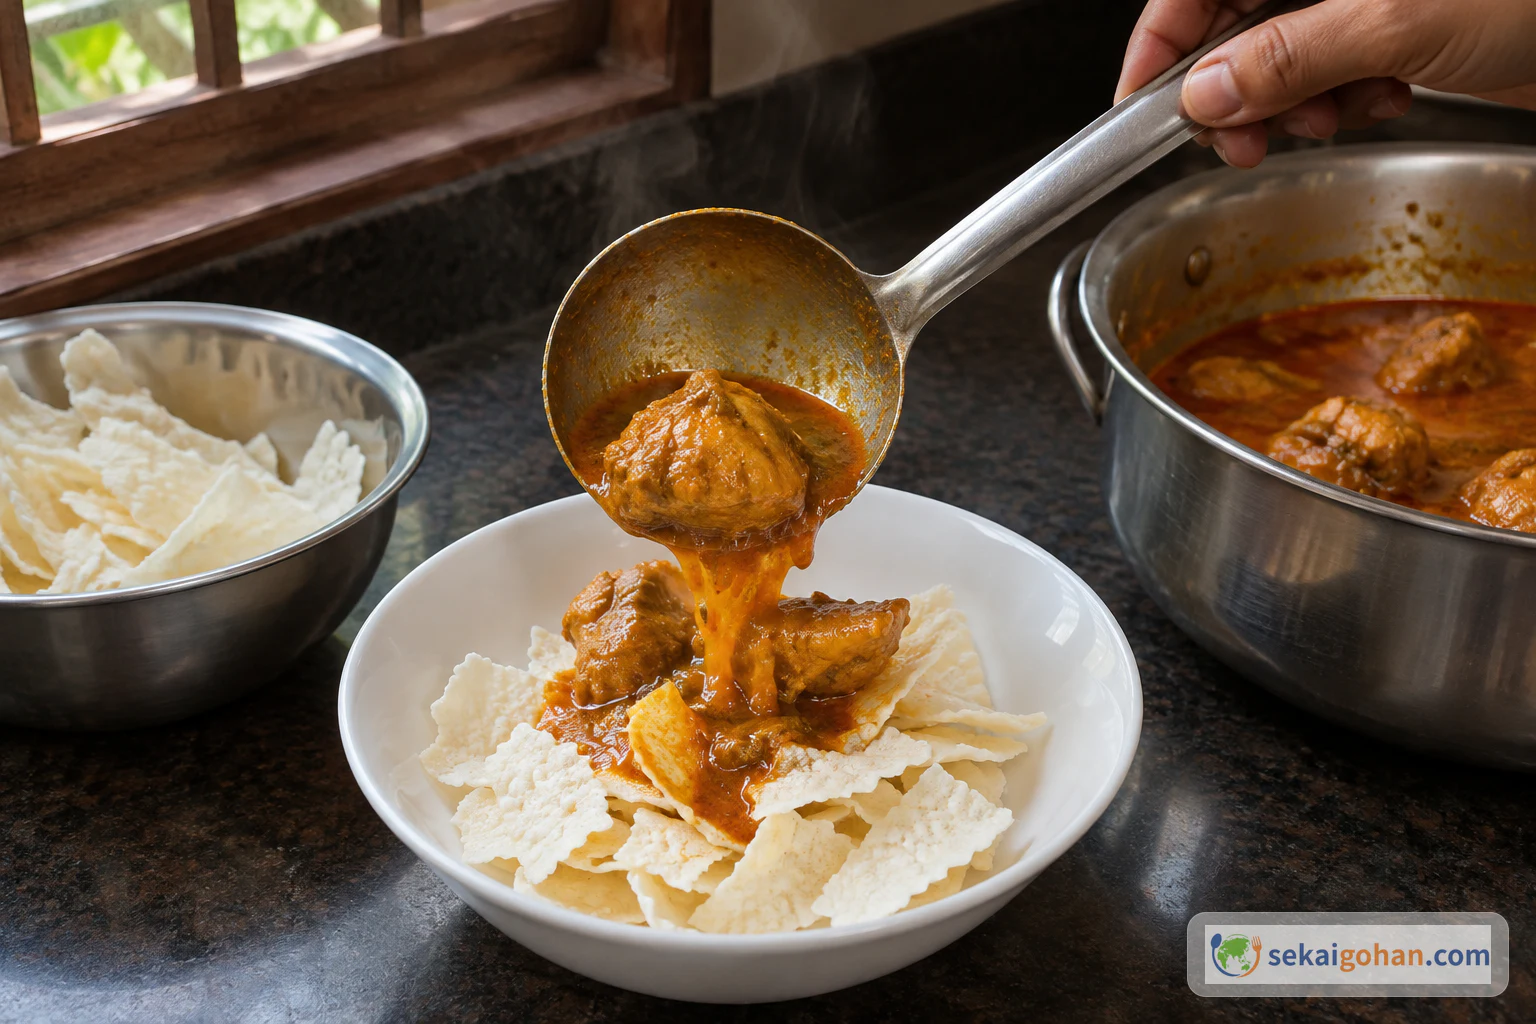
Ladle the hot curry over the wafers

Ladling hot chicken curry over broken rice wafers
One ladle of curry over the wafers

Pour a ladle of hot chicken curry over the broken wafers.

STEP 2323 / 23

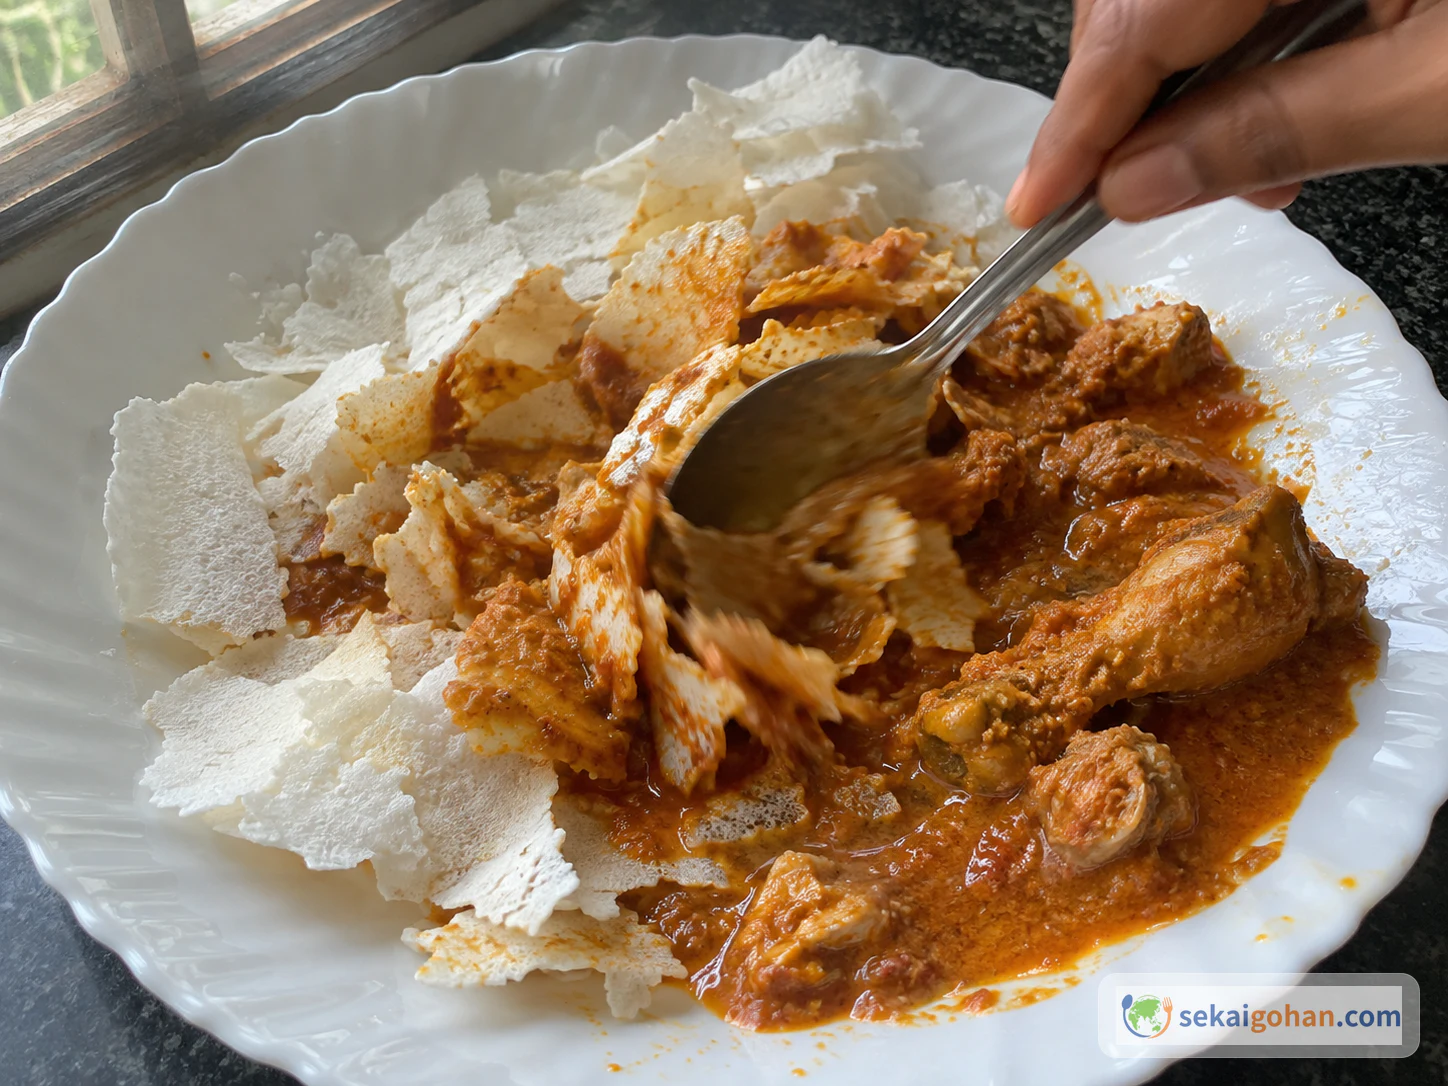
Mix and serve at once

Mixing broken rice wafers into chicken curry with a spoon
Mix and eat fresh

Turn the wafers through the curry with a spoon and eat straight away, while some pieces are still crisp.

0 / 0
Ingredients

Ingredients

1 / 1

Ingredients

Ingredient Amount Role
Chicken, cut into pieces 1 kg The meat of the curry
Dried red chillies 25 Masala; dry-roasted first
Coriander seeds 5 tbsp Masala; dry-roasted after the chillies
Cumin seeds (jeera) 1/2 tsp Masala; dry-roasted spice
Fenugreek seeds (methi) 1/4 tsp Masala; dry-roasted spice
Cloves 4 Masala; dry-roasted spice
Cinnamon 2 pieces Masala; dry-roasted spice
Curry leaves, for the masala 2 sprigs Masala; dry-roasted with the spices
Onion, medium, for the masala 1 Masala; dry-fried with the coconut
Coconut, large, flesh grated 1 Masala; dry-fried, then ground
Garlic cloves, crushed 10 Masala; dry-fried with the coconut
Tamarind 1 piece the size of a small lemon Masala; ground into the paste
Onion, small, for tempering 1 Tempering; goes into the hot fat first
Curry leaves, for tempering 2 sprigs Tempering
Tomato 1 Tempering; goes in before the chicken
Oil 3 tbsp Cooking fat, heated with the ghee
Ghee 1 tbsp Cooking fat, heated with the oil
Water a little Rinses the grinder; becomes the masala water
Ready-made dry rice rotti (rice wafers) as needed Broken on the plate just before serving

There are two onions and two lots of curry leaves: one set for the masala, one for the tempering. Keep them apart. No salt and no coconut milk go into this curry.

0 / 0

Kori Rotti: A Hot Curry Meets a Dry, Brittle Wafer

What this plate should keep

The wafers stay dry and separate until the moment of serving. The curry is hot, built on a masala of roasted chillies, coconut and tamarind that goes in last. Pour, mix and eat straight away, while some wafer edges still crunch.

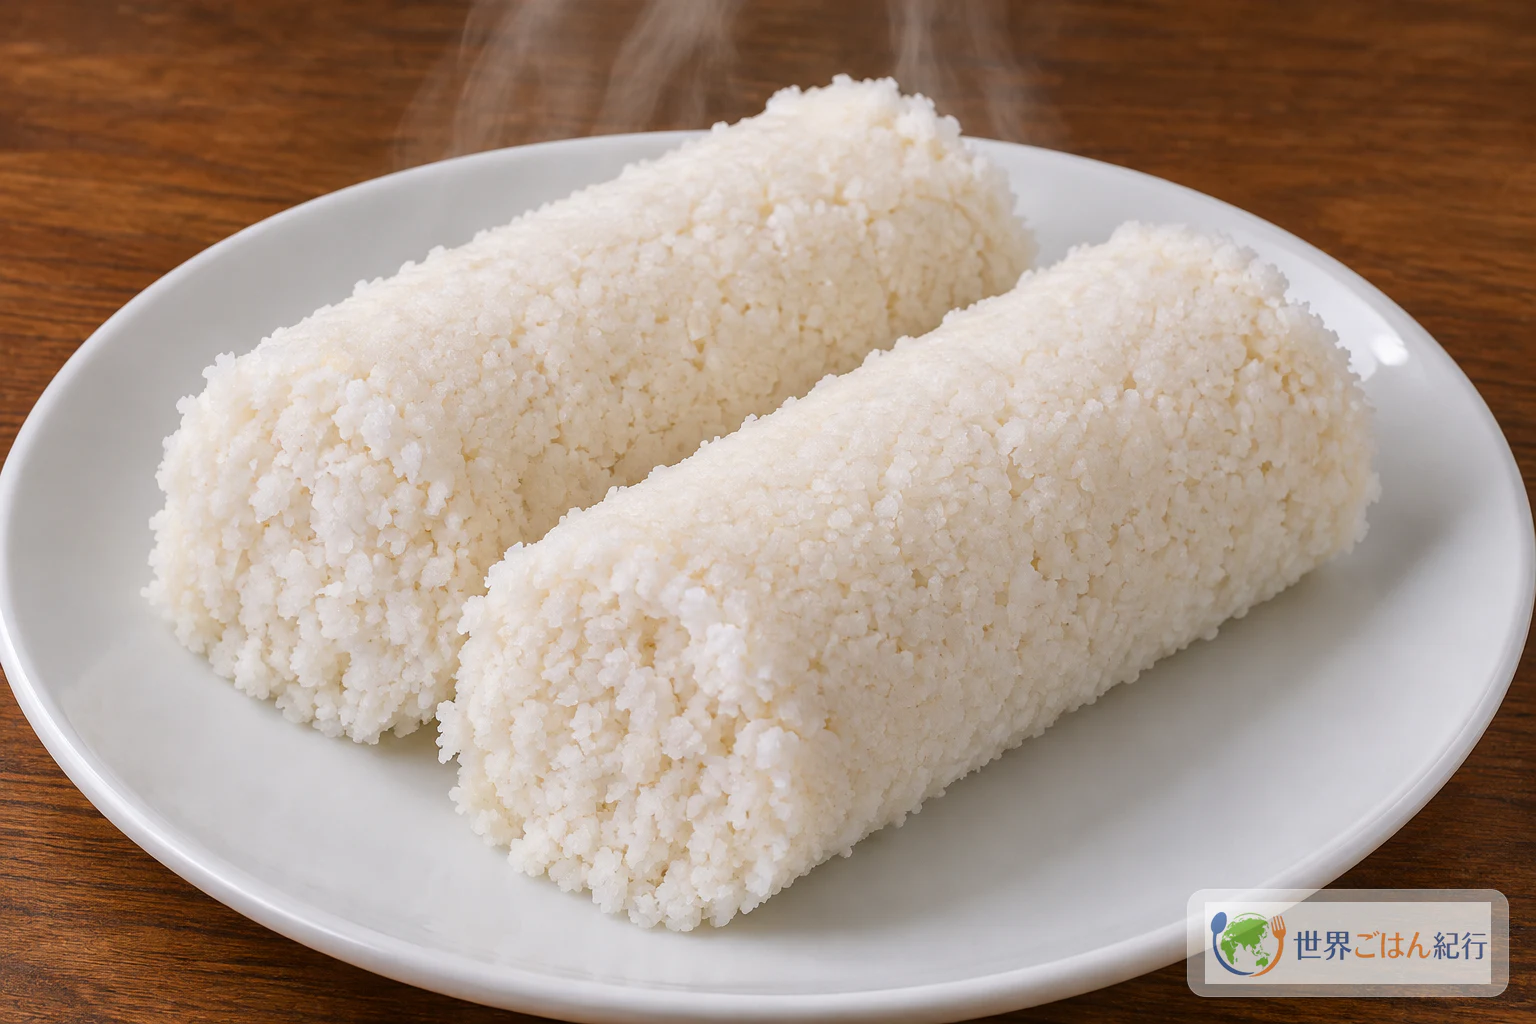
On a plate sit thin, pale, paper-dry rice wafers. They are broken by hand, a ladle of reddish-brown chicken curry goes over them, and everything is turned together with a spoon. Some pieces soften into the sauce; others keep their snap. That contrast is kori rotti, a dish from the coast of Karnataka around Mangalore, in the Tulu-speaking region often called Tulunadu.

In Tulu, kori means chicken and rotti refers to the rice wafer. The curry on its own is often called kori gassi (also written Kori Ghassi). The wafers are not cooked with the curry at all: they are made separately, kept dry, and only meet the curry on the plate.

The method here follows a single home version published by Rovena Fernandes on her site Spices And Aromas. She writes that she learned it from an elderly Bunt neighbour, that she has tasted several versions of kori rotti and prefers this one, and that she cooks it herself. It is presented as her household's way of making the dish, not as the only authentic version. Many families and restaurants in the region make it differently.

Sekai Gohan has not kitchen-tested this recipe as a whole.

Spelling and names

You will see Kori Rotti, Kori Roti, Kori Gassi and Kori Ghassi. Searching with "Mangalore" or "Mangalorean" alongside the name brings up recipes and descriptions from the region.

Ingredients for 1 kg of Chicken
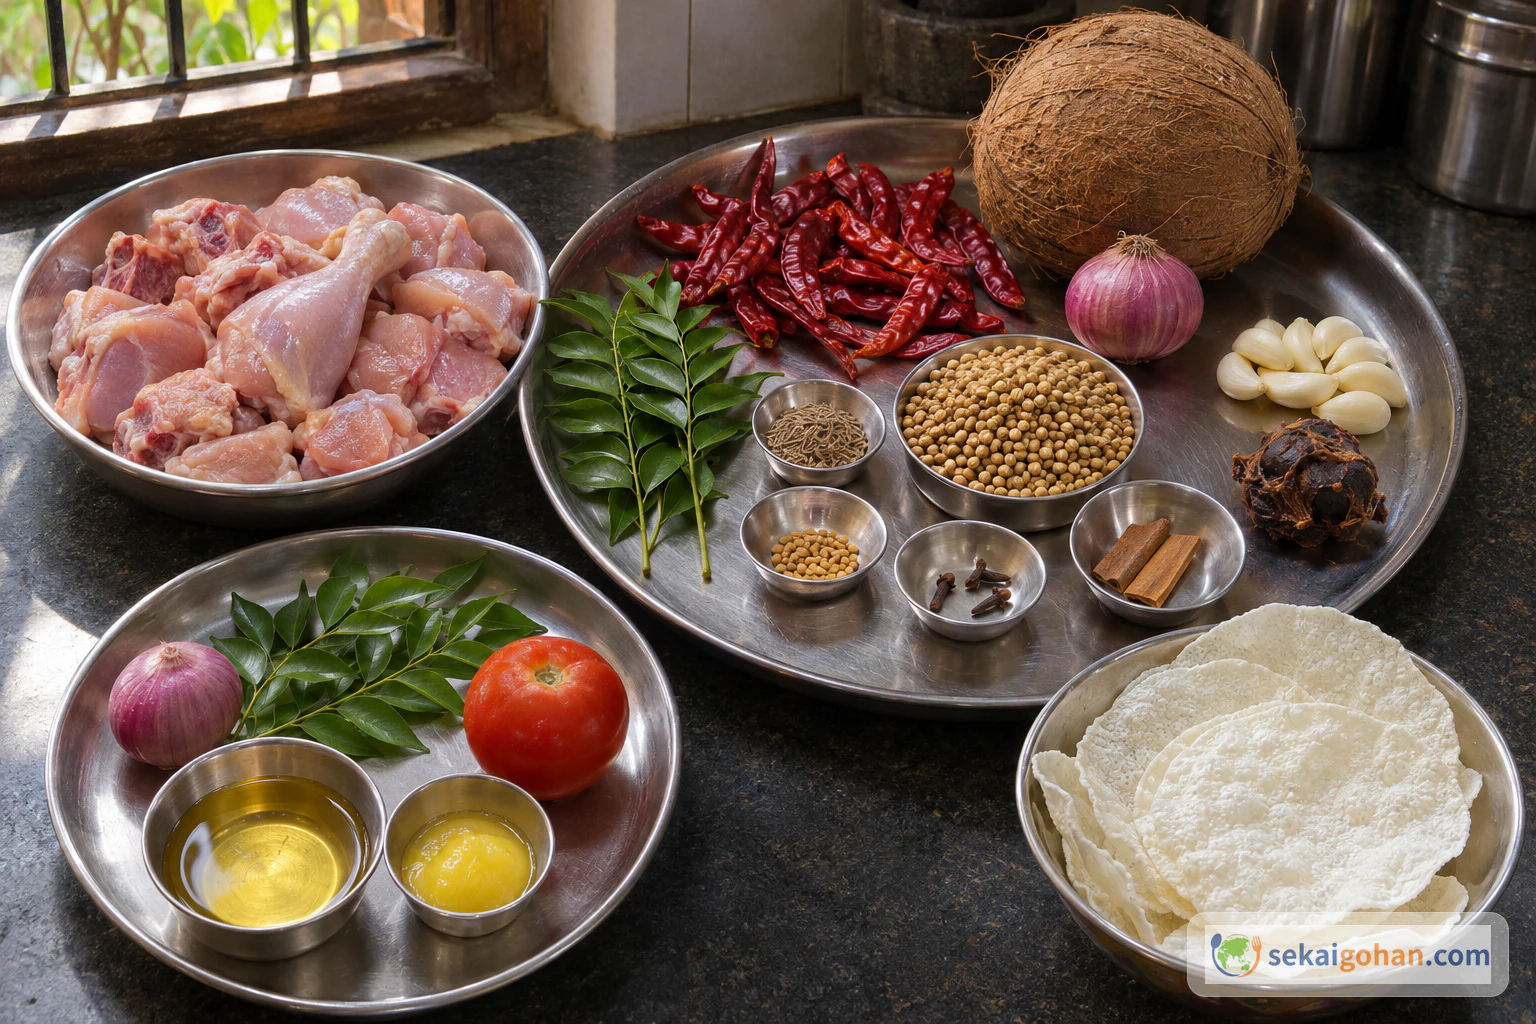
Raw chicken, dried red chillies, coriander, cumin, fenugreek, cloves, cinnamon, two onions, coconut, garlic, tamarind, curry leaves, tomato, oil, ghee and a separate bowl of rice wafers
The masala group, the tempering group, the chicken and the wafers each stay separate until their own step

Equipment

  • A heavy pan for dry-roasting
  • A wide cooking pan with a lid
  • A mixer-grinder (spice grinder or blender) suitable for wet pastes
  • Heat-safe bowls for the roasted spices, the paste and the masala water
  • A separate cutting board, tray and tongs used only for raw chicken
  • A clean food thermometer
  • A ladle, spoons and serving plates
  • An oven mitt or pot holder for hot lids

Choosing and Preparing What You Buy

Red chillies. Use 25 dried red chillies. Varieties differ widely in heat, so the heat of the curry will vary. Choose your chillies with care; there is no tested reduction ratio here.

Coconut. Use the prepared grated flesh of 1 large, mature eating coconut. Shell-opening instructions are outside the scope of this recipe.

Coriander and cinnamon. Use coriander seeds for dry-roasting and 2 pieces of cinnamon.

Peppercorns. Leave out the optional 4 peppercorns.

Salt and coconut milk. Do not add salt or coconut milk to this version.

Chicken. Buy chicken already cut into pieces by the butcher. The photos show bone-in pieces.

Rotti. Use store-bought, ready-to-eat dry rice wafers. Making the wafers at home is outside the scope of this recipe.

Raw chicken

Do not wash raw chicken. Keep it, and the board, tray and tongs it touches, away from the rice wafers and from cooked food. Wash hands, surfaces and utensils after handling raw poultry.

Method: Masala First, Then the Chicken, Then the Plate

The order matters

The masala is roasted and ground before any chicken is cooked. The grinder-rinse water goes into the chicken pan first, and the thick paste goes in only after the chicken is cooked through. Paste and rinse water are two different things; keep them in separate bowls.

When Something Goes Wrong

What happens Likely reason What to do
The wafers turned completely soft Curry was poured too far ahead, or the wafers were mixed into the pan Break and pour one plate at a time, right before eating. Never add wafers to the pot
The thermometer reads below 74°C (165°F) The chicken needs more time Keep cooking and check again before adding the paste. The 10-minute covered stage is not a doneness test
The paste went in before the chicken was done Order of steps swapped Make sure the chicken reaches 74°C (165°F) before serving. Next time, keep the paste aside until after the check
Paste and masala water ended up in the same bowl Rinsing straight into the paste bowl Use two bowls. The thin rinse water cooks the chicken; the thick paste goes in last
The grinder strains or warns on a hot load The mixture is too hot for the appliance Stop, and follow the maker's instructions on loading and heat
The curry is hotter than expected The chilli variety isn't fixed Heat varies by variety; there is no tested way here to scale it down, so choose your chillies with care

Other Ways Kori Rotti Is Made

This page follows one household version on purpose and does not blend in others.

  • The Karnataka Tourism version. The state tourism publication Cuisine of Karnataka has a Mangalore chicken curry that it connects with Kori Ghassi / Kori Rotti. Its formula is different: it includes coconut milk and salt and divides the onion, ghee and garlic in its own way. It is a separate recipe, and none of its amounts or steps are used here.
  • Peppercorns. Rovena Fernandes lists 4 peppercorns as an optional addition to the masala. They are left out here.
  • At restaurants. The menu at Karavalli describes Kori Roti as curry served with dry rice roti on the side, so diners combine them at the table.

Background: Chicken and Rice Wafers on the Tulu Coast
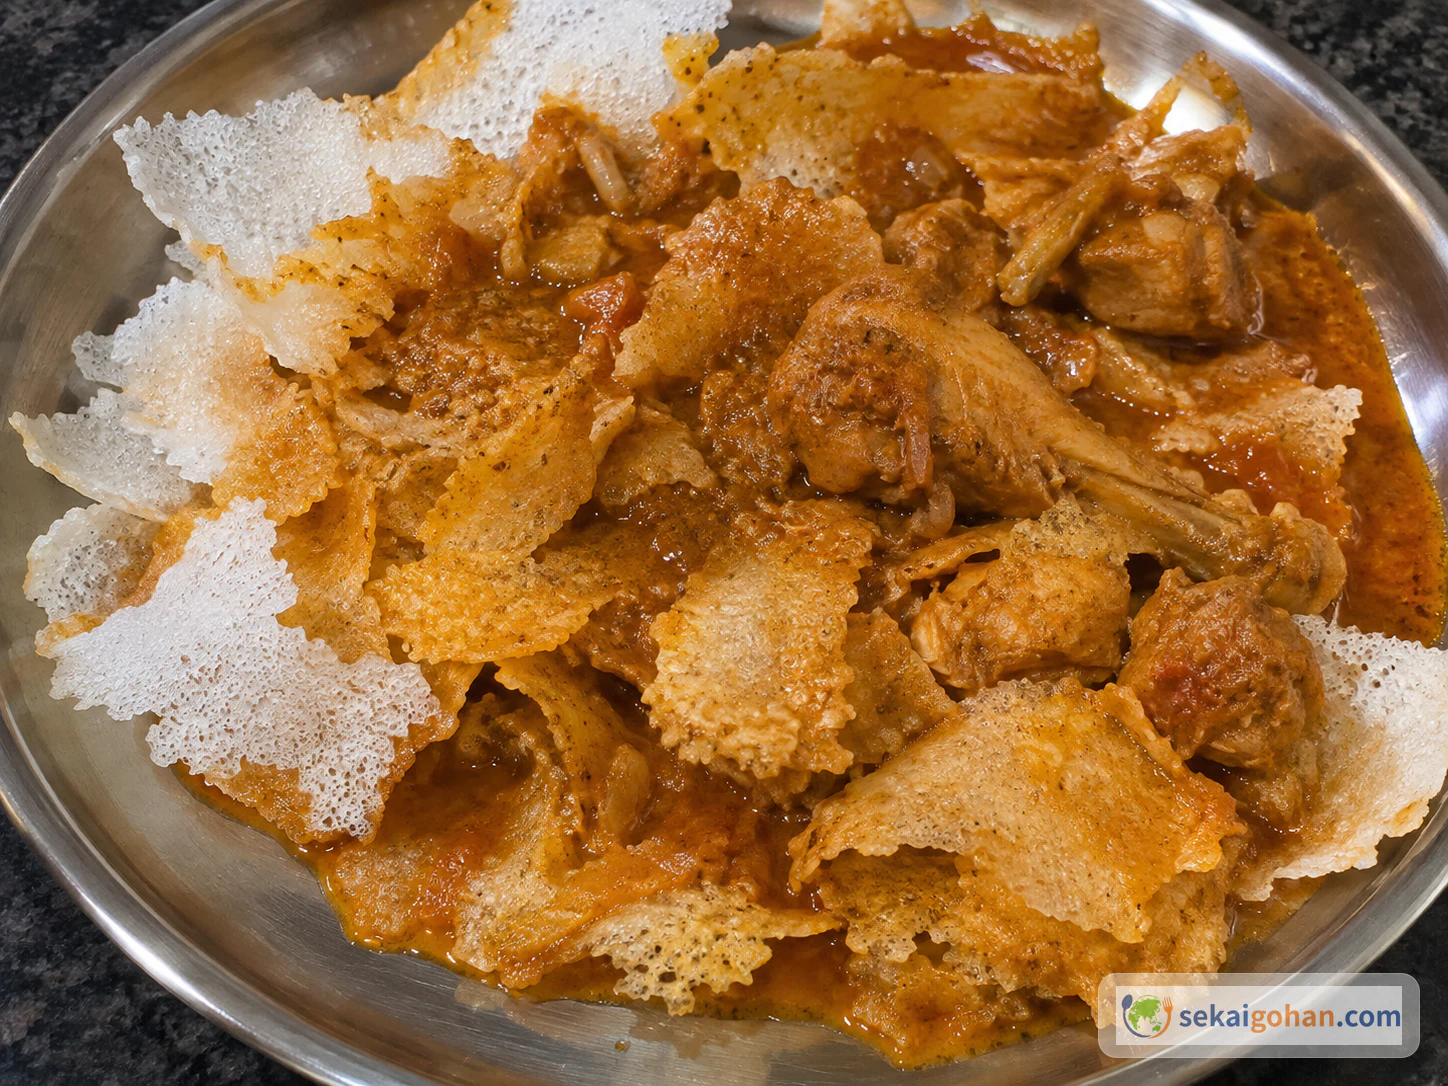
Rice wafers partly soaked with reddish-brown chicken curry, with crisp edges still showing
Freshly mixed, some wafer edges keep their crunch

Kori rotti belongs to the Tulu-speaking coast of Karnataka, around Mangalore. Mangalore Heritage calls it the most popular dish of Mangalore cuisine and describes the curry eaten with crisp rice wafers. Rovena Fernandes's post presents her version as "Mangalore Shetty style" and explains kori and rotti in Tulu.

Attributions to particular communities come from specific sources. Rovena Fernandes credits her elderly Bunt neighbour as the person she learned from. The Karavalli restaurant menu connects its Kori Roti with Bunt cooking. These are individual accounts, not proof of a single origin, and this page doesn't claim one.

For more dishes from across the country, see our India page.

Frequently Asked Questions

Why is there no salt?

Rovena Fernandes's ingredient list and method contain no salt, so none is added here. This page doesn't borrow salt from other recipes.

Can I add coconut milk?

Not in this version. Coconut milk isn't in the author's recipe, and a June 2026 reader question asking about it has no reply from the author. The Karnataka Tourism recipe uses coconut milk, but that is a different recipe and is not mixed in here.

How long does it take?

The author's recipe card lists 30 minutes of preparation and 30 minutes of cooking. In the method, the chicken is covered for 10 minutes and then cooked until done, with no time given for that second stage. Neither figure tells you the chicken is safe. Go by a thermometer reading of 74°C (165°F) in the thickest part of the meat.

How spicy will it be?

The chilli variety isn't specified, and varieties differ a lot in heat, so this page can't promise a heat level. The author's own description of the spice is tied to using a big coconut.

Can I make the rotti myself?

This page uses ready-made, ready-to-eat dry rice wafers. Making them at home is not covered.

Can I keep leftovers?

The dish is meant to be mixed and eaten fresh, one plate at a time. The author gives no storage guidance, and no storage times are offered here. Keep the wafers dry and apart from the curry until you serve.

Sources