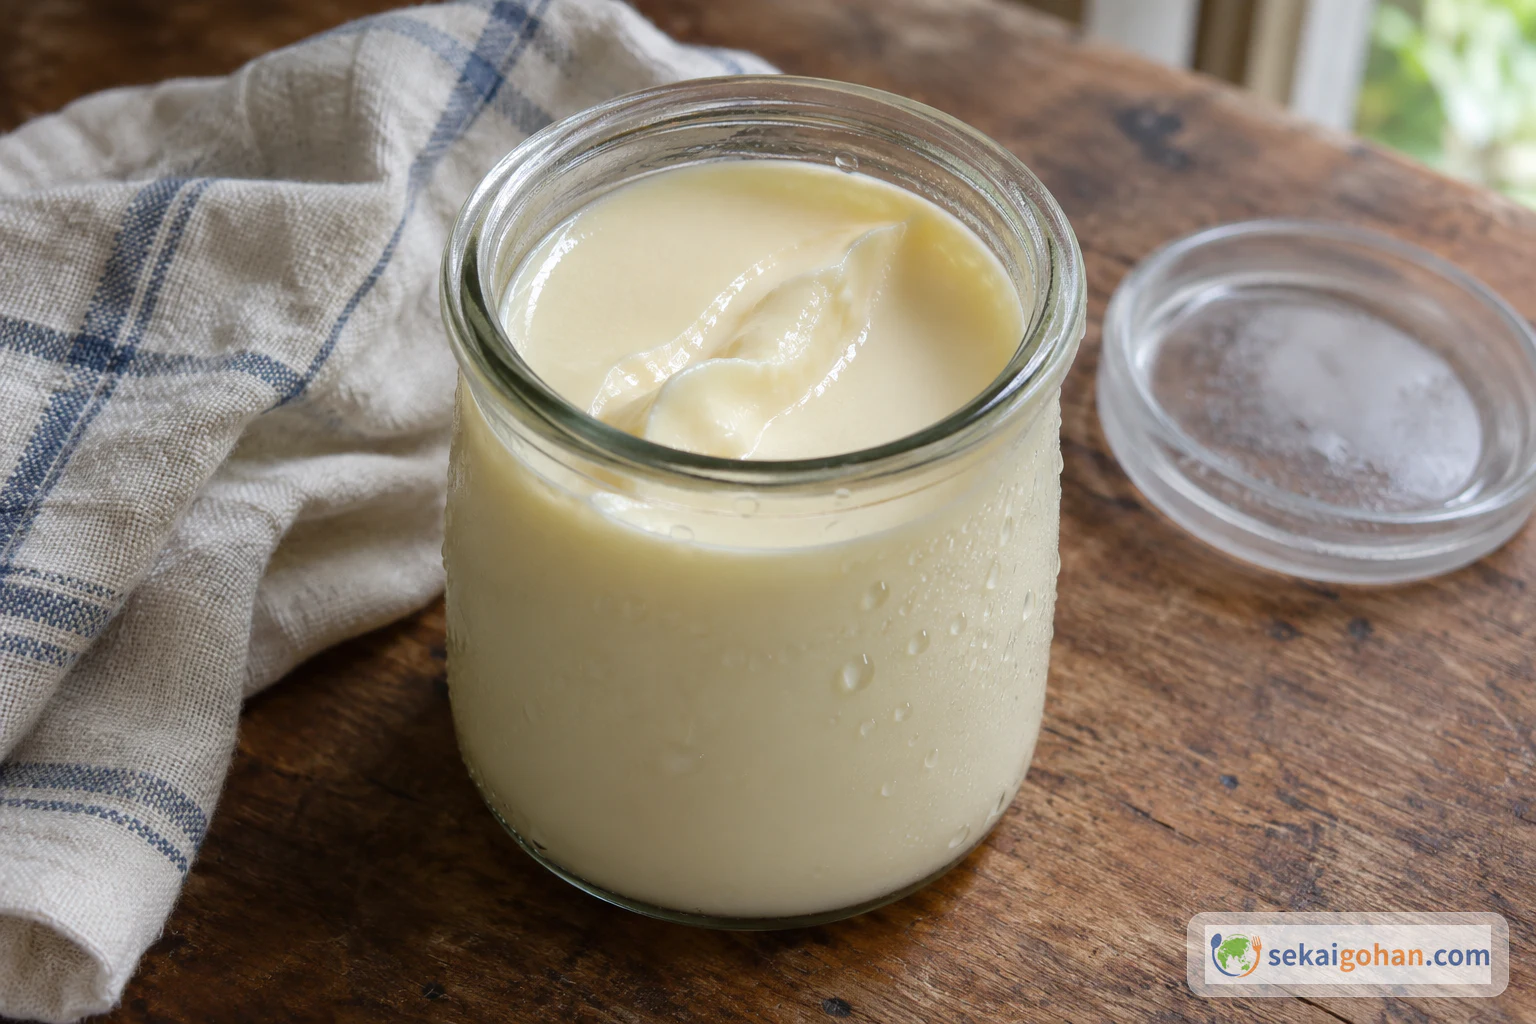
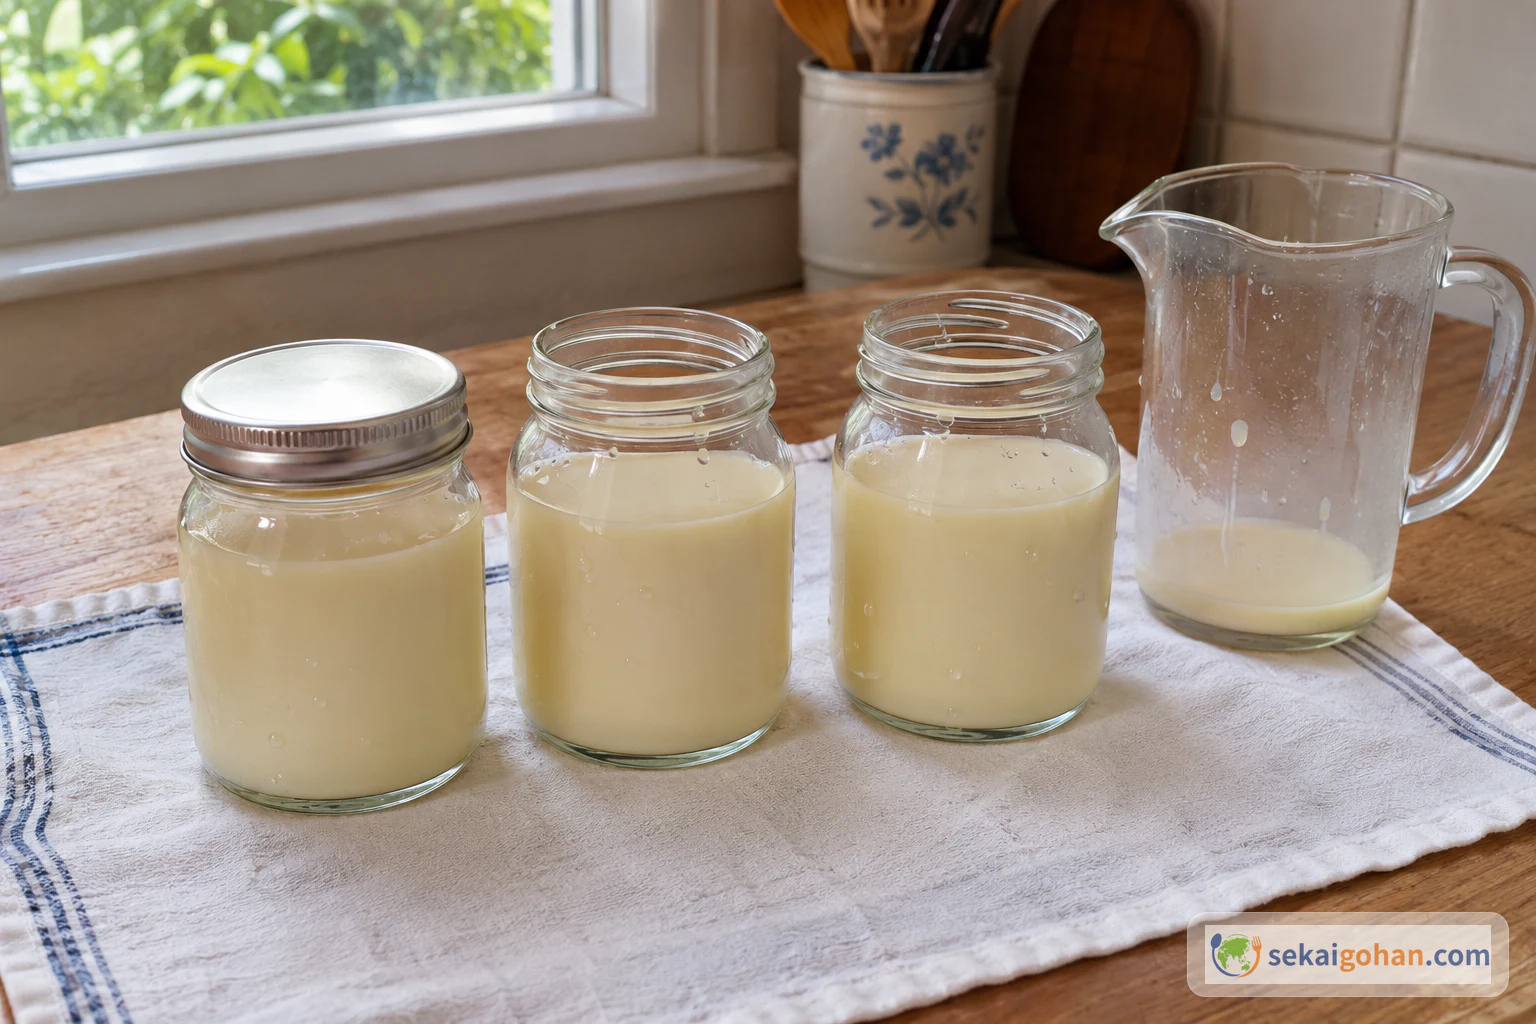
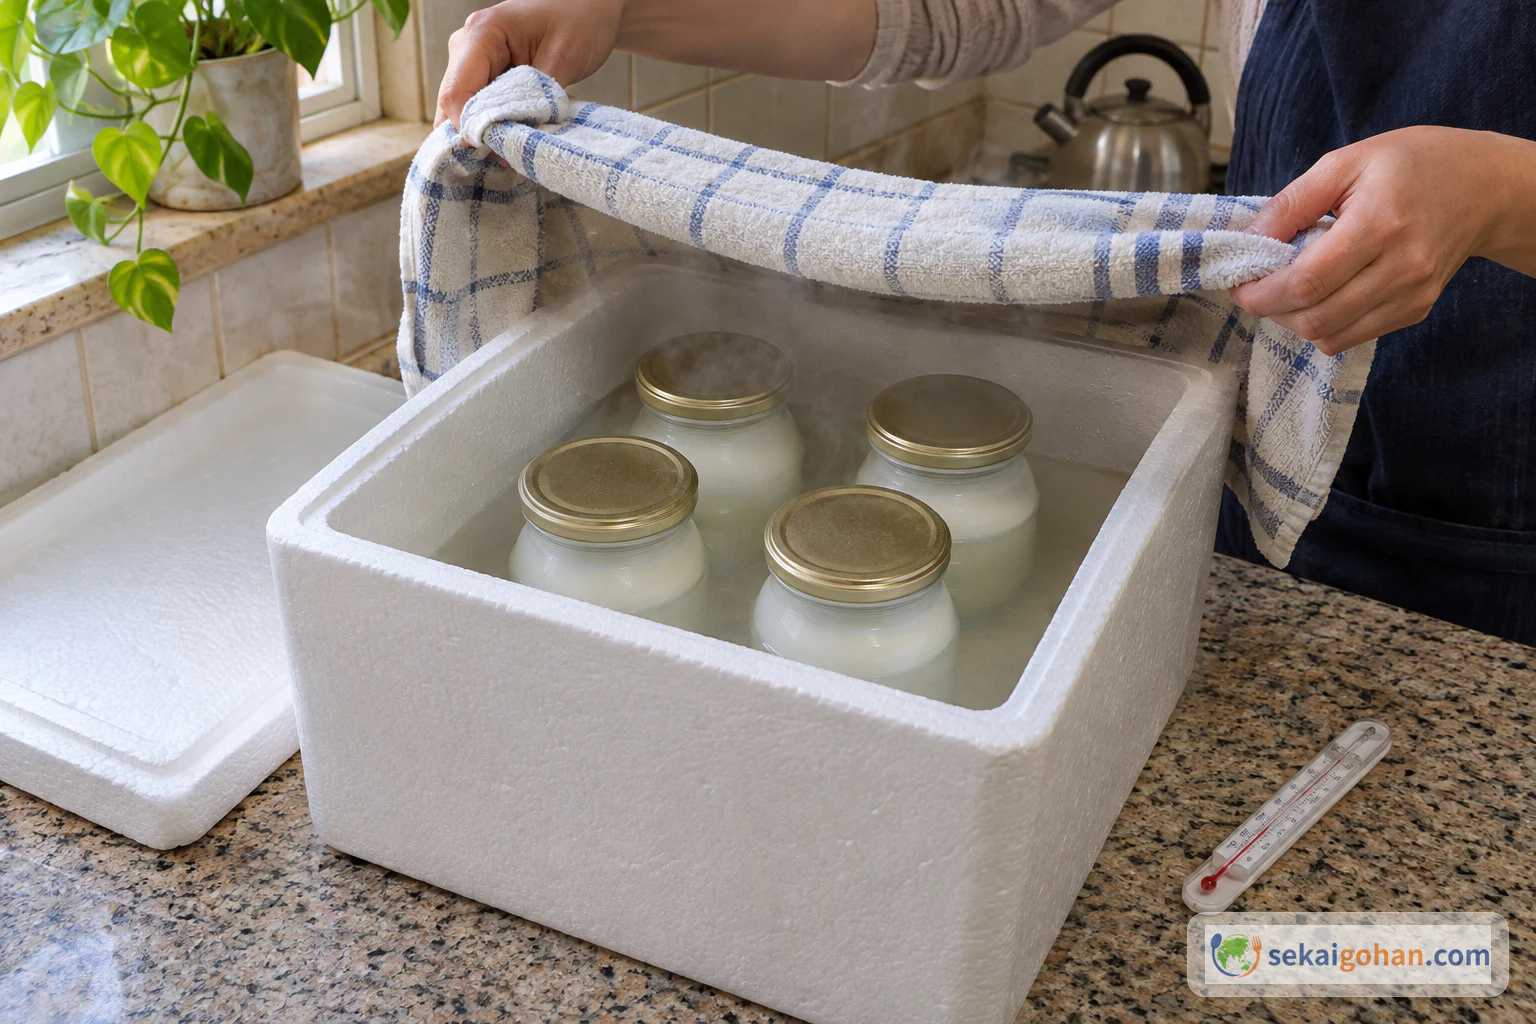
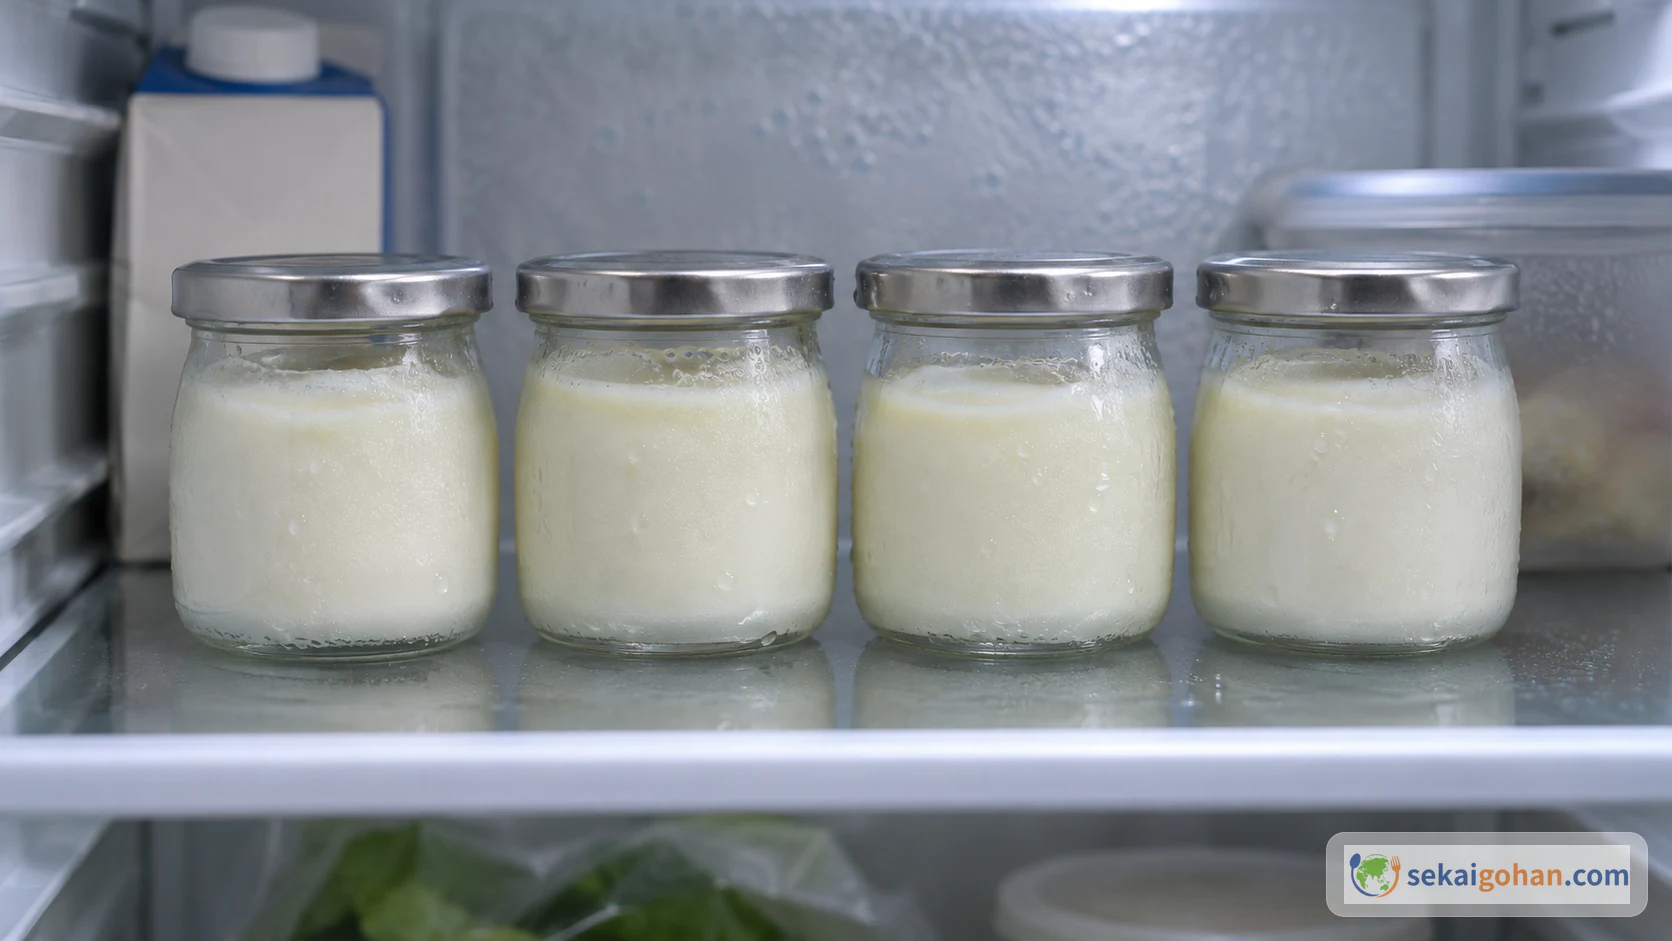
The jars go into a box in a row, and you pour warm water around them until it reaches two-thirds of the way up the glass. You fold a cloth over the top and then leave them alone. When you lift a cold jar out of the fridge later, the surface is glossy and ivory, a shade warmer than white. The spoon goes in easily and leaves a soft groove behind it. This is sữa chua, Vietnam's homemade yogurt: sweet from condensed milk, rich, sharp enough to wake you up, and softer than the yogurt most Western cooks know.
Sweet, Tangy and Soft: Vietnam's Jar Yogurt
The name is simple. Sữa means milk and chua means sour, so the word just means yogurt. In the south, people also call it da ua. At home and in shops, though, it usually means one particular thing: milk sweetened with condensed milk, cultured with a spoonful of plain yogurt, and set in small jars. That is the yogurt this recipe makes.
Condensed milk is what sets it apart from other yogurt. All the sweetness comes from the can, and no sugar goes in at any point. The cooked-milk richness of condensed milk sits under the tang, so the yogurt tastes both richer and more sour than ordinary plain yogurt. The usual explanation is that condensed milk was easier to get than fresh milk, so it became the base. Ordinary Western plain yogurt has no condensed milk. Indian shrikhand is strained yogurt sweetened afterwards, and it skips the fermenting step entirely.
The texture is soft and spoonable, looser than an American-style set yogurt. That is how Vietnamese yogurt is meant to be. Some cooks add agar to firm it up, but that is a matter of taste, not the standard. At home, sữa chua is chilled and eaten for breakfast or as a snack. Shops sell it in jars, and there is also a frozen version in plastic bags that people eat like ice cream.
Both names refer to the same yogurt. Sữa chua (milk + sour) is the general Vietnamese word, and da ua is also used in the south. If you are searching for recipes or shopping in a Vietnamese grocery, try both.
Ba Vì, the dairy hills outside Hanoi
Vietnam's dairy story centers on Ba Vì, on the outskirts of Hanoi. The French started dairy farming there in the early 20th century. By the 1950s and 1960s it had become the center of the country's livestock farming, and it still produces milk and yogurt today. How yogurt itself first reached Vietnam is not settled, though it is often linked to the French colonial period.
Ba Vì's best-known yogurt is sữa chua nếp cẩm: a lightly sour, naturally fermented yogurt topped with sweet fermented black glutinous rice. It is sold in jars of about 4 oz (120 g). It is a separate dish from the plain condensed-milk yogurt here, but it shows how ordinary yogurt in a jar has become in Vietnamese eating. To see where it fits among other Vietnamese dishes, browse the Vietnam page.
Ingredients
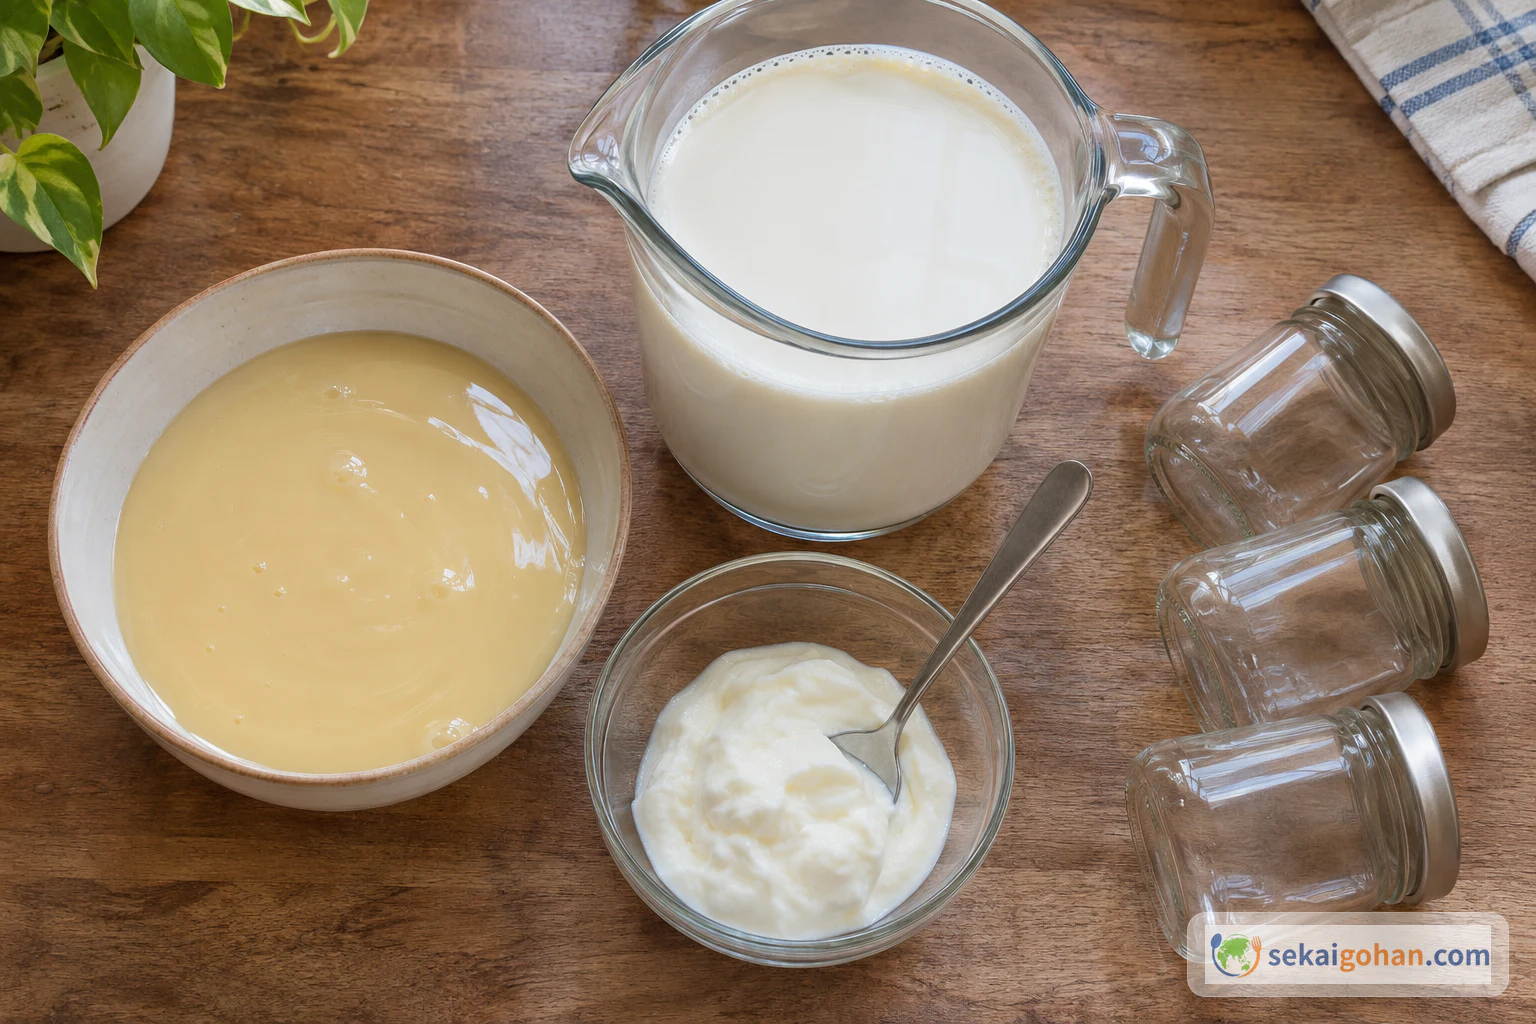
Can sizes differ from country to country. In Vietnam, the cans themselves are used to measure the milk. Weigh out 13½ oz (380 g) of condensed milk and measure the milk in a jug instead. That keeps the sweetness and the set right with whatever can you bought.
All three ingredients are dairy: milk, condensed milk and yogurt. This recipe has no dairy-free version. Plant-based yogurts use different cultures and a different method. Condensed milk is high in sugar. Anyone with diabetes or on a low-carbohydrate diet should check with a doctor or dietitian.
Equipment
- Kitchen scale
- Instant-read or clip-on cooking thermometer
- Two saucepans (or one saucepan and a large bowl)
- Whisk and silicone spatula
- Small skimmer or spoon for foam
- Fine strainer (optional)
- Heatproof glass jars with lids, about 5 oz (150 ml) each, around ten
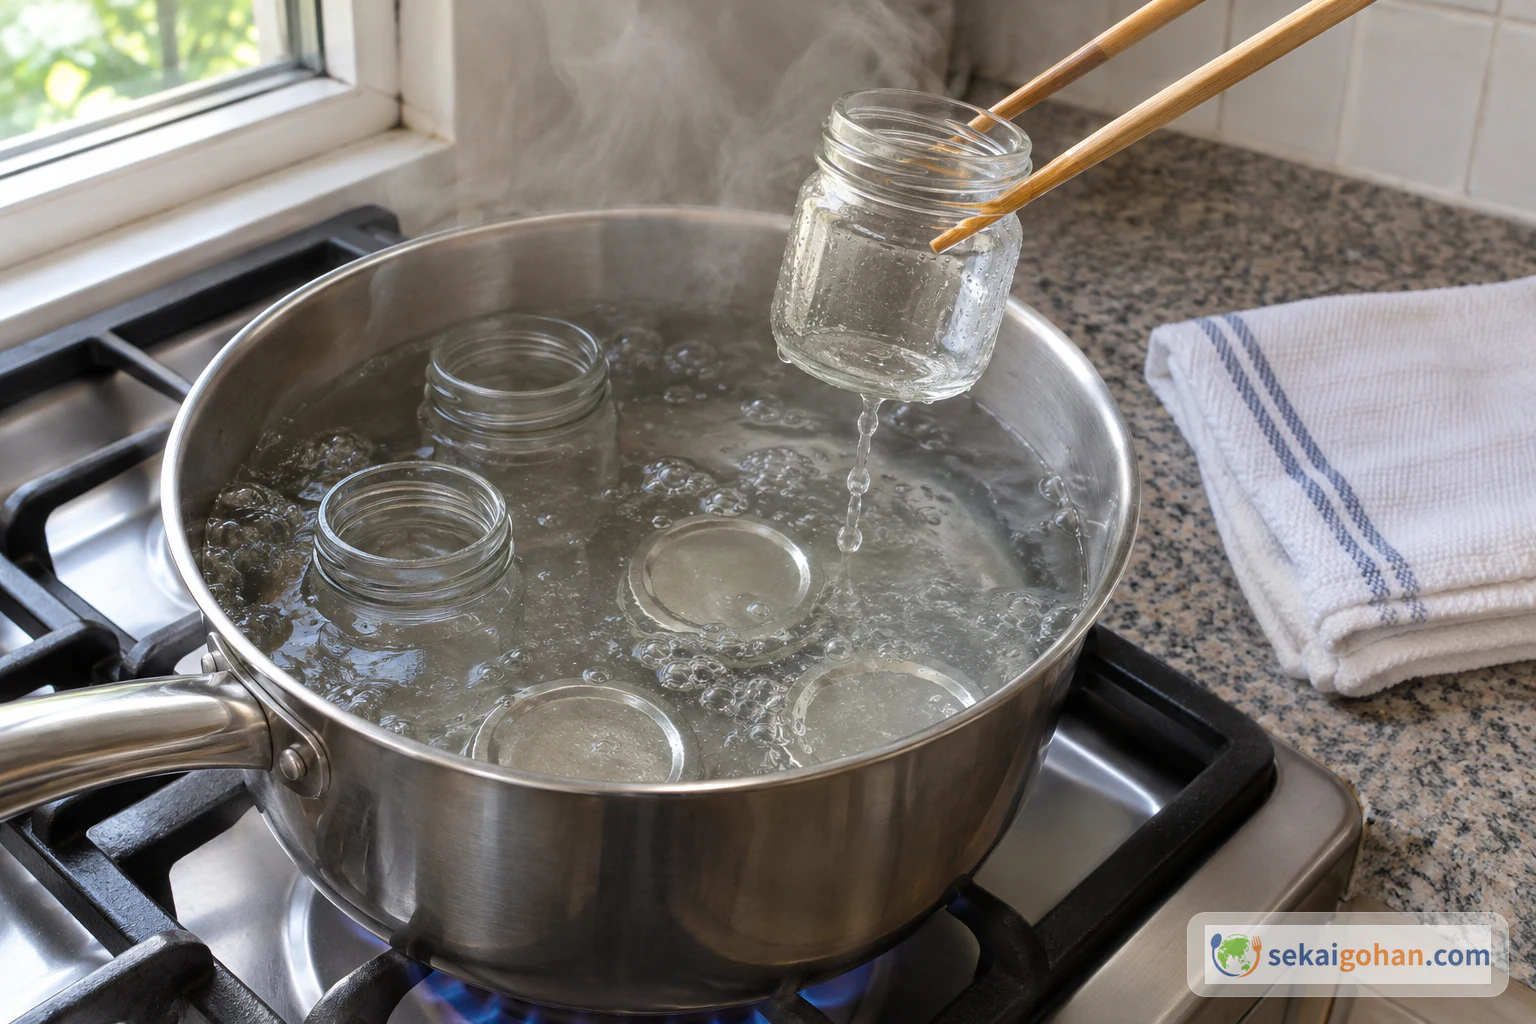
- Pot for boiling the jars, and tongs or long chopsticks
- Styrofoam cooler box with a lid, or a deep pot
- Clean cotton cloths
Choosing and Substituting
Condensed milk is the one thing you cannot swap out. Buy sweetened condensed milk from the baking or canned-goods aisle. Evaporated milk is sometimes labeled "unsweetened condensed milk," and it is a different product: it adds no sugar, so the yogurt loses its whole character. If you have less than 13½ oz (380 g), use what you have. The yogurt will be less sweet and less rich. Keep the milk at the full amount.
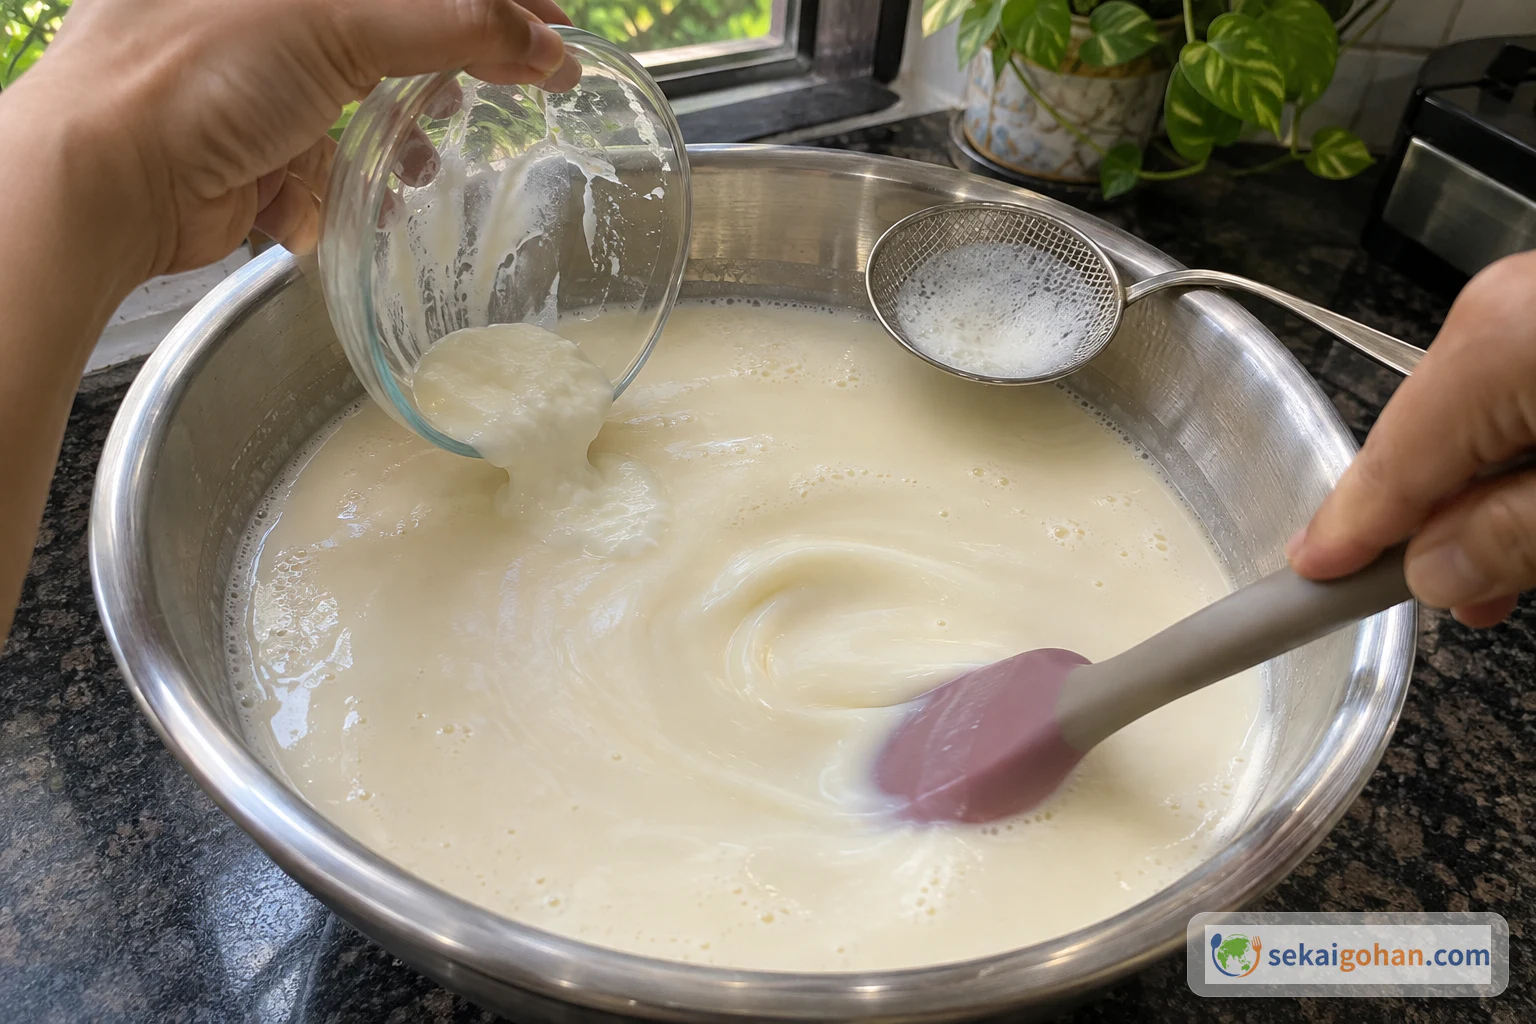
For the milk, use ordinary pasteurized whole milk. Never use raw milk. Low-fat milk or reconstituted milk powder also sets, but the yogurt comes out softer and thinner in flavor. For the starter, choose a plain yogurt with no sugar and no flavoring, and check that the label says it contains live and active cultures. Sweetened yogurt or yogurt with fruit will not work as a starter. A powdered yogurt starter also works, at 5 g per quart (0.95 L) of milk.
In Vietnam, yogurt is sometimes set in plastic bags. At home, use glass jars that you can boil and seal. The rest of the method stays exactly the same.
Method
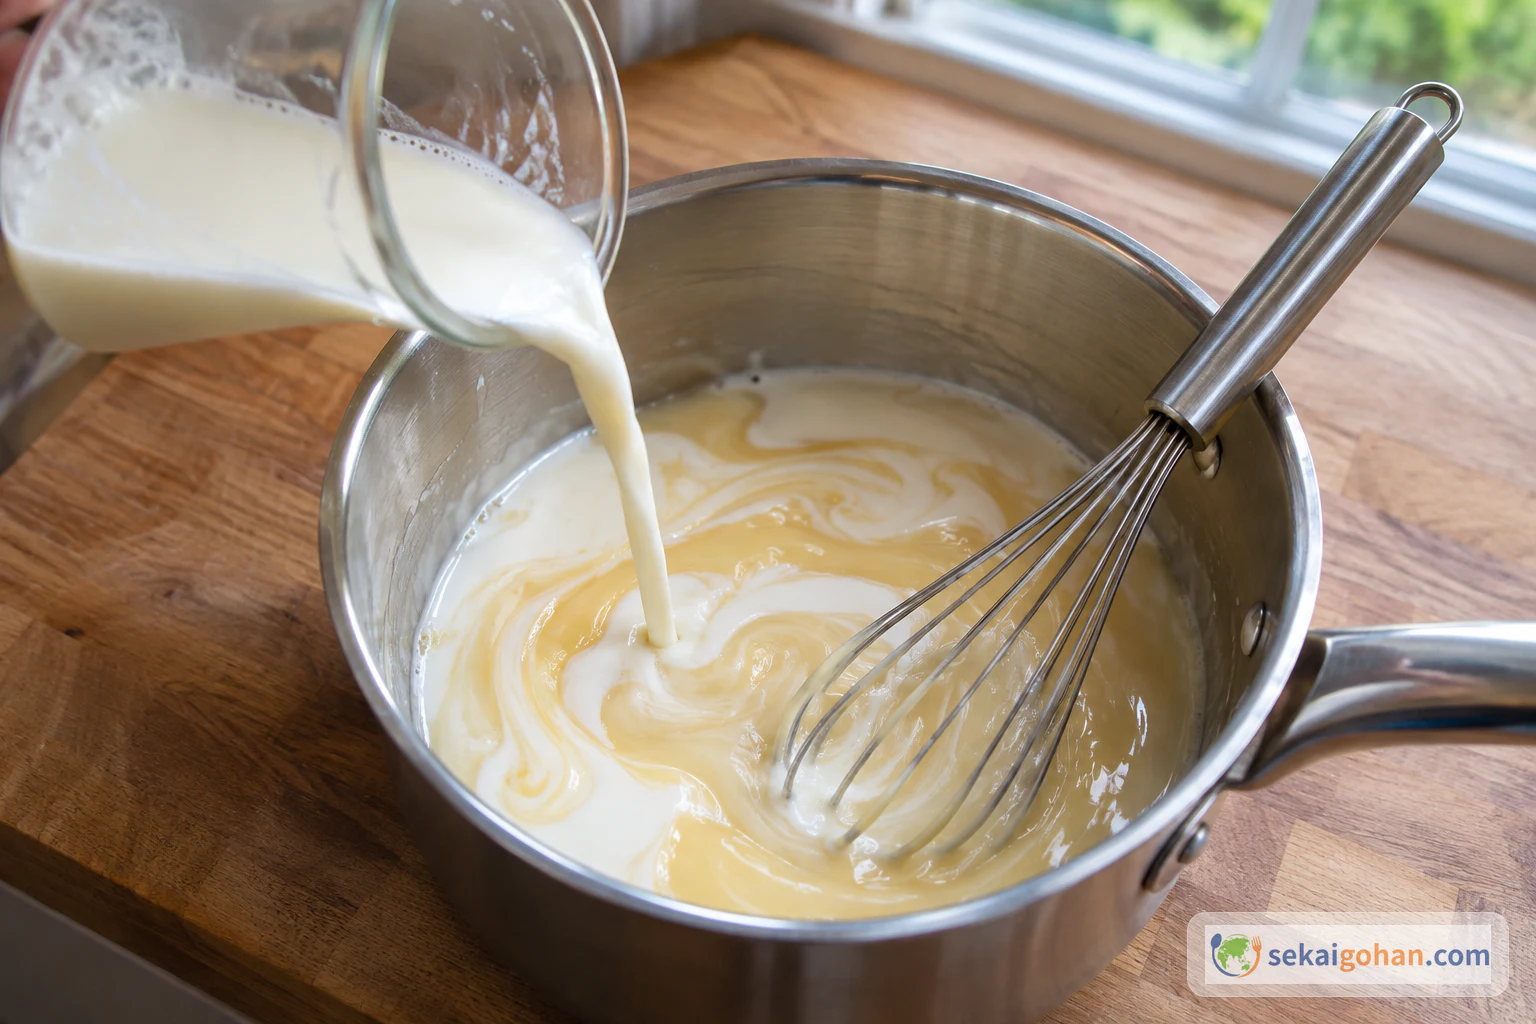
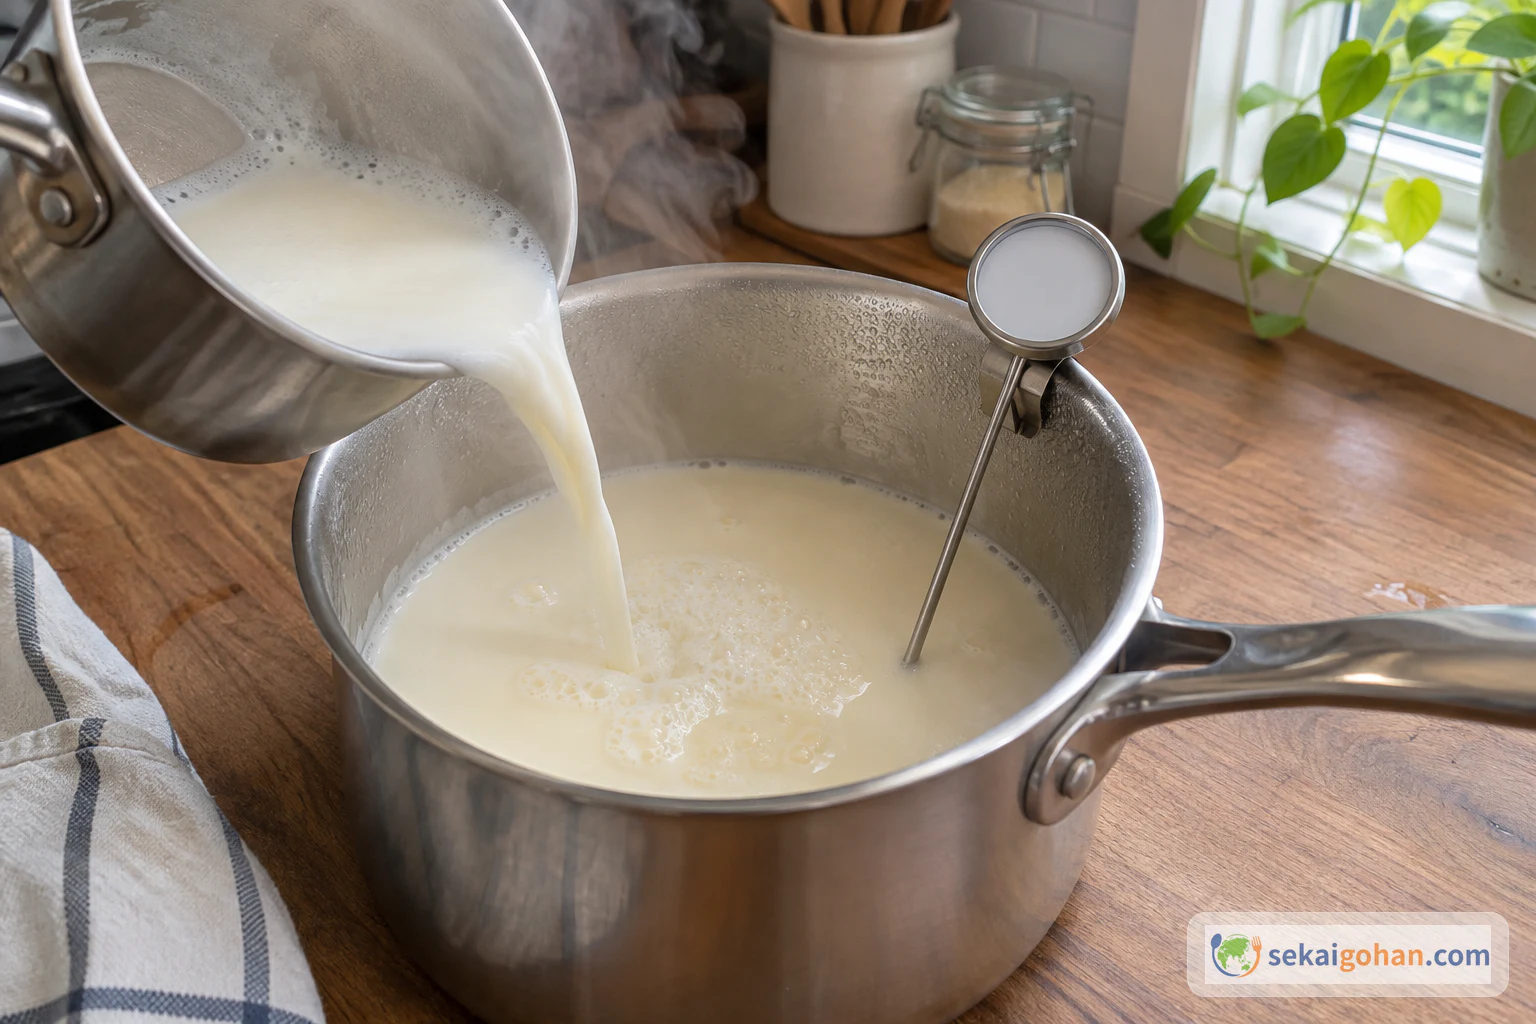
The work is front-loaded and then mostly waiting. Boil the jars first so they are dry by the time the milk is ready. The milk is handled in two parts. One part dissolves the condensed milk cold, and the other part is boiled and poured in to bring everything to culturing temperature in one move. After that, the jars sit untouched in a warm bath for 6 to 8 hours, then go into the fridge. If you start in the evening, the jars are ready to chill by morning.
When It Goes Wrong
| What you see | Why | What to do |
|---|---|---|
| The milk did not set at all | The milk was too hot when the starter went in, the starter was weak, or the bath cooled too much | Throw it away. Milk that does not set has likely picked up the wrong bacteria. Next time, check for about 104°F (40°C) before adding the starter, and use a fresh plain yogurt with live cultures |
| Very sour | The jars stayed warm too long, or went into the fridge late | Check at 6 hours next time, and chill as soon as it is set |
| Watery whey on top | The jars stayed warm too long, or were moved while setting | Keep the box still. The whey can be stirred back in, though the yogurt will taste more sour |
| Holes on the surface | Foam was left on the milk | Skim carefully after stirring in the starter |
| Grainy or lumpy | The condensed milk did not fully dissolve, or the mixture was stirred hard after the starter went in | Whisk until the bottom is smooth in step 2, then stir only gently |
| Mold, or any smell other than clean yogurt | The jars were not boiled long enough, or unwanted microbes got in | Throw it away without tasting. Boil the jars again before reusing them |
Serving, Variations and Storage
At the table
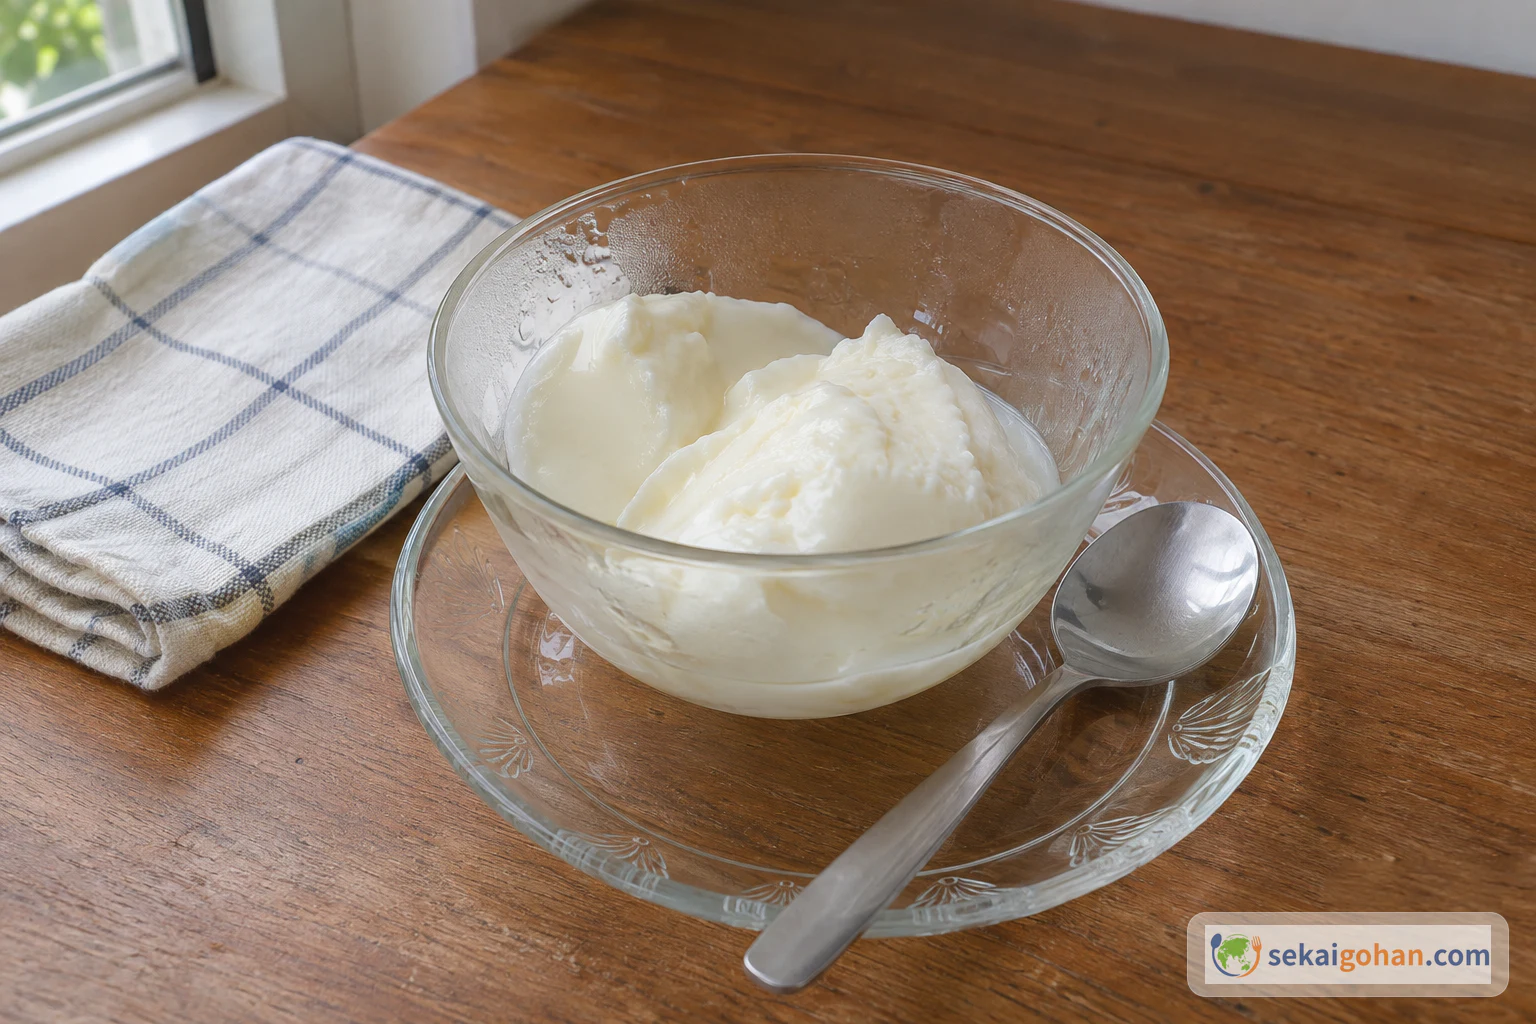
Eat it cold, straight from the jar or spooned into a small bowl, for breakfast or in the afternoon. It is sweet enough to eat on its own. For a fuller breakfast, add kiwi, dragon fruit, blueberries or granola at the table. Add fruit only when serving, never before setting, because the acid and juice in the fruit upset the fermentation. A jar that came out too sour tastes better with fruit and granola too.
Variations
- Firmer, with agar. Dissolve a little agar following the package directions and stir it into the warm milk. This gives a firmer set closer to Western yogurt. It moves away from the soft Vietnamese texture, so treat it as a personal preference.
- Low-fat milk. It still sets, but expect a softer yogurt with less richness behind the tang.
- Powdered starter. Use 5 g per quart (0.95 L) of milk in place of the plain yogurt. The rest of the method stays the same.
- One large container. This saves filling jars, but a big container takes longer to cool in the fridge. Always scoop portions out with a clean spoon.
Storage
Keep the jars closed in the fridge at 36–43°F (2–6°C), on the upper shelf, and eat them within 5 to 7 days. Longer windows, up to three weeks at 40°F (4.4°C) or below, are sometimes given for yogurt. For a homemade batch, stick to 5 to 7 days. The fridge does not kill microbes, so keep every jar sealed and use a clean spoon each time. Do not freeze sữa chua: the texture breaks.
Boil the jars and lids for 10 minutes and use only pasteurized milk. Throw out any jar with mold or an off smell, and any batch that did not set. Do not stir it to "save" it. Pregnant or breastfeeding women, people with weakened immune systems, and anyone feeding an infant should talk to a doctor or public health nurse before eating homemade fermented milk.
Frequently Asked Questions
Can I use a yogurt maker instead of the water bath?
Yes. Choose a setting of 104–110°F (40–43°C). At a steady 110°F (43°C), yogurt sets in about 4 to 7 hours, faster than in a bath that slowly cools. Start checking earlier than you would with the cooler box.
Is the whey that separates safe to stir back in?
Yes, as long as the yogurt smells clean and shows no mold. Stirring it back in makes the yogurt a little thinner and more sour. A lot of whey usually means the jars stayed warm too long or were moved while setting.
Can I warm it up or stir it into hot drinks?
No. Heat kills the cultures and makes the yogurt separate into curds and whey. Sữa chua is meant to be eaten cold.
Can I set it in plastic bags like the street versions?
Bags are used in Vietnam, but at home glass jars are the better choice. You can boil jars and lids for 10 minutes before every batch and close them tightly in the fridge. Plastic bags cannot be boiled the same way.