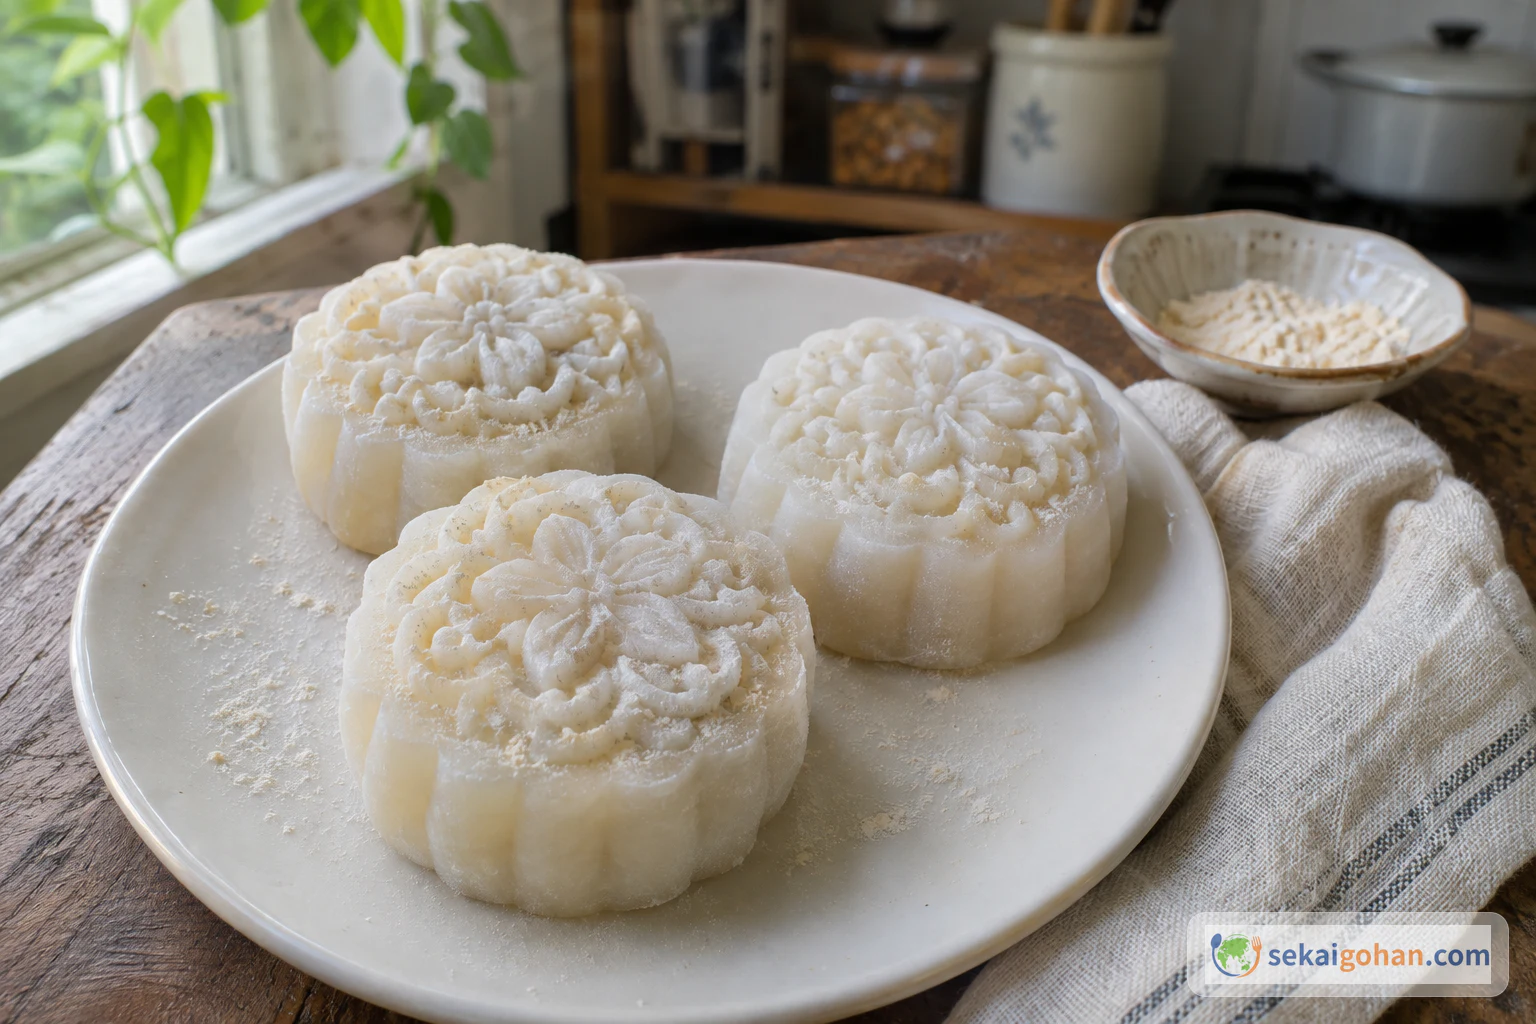
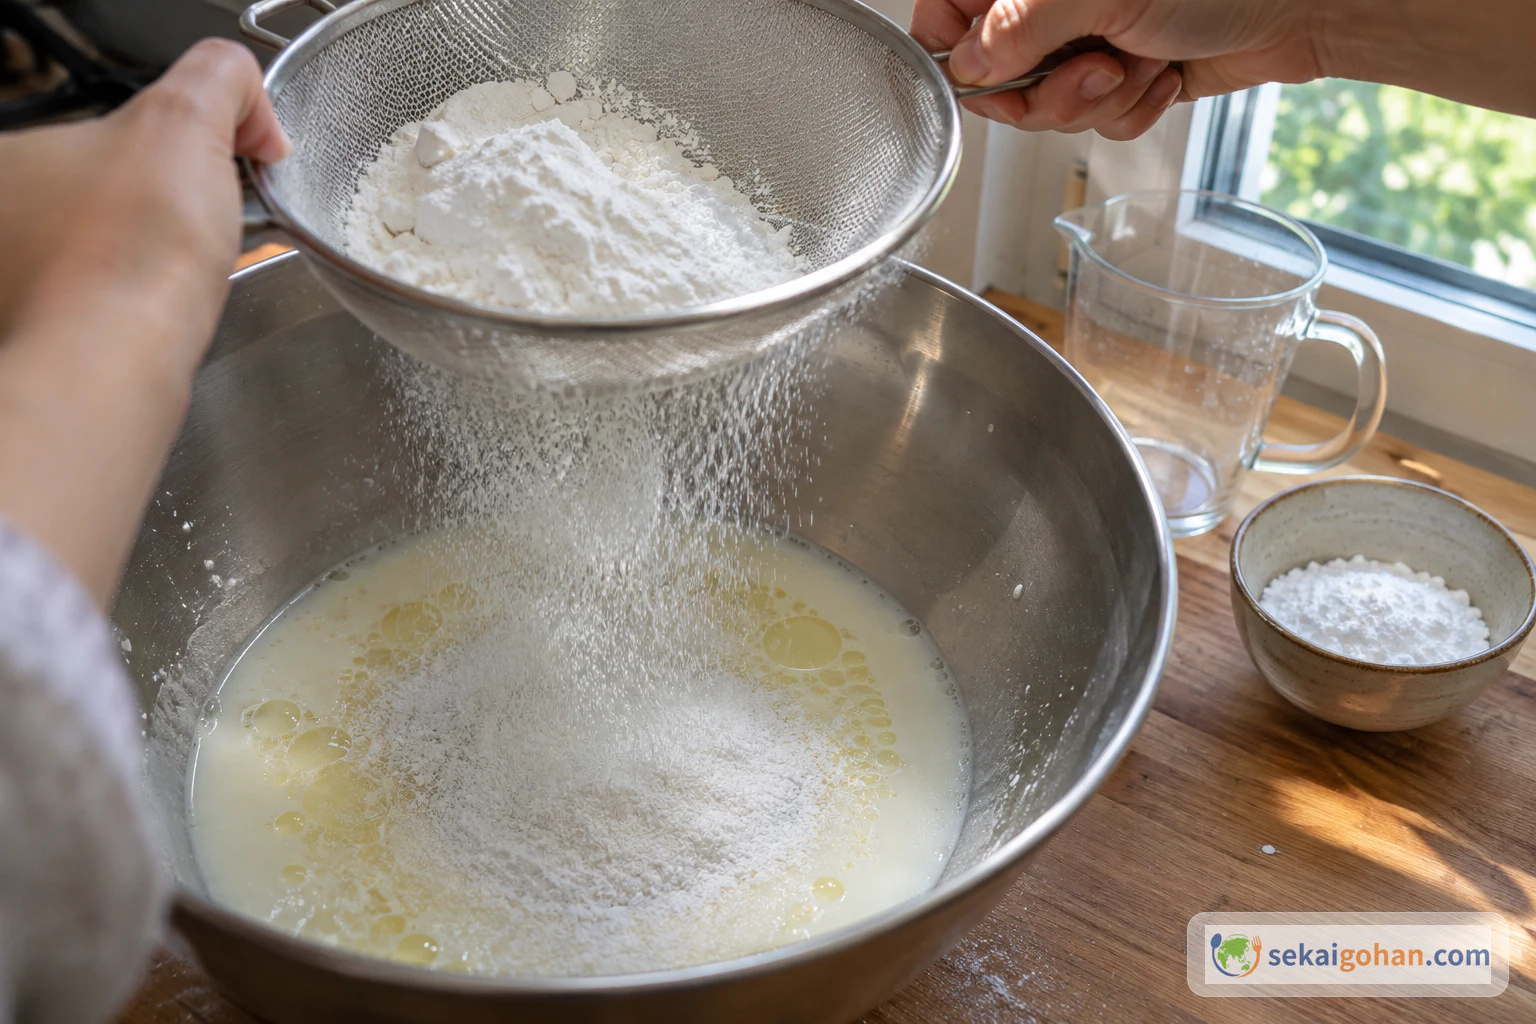
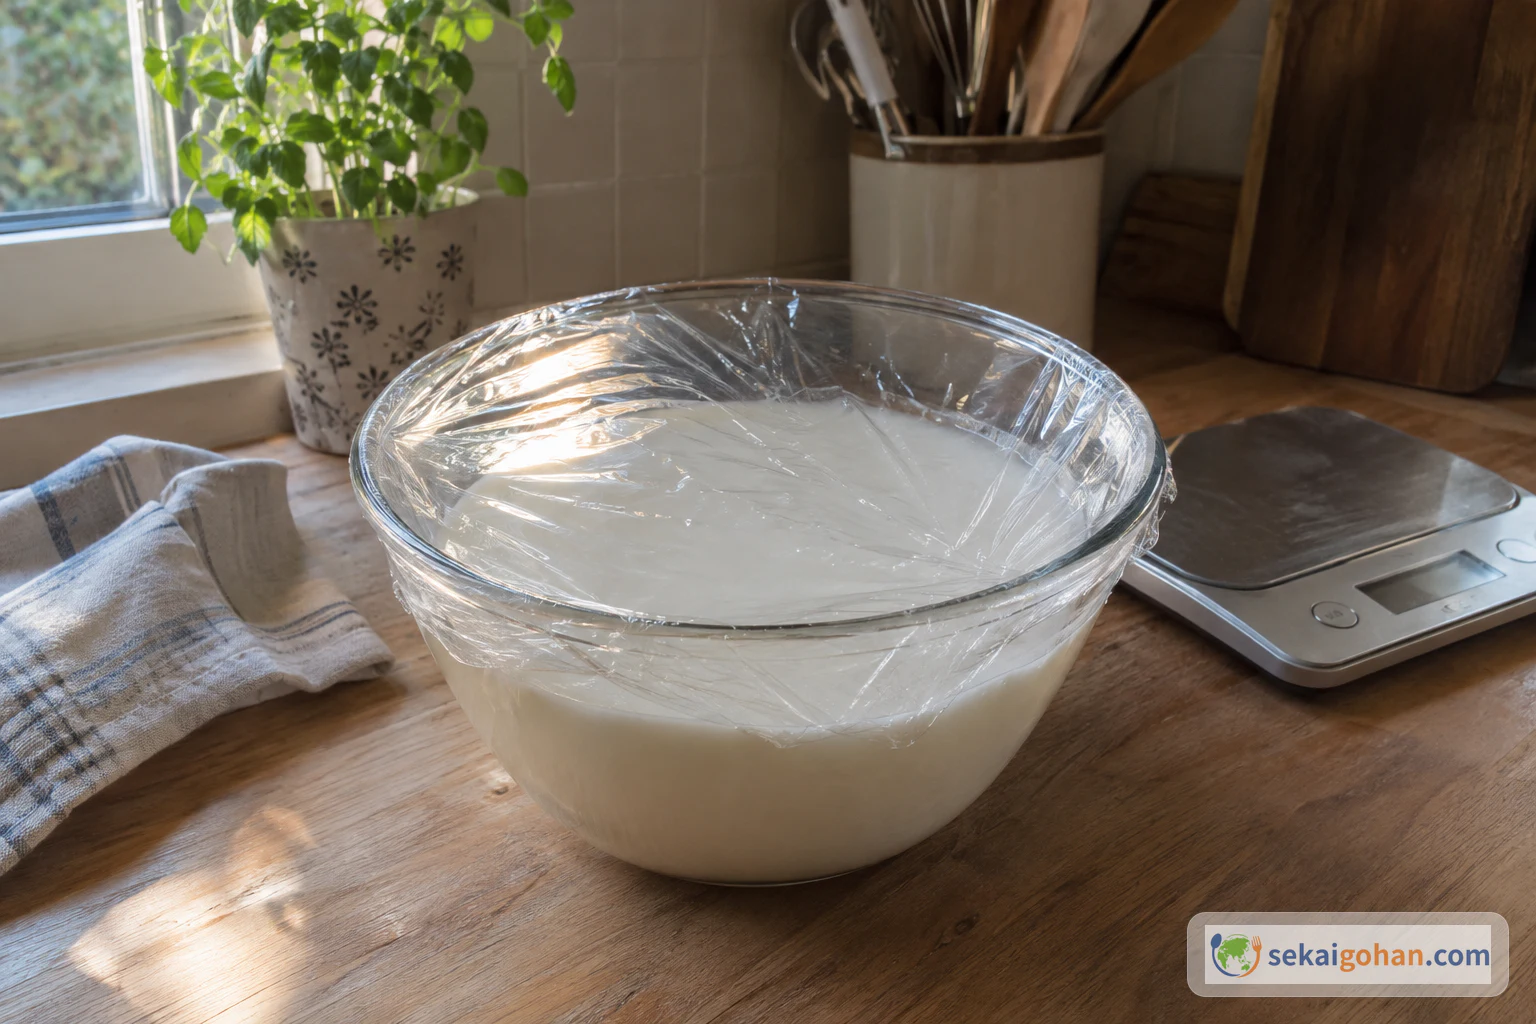
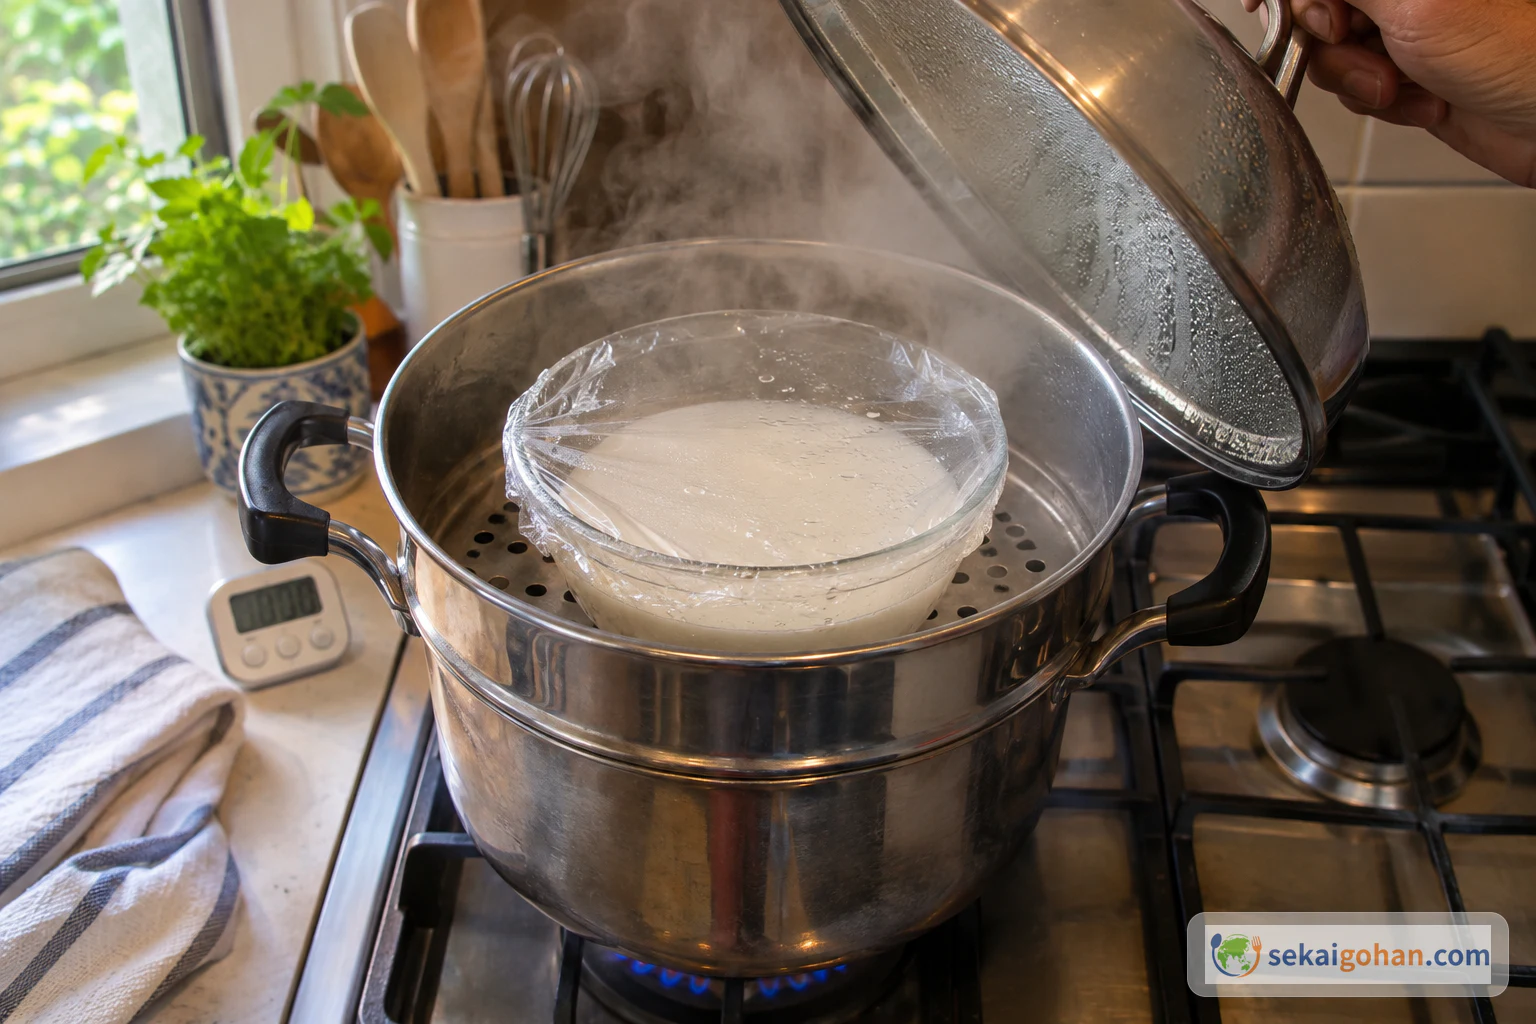
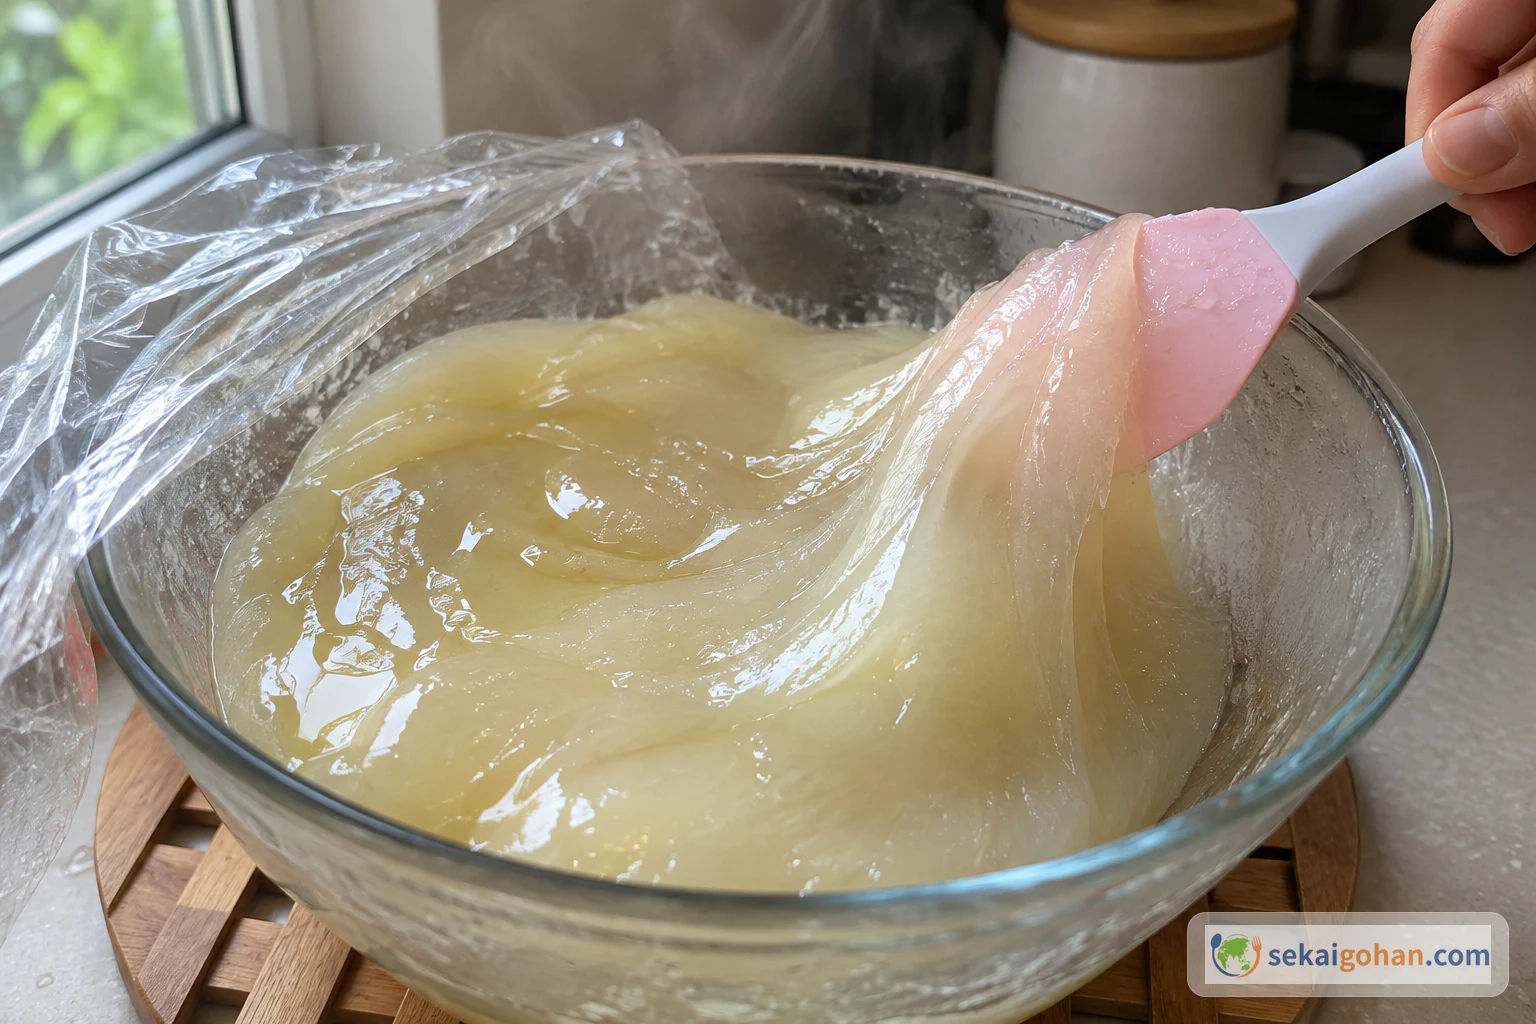
Lift the lid of the steamer at the twenty-five-minute mark and the bowl has changed. The batter went in milky white and opaque. It comes out pale ivory and see-through like wet glass, with a thin film of oil on top. That change is the whole secret of snow skin mooncakes. They are mooncakes that are never baked: a soft, cool, chewy skin of steamed rice flour and wheat starch, wrapped around sweet red bean paste and pressed in a carved mold. Eaten cold from the fridge, they taste of milk and gentle sweetness first, then dense bean paste, with a bite closer to mochi than to pastry.
A Hong Kong Mooncake Born in 1989
The mooncake most people picture at the Mid-Autumn Festival is baked. Its crust is made from wheat flour and inverted sugar syrup and comes out of the oven glossy and brown. Snow skin mooncakes drop the oven entirely. The skin is steamed in a bowl, chilled, then wrapped around filling that is already cooked. Nothing goes back on the heat after shaping. That one difference changes everything about how you make, keep and serve them.
They are also young. The idea came from a Hong Kong bakery called 大班 (tai pan, the word for the person who makes the final decisions in a company), which 郭鴻鈞 opened in 1984 at Amoy Plaza in Ngau Tau Kok. The name was chosen to promise something upmarket and well made. In 1989 the bakery began working on a mooncake with a cold, pale skin. It took more than two years of market research and product development before the first ones were made in 1991. In 1992 the public tasted them for the first time at a food fair, and they caused a stir.
From one shop to a Mid-Autumn staple
The official launch came before the Mid-Autumn Festival of 1993. Sales opened three weeks before the holiday, and in a little over two weeks the bakery sold 200,000 boxes. They were aimed at buyers between 20 and 40, people who wanted something new on the festival table. It worked. Snow skin mooncakes became one of the main kinds sold in Hong Kong for Mid-Autumn, and the old-name mooncake houses and the big chains began making their own. At its height the bakery ran about 30 shops in Hong Kong and opened stores in Beijing, Shanghai and Shenzhen, and its range grew past a hundred flavors.
The brand itself did not last. After the social events of 2019 its sales in mainland China stopped, the business was transferred in 2021, and every shop closed on 24 June 2025. The mooncake outlived the company. It spread from Hong Kong and the Cantonese-speaking world into mainland China and Chinese communities abroad, and it sits today beside the baked kind in festival gift boxes. It is a modern Hong Kong invention, not an ancient one, and you will find it filed under China on this site because that is where it now belongs to everyone.
The Chinese name, 冰皮月餅 (bīngpí yuèbǐng), means "ice skin mooncake." It describes the cold, pale, faintly translucent skin. Ice-cream mooncakes are a different product altogether: they are frozen, and they are kept at 0°F (−18°C) or below, while snow skin mooncakes live in the refrigerator.
Recipes for the skin differ more than you would expect. One Hong Kong home recipe uses a thinner skin, three parts skin to four parts filling, with condensed milk in the dough. This recipe uses equal weights of skin and filling, which gives a skin thick enough to handle without tearing and is the easier place to start.
Ingredients (serves 8)
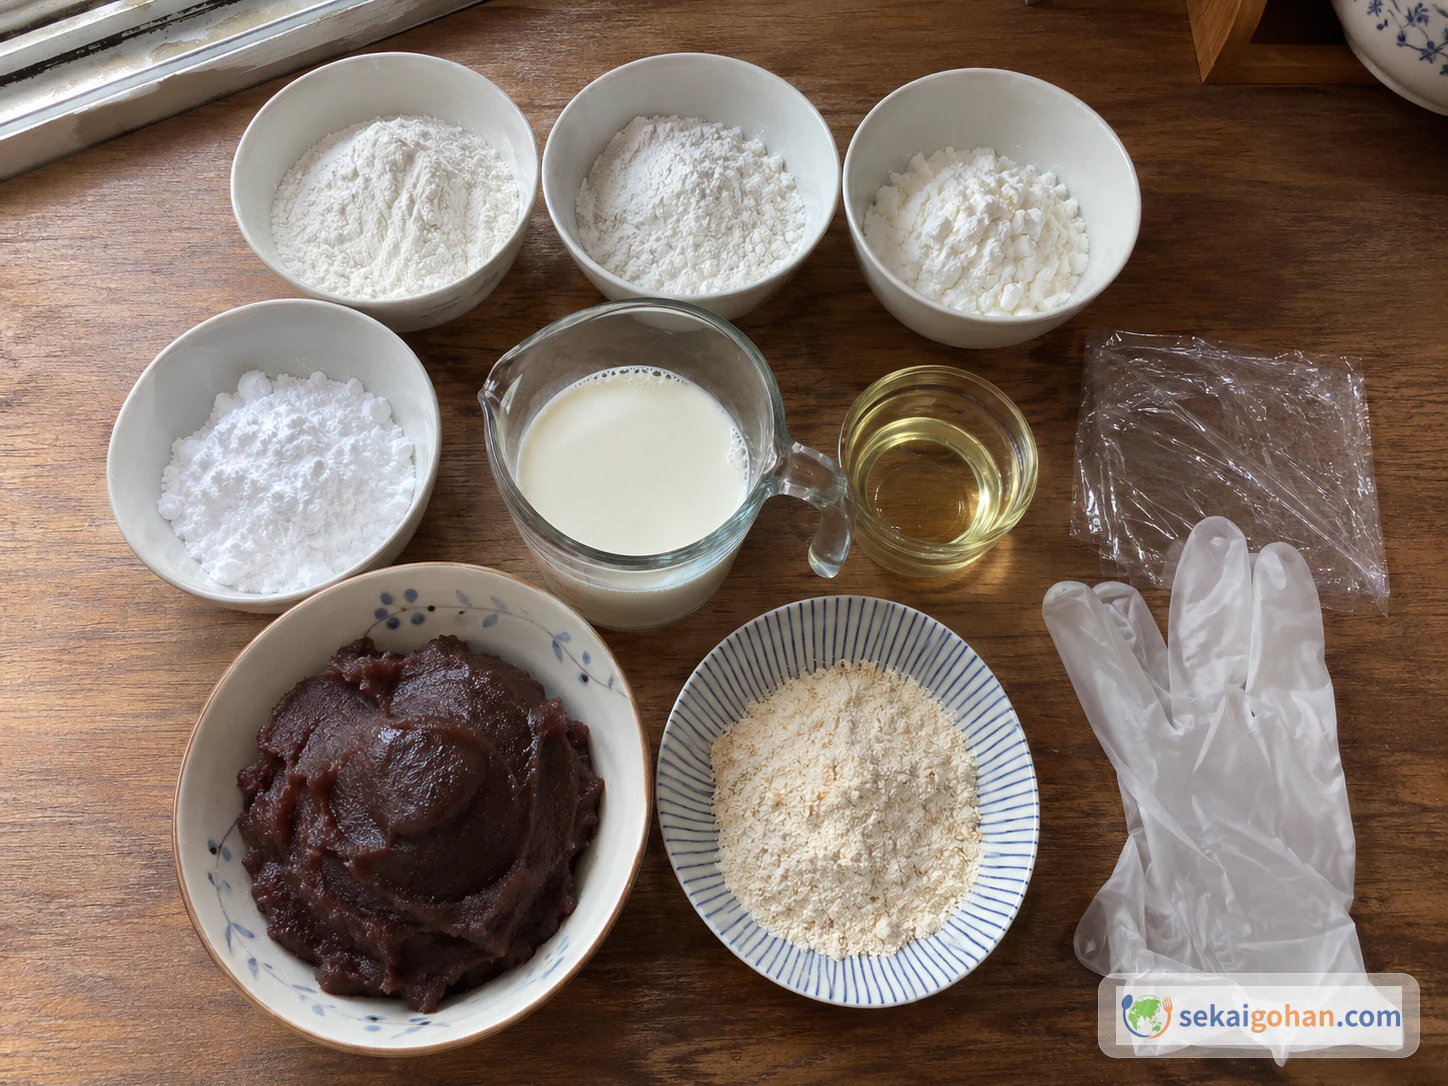
This makes about 14 oz (400 g) of dough, enough for 16 mooncakes in a 50 g mold or 8 in a 100 g mold. Weigh everything, including the milk.
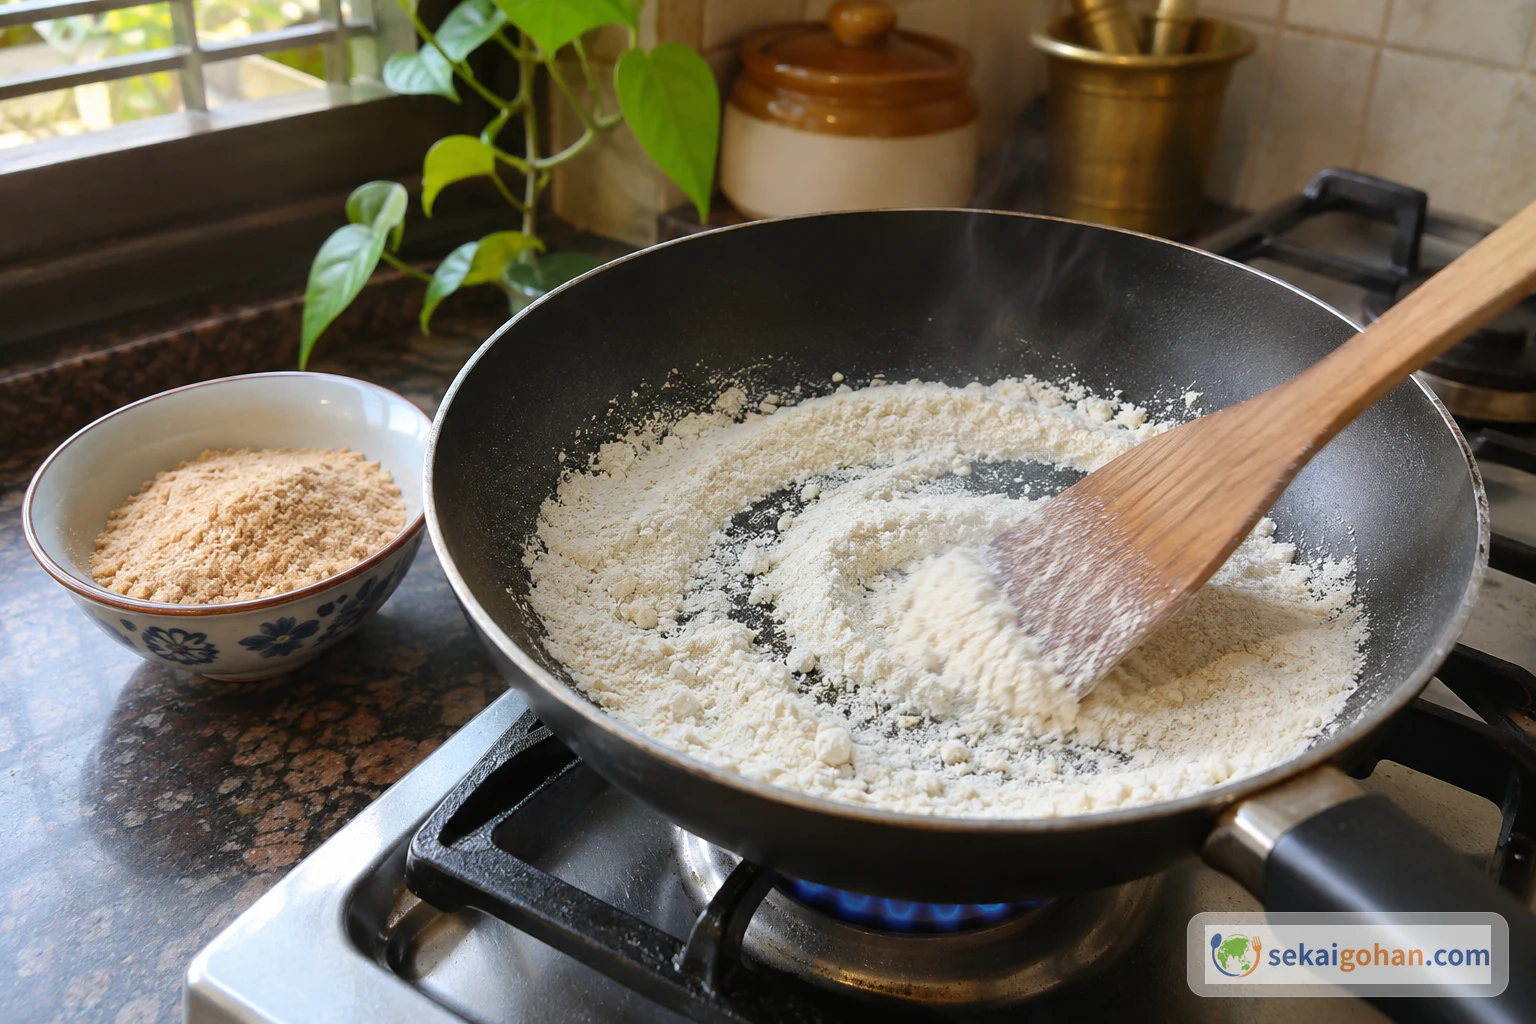
Weigh the 50 g for the dough and the 25 g for dusting into separate bowls before you start. If the dusting flour goes into the batter, the dough no longer matches the recipe, and you are left with nothing to dust the mold with.
The skin contains milk and wheat (wheat starch is refined from wheat). Fillings can add soy, sesame or other allergens, and custard fillings bring in egg, milk and wheat. Some powdered sugars contain cornstarch; check the label. The skin is chewy and elastic, so cut mooncakes into small pieces for children and older eaters.
Equipment
- Steamer large enough to hold a heatproof bowl with a lid on top
- Heatproof bowl
- Plastic wrap
- Food-safe disposable gloves
- Digital kitchen scale
- Plunger-style mooncake mold, 50 g (or 100 g)
- Fine-mesh sieve
- Clean, dry skillet and a spatula
- Small pastry brush
- Rolling pin (optional)
Choosing and Substituting
Wheat starch is the one thing worth a trip to a Chinese grocery. It is the same starch that makes steamed shrimp dumpling wrappers clear, and it is what gives the skin its glassy look. Look for 澄麵 or 澄粉 on the bag. If you cannot find it, cornstarch works in the same amount; the skin sets just as well but turns noticeably more opaque, closer to white than ivory. Stick to wheat starch or cornstarch for this skin.
Glutinous rice flour is sold as sweet rice flour, and the rice flour here is ordinary non-glutinous rice flour; both are easy to find in Asian shops. Japanese shiratamako and joshinko are close relatives but grind and absorb differently. If you use them, keep the weights exactly as listed and judge only by the feel of the dough after kneading.
For the filling, store-bought smooth red bean paste is the simplest choice. Lotus seed paste, pumpkin paste and custard all work as long as the filling is soft enough to roll; firm, dry fillings crack the skin. Without a mold, roll each filled ball and flatten it gently with your palm, or press it in a cookie cutter. You get a neat round cake, without the carved pattern on top.
Method
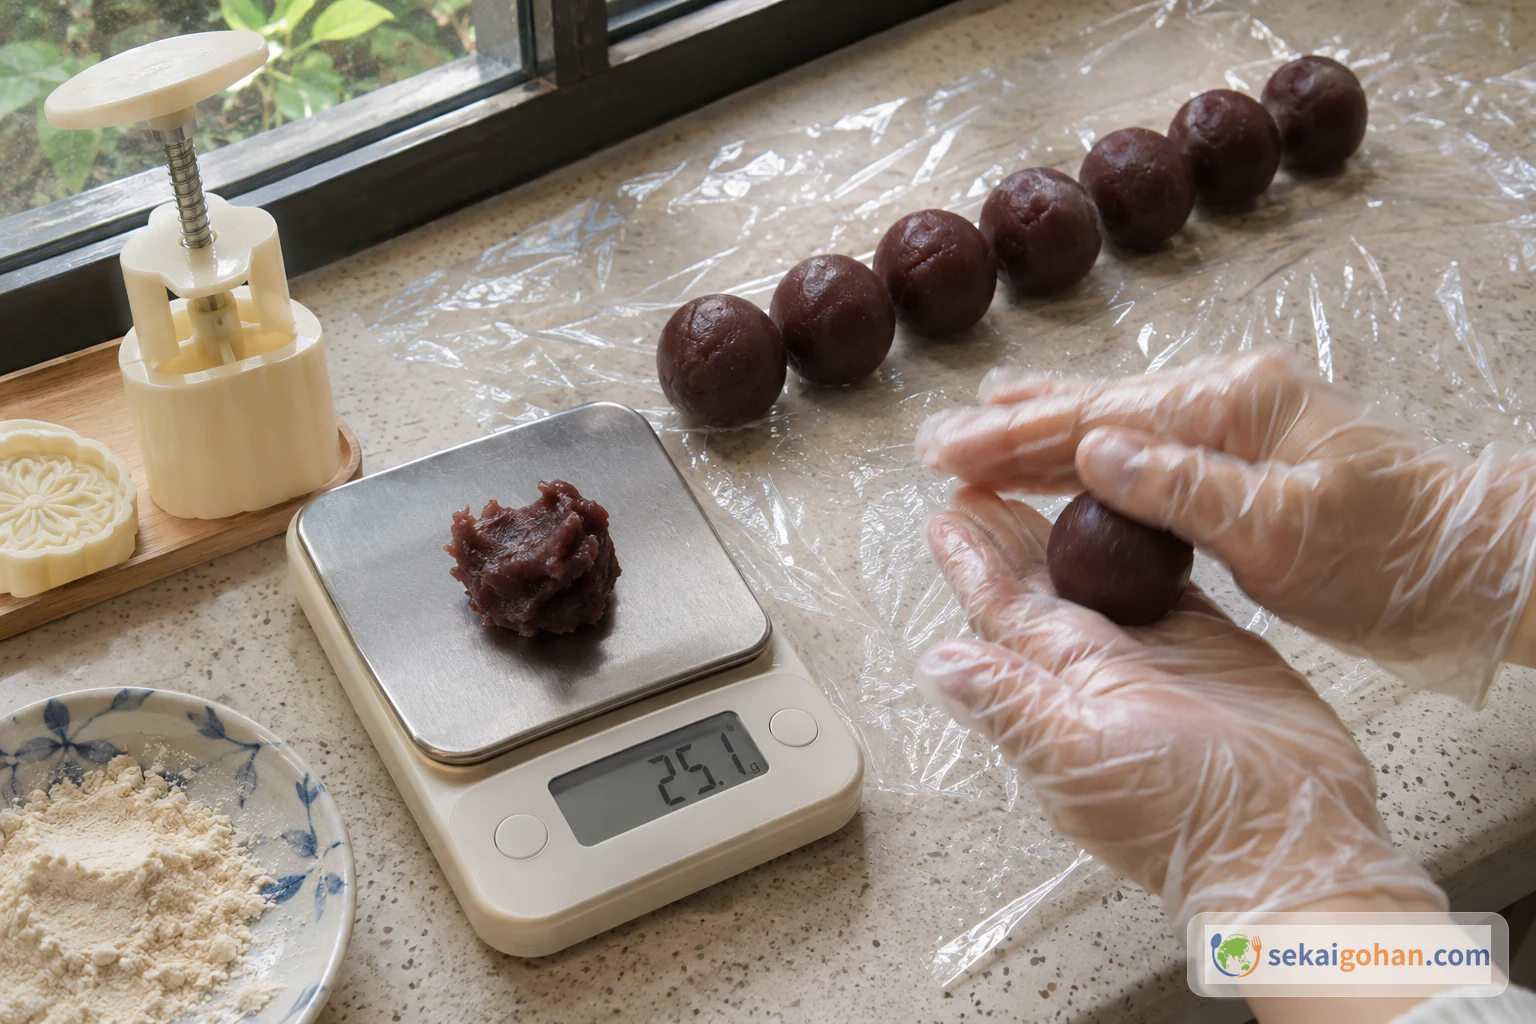
Make or chill the filling first, ideally the day before. The skin batter rests for 30 minutes, steams for 25, then chills for one to two hours; use that last stretch to toast the dusting flour and portion the filling. Shaping goes quickly once everything is cold.
When It Goes Wrong
| What you see | Why | What to do |
|---|---|---|
| Hard white spots or a cloudy core in the steamed dough | Understeamed, or lumps left in the batter | Steam 5 more minutes on high heat until fully translucent; next time sift the flours and stir out every lump |
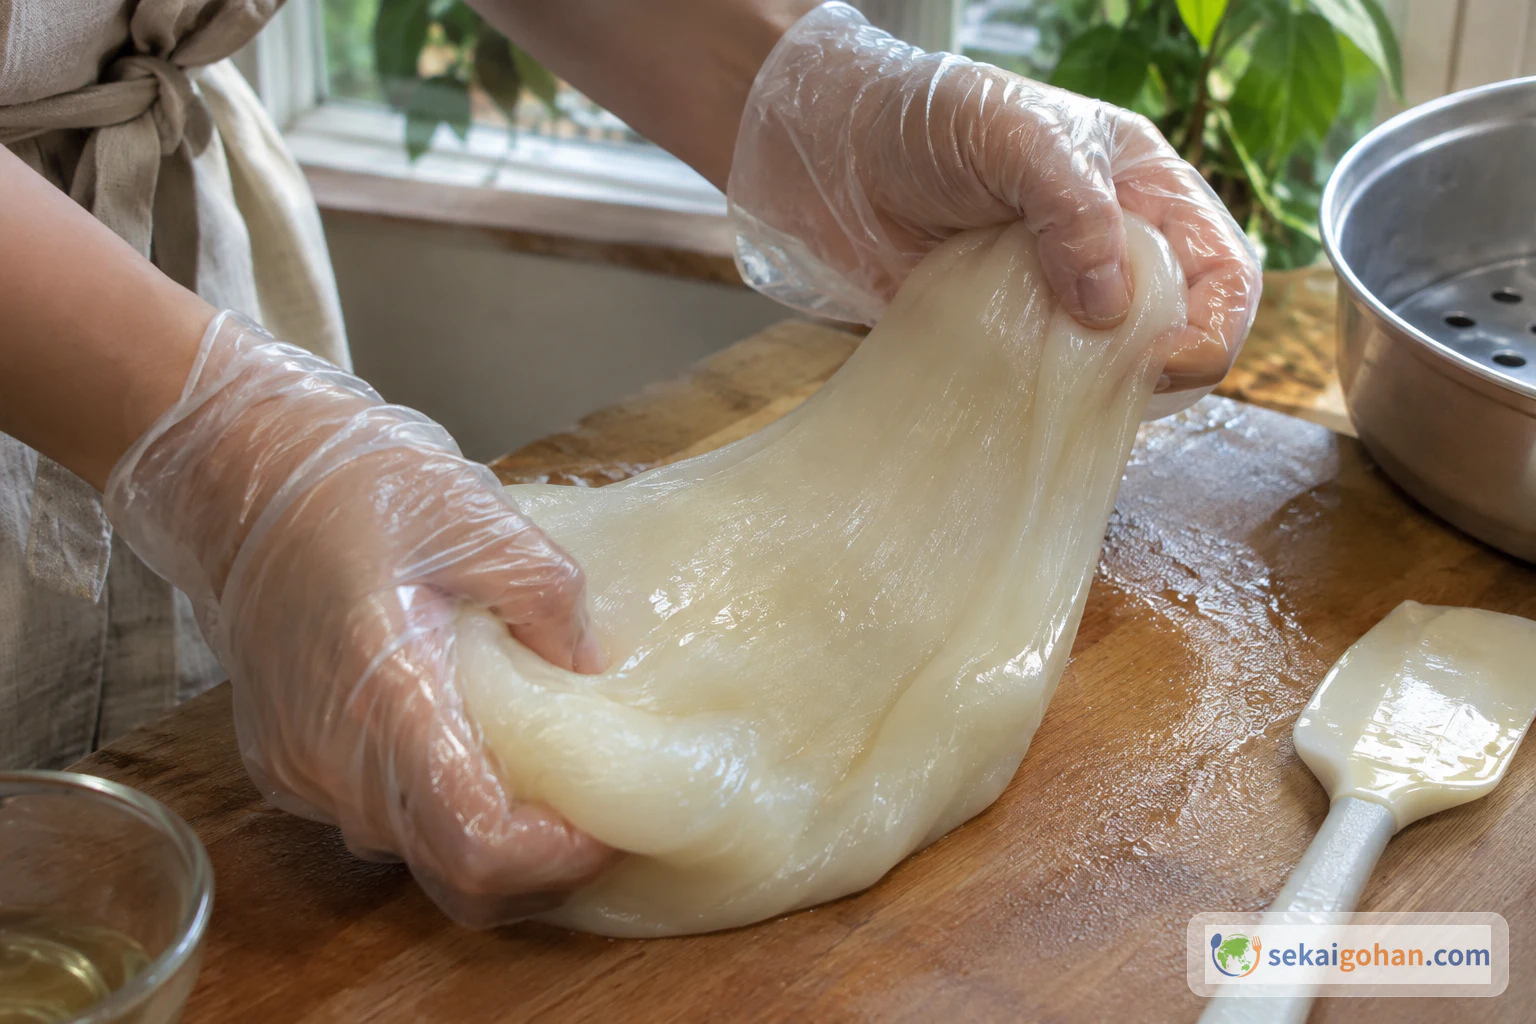
| Dough too sticky to roll | Not chilled long enough, or not kneaded enough | Knead in gloves until glossy, then chill the full 1 to 2 hours; dust the counter lightly with toasted flour |
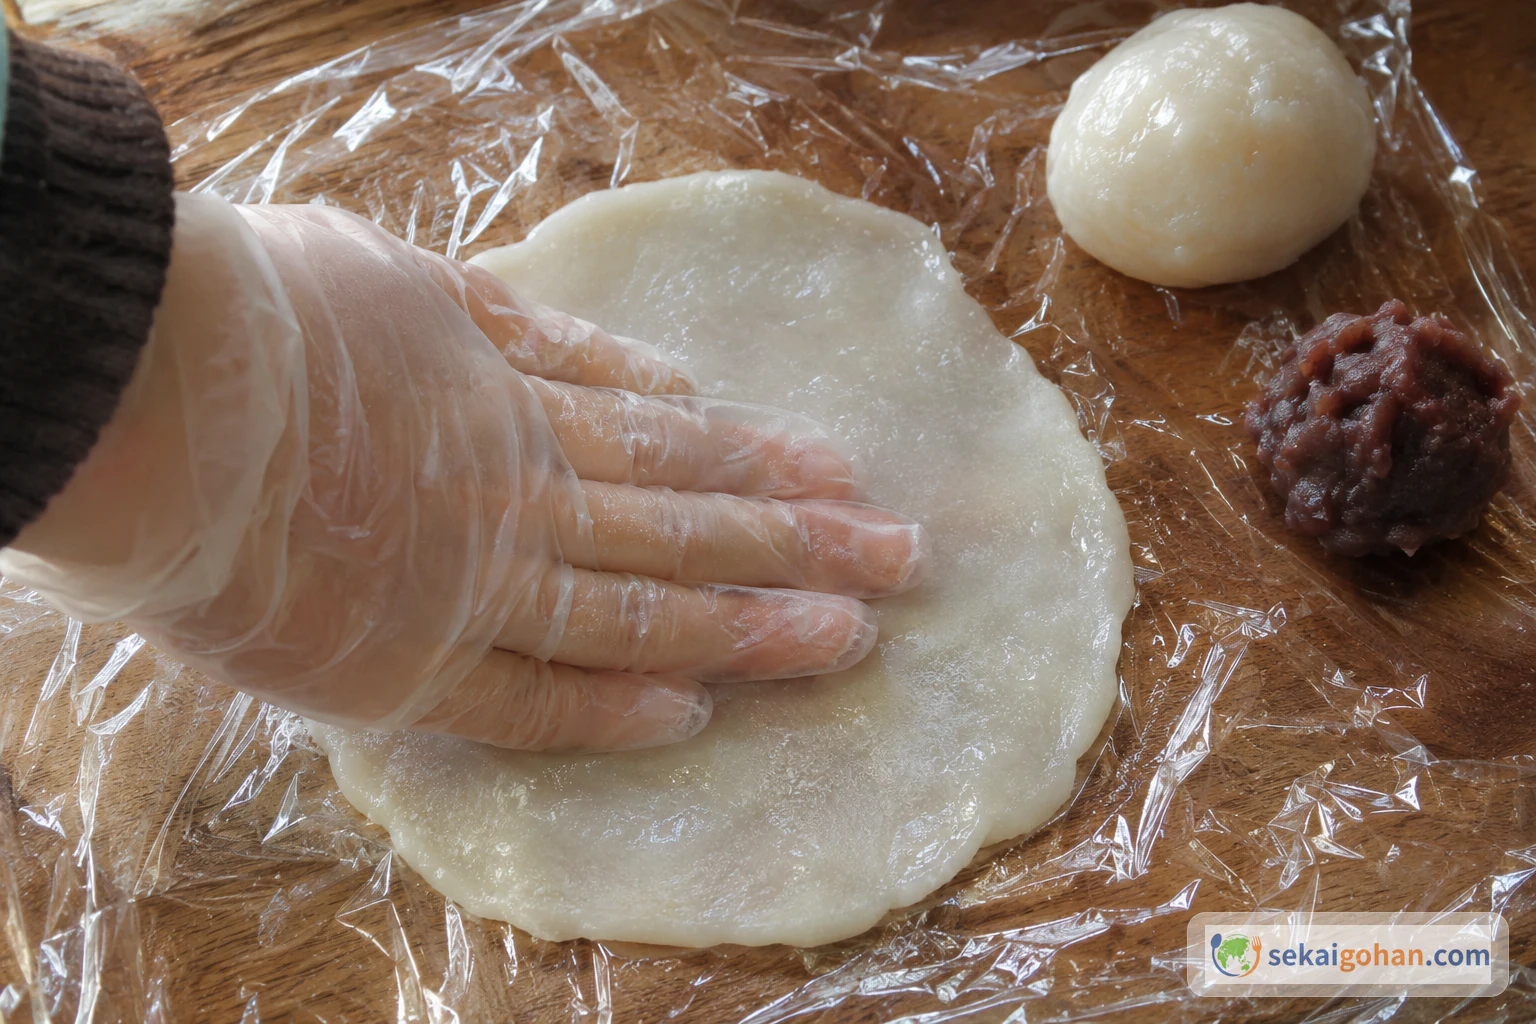
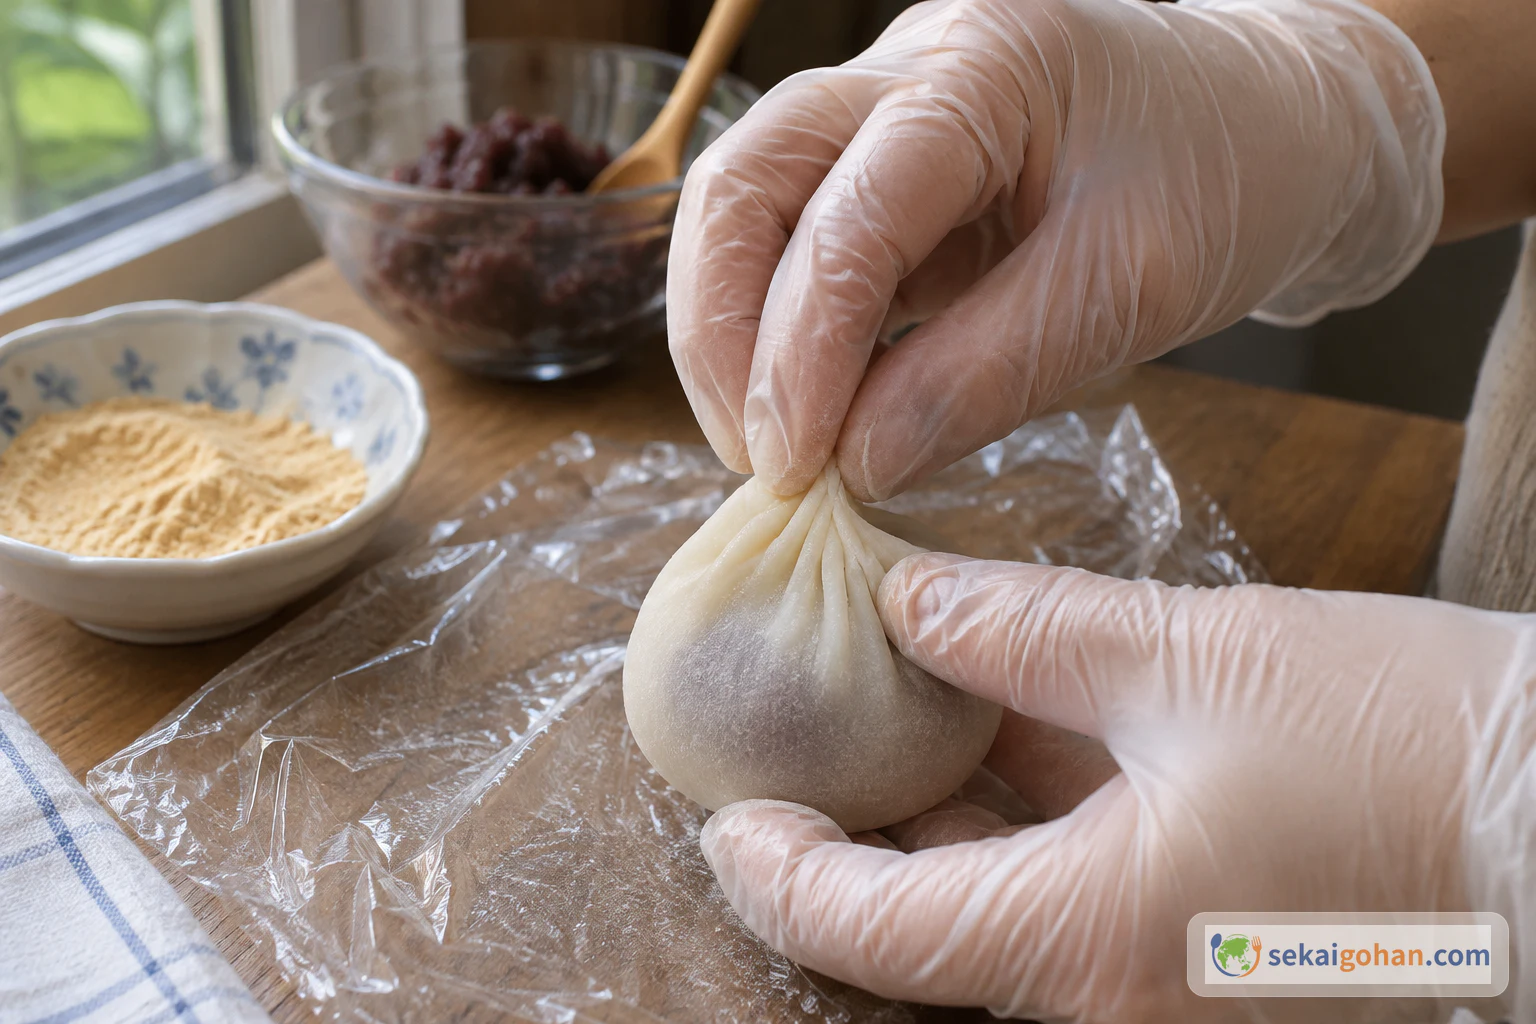
| Skin tears or filling breaks through | Disc too small, filling too large, or air trapped inside | Weigh skin and filling equally, keep discs within 3 inches (7.5 cm) for a 50 g mold, and push the air out before sealing |
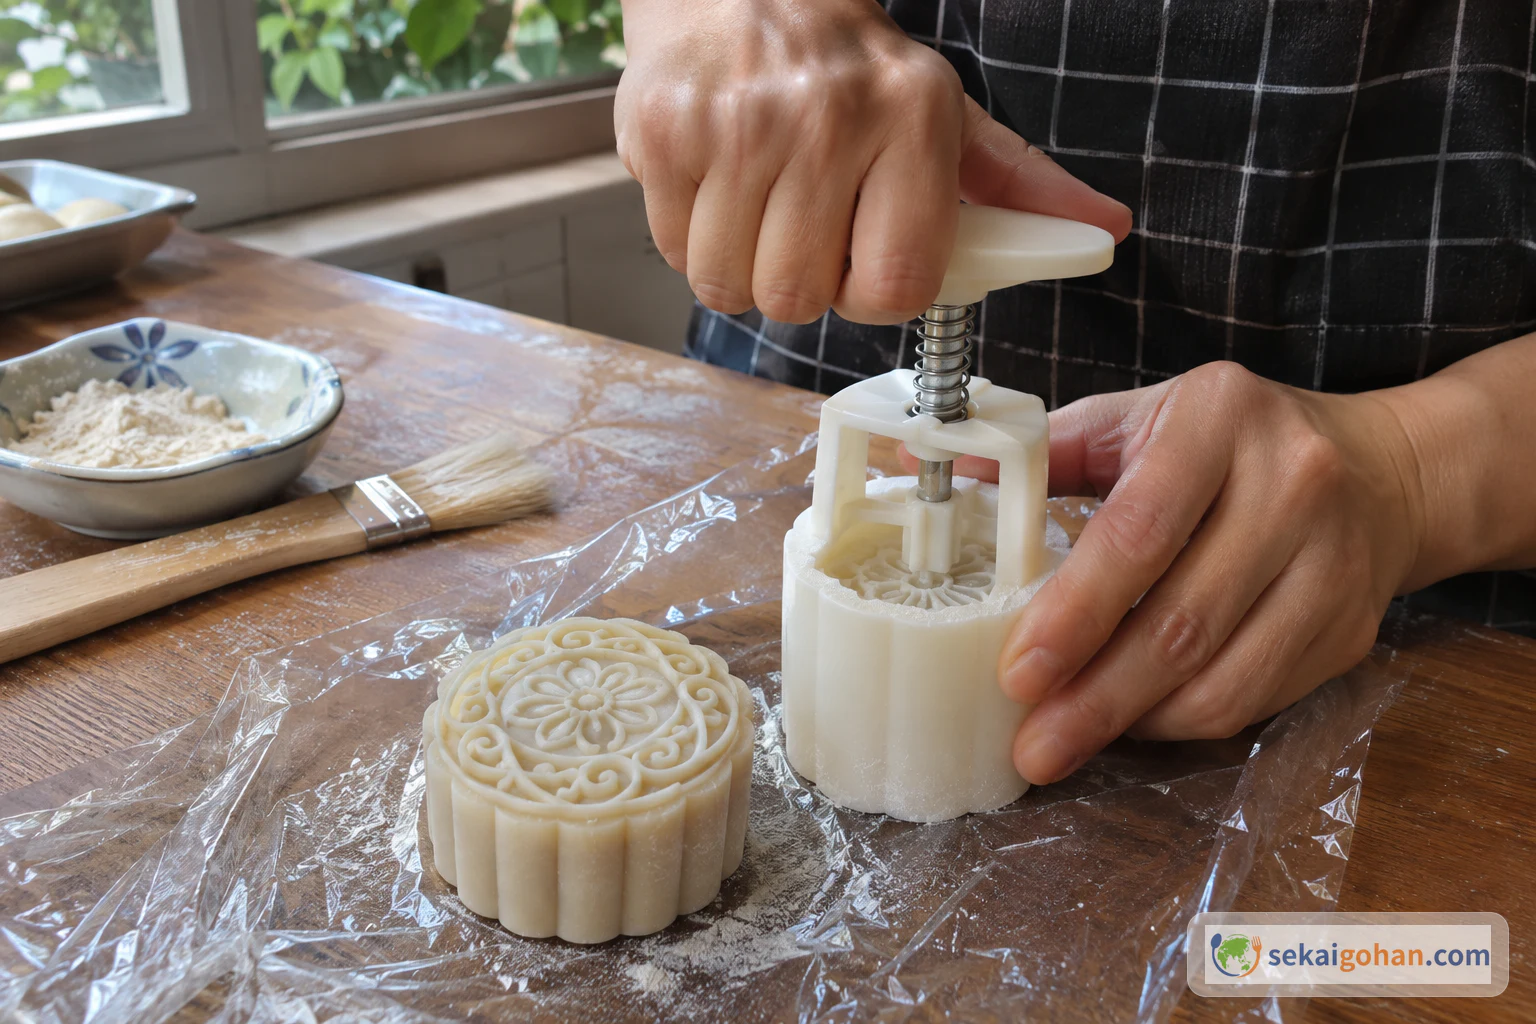
| Mooncake sticks in the mold or the pattern smears | Too little dusting flour, dough too soft, or pressing too hard | Brush flour into every groove, tap out the excess and stop at the first resistance |
| Raw, floury taste on the surface | Dusting flour was not toasted | Toast the dusting flour 6 to 7 minutes until faint beige before using it |
| Skin dry and cracking | Left uncovered or kept too long in the fridge | Store covered and make only as many as you will eat soon |
Serving, Variations and Storage
At the table
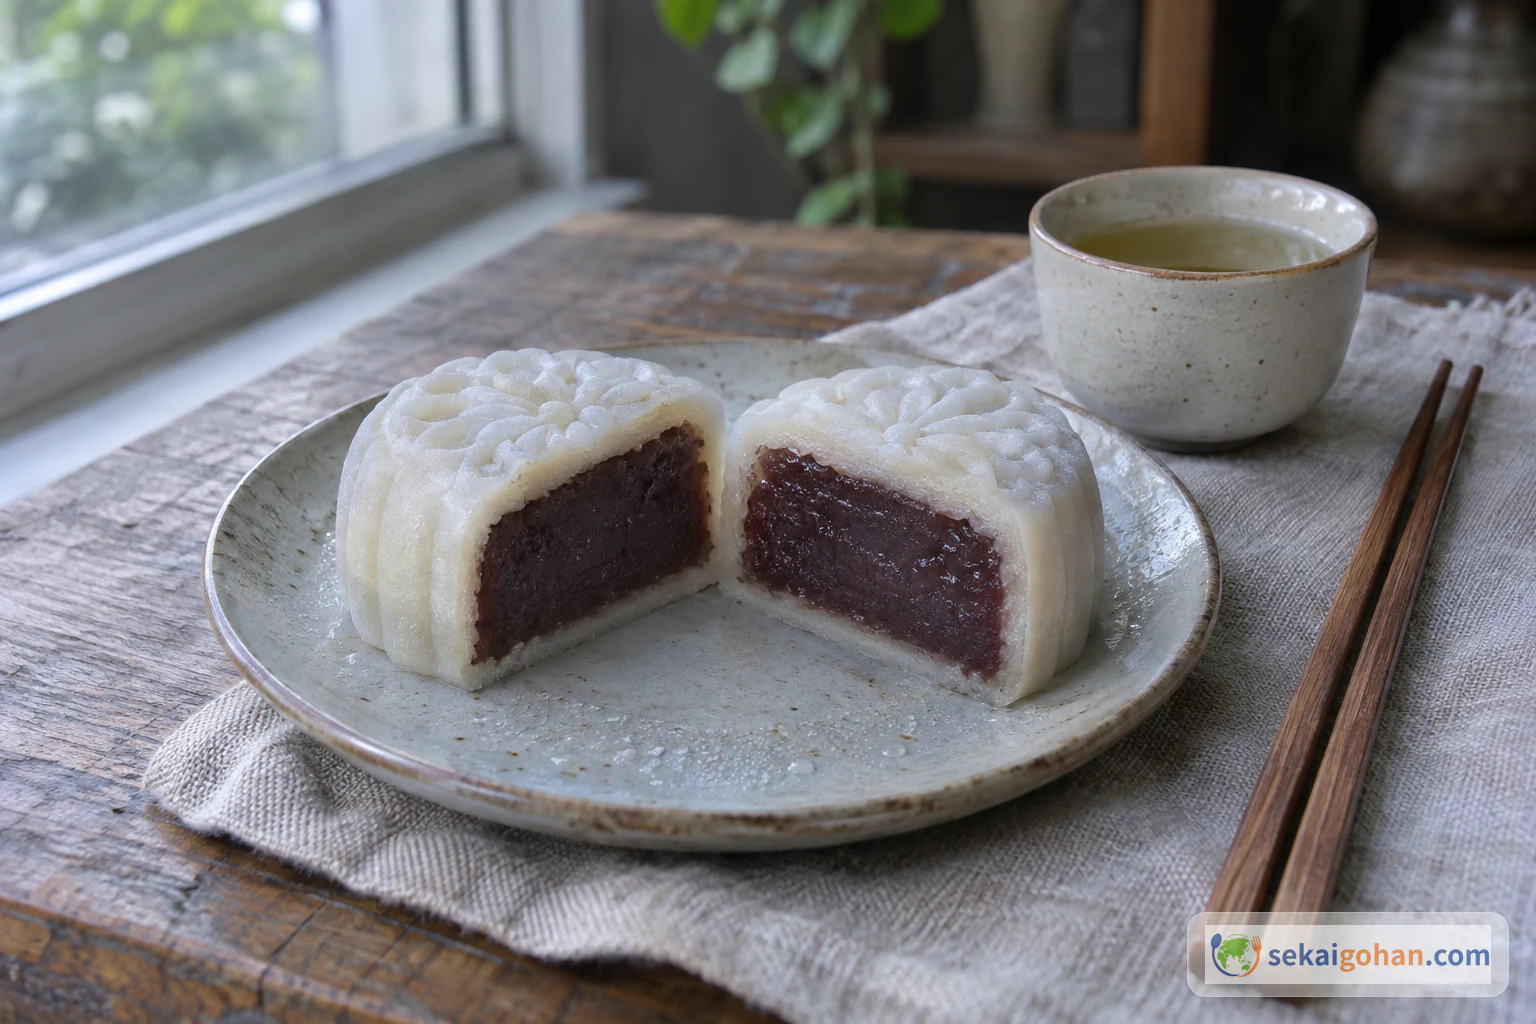
Serve snow skin mooncakes straight from the refrigerator, taking out only as many as you will eat. Cut each one into halves or quarters; they are rich, and small pieces suit a cup of tea. At Mid-Autumn they share the plate with baked mooncakes, and the contrast is the point: one glossy and dense, the other cool, pale and soft.
Variations
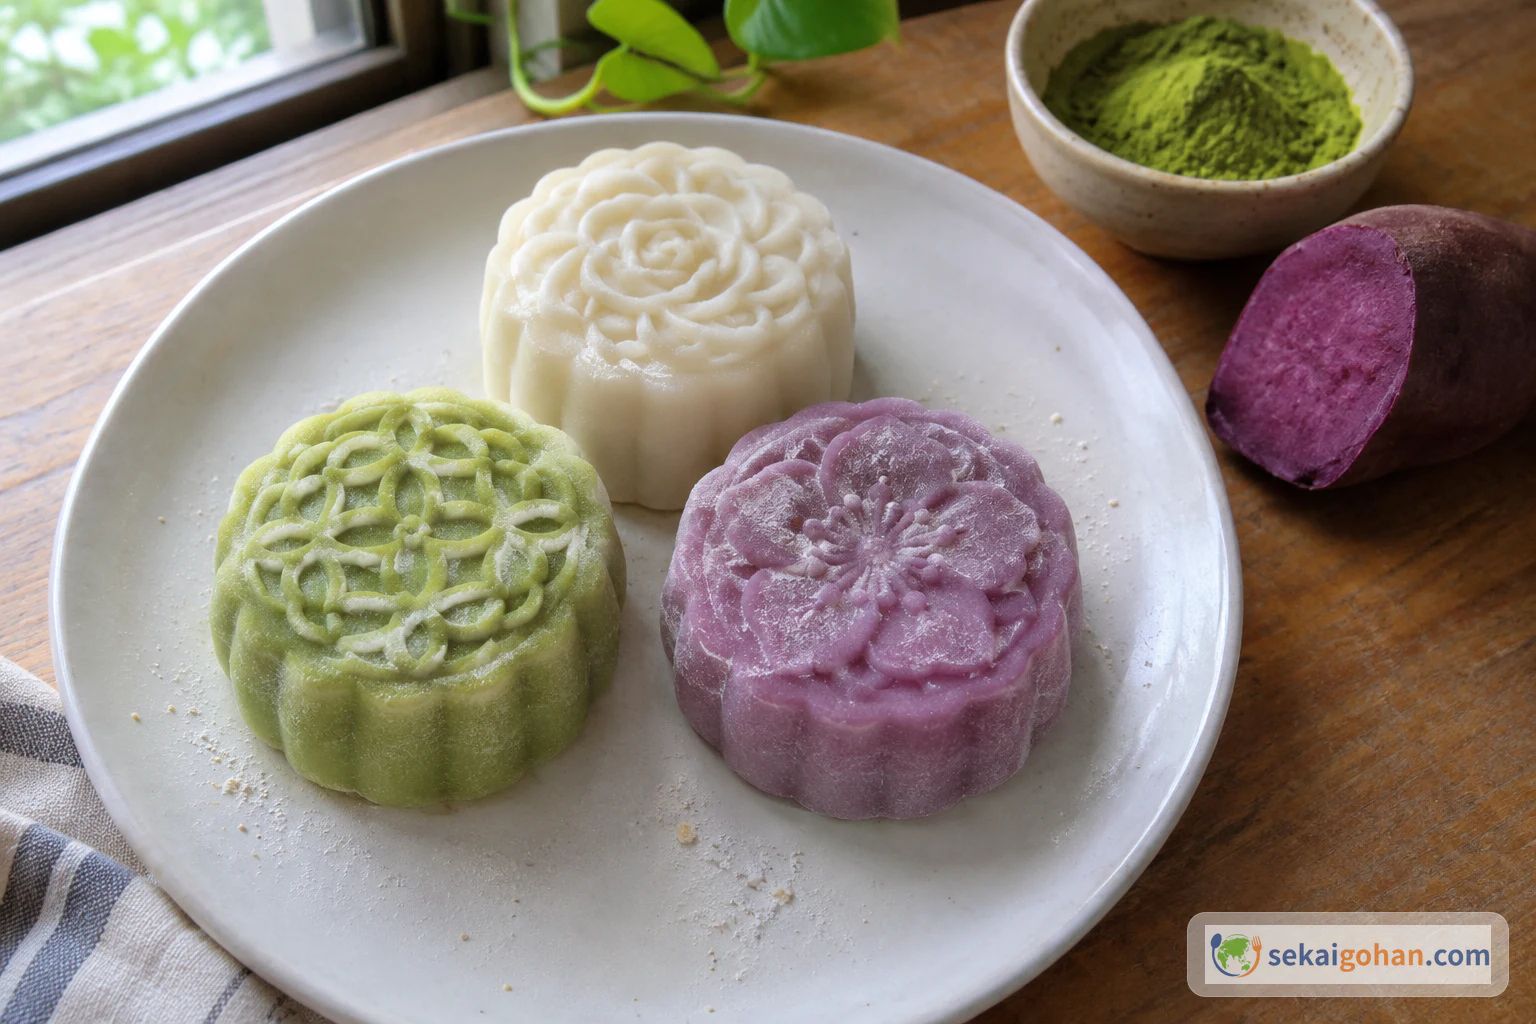
- Colored skins. Work a little matcha, purple sweet potato powder or food coloring into the dough. Add powders a little at a time and watch the texture, because extra powder changes the balance of liquid in the dough.
- Matcha filling. Stir matcha into the bean paste a little at a time until the color and bitterness suit you. The green bitterness cuts the sweetness of the paste.
- Lighter bean paste. Japanese-style smooth red bean paste can be less sweet and less oily than many Chinese red bean pastes, which lets the milky flavor of the skin come forward.
- Bigger mooncakes. For a 100 g mold, keep the recipe as is, divide skin and filling into 50 g portions each and press discs to 4 inches (10 cm). You get 8 larger cakes.
Storage
Snow skin mooncakes are never heated after shaping, which makes them a higher food-safety risk than baked mooncakes. Keep them in the refrigerator at 39°F (4°C) or below. Bacteria multiply quickly between 39°F and 140°F (4°C and 60°C). Discard any mooncake left at room temperature for 2 hours or more. Carry them in a cooler bag with ice packs, and take them out just before eating. Do not eat any that look or taste off.
Refrigerate them in a covered container as soon as they are shaped. Make them for the days you plan to eat them: the skin dries and cracks the longer they sit, and a week in the fridge should not be counted on as a safe keeping time. Do not warm them; heat melts the skin and the mooncake collapses.
Frequently asked questions
If nothing is baked, is it all cooked?
Yes. The skin is fully cooked by steaming, which is why it turns translucent, and the filling goes in already cooked. What changes is that nothing is heated after shaping, so the finished mooncakes depend on cold storage instead of an oven to keep them safe.
Can I make them ahead?
Make the filling the day before and keep it in the fridge. The skin is best shaped once it has chilled for 1 to 2 hours after steaming. Shape the mooncakes close to when you want to serve them and keep them refrigerated until then.
Why do the toasted flour and gloves matter so much?
The dusting flour touches the finished mooncake and is never cooked again, so it has to be toasted first; raw flour tastes floury on the surface. Gloves keep your hands from sticking to the dough and keep a no-bake sweet clean as you shape it.
How is this different from a mochi-wrapped sweet?
The skin is steamed from a pourable batter with milk, oil and wheat starch, not pounded rice. It is slightly translucent and pressed into a pattern, and it tastes of milk as much as of rice.