Hoshigaki: Peeled Persimmons, a Length of Twine and Careful Hands
Peel the fruit completely, keep it dry and airy, and massage it gently without breaking the surface. If anything looks doubtful, throw that fruit away.
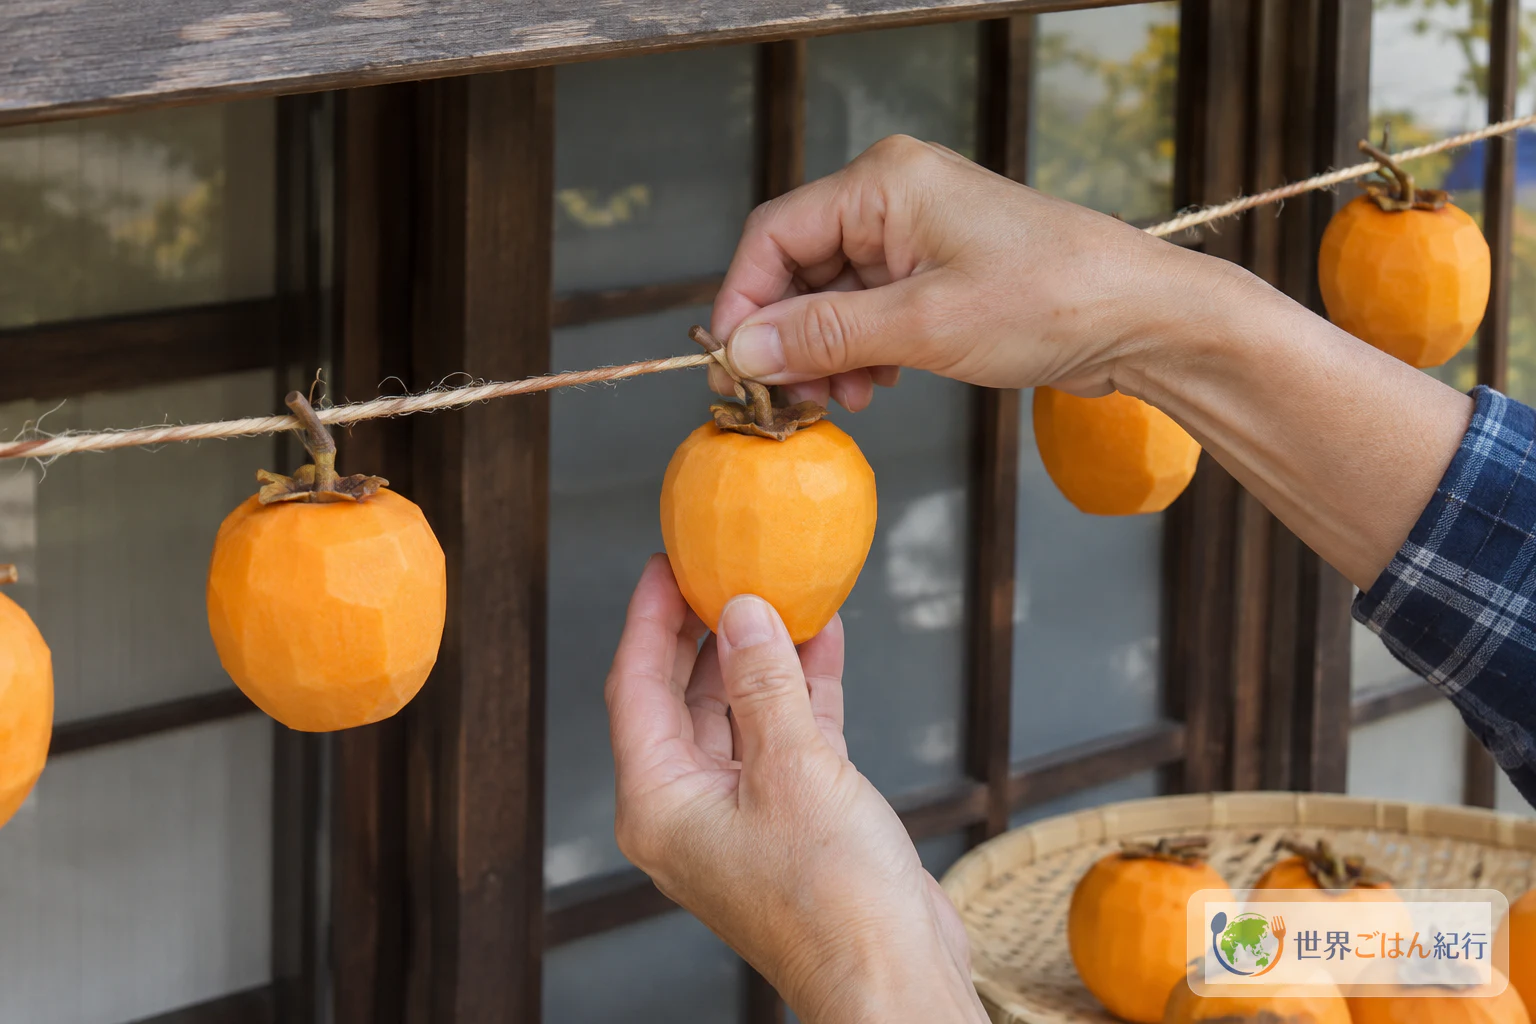
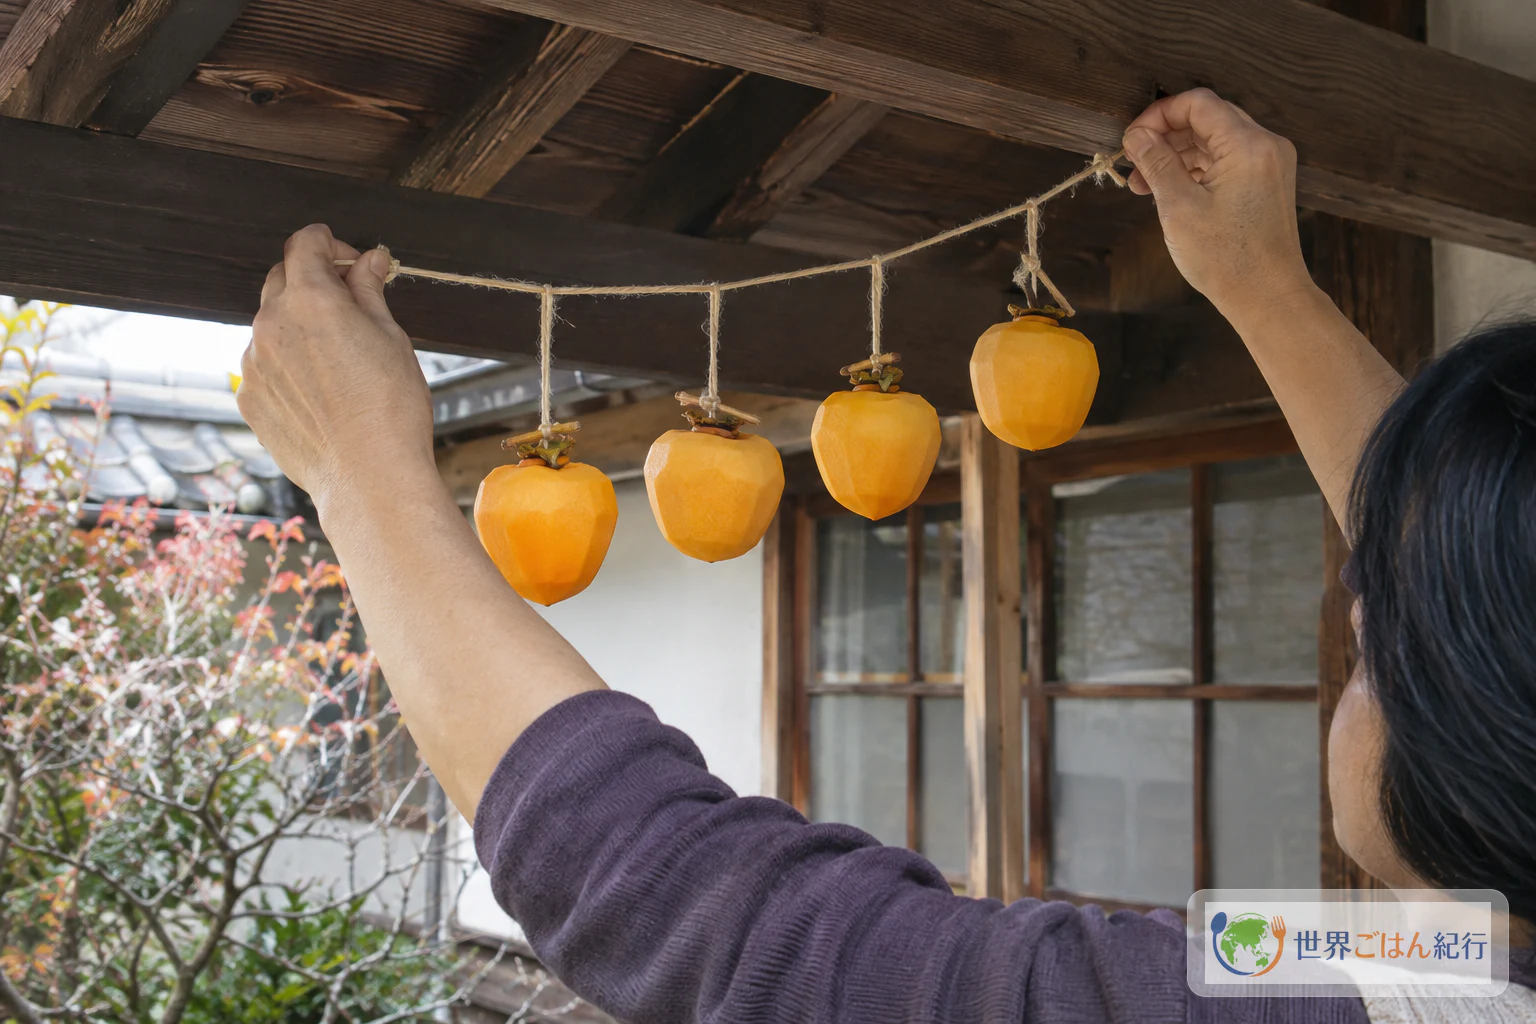
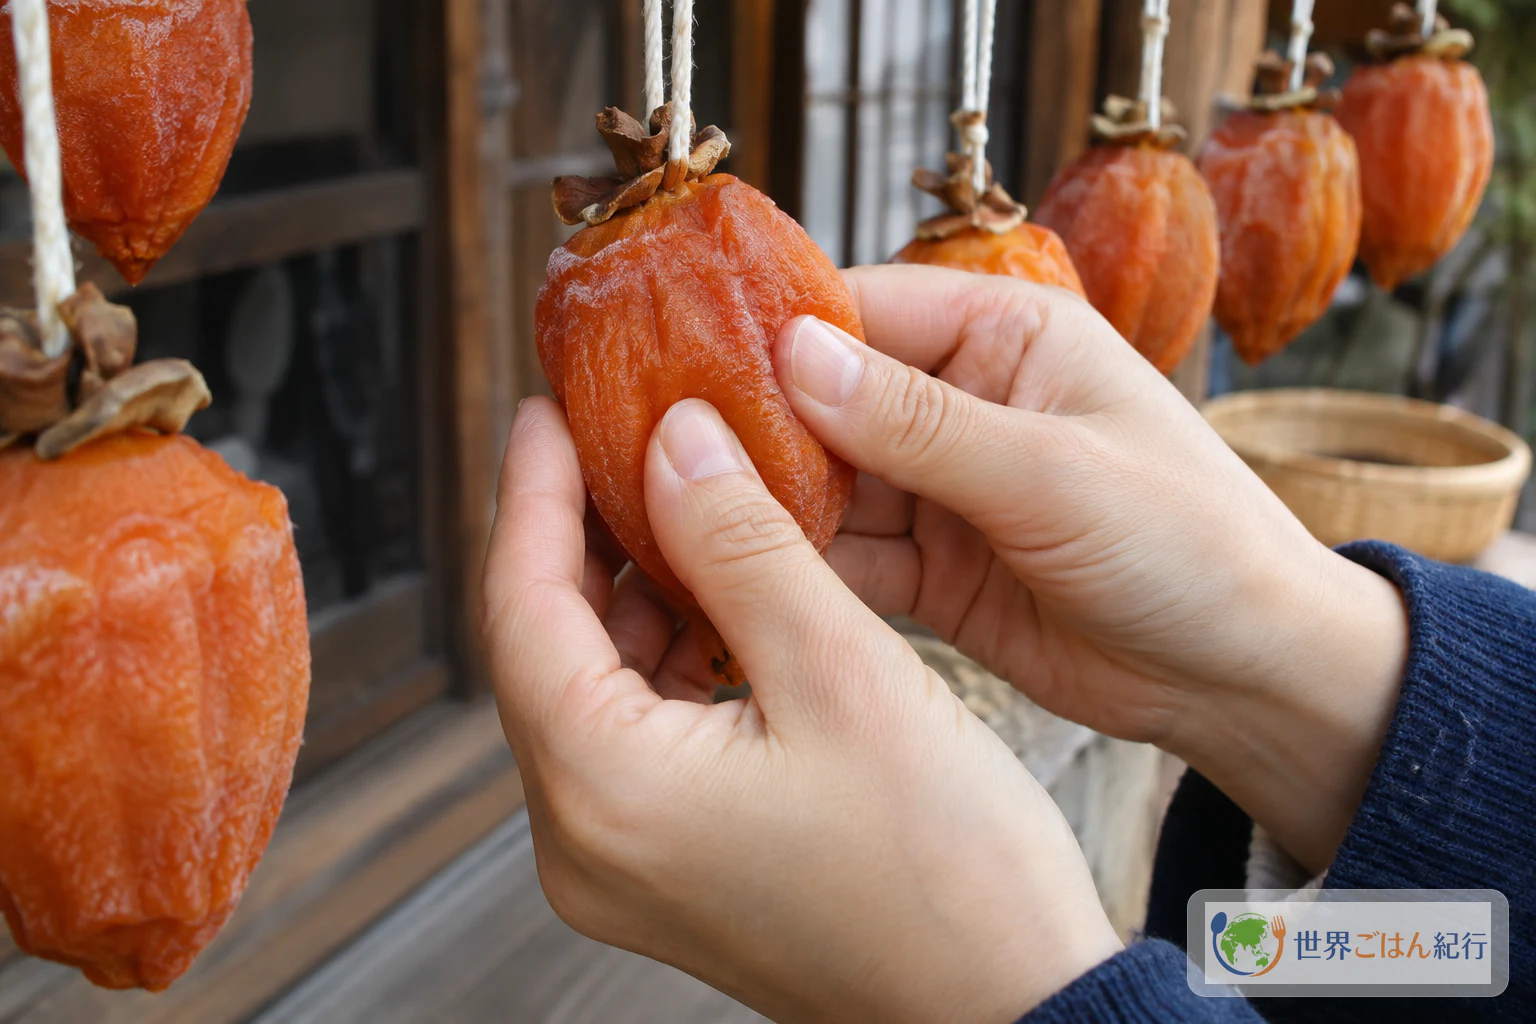
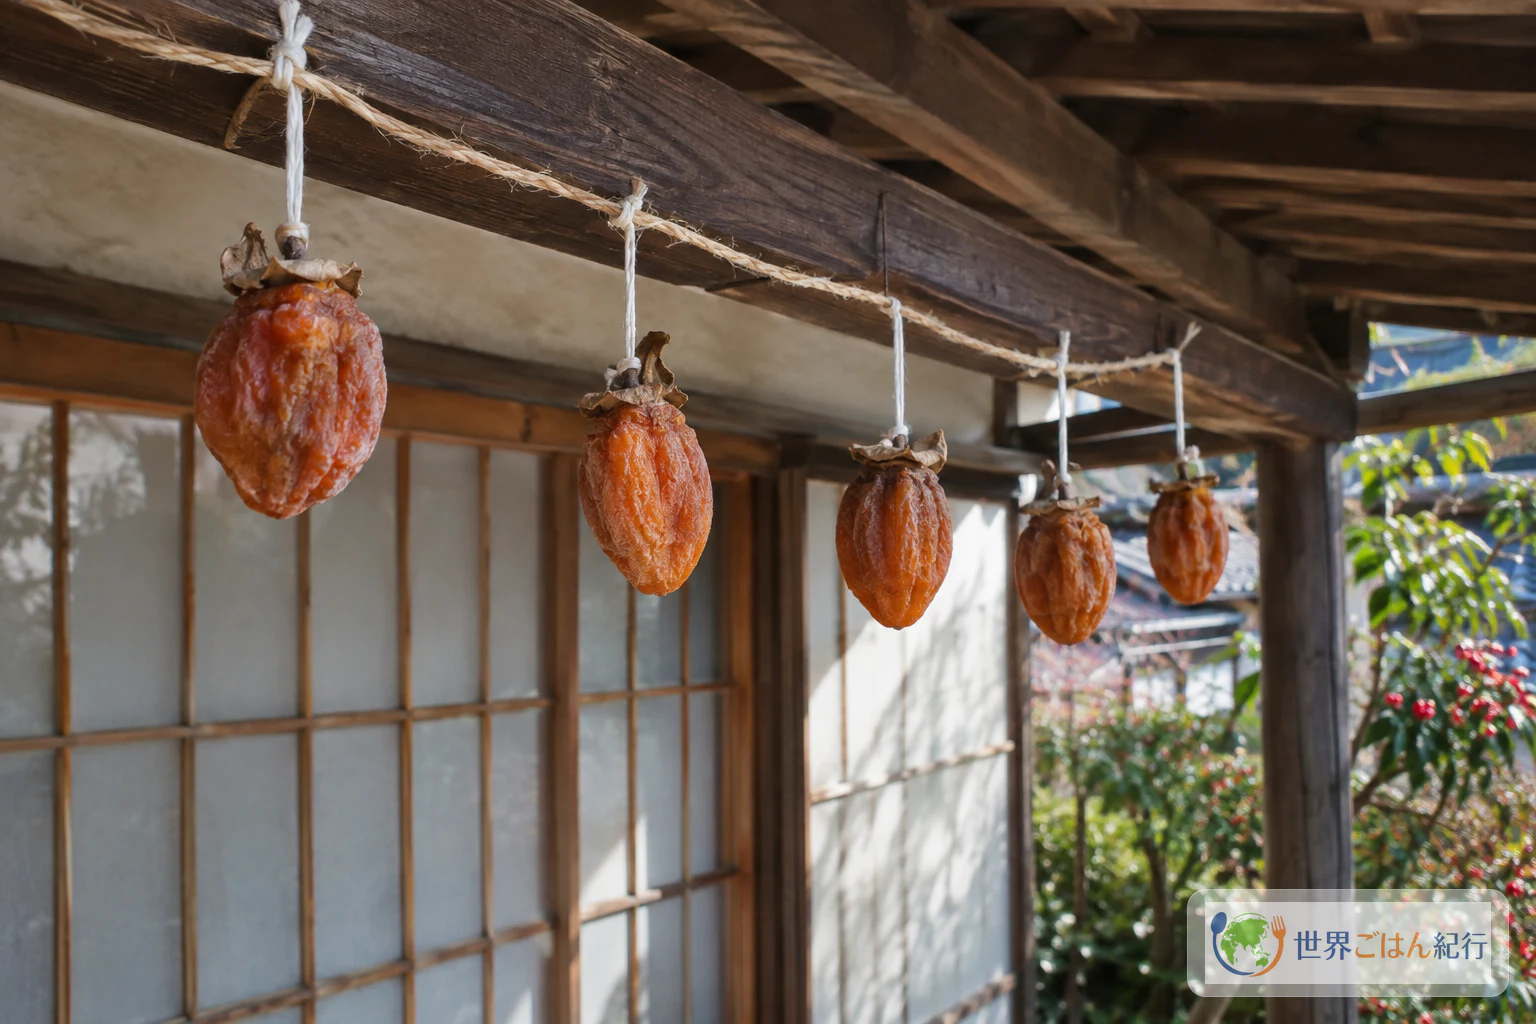
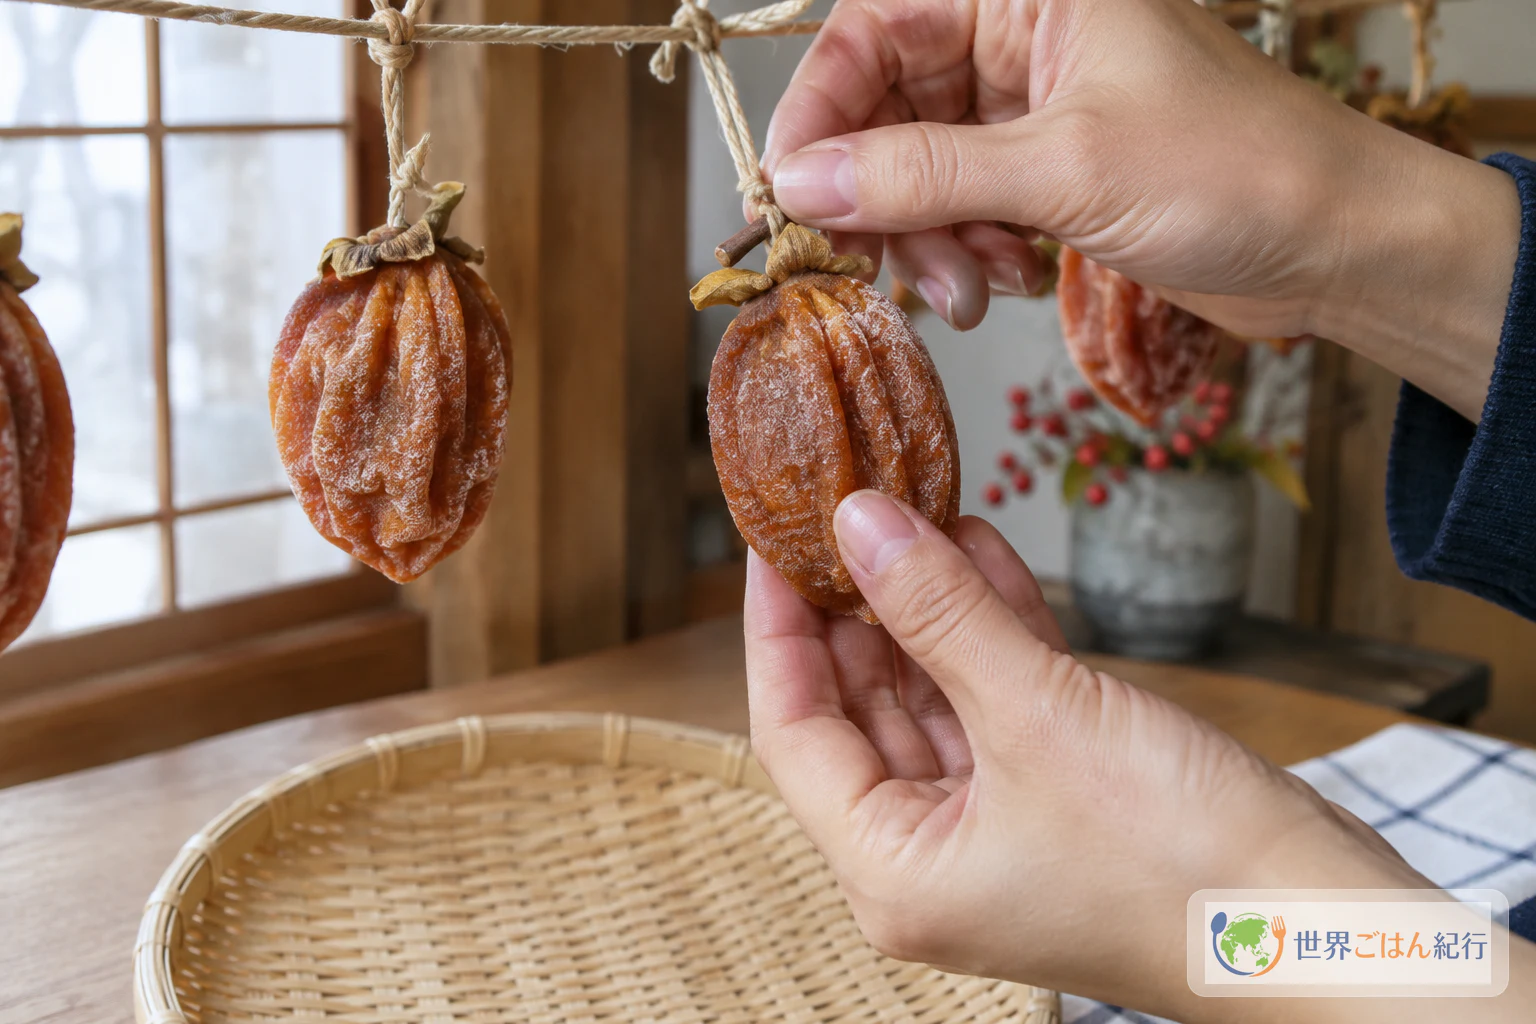
Peeled astringent persimmons hang from a length of twine under a sheltered eave, spaced so that they do not touch. After about a week, clean fingers begin to massage them. Hoshigaki (干し柿) is a Japanese food made by drying astringent persimmons, and this household version is built from little more than fruit, twine, air and attention.
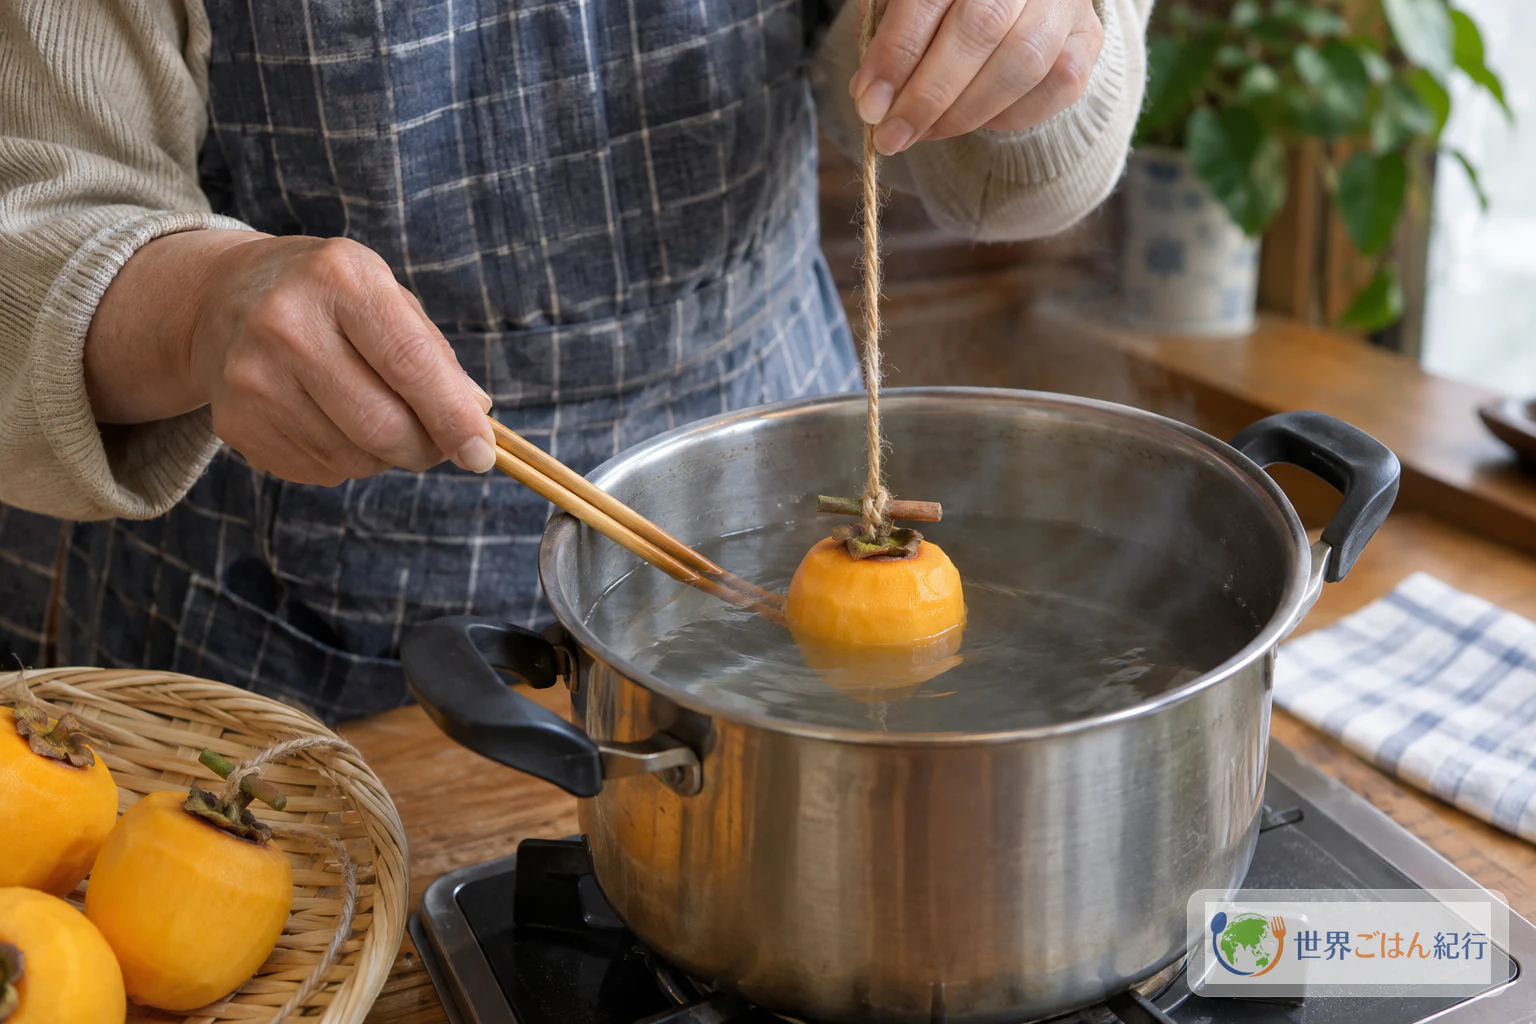
The method here follows one recipe, from the Daidokolog site of the Japanese co-op Palsystem. Its quantities and steps are kept together as one version, without timings or techniques from commercial or regional producers. Palsystem's recipe treats the brief dip in boiling water as optional, and this version includes it. It is a recipe step and not a guarantee that the fruit has been sterilized.
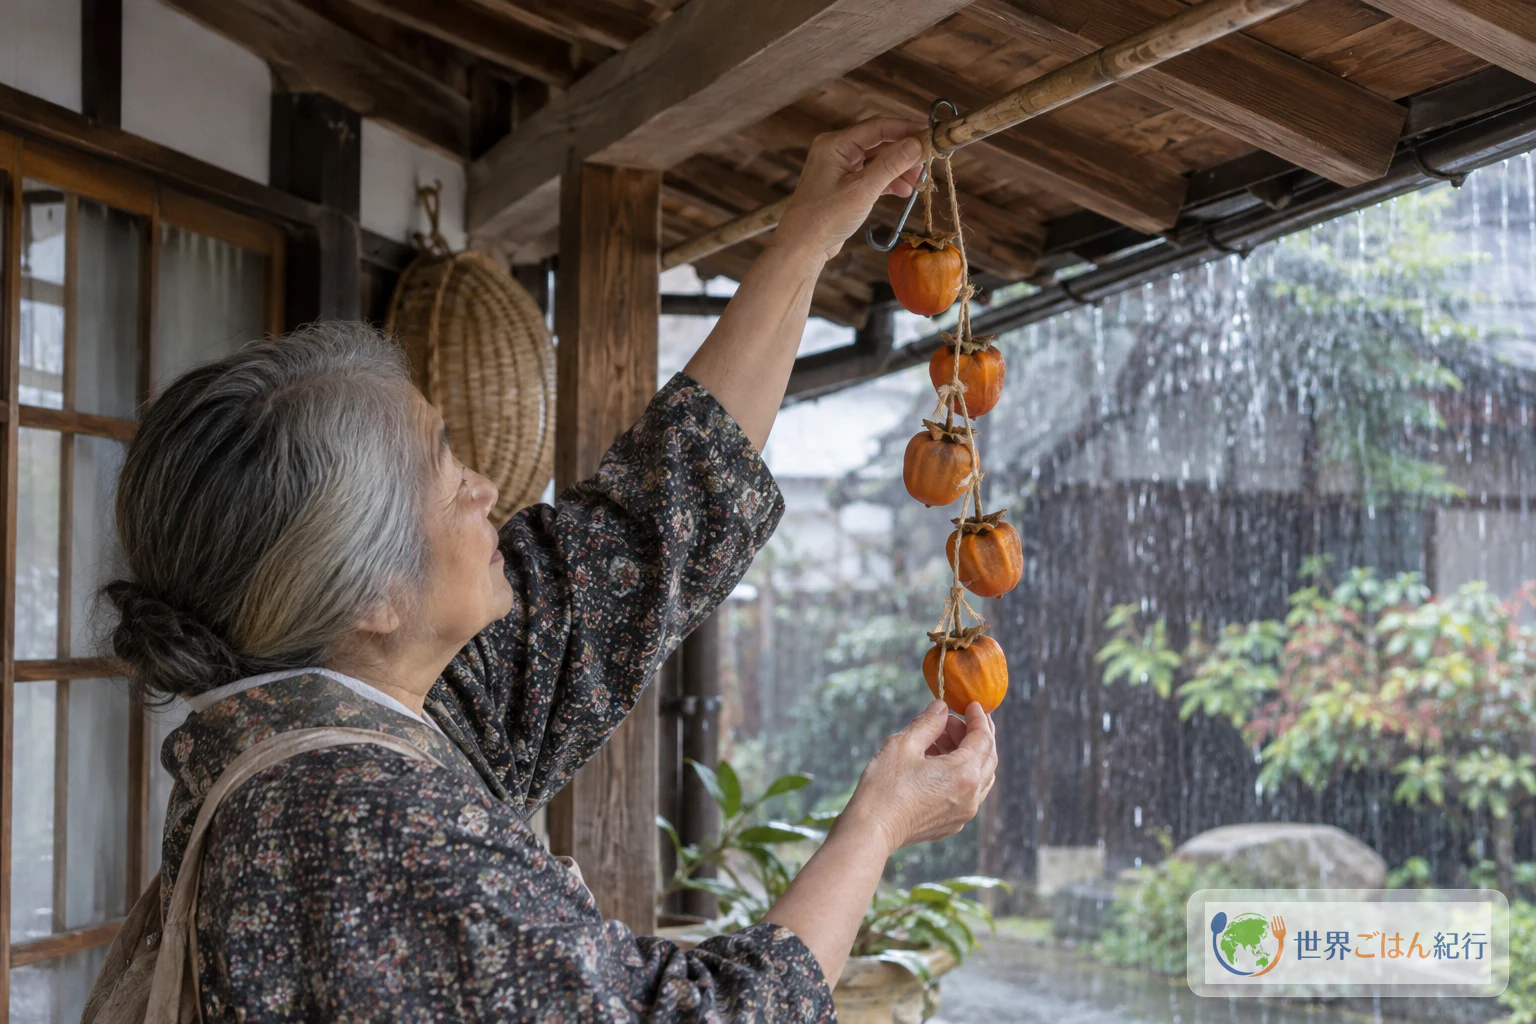
Make hoshigaki only during a period of settled weather, and only if you have an airy place that gets as much sun as possible and stays out of the rain, such as under an eave. You also need a way to keep the fruit dry on rainy days. If your home or the season can't offer this, don't make it. Choose commercially made hoshigaki sold as food instead.
This recipe has not been kitchen-tested by Sekai Gohan. The drying days and texture cues are guides from a household recipe. They are not proof of safe dryness, a fixed finishing point, or a promise that the method works in every climate.
This is drying, not home fermentation. No humidity or temperature target is given here, and the photos in this article cannot show that a fruit is dry enough or safe to eat.
Ingredients: Astringent Persimmons, Nothing Added
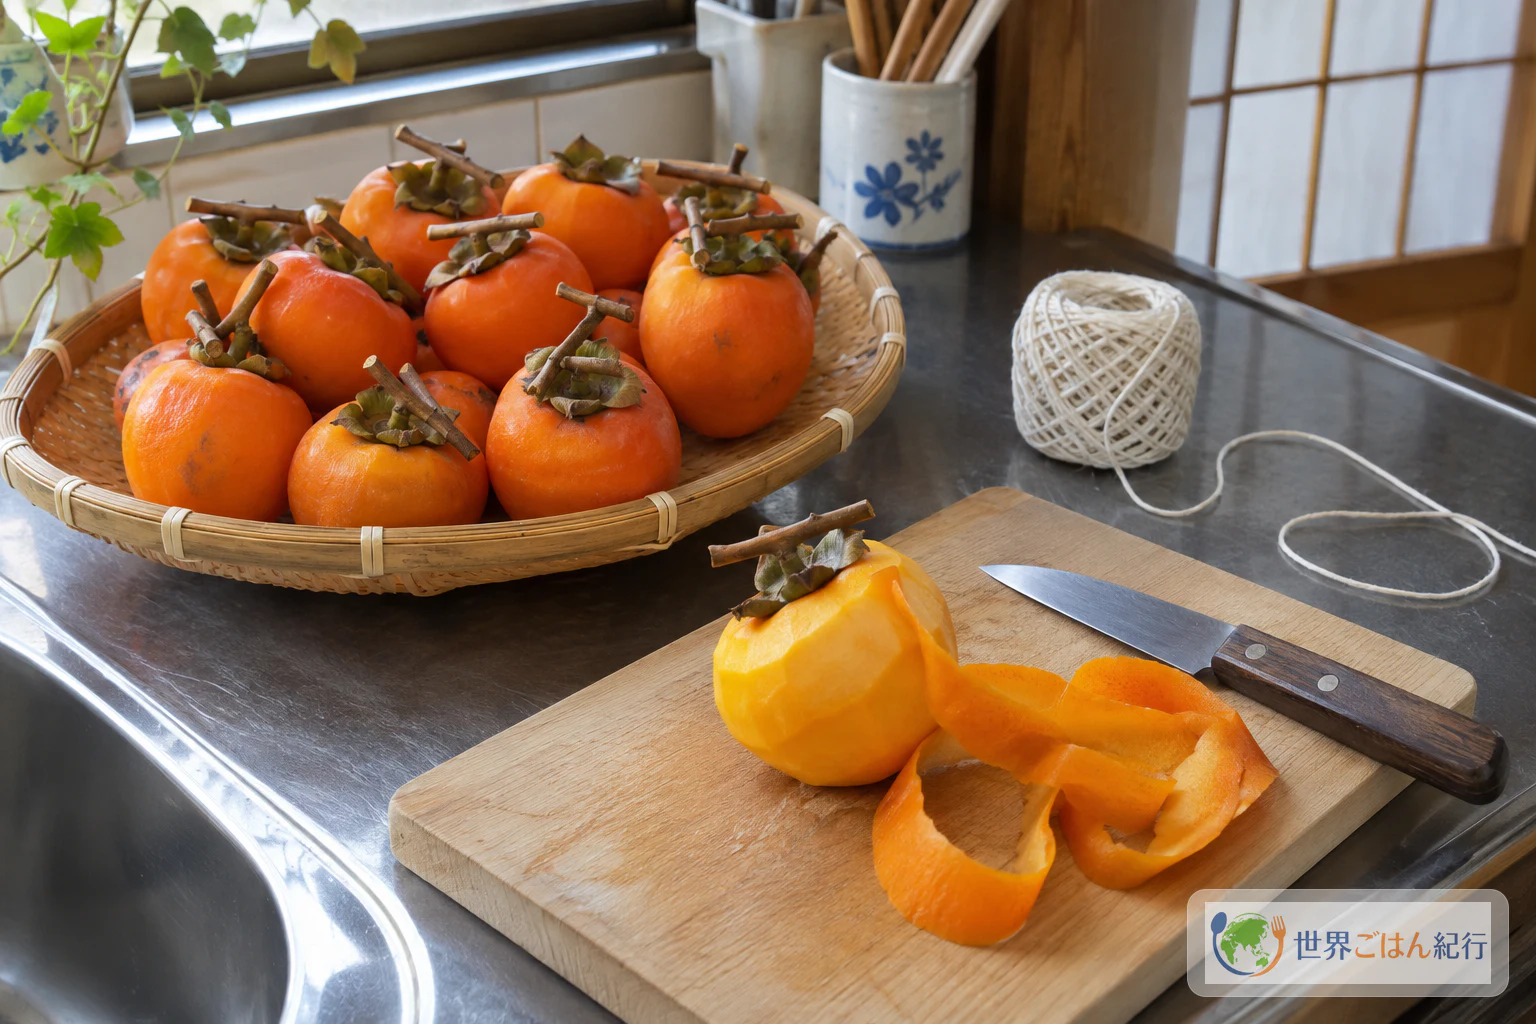
Use as many persimmons as your twine and drying space can hold with gaps between them. About 6 to 7 fruit per string is a guide, not a yield. Do not add sugar, salt, alcohol or sulfur.
Equipment
- Sturdy twine suitable for food work, 60 to 70 cm per string
- Peeling knife or peeler
- Pot of boiling water and heat-safe utensils, for the dip in step 3
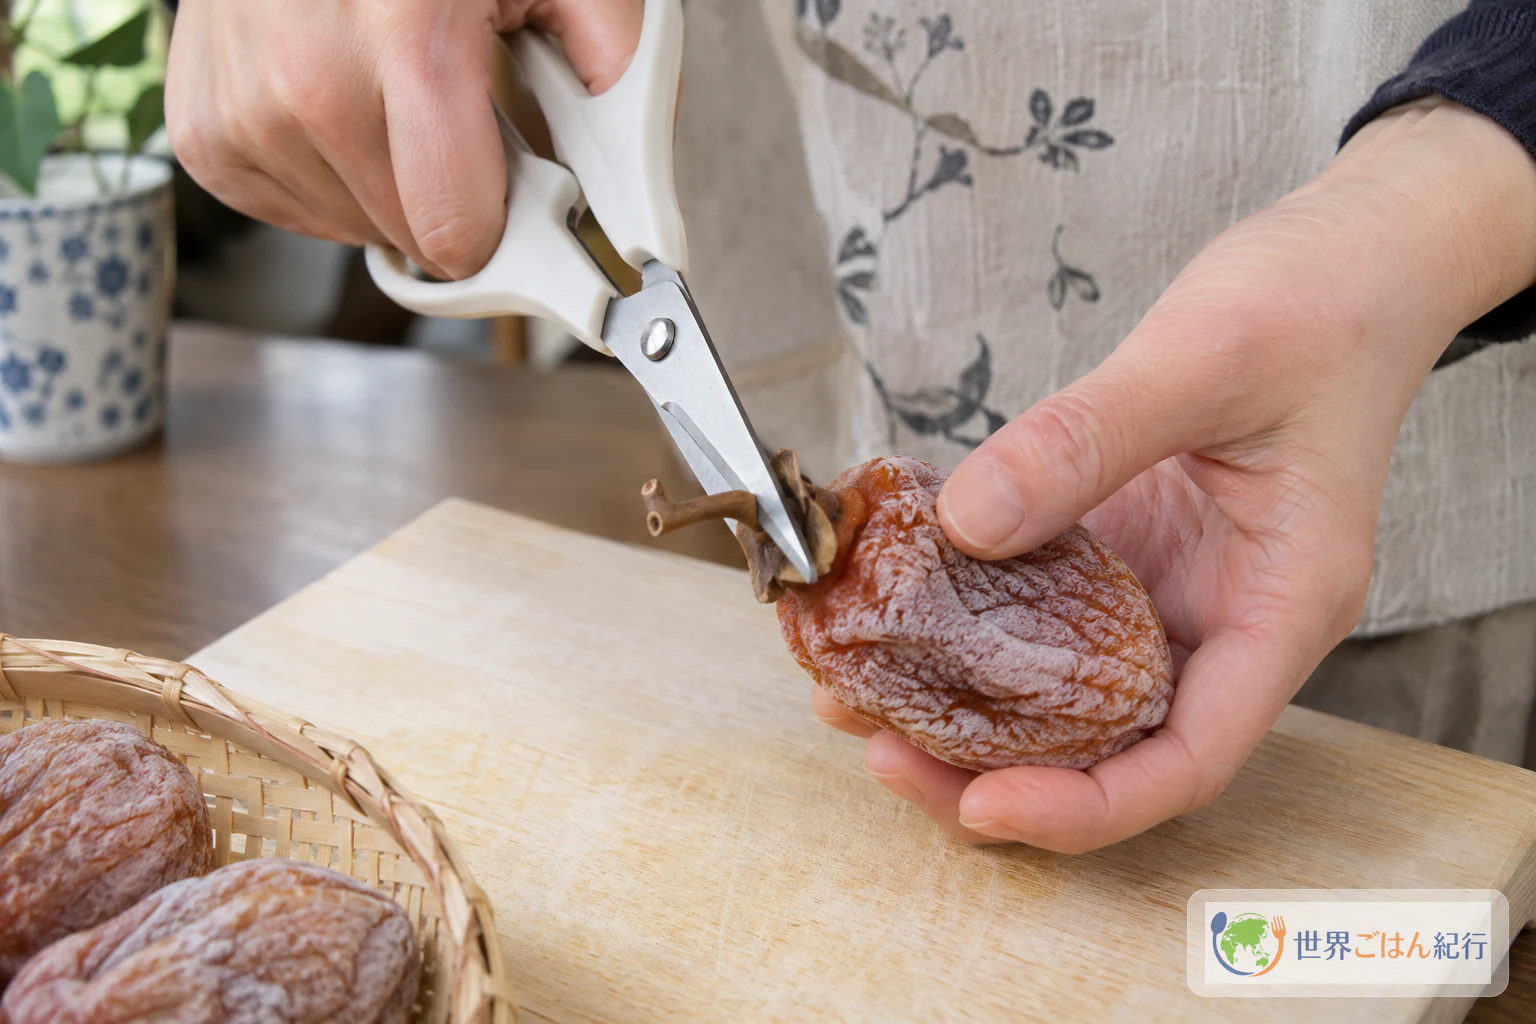
- Kitchen scissors and a clean board
- Food wrap
- Clean covered container, if you want one for the refrigerator
Choosing Persimmons: Stems Matter, and There Is No Stand-In
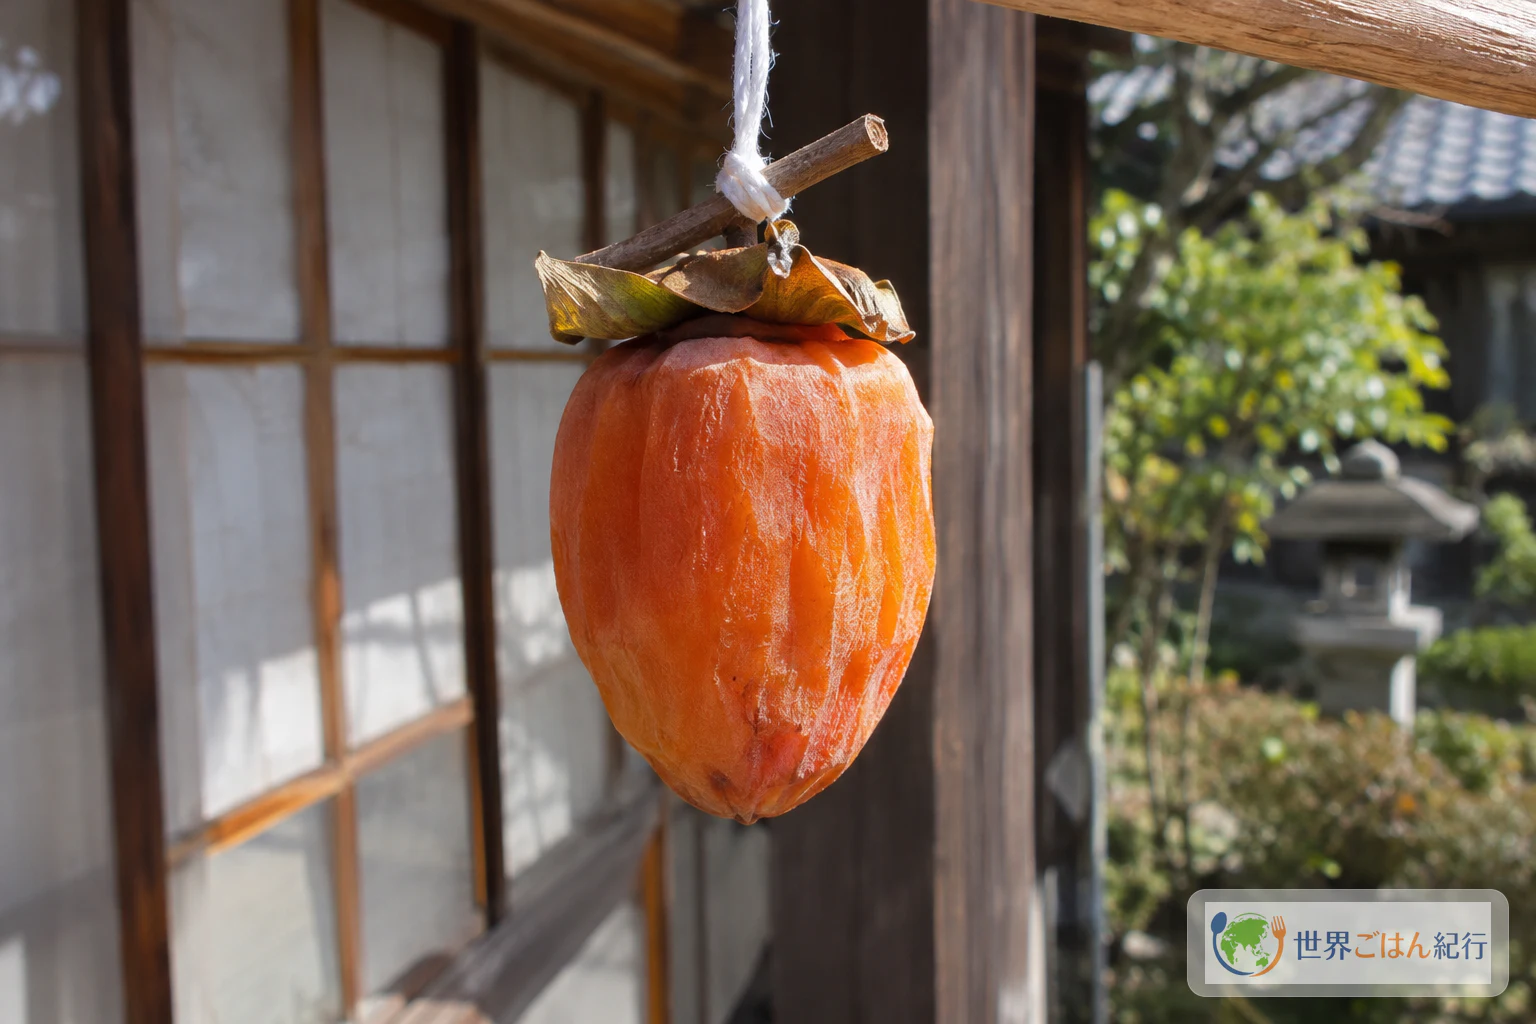
Buy fruit identified as astringent, and check that each one has a stem long enough to hook onto the twine. Without a usable stem, the fruit doesn't suit this hanging method.
This recipe offers no substitute for astringent persimmons. If you can't get suitable fruit or don't have a suitable place to dry it, buy commercially made hoshigaki sold as food.
Method: Peel, Hang, Keep Dry and Massage
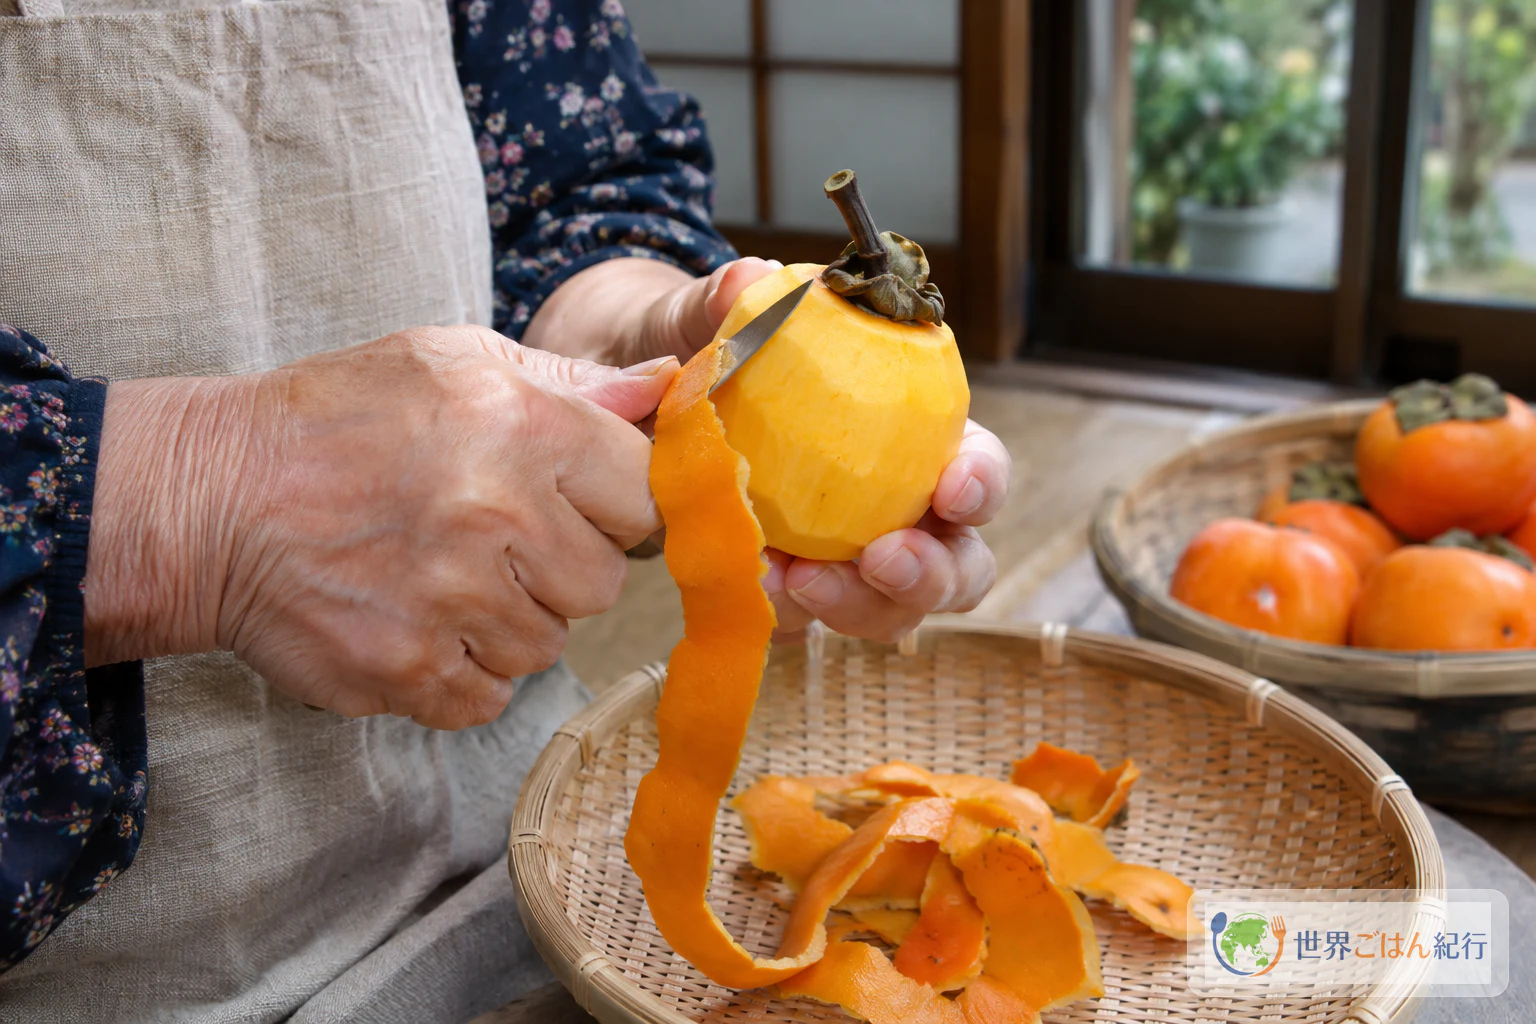
Wash your hands and use clean tools throughout. The order matters: the optional dip comes after peeling and stringing, before the fruit goes out to dry.
Trouble While Drying: Fix the Conditions, Never Rescue Suspect Fruit
Do not eat the fruit, and do not taste it to find out. Do not scrape it, trim it, wash it, wipe it with alcohol or heat it to rescue it. If you are unsure, throw it away.
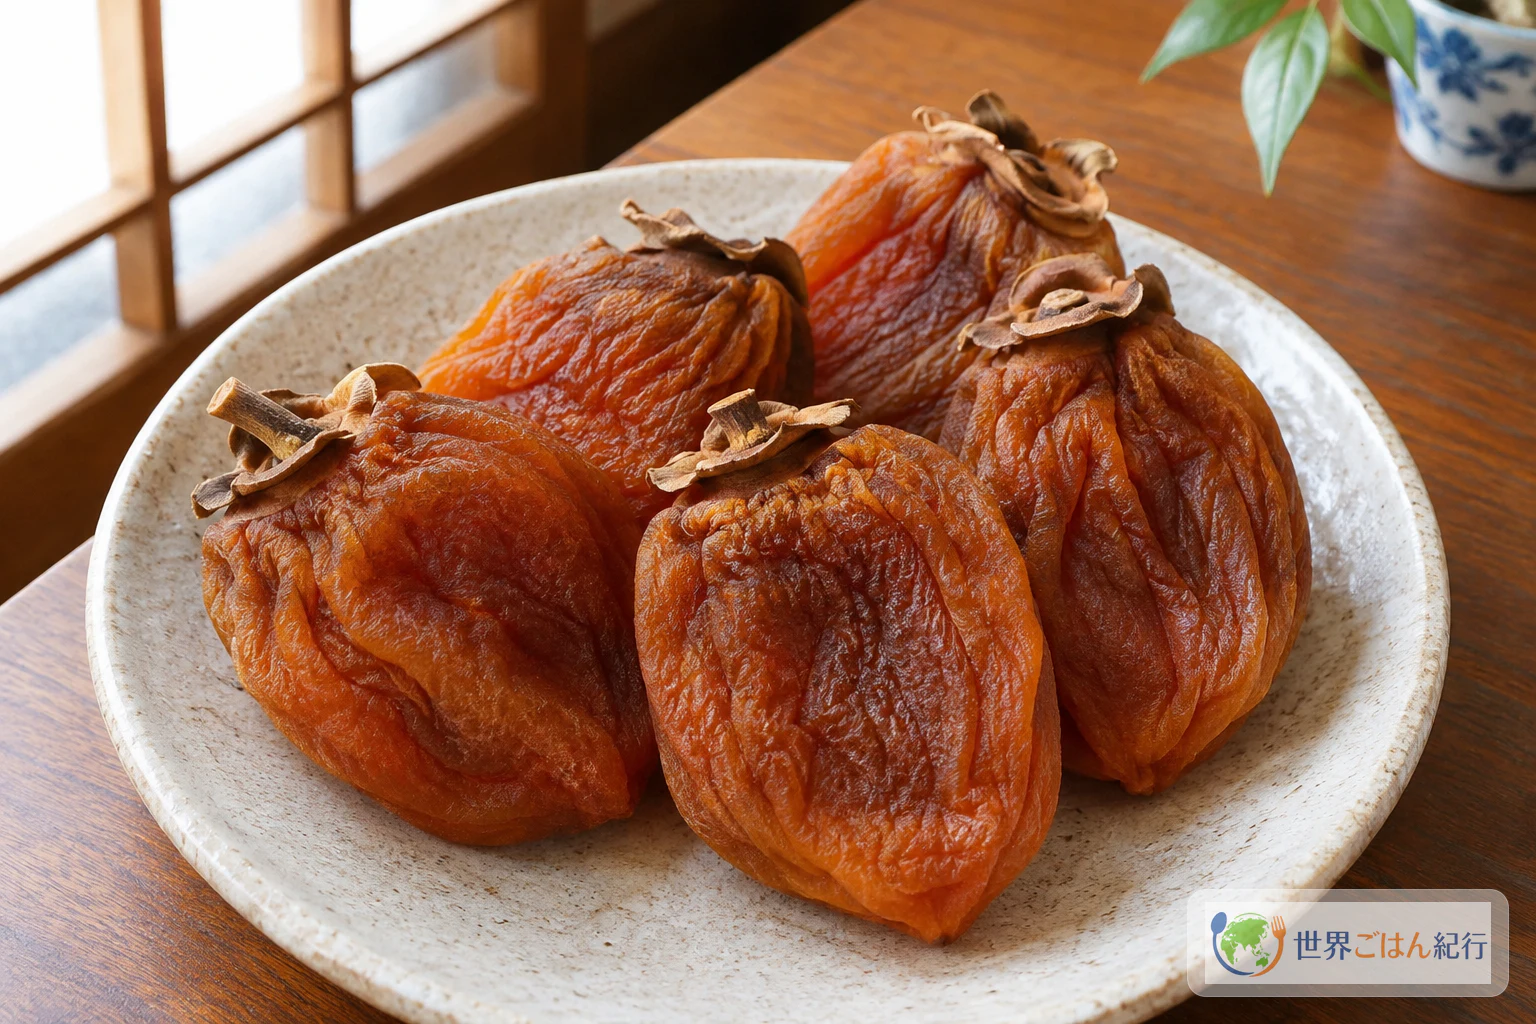
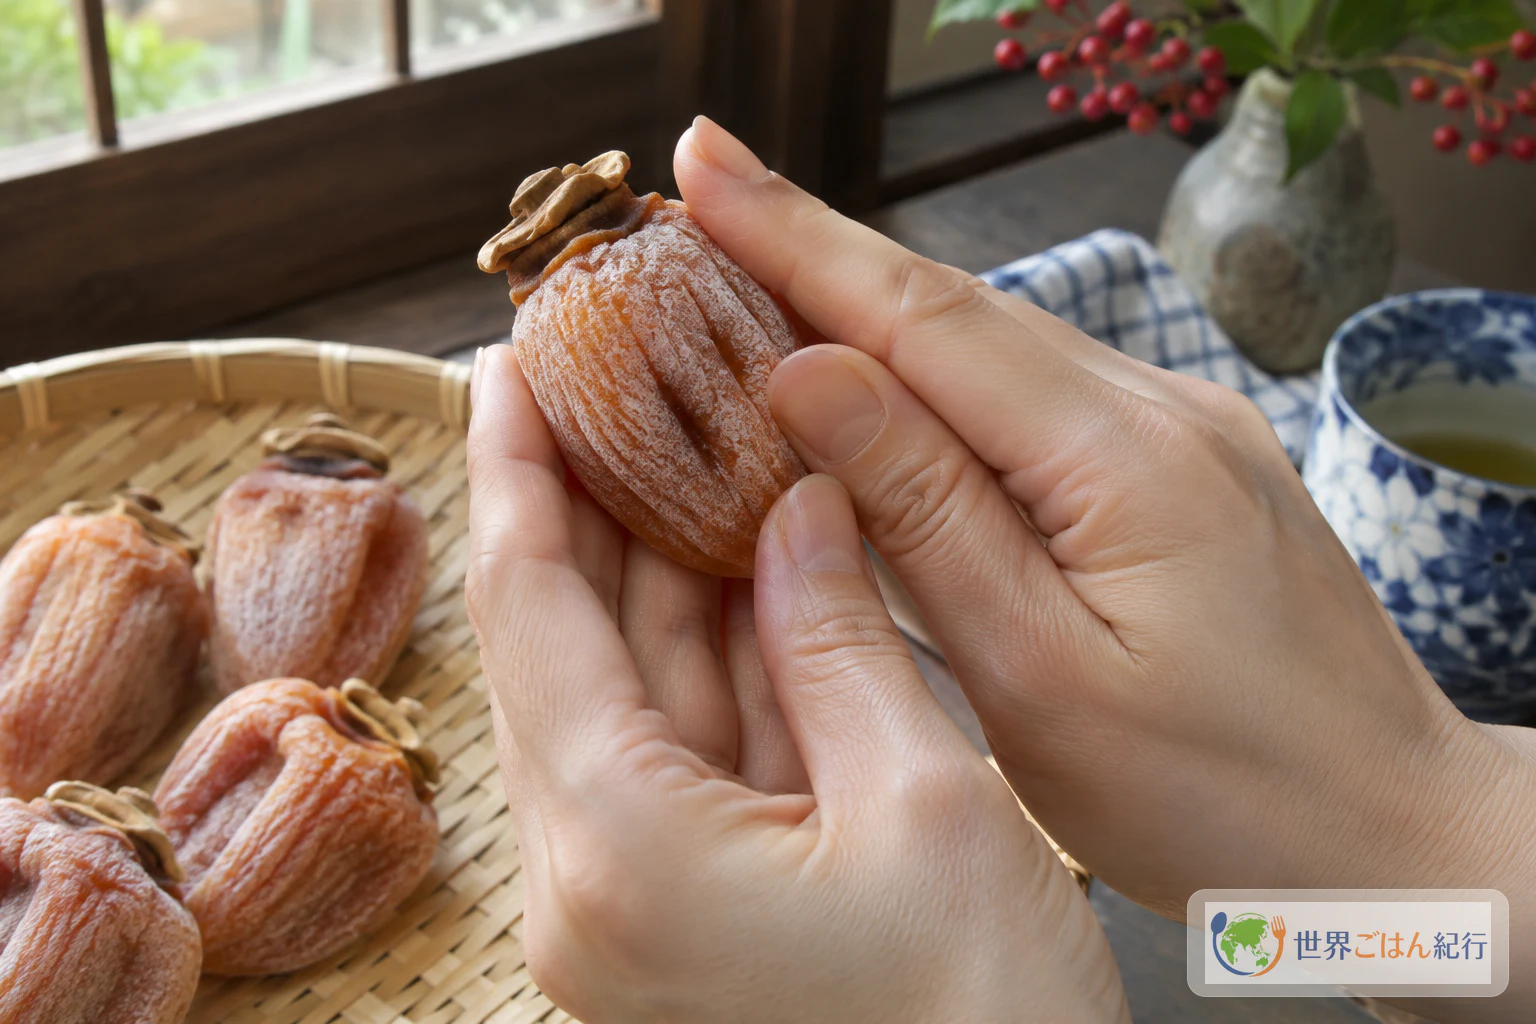
White powder on hoshigaki can be sugar (fructose), but appearance alone can't confirm that it is safe. Some fruit in this article's photos has a pale surface coating. Those pictures are not a guide to telling sugar from mold.
| What you notice | What to do |
|---|---|
| Rain is on the way | Cover the fruit or move it before it gets wet |
| Fruit got wet or is drying poorly | Don't leave it as it is. Move it somewhere airy and dry, and discard anything you suspect has spoiled. If you can't provide those conditions, stop and buy commercially made hoshigaki |
| Persimmons are touching | Re-space them on the twine so that air can pass between them |
| The surface tore during massage | Use lighter pressure on the rest of the batch. Keep watching the torn fruit, and discard it if spoilage is suspected |
| Fruit still feels moist after the suggested days | Treat the days as a guide and don't call it finished by the calendar. Keep it sheltered and airy, and discard it if anything looks doubtful |
| An unidentified white or other patch appears | Discard the fruit unless you know it is safe. Don't lick or taste it to decide |
Variations: What Can Change and What Should Not
| Choice | What changes | What stays the same |
|---|---|---|
| Skip the boiling-water dip | Palsystem's recipe treats it as optional, and leaving it out removes step 3 | Complete peeling, rain protection, massaging and discarding suspect fruit |
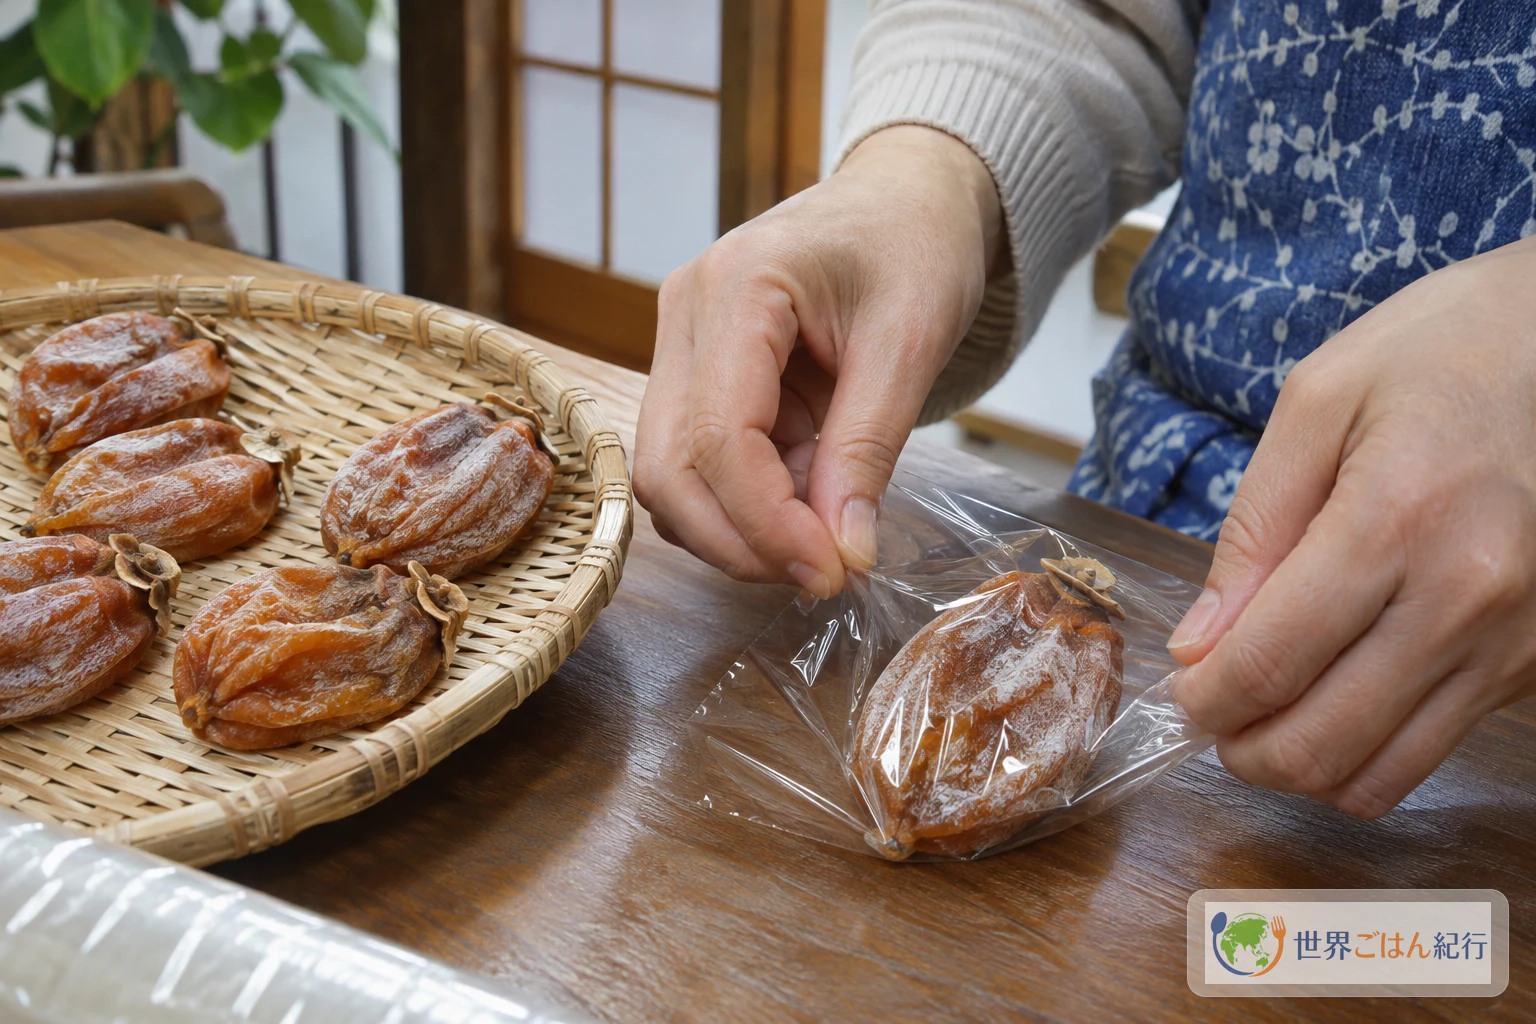
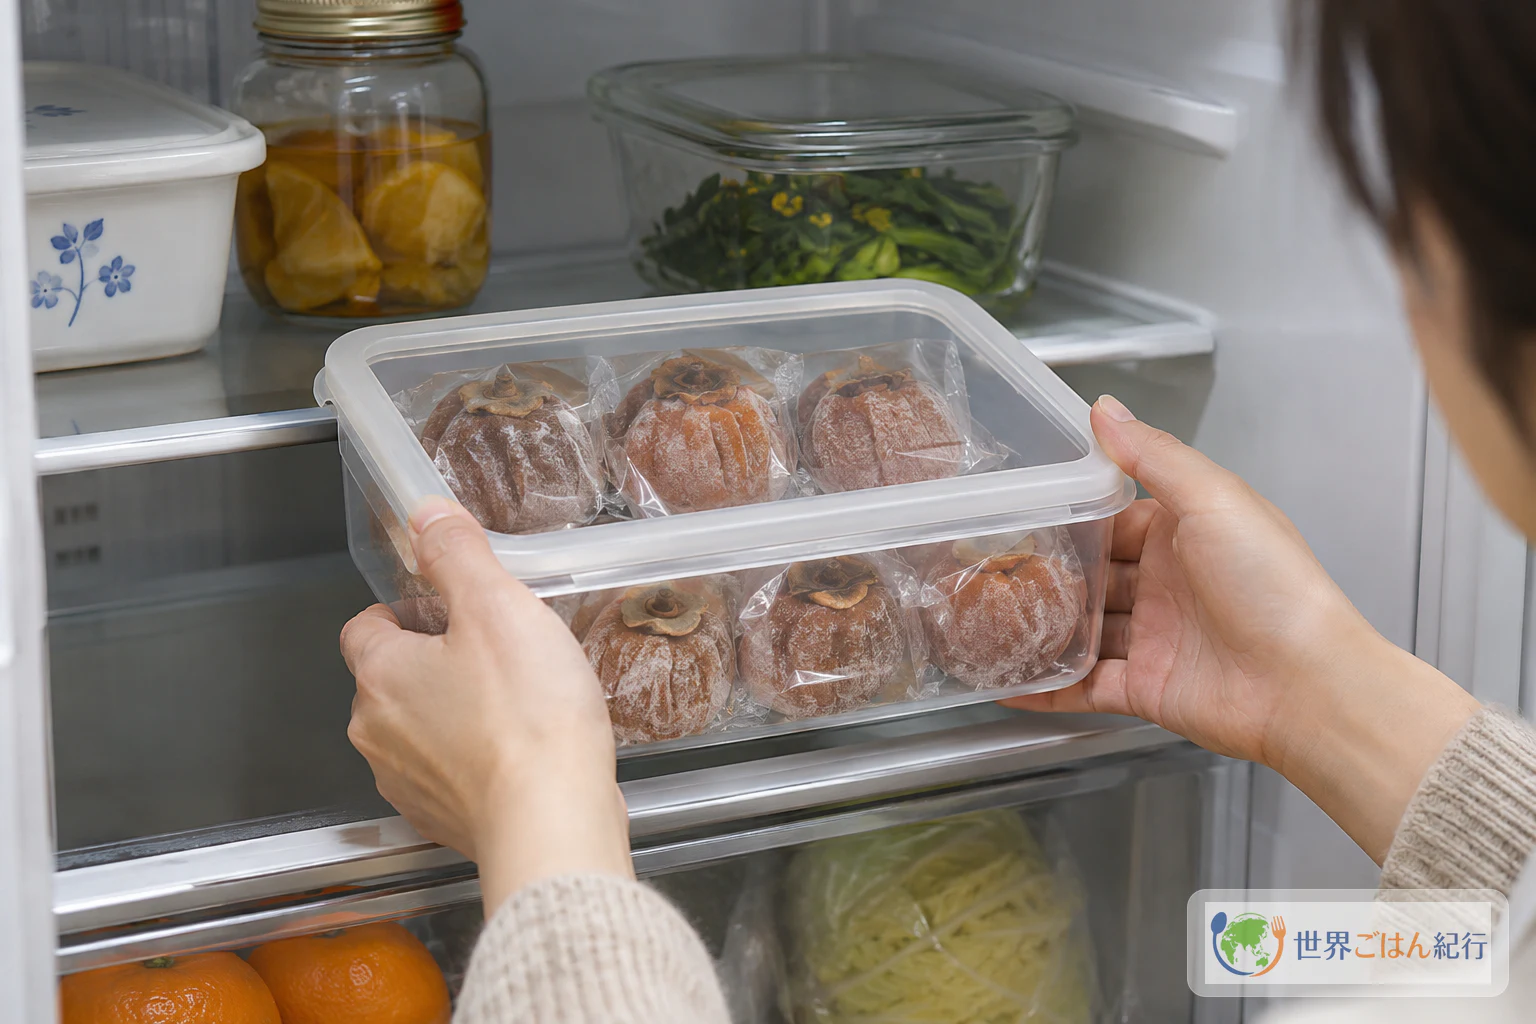
| Refrigerator or freezer | The wrapped fruit goes in either one | Each fruit is wrapped individually |
| Buy instead of making | No home drying is involved, which suits homes or seasons without the right conditions | Choose products sold as food |
Other regional methods are separate systems rather than variations to mix into this one. Don't add their drying times, huts, heaters or treatments to this household recipe. Serve finished hoshigaki as it is. This recipe doesn't include any sweets or other dishes made with it.
Background: Household Strings and Regional Production
Hoshigaki is made at very different scales in Japan. This article follows Palsystem's household recipe, which needs twine and a suitable place to hang the fruit rather than specialized facilities. You can find more dishes on the Japan country page.
Japan's Ministry of Agriculture, Forestry and Fisheries describes a very different form in Saijo persimmon hoshigaki from Matsue. It is tied to a local method, seasonal food culture and dedicated persimmon huts, with a drying period of about a month. That is useful context, but it doesn't translate directly to a home kitchen or a household eave.
The Kanagawa Agricultural Technology Center's material on making hoshigaki shares some principles with the household recipe: drying the fruit apart and massaging it after the surface has dried. Its advice also stresses stable weather, protection from rain, leaving no skin on the fruit and tending the fruit in stages. It also covers heaters, seed removal, straw and cool-room storage. Those belong to a different method and are not part of this recipe.
Frequently Asked Questions
What humidity and temperature do I need?
This article gives no numbers because the sources used here don't establish safe thresholds for home drying. Look instead at the practical conditions: settled weather, moving air, as much sun as possible and no rain on the fruit. If you can't provide those, buy commercially made hoshigaki.
Is the white powder sugar or mold?
It can be sugar. A Nagoya consumer center reports one complaint in which a white substance on hoshigaki was confirmed as sugar under a microscope. That single case doesn't establish that an unknown white patch on your fruit is safe. University of Connecticut Extension's general advice on moldy food supports discarding food with unidentified mold, though it is not a test of hoshigaki specifically. If you can't tell, discard the fruit.
Can I cut away a moldy spot and eat the rest?
No. Don't trim, wash, wipe with alcohol or heat fruit you suspect has spoiled. Discard it.
How long will hoshigaki keep?
This article gives no storage period for either the refrigerator or the freezer because Palsystem's recipe doesn't provide one. Palsystem says to wrap the fruit individually and keep it in the refrigerator or freezer. The Nagoya consumer center also mentions freezing in small portions. Room-temperature storage is not part of this recipe.
Does the boiling-water dip make the fruit safe?
No. It is an optional surface treatment in the recipe, not sterilization. You still need clean hands and tools, protection from rain and a willingness to discard doubtful fruit.
Can I dry the fruit faster with a heater?
This recipe doesn't use forced heating. Kanagawa's advice mentions a heater, but as part of a different method, so don't combine it with these days and cues.
How many will this make?
The recipe gives no fixed yield. It uses as many persimmons as you choose to prepare, with about 6 to 7 on each string as a guide.
Sources
- Palsystem Consumers' Co-operative Union, Daidokolog, "干し柿" (Hoshigaki). The household recipe used here, including amounts, twine length, optional hot-water dip, drying conditions, massaging, drying guide, and individually wrapped refrigerated or frozen storage. https://daidokolog.pal-system.co.jp/recipe/2743
- Kanagawa Agricultural Technology Center, "干し柿・作り方" (How to make hoshigaki). Regional processing background on drying fruit apart and massaging it after the surface dries. https://www.pref.kanagawa.jp/docs/cf7/cnt/f450009/p580729.html
- Kanagawa Agricultural Technology Center, "干し柿・作り方のアドバイス" (Advice on making hoshigaki). Stable weather, rain protection, leaving no skin on the fruit, and tending the fruit in stages. https://www.pref.kanagawa.jp/docs/cf7/cnt/f450009/p580730.html
- Ministry of Agriculture, Forestry and Fisheries of Japan, "西条柿の干し柿" (Saijo persimmon hoshigaki). Matsue's production facilities, regional method and seasonal food culture. https://www.maff.go.jp/j/keikaku/syokubunka/traditional-foods/menu/saizyogaki_no_hosigaki.html
- Nagoya City Consumer Life Center, "干し柿の表面にカビのようなものが出来た。" (Something like mold appeared on the surface of hoshigaki). One complaint in which the substance was confirmed as sugar under a microscope, plus guidance on freezing in small portions. https://www.seikatsu.city.nagoya.jp/anzen/complaint/article/55
- University of Connecticut Extension, "Handling Food with Mold." General safety advice to discard food with unidentified mold. https://extension.uconn.edu/publication/handling-food-with-mold/