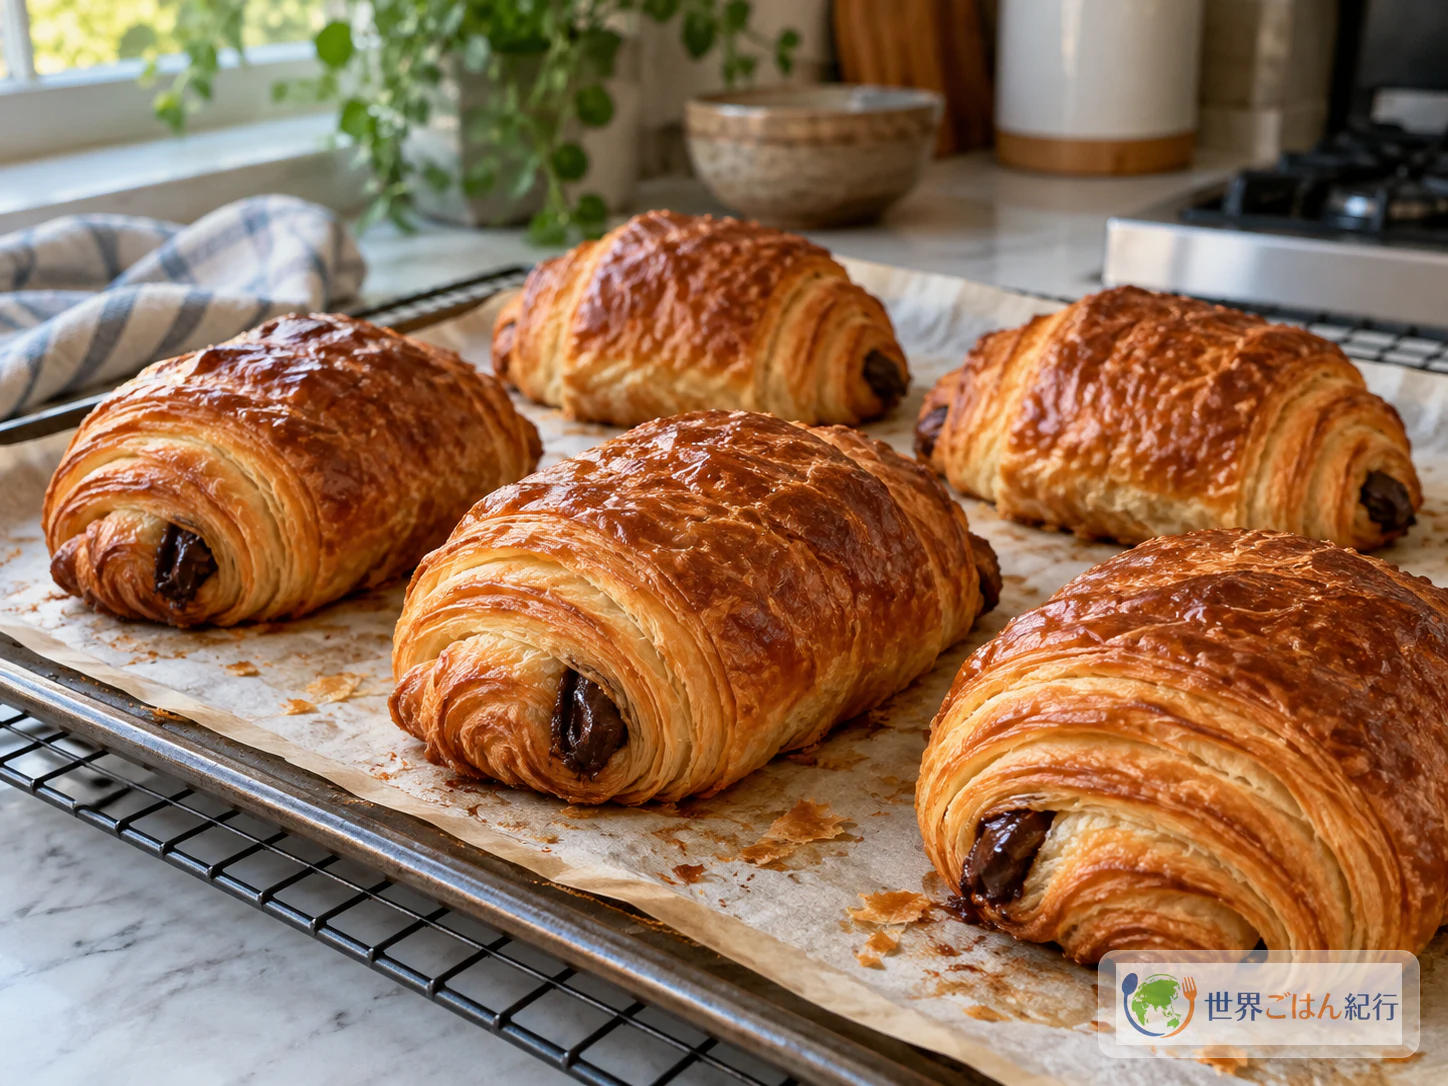
Pain au Chocolat: Layers That Shatter Around a Core of Chocolate
Keep the dough cold and the butter pliable but never melting. Protect the layers through every fold, let the shaped pastries proof until they have clearly doubled and jiggle, then bake them to a deep golden brown.
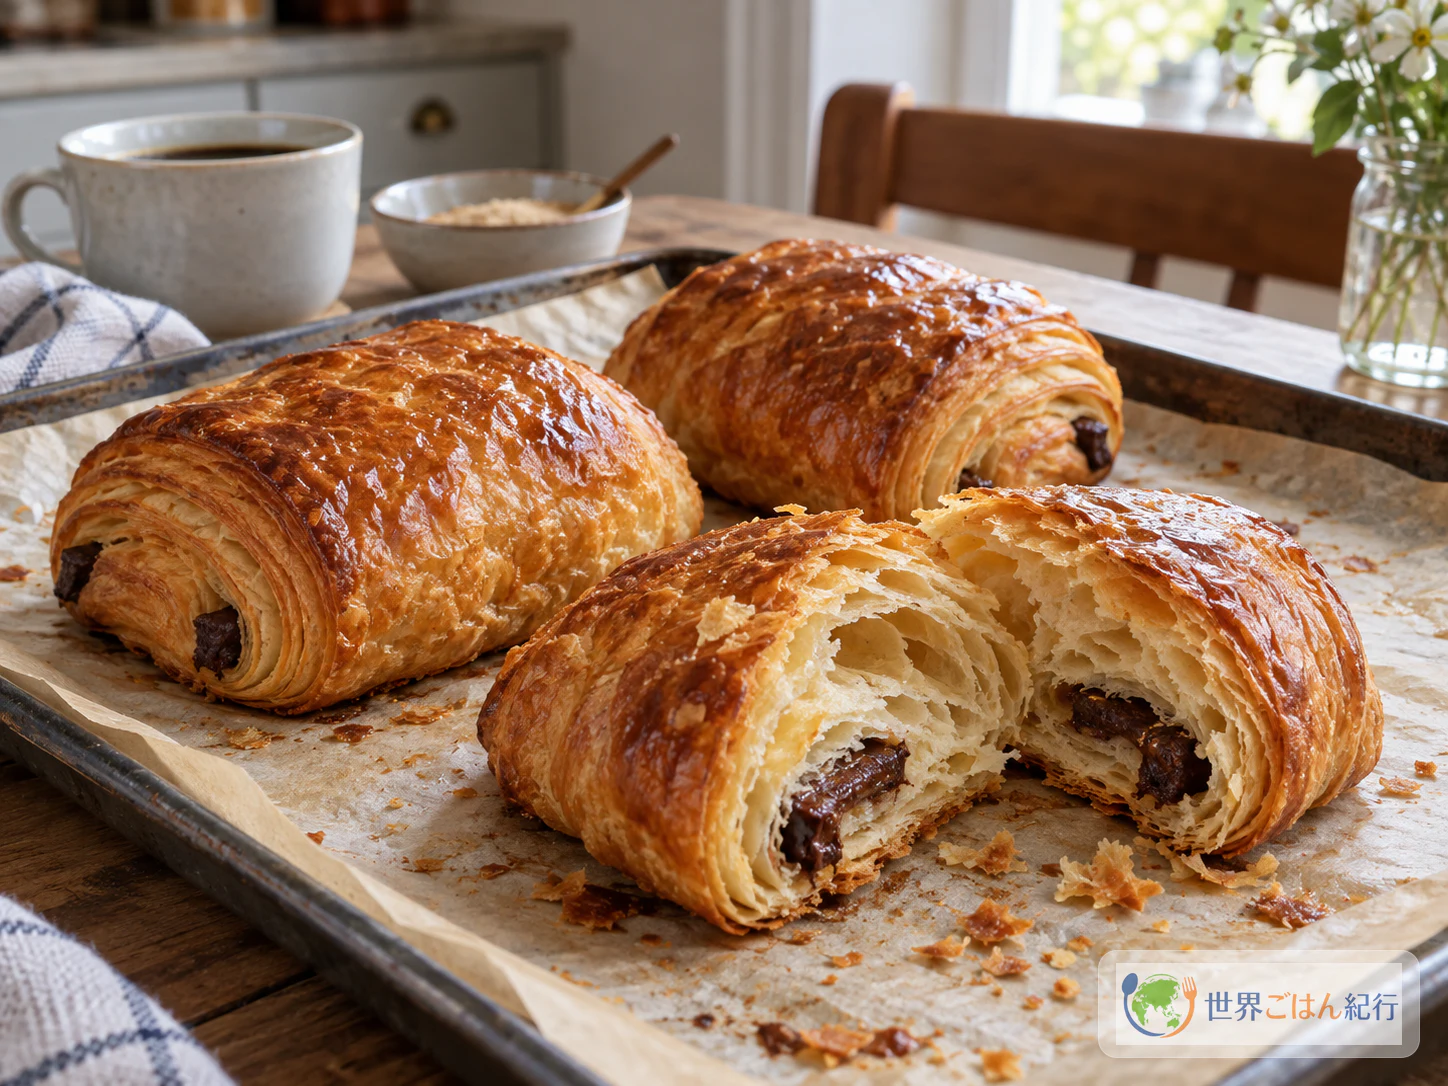
In the morning, a rectangle of pastry lifts out of a paper bag and leaves flakes behind. In the afternoon, the same pastry appears again as the goûter, the light snack that bridges lunch and dinner. In France, pain au chocolat is eaten at breakfast, at goûter time, and whenever a small hunger strikes, and its shape is familiar long before you ever think about how it is made.
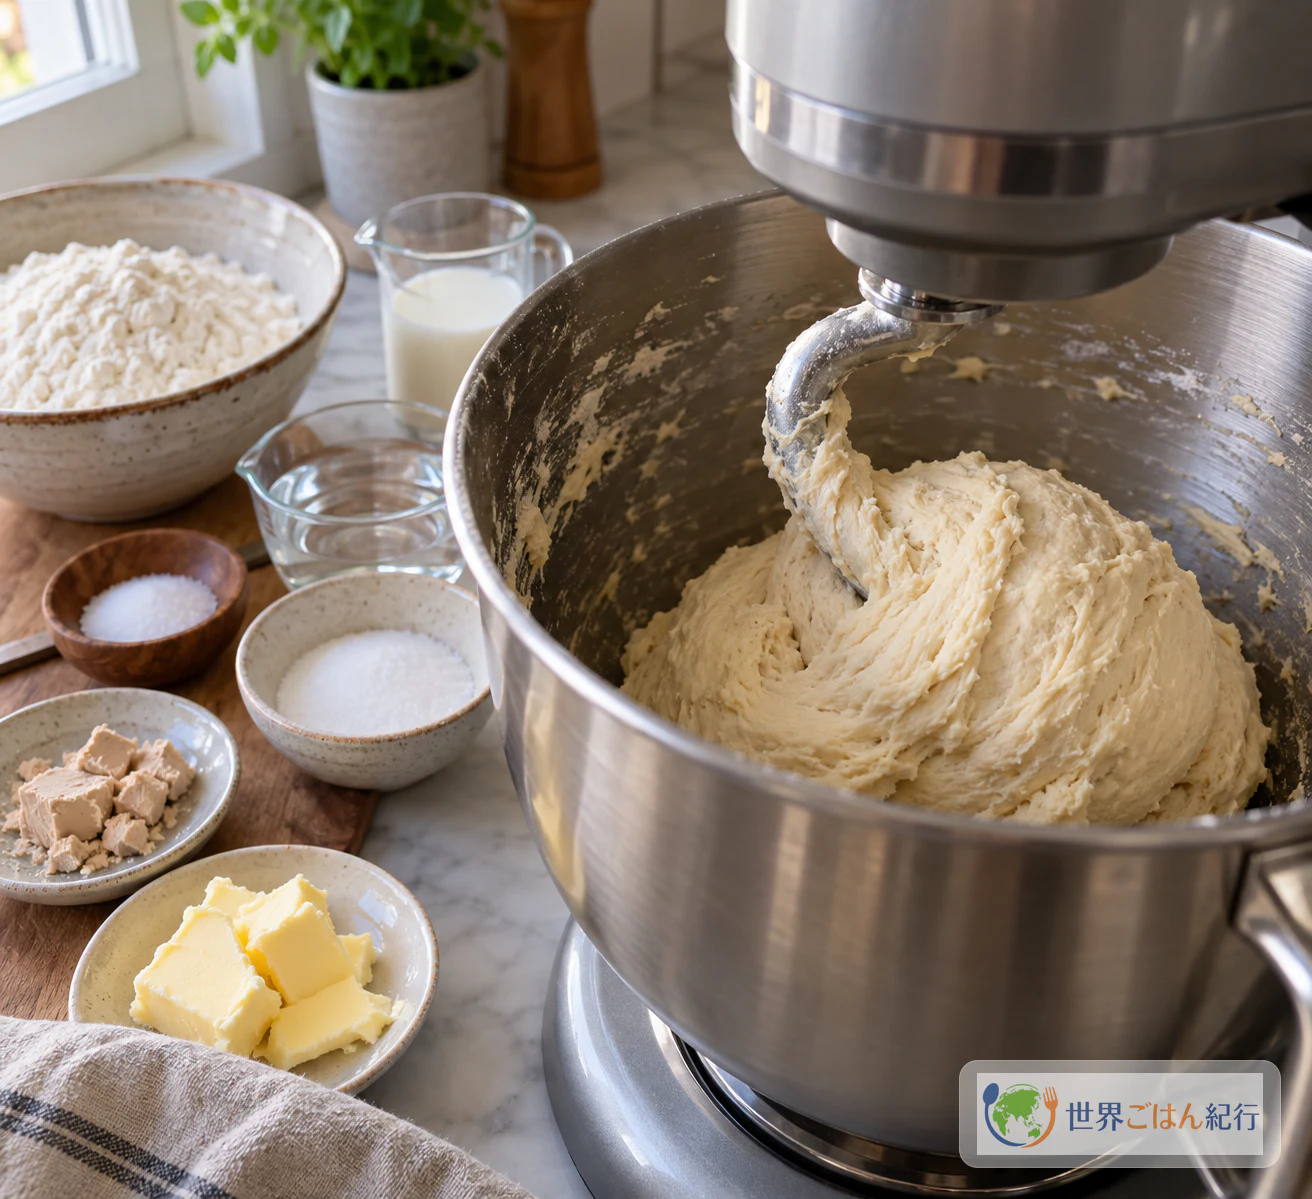
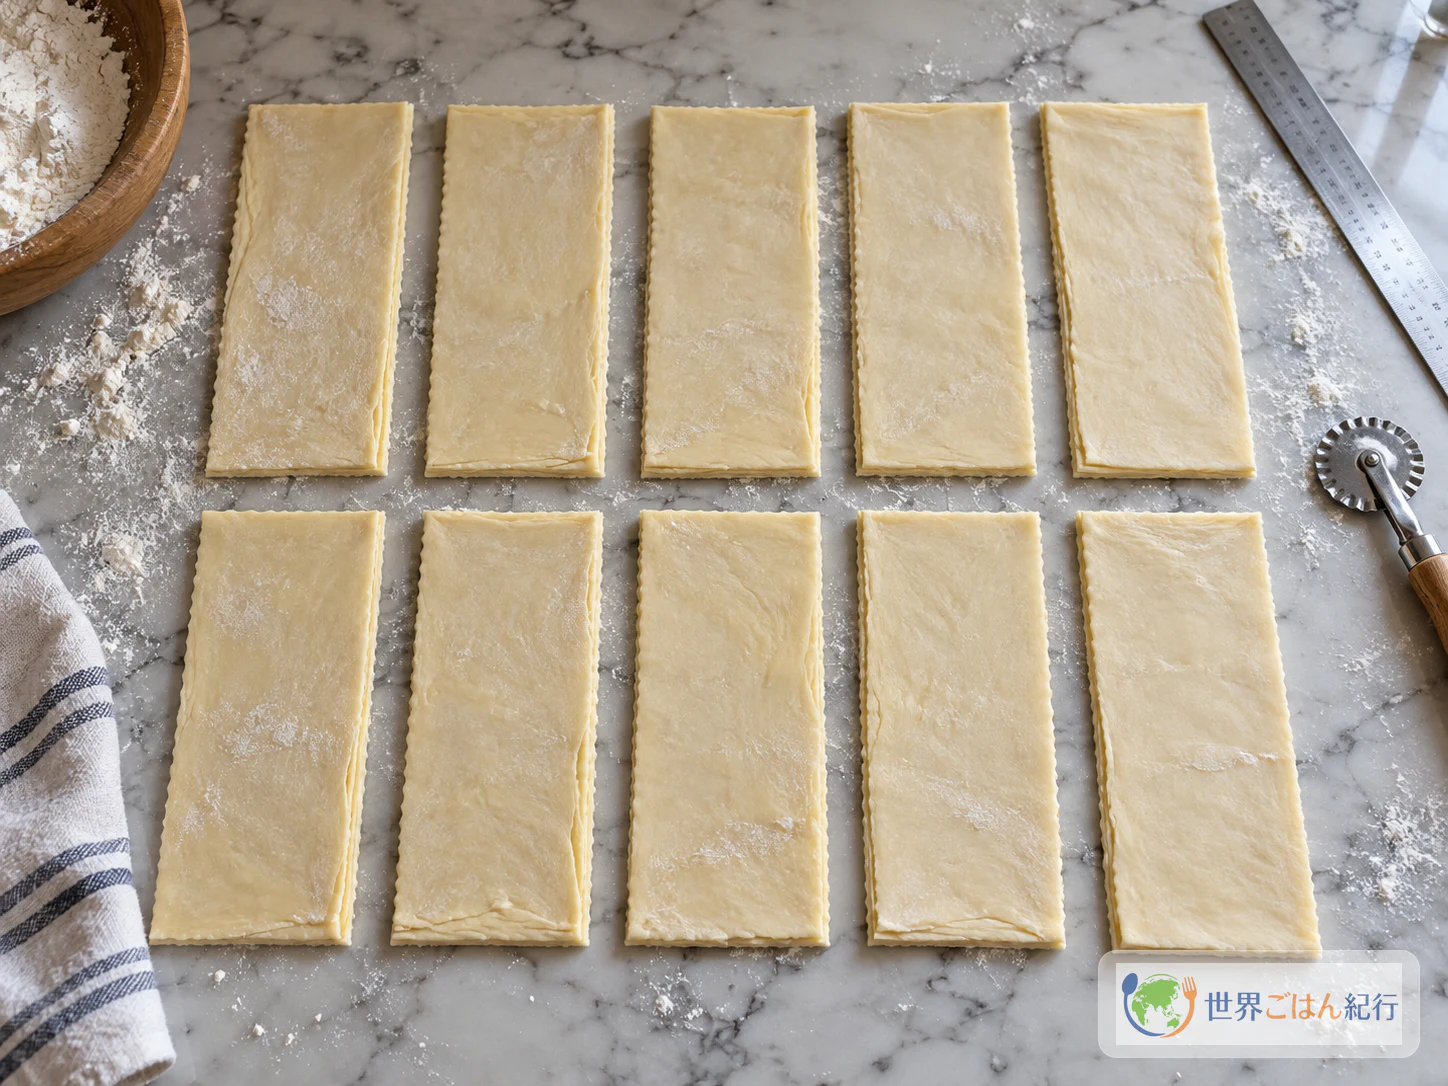
Making it at home is less about any single difficult move and more about temperature. A yeasted dough has to rise and develop flavor, while a sheet of butter has to stay flexible enough to stretch with it without cracking or seeping out. This recipe follows one published professional formula from start to finish, without mixing in other versions, and at each step it tells you what to look at, not just how long to wait. The source recipe gives a yield of 16–20 pastries and an overall schedule of 16–24 hours, most of which is chilling and proofing rather than hands-on work. The method has not been test-baked for this article, so treat oven times as guides and watch the pastry.
What Pain au Chocolat Is, and Why It Is Also Called Chocolatine
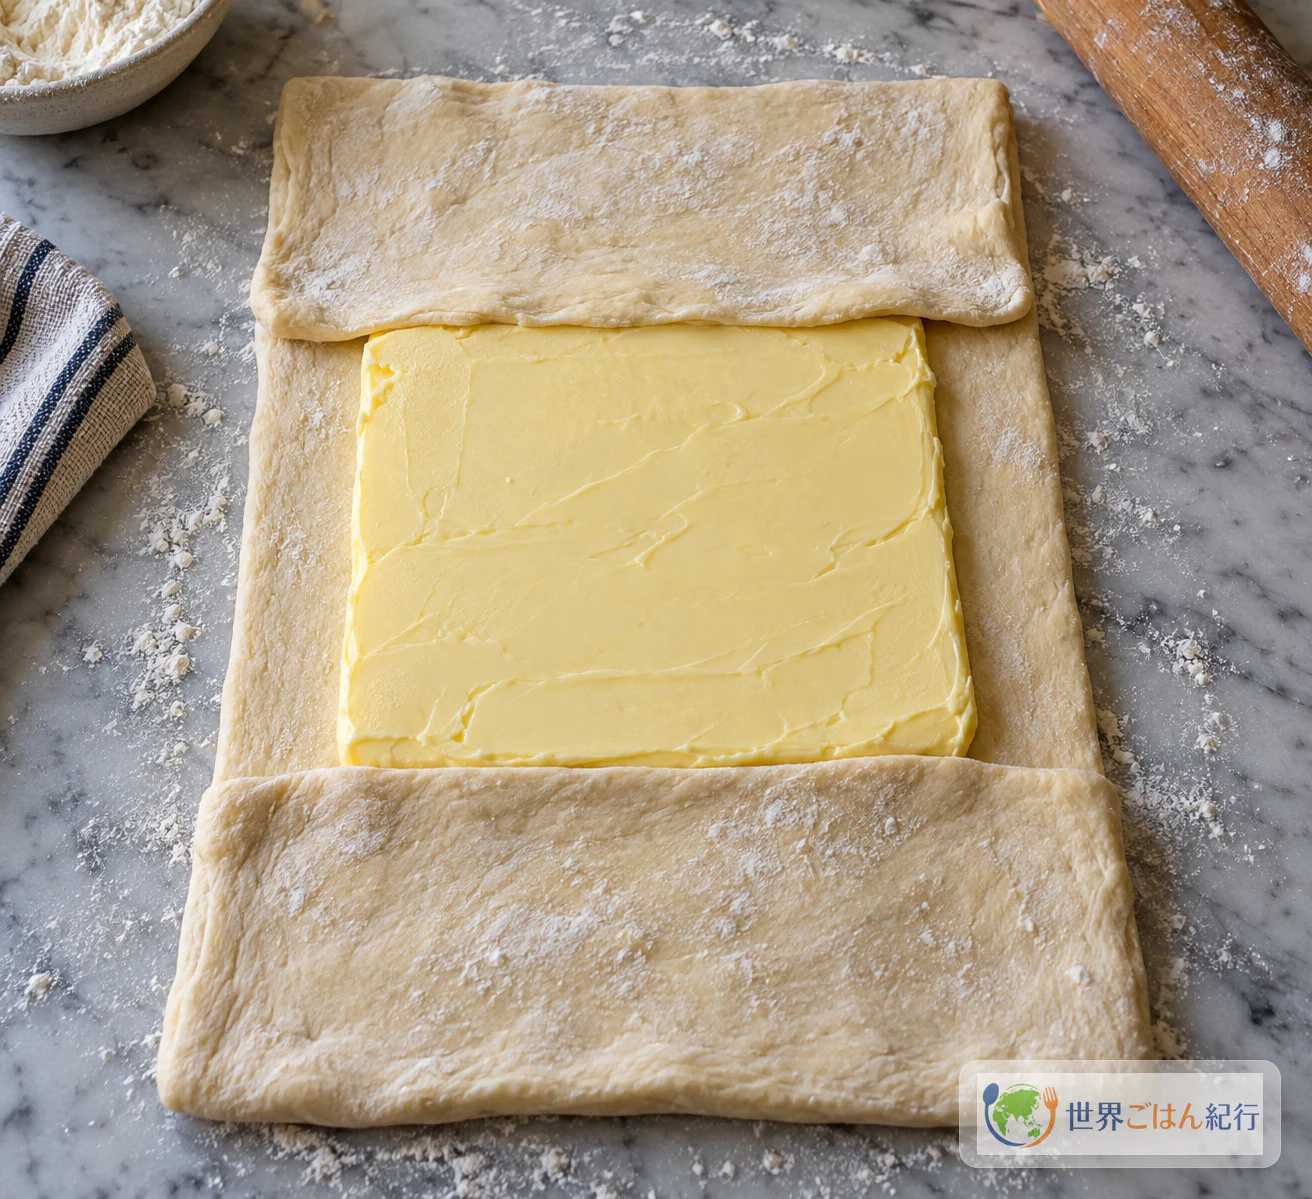
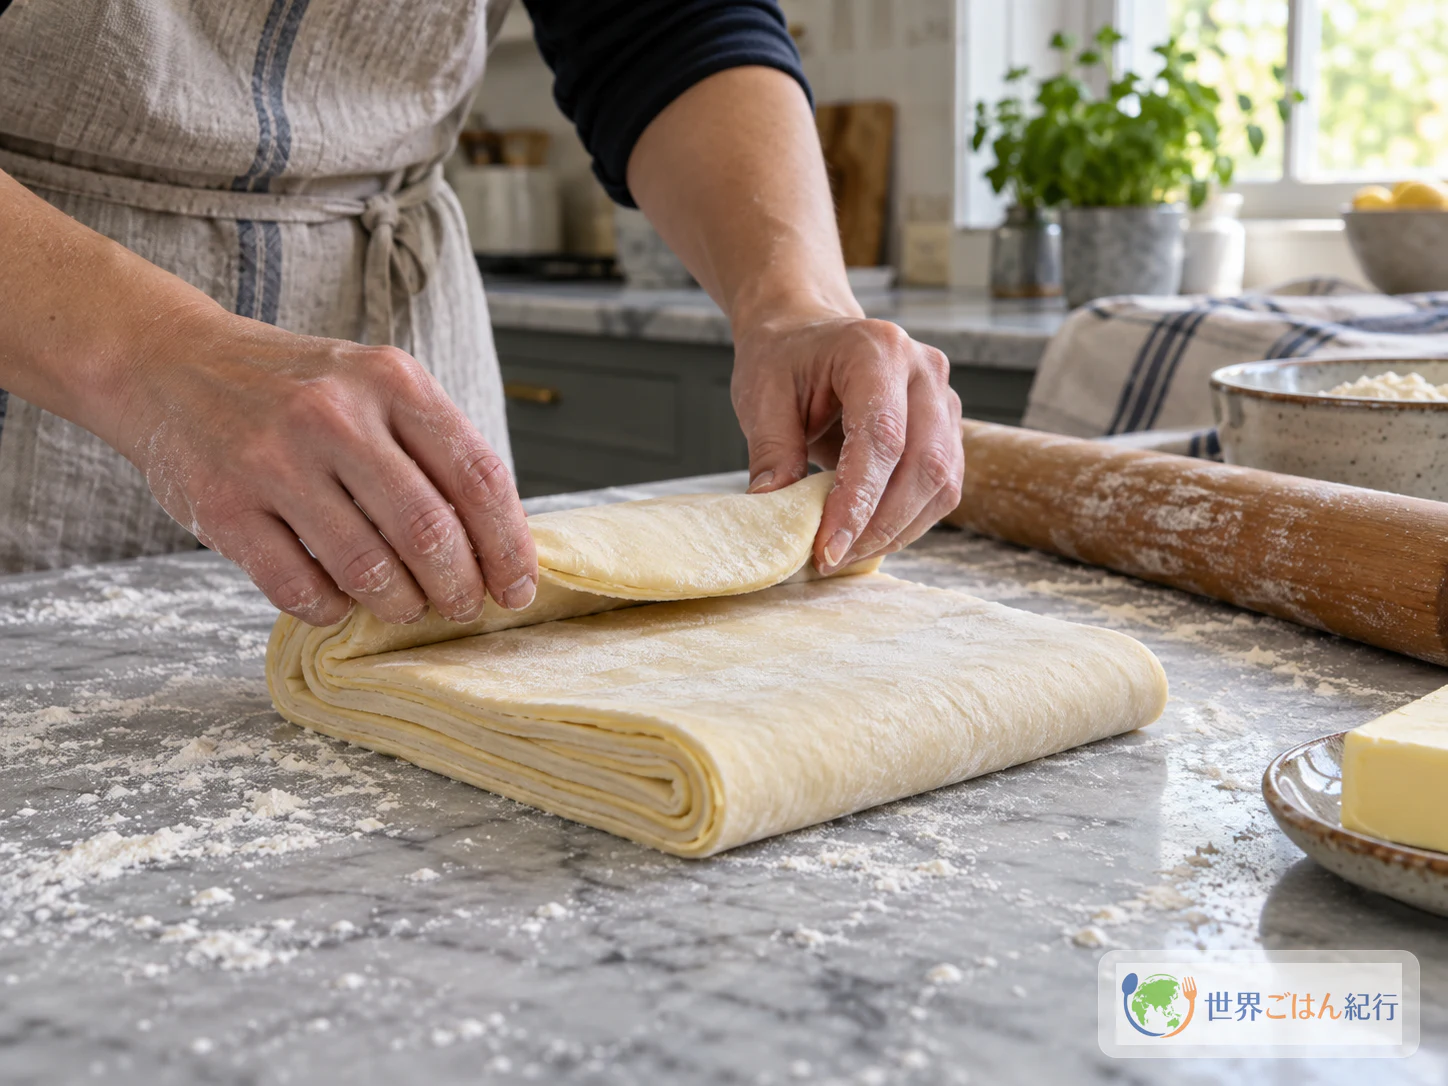
Despite the word "pain", this is not bread dough. Pain au chocolat is a viennoiserie made from pâte levée feuilletée, a yeasted dough that is laminated with butter. Fermentation and tourage (folding butter into the dough) overlap in the same dough: the yeast gives lift and aroma, and the folds create the thin layers. Chocolate batons are rolled inside.
In much of France it is called pain au chocolat, while in the southwest the same pastry is known as chocolatine, and there are other regional terms as well. These are differences in local vocabulary for one pastry, not two different recipes, and there is no need to declare one name correct.
A Pastry for Breakfast and Goûter
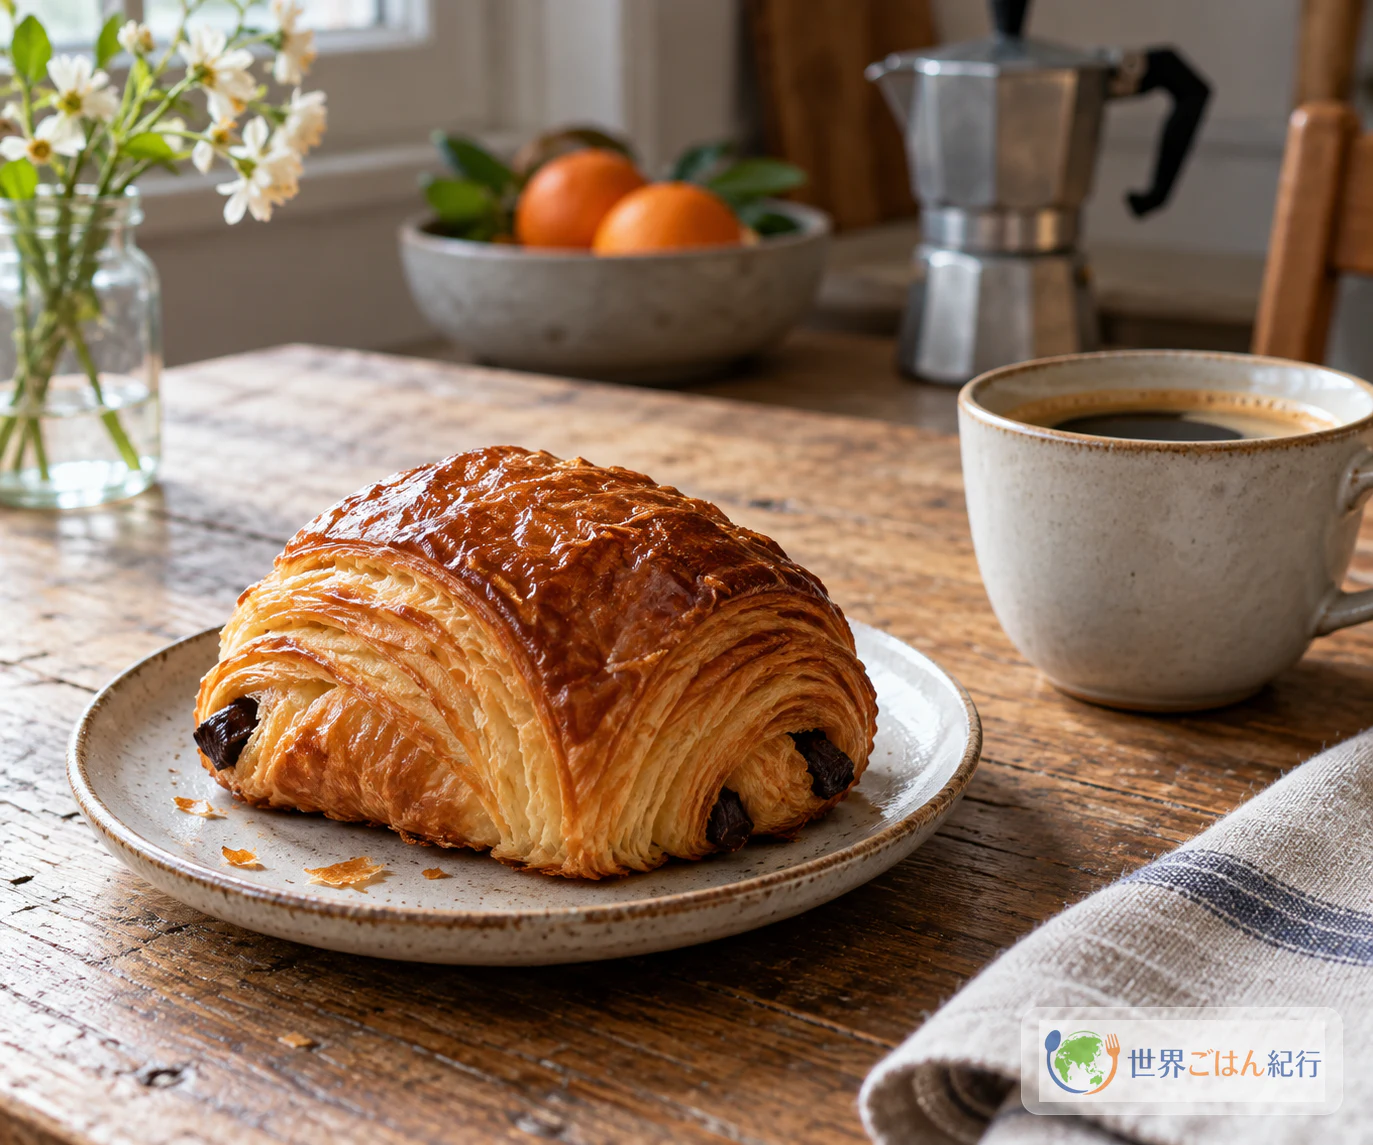
The French bakery federation describes pain au chocolat as something eaten at breakfast, at the afternoon goûter, or simply when you feel peckish. That range of moments explains its appeal: it is substantial enough to start a day, yet light enough for a mid-afternoon pause.
There is no single fixed formula among bakers. Some use water, some milk; some add eggs and some do not; and the number of chocolate batons varies. What bakers aim for is a balance between fermentation, butter and chocolate. To keep the method reproducible, this article stays with one version: a dough with both milk and water and three batons per pastry.
How Much Is Known About Its Origins?
The broad outline is that viennoiserie grew out of Viennese baking techniques that spread in France. The bakery federation's materials mention August Zang in connection with this story, but they do not establish him as the inventor of pain au chocolat, and the federation itself notes that the pastry's origins are not clearly settled. No single inventor or date is confirmed.
The word chocolatine has several competing explanations for its origin, and none is established. If you enjoy these stories, enjoy them as stories, not as proven history.
If you want to explore more of the country's cooking, see the France page.
Ingredients: One Formula, Grouped by Dough, Butter, Filling and Wash
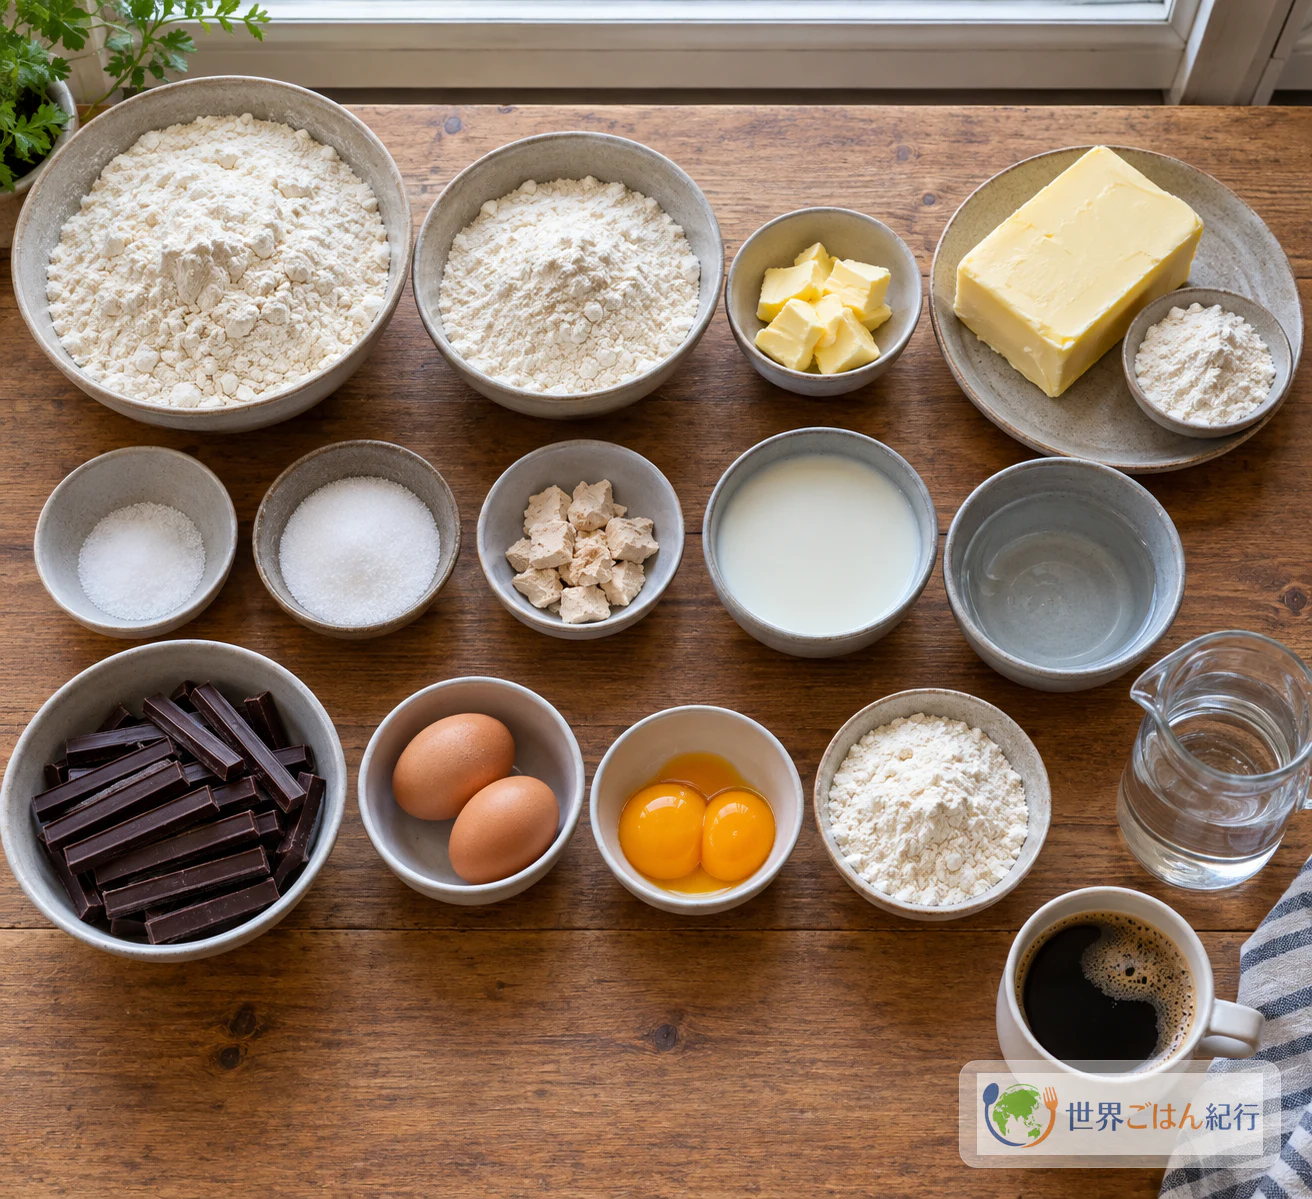
All amounts belong to a single recipe and should not be combined with other formulas. This version uses regular unsalted butter for the butter block, which is why 50g of flour appears in the butter group. That 50g is separate from the dough flour, and the 30g of soft butter in the dough is separate from the butter block.
To serve, a cup of black coffee is an optional companion.
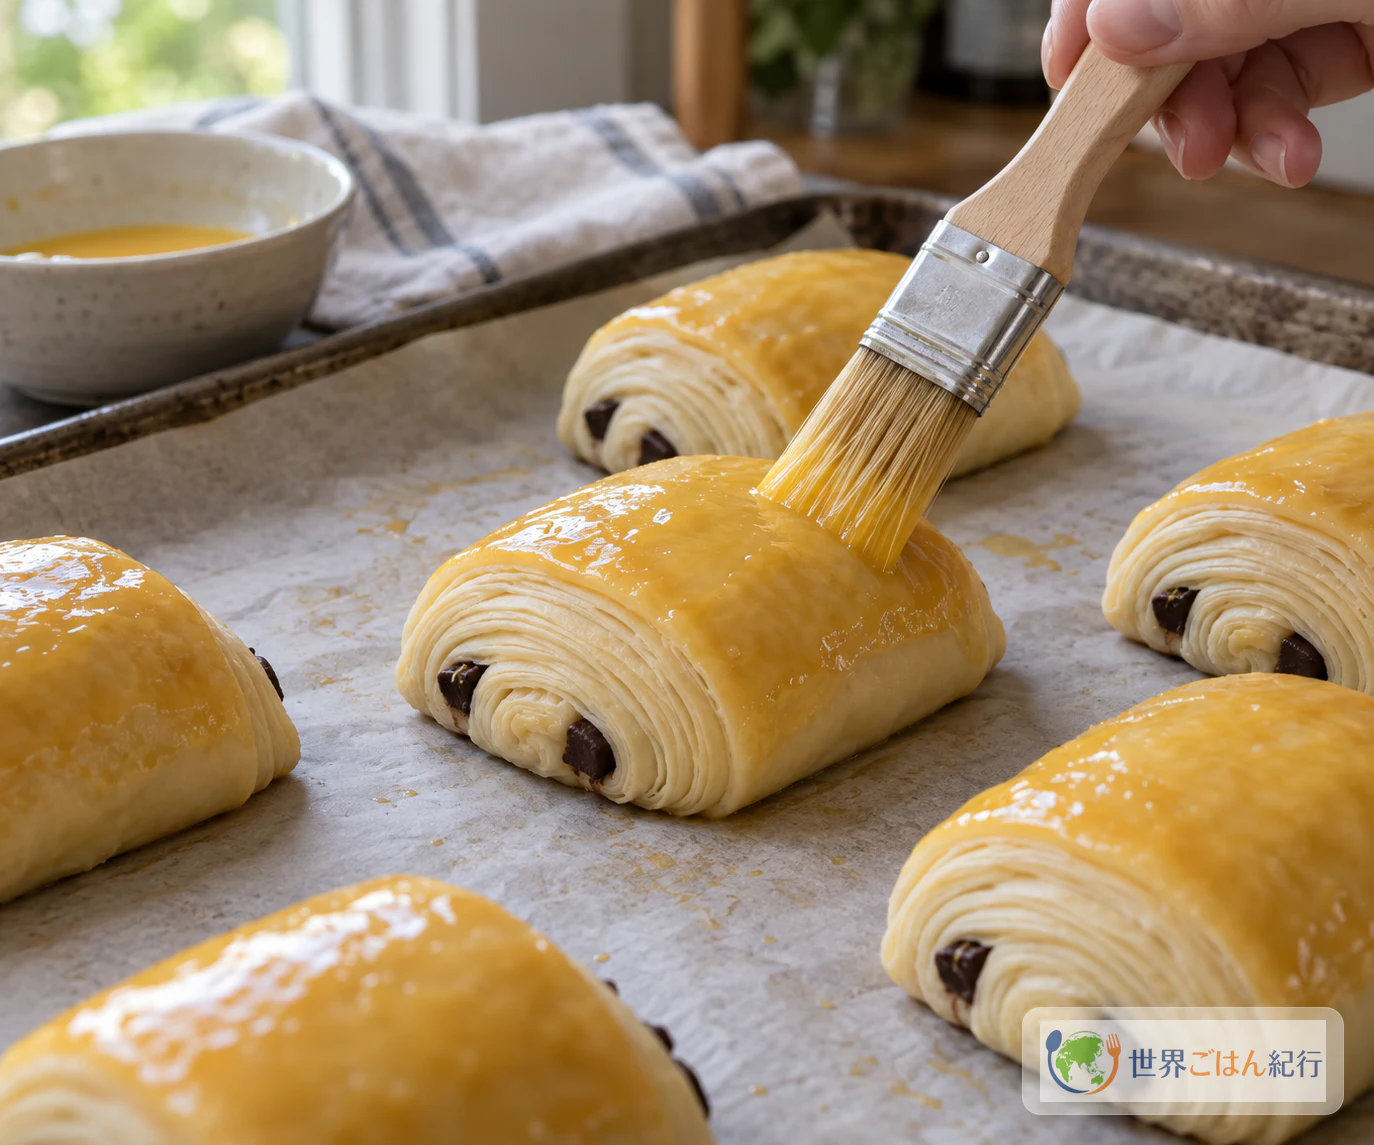
This pastry contains wheat, milk and egg. Chocolate products may contain milk, soy and other allergens, so read the labels on your batons, including any statements about shared facilities and cross-contact. Do not taste raw dough or raw egg wash. Prepare the listed egg wash, but use only as much as needed for brushing; leftover wash should never be poured over the pastries.
Choosing Flour, Butter and Chocolate
Flour. Use croissant flour (T55 type) with roughly 11–12% protein and plain flour with roughly 9–10%. Flour names alone do not tell you how a product behaves, so check the protein figure on the label rather than assuming a flour is equivalent. If you only have strong flour, you can replace both dough flours with 500g strong white bread flour and 500g plain flour. Different flours absorb water differently, and that difference has not been tested here.
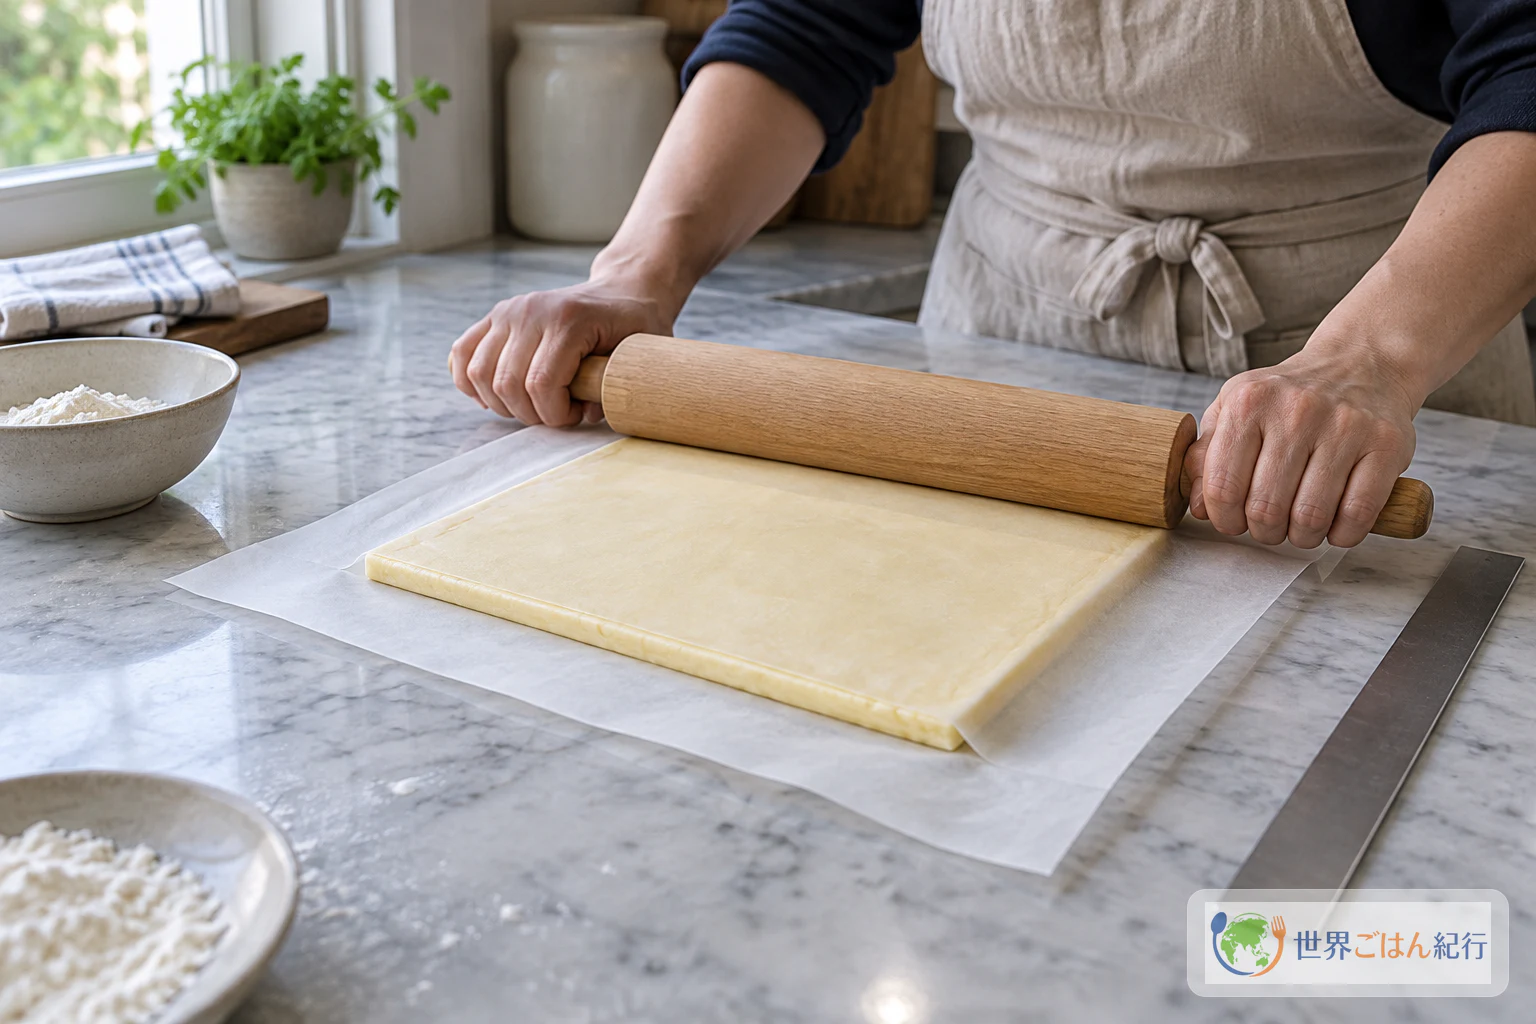
Butter block. Professional laminating butter (such as Isigny Ste-Mère A.O.P.) is the first choice. This article uses the alternative instead: 500g regular unsalted butter mixed with 50g flour. If you do use professional sheet butter, do not add the 50g of flour to it. The regular-butter block may melt in the mouth a little differently from a professional sheet.
Chocolate. Look for chocolate batons made for baking, so each pastry gets an even core. Cutting a chocolate bar into strips of similar width is an option, but its thickness and melting behavior in the oven have not been tested.
Yeast. Use fresh yeast as listed. No conversion to dried yeast is given here.
Batch size. This is a large batch. Before you start, check your mixer's flour capacity, your refrigerator space, and how many trays you have. Place about 6 pastries per tray across several trays; the batch is not meant to be scaled down or baked all at once without adjustment.
Equipment
- Stand mixer with a dough hook
- Rolling pin
- Ruler
- Bench scraper
- Pastry wheel or sharp knife
- Baking paper
- Several baking trays
- Pastry brush
- Digital thermometer, for the butter and the proofing environment
- Oven thermometer
- A heatproof container for hot water (for the proofing setup)
Method: Cold Dough, Pliable Butter, Patient Proofing
Your kitchen, flour and oven will differ, so treat every time and temperature below as a guide. When a time and the state of the dough disagree, go by the state: butter that bends without cracking, dough that has doubled and jiggles, a crust that is deep golden.
Start the dough and the butter block on the same evening. Both rest overnight in the refrigerator, and the folding, shaping, proofing and baking happen the next day.
When Things Go Wrong: Butter, Layers, Proof and Color
Most problems with laminated dough come back to temperature. When something goes wrong mid-process, the usual fix is to return to chilling rather than to push on.
| Problem | Likely cause | What to do |
|---|---|---|
| The butter cracks inside the dough | The butter is much colder than the dough | Wait a little until the butter is pliable and matches the dough before rolling again |
| Butter smears or leaks out | The dough or the proofing environment is too warm | Chill the dough between steps. During proofing, do not let the hot-water setup make the oven hot |
| The layers are squashed | Too much dusting flour, heavy pressure, or butter melting | Use the minimum flour and roll evenly with steady, moderate pressure |
| The pastries stay small | Underproofed | Do not judge by time alone. Wait until they have doubled and jiggle |
| The color is pale or the base is heavy | Oven temperature or baking time off for your oven | Follow the set temperature and the deep-golden guide, and observe how your oven behaves |
Variations Without Changing the Core Recipe
- Two batons instead of three. Bakers vary the number of batons. Using two changes the chocolate ratio and is a different version from the three-baton recipe above.
- Professional sheet butter. If you can find laminating butter, use 500g of it for the block and leave out the 50g of flour.
- Bread flour blend. Replace both dough flours with 500g strong white bread flour and 500g plain flour, as the source allows.
- Bar chocolate. Cut a chocolate bar into strips of matching width. This is outside the source and has not been test-baked; thickness and melting may differ.
- Compare the crumb. Once the pastries have cooled, break one open and look at the layers and the chocolate. This changes nothing in the recipe, but it shows how well your lamination held.
Serving and Keeping
Serve the pastries once they have cooled, for breakfast or as an afternoon goûter, with black coffee if you like. They are at their best on the day they are baked. No safe room-temperature storage period is given here. If you want to keep some, freezing is a way to hold their quality; warm them in the oven before eating to bring the layers back to life.
Frequently Asked Questions
Are pain au chocolat and chocolatine different pastries?
No. They are the same kind of pastry. Chocolatine is the name used in southwestern France, while pain au chocolat is used in much of the rest of the country, with other regional names besides.
Why chill the dough overnight?
The source recommends 8–15 hours in the refrigerator (its author uses 12). The long cold rest develops flavor and gives you a cold, firm dough for laminating the next morning.
Can I make the butter block with ordinary butter?
Yes. The source's alternative to professional laminating butter is 500g regular unsalted butter mixed with 50g flour, which is the version used in this article.
How many chocolate batons go in each pastry?
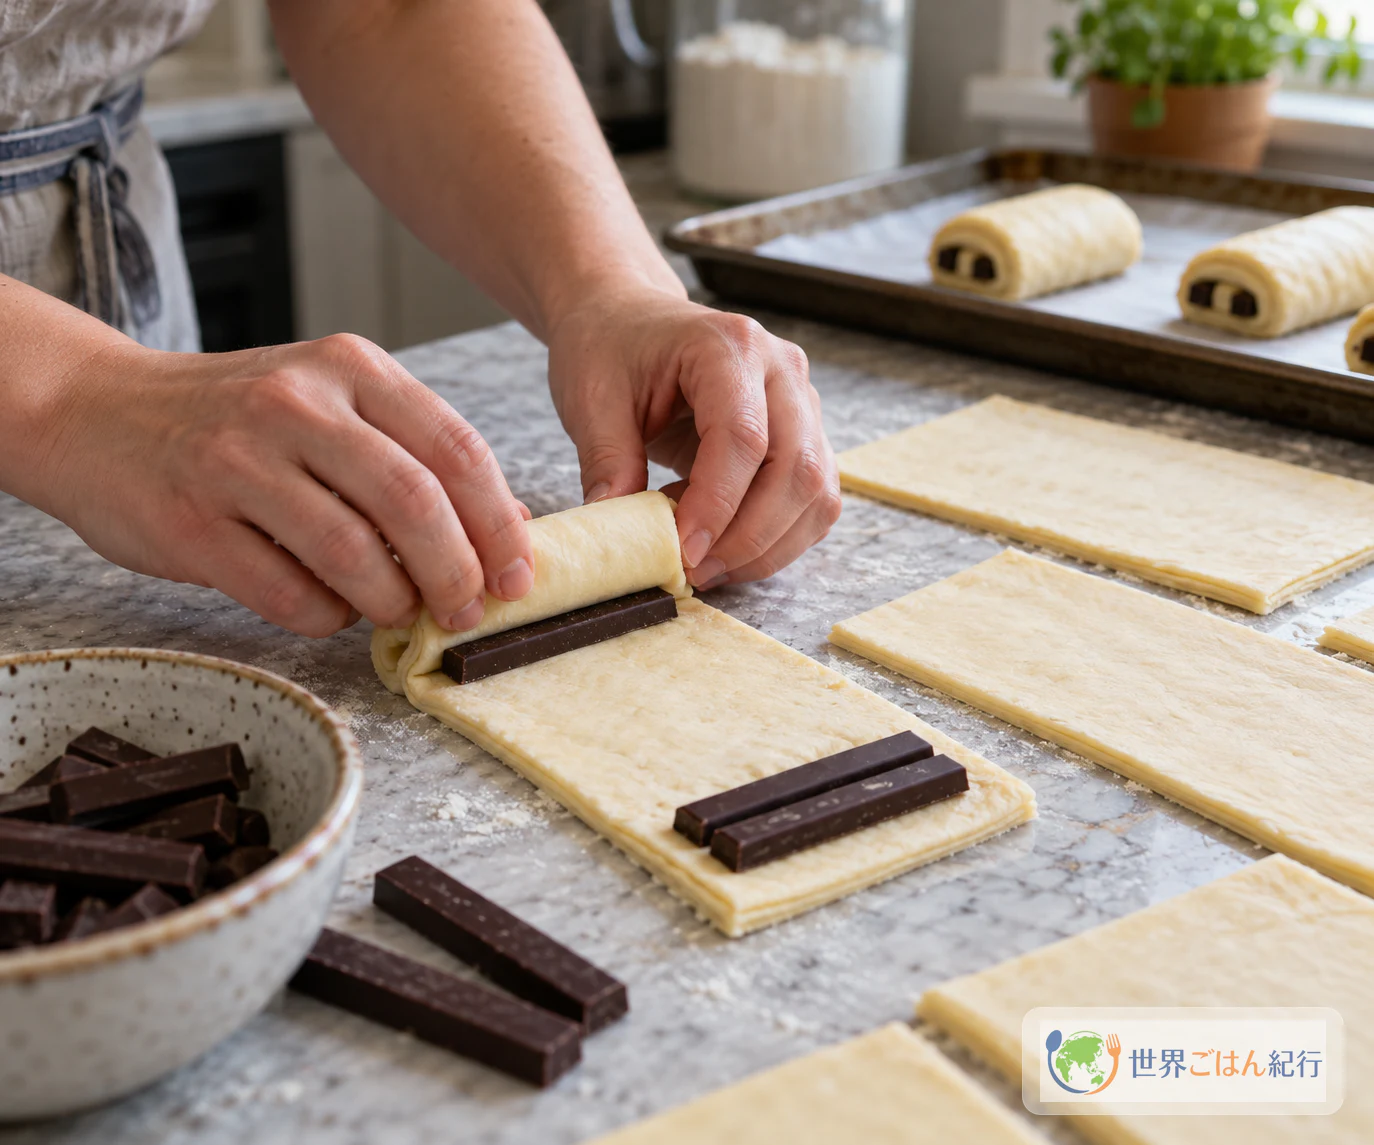
Bakers differ on this, but this recipe uses three per pastry: two rolled in at the starting edge and one at the first overlap.
How long does the final proof take?
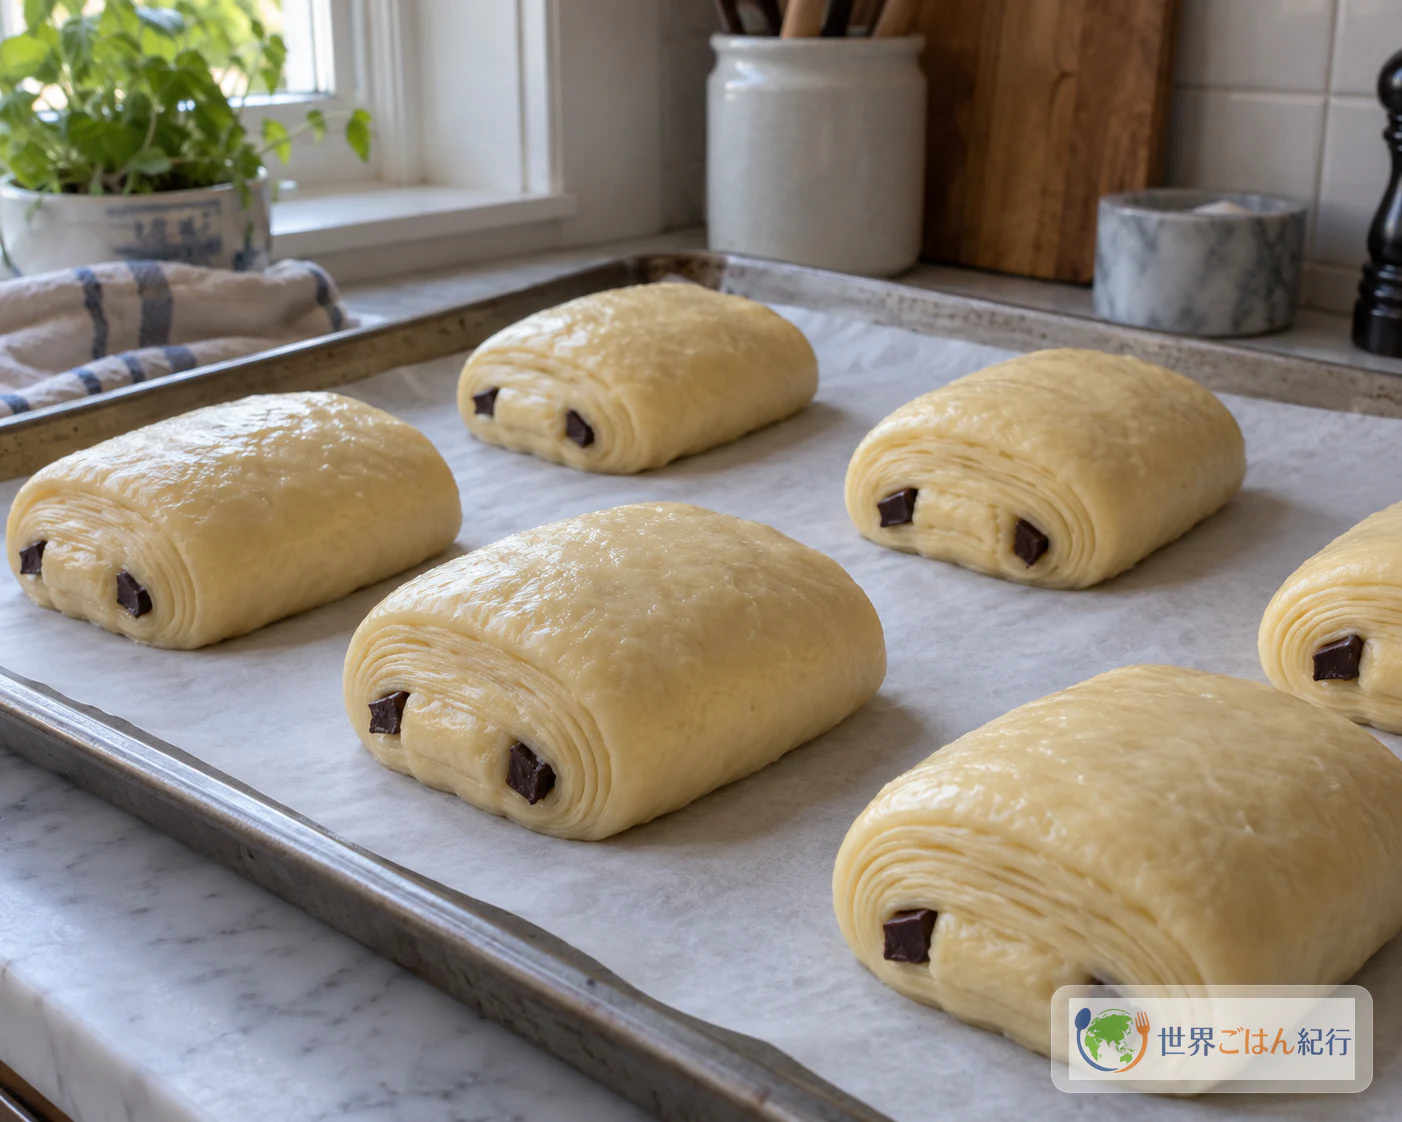
About 2.5–3 hours as a guide, and sometimes as long as 5 hours depending on conditions. Room temperature varies a lot, so the real test is that the pastries have about doubled, look puffy and jiggle gently.
Sources
- Matt Adlard / Bake It Better, "Pain Au Chocolat (Tier 1 recipe PDF)." The recipe followed here: all ingredient weights and temperatures, kneading, cold fermentation, butter block and folds, shaping dimensions and three-baton filling, final proof, egg wash, and baking temperature and time. https://mattadlard.com/wp-content/uploads/2021/08/Tier-1-Pain-Au-Chocolat.pdf
- Confédération Nationale de la Boulangerie-Pâtisserie Française, "Dossier de presse: Master du Pain au Chocolat." The pastry's laminated yeasted dough and chocolate batons, variation among bakers, the pain au chocolat / chocolatine naming, breakfast and goûter occasions, and the unsettled question of its origins. https://boulangerie.org/wp-content/uploads/Dossier-de-presse-Master-du-Pain-au-Chocolat-2023.pdf
- Le Pain Français, "Pain au chocolat ou chocolatine : ce que dit l'histoire." The combination of fermentation and tourage in the dough, the regional naming of one pastry, and the competing, unconfirmed explanations for the word chocolatine. https://lepainfrancais.fr/culture-pain/pain-au-chocolat-ou-chocolatine/