Focaccia Genovese: Genoa-Style Flatbread with Brine and Olive Oil in the Dimples (Fügassa)

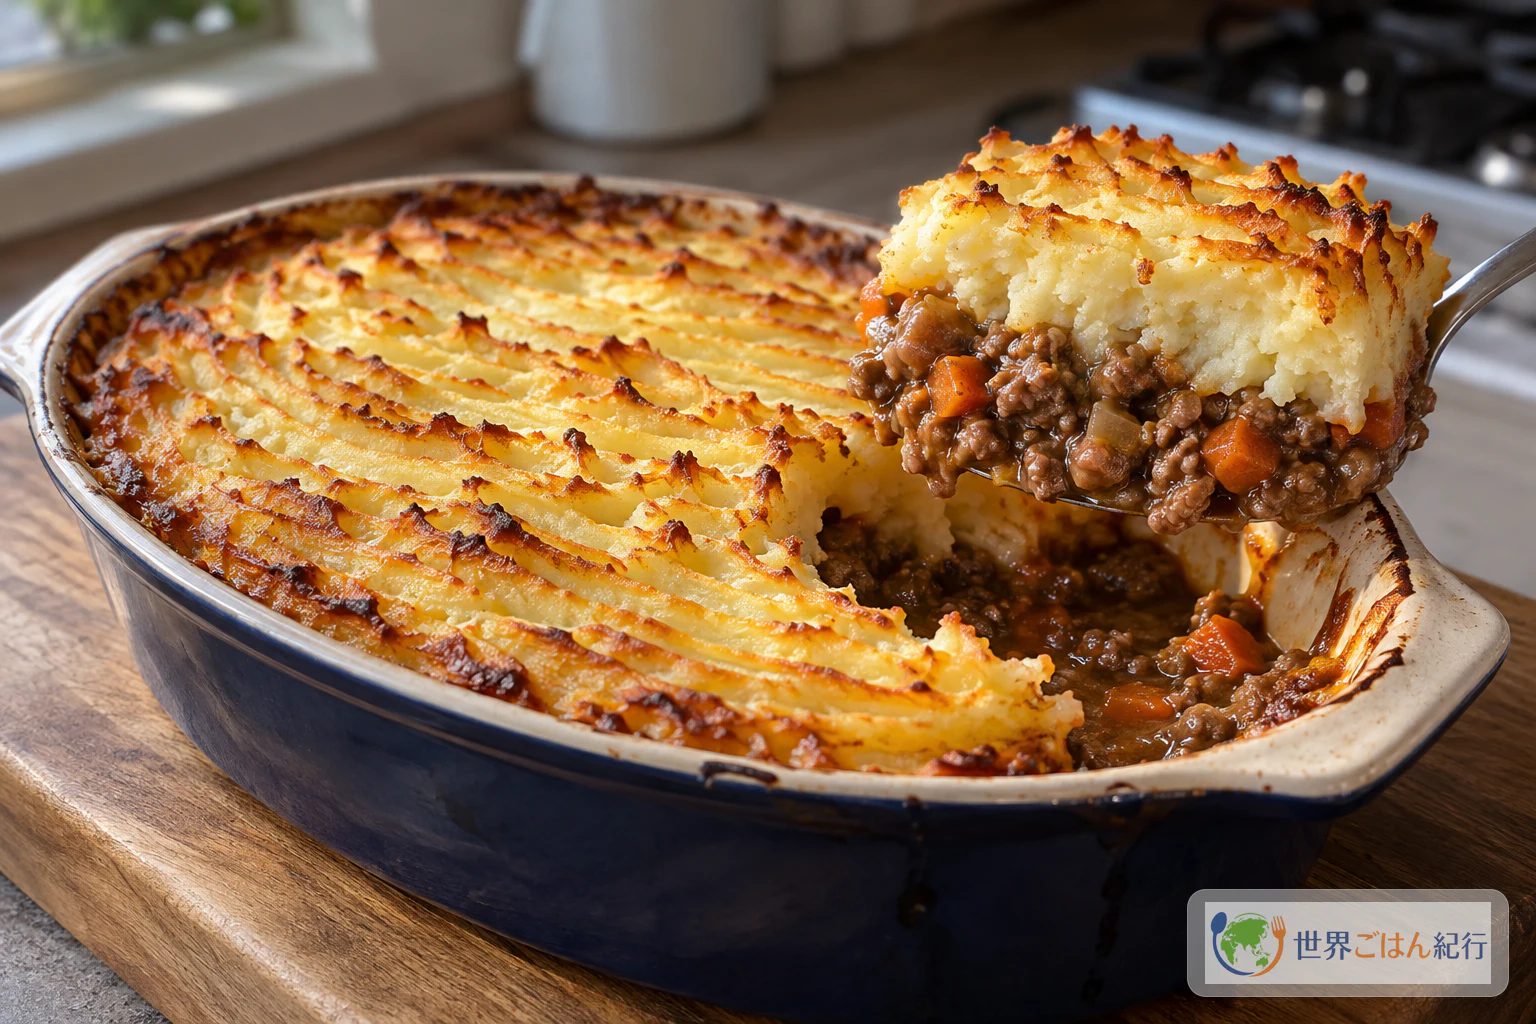
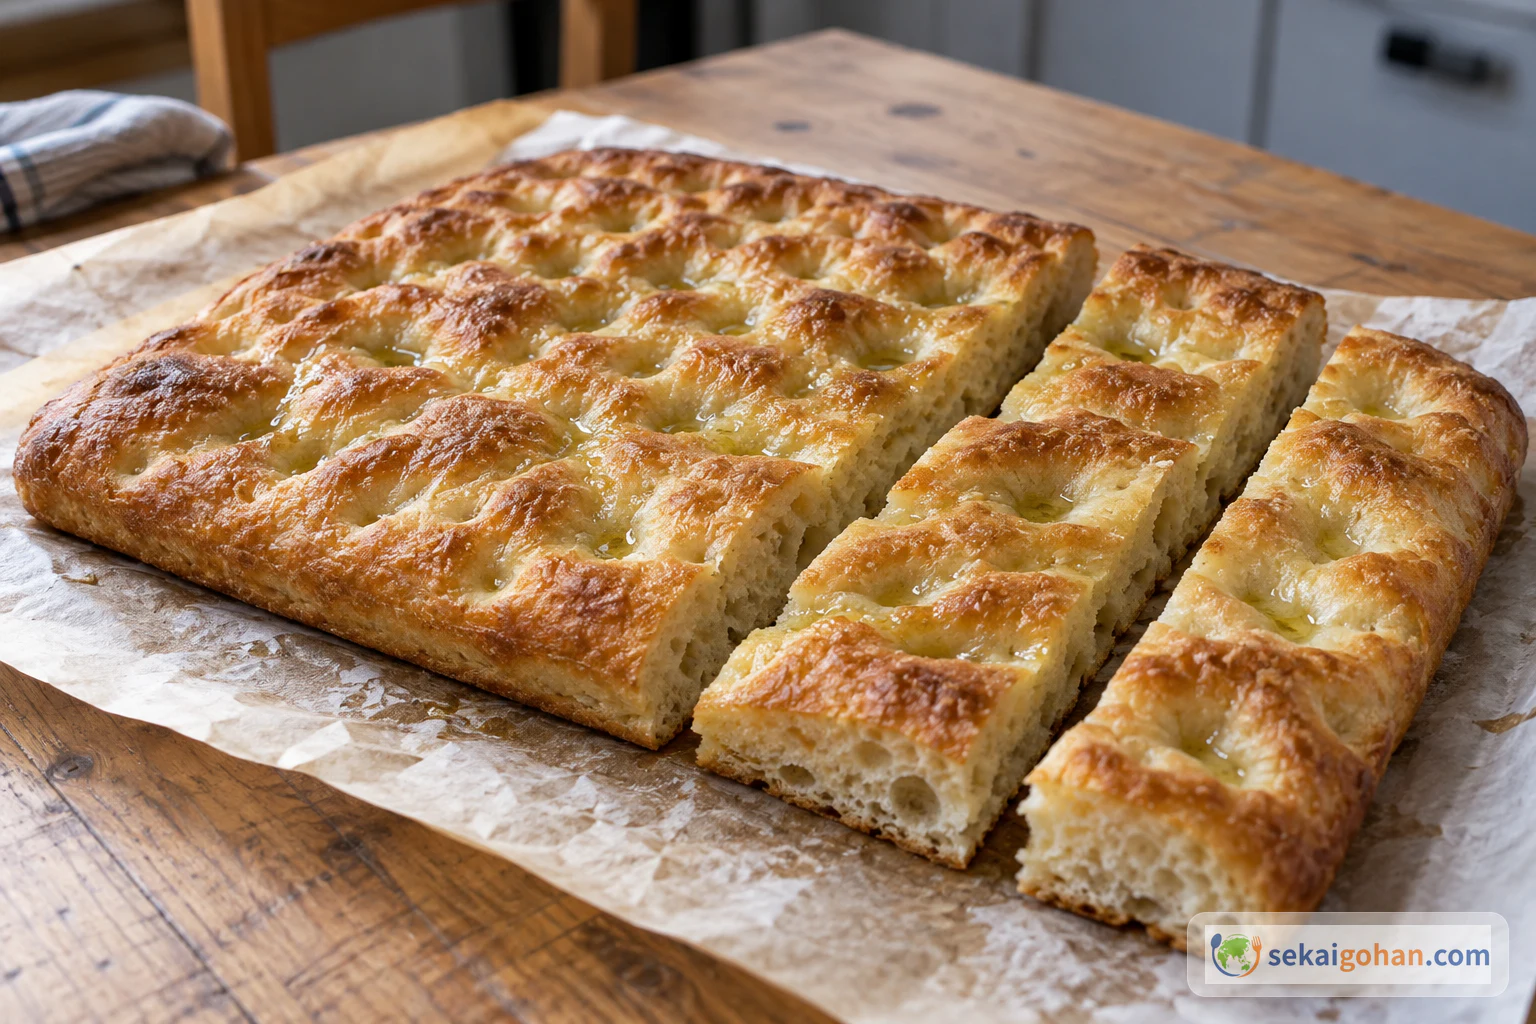
Genoa-style focaccia with olive oil and brine glistening in the dimples on its surface
Serves
2 trays (30 × 40 cm each)
Cuisine
Italian (Ligurian)

How to make Genoa-style focaccia (fügassa) in two 30 × 40 cm trays, following one published Genoese formula with tipo 00 and Manitoba flour, malt and fresh yeast. Covers three-finger dimples, why brine and olive oil go on top, how to read each rise, flour substitutions, troubleshooting, and how the bread is eaten in Genoa.

Cooking flow

Cooking steps

STEP 11 / 9

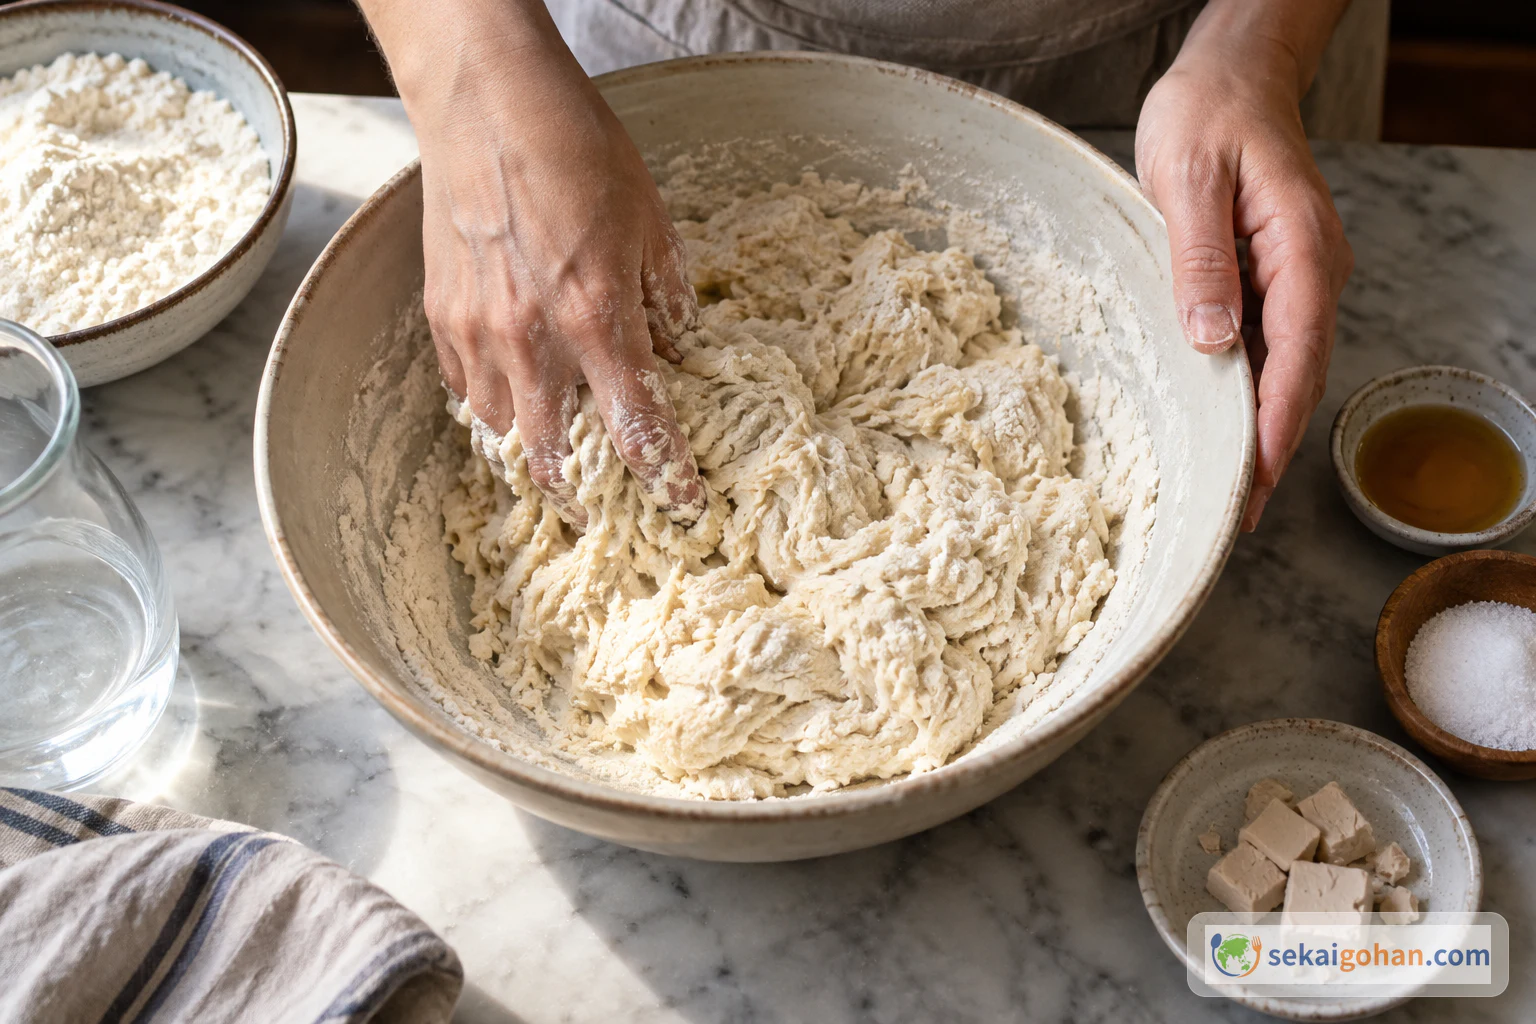
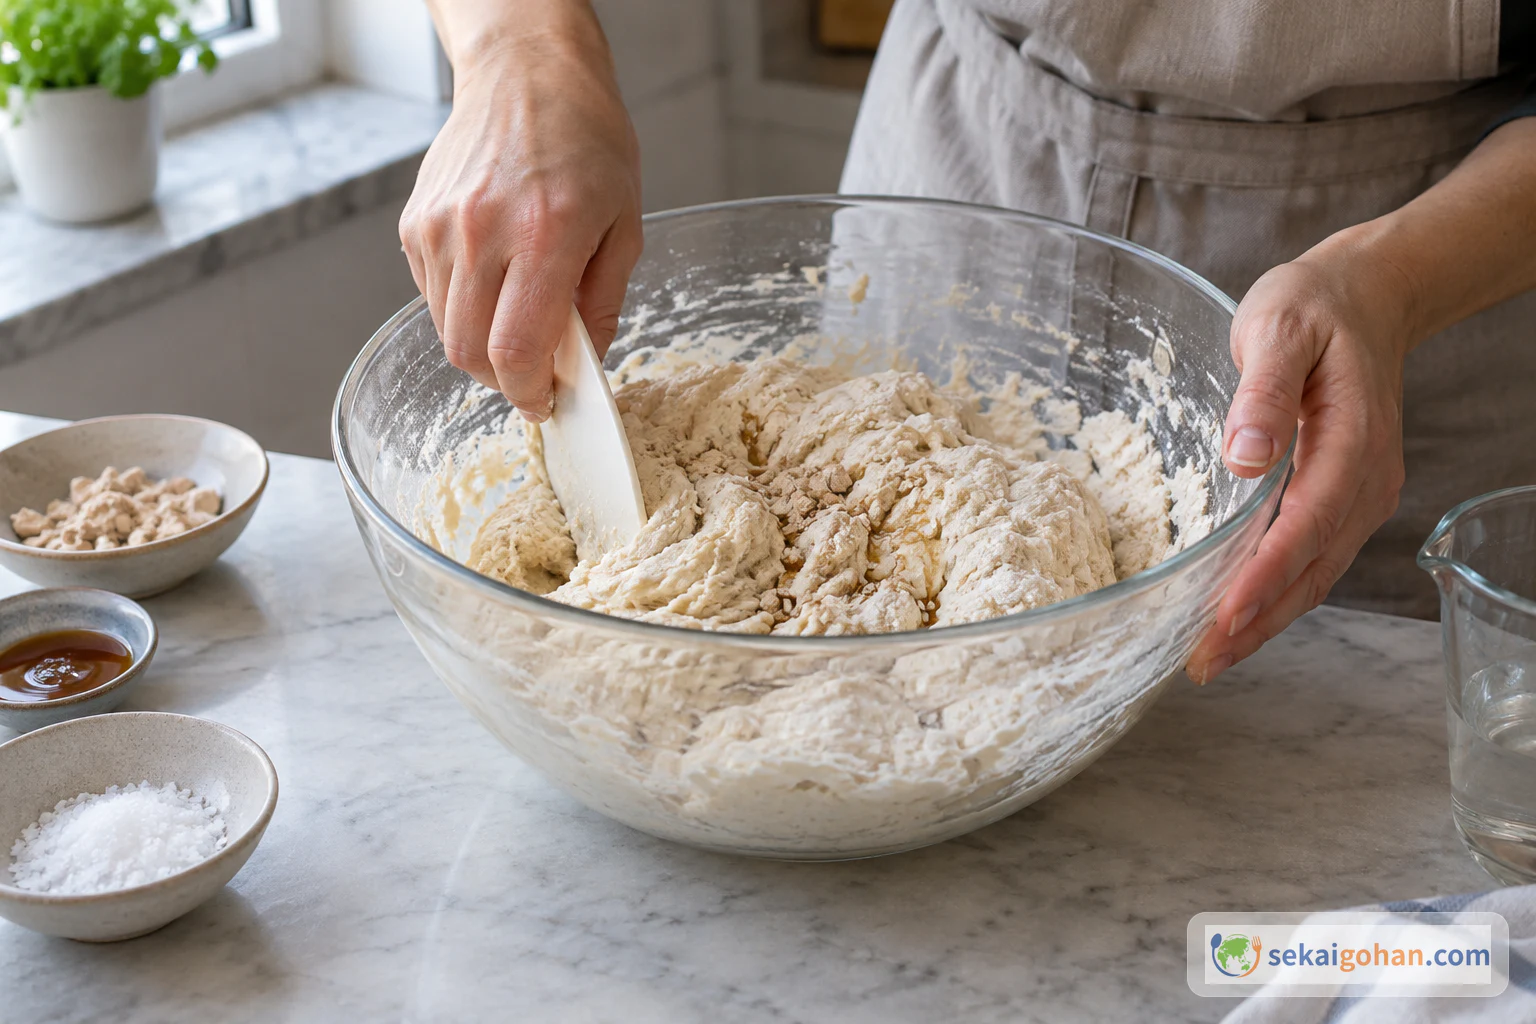
Mix the two flours with most of the water

Two kinds of flour mixed with water, beginning to form a rough dough
Flour and most of the water first; salt, malt and yeast wait until the next step

In a large bowl, combine the 14 oz (400g) tipo 00 flour and 9 oz (250g) Manitoba flour. Pour in most of the 12 oz (335g) room-temperature water, holding back a little, and mix until the flour has taken up the water and you have a rough, shaggy mass. It will look uneven at this stage; that is expected.

STEP 22 / 9

Add the malt and salt, the rest of the water, then the yeast

Dough beginning to come together after adding malt, salt, the remaining water and yeast
The yeast goes in after the salt, then everything is worked into one dough

Add the 10g malt and 13g salt, then the remaining water, and work it in. After that, crumble in the 18g fresh yeast: salt goes in before the yeast. If some dry patches remain while mixing, don't reach for more flour straight away; keep working the dough and let the water distribute.

STEP 33 / 9

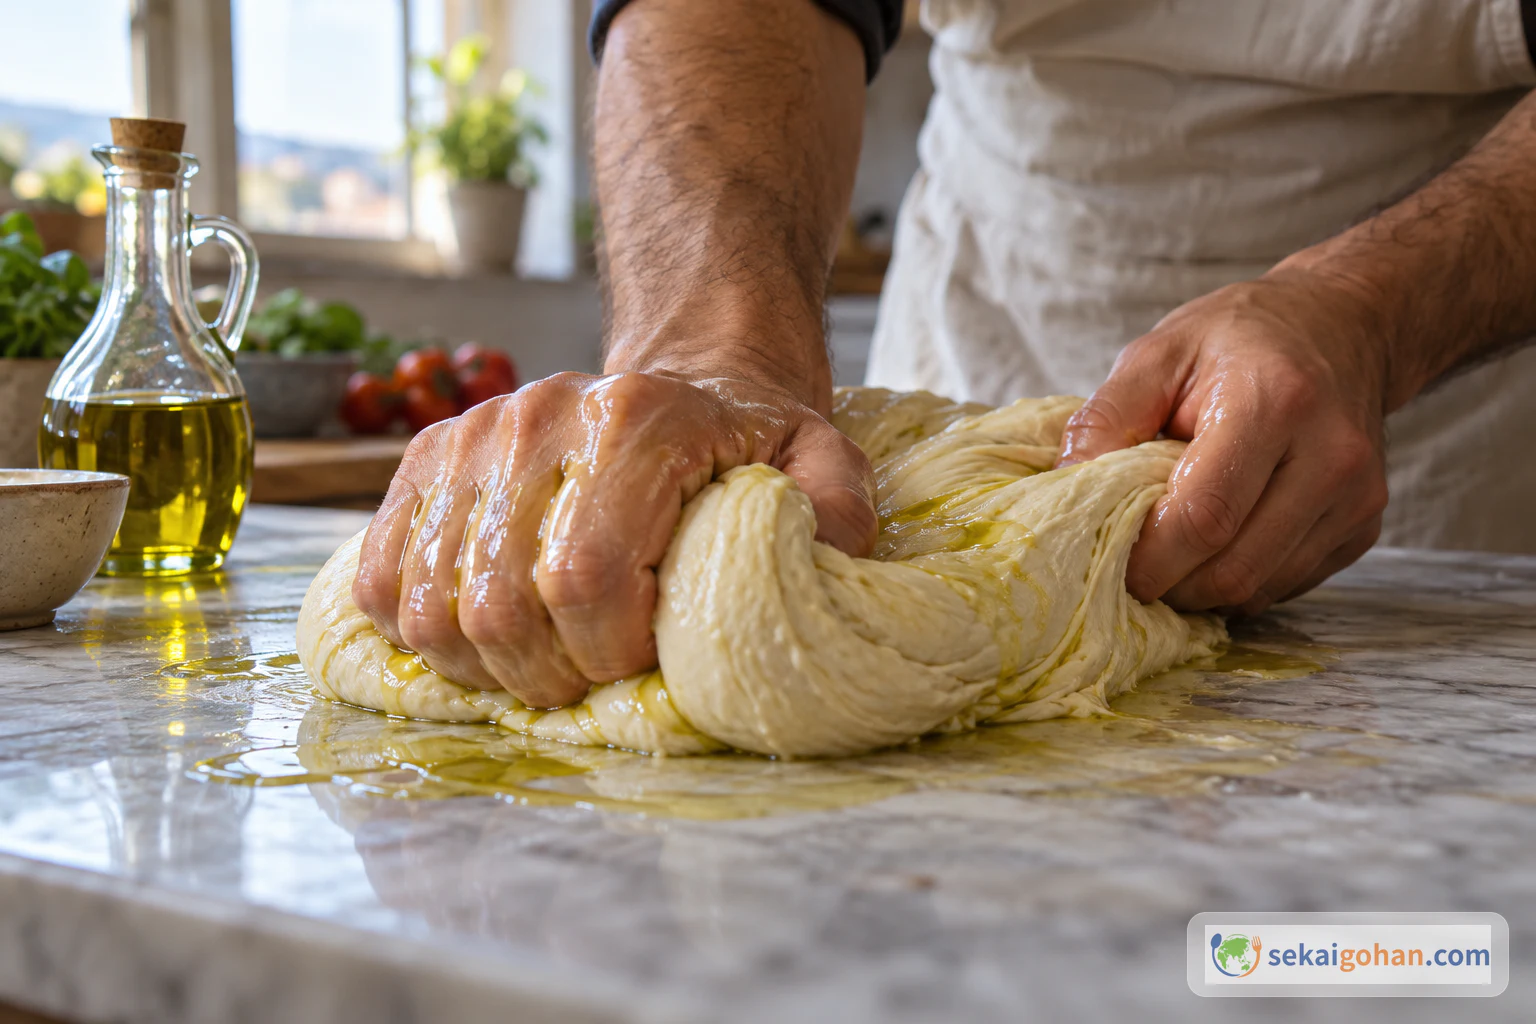
Knead hard, then work in the dough oil

Kneading the dough as it absorbs the olive oil
Keep kneading until the oil is absorbed and the dough turns smooth and elastic

Turn the dough onto the work surface and knead vigorously, pushing it out and folding it back, to build gluten. When it begins to come together evenly, add the 1 oz (30g) dough oil and keep kneading until it has been fully absorbed. Knead for 13–15 minutes, judging by the dough: it should be smooth and elastic, with no slick of oil left on the outside.

A light dusting of flour on the surface is fine if the dough is hard to handle. Just don't keep adding flour; that changes the formula.

STEP 44 / 9

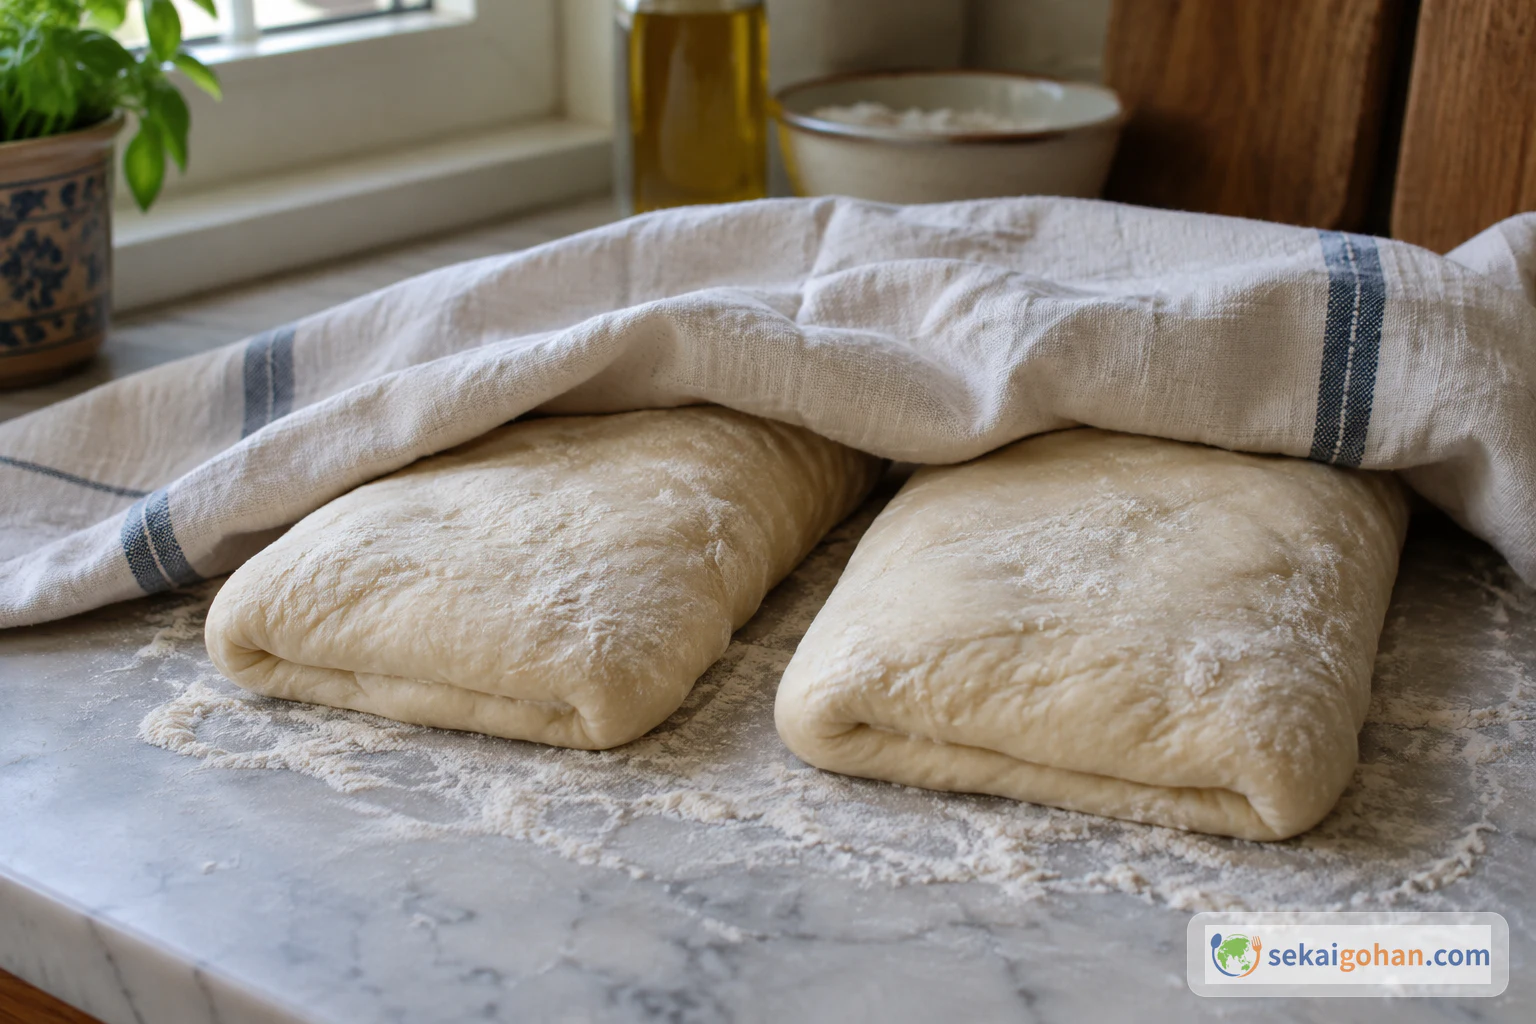
Divide, fold in three and rest

The rested dough divided in two, folded and covered
Two equal pieces, each folded in three and covered so the surface doesn't dry

Divide the whole dough into two equal pieces, each about 1 lb (500g). Shape each piece into a rectangle, fold it in three, and set it seam-side down. Cover with a cloth and rest for about 30 minutes.

STEP 55 / 9

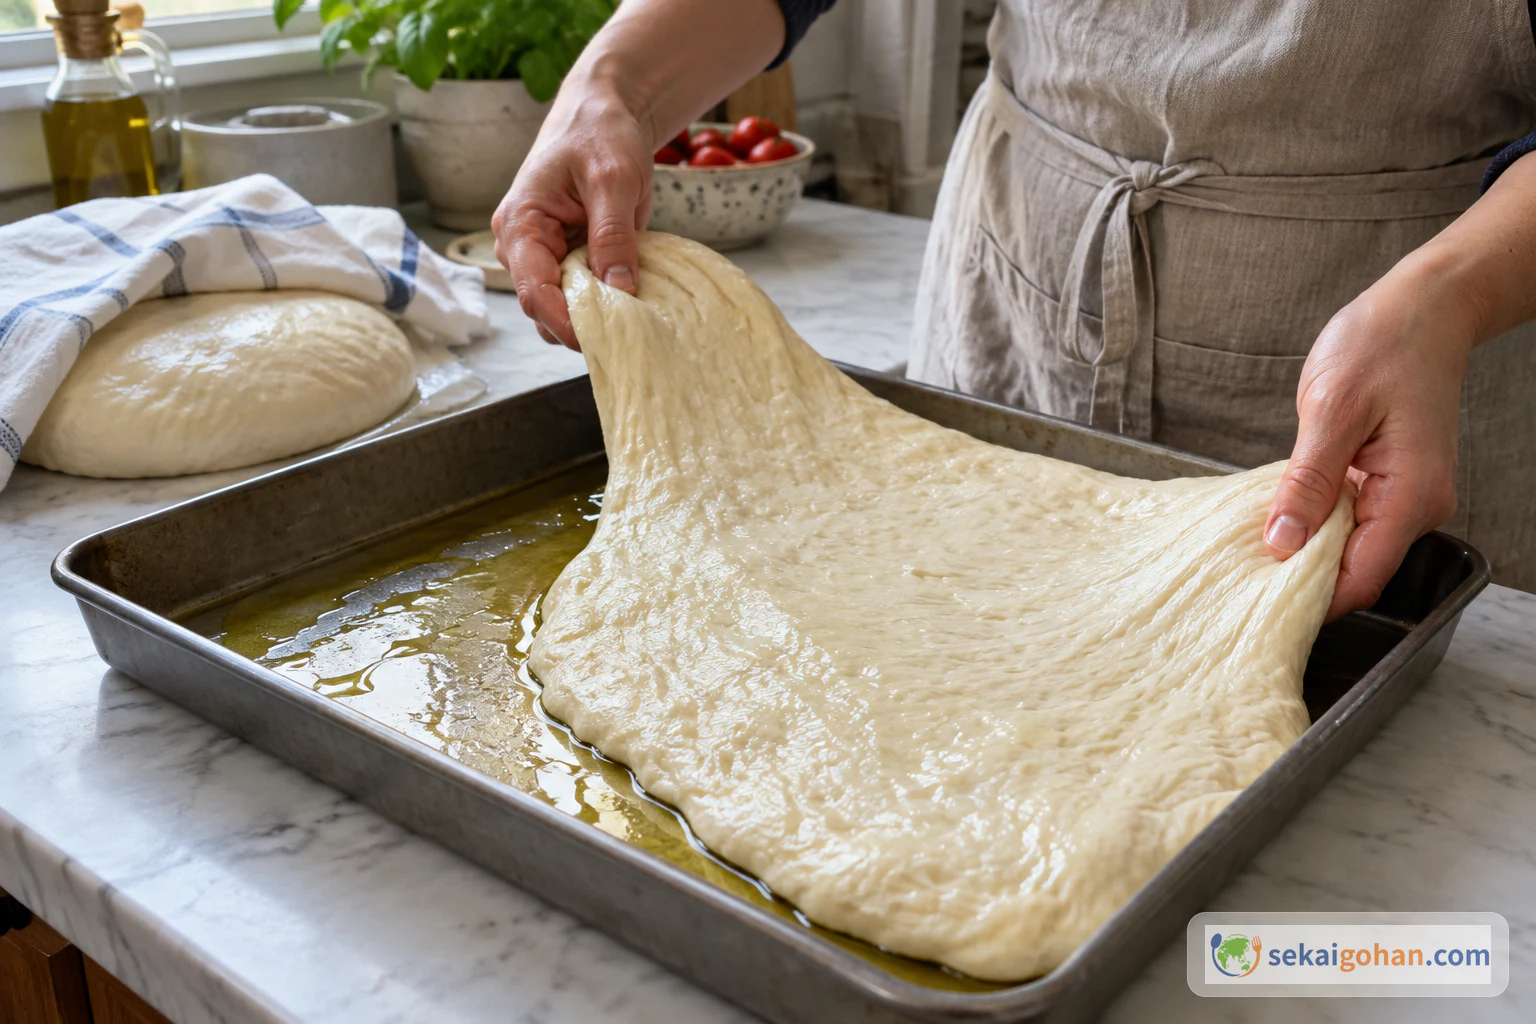
Oil the trays and stretch the dough to 70–80% of the tray

Stretching the dough and moving it to an oiled tray
At this stage the dough covers most of the tray, not all of it

Spread 15g olive oil over each tray. Using your fingers and the rolling pin, stretch one piece of dough and lay it in a tray, covering about 70–80% of it. Do the same with the second piece. Cover both and rest for 20–30 minutes. The dough will resist at first; the rest is what lets it go further next time.

STEP 66 / 9

Stretch to the edges, keep a rim, and rest about an hour

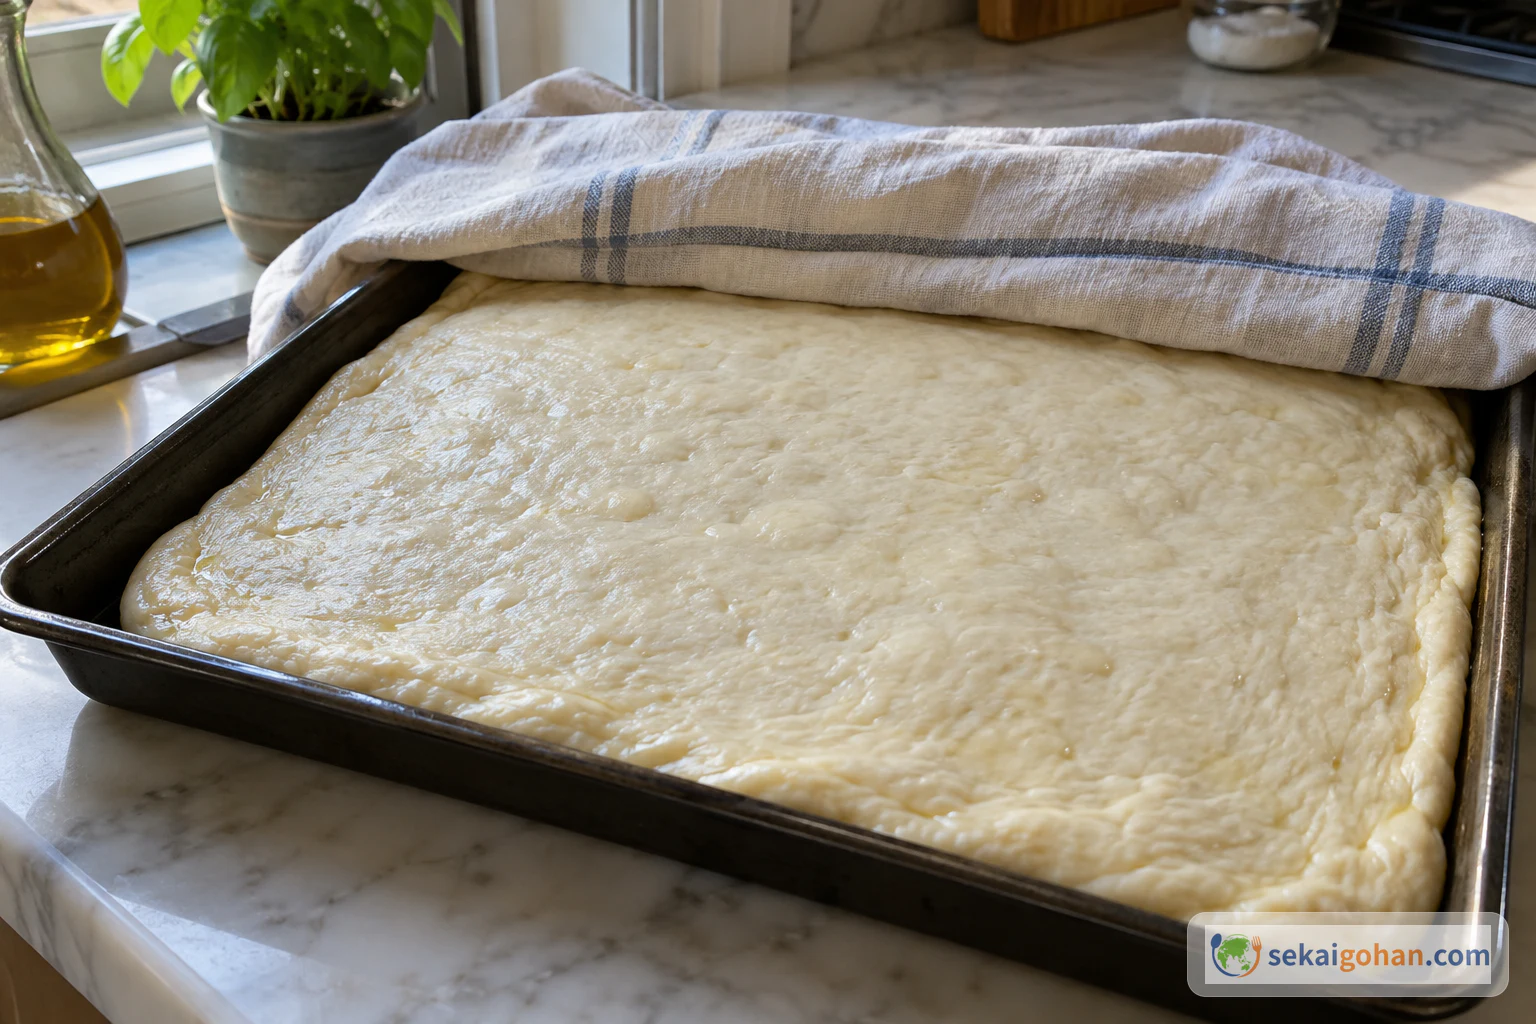
Dough stretched to the edges of the tray with a rim, resting under a cloth
Smooth, undimpled dough resting at the edges of the tray before dimpling

Gently stretch each piece all the way to the edges of the tray, leaving a slightly raised rim around the outside. Make sure the dough sits flat against the oiled tray; that keeps the liquid you add later on top of the bread instead of running underneath it. Cover with a cloth and let rest for about 1 hour.

STEP 77 / 9

Press dimples with three fingers

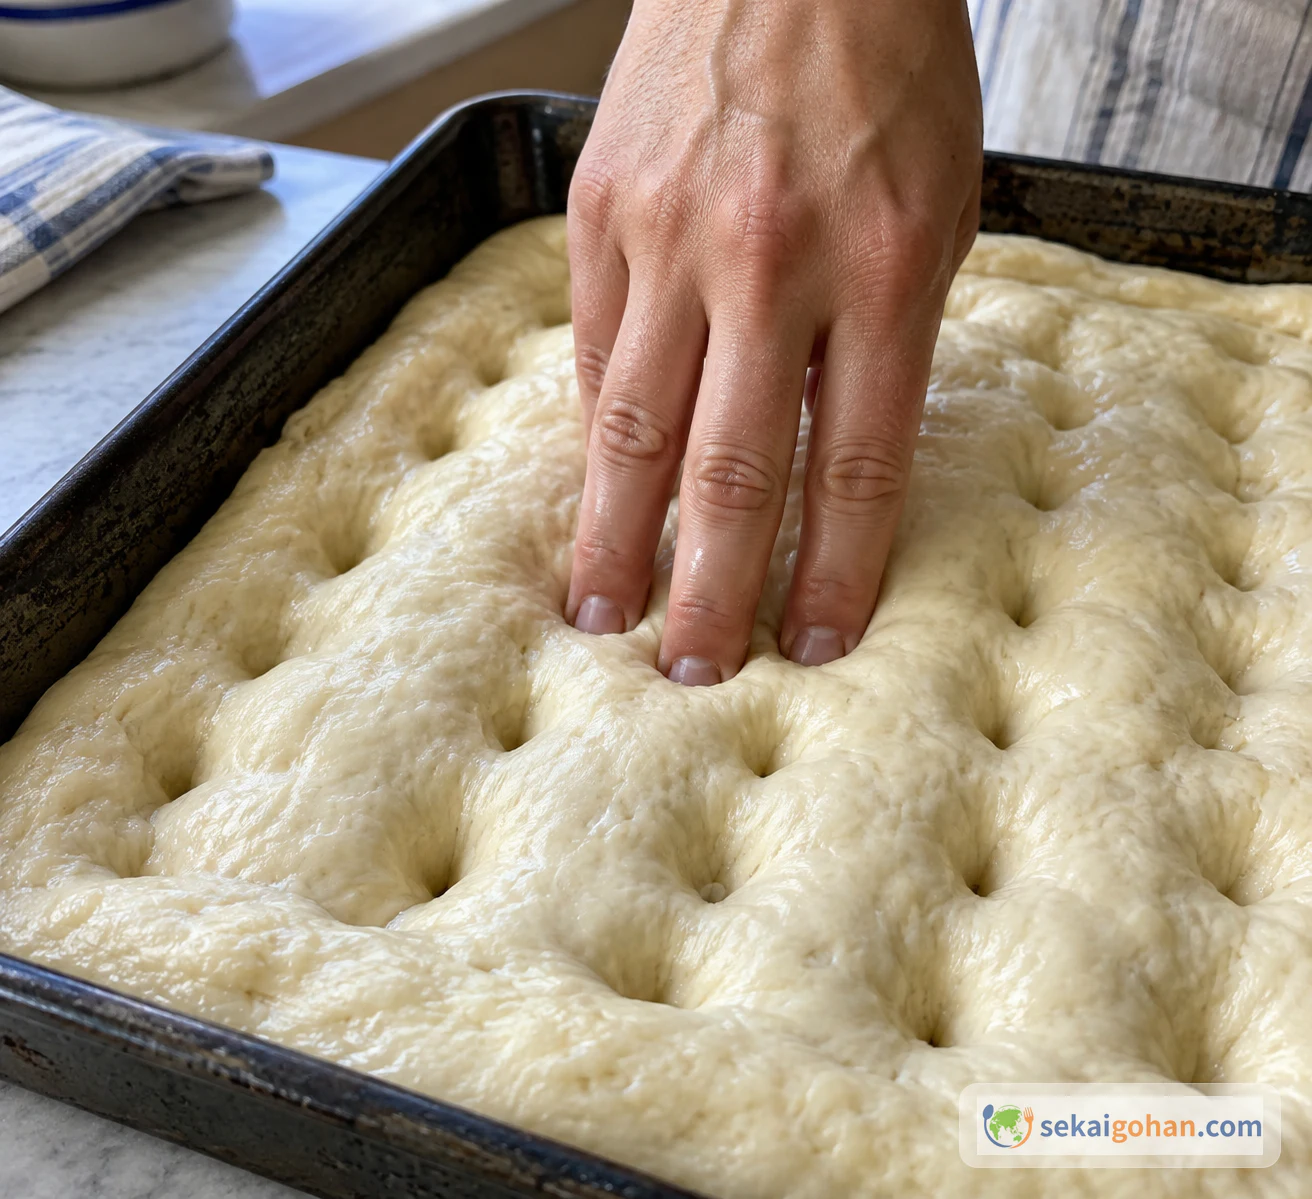
Pressing close-set dimples into the dough with three fingers
Three fingers, slightly angled, about 1 cm apart, without tearing the dough

Hold three fingers together at a slight angle and press them into the dough to make dimples about 0.5 inches (1 cm) apart, row after row across the surface. Press firmly but don't go through the dough to the tray. These three-finger dimples are closer together and more regular than the scattered holes of many other focaccia recipes.

STEP 88 / 9

Add the surface oil and brine, then the final rise uncovered

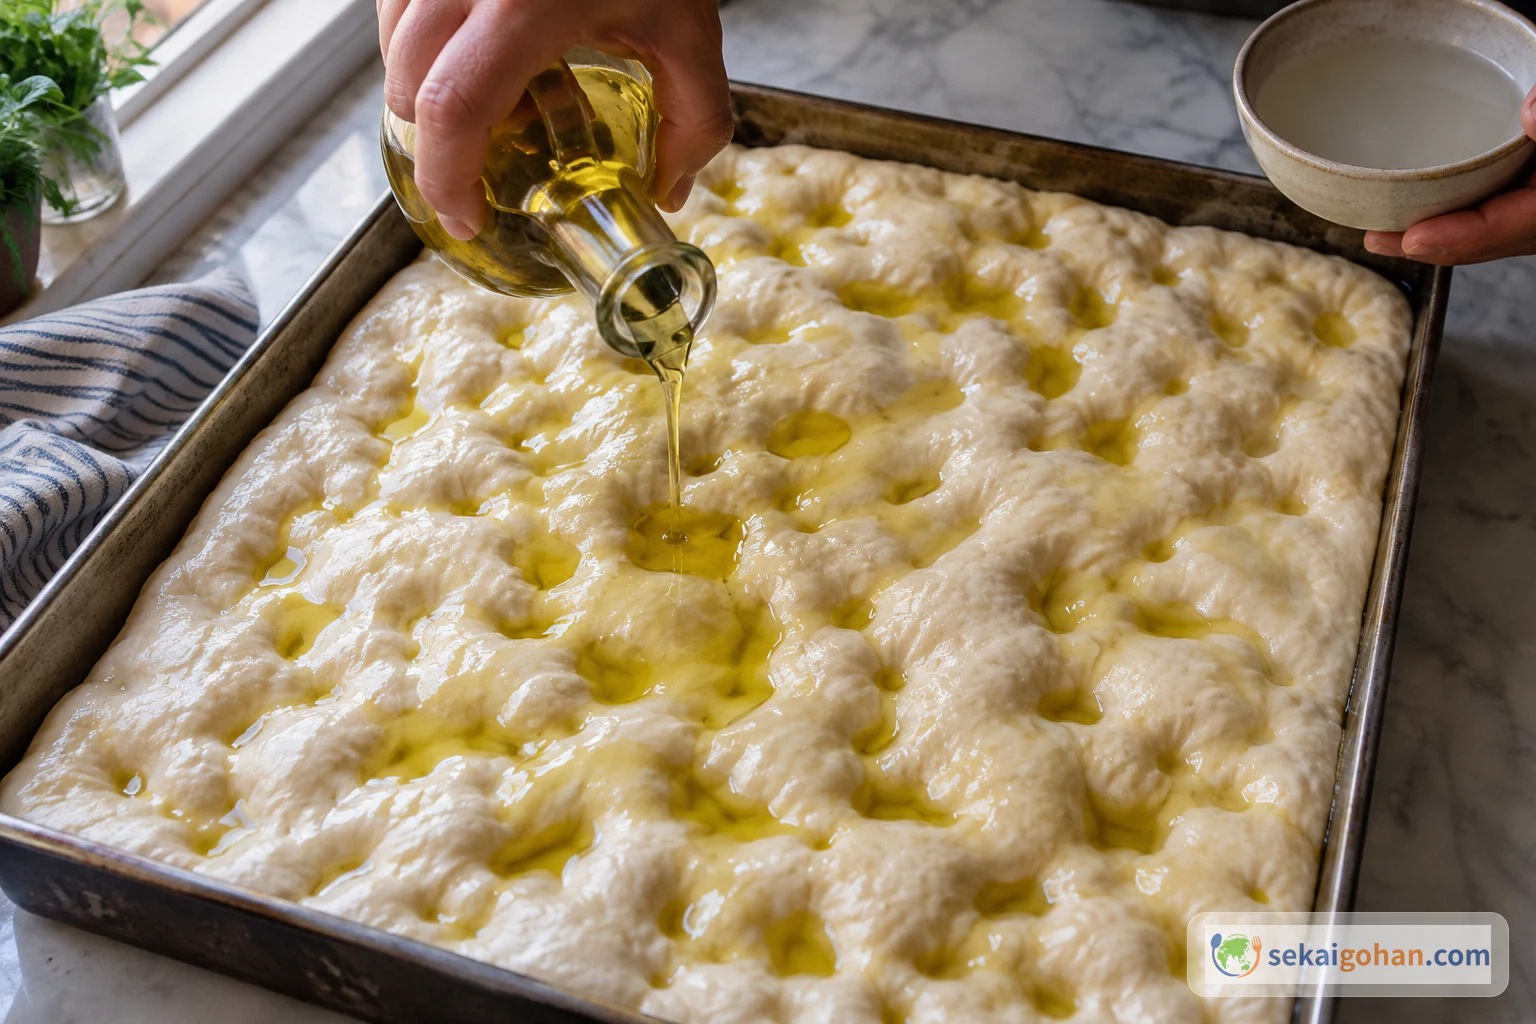
Unbaked dimpled dough with olive oil pooling in the dimples
Oil pooling in the dimples of the pale, unbaked dough; the brine goes on at this same stage

Stir the 7 oz (200g) water and 10g salt together until the salt dissolves. Over each tray, pour 1 oz (30g) of the surface olive oil and about 3.25 oz (90g) of the brine, letting the liquid settle into the dimples. Stop once the dimples are holding liquid; the leftover brine does not all need to go on. Leave the trays uncovered for the final rise, 40–45 minutes.

STEP 99 / 9

Bake at 450°F (230°C) until golden

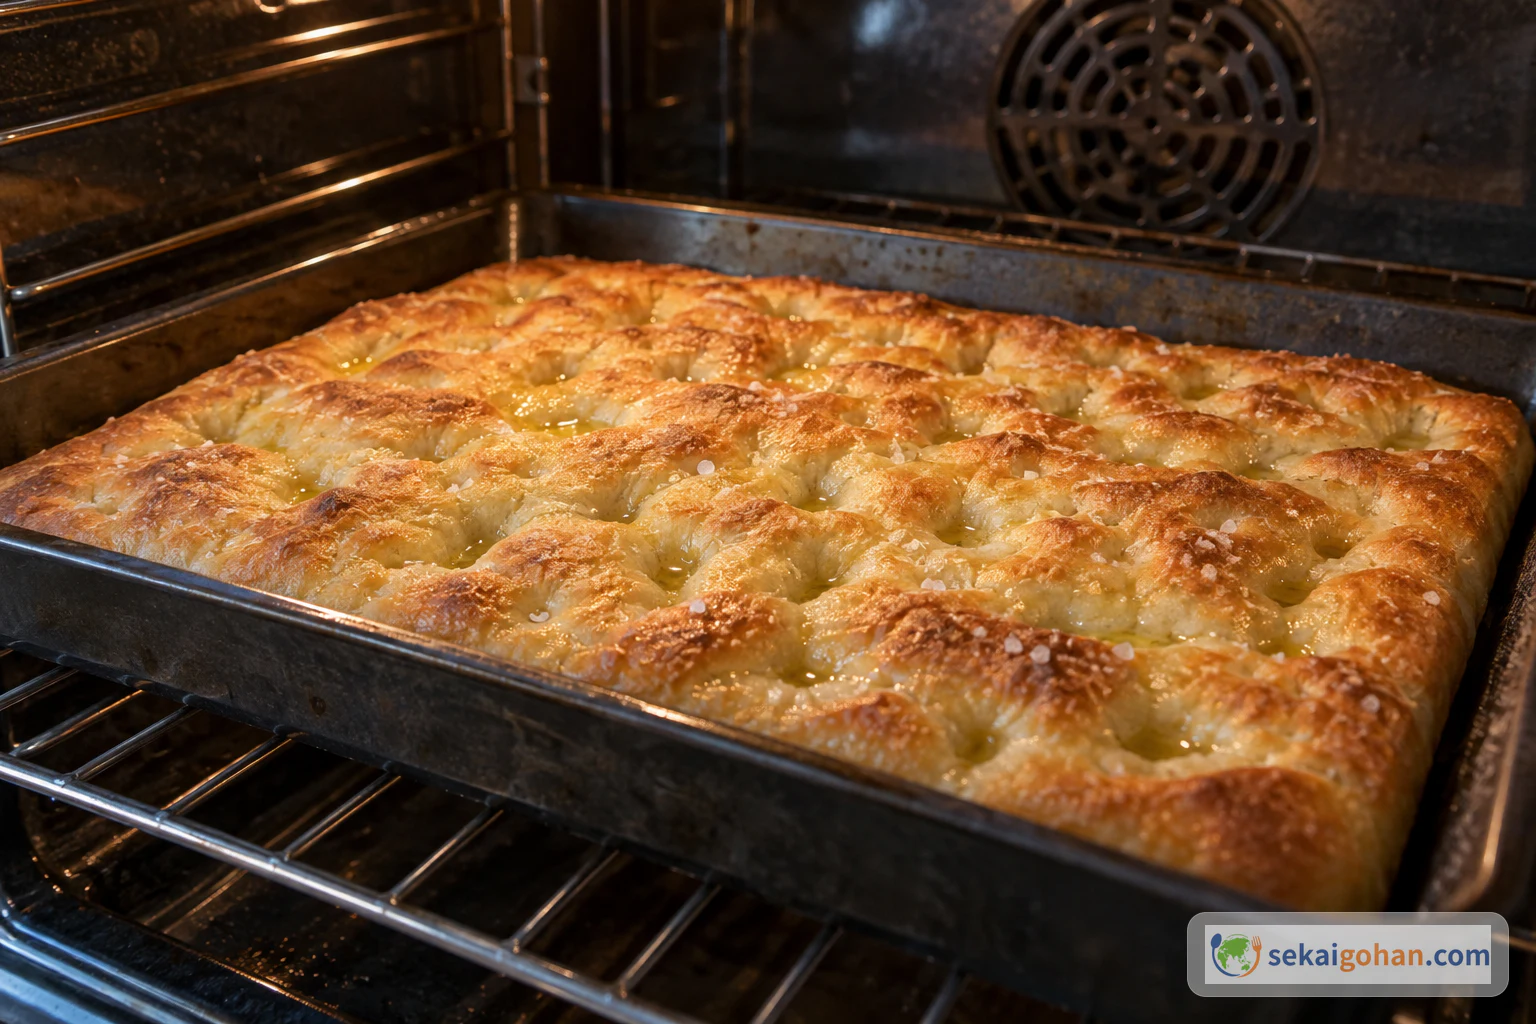
Focaccia baked golden in a home oven; the recipe calls for 230°C
Judge doneness by an even golden top rather than by the clock alone

Bake in an oven preheated to 450°F (230°C) on the static (conventional) setting for about 15 minutes. Ovens vary, so use the color as the endpoint: take the focaccia out when the top is evenly golden. If your oven fits only one tray, bake them one after the other. Let the focaccia sit for a few minutes before cutting.

0 / 0
Ingredients

Ingredients

1 / 3

Dough

Ingredient Amount Role and notes
Tipo 00 flour 14 oz (400g) A 00 flour of W280. "00" is an Italian milling/refinement grade, not a synonym for cake flour or bread flour
Manitoba flour 9 oz (250g) A strong Manitoba flour of W400
Water, room temperature 12 oz (335g) Most goes in first; the rest is added with the malt and salt
Fine salt 13g For the dough
Malt 10g For the dough
Fresh brewer's yeast 18g Crumbled; added after the salt
Extra-virgin olive oil 1 oz (30g) Kneaded into the dough
2 / 3

Trays and surface

Ingredient Amount Role and notes
Extra-virgin olive oil, for the trays 1 oz (30g) 15g per tray
Extra-virgin olive oil, for the surface 2 oz (60g) 1 oz (30g) per tray, poured over the dimpled dough
3 / 3

Brine

Ingredient Amount Role and notes
Water 7 oz (200g) Mixed with the salt below
Salt 10g Dissolved in the water
0 / 0

A crisp, golden top glossed with olive oil, and close-set dimples, pressed with three fingers, that stay soft and moist from the brine and oil. That is focaccia genovese, fügassa in the local dialect, and in Genoa it is how the day begins: a coffee or a cappuccino with a slerfa, a slice of focaccia. The bread is low and rectangular, salty from the brine, rich with oil, and good enough plain that it needs nothing else. This recipe makes two 30 × 40 cm trays.

Focaccia Genovese in Genoa
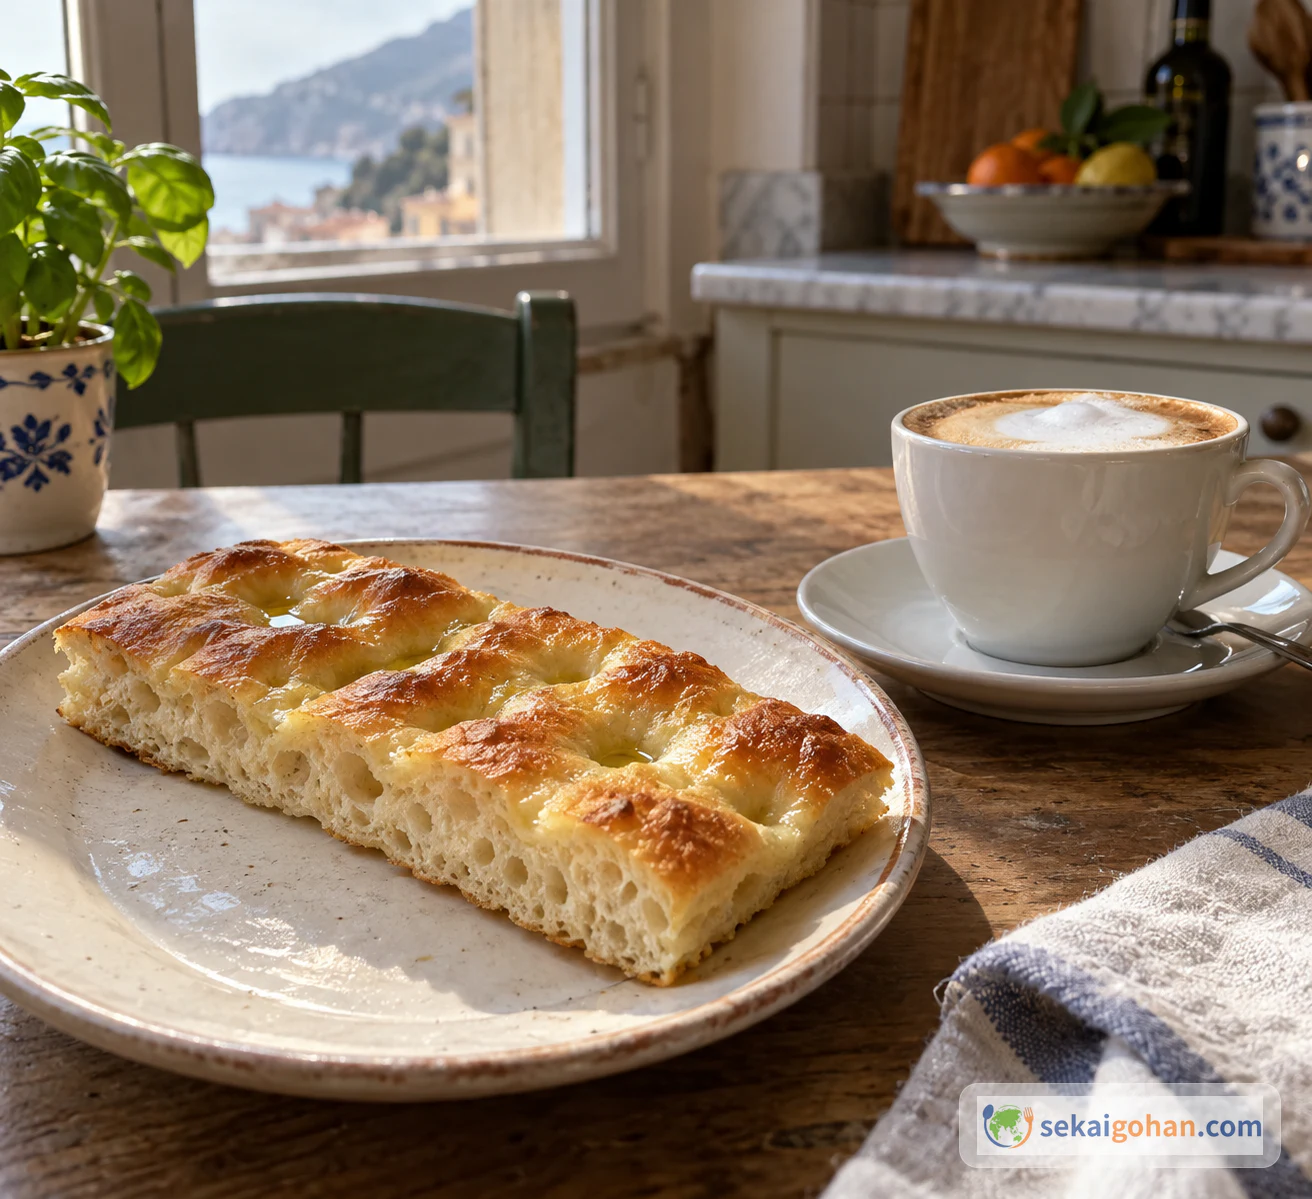
Focaccia served for breakfast with a cappuccino
A plain slice beside a cappuccino, the morning pairing the city's tourism site describes

Focaccia is a symbol of Genoese food. People eat it with morning coffee, and also as a snack, at lunch and with an aperitivo. In Voltri, in Genoa, people line up at the Marinetta bakery early in the morning to take home warm focaccia. For more dishes from the same country, see the Italy page.

"Focaccia" covers a wide family of breads across Italy, from thick, soft slabs to versions loaded with tomatoes and herbs. The Genoese one is relatively low, dimpled all over, and finished with olive oil and a salt-and-water brine before the last rise. It comes plain or with onion. Stories of very old origins circulate, but no specific origin or date is documented, and the "right" local formula is still debated.

The Genoese base and the cheese focaccia from Recco are different breads. Focaccia col formaggio, from Recco, is a thin dough with cheese enclosed in it. It has its own recipe and structure; scattering cheese over this dough won't get you there.

Total time

Preparation takes 30 minutes and cooking takes 15 minutes, with about 3 hours of proofing on top, so plan on roughly 3 hours 45 minutes altogether. Rising speed depends on room temperature, flour and yeast. With two trays, you need either an oven that fits both or time to bake one after the other, which adds to the total.

Ingredients: Two Trays, 30 × 40 cm
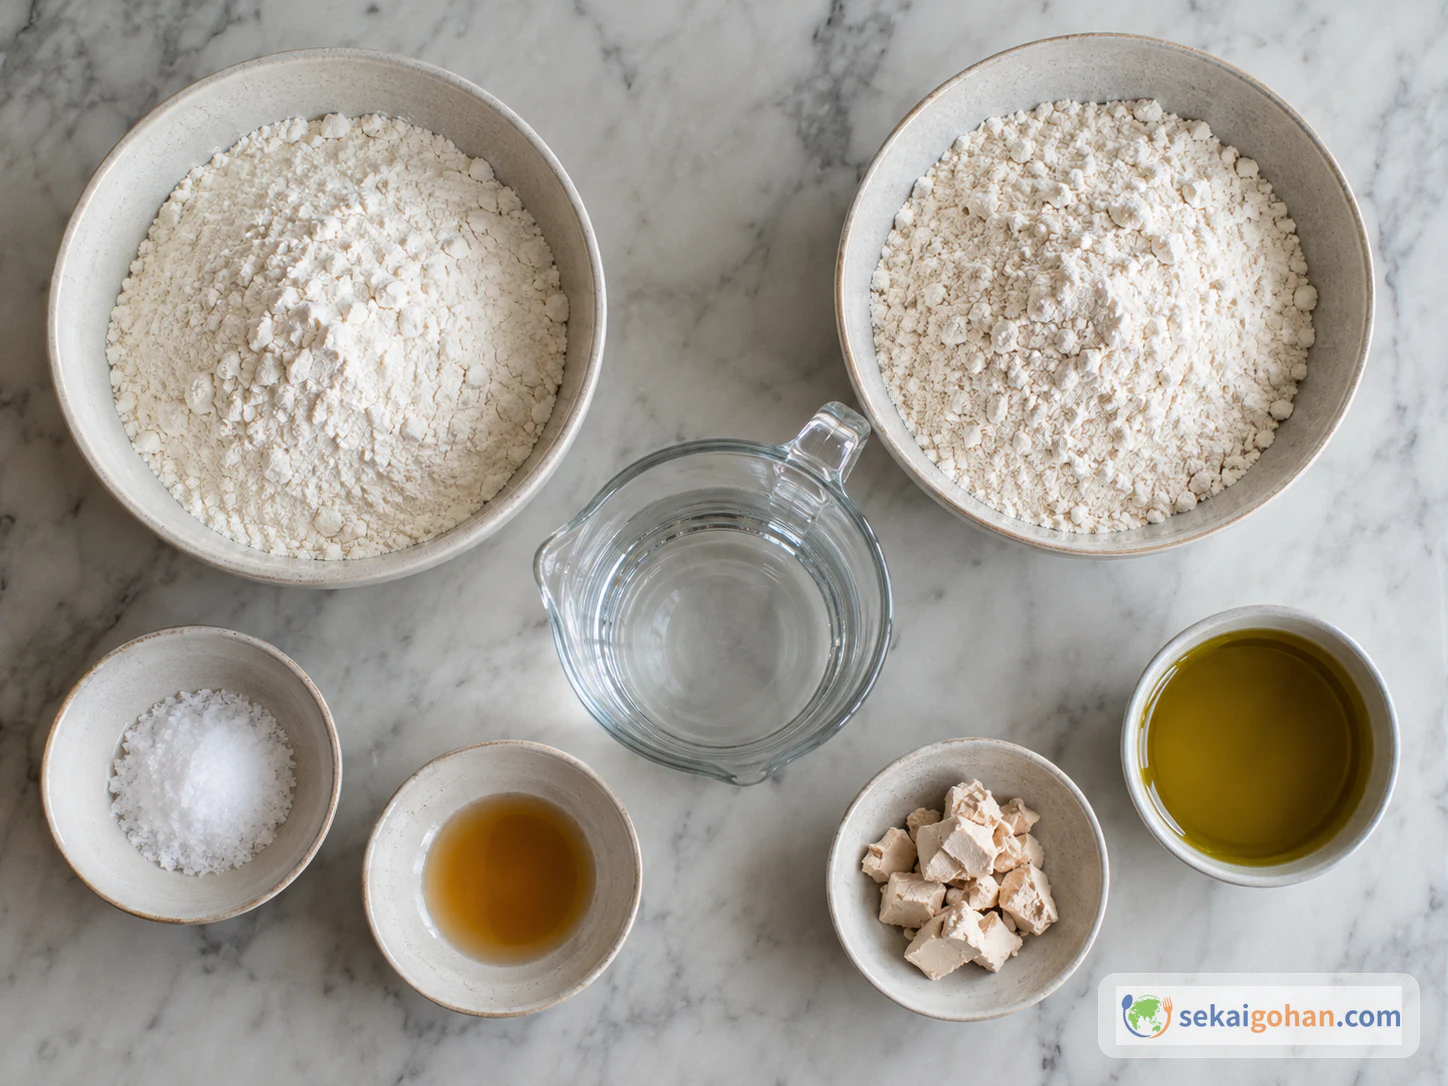
Two kinds of flour, water, salt, malt, fresh yeast and olive oil laid out as ingredients
The dough uses two flours; the oil and brine for the top are measured separately

All amounts below are in grams. The oil appears three times with three different jobs (in the dough, on the trays, on the surface), so weigh each separately. The brine is made apart from the dough and is not part of it.

The dough is not a high-hydration dough. The dough water is 12 oz (335g) against 1.5 lb (650g) of total flour, about 51.5%. The 7 oz (200g) of water in the brine goes on top of the shaped dough and is never counted as dough water.

You will make more brine than you need. Mix 7 oz (200g) water with 10g salt, then pour about 3.25 oz (90g) over each tray. Any leftover brine can stay in the bowl; you do not need to force it onto the trays. The 3.25 oz (90g) is brine per tray, not water.

Two 30 × 40 cm trays make about 8 servings, cut to suit your table.

Flour, malt and yeast: what you can change, and what changes with it

  • No Manitoba flour? Use strong bread flour. It is a substitute, not the same flour: strength and water absorption differ, so watch how the dough feels.
  • No tipo 00? Use bread flour for all of the flour, at the same weights. Expect the dough to absorb and stretch differently, and the bread to differ.
  • Malt: you can use the same amount of brown sugar. The aroma and browning will change.
  • Fresh yeast: use 18g of fresh brewer's yeast.
Allergens and labeling

This bread contains wheat (gluten). Malt products are usually made from grain, so check the label of the malt you buy. For cross-contact, follow each product's own labeling. To calculate nutrition figures, use the labels of the products you actually use.

Equipment

Item Notes
Two baking trays, 30 × 40 cm The recipe is sized for this tray
Large bowl For the first mixing
Dough scraper or bench card For handling and dividing a soft dough
Rolling pin For starting to stretch each piece
Kitchen scale For the flours, water, salt, malt, yeast and each of the three oils
Oven with a static (conventional) setting Bake at 450°F (230°C) in a static oven

What to look for when shopping

Look for an Italian flour labeled "tipo 00" and a Manitoba flour. If those are hard to find, strong bread flour is the substitute to look for, used as described above. Olive oil, salt and trays are ordinary items; nothing special is needed.

Choosing Flour and Malt for Focaccia Genovese

Tipo 00 is a refinement grade, not the same thing as bread or cake flour, and Manitoba is a specific strong flour. If you can't find them, you can replace both with bread flour at the same weights. The dough will absorb water and stretch differently, though, so the bread won't be identical.

The malt can be swapped for the same amount of brown sugar. Expect a difference in aroma and browning.

Method

How to read the timings

Use the times below as a guide, and go by the dough: how relaxed it is, how it spreads in the tray, how far it has risen. The photos show each stage, not exact times, temperatures or weights.

Common Problems with Focaccia Genovese

Most trouble comes from the dough not resting enough or from the brine escaping. Ovens matter too: Genoese bakeries bake in ovens hotter than a home oven, so watch your own as you go.

Problem Likely cause What to do
The dough is sticky and hard to handle Dough is still developing; flour substitution changes absorption Keep kneading and let it rest. A light dusting of flour is fine; a steady stream changes the recipe
The dough springs back when stretched Not enough rest Cover it and wait a few minutes before stretching again; that's what the rests in steps 5 and 6 are for
Dimples fill back in Dough under-rested or tight Let it rest briefly, then press once more
Brine runs to the edges or under the dough Dough not stuck flat to the tray; no rim; too much liquid Keep a rim, press the dough onto the tray before dimpling, and stop pouring once the dimples hold liquid
Uneven color, or an oily or dark bottom Oven hot spots, rack position Ovens differ, so watch the color and adjust the rack position next time

Serving, Storing and Varying Focaccia Genovese

Storage and Reheating

A plain slice with a coffee is the simplest way to serve it, and the closest to how Genoa eats it. Keep baked focaccia in a paper bag for 1 day, and no longer at room temperature. It can also be frozen after baking. To reheat, warm a slice briefly and watch that it doesn't scorch.

Variations

Olives, onion, sage and rosemary all appear in Genoese focaccia, but each one changes the bread. Get to know the plain version first, then treat these as separate breads.

Variation Type What changes
Sliced onion on top Local variant A recognized Genoese variant, alongside the plain style
Olives Local variant Adds saltiness, so test before adjusting the salt
Sage or rosemary Local variant The herb takes over the aroma; use a light hand

Frequently Asked Questions

Can I use dry yeast instead of fresh?

This recipe uses 18g of fresh brewer's yeast and gives no conversion for dry yeast.

Is it a mistake if liquid is still sitting in the dimples?

No. The brine and oil are meant to settle into the dimples before the final rise. The problem is liquid running under the dough or off the edges, which a rim and dough pressed flat to the tray help prevent. And there's no need to use all of the brine you made.

Sources

  • GialloZafferano, recipe by Ezio Rocchi, "Focaccia (fügassa) alla genovese (Genoa-style focaccia)." The formula used in this article: ingredients and amounts, the two 30 × 40 cm trays, the order of mixing, the dividing, stretching and resting stages, the three-finger dimples, the surface oil and brine, baking at 230°C for about 15 minutes, the 8-serving label, the listed times, and the paper-bag and freezing advice. https://www.giallozafferano.com/recipes/focaccia-fugassa-alla-genovese-genoa-style-focaccia.html
  • Visit Genoa / Comune di Genova, "Focaccia genovese." Focaccia as a symbol of Genoese food; eating it with coffee or cappuccino at breakfast, and as a snack, at lunch and with an aperitivo; variations with olives, onion, sage and rosemary. The page's own recipe is not mixed into the formula above. https://www.visitgenoa.it/en/focaccia-genovese
  • Margo Schachter, "The Original Focaccia Recipe from Genoa," La Cucina Italiana. The morning scene at the Marinetta bakery in Voltri; the Genoese style as plain or with onion, distinct from cheese-filled focaccia col formaggio; debate over local formulas and the hotter ovens bakeries may use. The article's own recipe is not used here. https://www.lacucinaitaliana.com/italian-food/how-to-cook/focaccia-original-recipe-from-genova