


T'antawawa: a small loaf made to welcome the family home
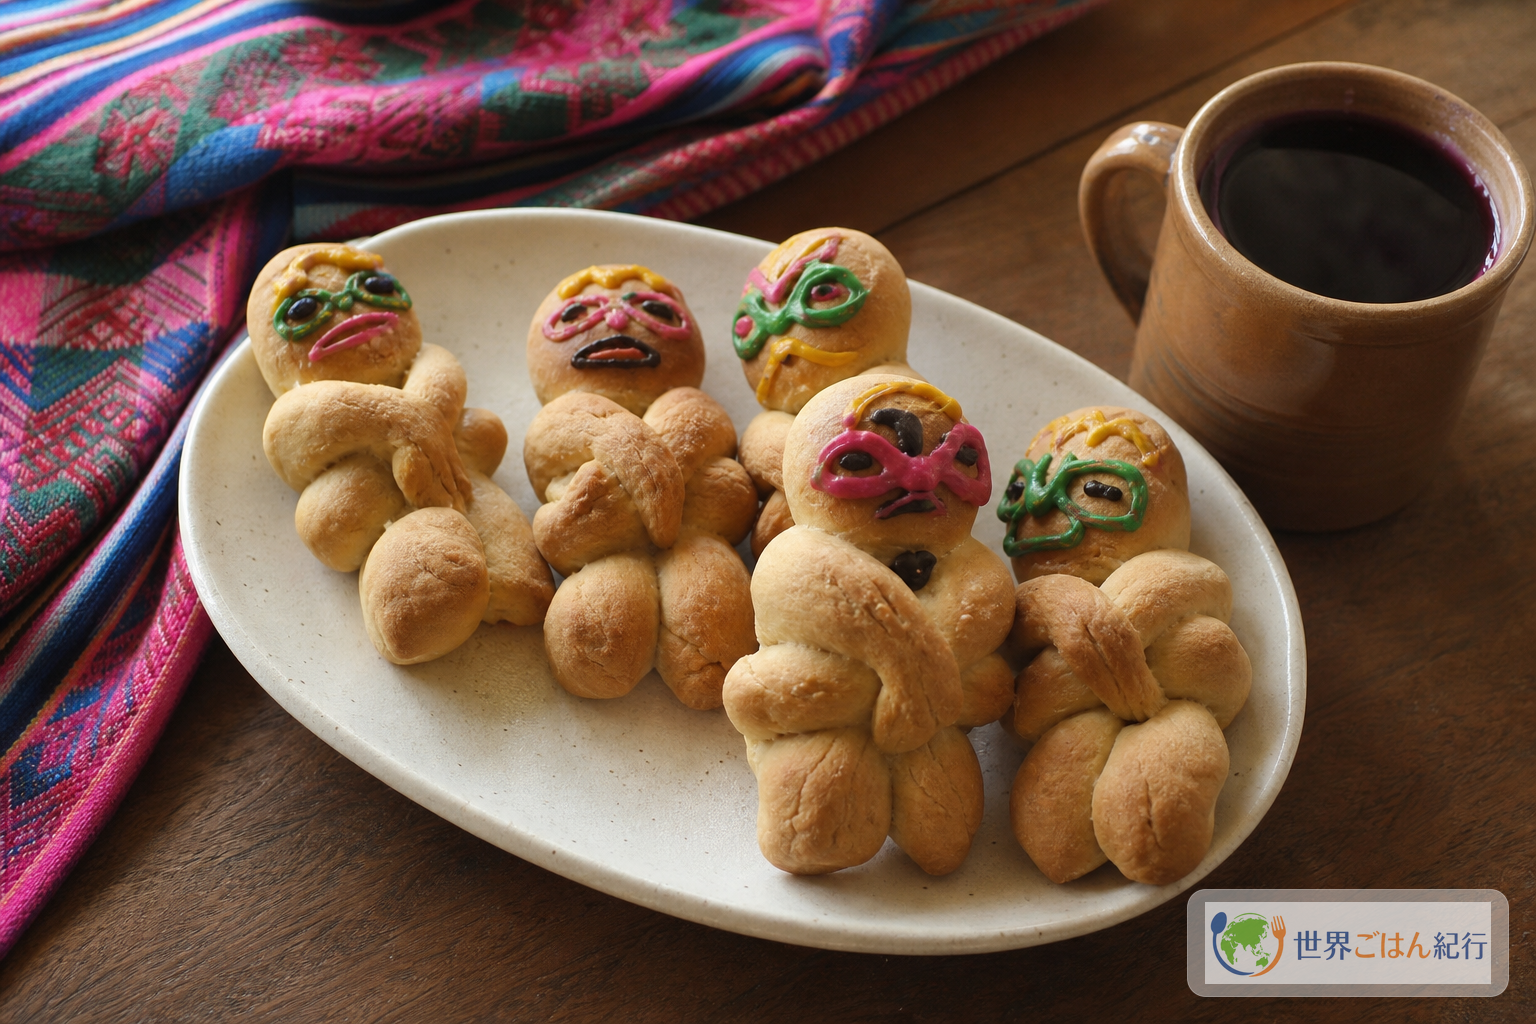
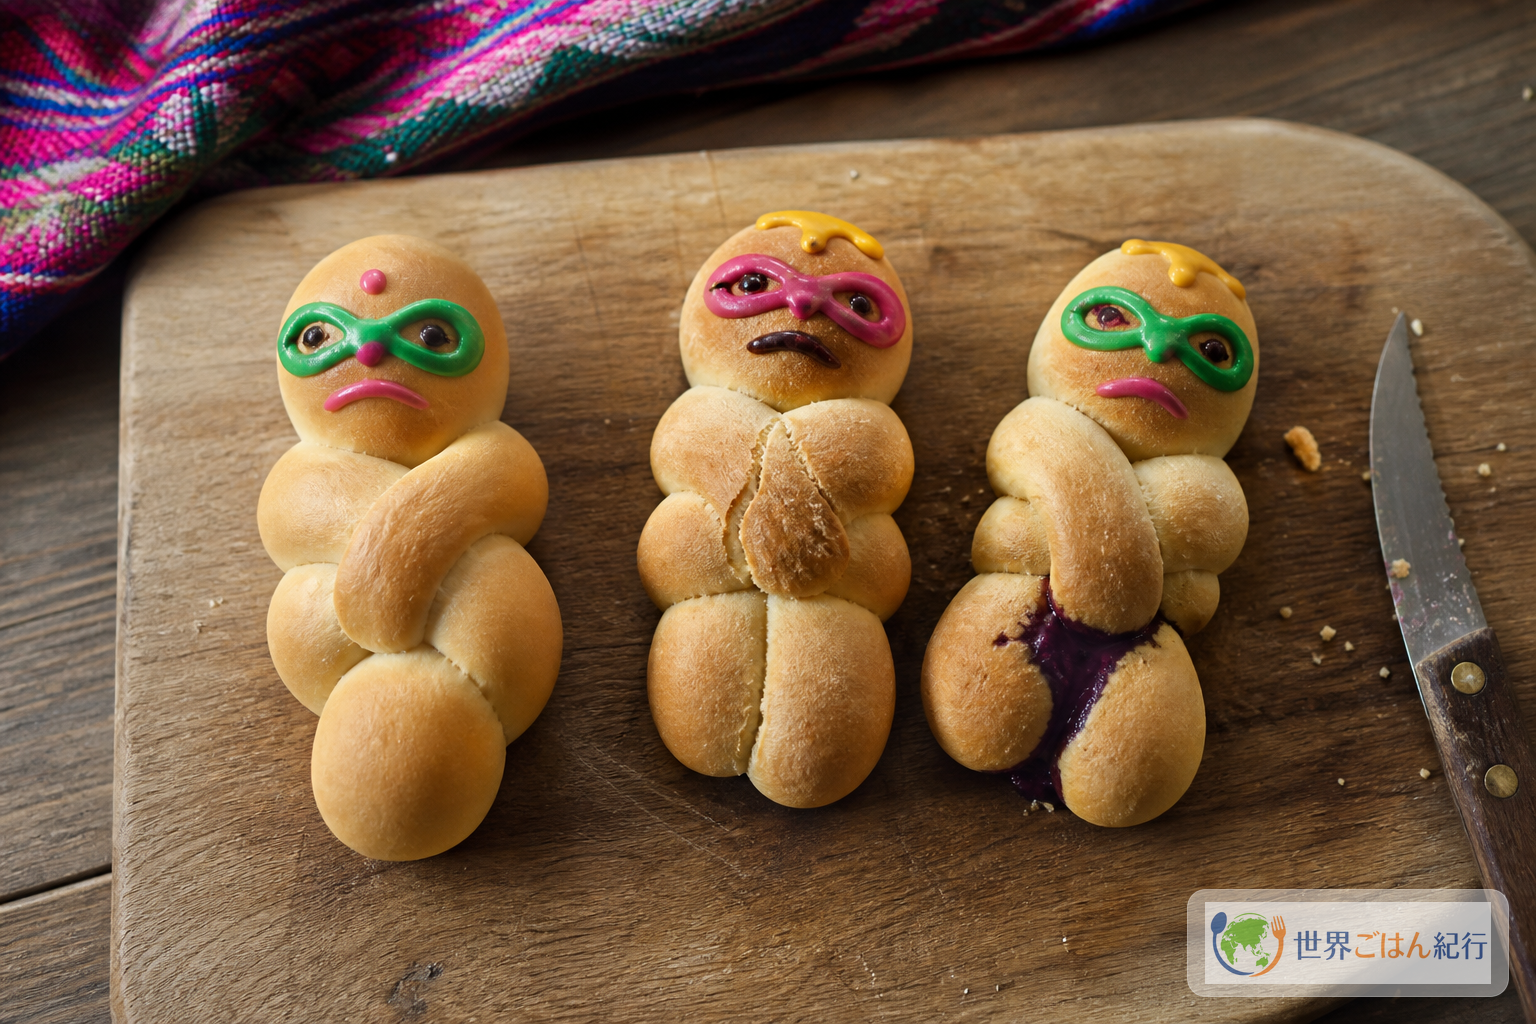
In early November, when the smell of milk and cinnamon fills the kitchen, it feels a little different from baking an ordinary sweet roll. T'antawawa (also written tanta wawa) is a doll-shaped bread offered in Bolivia around Todos Santos, the Day of the Dead. T'anta is described as meaning bread and wawa as meaning baby or child, and across the Andes the bread is known as a loaf shaped like an infant.

In Bolivia, families set up an offering table called a mast'aku to welcome their dead, and lay out bread, dolls, drinks and fruit. T'antawawa is one of its most visible pieces. It is less an everyday breakfast bread than a form that brings a family's memories back to the table, and keeping that in mind makes the priorities of the recipe clear.
The same tradition exists in Ecuador and Peru, but each country gives it a different character. Ecuador's guagua de pan (guagua de pan, article in Japanese) is strongly tied to guava filling and colada morada, and the colored-icing face is easy for home bakers. Bolivian t'antawawa works perfectly well as an unfilled sweet yeasted bread, and for ritual use some households top it with a ceramic or plaster face that cannot be eaten. This recipe paints the face with edible icing so you can finish the bread safely at home, and treats a small amount of purple filling as an optional home-kitchen choice for keeping the crumb moist.
| What to look at | What to keep from the Bolivian version | Home-kitchen compromise |
|---|---|---|
| Shape | An outline that suggests a child or doll | Make the head, torso and arms fairly thick, and do not over-proof |
| Aroma | Cinnamon, anise and citrus in a sweet bread | Build on cinnamon, add orange zest and a little floral water |
| Face | Some regions top the bread with a ritual mask or ornament | Since you will eat it all, draw lines with edible icing once the bread is cool |
| Filling | Fine without any filling | Add 15 g of purple jam filling only if you want it moist the next day |
| How to eat | Shared by the family after the offering | Pair with a deep purple drink, tea, or black coffee |
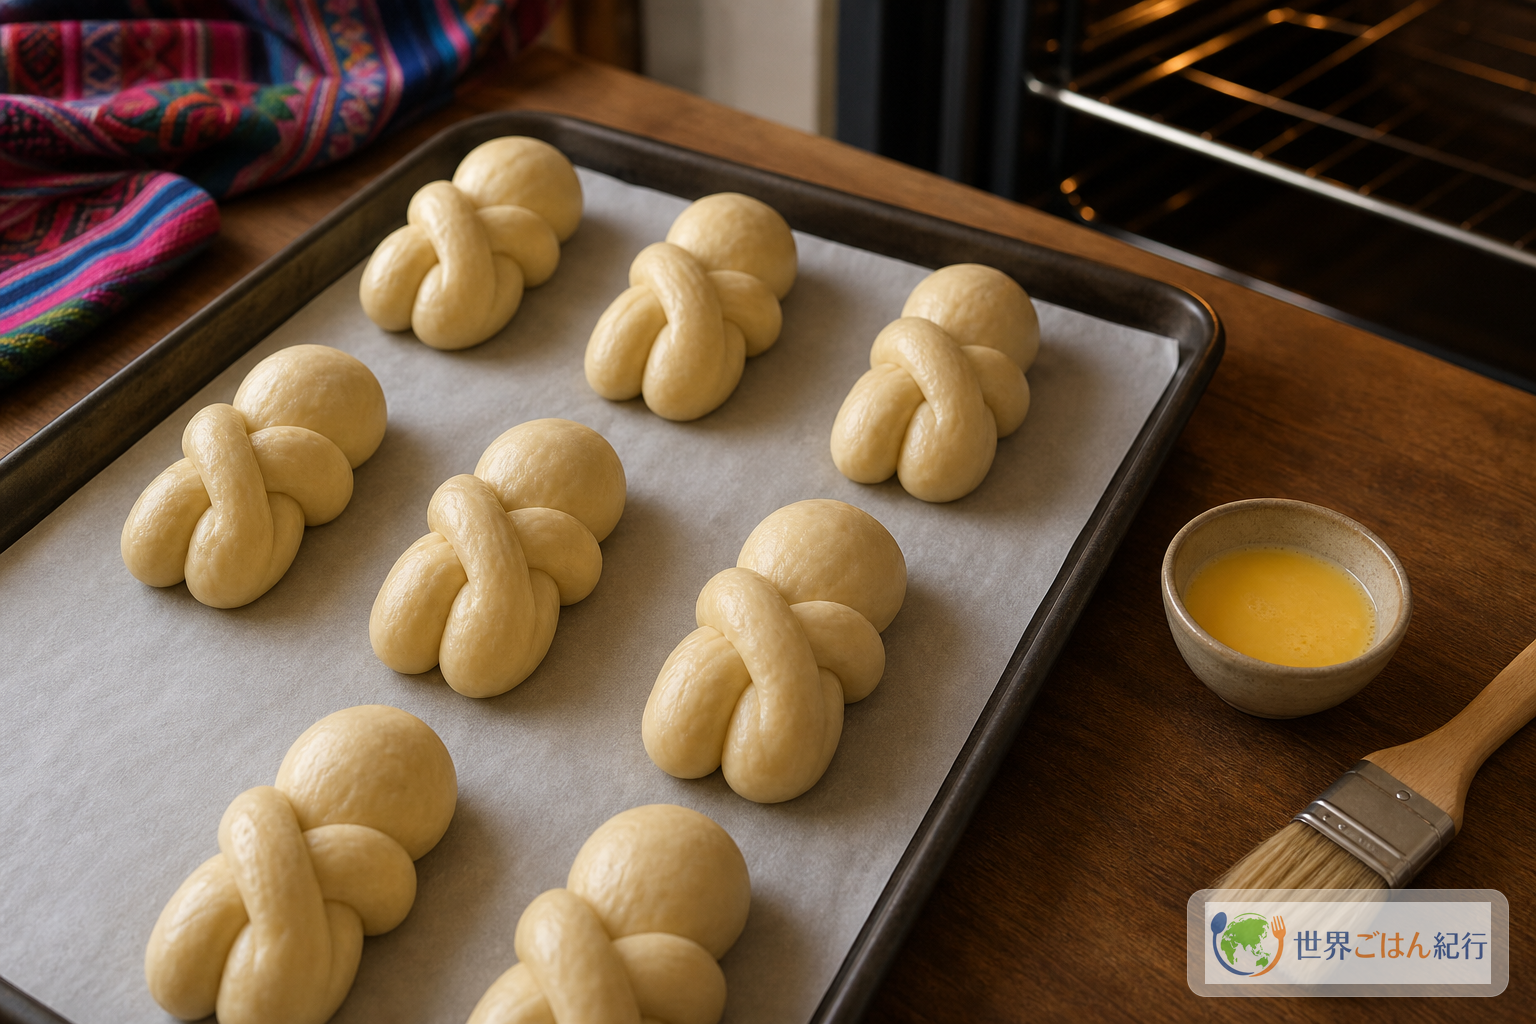
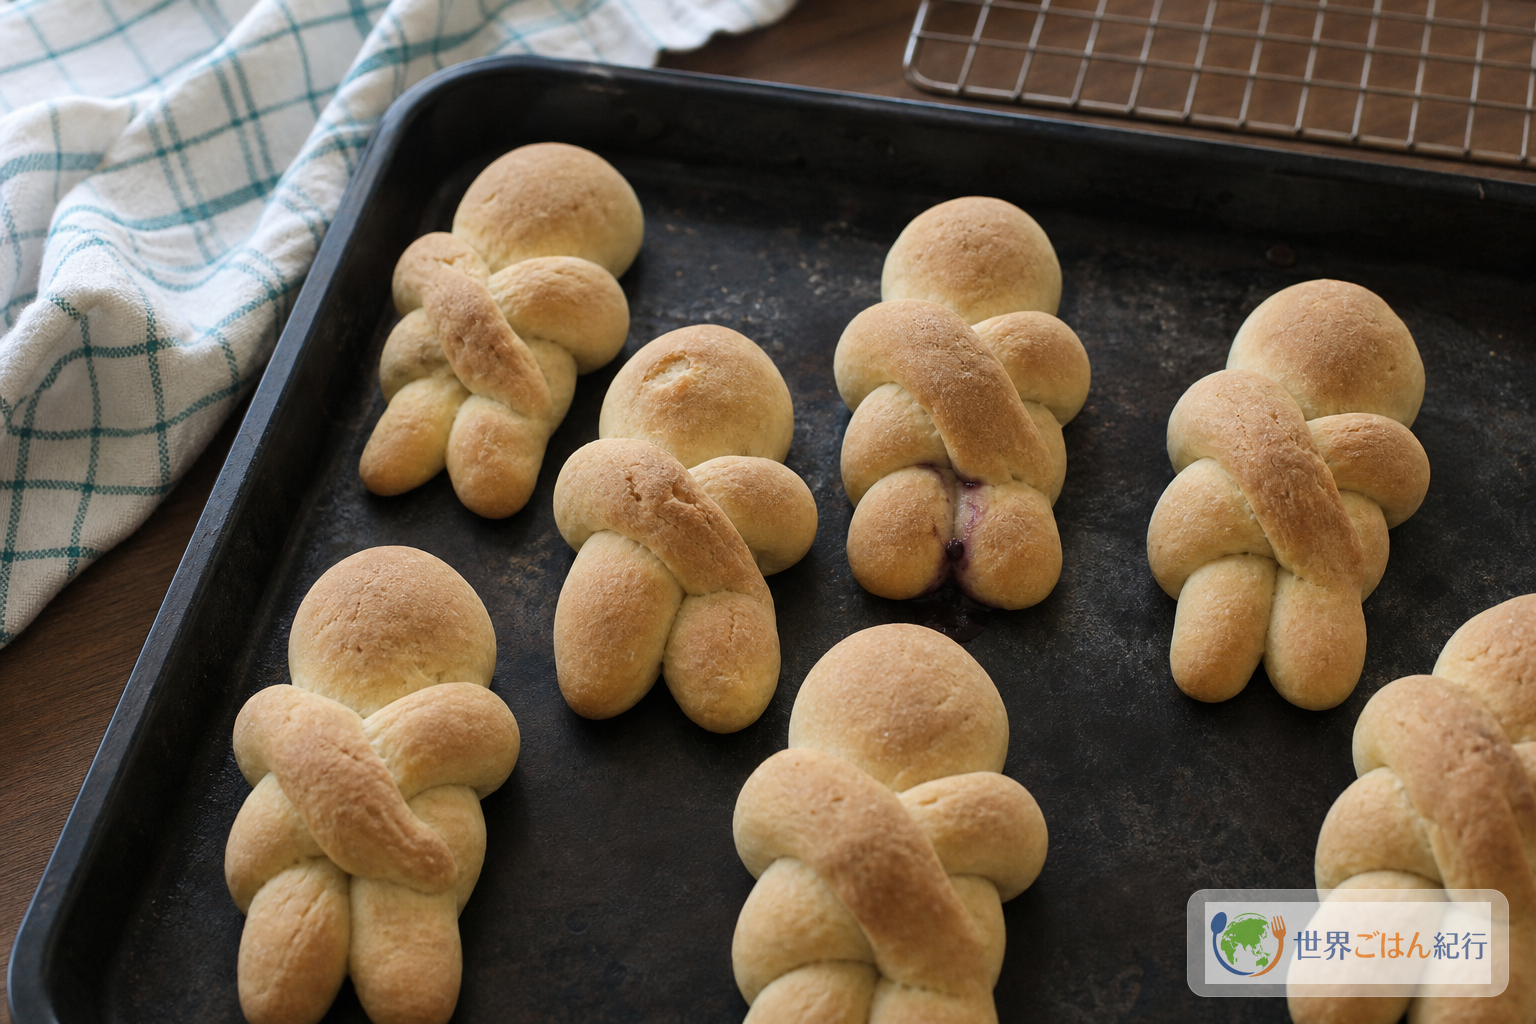
The first thing to keep in mind is not to puff the dough up like a bakery brioche. The outline of a t'antawawa carries meaning, so the goal is not maximum fluffiness but arms, legs and a blank face area that are still visible after baking. The dough is sweet and browns quickly, so do not push the color too dark either.
Ingredients (makes 8 pieces)
This quantity makes 8 t'antawawa about 12 cm long. If you make them larger, the surface dries out before the center is cooked and the bread turns hard by the next day. For a first batch, divide the dough into 8 and watch how the proofing recovers, how thick the arms are and how pale the bake color stays.

This recipe contains wheat, egg and milk. Check the allergen labels on the food coloring, jam and orange blossom water you use. Aim for a center temperature of at least 90°C when baked, and draw the face only after the bread has cooled completely.
The purple filling is not essential to ritual Bolivian bread. If you make it unfilled, skip the filling in step 3 and the wrapping in step 4, and assemble the divided dough directly into dolls. If you do fill it, keep it to 15 g per piece. More than that tends to leak out of the bottom as it bakes.
Shopping notes
Flour, milk, eggs and butter from any ordinary grocery are enough. The real question is how much local aroma to add. T'antawawa is mostly about shape, but a thin layer of cinnamon, anise and citrus keeps it from tasting like a plain sweet roll.
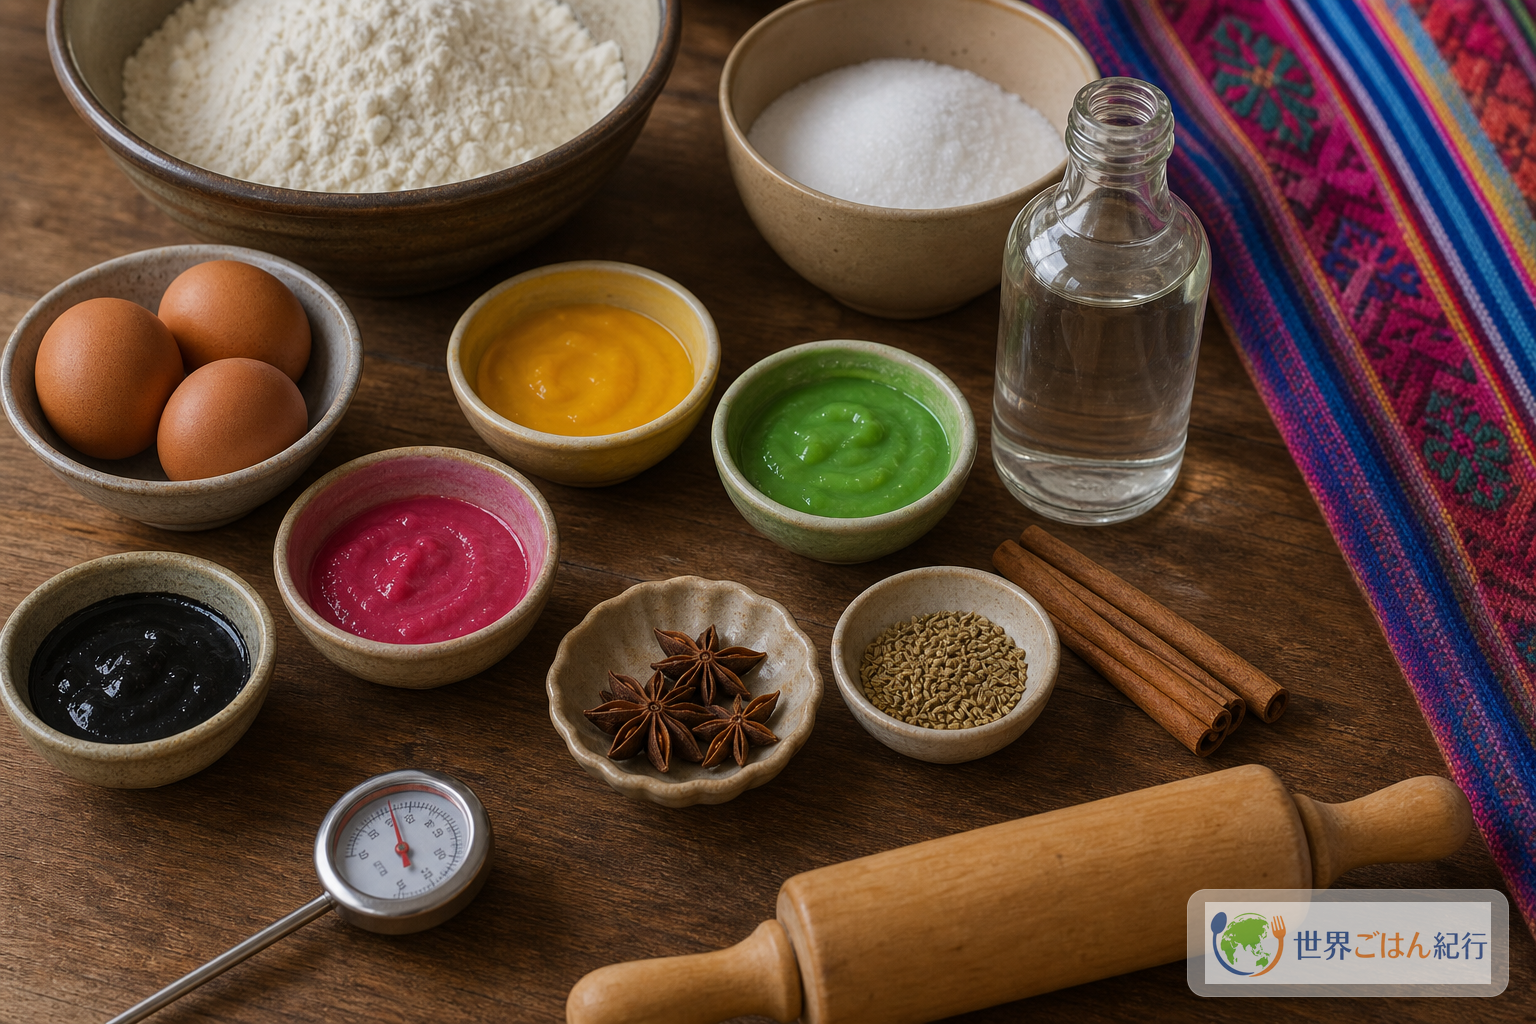
Use only half a teaspoon of orange blossom water. Leftover water can go into Middle Eastern sweets, tea and syrups, so it is useful if you plan to keep baking sweet breads and pastries.
If you do not buy orange blossom water, steep star anise briefly in the milk to transfer only its fragrance. Grinding it into the dough tends to taste medicinal, so just warm 1/4 of a star in the milk for 2 minutes and remove it.
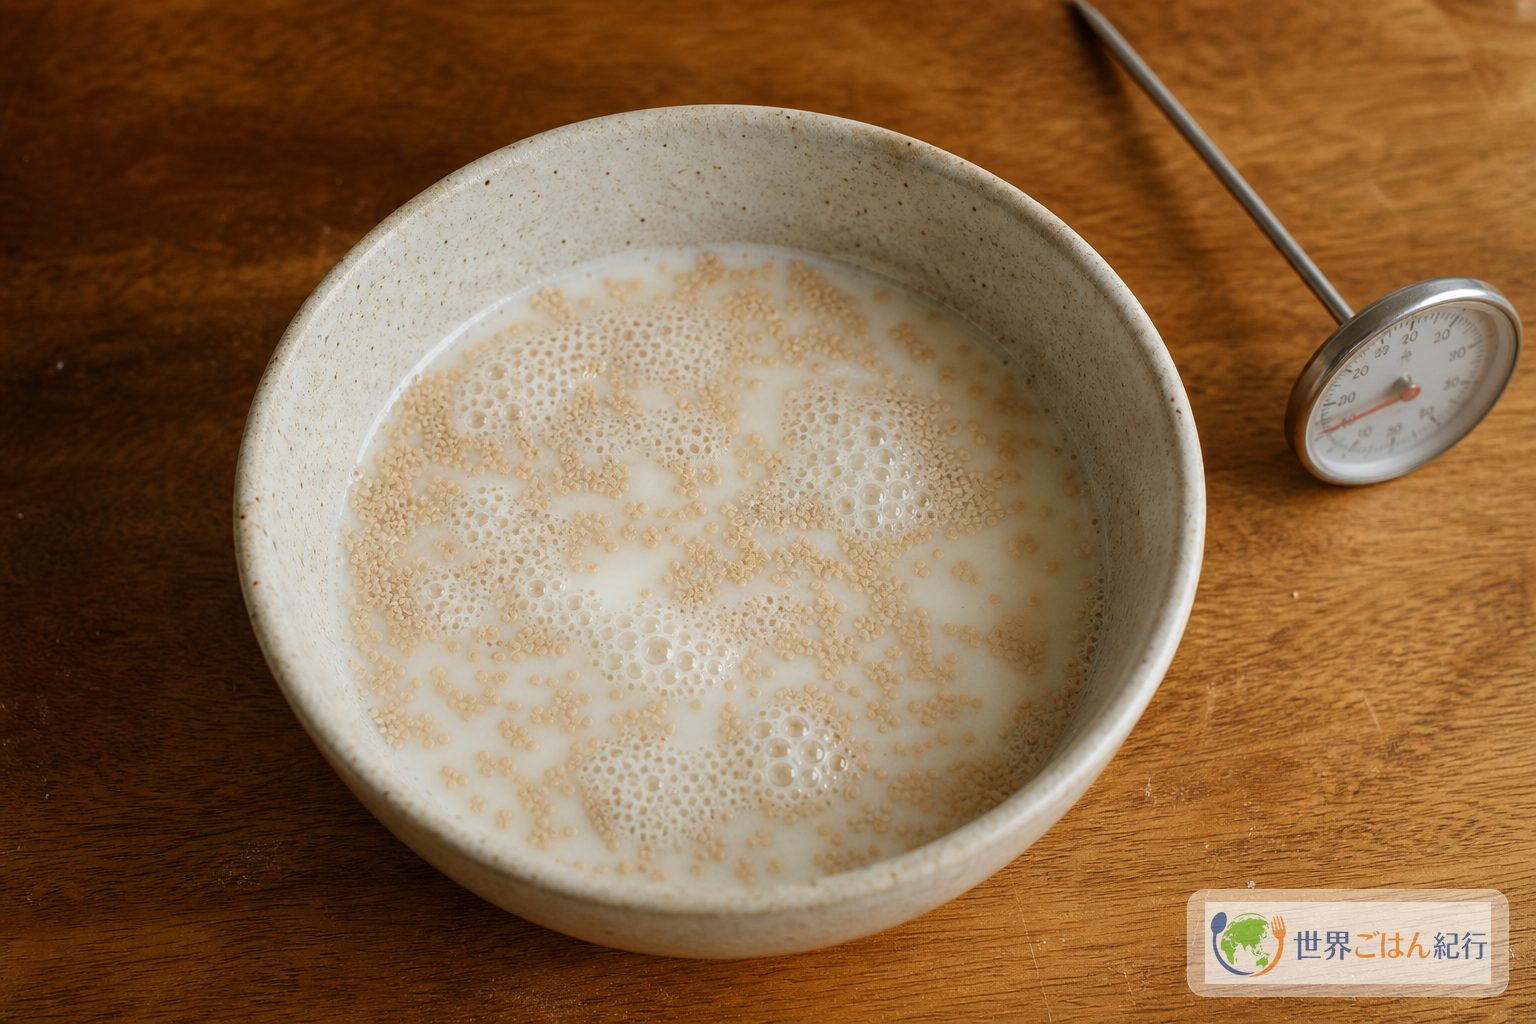
A thermometer helps you diagnose problems in fermented dough, where a few degrees change the result. It is most useful in three places: warming the milk, choosing where the first proof happens, and checking the center temperature of the baked bread.
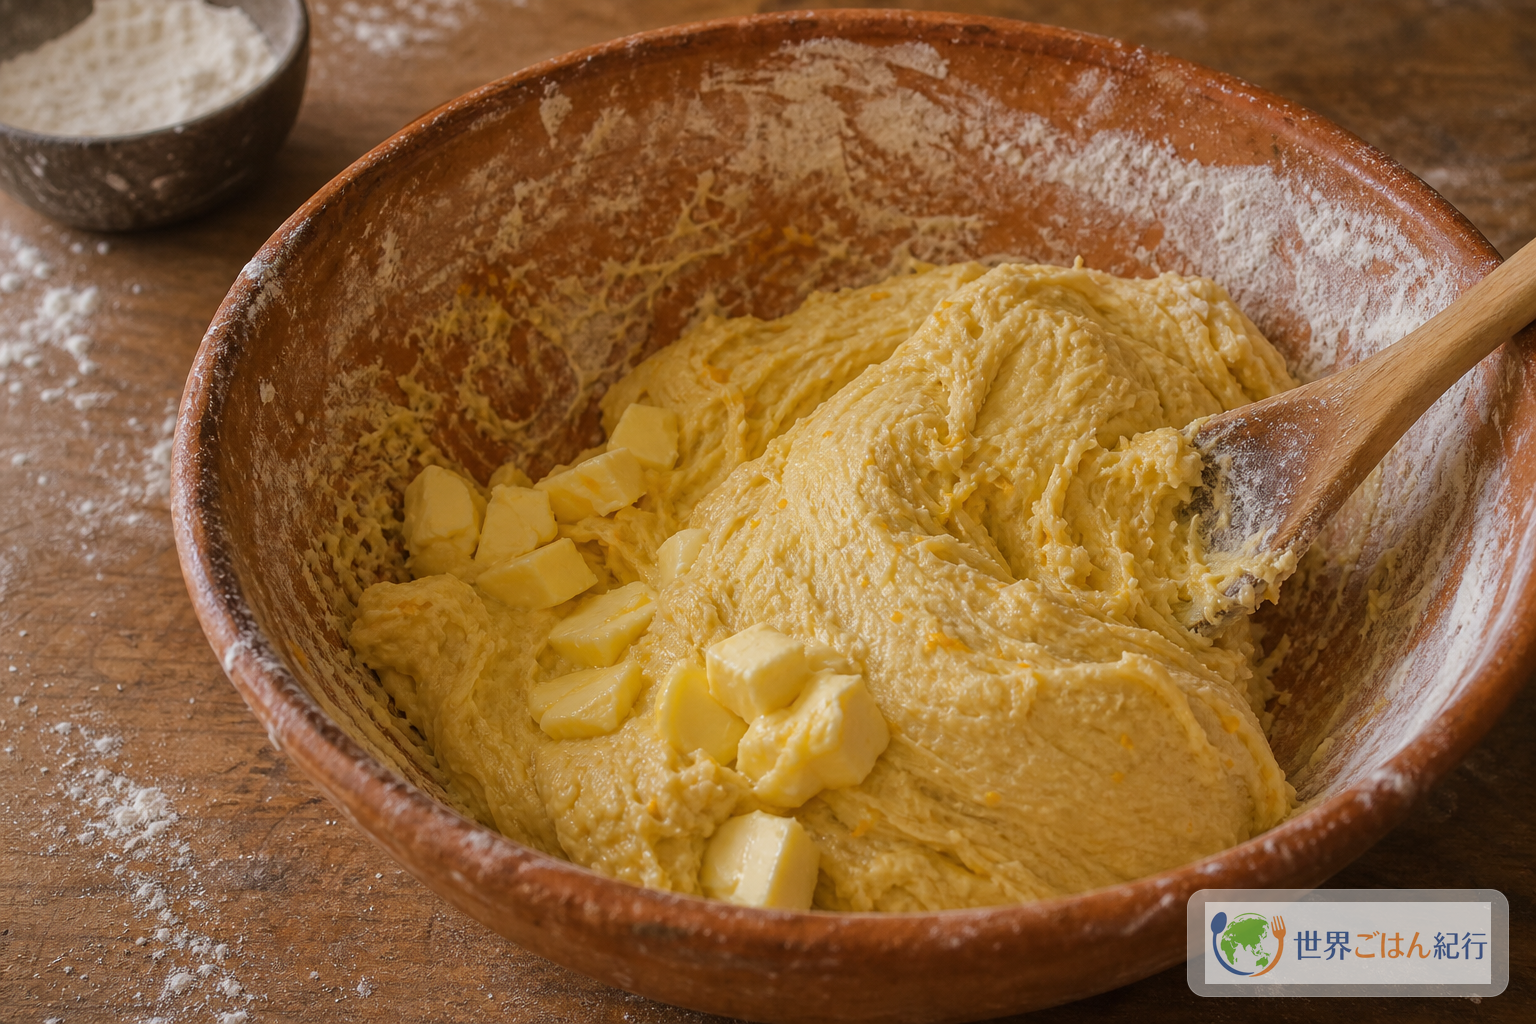
Method: bake it without losing the offering's shape
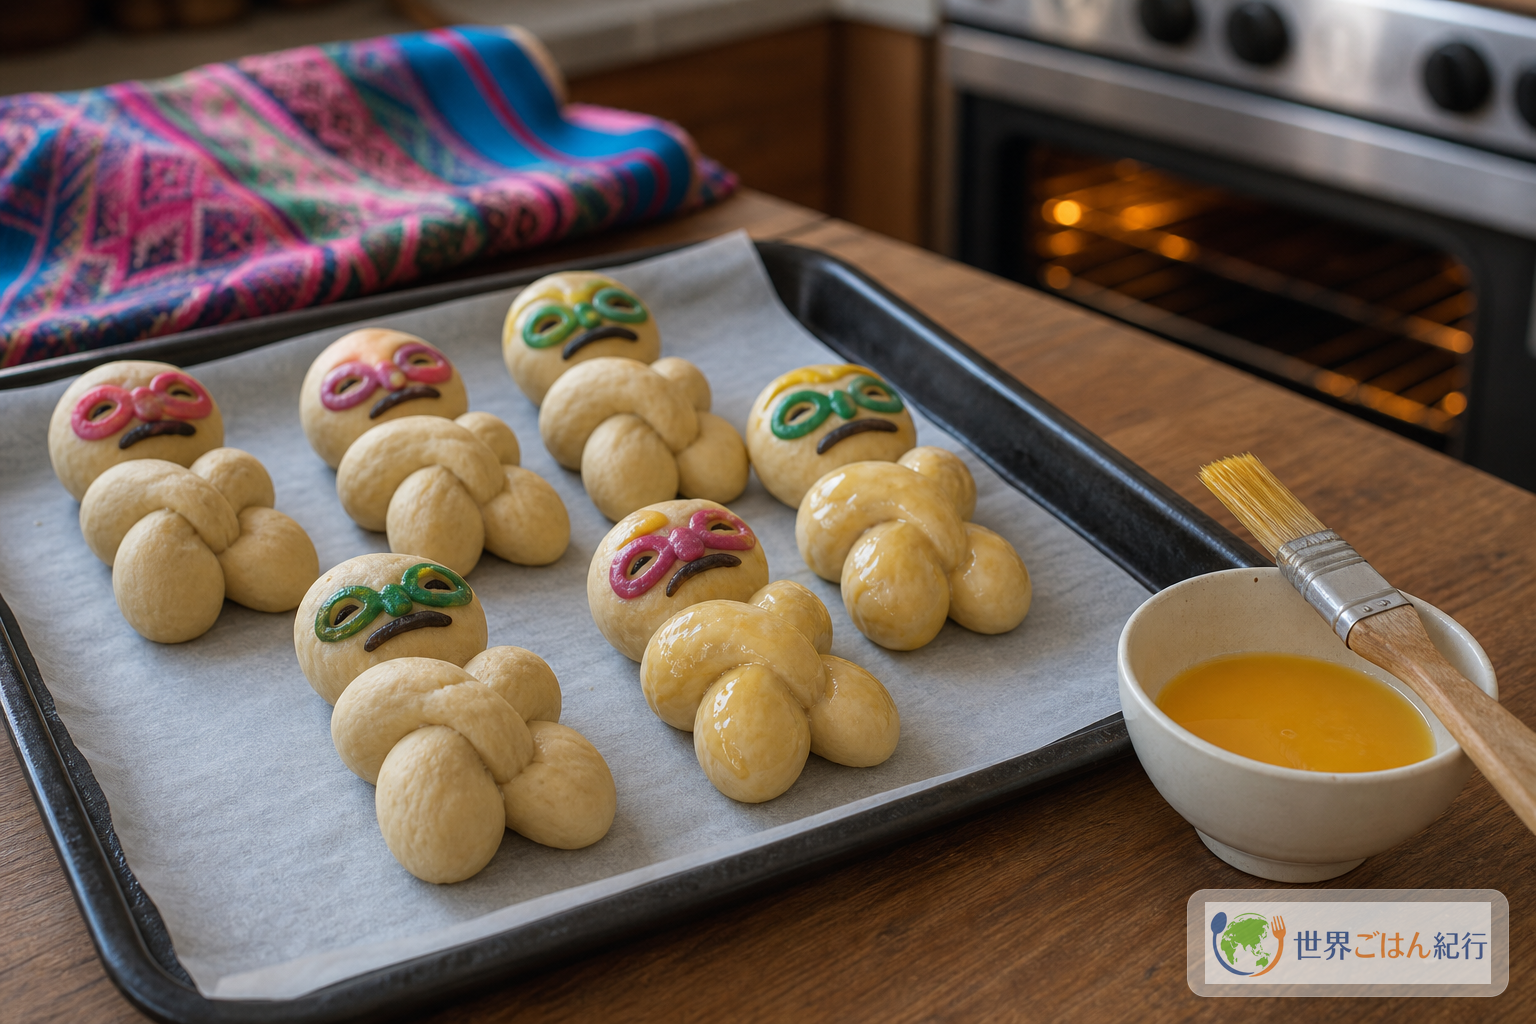
The goal is a center temperature of 90–92°C, a pale golden surface, and arm and head outlines that are still clear. The more you let the shaped dough puff up, the less room you leave for the face. Keep the proofing "slightly restrained" and the bake color "slightly pale."
Fixing cracks, leaking filling and bleeding faces
With t'antawawa, mistakes show in the shape before the flavor. Cracks, leaking filling and bleeding faces each come from the proof, the filling or the cooling. For next time, work out at which stage the problem happened.
| What happened | Likely cause | How to fix it next time |
|---|---|---|
| The surface cracks badly | Underproofed second rise, or the dough surface dried out | Cover loosely with lightly oiled plastic wrap during proofing, not a dry cloth |
| Filling leaks from the bottom | Filling too hot, too much filling or a thin seam | Cool the filling completely, keep it to 15 g per piece and set it seam side down |
| The doll shape rounds out and disappears | Second proof too long | Stop at 1.2–1.3 times and do not over-puff |
| Dark, hard bake color | Oven above 180°C or overbaked | Check the color at 12 minutes and cover with foil if it is dark |
| Face lines run | Bread still warm, or icing too loose | Cool for 20 minutes or more and adjust by adding powdered sugar 5 g at a time |
| The aroma tastes like a plain sweet roll | Made with cinnamon only | Add one of orange zest, anise seed or floral aroma |
The filling is the easiest thing to recover. Jam differs in water content from brand to brand, so do not fix the simmering time too rigidly. Stop when it falls from a lifted spatula in a thick drop and, once cool, holds its shape on a spoon. A loose filling leaks from the bottom while baking.
When the shape rounds out and disappears, the cause is more often the length of the second proof than under-kneading. Allow up to 1.5 times at the first proof and stop the second proof at 1.2–1.3 times. With that difference the bread stays fluffy and keeps its doll shape.
Serving, storage and prep ahead
After the offering, t'antawawa is a bread the family shares. To lean into a Bolivian table, serve it with api morado, the purple corn drink. Purple corn is not always easy to find, but a deep berry juice, spiced tea or black coffee will also stand up to the bread's sweetness and aroma.
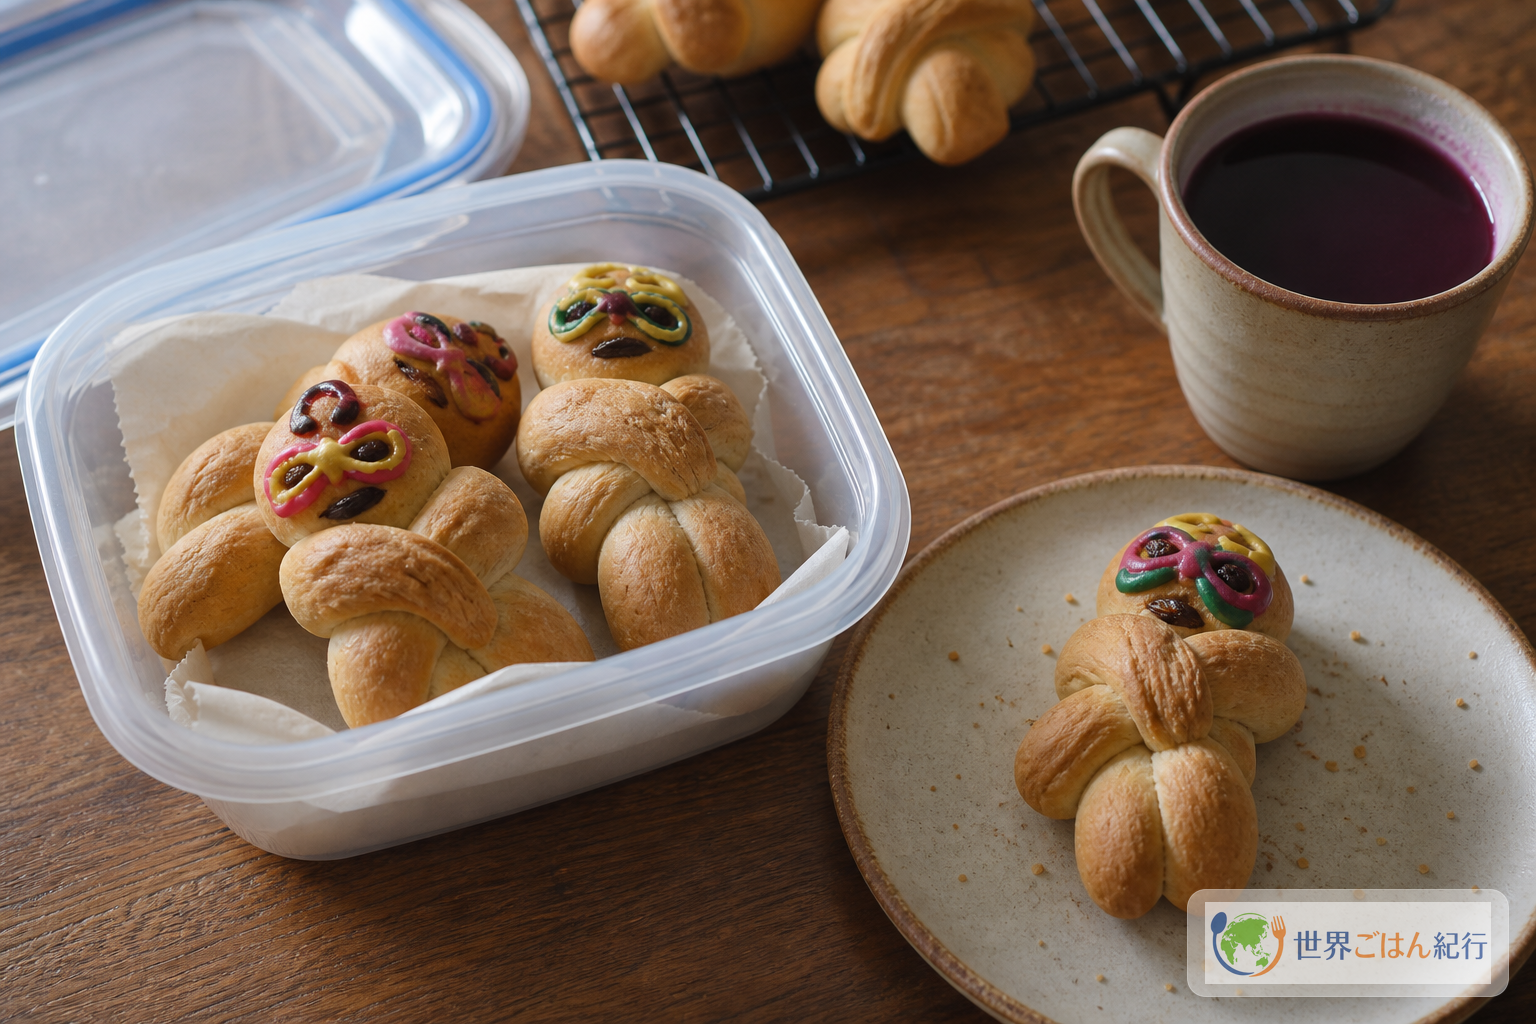
At the table, rather than rushing to break the bread freshly baked, place each piece on a plate one at a time after the face lines have dried. Stacking them on a platter lets the icing stick to the bread below, so leave space until they dry. The version with purple filling is easy to eat as a sweet bread as it is, while the unfilled version keeps its aroma better dipped into a hot drink than topped with butter or jam.
Kept in an airtight container, it lasts until the next day at room temperature and about 2 days in the refrigerator. Refrigeration firms the crumb, so warm it in a toaster oven at 120°C for 3–4 minutes before eating and let it cool slightly. Thickly drawn icing melts when warmed, so avoid the microwave.
To freeze, wrap each baked bread, before drawing the face, individually in plastic wrap, put them in a freezer bag and eat within 2 weeks. Thaw overnight in the refrigerator and reheat in a 150°C oven for 6–7 minutes. Draw the face after reheating and cooling so the lines are less likely to crack.
The things you can do the day before are making the purple filling and dividing the first-proofed dough into 8 and refrigerating it. Roll the pieces into balls, put them in an airtight container and chill overnight. The next day, let them sit at room temperature for 30 minutes before shaping. If you leave already-assembled dolls overnight, the arms and legs tend to sink and the blank face area does not stay wide.
To build a Bolivian table, read this with Salteña, a snack for the morning, and Silpancho, a one-plate meal, to see how wheat flour, meat, rice and potatoes each get used in the same country. As another South American bread to set beside it, the chewy Brazilian pão de queijo and Paraguay's corn dumpling dish vori vori (in Japanese) are close comparisons.
FAQ
You may want to draw the face before baking, but with t'antawawa it is better not to rush that step. The dough moves during proofing and baking, and the lines shift. A face drawn after cooling, with edible ingredients, suits the home kitchen.
Is it the same as guagua de pan?
Broadly, they belong to the same family of Andean bread dolls. Ecuador's guagua de pan is strongly tied to guava filling and colada morada, while Bolivian t'antawawa is more associated with the Todos Santos offering, an unfilled sweet bread and a mask ornament. This article puts the Bolivian version first: its shape, aroma and context as an offering.
Do I have to add the purple filling?
No, you can make it without. As an offering bread, the unfilled version is actually more natural. This recipe offers the option of adding only 15 g of purple filling per piece to keep the bread moist until the next day at home. For a first batch, make half unfilled and half filled so you can see the difference.
Can I leave out the orange blossom water?
Yes. In that case increase the orange zest to 7 g, and steep 1/4 of a star anise in the warm milk for 2 minutes and remove it, which moves the aroma a little toward festive pastry. Ground star anise comes through too strongly, so only steep it.
Can the face decoration match the real masks?
Ritual versions in Bolivia sometimes use ornaments that cannot be eaten, but for a recipe meant to be eaten at home we stay with edible icing. Being able to finish the bread safely matters more than recreating the face exactly. Even just three colors, red, yellow and green, give plenty of expression.
How much can I prepare the day before?
You can make the purple filling a day ahead and refrigerate it. After the first proof, divide the dough into 8, roll the pieces into balls, put them in an airtight container and refrigerate overnight. The next day, let them sit at room temperature for 30 minutes before shaping. Avoid chilling for long after shaping, because the outlines of the arms and head tend to collapse.
Is it not authentic without the purple corn drink?
It adds atmosphere, but the drink does not decide whether the bread succeeds. What matters for a home version is the sweet yeasted dough, the shape, a temperature that does not overbake it, and a face drawn after cooling. A deep berry juice or tea is fine.