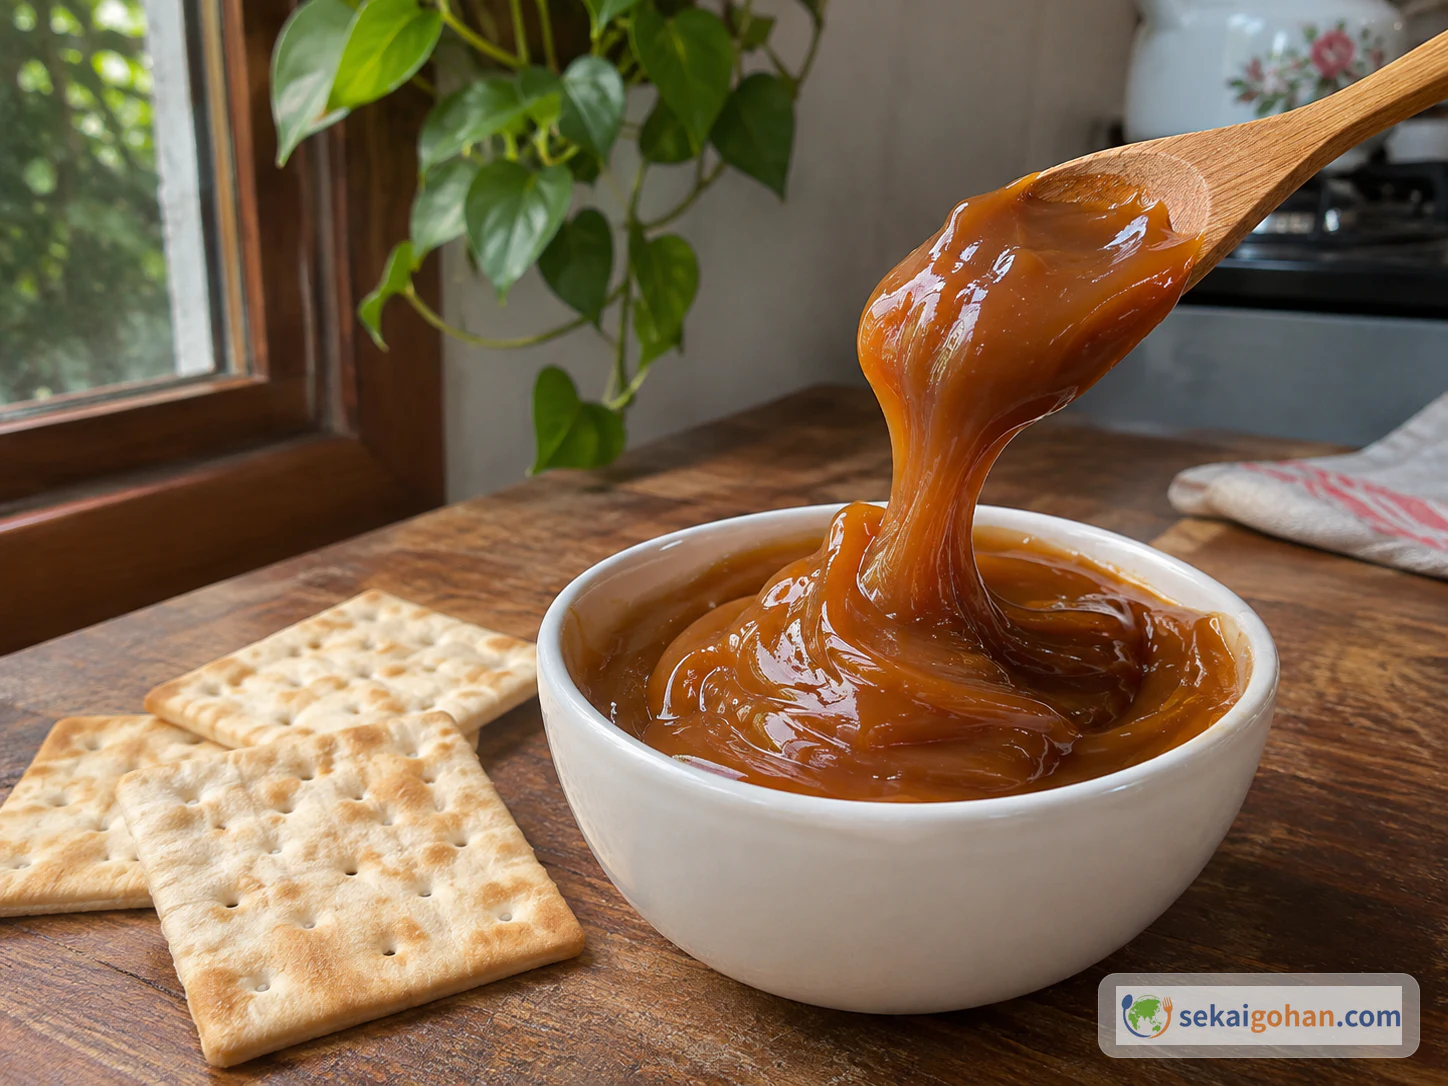
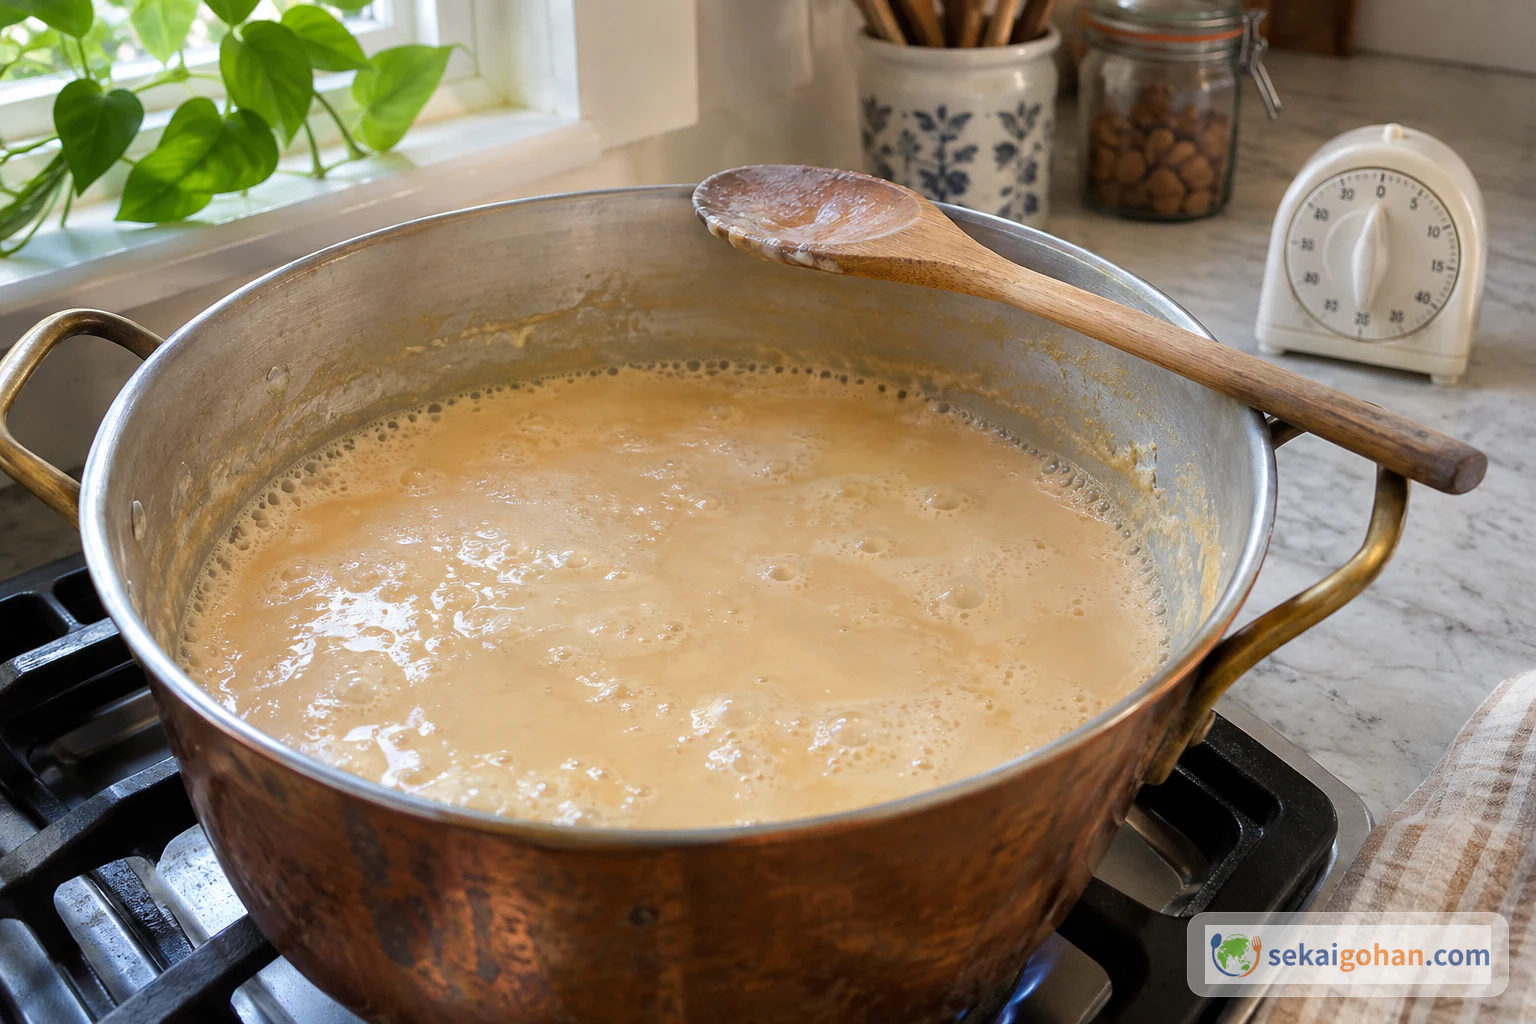
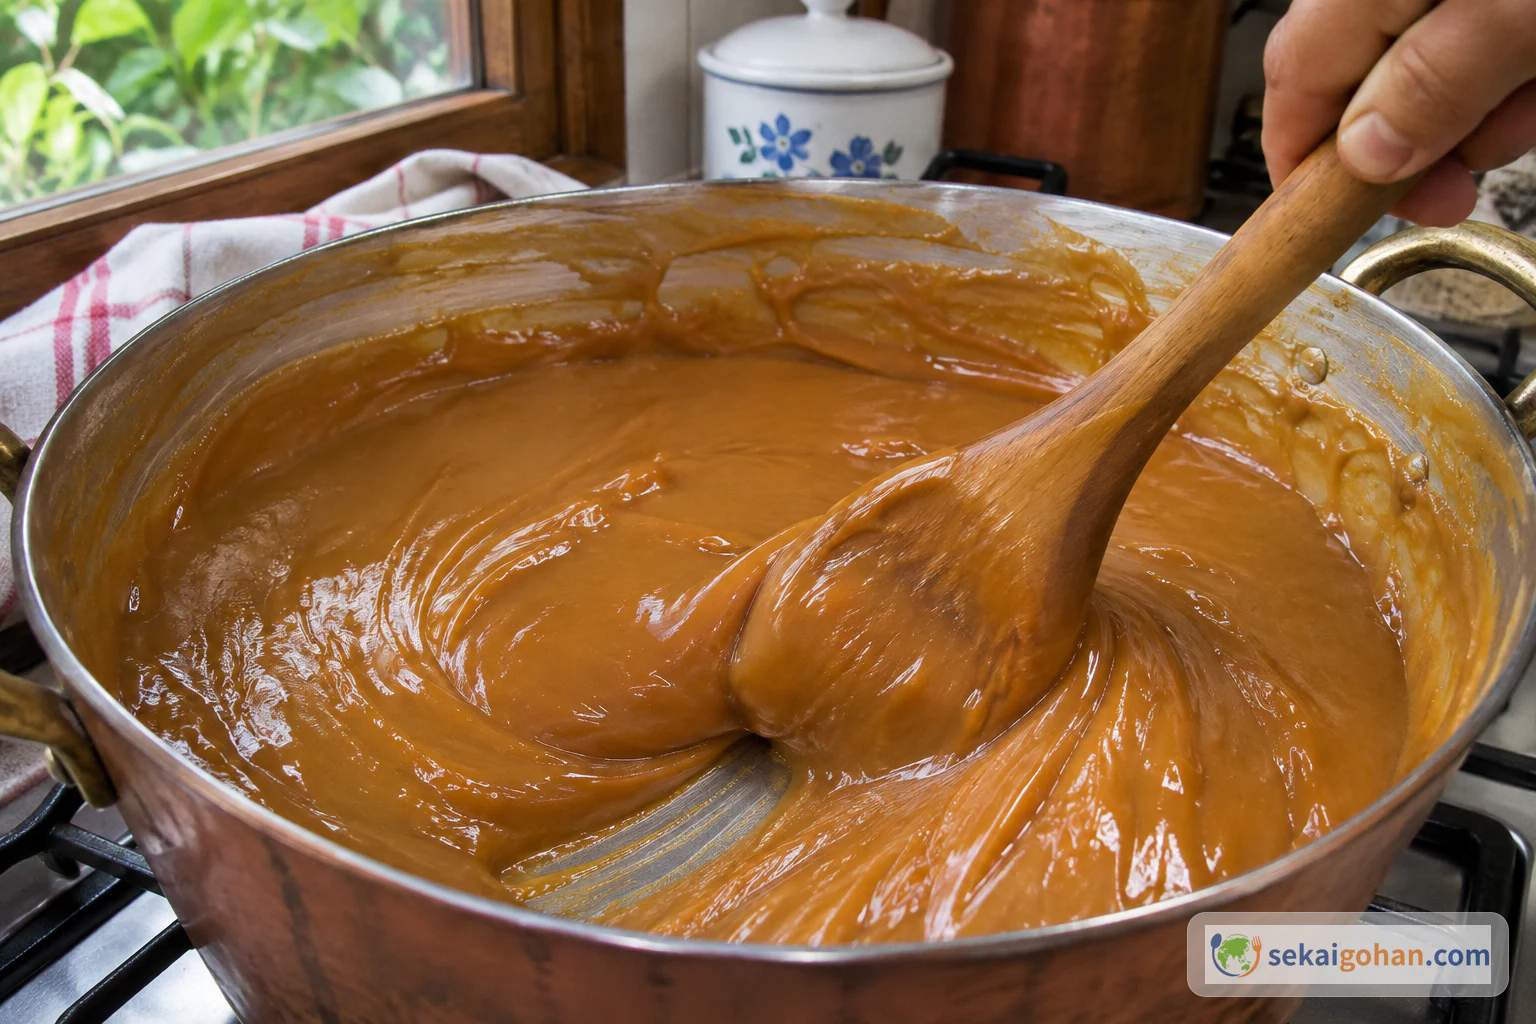
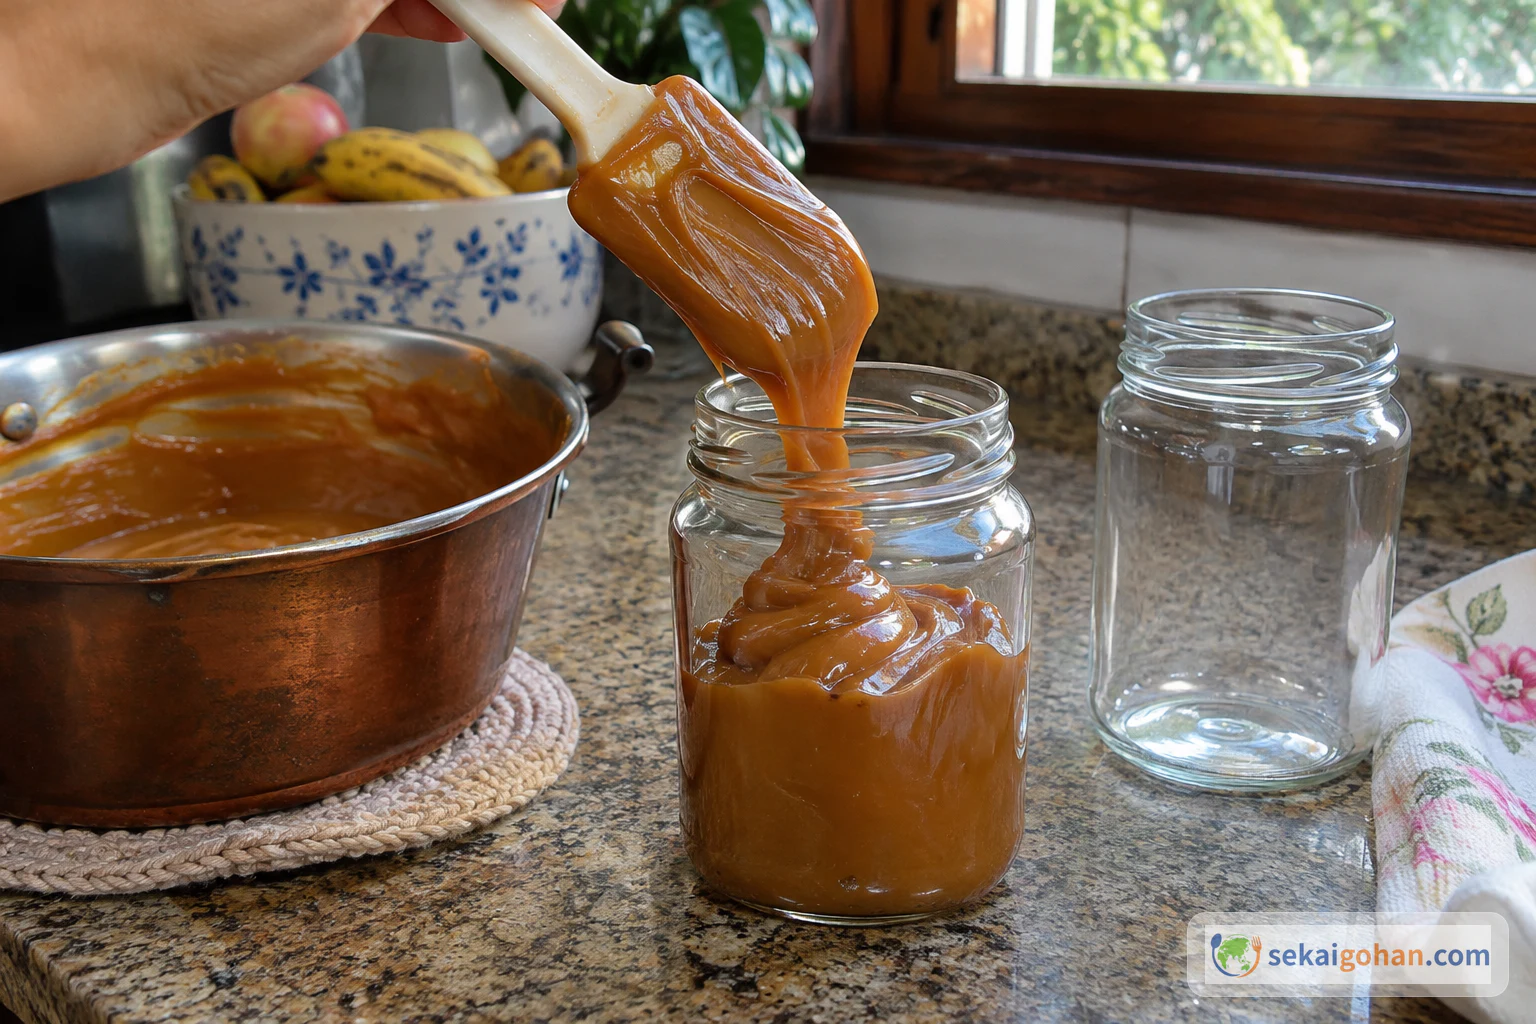
In the last ten minutes the spoon stays in your hand. The milk that went into the pot white and thin has turned a deep, glossy amber, and it moves slowly behind the spatula. You can see the bottom of the pot for a moment before it closes over. Doce de leite is milk and sugar cooked down together for about an hour until they brown and thicken into a soft spread. In Brazil it goes on bread, into cakes and next to a slice of fresh white cheese. It tastes of cooked milk and toffee, with a pinch of salt in the background.
Sweet of Milk: The Spread on Brazil's Dessert Shelf
The name means "sweet of milk," and that is all it is. Long, gentle heat browns the milk sugars and proteins together, caramelizing and toasting at once, so the colour comes from the milk itself. Spanish-speaking neighbours call the same family of sweets dulce de leche. The Brazilian version has its own spelling and its own place at the table.
Where it was first made is not settled. Claims reach as far as Indonesia and the Philippines, India's rabadi and Chile's manjar, and none of them wins outright. In Brazil there is a written record of it in Minas Gerais from 1773. Much of what Brazilians buy is still made by small producers, and quality varies a lot from one maker to the next. That is one good reason to make your own.
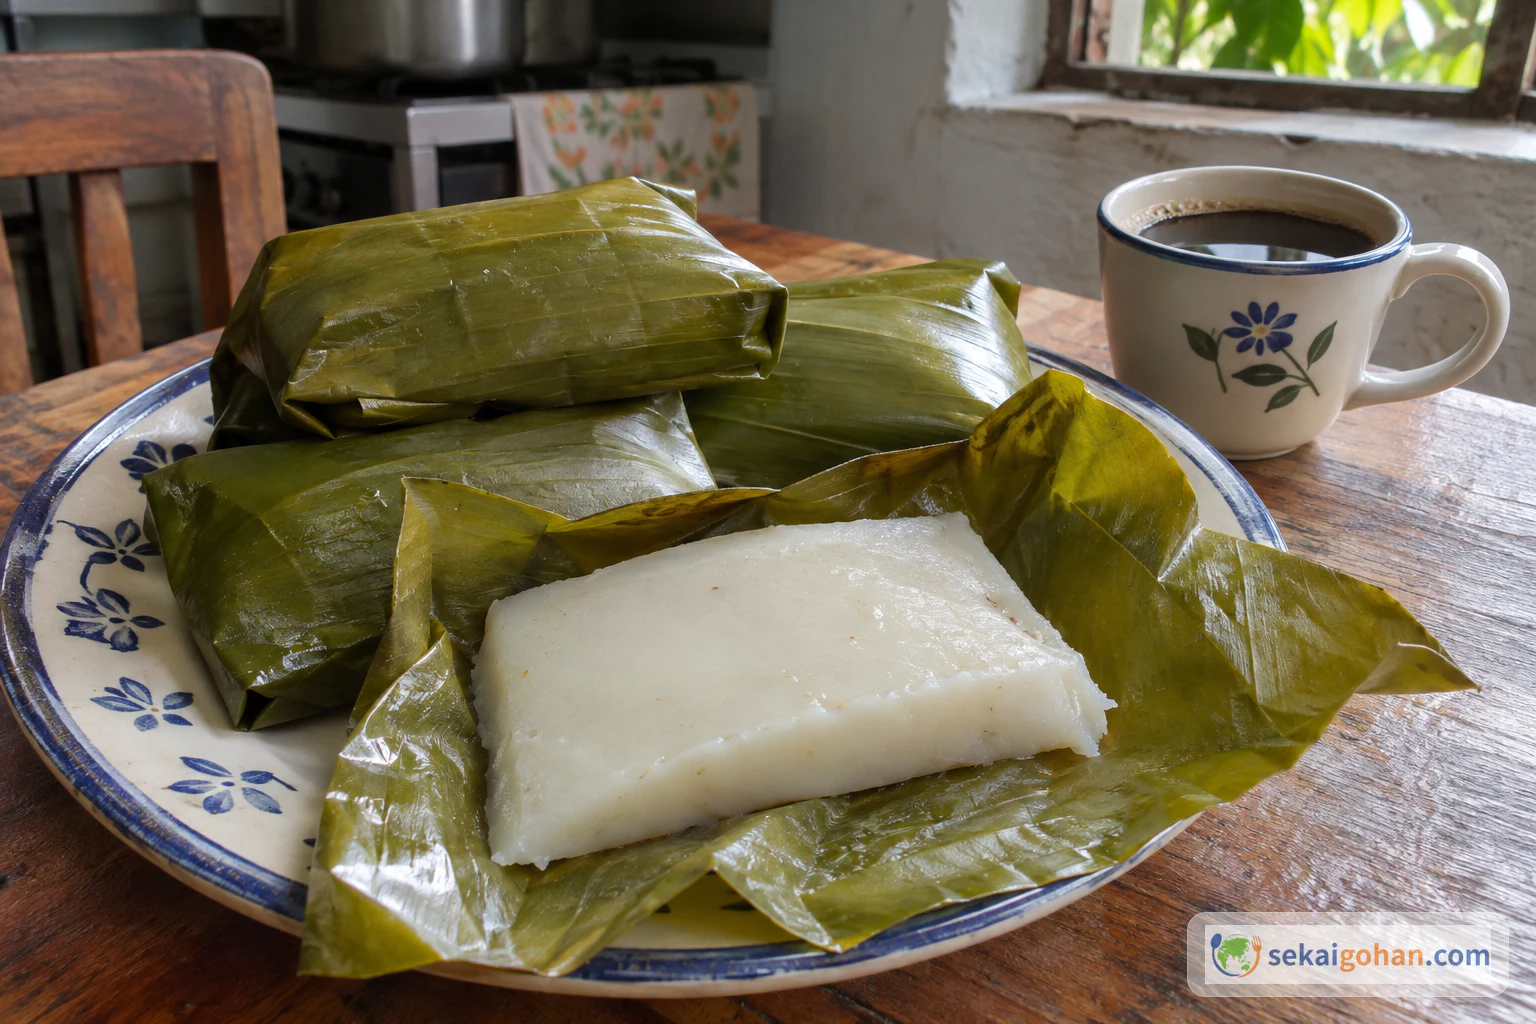
It comes in two textures. The spoonable kind fills cakes, alfajores and crepes, gets spread on toast and sits beside churros or sliced banana. The firm kind is cooked further, spread out, cooled and cut into pieces, and some producers make firm tablets from goat's milk. Doce de leite sits on the same dessert shelf as pudim and quindim, and you will find more of the country's cooking on the Brazil page.
Doce de leite with a slice of plain fresh white cheese is a common Brazilian pairing. The cheese is mild and a little salty, and sweet against salt is the point of the plate. Salt in the pot does the same job on a small scale.
Ingredients
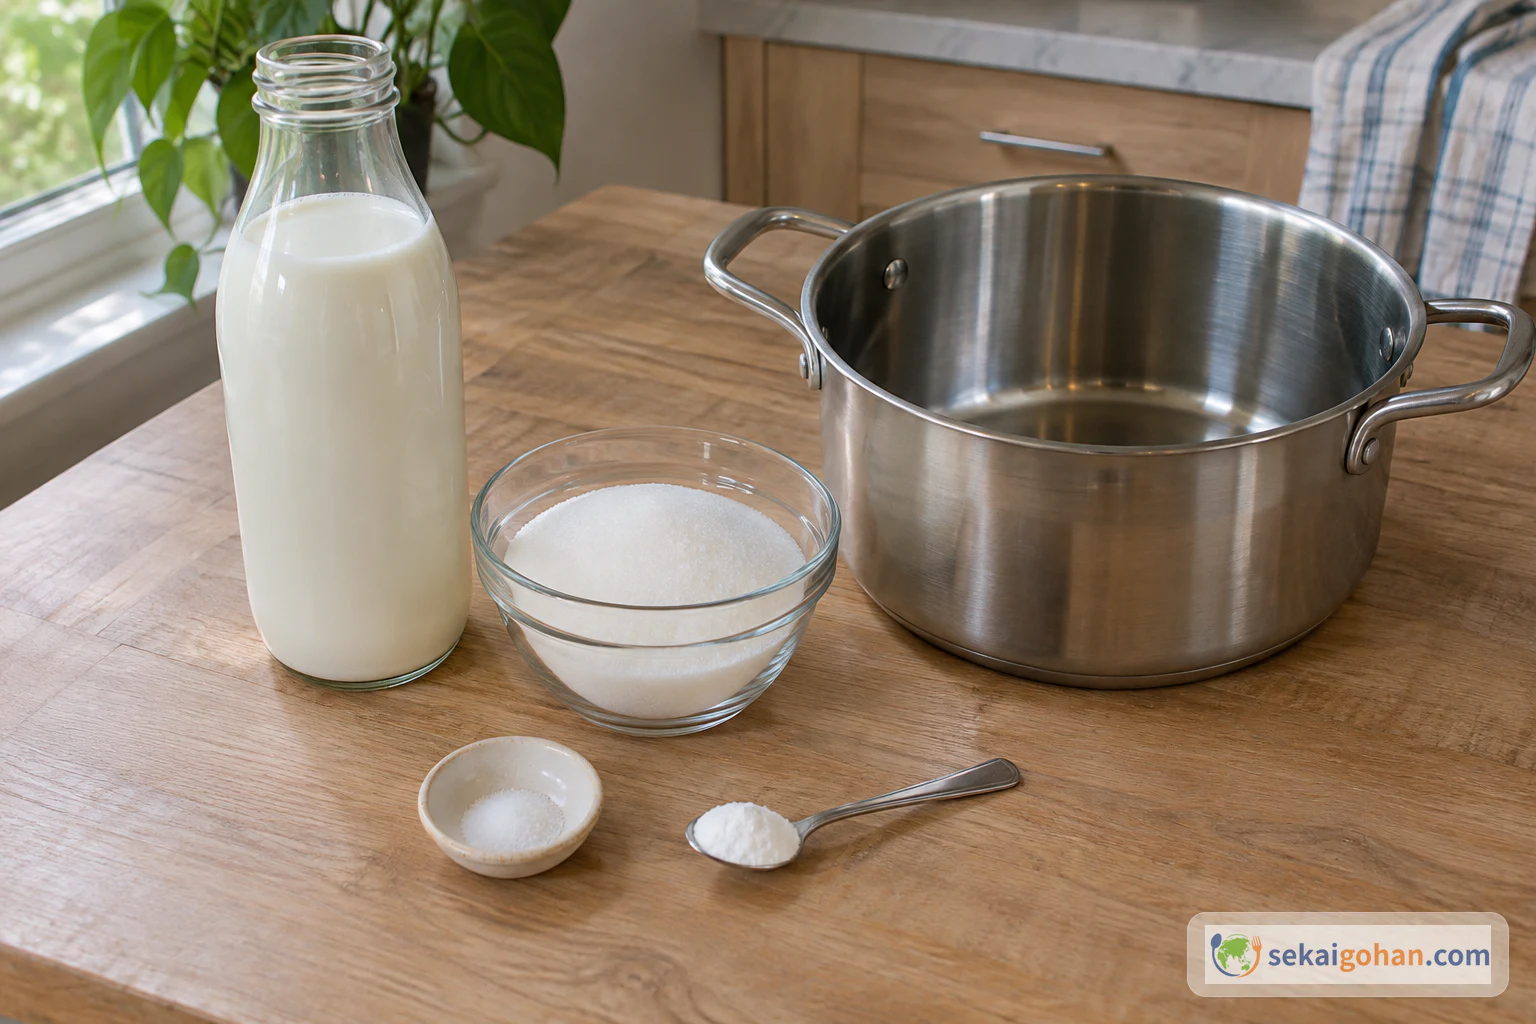
This makes about 12½ oz (350 g), which fills one or two small jars.
Doce de leite is made from cow's milk and contains milk. It is not suitable for anyone with a milk allergy.
Equipment
- A wide, heavy-bottomed pot, big enough that the milk fills it only a third to halfway
- A heatproof silicone spatula or a wooden spoon
- Clean glass jars with lids, boiled before use
- A kitchen timer, for stirring every 5 minutes
Choosing the Milk, Sugar and Soda
Everything here is in an ordinary supermarket. The choice that changes the result most is the milk. Use whole milk. Its fat carries the creamy, rounded taste, so low-fat milk is not recommended here. For sugar, plain granulated white sugar works. Coarse crystal sugar and fine refined sugar both do the job. Do not use powdered sugar, because it scorches easily on the bottom of the pot.
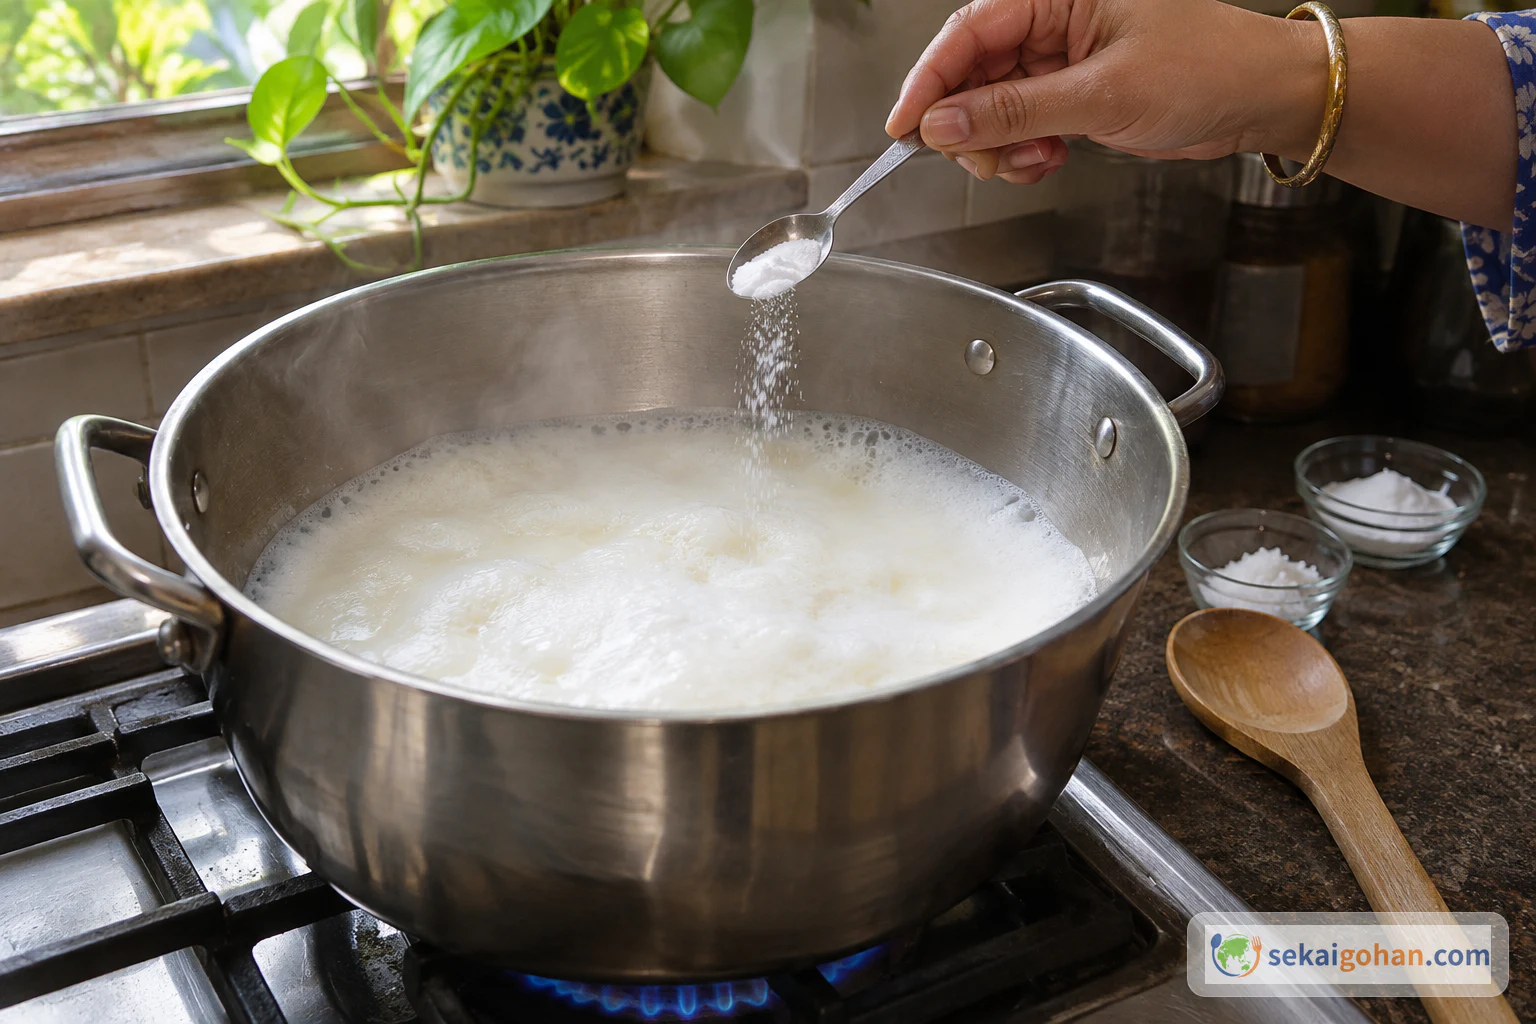
Buy food-grade baking soda from the baking aisle. Cooks disagree on how much to use. Some put in as little as a generous pinch, about ¼ tsp per quart (1 L) of milk, and too much turns the spread dark and bitter. If your first batch tastes sharp or soapy, use less next time. Ordinary table salt is fine.
A wide pot gives the milk a large surface to reduce from, and a thick base spreads the heat so the sugar does not catch in one spot. A thin, narrow saucepan is the most common cause of scorching, so if you only have one heavy pot, use that one.
Method
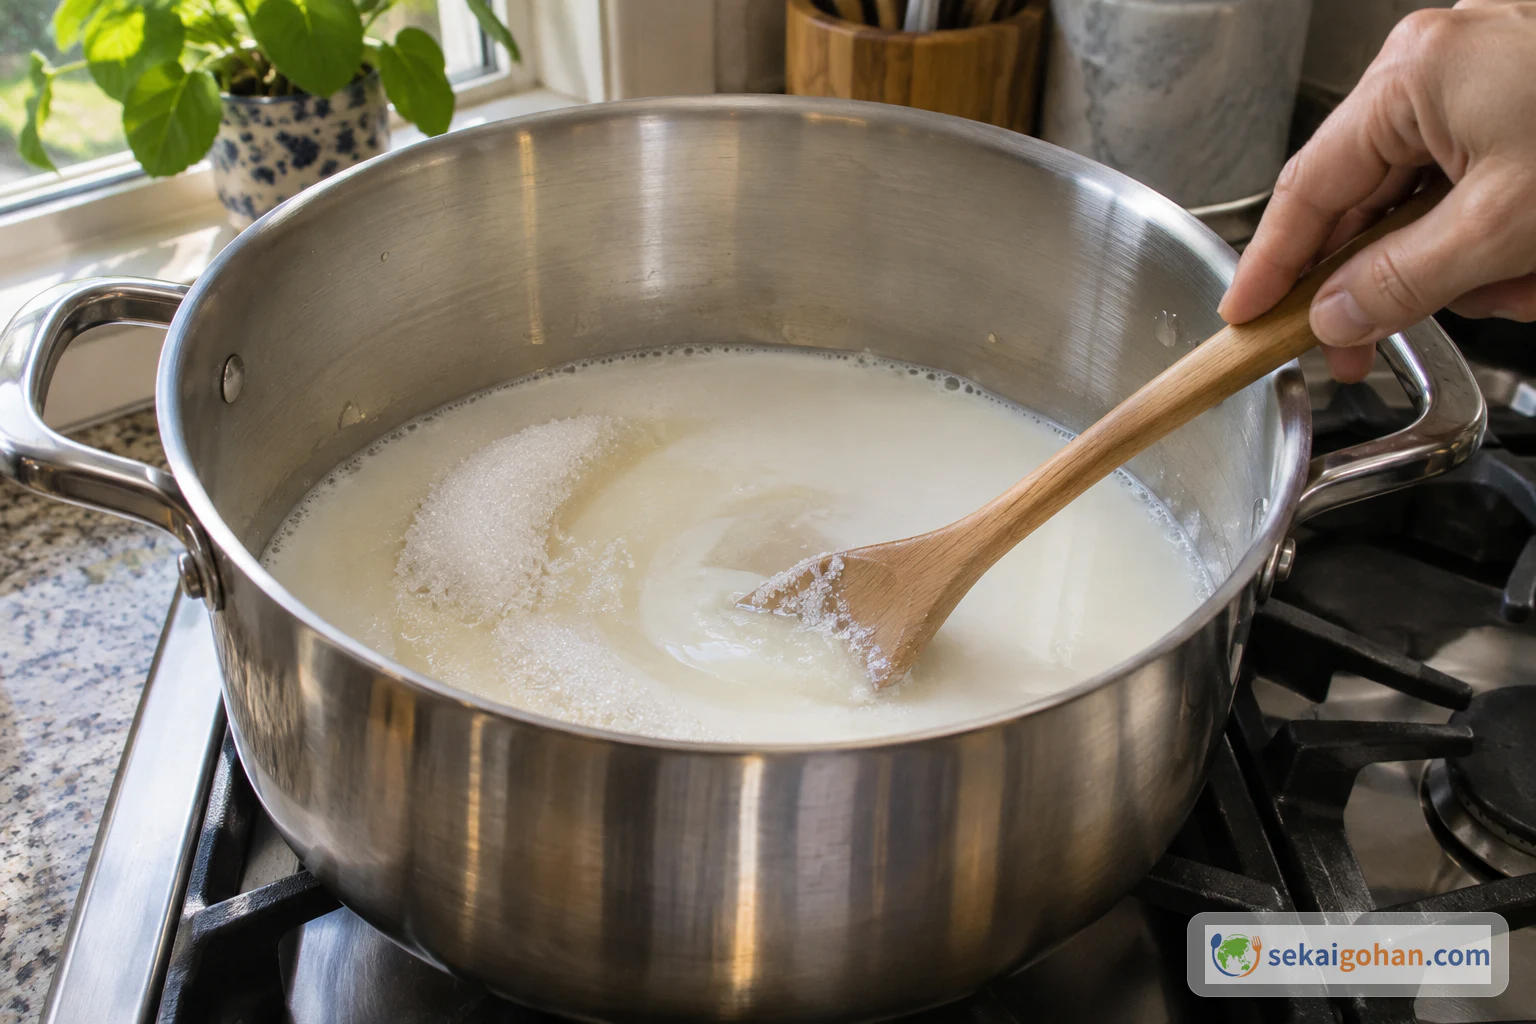
Measure everything before you light the stove, because the soda and salt go in the moment the milk boils. After that comes a long, quiet hour at low heat when you only need to come back every 5 minutes. The last 10 minutes need your full attention, and the decision about when to stop comes at the very end.
The milk foams up hard when it boils and again when the baking soda goes in, so keep the pot no more than half full and stay at the stove. Reduced milk and sugar is very hot and sticks to skin. Stir with a long-handled spatula, keep your hands away from the bubbles and let it cool before you taste it.
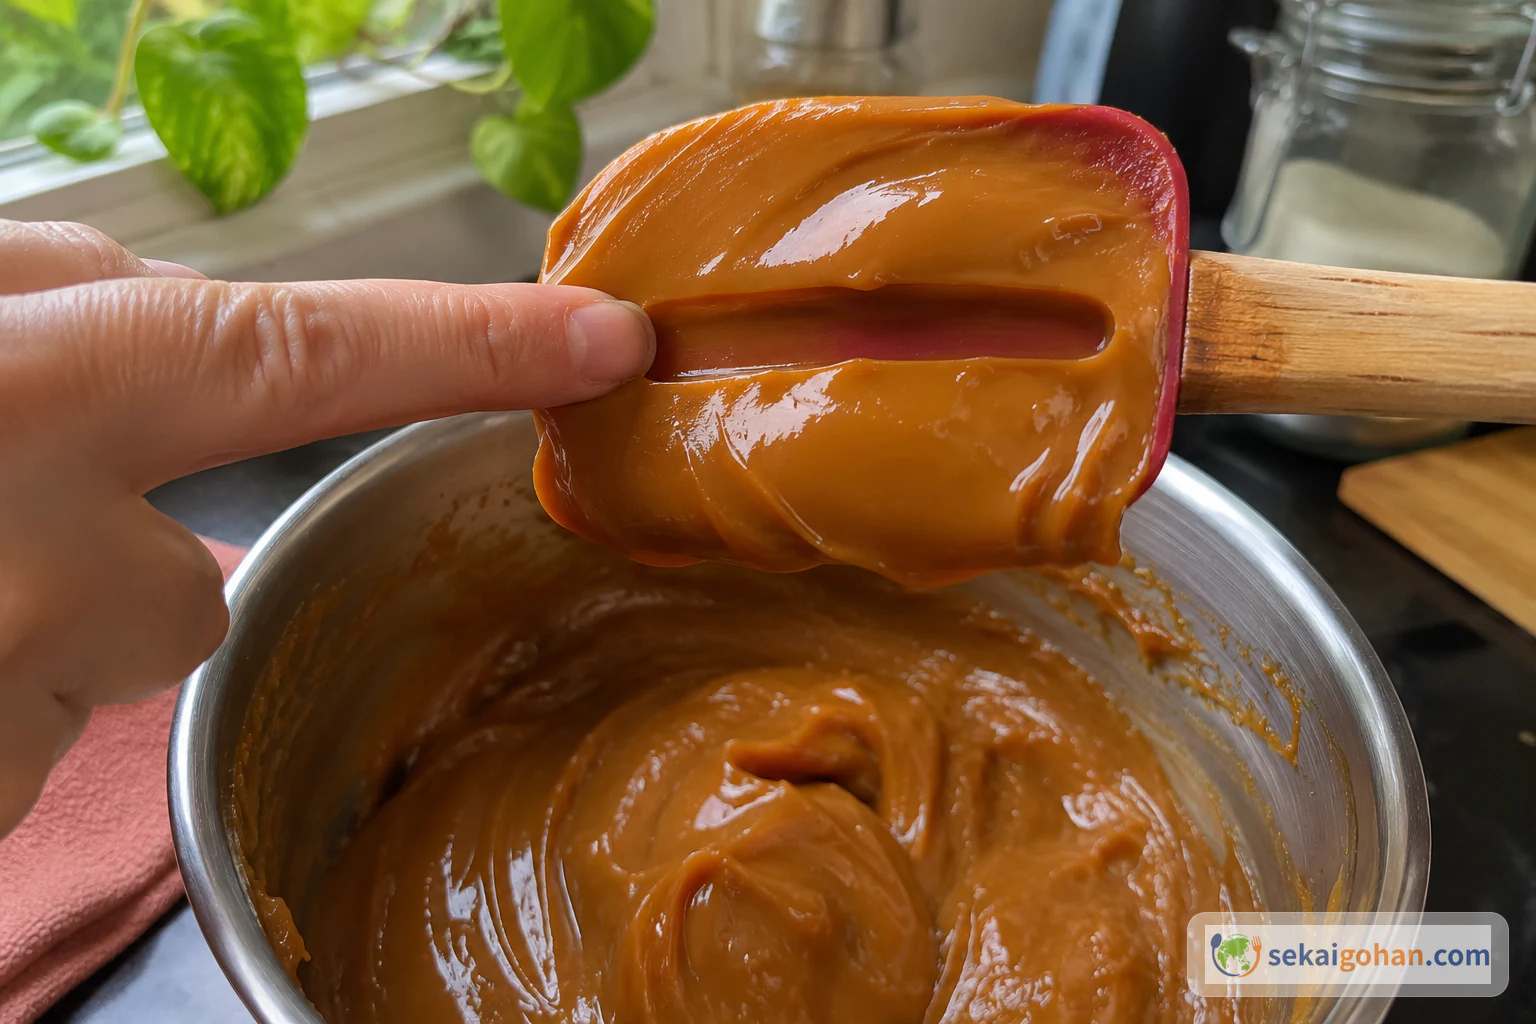
A finished pot that looks perfect while hot will be stiff in the jar. If you want a spread that runs off a spoon, stop at the first clear ponto napê. If you want it firm enough to fill cookies, cook it a little longer, until it is past the first ponto napê.
When It Goes Wrong
| What you see | Why | What to do |
|---|---|---|
| Dark colour and a bitter or soapy taste | Too much baking soda | Next batch, use less soda |
| Pale colour even after an hour | The baking soda amount was off, or the heat was too low to brown | Keep cooking at low heat and stirring until it reaches the colour and the ponto napê |
| Small curds or a grainy look | Milk proteins curdled as the acidity rose during reduction | Make sure the baking soda goes in as soon as the milk boils, and stir it in thoroughly |
| Burnt flecks and a bitter smell from the bottom | Thin pot, or the stirring slowed in the last 10 minutes | Do not scrape the burnt layer into the rest. Pour the good part into a clean pot and finish there |
| Foam spilling over the rim | Pot too full, or the soda went in without stirring | Use a wider pot, fill it only a third to halfway, and stir the moment the soda goes in |
| Hard as fudge once cold | Cooked past the ponto napê | Use it as the firm, sliceable kind, and stop earlier on the next batch |
Serving, Variations and Storage
At the table
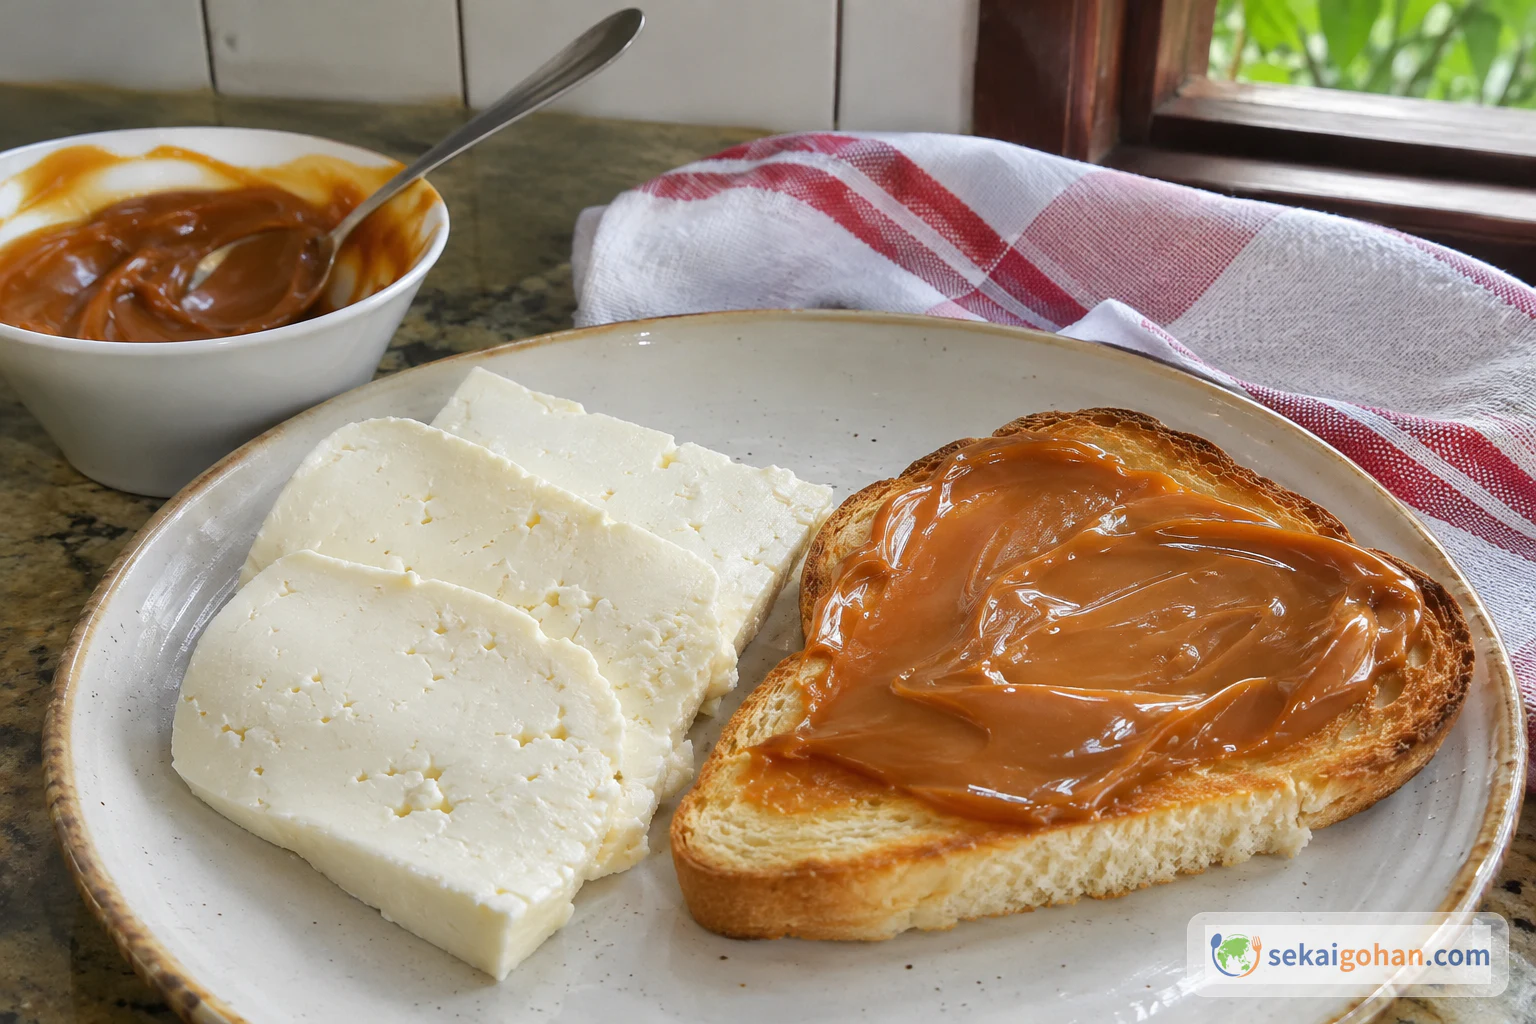
The simplest way to serve it is a jar and a spoon at breakfast or after a meal. Spread it thick on toast, or put it next to slices of plain fresh white cheese and eat the two in one bite. It goes alongside churros, over sliced banana, and rolled inside crepes.
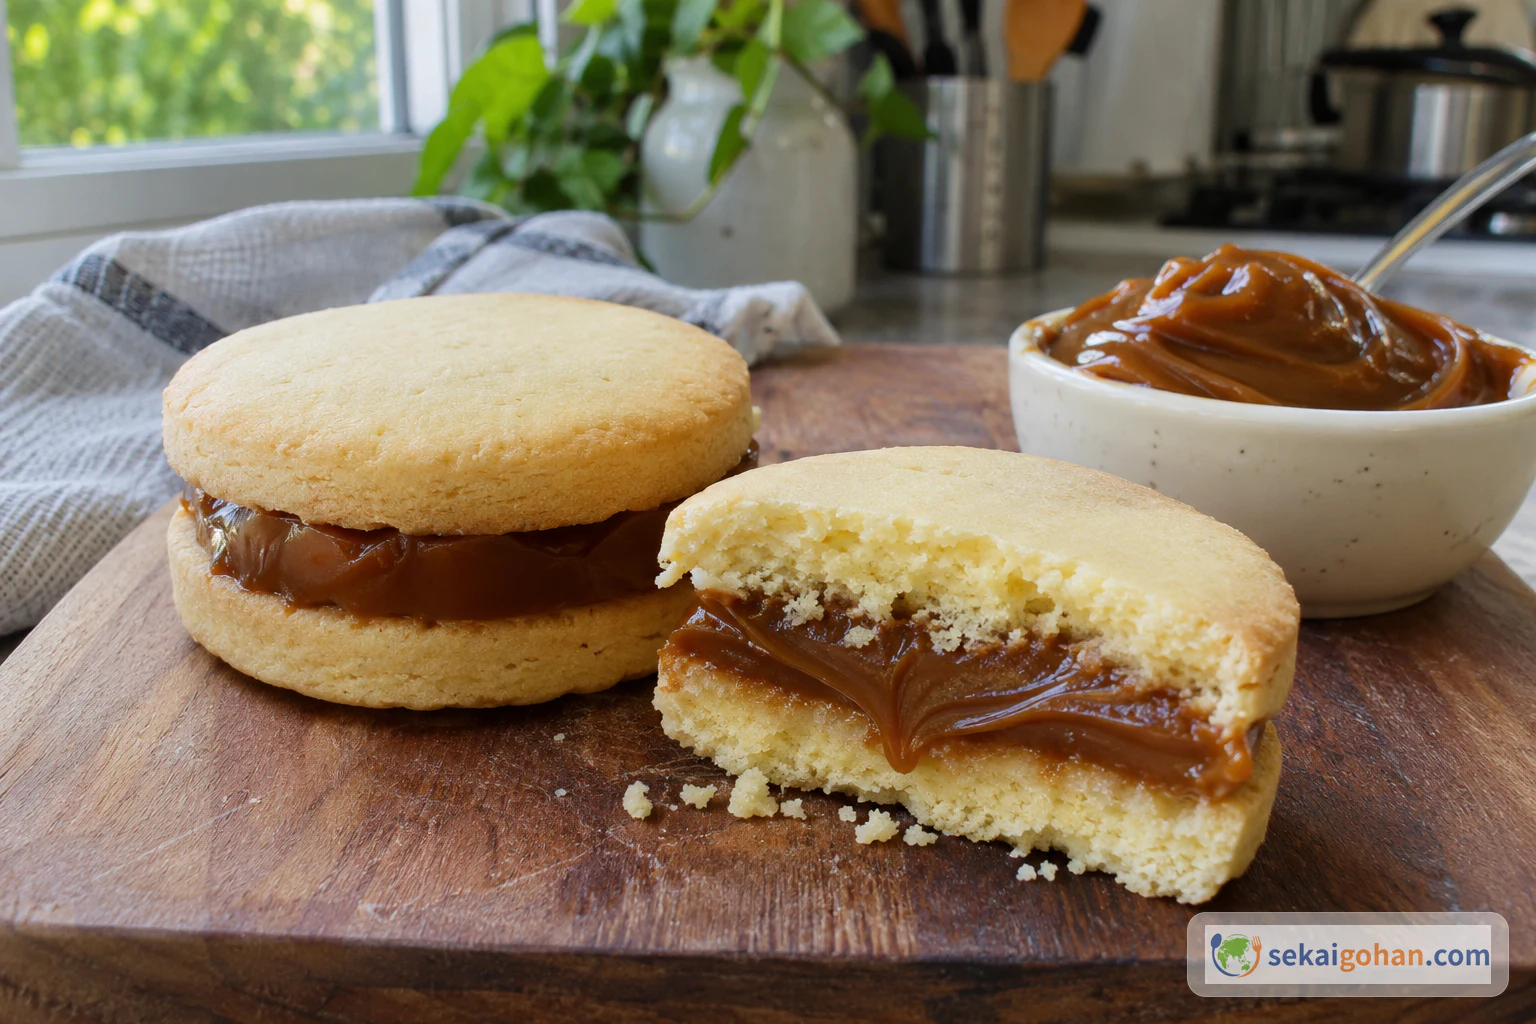
As a filling it holds cakes together and sandwiches the two soft cookies of an alfajor. A slightly firmer batch works best here, because it stays put when the cookie is bitten.
Variations
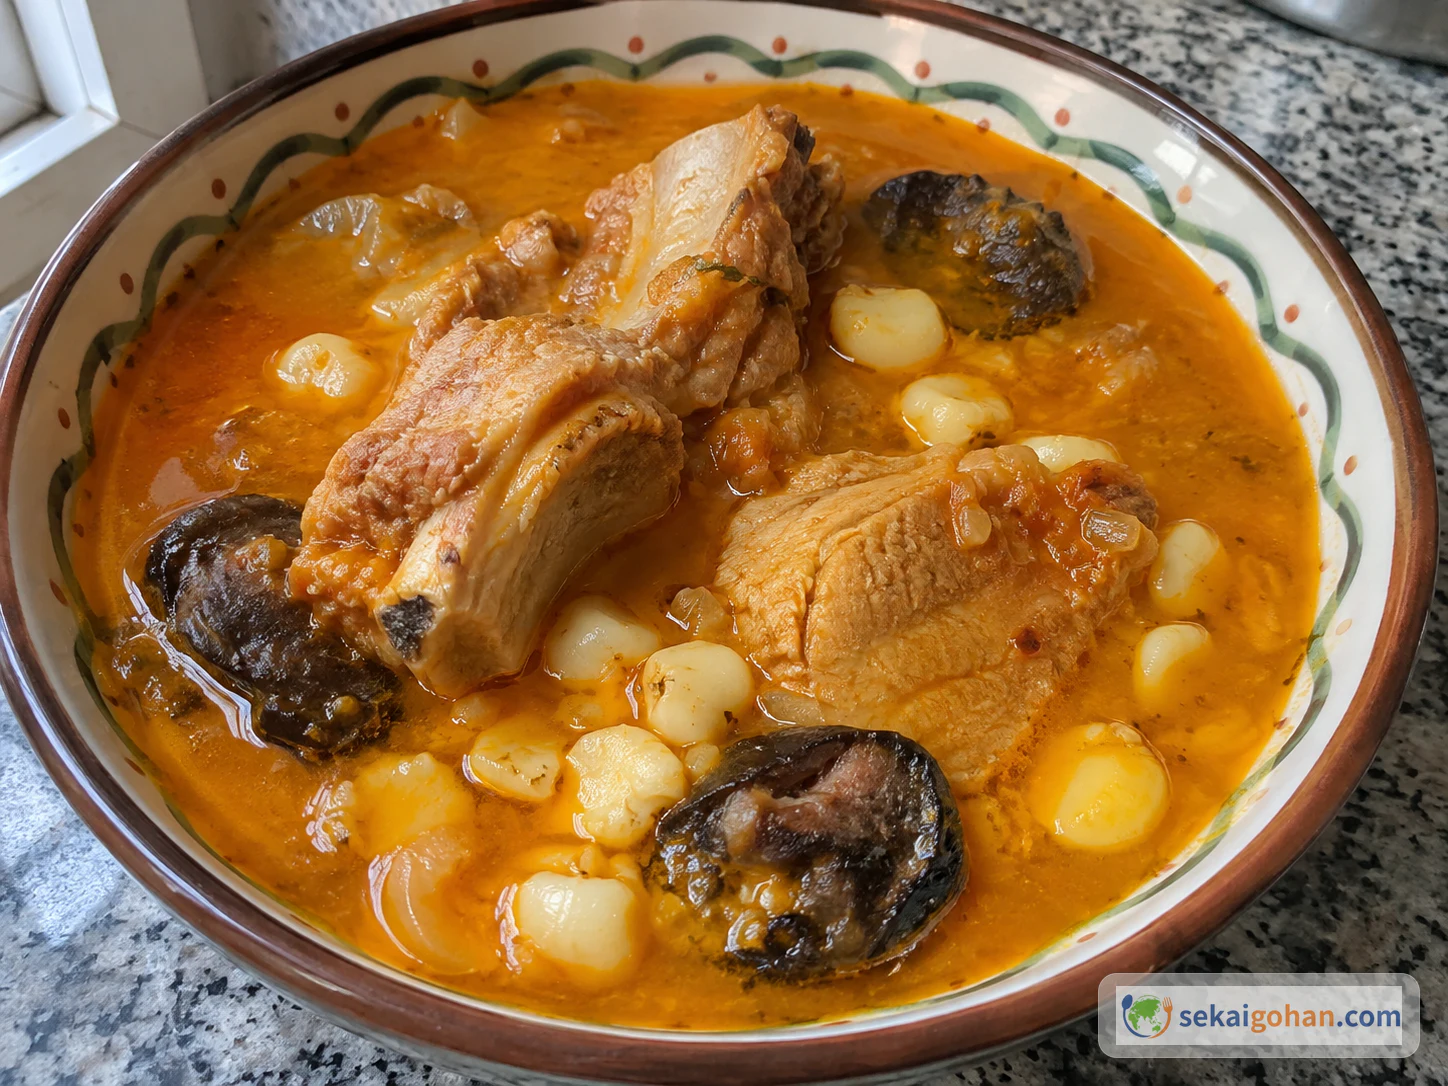
- With prunes: when the mixture first starts to thicken, stir in 1 cup of chopped dried prunes and keep cooking as usual. The fruit adds a dark, winey sweetness and chewy pieces to the spread.
- The firm, sliceable kind: keep stirring past the ponto napê until the mass thickens and pulls away from the pot. Spread it out, let it cool and cut it into pieces. The result is closer to a soft fudge than a spread.
Storage
Let it cool, spoon it into clean jars that have been boiled, cover, and refrigerate. It keeps in the refrigerator for up to one month. Eat it sooner rather than later. Do not store homemade doce de leite at room temperature. Throw the jar out if the spread turns cloudy, smells off or shows any mould.
Frequently asked questions
Can I dissolve the baking soda in the cold milk instead of waiting for the boil?
Yes. Stirring it into the cold milk at the start works, and so does adding it at the boil. Adding it at the boil gives a big surge of foam, so stir hard at that moment. Dissolving it in cold milk is calmer, but the pot still needs the same headroom.
Is doce de leite the same as dulce de leche?
They belong to the same family of milk and sugar cooked down until brown and thick, and dulce de leche is the Spanish name. Proportions, firmness and how it is eaten change from country to country. The Brazilian table pairs it with fresh cheese and also makes the firm cut kind.
Can I make it with goat's milk?
Goat's milk doce de leite is made in Brazil, often as firm tablets. It is a different formula with different sugar and baking soda proportions. The amounts here are for cow's whole milk, so use cow's milk for this pot.