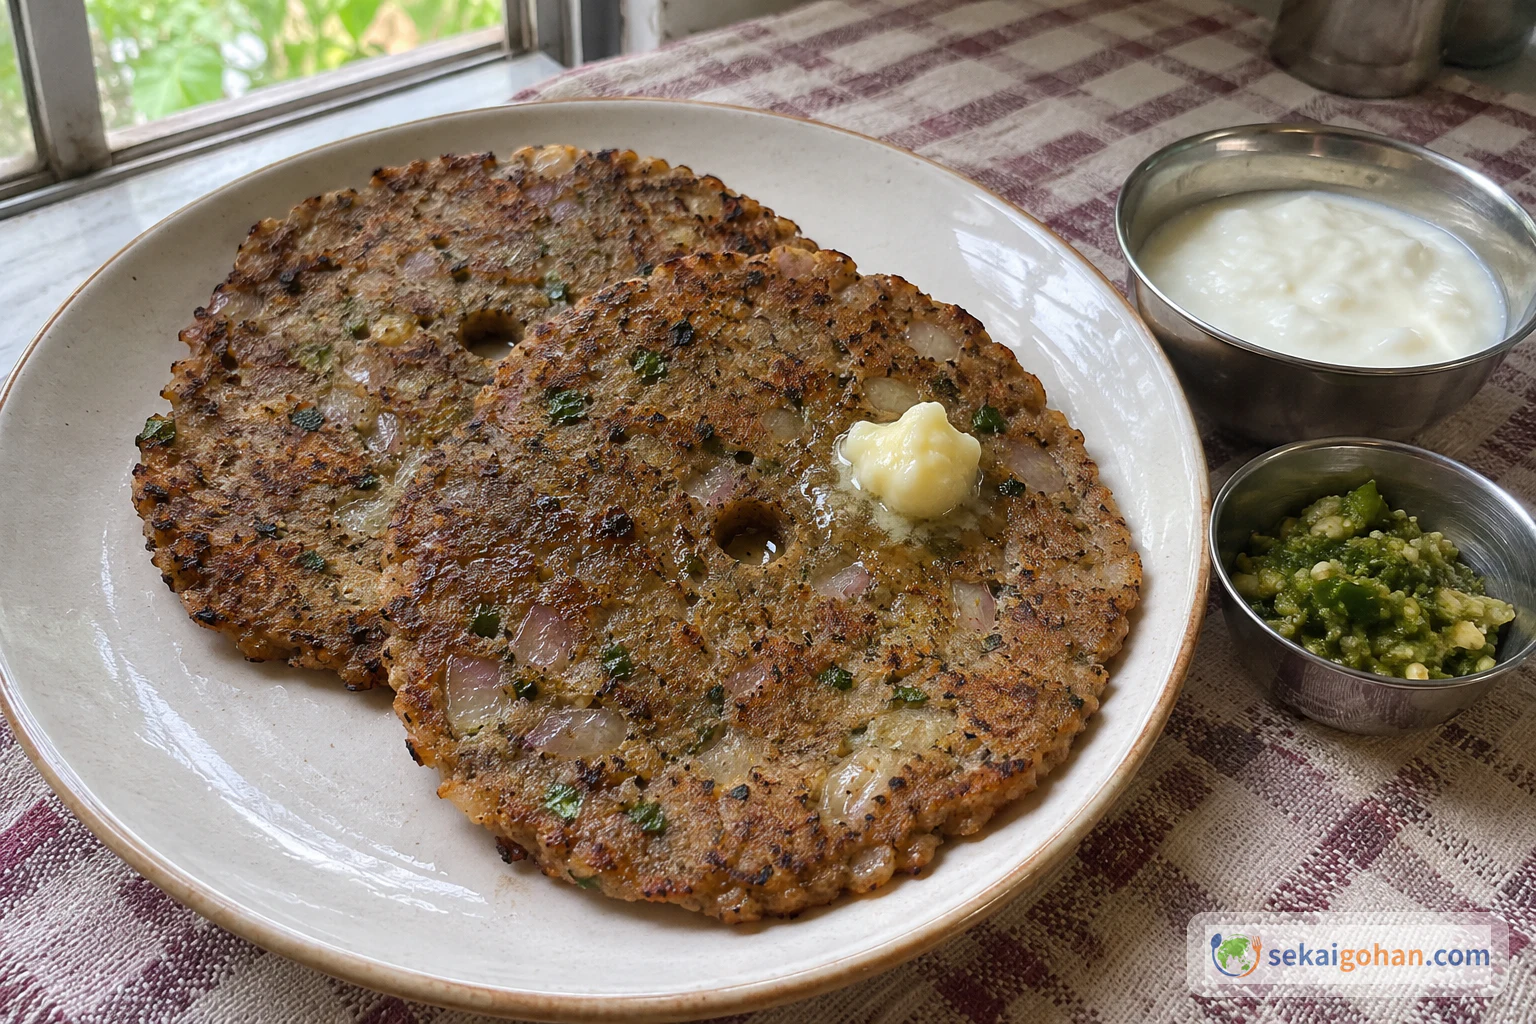
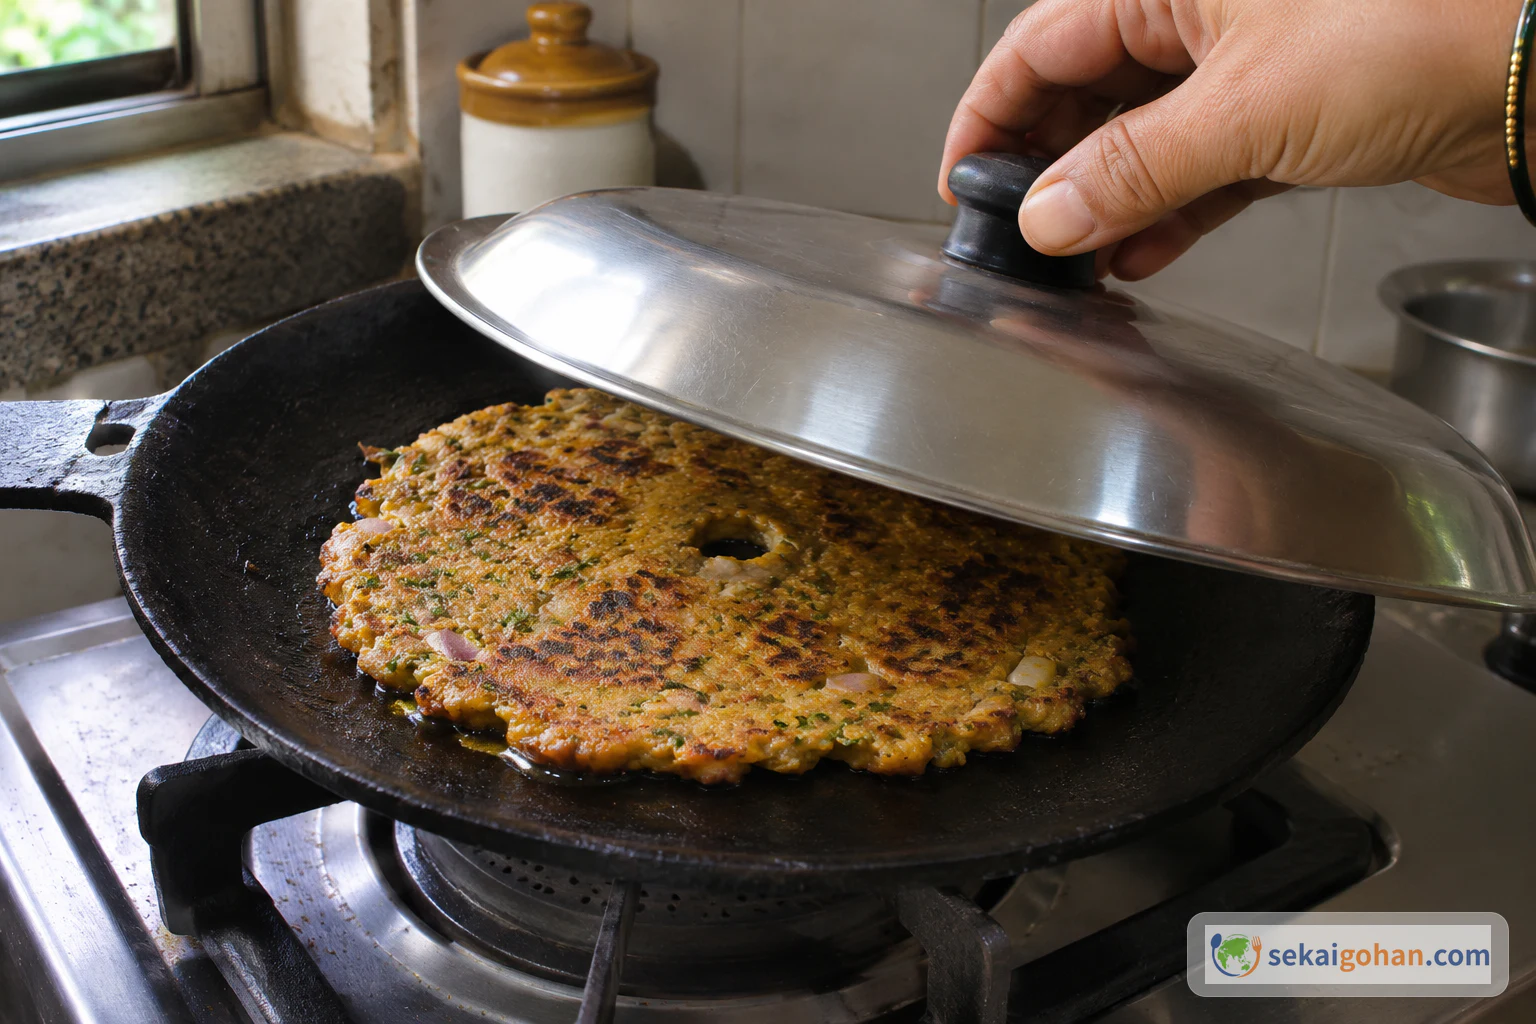
Peanut oil runs around the edge of the disc and drops into the hole in the middle, and the iron answers with a hiss. The lid goes on. When you lift it, the sizzle has gone quiet, the top has dried to a darker grey-tan, and the underside has turned golden and crisp at the rim. Thalipeeth is a flatbread from Maharashtra in western India. It is made from bhajani, a flour of grains and pulses that are roasted before they are ground, so each bite tastes of toasted millet and coriander seed first, then sweet onion, then the heat of green chilli. A spoonful of butter melts into it straight off the tava.
A Flatbread Pressed Flat by Hand
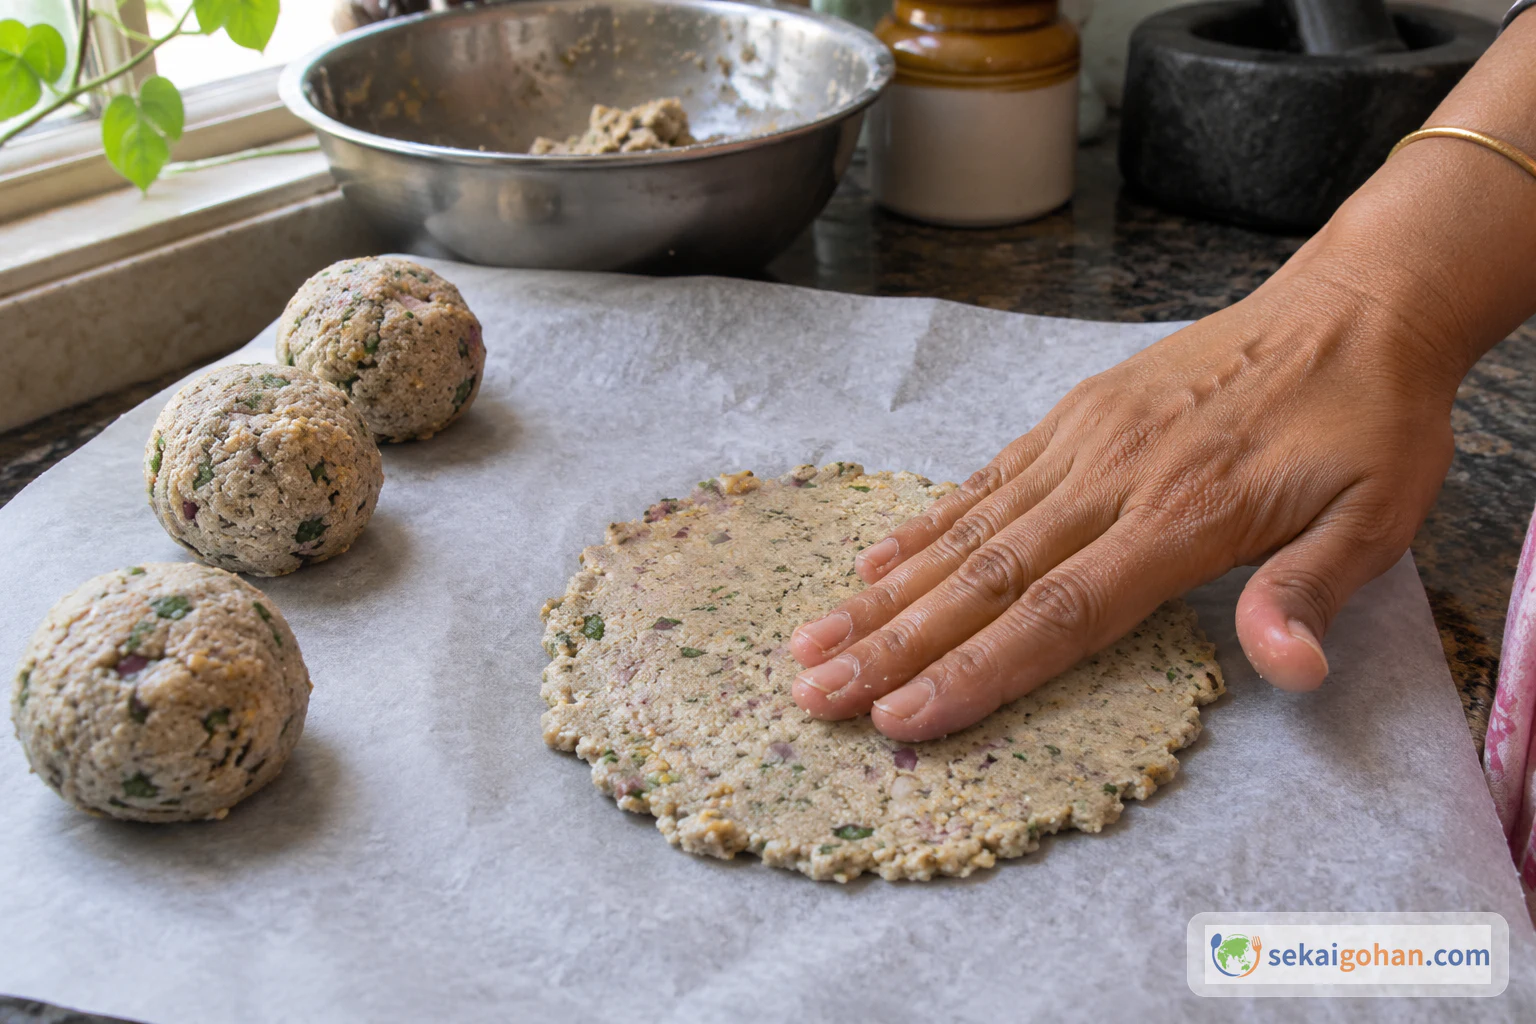
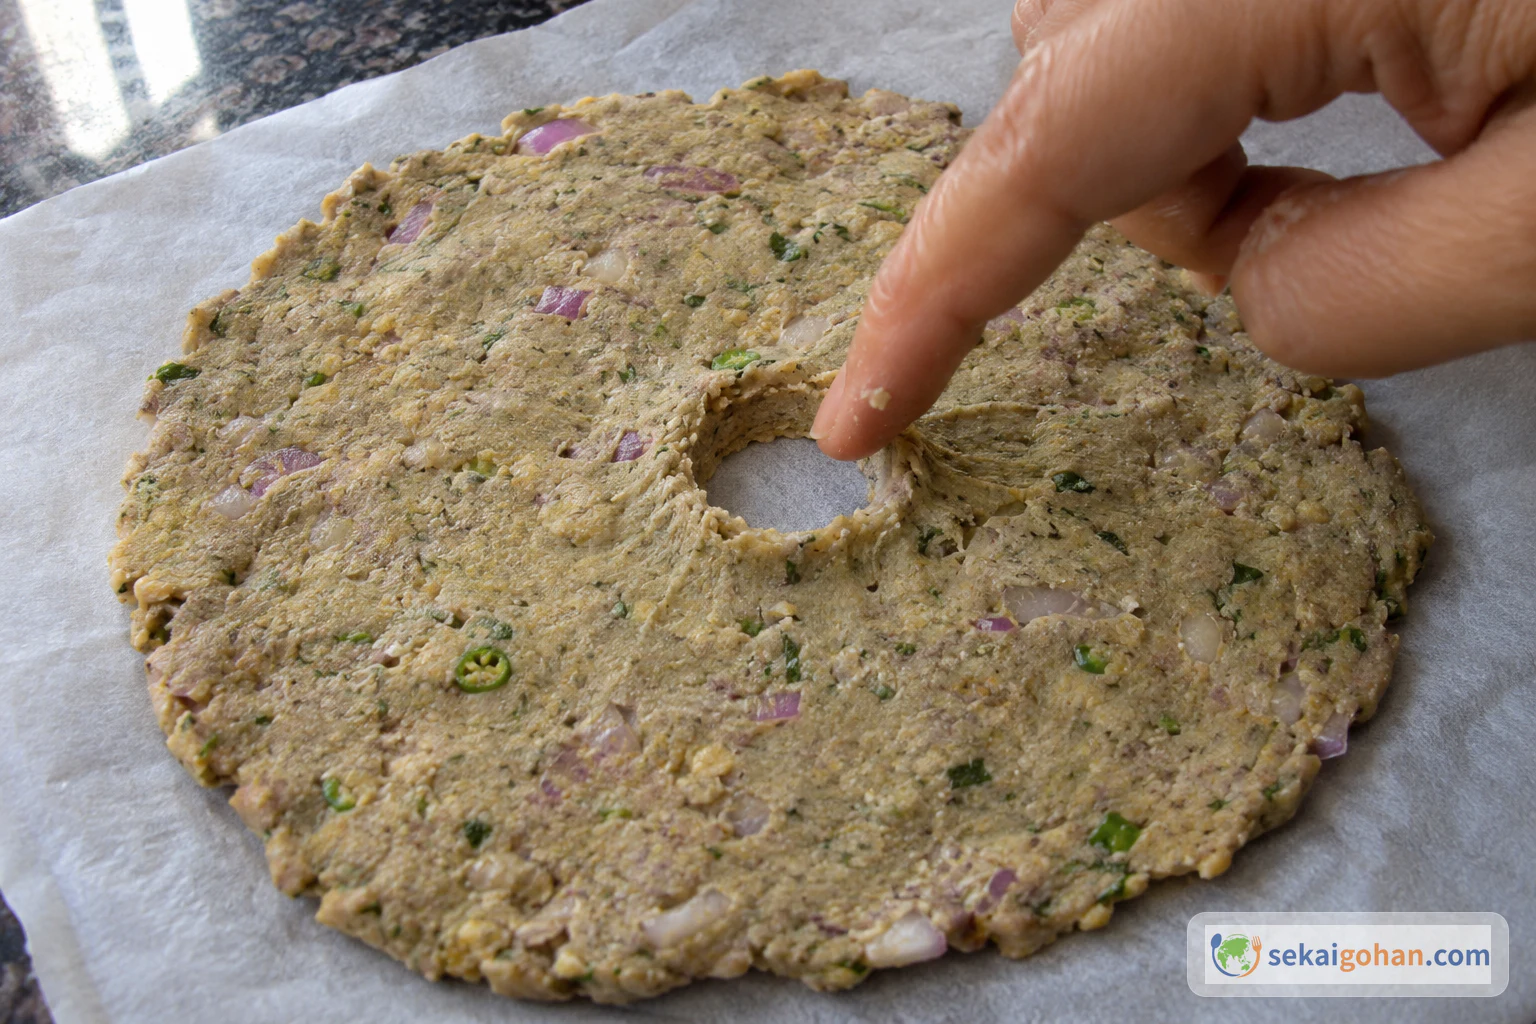
The dough has no wheat in it, so it has no gluten and no stretch. A rolling pin would tear it. That is why every thalipeeth is patted out with the palm, ball by ball, into a rough round with ragged edges, and why one finger pushed through the centre leaves a hole that the oil runs into. The name is usually traced to this pressing motion, and in some areas the bread is also called dhapata.
The name is linked to pressing the dough out flat by hand. In some parts of Maharashtra the same bread is called dhapata. Neither name points to a filling or a rolled dough. Both describe the press.
The flavour is roasted into the flour
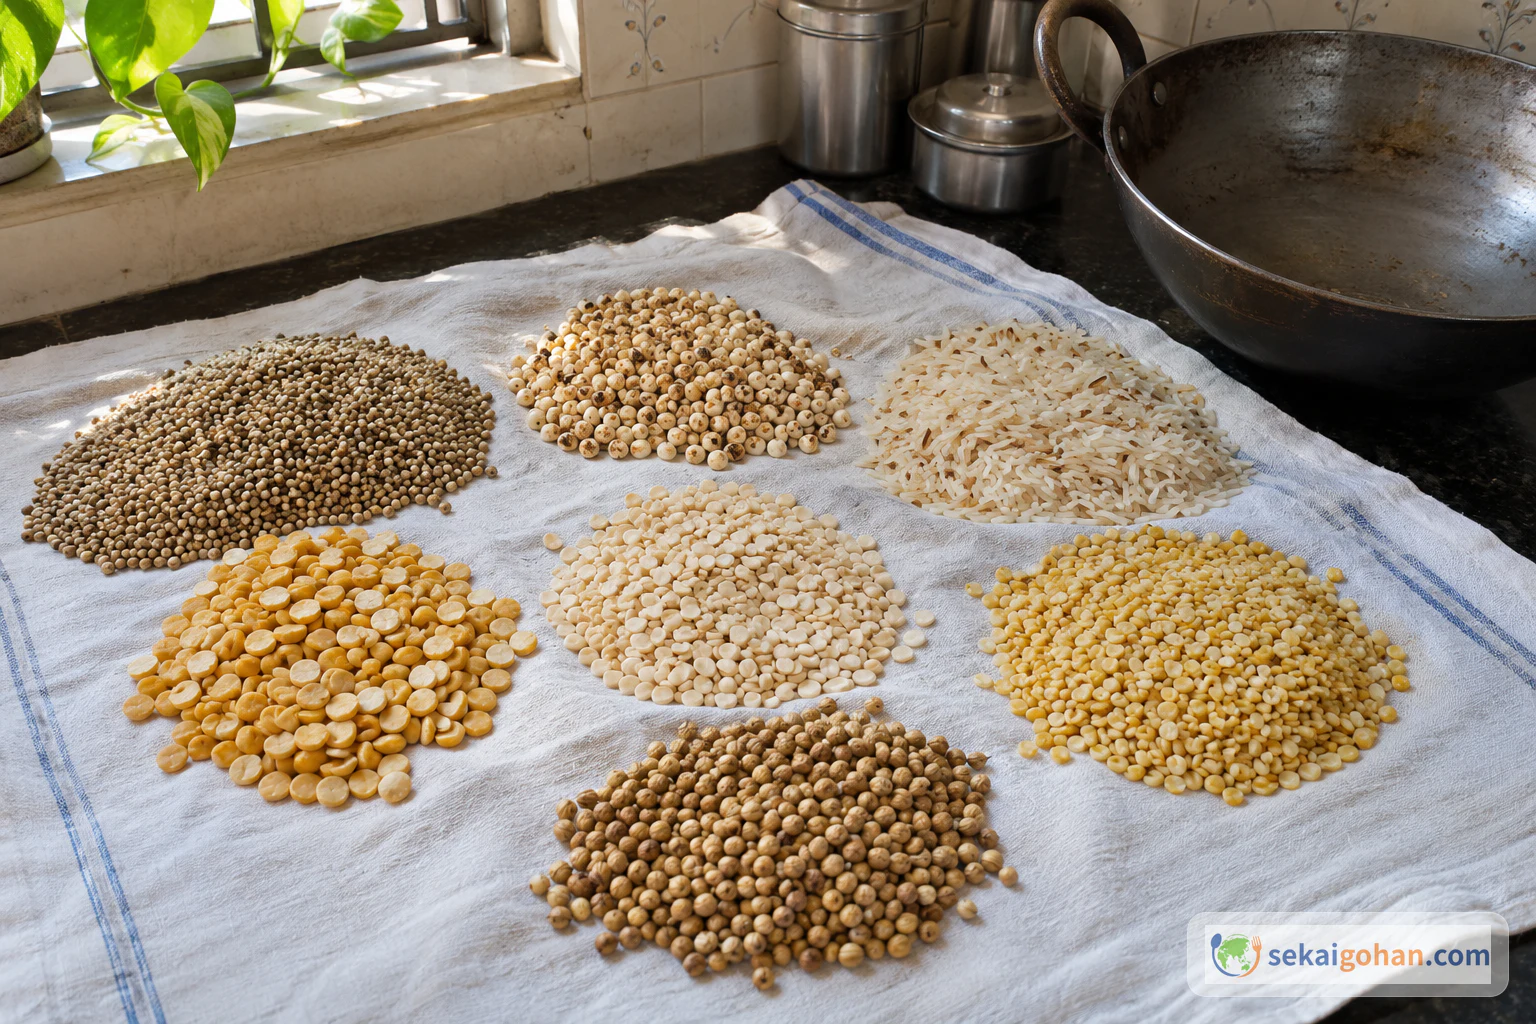
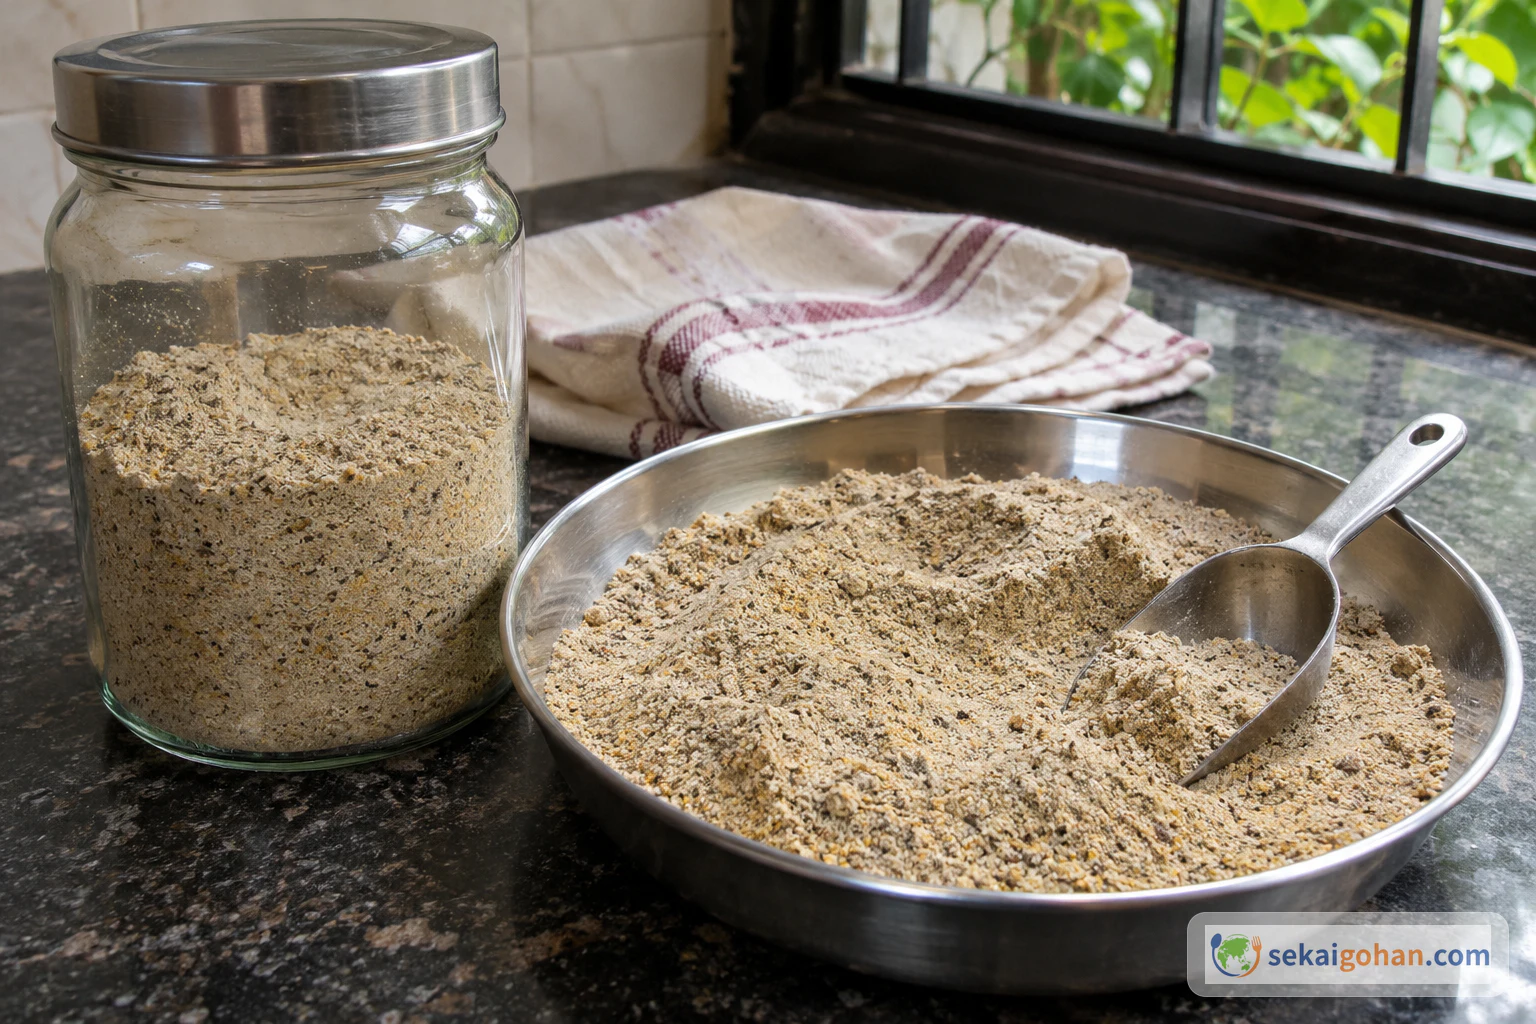
Bhajani means "roasted flour." Pearl millet (bajra), sorghum (jowar), rice, chana dal, skinned urad and mung dal and coriander seeds are each roasted separately and then ground together. The toasting is already in the flour before any dough is made, so a thalipeeth needs only onion, chilli, coriander leaves and salt to taste full. One family grinds a big batch every year just before Diwali, using up the pulses whose best-by dates are close. The writer of that family's recipe wonders whether thalipeeth itself grew out of that yearly clear-out. Where the dish began is not settled. It is described as food for people who work long days in the fields around Kolhapur, Satara and Pune. Today it is made for breakfast or as a snack.
How it differs from its neighbours
Among the flatbreads of India, thalipeeth stands apart because of its flour and its shaping. Gujarati thepla is wheat flour and fenugreek leaves rolled thin with a pin. Aloo paratha is wheat dough wrapped around a potato filling. Thalipeeth uses grains and pulses, is pressed by hand, gets a hole in the middle and cooks under a lid, so it comes out thicker, nubbly and crisp at the edge instead of soft and pliant. The name also covers other mixes. On fasting days, households make a version from sabudana (sago), potato and crushed peanuts. Other homes add roasted eggplant, use rice flour alone, or stir in sweet corn and spinach. The recipe here is the plain bhajani thalipeeth.
Ingredients (serves 4)
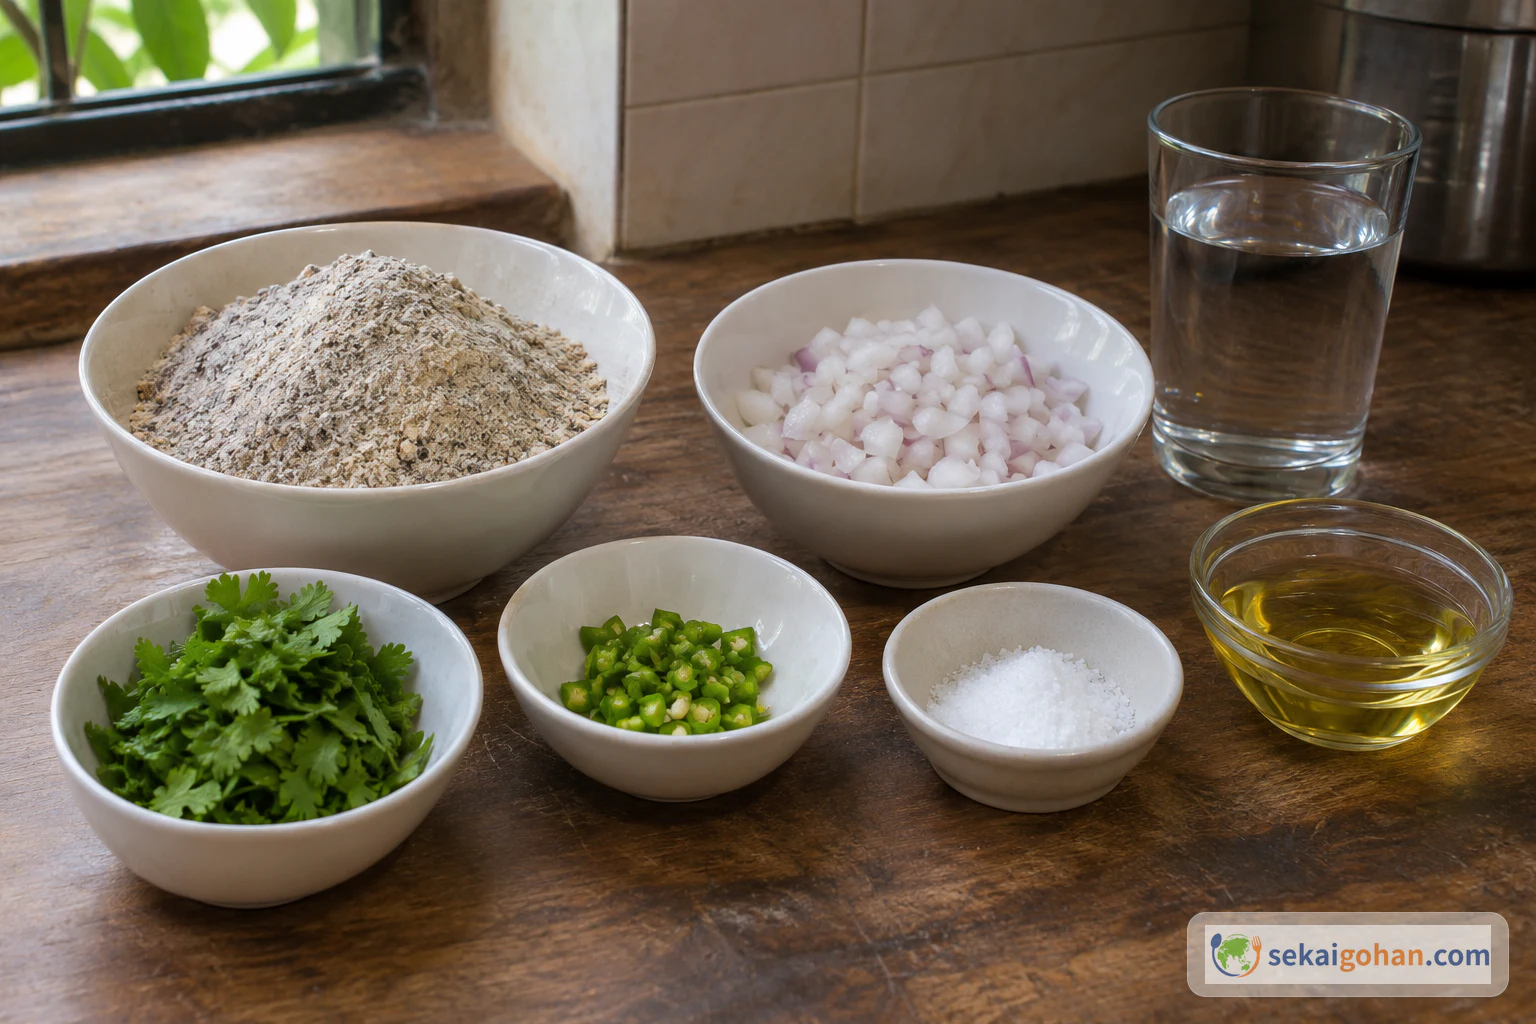
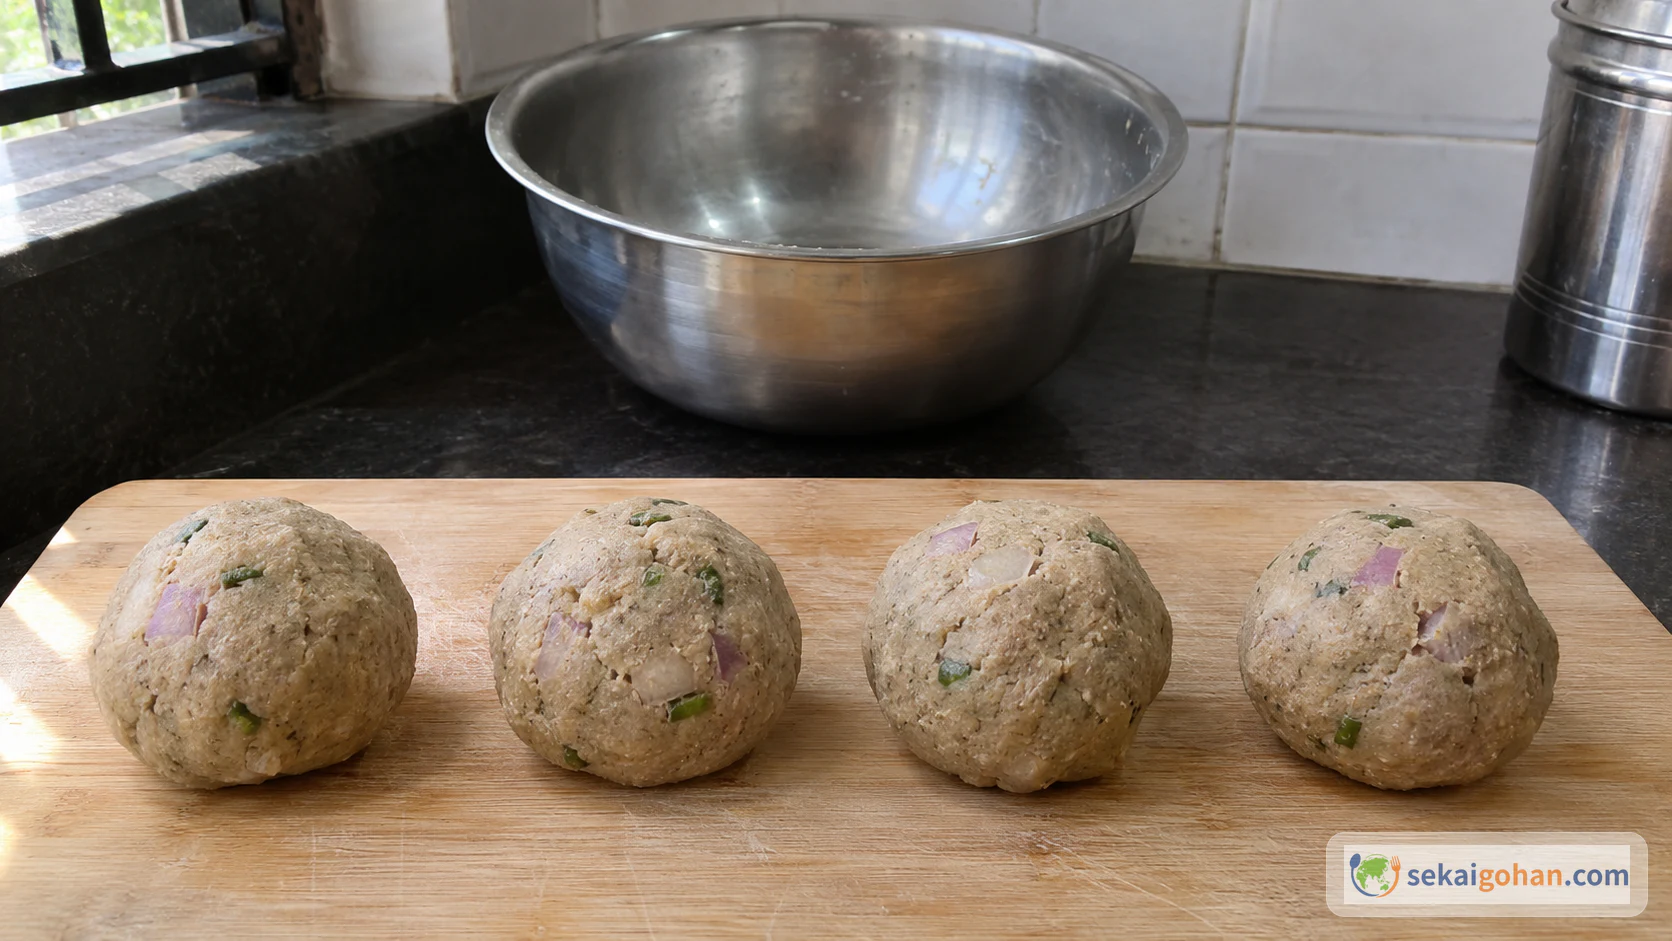
The dough makes four thalipeeth. If you grind your own bhajani, the small batch below is one-tenth of the full batch. Measure the finished flour by the cup, the same way as bought bhajani.
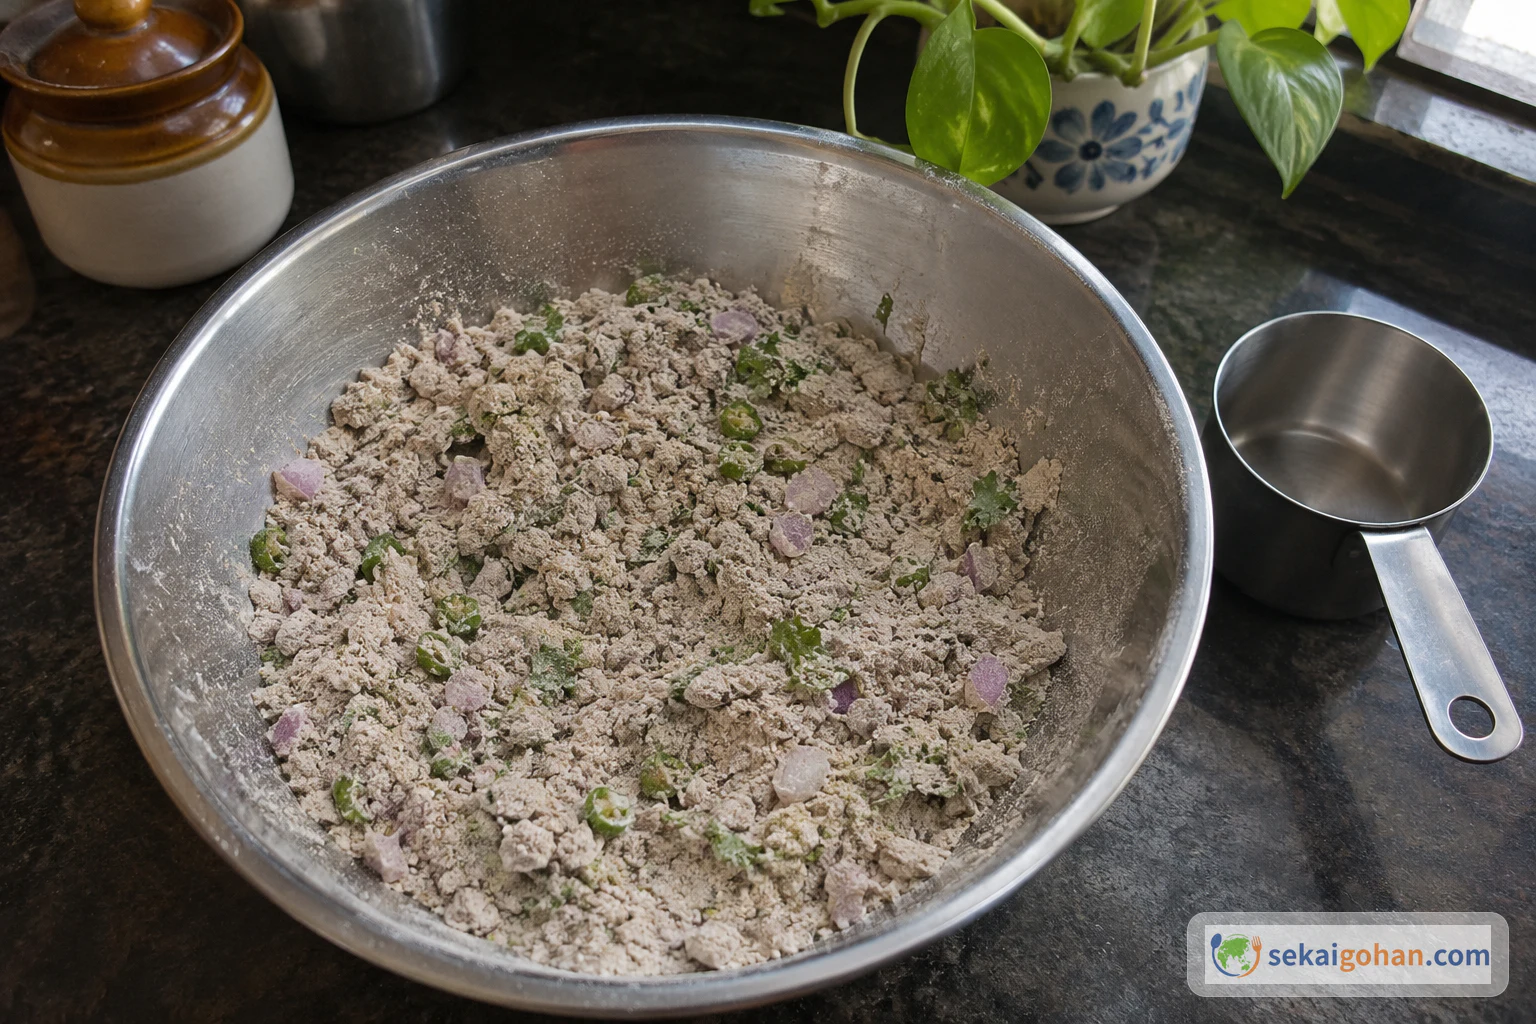
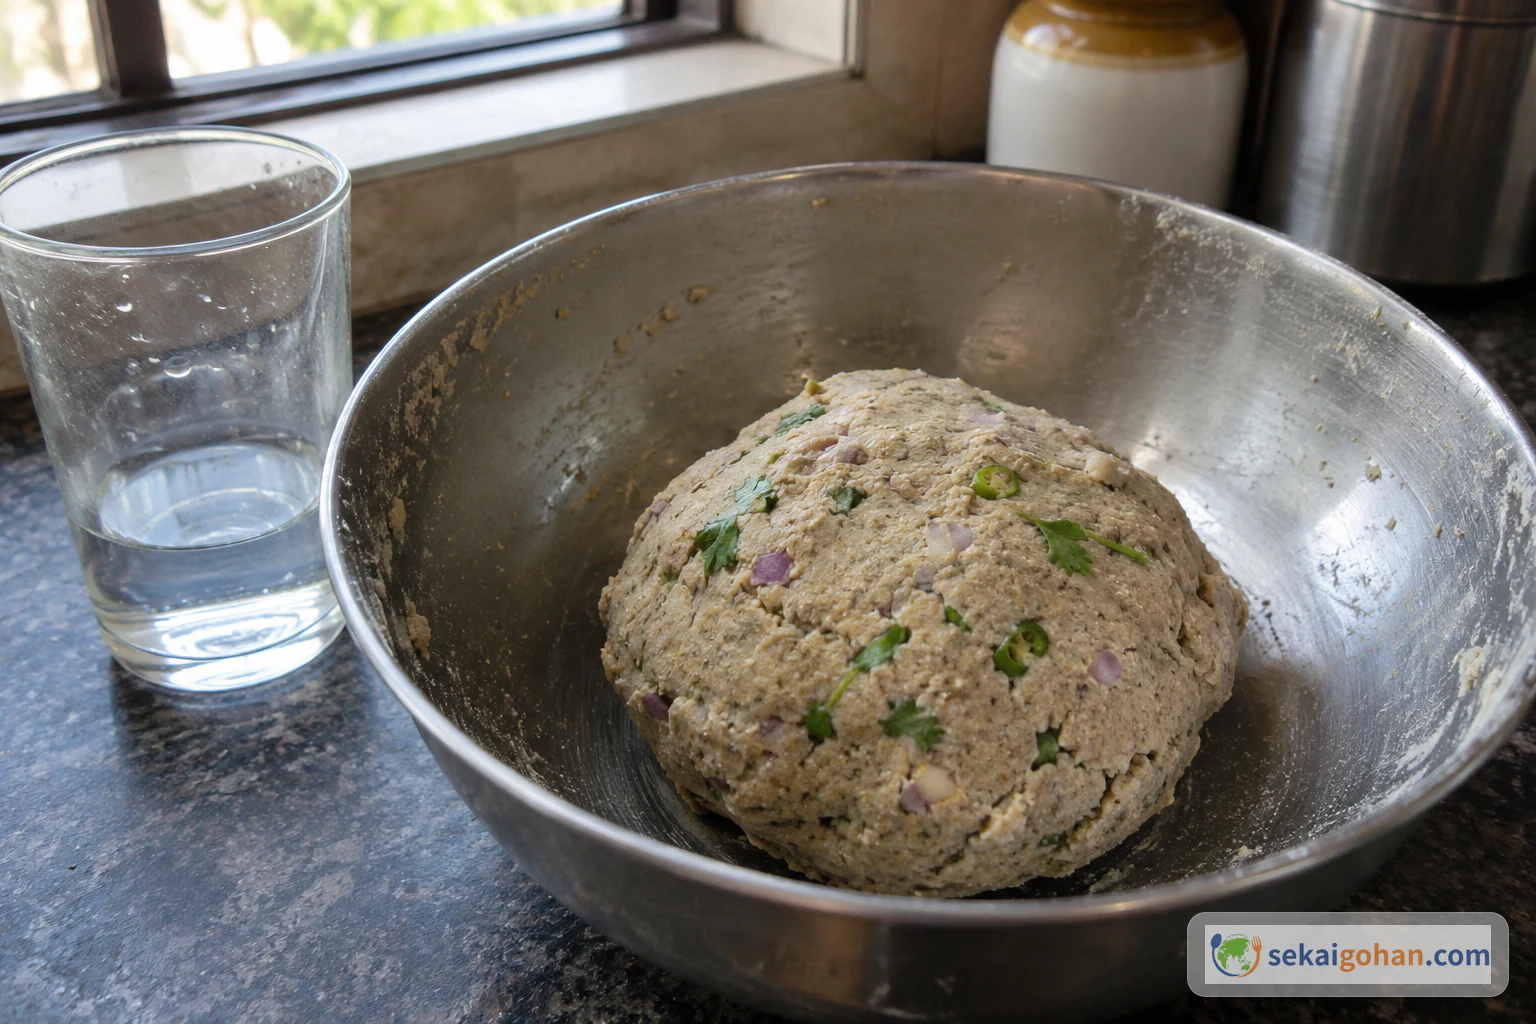
Onions vary a lot in how much water they hold, and so does flour of different ages. Add the ⅓ cup in a few pours and stop when the dough holds together. A very juicy onion often means you need less water than listed. Too wet is harder to fix than too dry, because a wet dough sticks to the sheet and tears when you peel it off.
Peanut oil is used for cooking. The flour contains pulses: chana dal, urad dal and mung dal. The homemade bhajani above contains no wheat or dairy, but some bought bhajani contains wheat, so read the label every time. Butter and cream served on top are dairy.
Equipment
- Cast-iron tava or a heavy flat frying pan
- A lid that fits over the tava
- Baking parchment, one sheet you can reuse for every piece
- Mixing bowl, cutting board and knife
- A thin spatula for flipping
- For homemade bhajani: a kadahi or heavy pan, a cotton cloth, a sieve, a grinder or access to a flour mill, and an airtight jar
Choosing and Substituting
Bhajani is the one ingredient to keep. Look for "thalipeeth bhajani" at Indian grocers or online. It saves you the roasting and grinding. Mixes differ: some contain wheat, cumin or other spices, and some are salted. Check the label for wheat, and if salt is listed, cut back on the ½ tsp and taste the raw mix. To make your own, buy whole bajra and jowar grains and the three dals from the same shops. Plain jowar or bajra flour on its own is a different thing. It has none of the roasted aroma and none of the pulses, and the bread tastes flat.
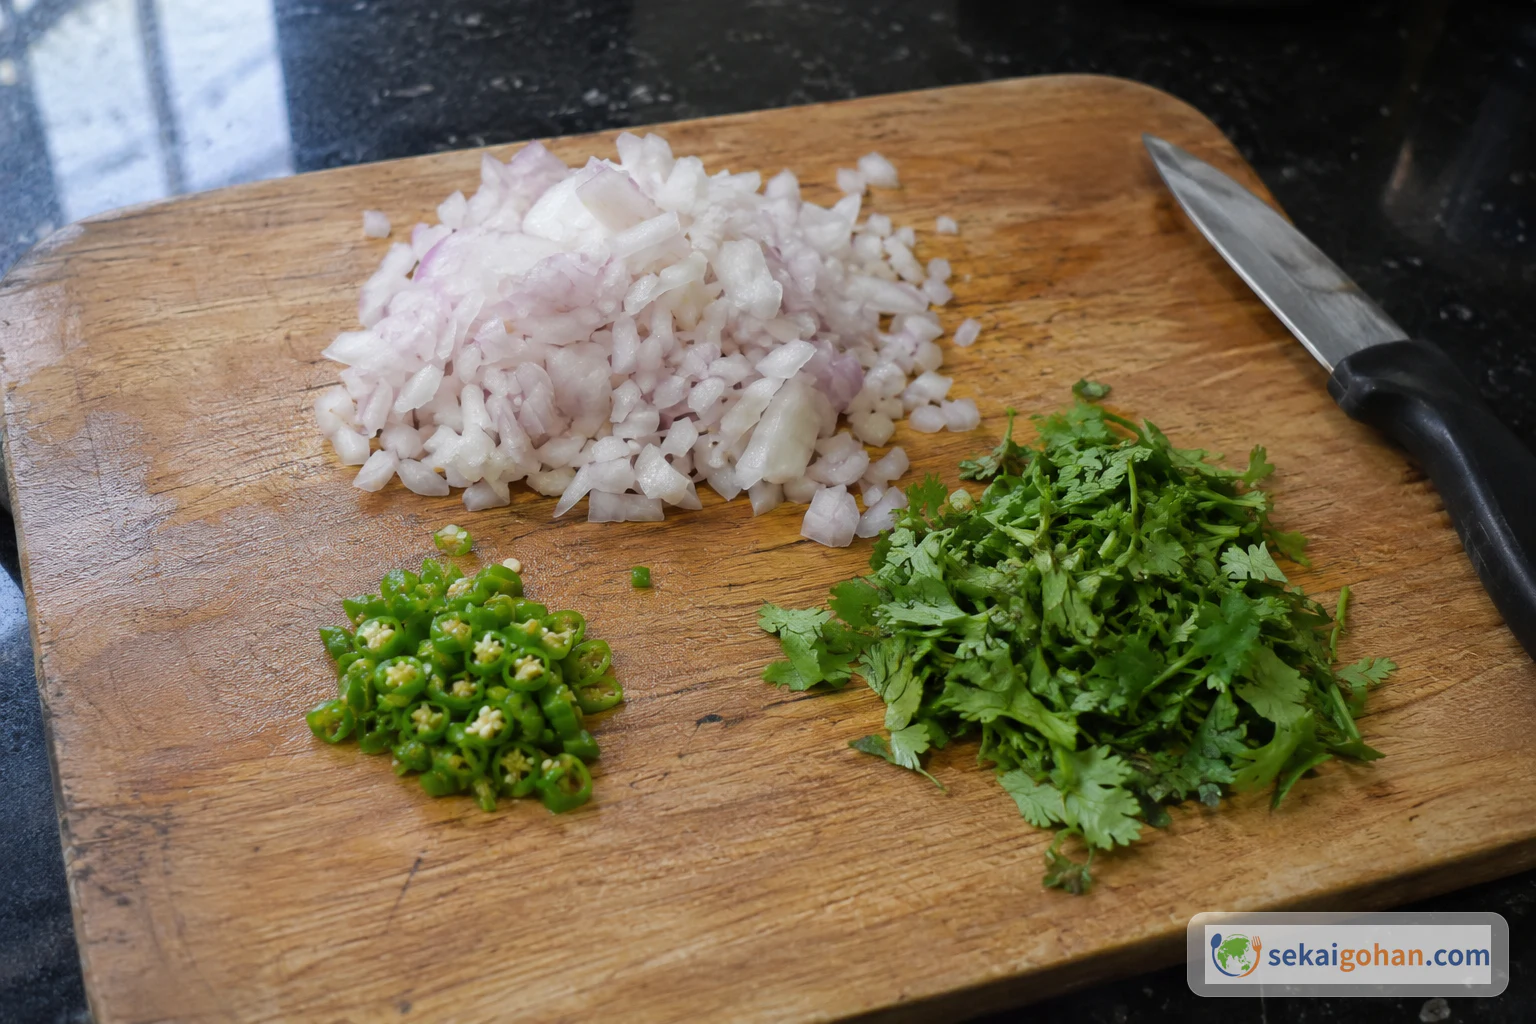
Everything else is easy to find. The heat of green chillies varies widely, so if yours are fierce, scrape out the seeds before chopping. Leave the chopped onion as it is and do not rinse or soak it, because the dough relies on the onion's own juice. Peanut oil gives a clean, nutty edge. A strongly flavoured oil such as sesame changes the aroma of the whole bread. A heavy frying pan stands in well for a tava. Pressing by hand and the single hole decide the texture, so those stay the same wherever you cook.
Method
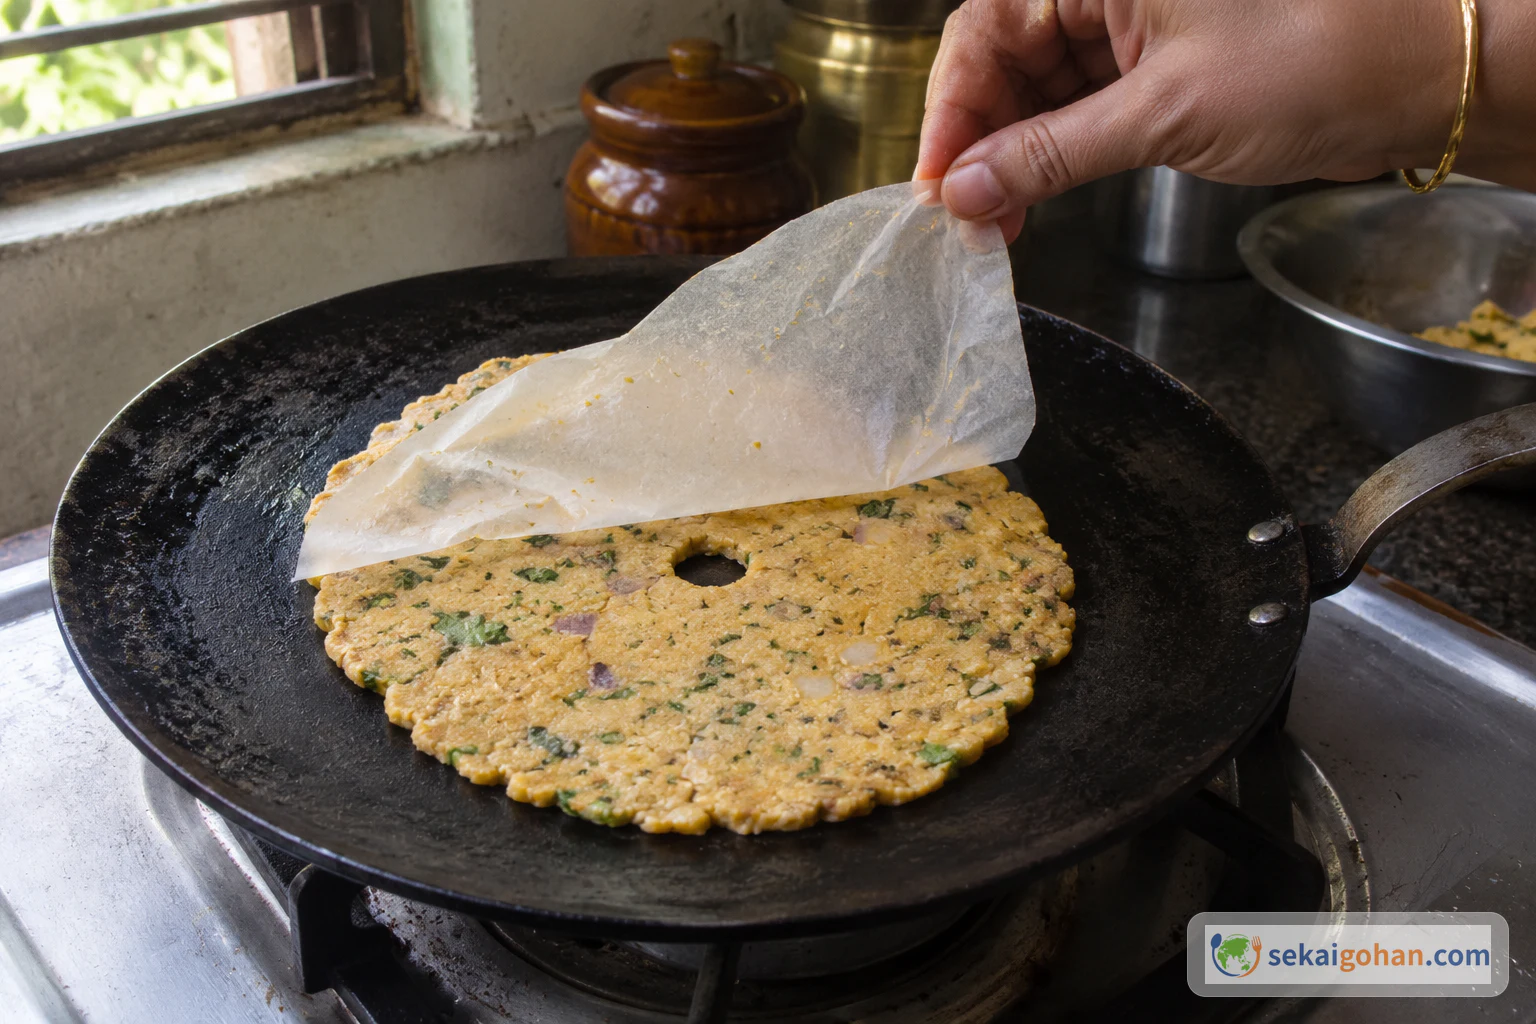
If you bought bhajani, start at step 4. Homemade flour takes a few hours of hands-off drying first, then a session of roasting one grain at a time. After that, the dough comes together in minutes. Set the tava on the heat while you shape the first ball so it is hot by the time the disc is ready. Then work one thalipeeth at a time: press, make the hole, flip it onto the iron, cover, turn.
Dough with raw onion mixed in should not sit at room temperature. Cook it the same day, and keep it covered in the fridge if you have to wait. After chopping green chillies, wash your hands and do not touch your eyes. If you pound green chillies for thecha, open a window or turn on the fan. Peel the parchment away from the hot iron slowly, keeping your fingers off the pan.
A tava that is too hot catches the dough the moment it lands and scorches the underside before the middle cooks. You can also press the dough out directly on a cold, oiled tava and then turn on the heat. Between pieces, lift the tava off the burner for a moment or sprinkle a few drops of water on it to bring the temperature down.
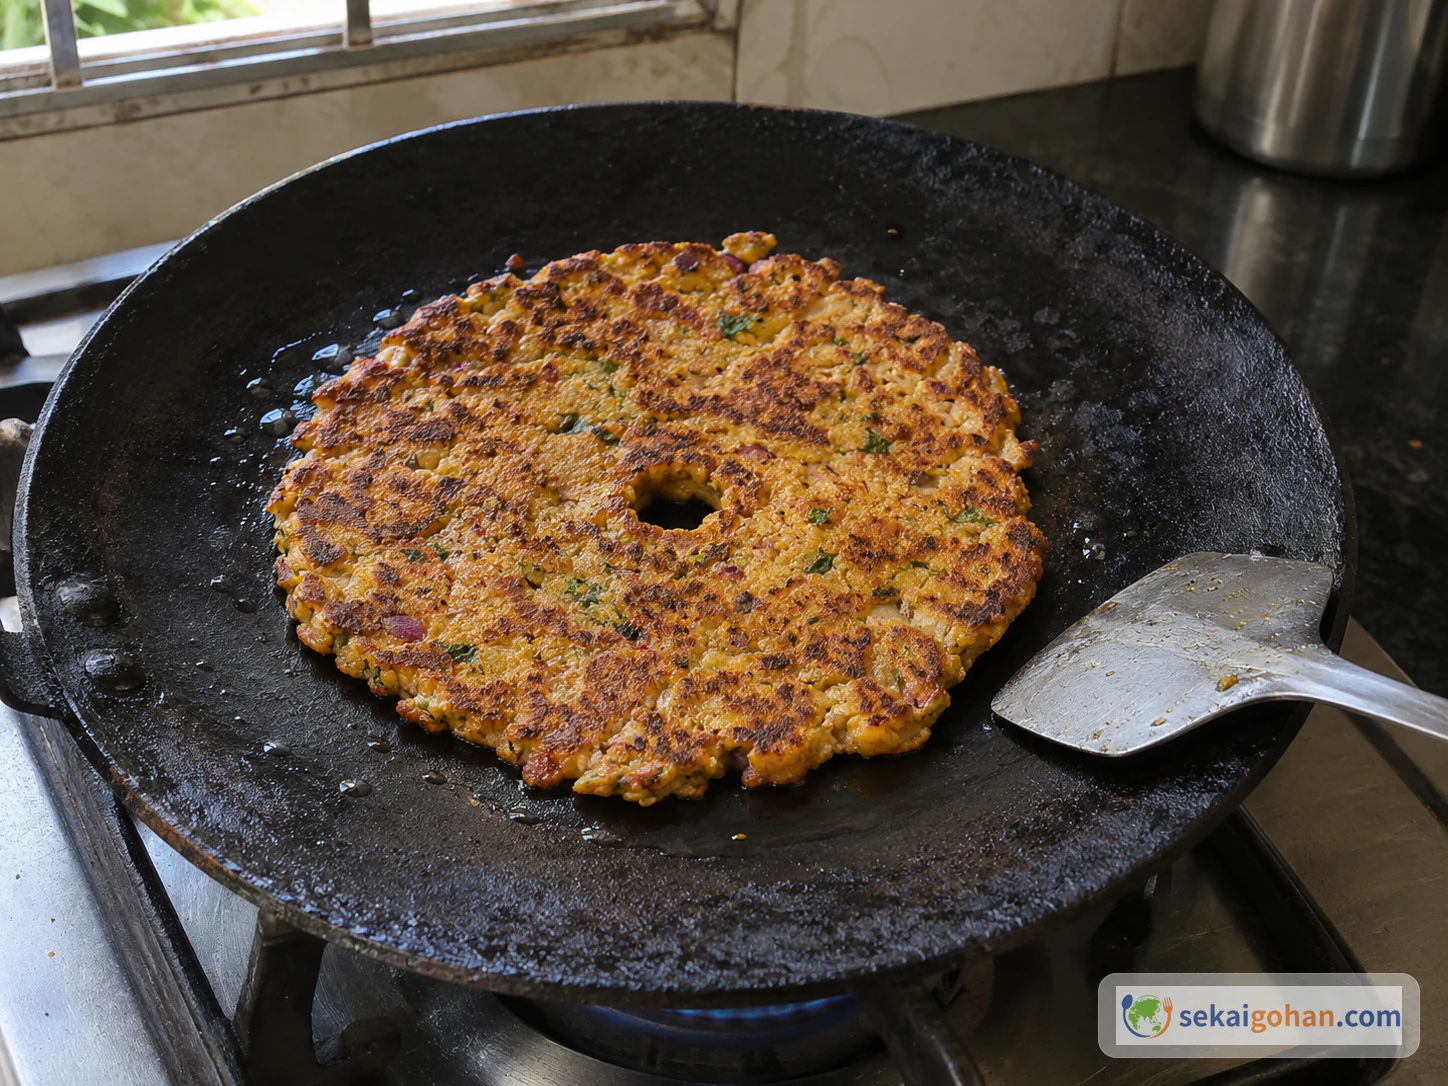
The oil goes quiet before the bread is ready to turn. A loud, steady hiss means water is still cooking off. When it settles into a soft crackle and the top has lost its wet shine, the underside is crisp enough to hold together when you flip it.
When It Goes Wrong
| What you see | Why | What to do |
|---|---|---|
| The disc tears as you press it | Dough too dry, or uneven thickness | Work in a few drops of water (lukewarm if the flour is old) and press with a flat palm from the centre out |
| It sticks to the parchment and will not peel | Too much water, or a very juicy onion | Knead in a spoonful more bhajani and lightly oil the parchment |
| It grabs the tava and scorches | The tava is too hot | Take it off the heat, or sprinkle on water, and let it settle before the next piece |
| The centre is raw | Disc too thick, hole too small, or heat too high for too short a time | Keep to 5 mm, open the hole wider, cover and cook over gentler heat for longer |
| It tastes burnt and bitter | Grains over-roasted, or the bread overcooked | Roast the bhajani only lightly, and turn the bread once it is golden |
| It tastes flat | Too little salt, onion or coriander, or under-roasted flour | Taste the raw mix for salt and add more coriander. Butter and thecha at the table help too |
Serving, Variations and Storage
At the table
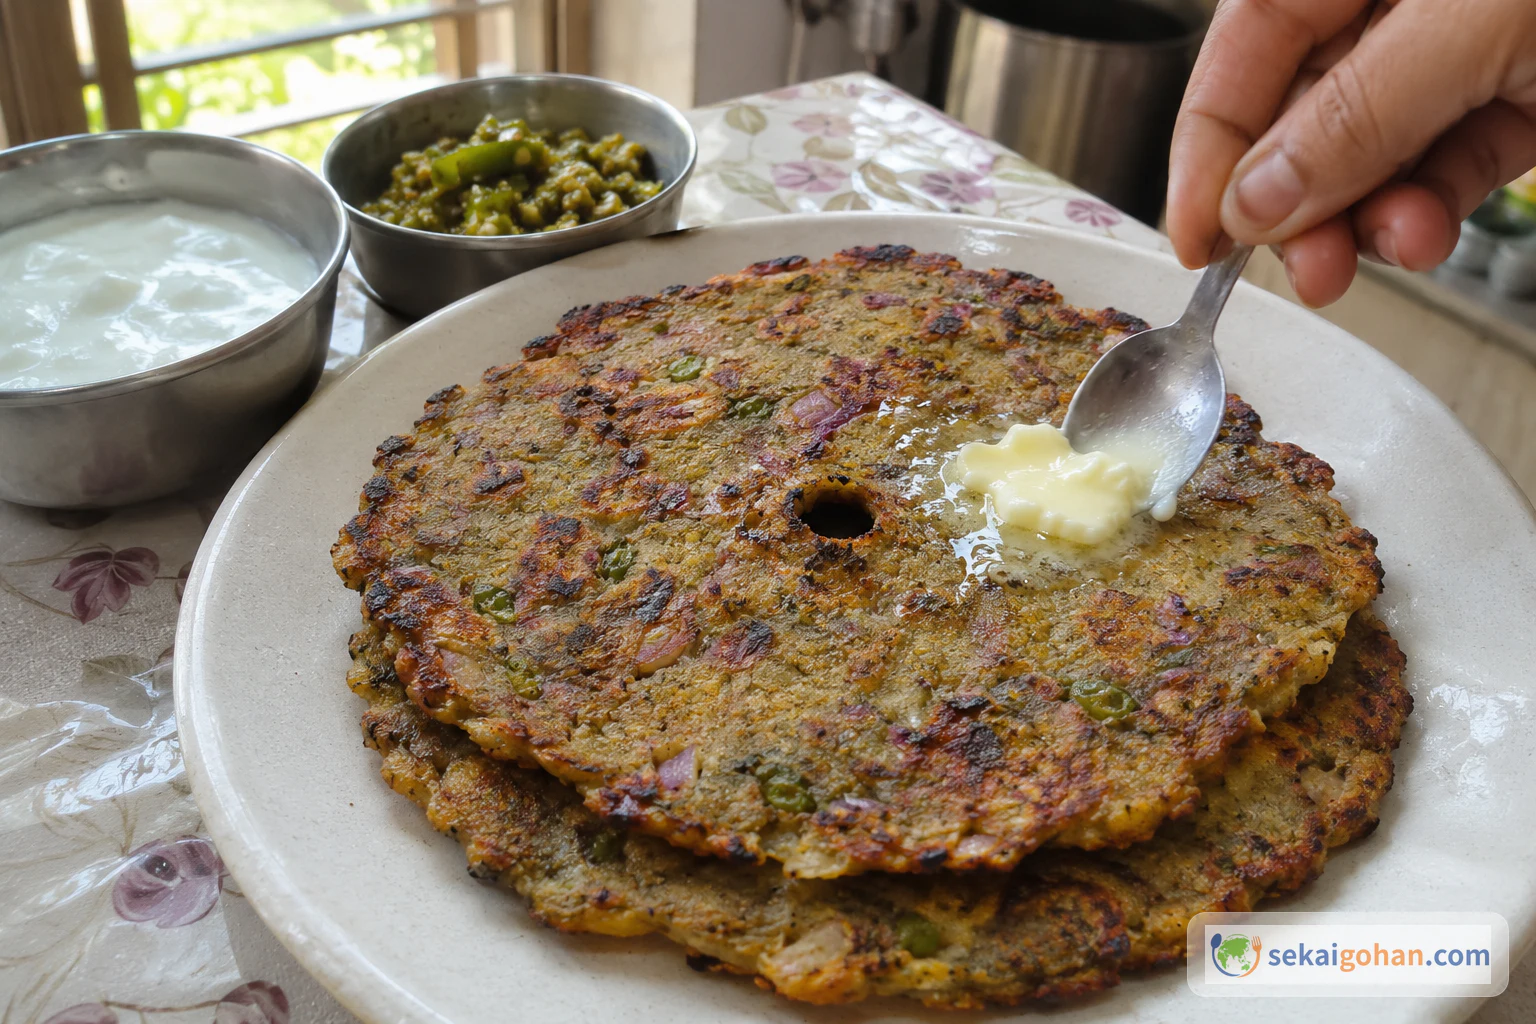
Thalipeeth goes to the table hot, straight from the tava, with fresh white butter or cream, thecha and dahi. Thecha is a fiery paste of coarsely crushed green chillies, so add only a little if you cannot judge your chillies. Some tables add a pickle as well, often green chilli pickle. The crisp edge goes soft as the bread cools, so cook each one just before it is eaten. That suits a slow breakfast or an afternoon snack, with the cook at the stove and everyone else eating as the pieces come off the iron.
Variations
- Spiced flour. Some households add goda masala (about 1 tbsp), turmeric (about ¼ tsp), red chilli powder and a little oil to the dough. The bread turns yellower and warmer, and the spices take over from the plain roasted taste.
- Vegetables in the dough. Chopped fenugreek leaves, grated carrot, pumpkin, bottle gourd, radish or roasted eggplant all work. They add moisture, so mix them in first and adjust the water last.
- More than one hole. Some cooks poke four or five holes, drip oil into each and cook both sides over low heat. The recipe here uses a single hole.
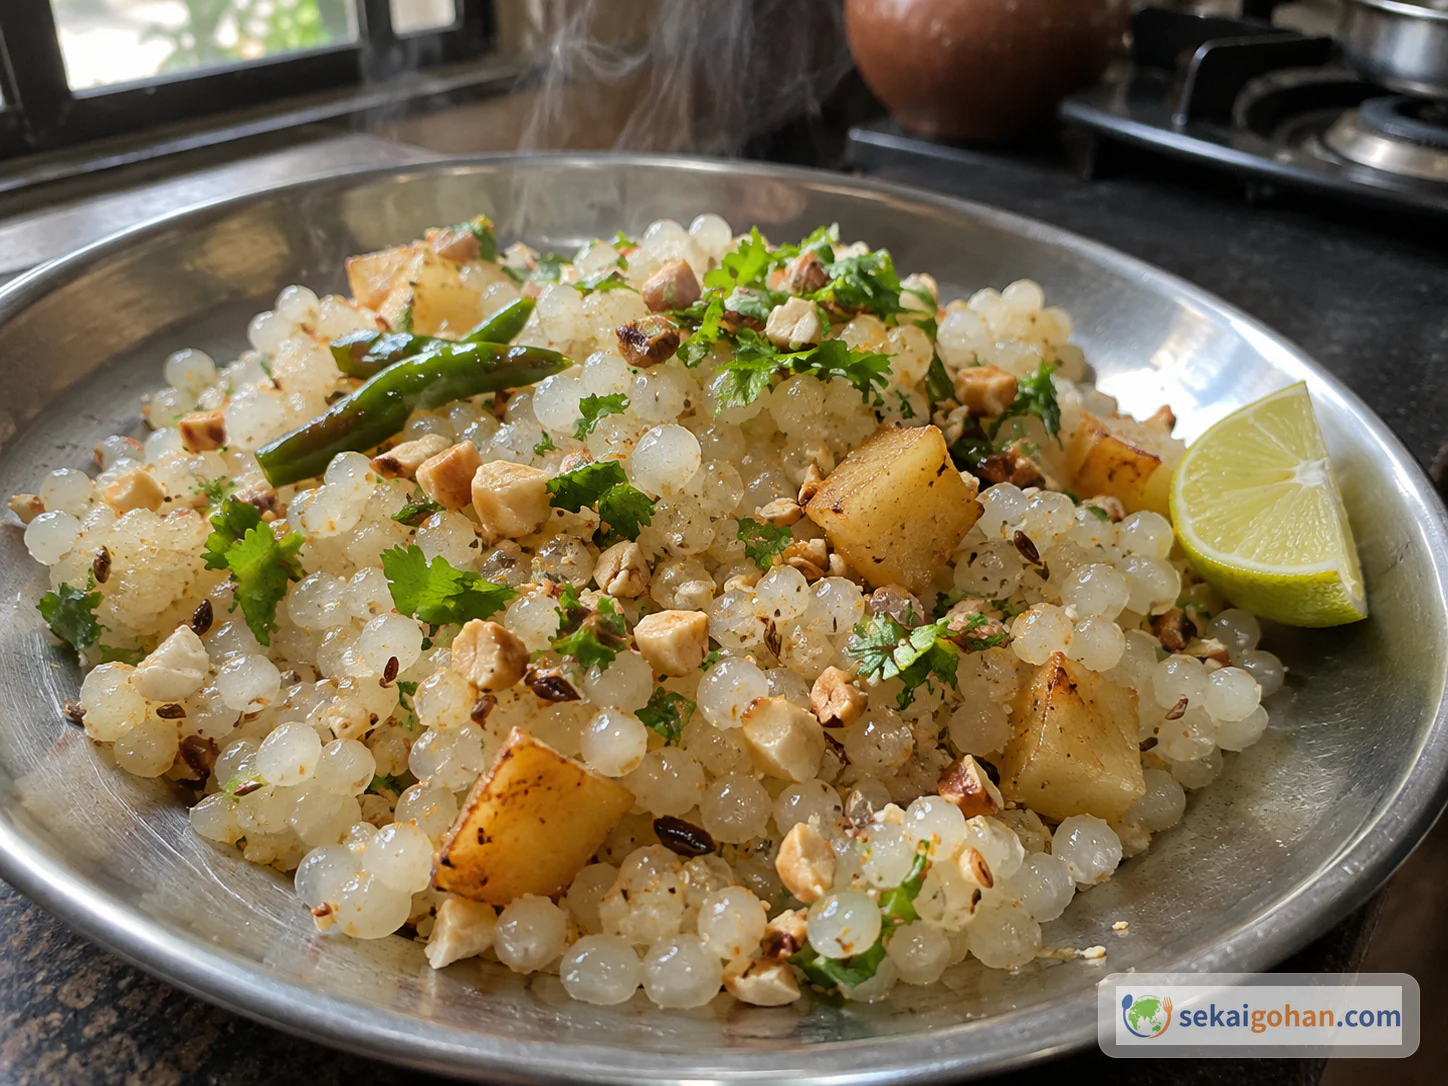
- Fasting thalipeeth. Sabudana, potato and crushed peanuts make a different dough with no grain bhajani. It is soft and chewy, made for fasting days.
Storing
Keep bhajani in an airtight container in a cool, dark place. How long it lasts is a matter of debate. Some households keep it for up to a year but use it within six months for the best flavour, while others store it in the fridge for more than a year. Flour that has lost its toasty smell makes a dull bread. Let cooked thalipeeth cool a little, store it without sealing it airtight, and reheat it on the tava before eating.
Frequently Asked Questions
Can I grind bhajani in a home blender?
Yes. A home blender usually leaves the flour coarser than a mill or a commercial grinder does. Coarse bhajani still makes good thalipeeth. Some cooks grind it coarse on purpose for a nubblier bite.
Is there a quicker version without roasting?
There is a quick thalipeeth made from an unroasted mix of flours such as jowar flour, besan, wheat flour, bajra flour and rice flour. It comes together fast, but it lacks the deep toasted flavour that roasting puts into bhajani. It also usually contains wheat, which matters if you are cooking gluten-free.
How do I make eight instead of four?
Double everything: 2 cups bhajani, 2 medium onions, 4 to 6 green chillies, twice the coriander and 1 tsp salt. Add the ⅔ cup water in several pours, because the bigger batch of onion releases more juice and you will often need less.
Can I shape it without parchment?
Yes. Butter paper, foil, a banana leaf or a damp cloth all work as a surface to press on and flip from. You can also press the dough straight onto a cold, oiled tava and then start the heat. Pressing on a hot tava does not work, because the dough sticks before you can spread it.