Kakiage: Thin Vegetables and Tiny Shrimp Held Together in One Crisp Piece
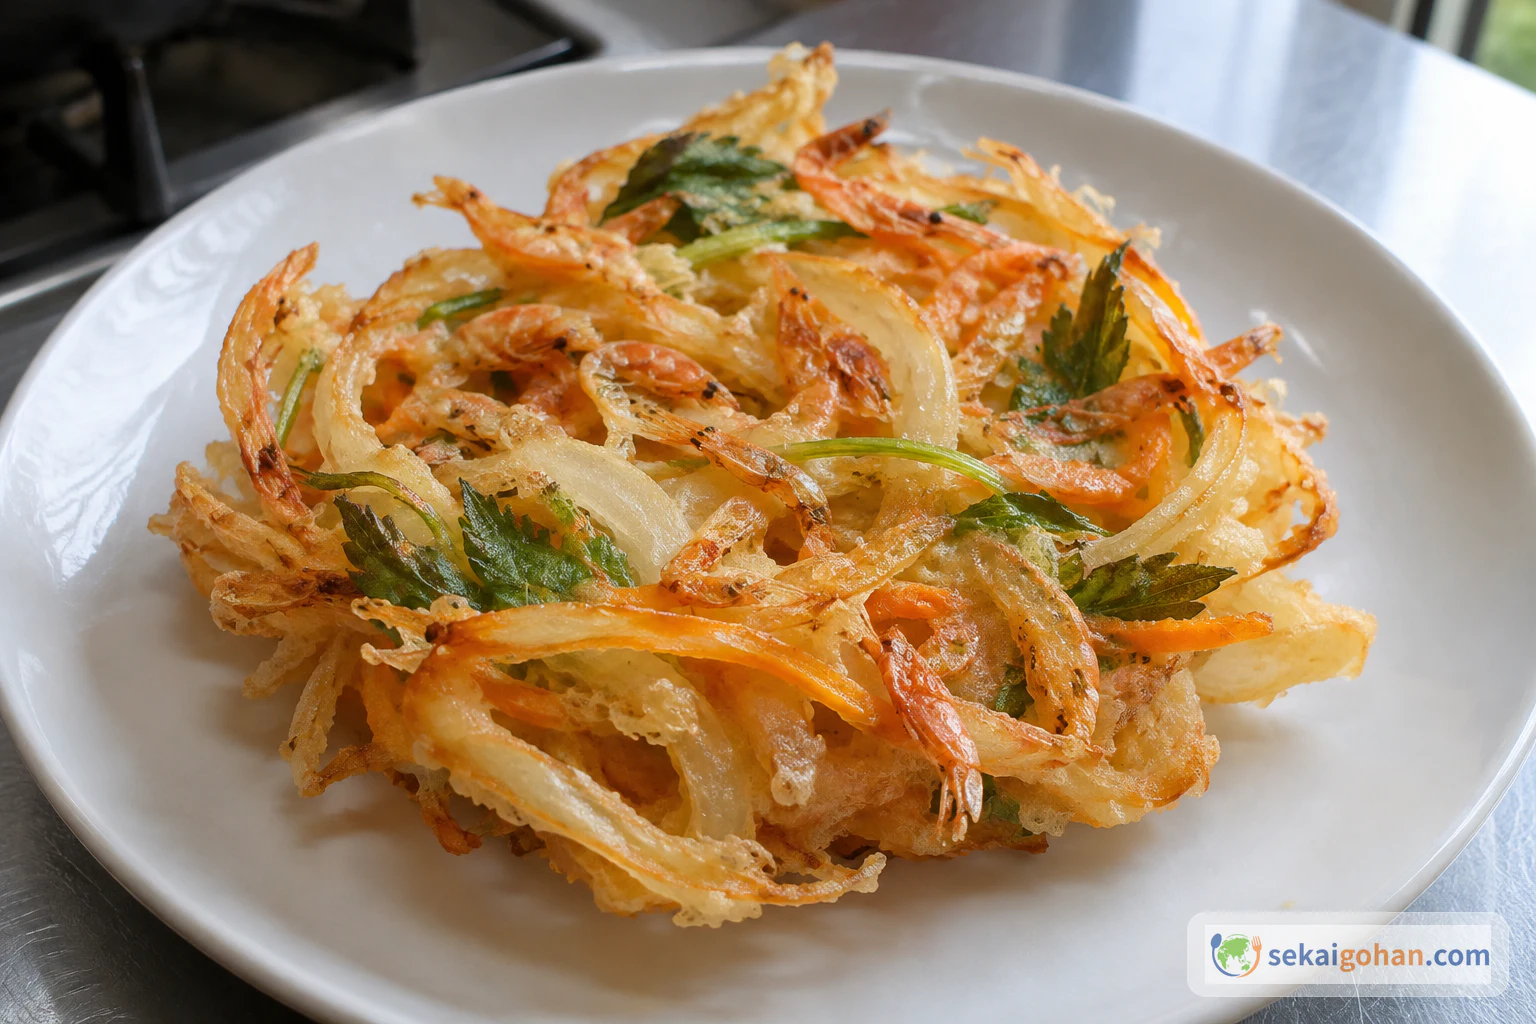
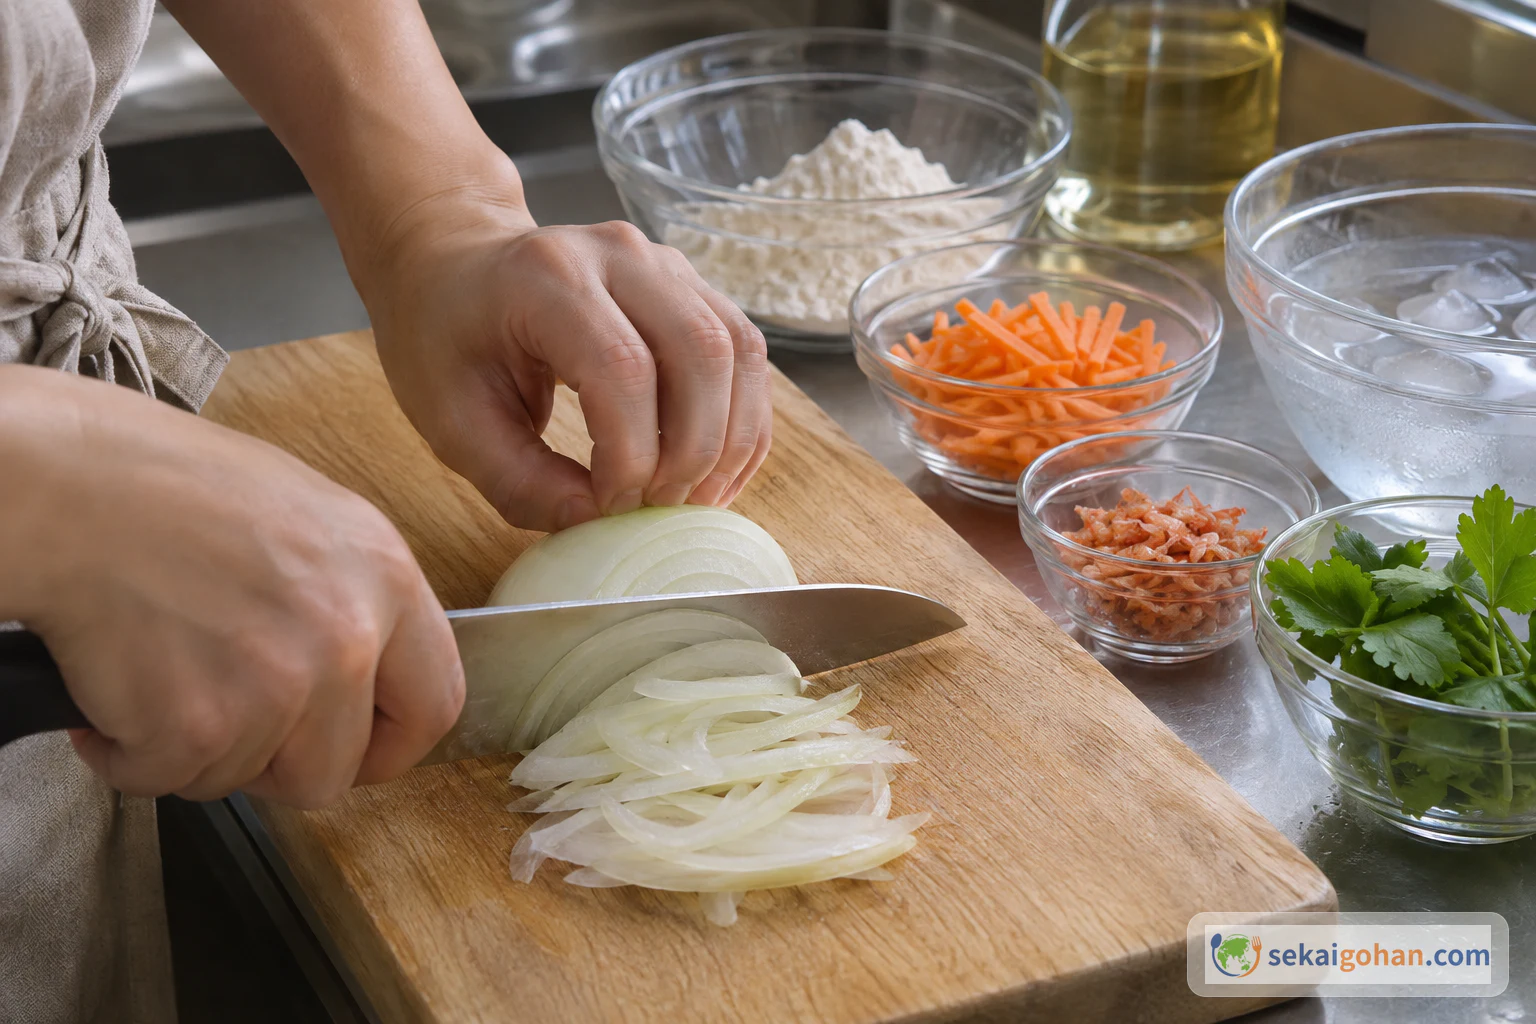
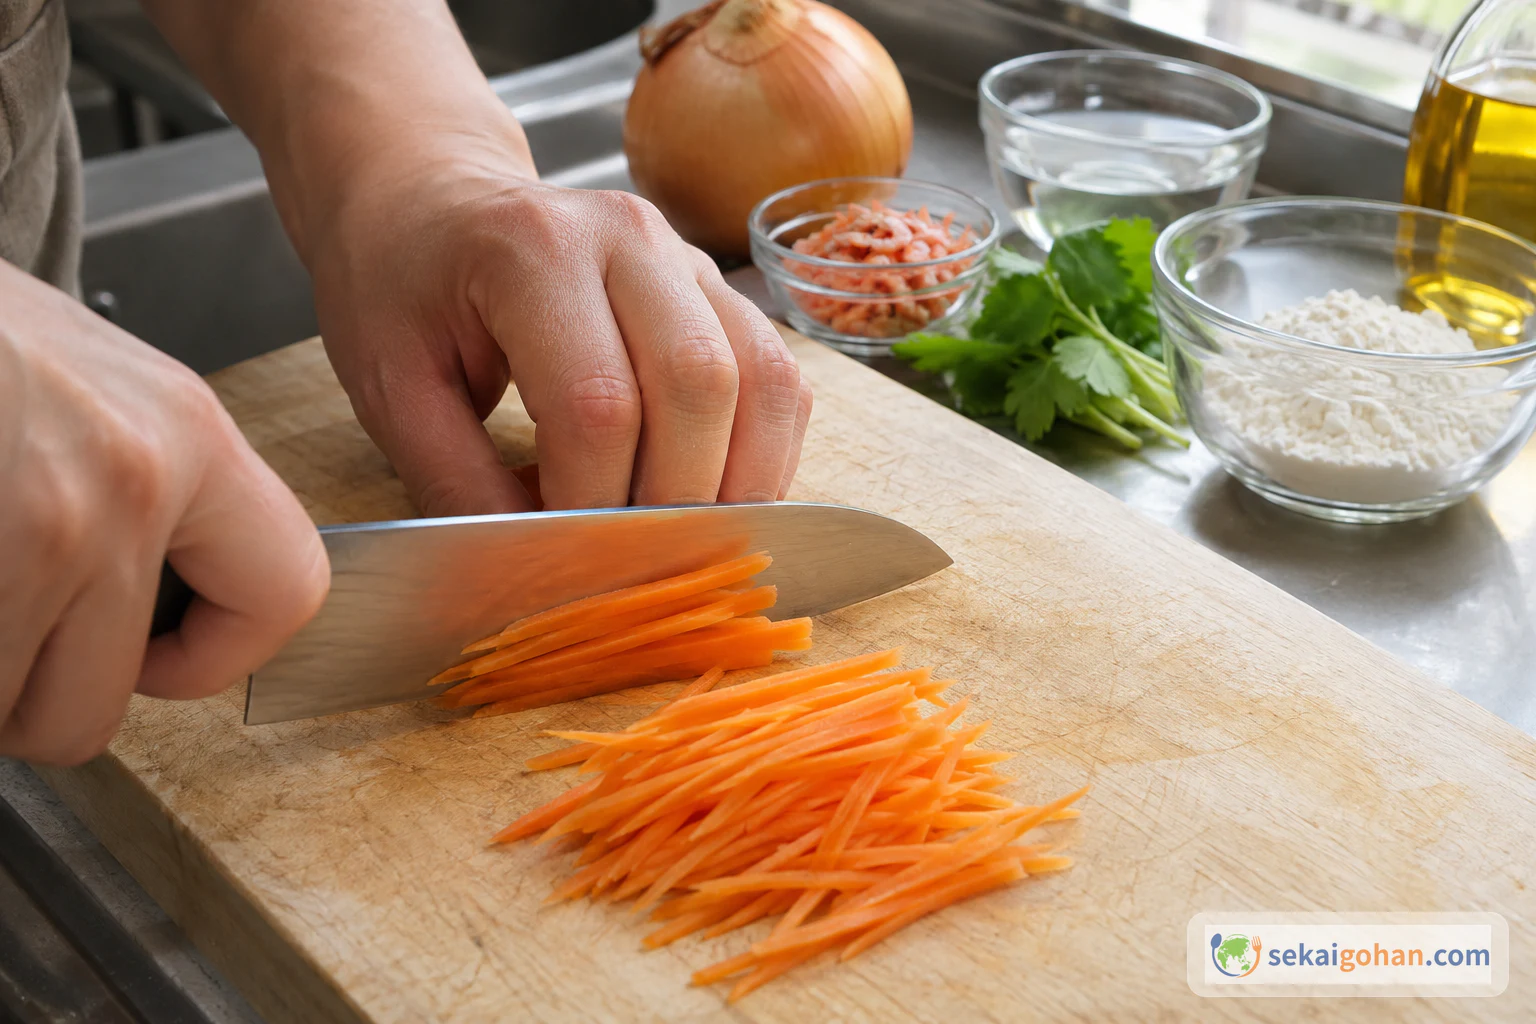
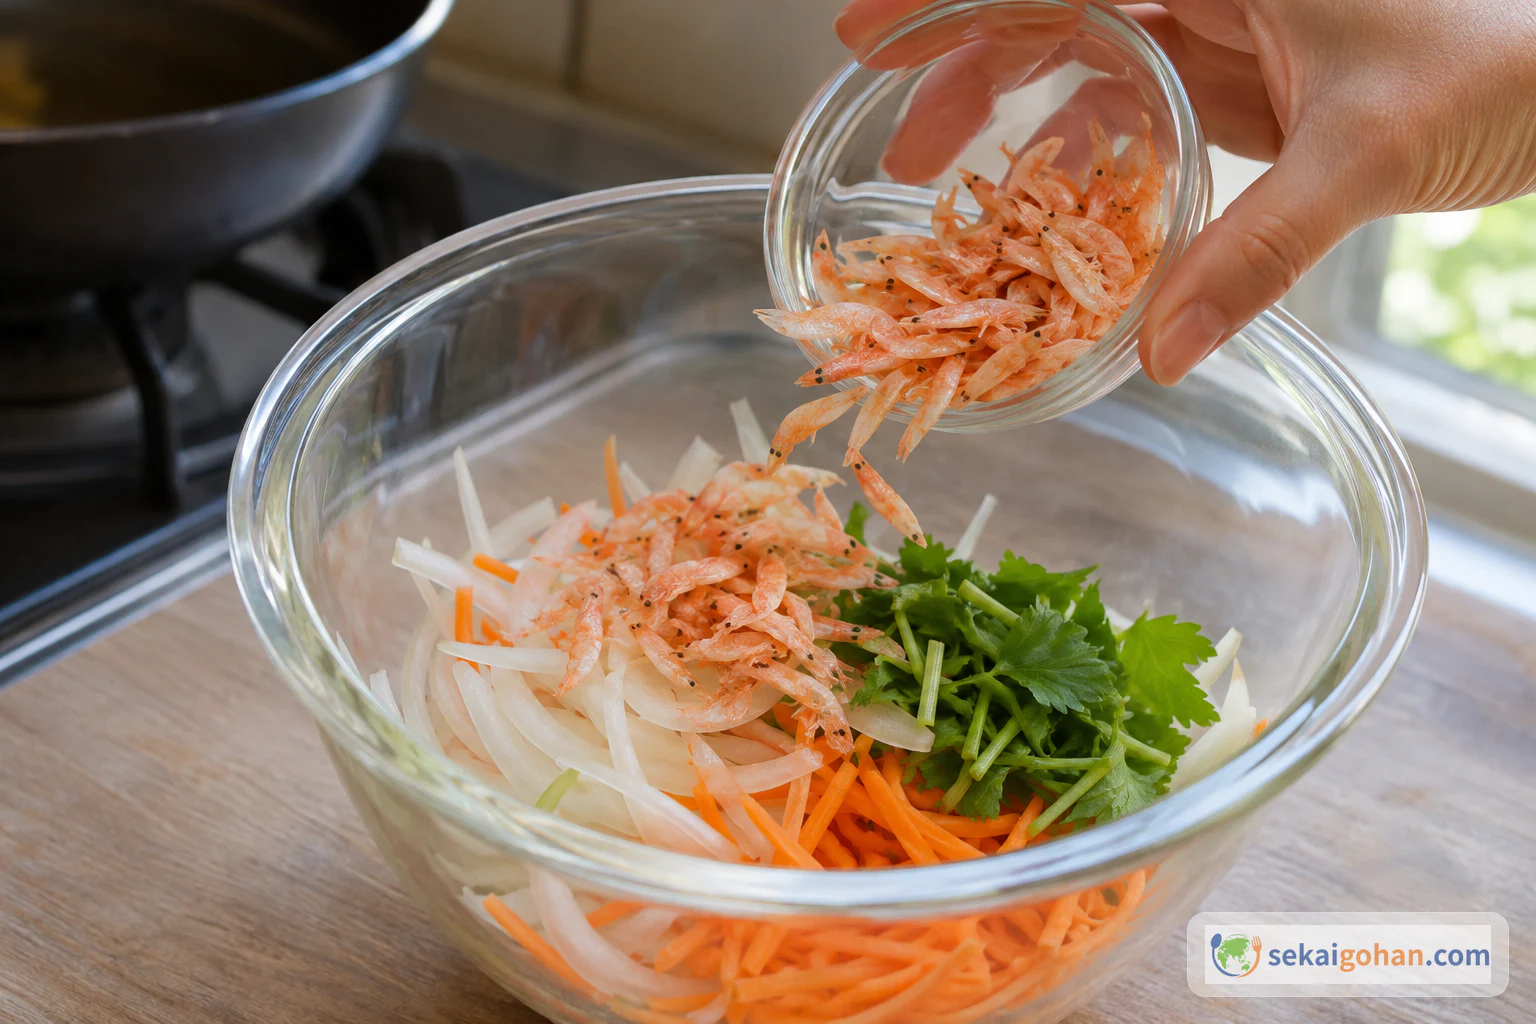
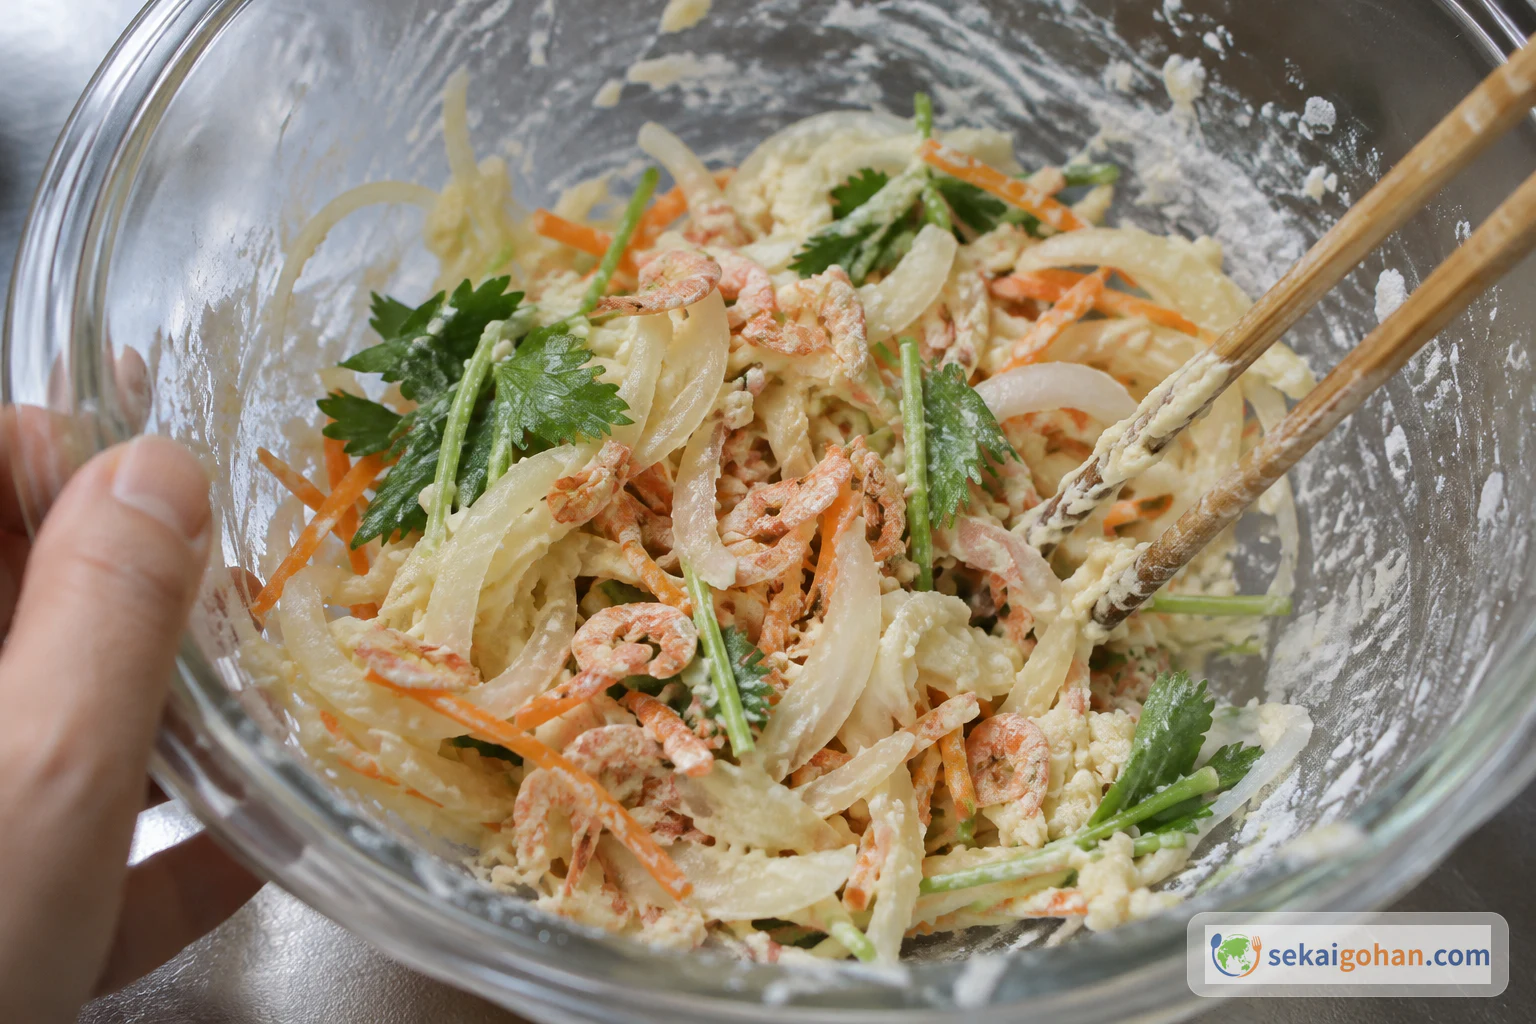
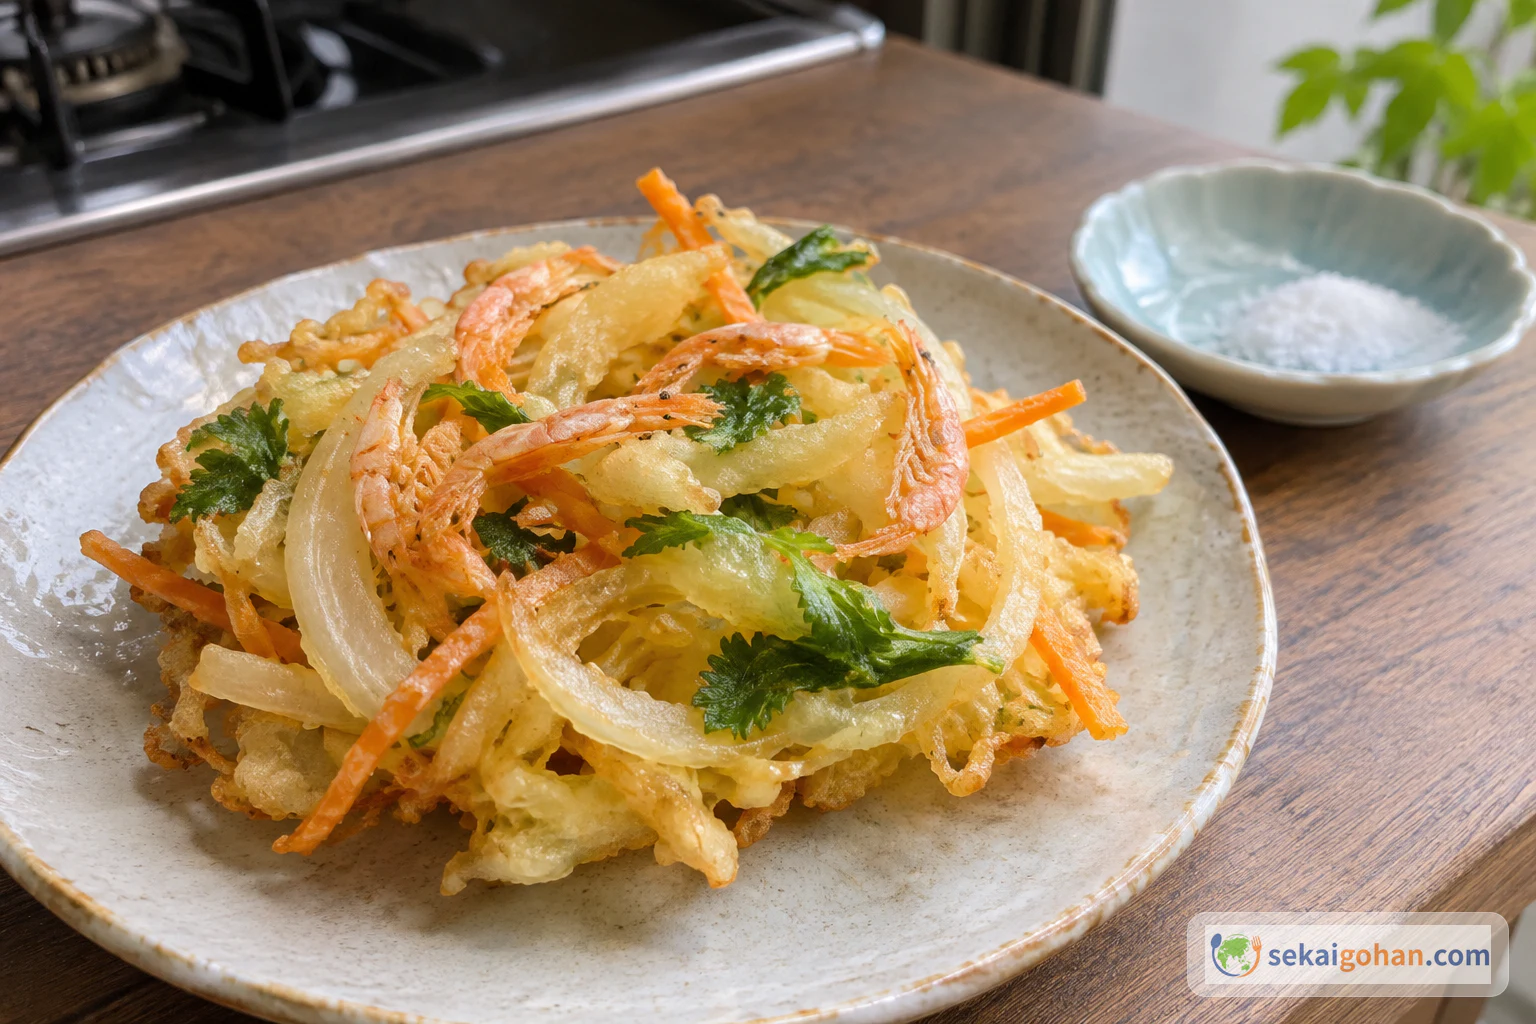
Fine strands of onion and carrot, small pink dried shrimp scattered through them, and green mitsuba, all held together by just enough batter to fry as one flat, crisp piece. The batter is a light binder, not a thick coating.
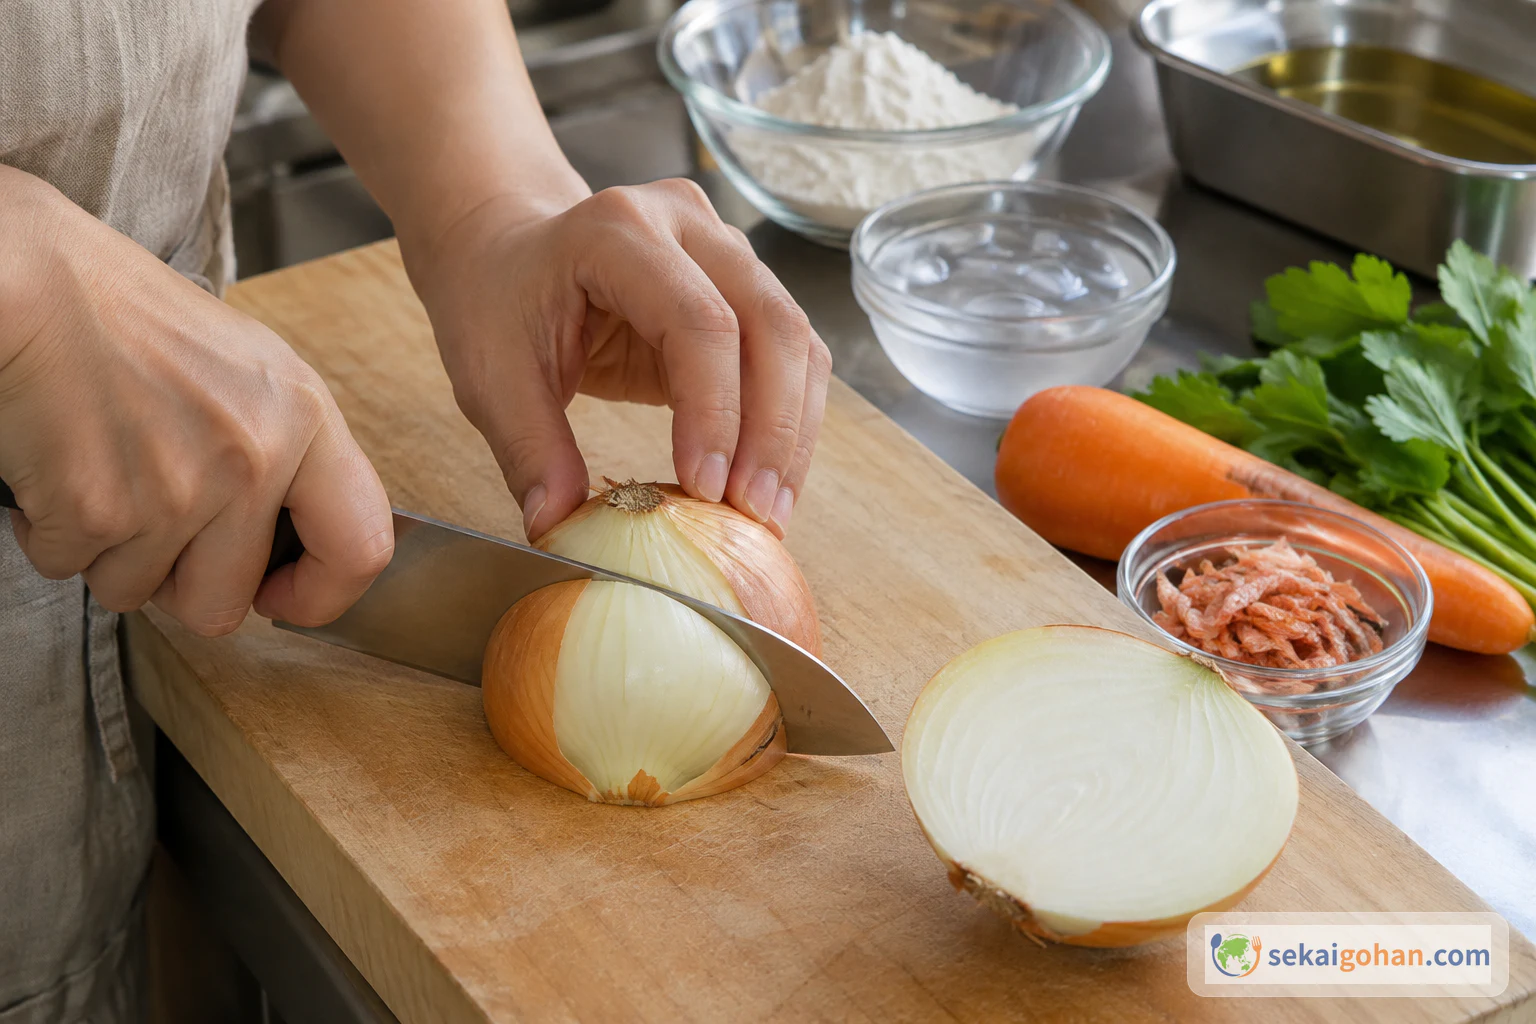
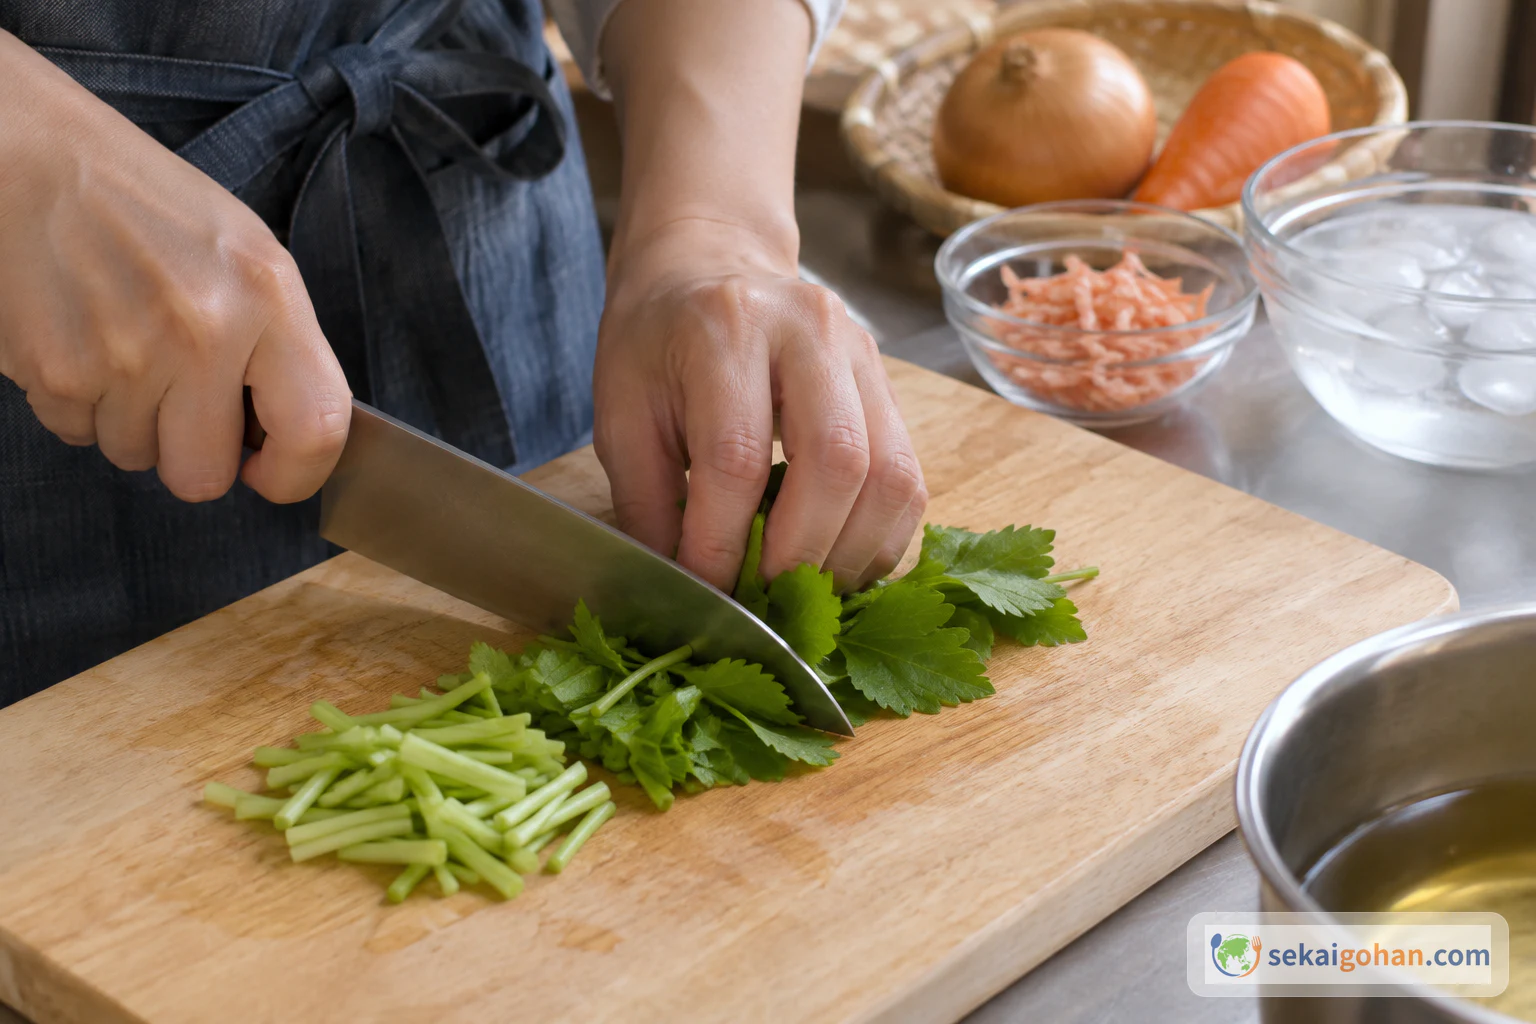
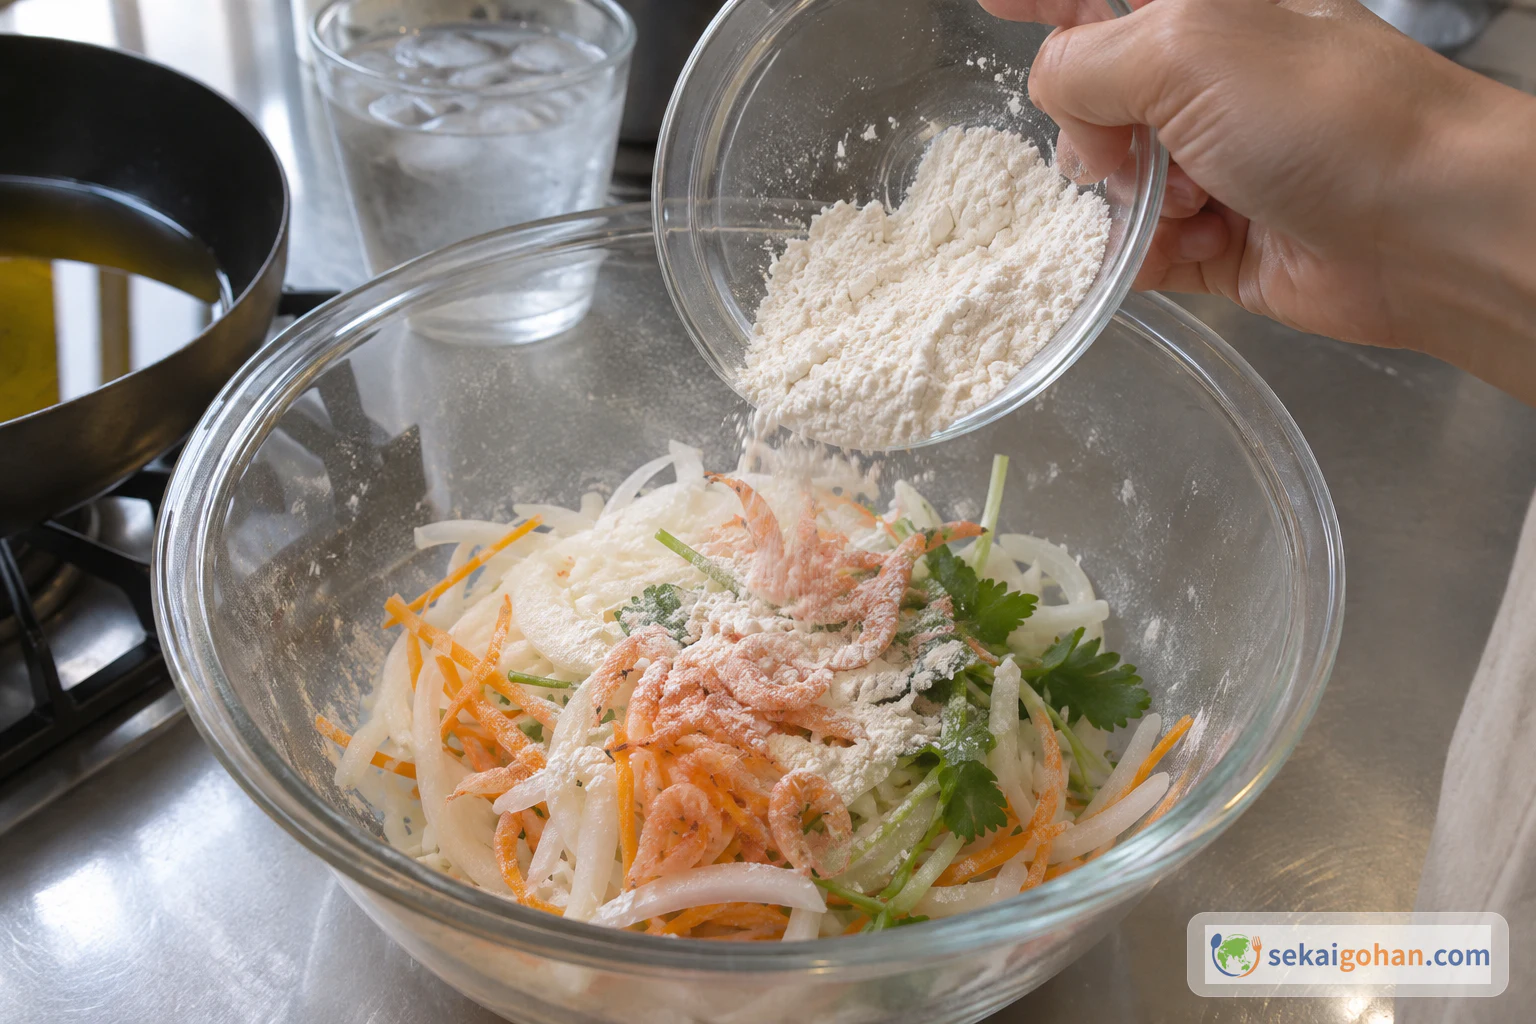
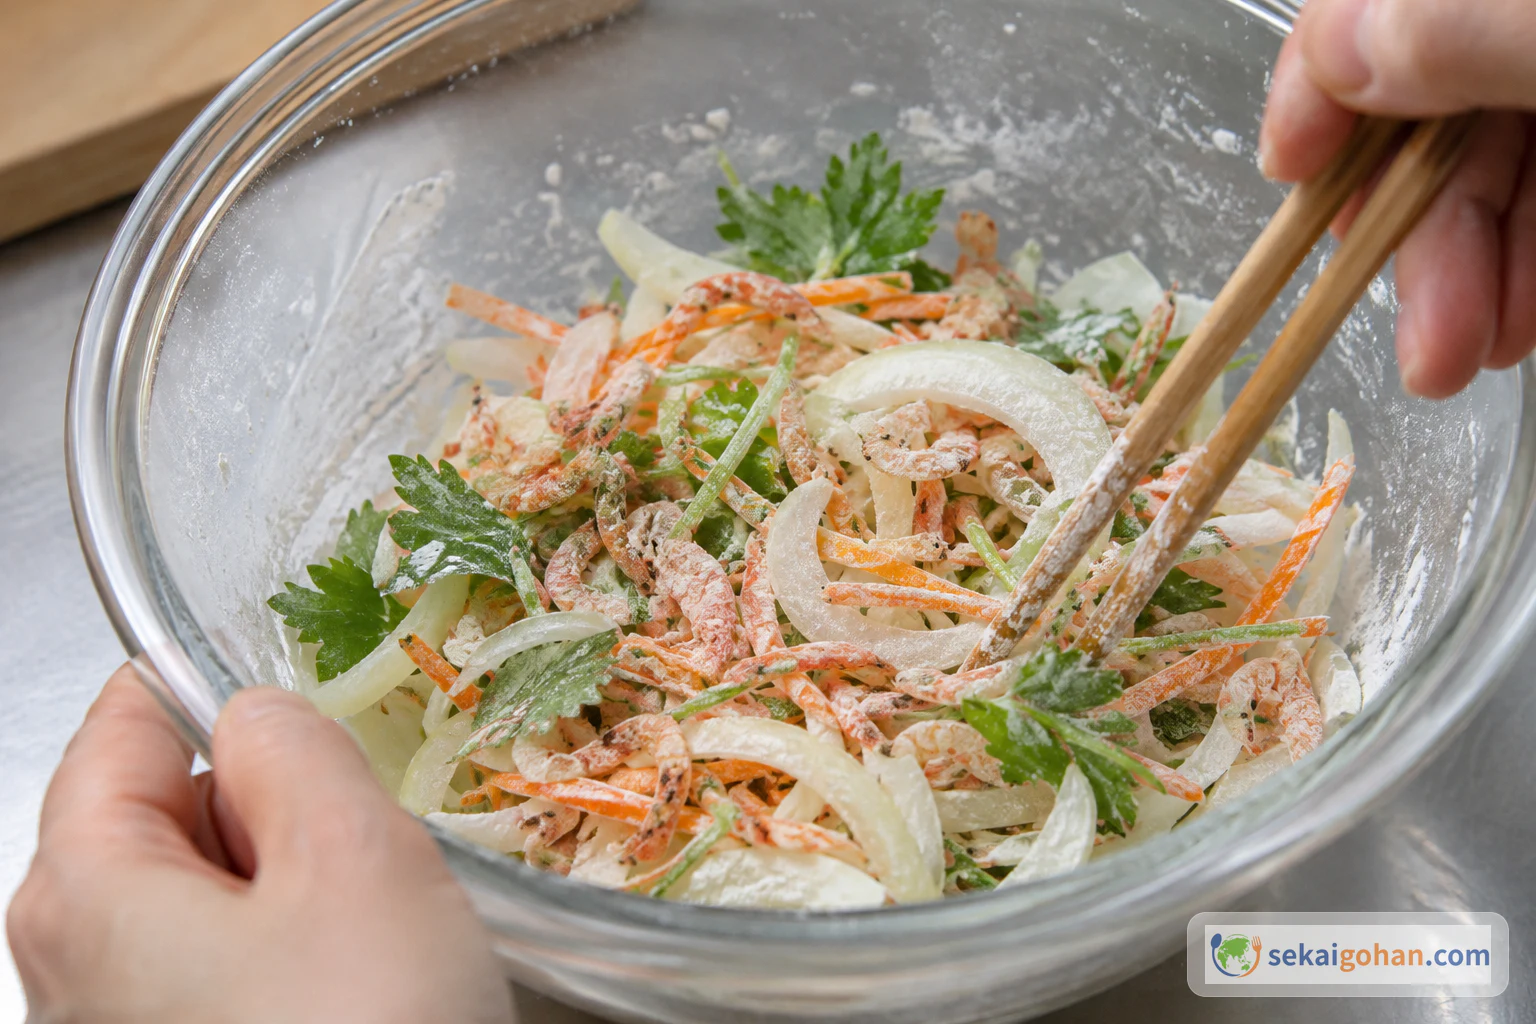
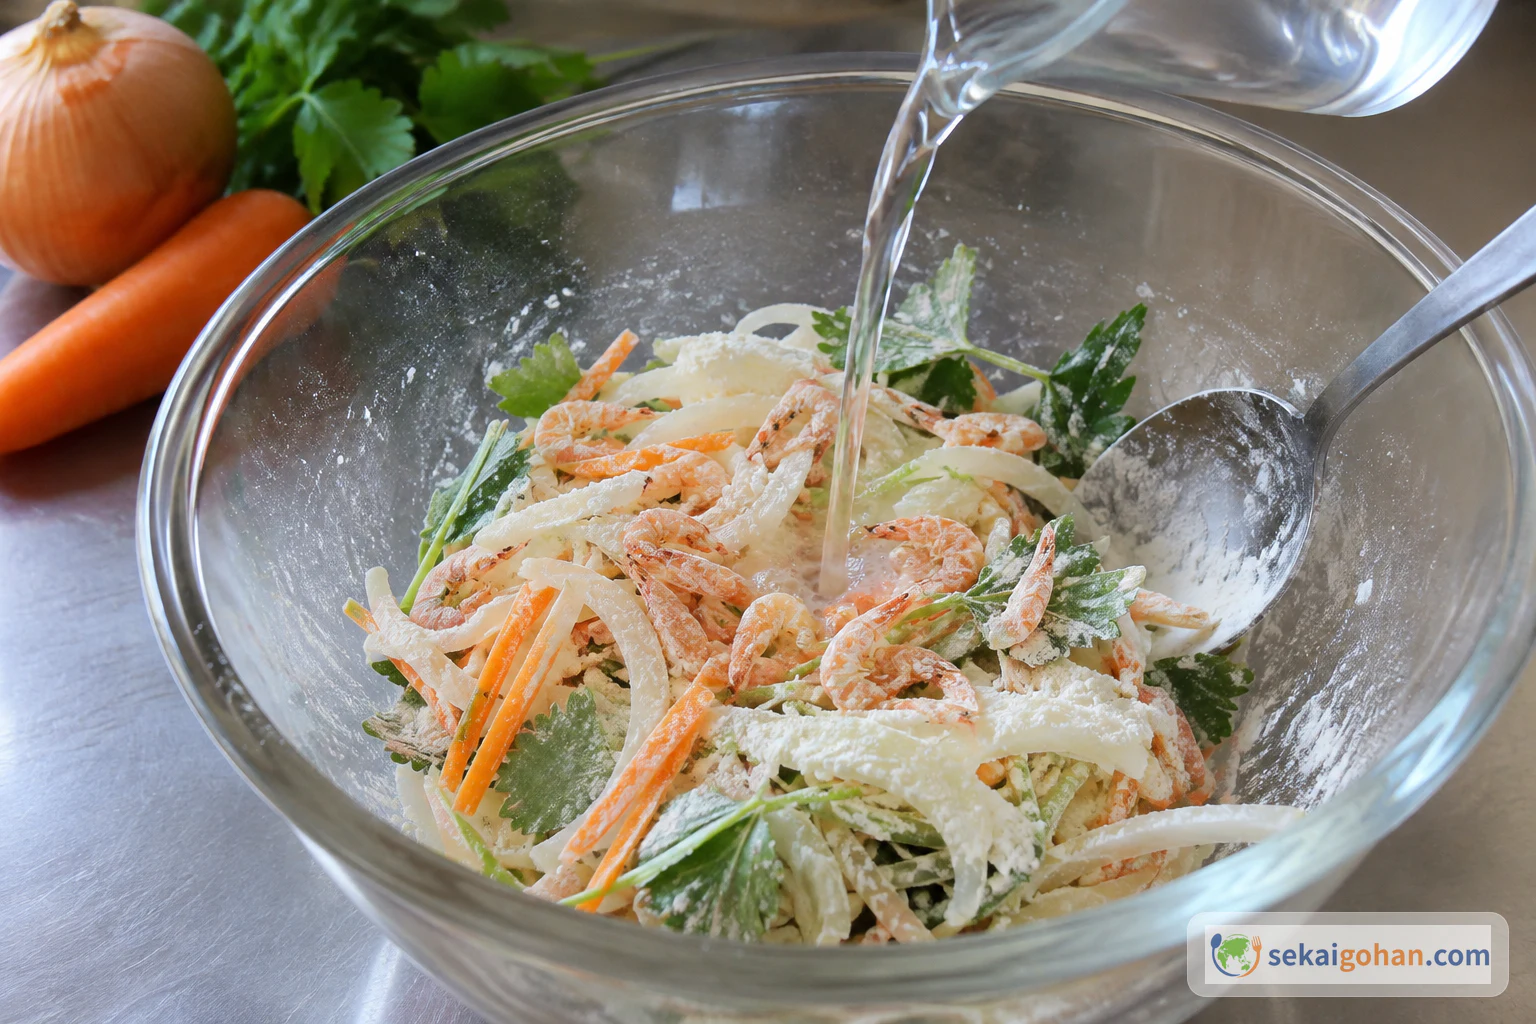
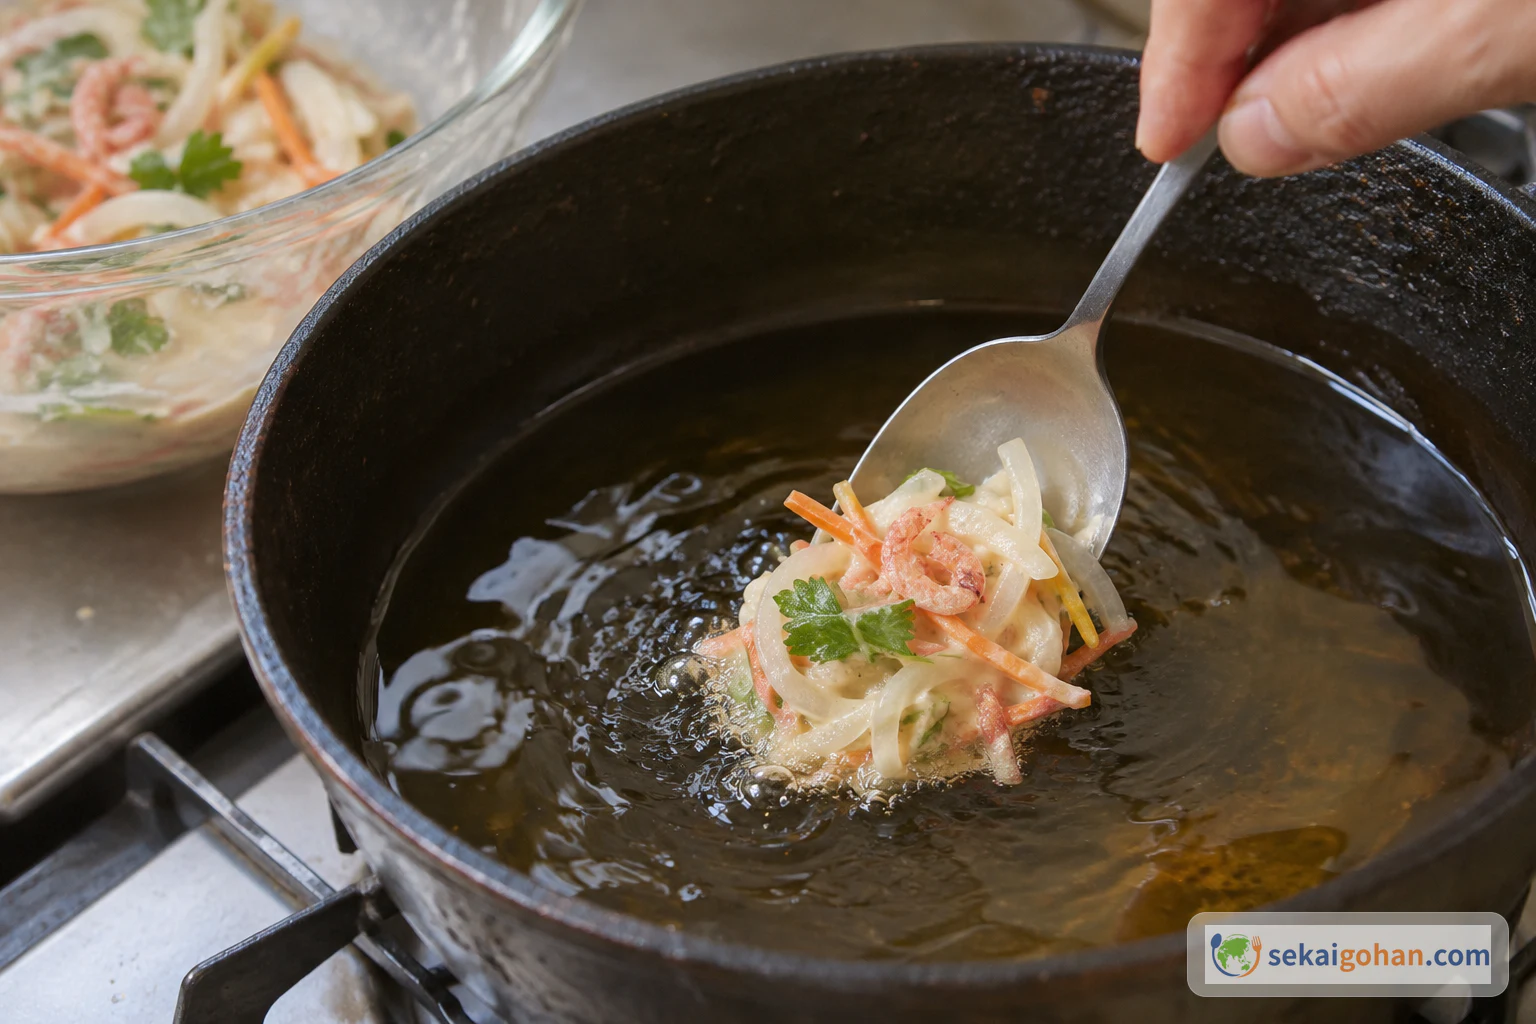
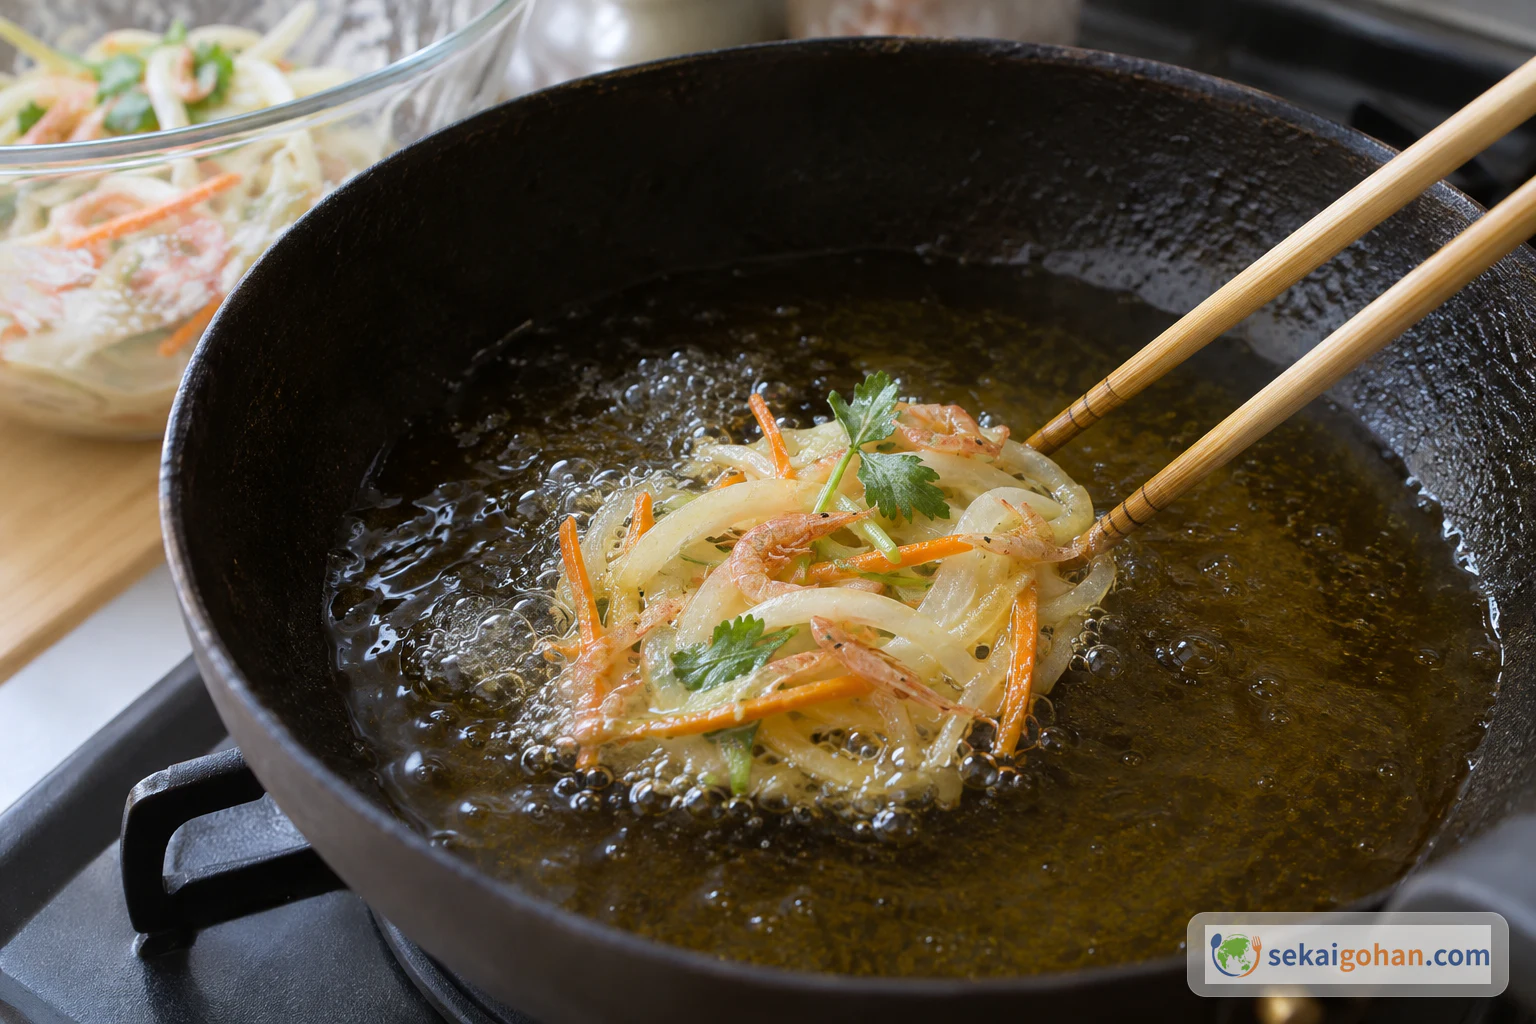
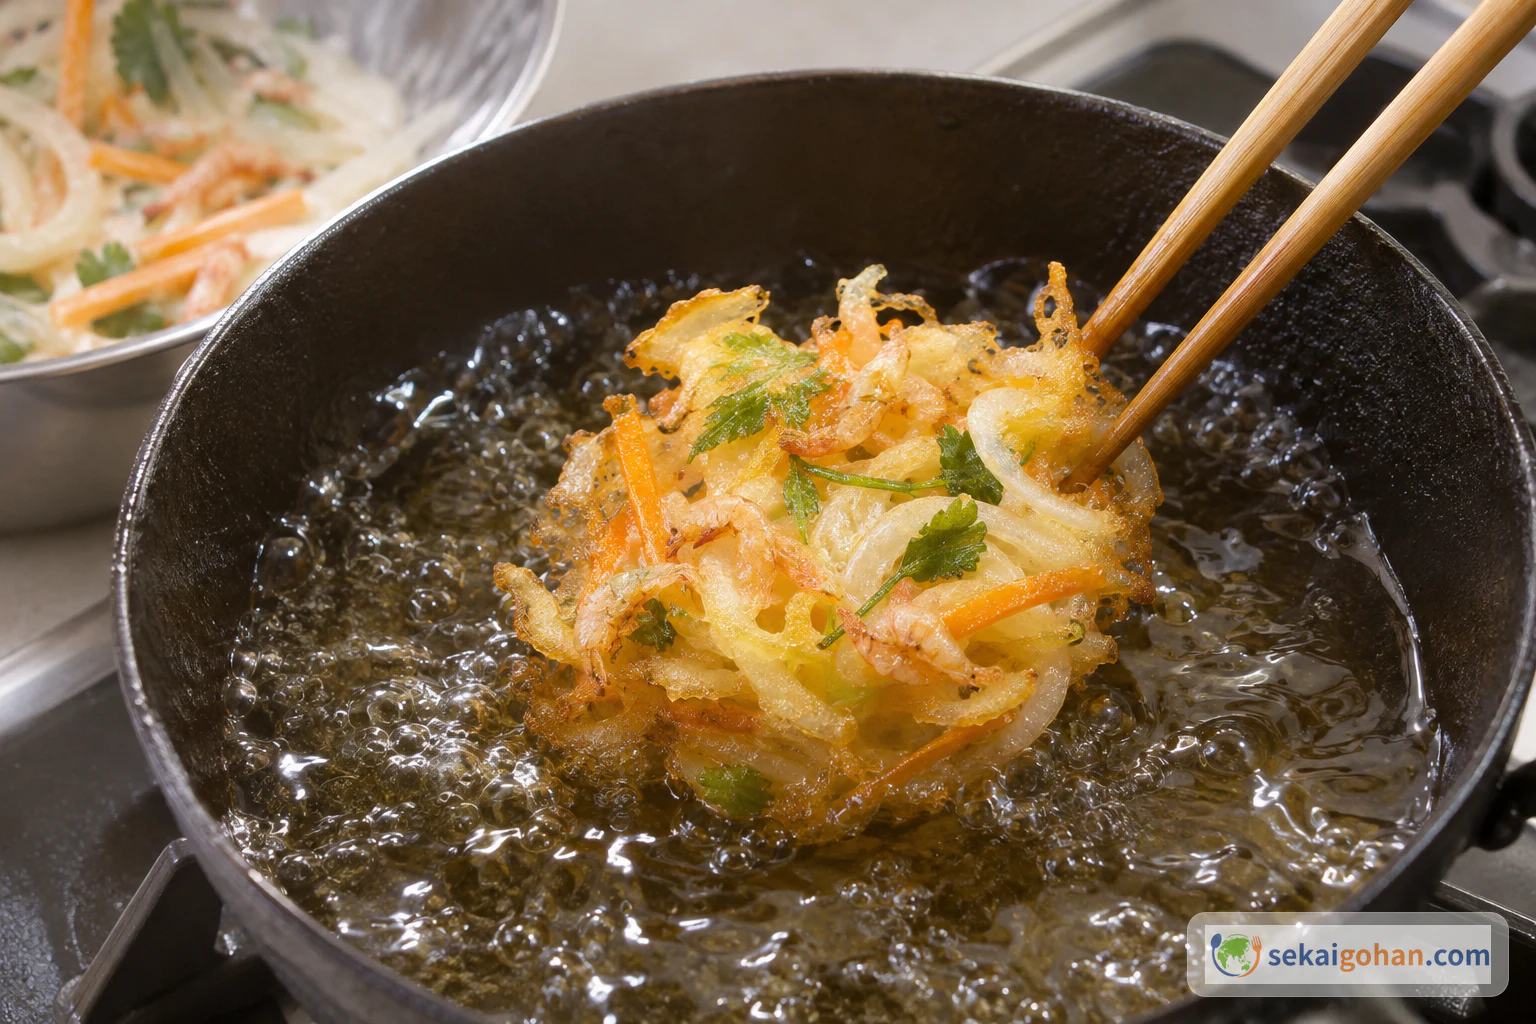
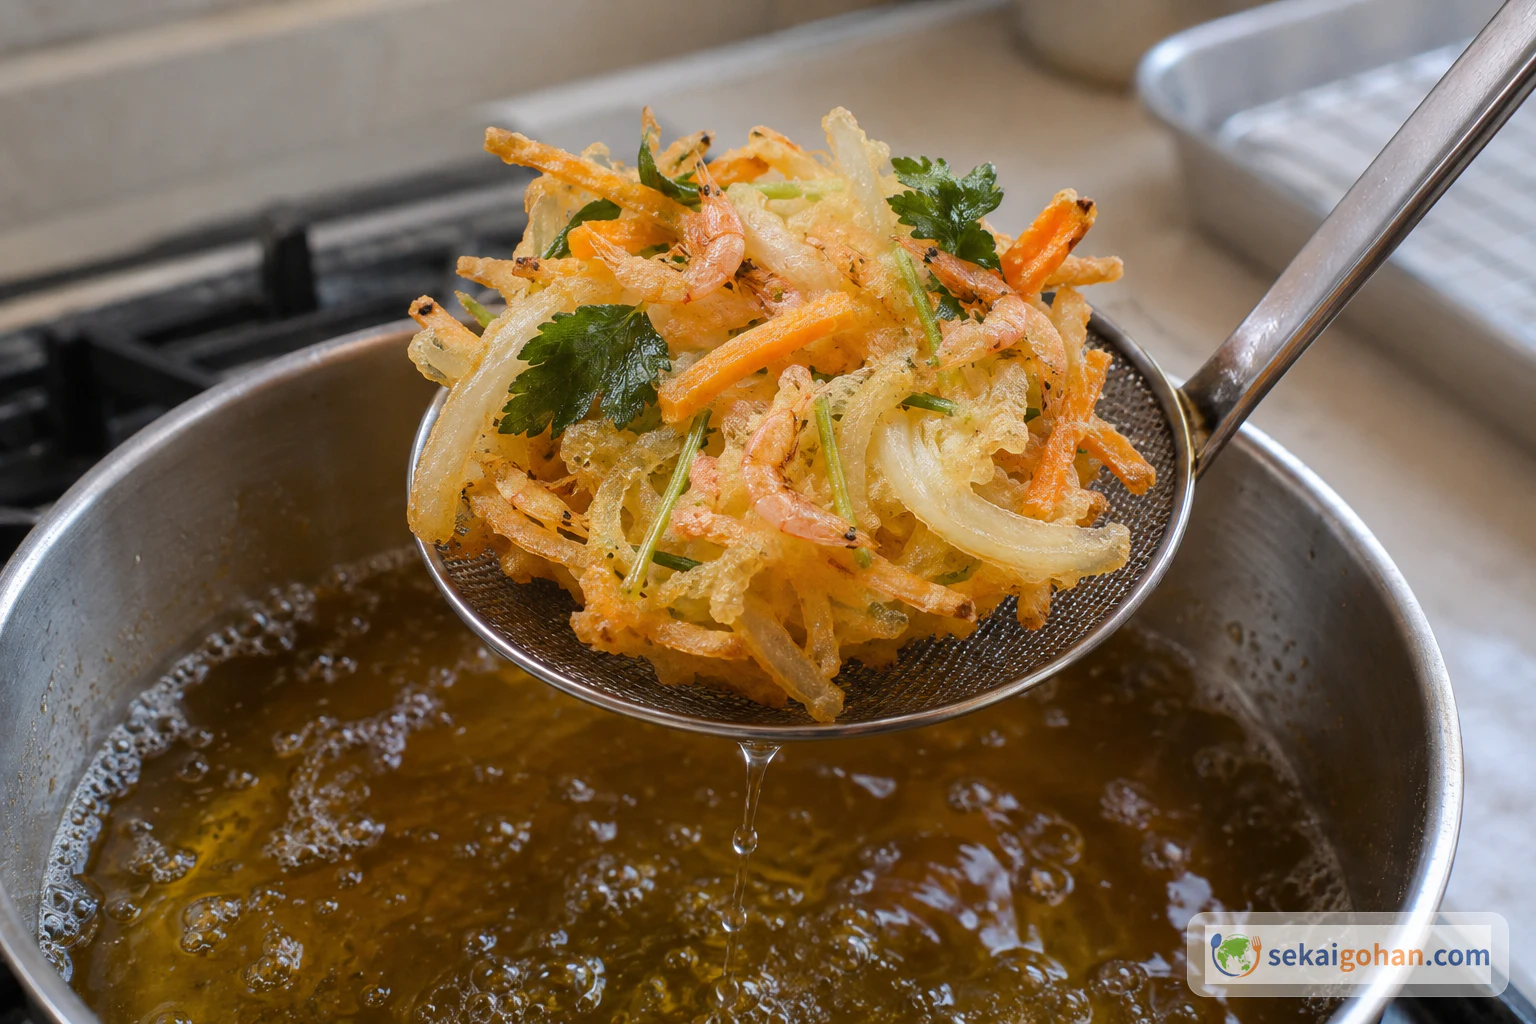
Picture a bowl of thinly sliced onion and fine carrot strips, flecked with tiny dried sakura shrimp and short lengths of mitsuba. A dusting of flour, a little chilled water, a few light turns with chopsticks, and the strands begin to cling to one another. Lowered into hot oil, each spoonful spreads into a flat cluster that turns golden and crisp at the edges.
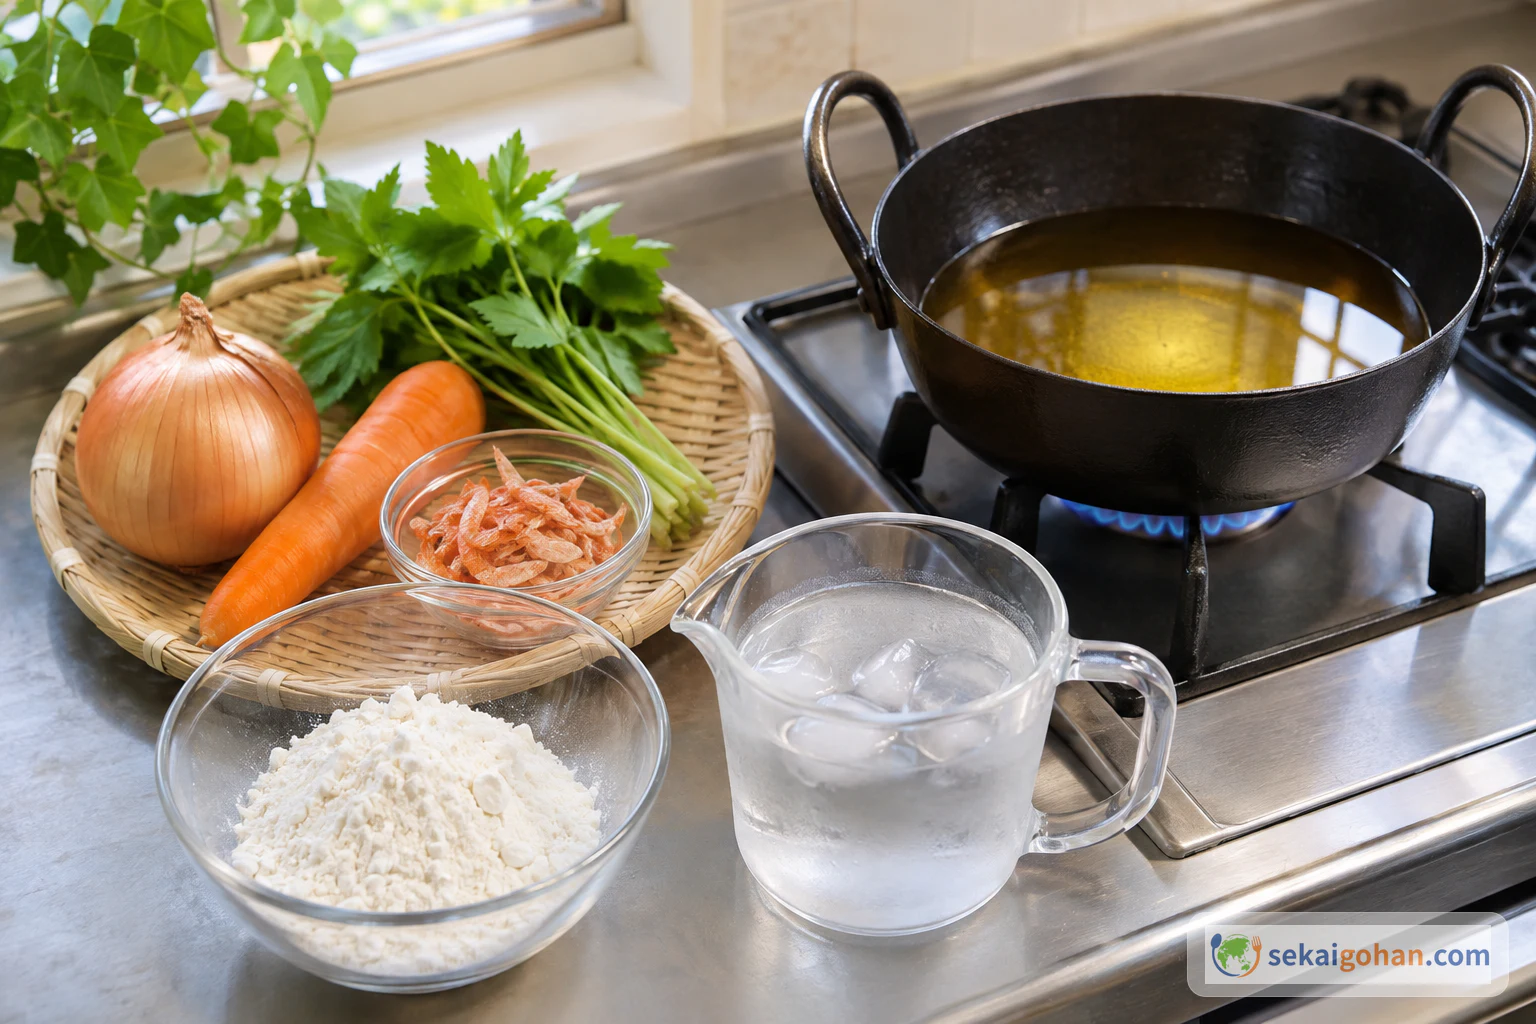
Kakiage (かき揚げ) is a kind of tempura in which several ingredients, or small ones, are coated in batter and fried together into a flat shape. The ingredients change with the season and from household to household; this article follows one representative home version for 4 servings, built on onion, carrot, dried sakura shrimp and mitsuba. For more dishes from the same table, see our Japanese food page.
The recipe this version follows, from a JITCO home-cooking sheet, gives the flour, chilled water and frying oil only as "as needed" amounts. Rather than borrowing ratios, oil temperatures or frying times from other recipes, this article keeps those amounts open and describes the look of the batter and the finished piece at each stage. This recipe has not been kitchen-tested by Sekai Gohan, so read the visual cues in each step closely.
What Kakiage Is: Tempura Made Flat from Small Ingredients
Where ordinary tempura usually fries one ingredient per piece, kakiage gathers many small pieces into one. JITCO's English-language home-cooking sheet describes it as tempura in which mixed or small ingredients are coated and fried into a flat shape, and presents the onion, carrot, dried sakura shrimp and mitsuba combination used here.
The same sheet points to how kakiage reaches the table: eaten on its own with a little salt, set over rice as kakiage-don, or placed on soba or udon. It also notes that the ingredients follow the seasons, with spring examples such as wild mountain vegetables, bamboo shoots, fava beans and nanohana, and suggests raw shrimp, kobashira (small scallop adductors) or shirasu in place of dried shrimp. Each of those changes the moisture and cooking of the mixture, so they are treated as separate recipes here, not swaps into this one.
The materials used for this article do not cover the dish's origins or history, so this article does not go into them.
Ingredients (Serves 4)
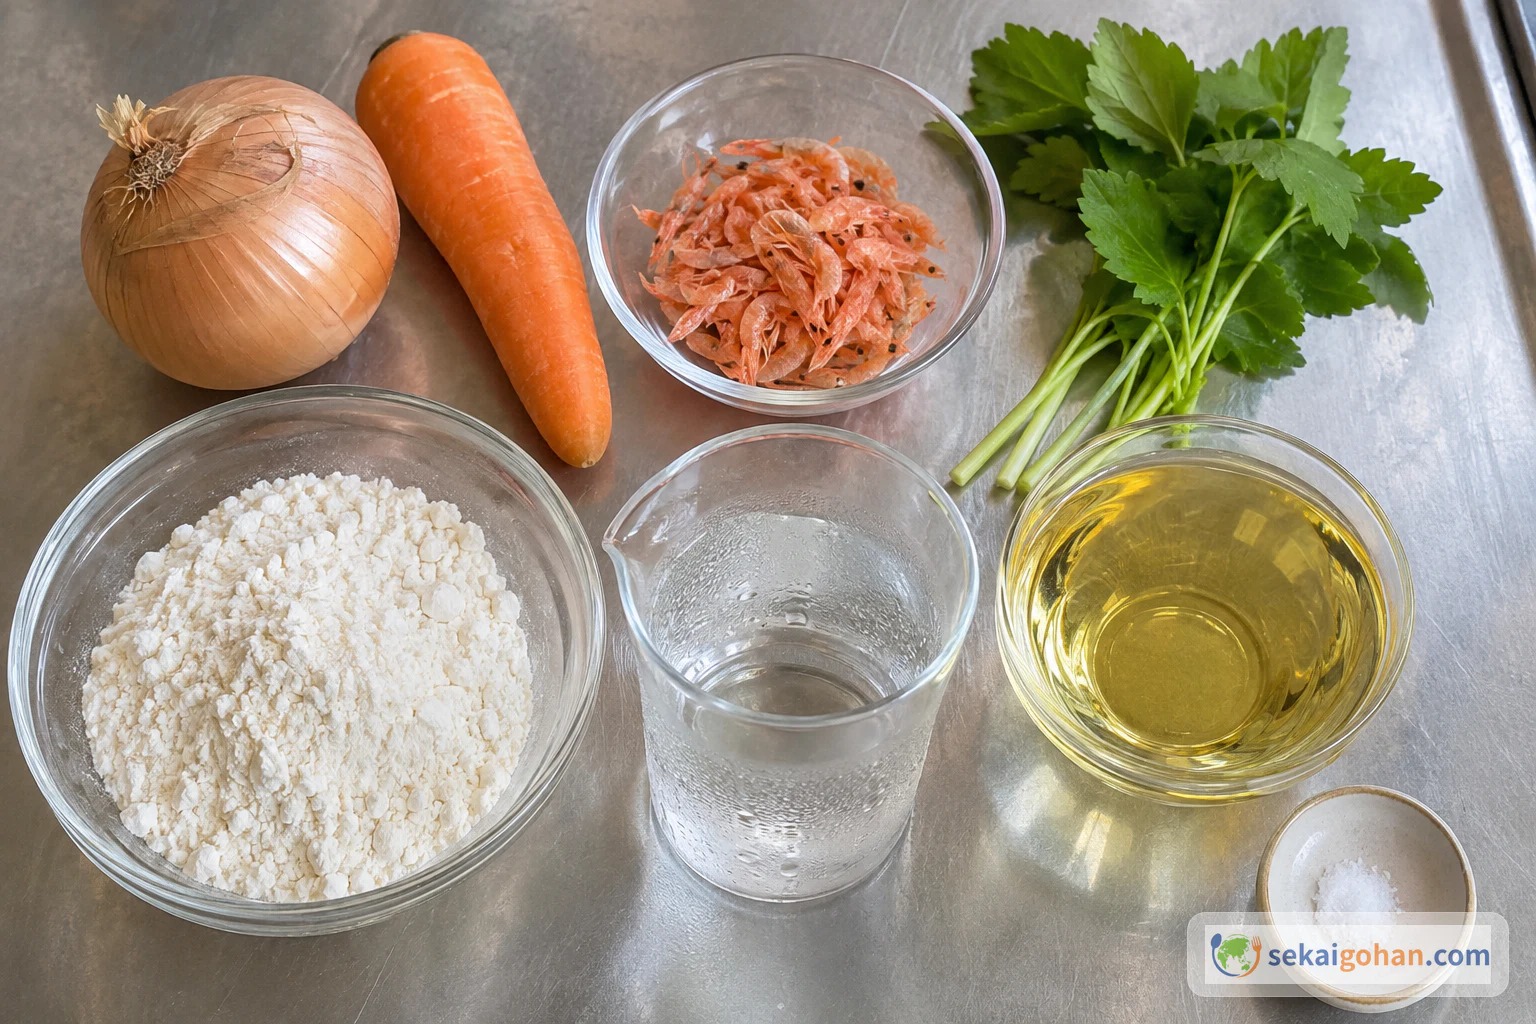
The flour, water and oil are judged by look as you go. Have extra chilled water and flour on hand so you can add a little at a time.
This kakiage contains wheat (flour) and crustacean shellfish (sakura shrimp). Check the labels on your flour and dried shrimp for allergen information.
Equipment
- Knife and cutting board
- Mixing bowl
- Cooking chopsticks or a spoon
- Deep pan for frying
- Slotted spoon
- Wire rack
Choosing and Swapping Ingredients
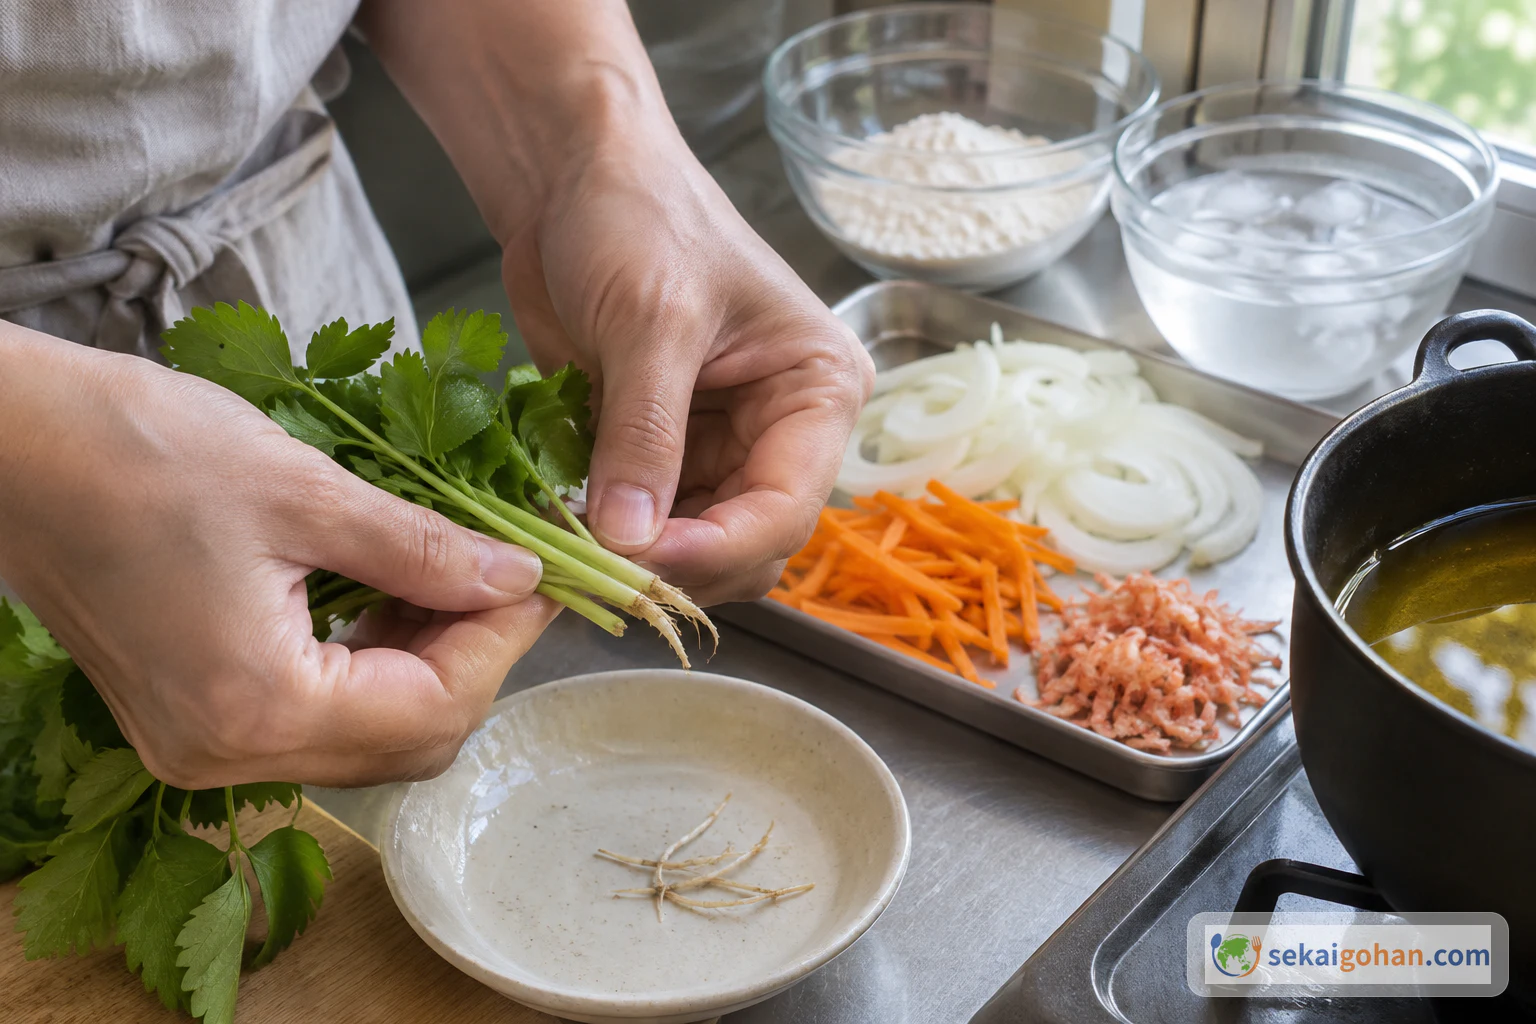
Dried sakura shrimp are the defining ingredient of this version: small, dried, pink shrimp that bring aroma to the whole piece. Look for them at Japanese or East Asian grocers. Raw shrimp, kobashira or shirasu make a different kakiage with different moisture and cooking, so don't simply swap them in at the same amount.
Mitsuba is a Japanese herb with its own distinct aroma. Other greens will change the flavor of the dish, so they are not offered here as a like-for-like substitute.
Onion: an ordinary yellow onion is fine. New-season bulb onions (shin-tamanegi) carry more moisture and a different sharpness, so the batter may not look the same at the same stage.
Flour: this version is written for soft wheat flour alone. Don't mix in egg, starch or a tempura-flour mix; the batter cues in the steps are for flour and chilled water only.
Method: Coat First, Then Add Water Little by Little
While frying, stay with the pan. If you must step away, turn off the heat first. If oil catches fire, never pour water on it.
Cut everything before the oil goes on, so you can give the pan your full attention once frying starts. Work in small batches and judge each stage by how the batter and the pieces look.
When It Doesn't Come Together: Fixing Common Problems
Because the flour and water are judged by eye, most problems show up in the bowl before they reach the oil. Look at the mixture again before each batch.
| What you see | Likely reason | What to do |
|---|---|---|
| Dry flour still visible in the bowl | Not enough water yet | Add a little more chilled water and mix lightly again |
| The batter is smooth and runny | Too much water, or mixed too long | Avoid adding more water. Next time, add the water in smaller amounts and stop while small lumps remain |
| The cluster scatters in the oil | Lowered from too high, or not held while setting | Bring the portion right to the oil surface before releasing it, and hold it gently with chopsticks until the batter sets |
| The oil spits when portions go in | Wet vegetables, or portions dropped in quickly | Pat cut vegetables dry before coating them, and lower each portion slowly |
| The pieces are pale or soft | Taken out before they were done | Keep frying until cooked through and crisp |
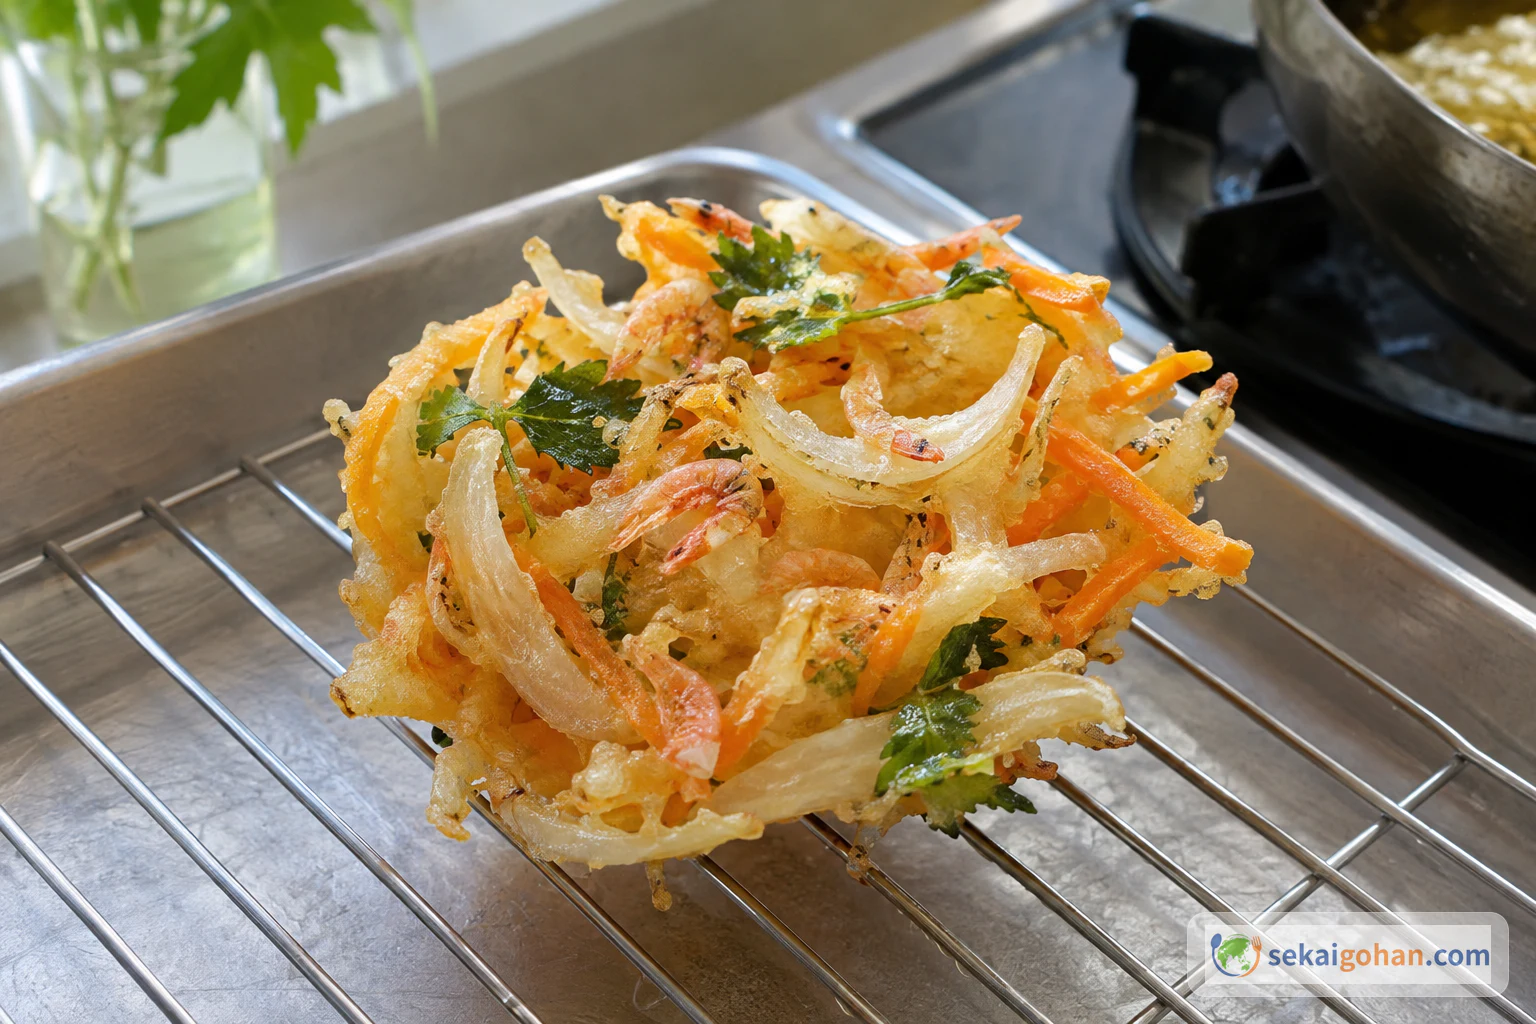
| The finished pieces are oily | Not drained | Hold each piece over the pan to drip, then drain on a wire rack |
If oil in the pan catches fire, turn off the heat if you can do so safely, and never pour water on it.
Ways to Serve and Seasonal Variations
Serve it straight from the rack. Kakiage is at its best freshly fried, with a little salt on the side. This article gives no storage or reheating guidance; make what you will eat and serve it fresh.
Over rice or noodles. Kakiage can be set over rice as kakiage-don, or placed on a bowl of soba or udon. The rice, noodles and broth are ways of eating it, not part of the kakiage itself.
Seasonal ingredients. In spring, kakiage may be made with wild mountain vegetables, bamboo shoots, fava beans or nanohana. Each has its own moisture and cooking time, so treat these as separate recipes rather than additions to this mixture.
Other seafood. Raw shrimp, kobashira or shirasu can take the place of dried shrimp in other versions. Don't transfer the 2 tbsp of dried shrimp directly to them; look for a recipe written for that ingredient.
New onions. New-season bulb onions with more moisture can be used, but expect the batter to behave a little differently at the water stage.
Frequently Asked Questions
How many grams of flour and water should I use?
The JITCO recipe this version follows gives the flour and chilled water only as "as needed," so this article does not set numbers for them. Instead, coat the ingredients in flour first, then add chilled water a little at a time and mix lightly, stopping while small lumps remain. Those visual cues are the guide.
Should I add egg or starch to the batter?
Not for this version. The recipe uses flour and chilled water only. Nisshin's general tempura guide describes an egg-based batter, but that is a different method and is not used here.
What oil temperature and frying time should I use?
The JITCO recipe does not give a temperature or time; it describes frying until cooked through and crisp. Nisshin's separate general guide gives about 160°C as a reference for thin-battered vegetable kakiage and about 170°C for kakiage with seafood, and describes the bubbles and how the pieces float as signs of doneness. Those figures belong to that general guide, not to this recipe. A photo can't confirm your oil temperature, so watch the pan and the pieces themselves.
Can I use tempura flour instead of soft wheat flour?
The JITCO recipe allows either tempura flour or soft wheat flour. This version uses soft wheat flour, and the batter cues are written for it, so don't mix the two. If you use a tempura-flour product, check its ingredients and allergen label, since they vary by product. A separate MAFF kakiage recipe also mentions rice flour as an option for tempura batter, but that is not part of this version.
Do I have to use a ladle to shape the pieces?
No. A spoon or chopsticks work for gathering bite-size portions. Nisshin's guide shows a ladle used for shaping, and a small ladle can help, but it is not required.
How should I eat kakiage?
On its own with a little salt to taste, over rice as kakiage-don, or on soba or udon, as JITCO's sheet describes.
What should I do if the oil catches fire?
The Kitakyushu City Fire Department advises staying with the pan while frying, turning off the heat before stepping away, and never pouring water on burning oil.
Sources
- JITCO / Webtomo, "Japanese Home Cooking: Kakiage." Defines kakiage as tempura with mixed or small ingredients fried into a flat shape; gives the 4-serving recipe (dried sakura shrimp 2 tbsp, onion 1, carrot 1, mitsuba about 20 stems, tempura flour or soft wheat flour, chilled water and frying oil as needed), the cutting, coating, gradual water and light mixing steps, frying until cooked through and crisp, draining, serving with salt, kakiage-don, soba and udon, and seasonal and seafood variations. https://www.jitco.or.jp/webtomo/pdf/recipe_English2010_03.pdf
- Nisshin Seifun Group, "天ぷら こむぎ粉料理の基礎とコツ(かき揚げ編)" (Tempura: basics and tips for flour cooking, kakiage). General technique only: cutting onion and carrot, removing surface moisture, lowering pieces slowly to avoid splatter, general reference temperatures of about 160°C for vegetable kakiage and about 170°C with seafood, shaping with a ladle, doneness signs, and draining on a rack. https://www.nisshin.com/entertainment/kisotokotsu/tempura.html
- Ministry of Agriculture, Forestry and Fisheries (MAFF), "テンペのかき揚げ" (Tempeh kakiage). A separate kakiage recipe with a flour-and-water batter lowered into oil with a ladle, and a mention of rice flour for tempura batter; used for comparison only. https://www.maff.go.jp/j/seisan/kakou/mezamasi/recipe/recipe213.html
- Kitakyushu City Fire Department, "てんぷら油火災・こんろを使う時はその場を離れない" (Tempura oil fires: don't leave the stove while cooking). Stay with the pan while frying, turn off the heat before leaving, and never pour water on burning oil. https://www.city.kitakyushu.lg.jp/shoubou/file_0020.html