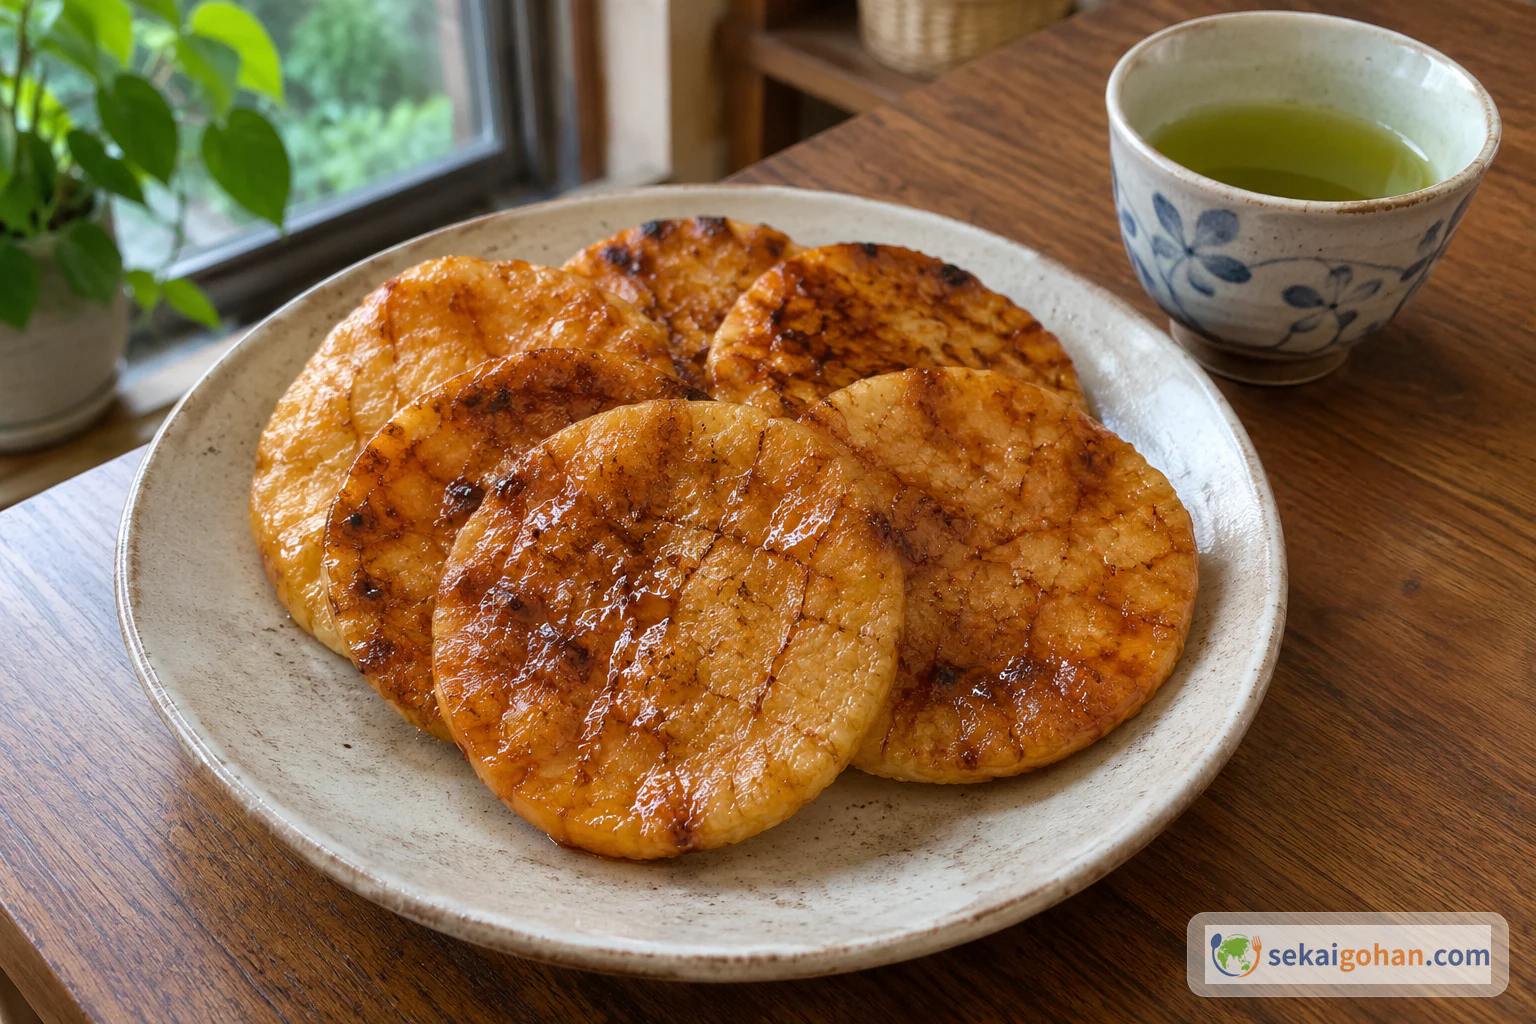
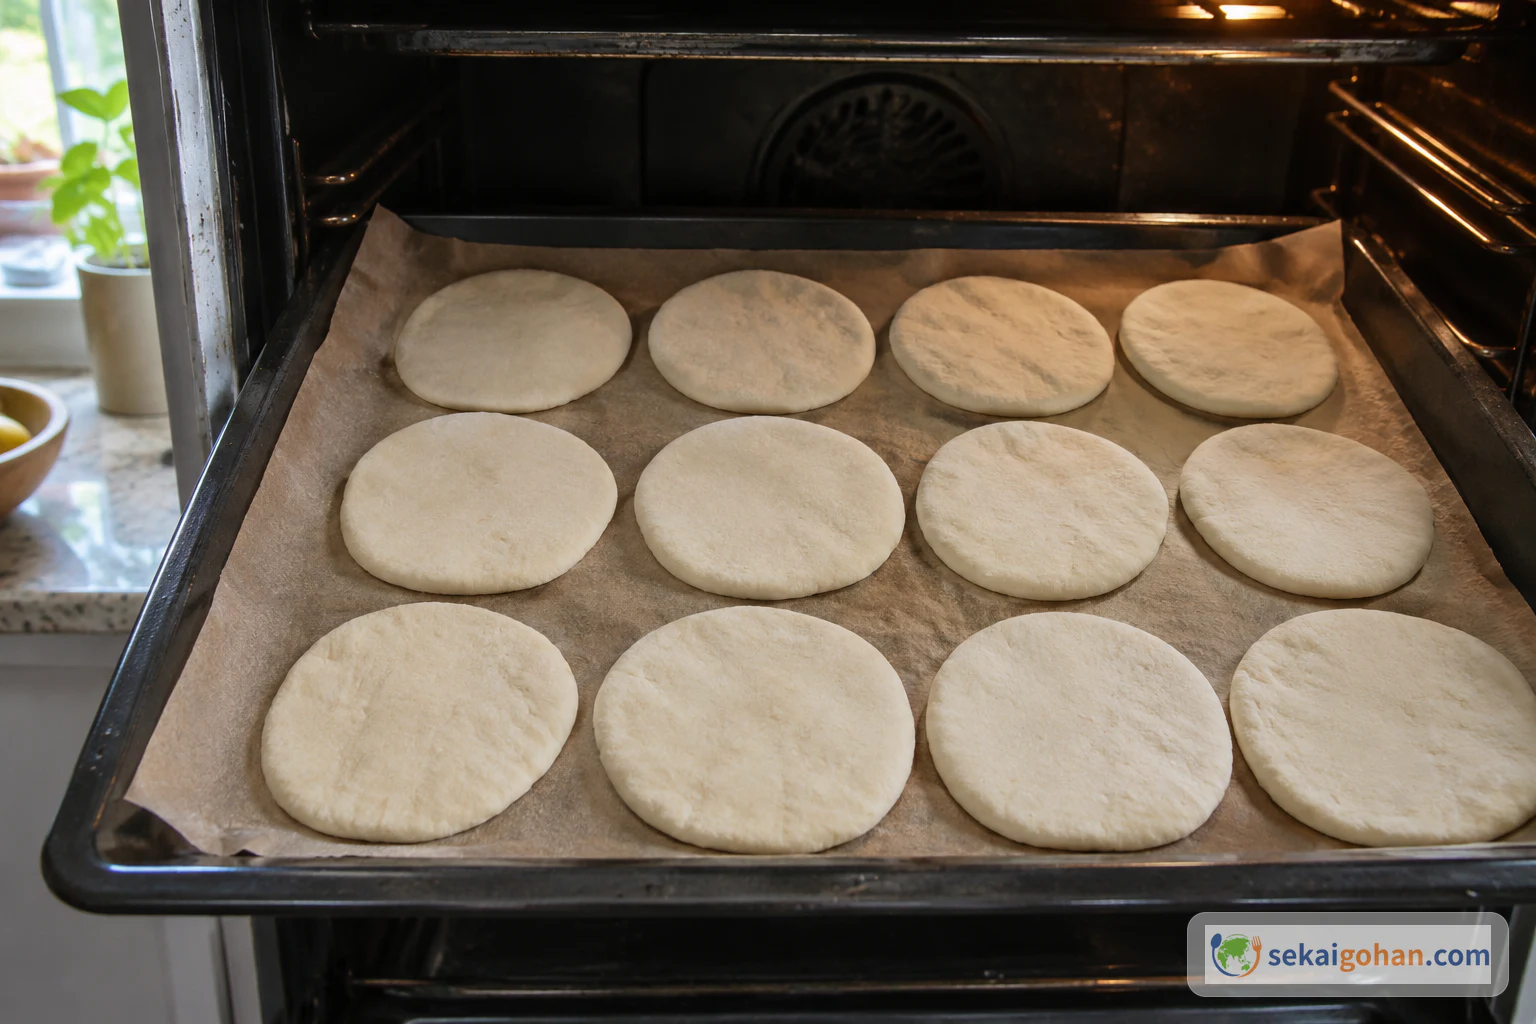
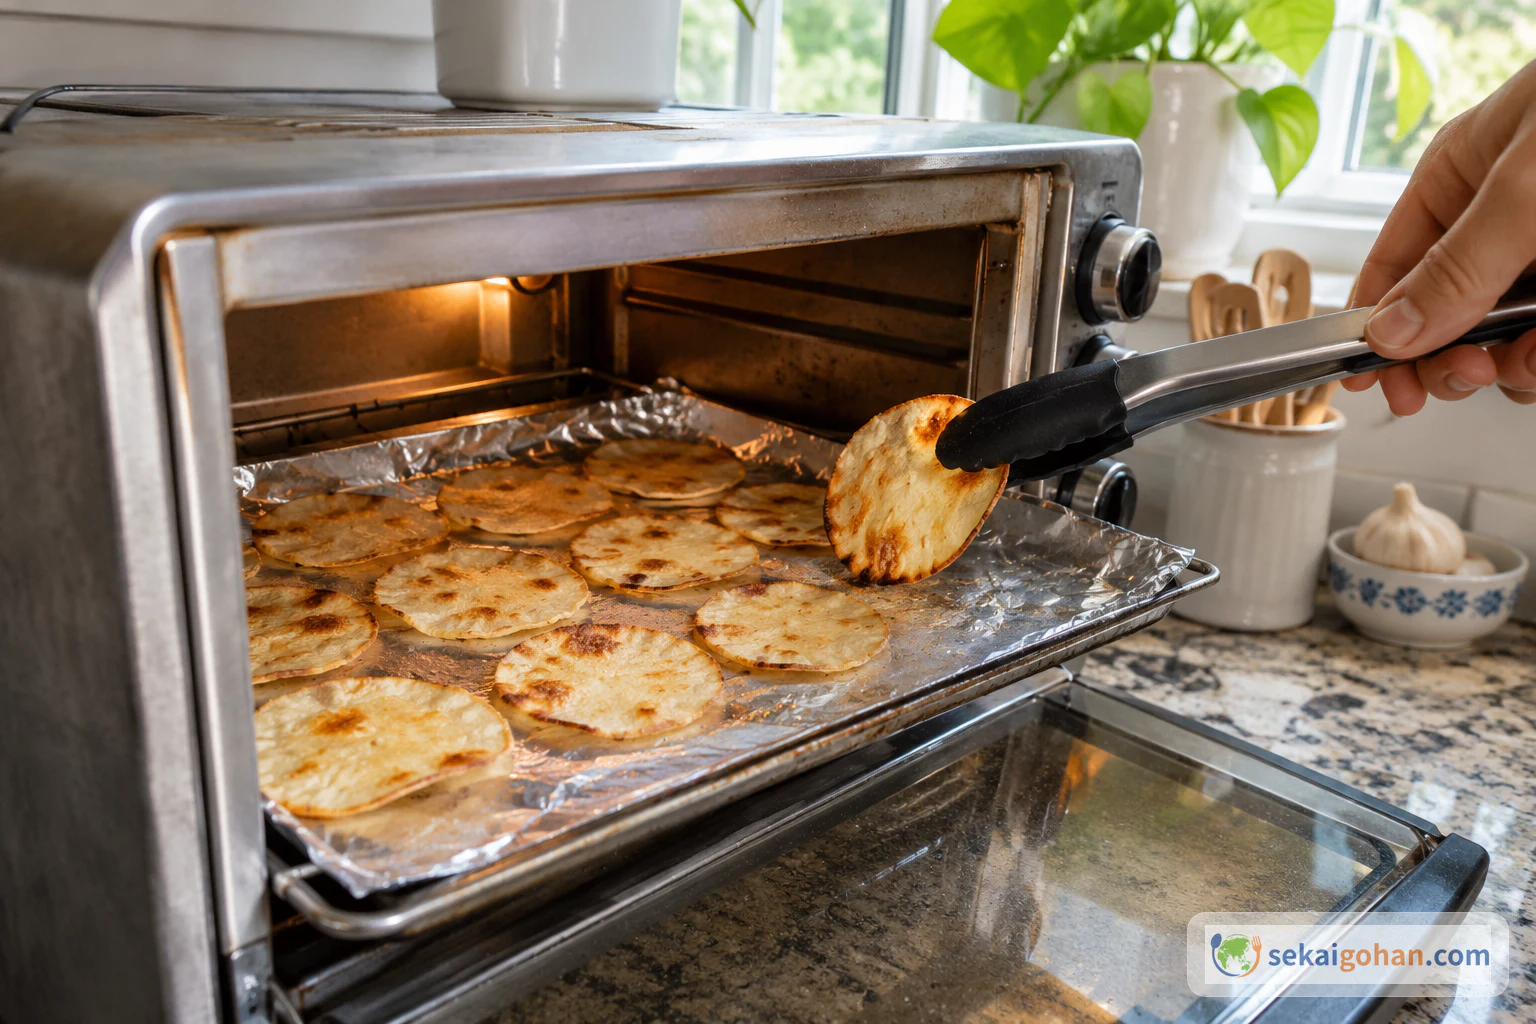
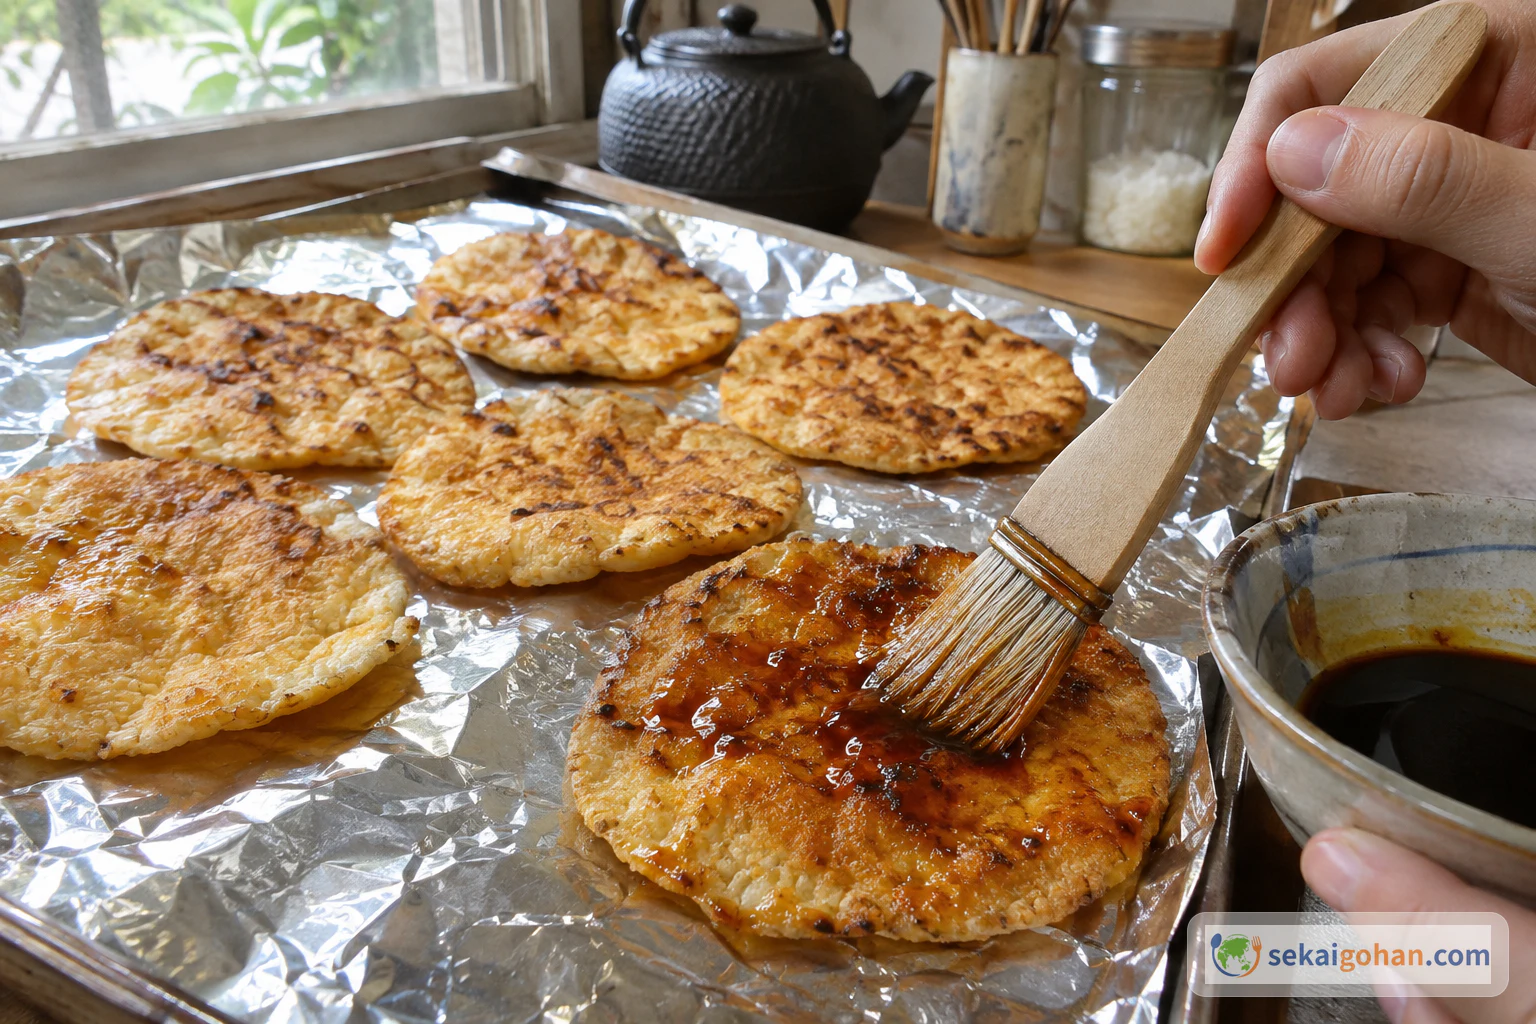
Brush soy sauce across a cracker that has just come out of the toaster oven, and the pale gold surface turns a deep, glossy brown while the smell of toasted rice and soy fills the kitchen. A minute or two back in the heat sets the glaze, and once the cracker cools it breaks with a hard, clean snap. Senbei of this kind are Japan's soy-flavoured baked rice crackers, made from plain non-glutinous rice and eaten with a cup of green tea. The flavour is simple and savoury: roasted rice, salt and the dark edge of soy, with a firm bite that asks you to take your time.
From a Post-Town Tea House to the Whole Country
Soka and the soy sauce brush
The best-known home of the soy-brushed style is Soka, in Saitama, a post town on the old Nikko Kaido road. Travellers stopped at its tea houses, and those tea houses began selling grilled rice crackers. The first ones were salt senbei. In the middle of the Edo period soy sauce brewing grew in the region, cooks started brushing the crackers with soy, and that version took off. In the Taisho era Soka senbei were presented as an offering, and the name became known across Japan.
Soka senbei are made from 100% non-glutinous rice (uruchi rice), grown in the prefectures around the Kanto region, and are generally made without preservatives or colouring. The hard-baked soy cracker is the base style, and from it come versions flavoured with miso, coated with black sesame or wrapped in nori. Soka is one regional style among many; senbei across Japan take far more shapes than this one town's crackers. For more dishes from the same table, start at our Japan page.
The Osen tale
A popular story ties the cracker's beginnings to a figure called Osen and to flattened rice dumplings. It appears to be a tale created in the Showa era, and it is best enjoyed as a story. The documented line runs through the tea houses, the salt crackers and the arrival of soy sauce.
How the craftsmen make them
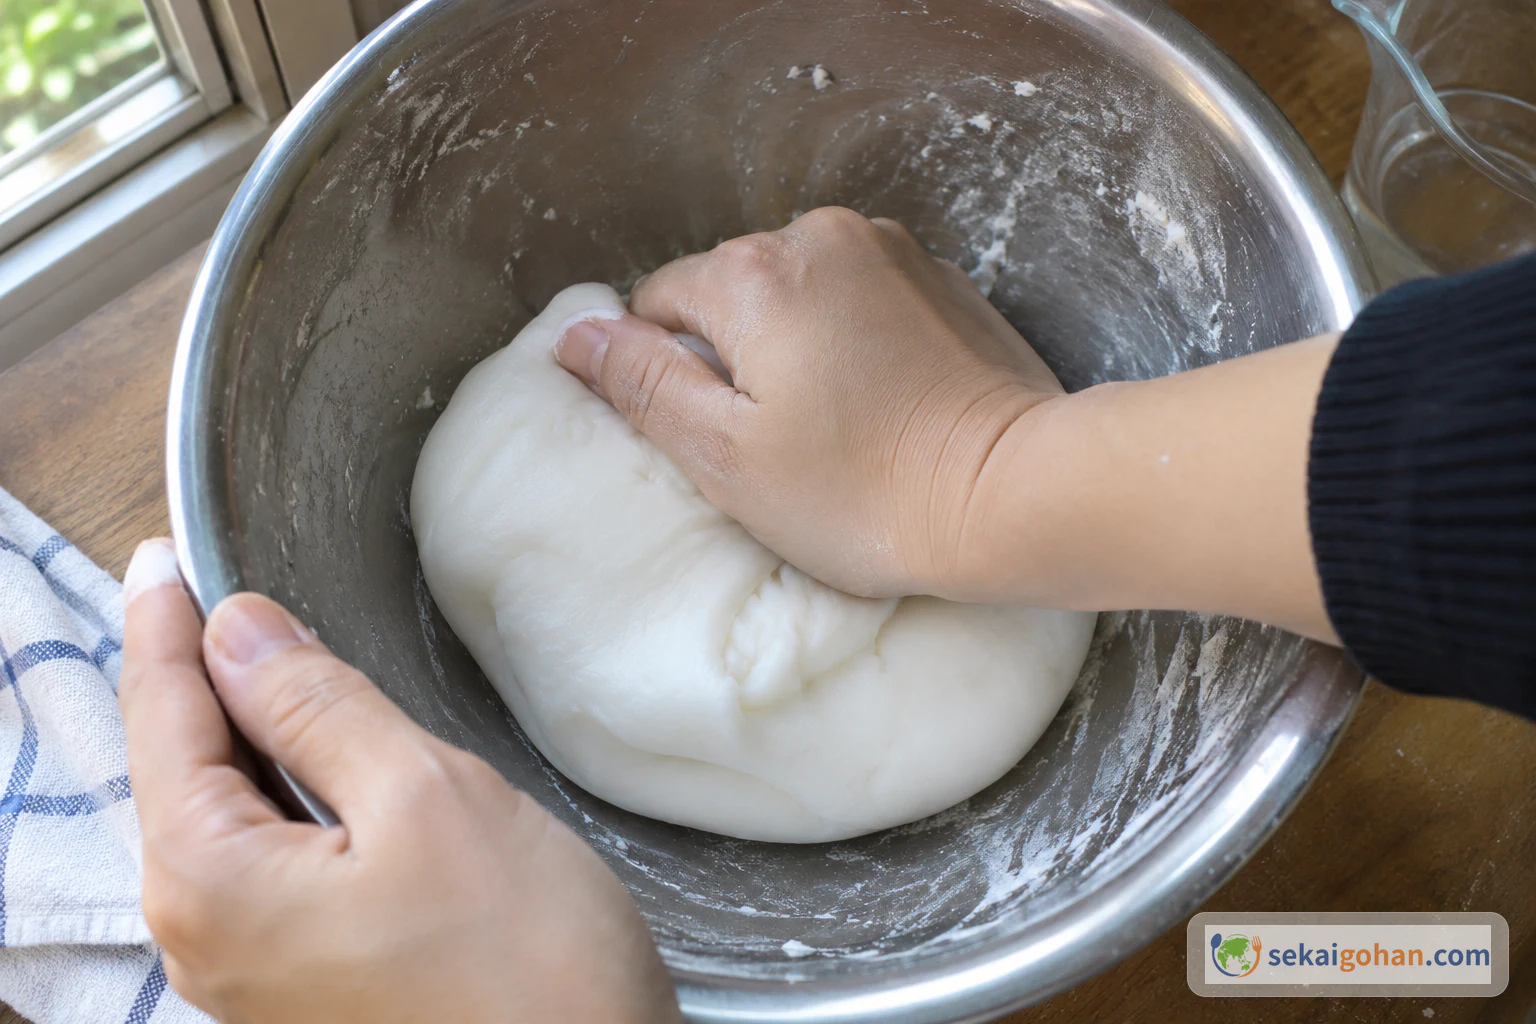
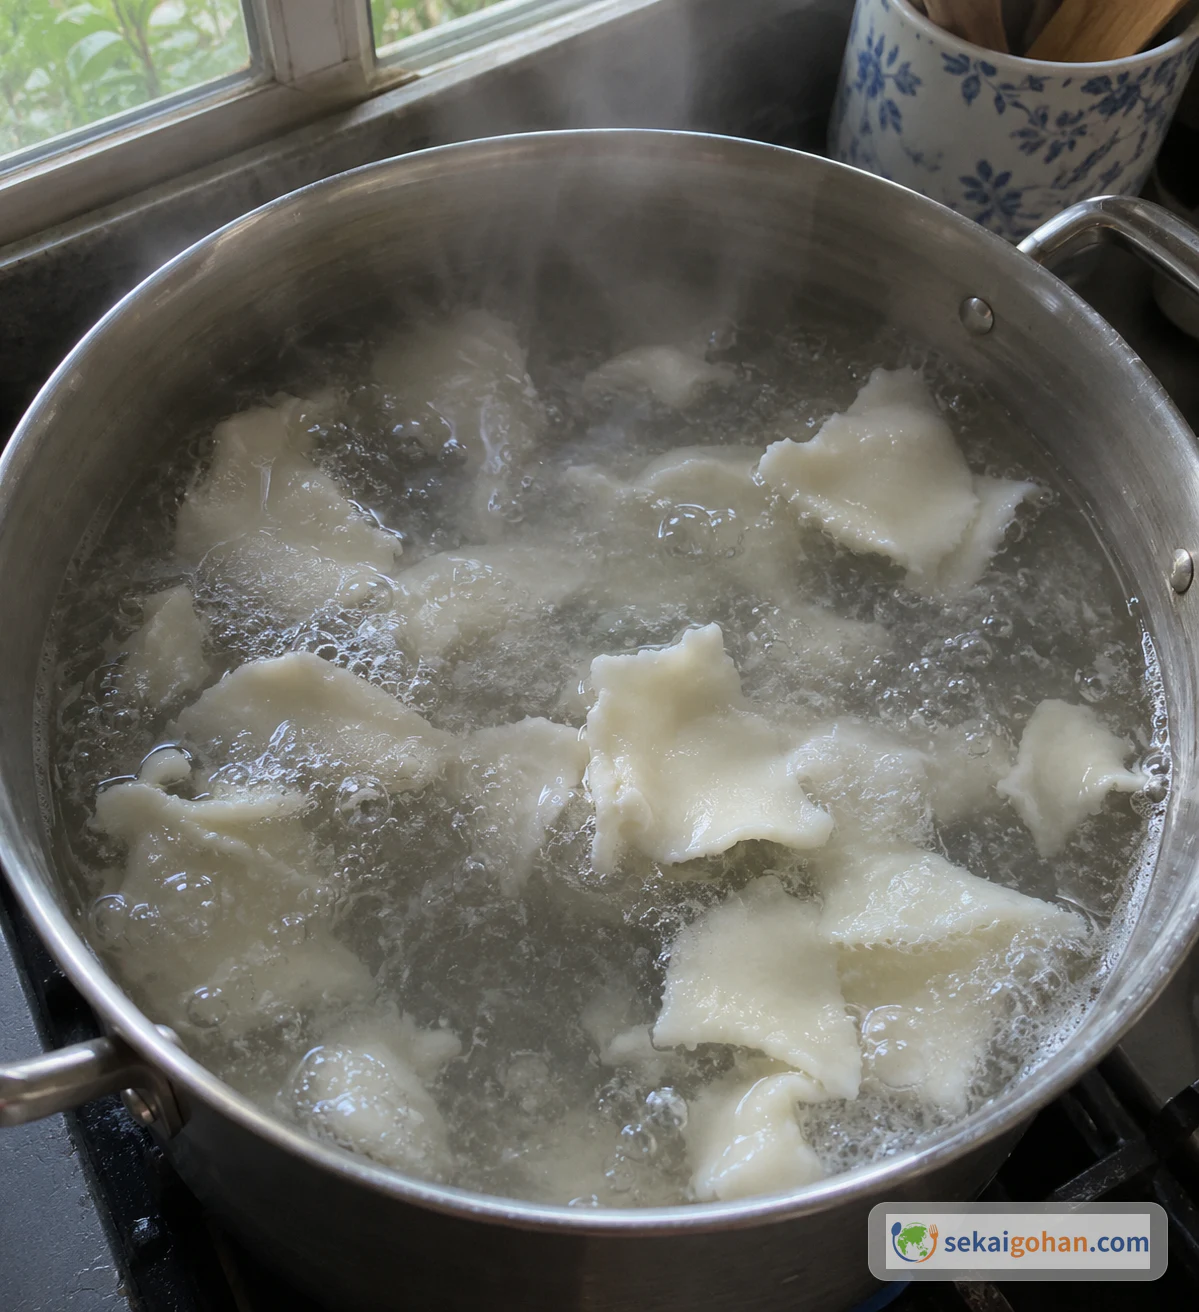
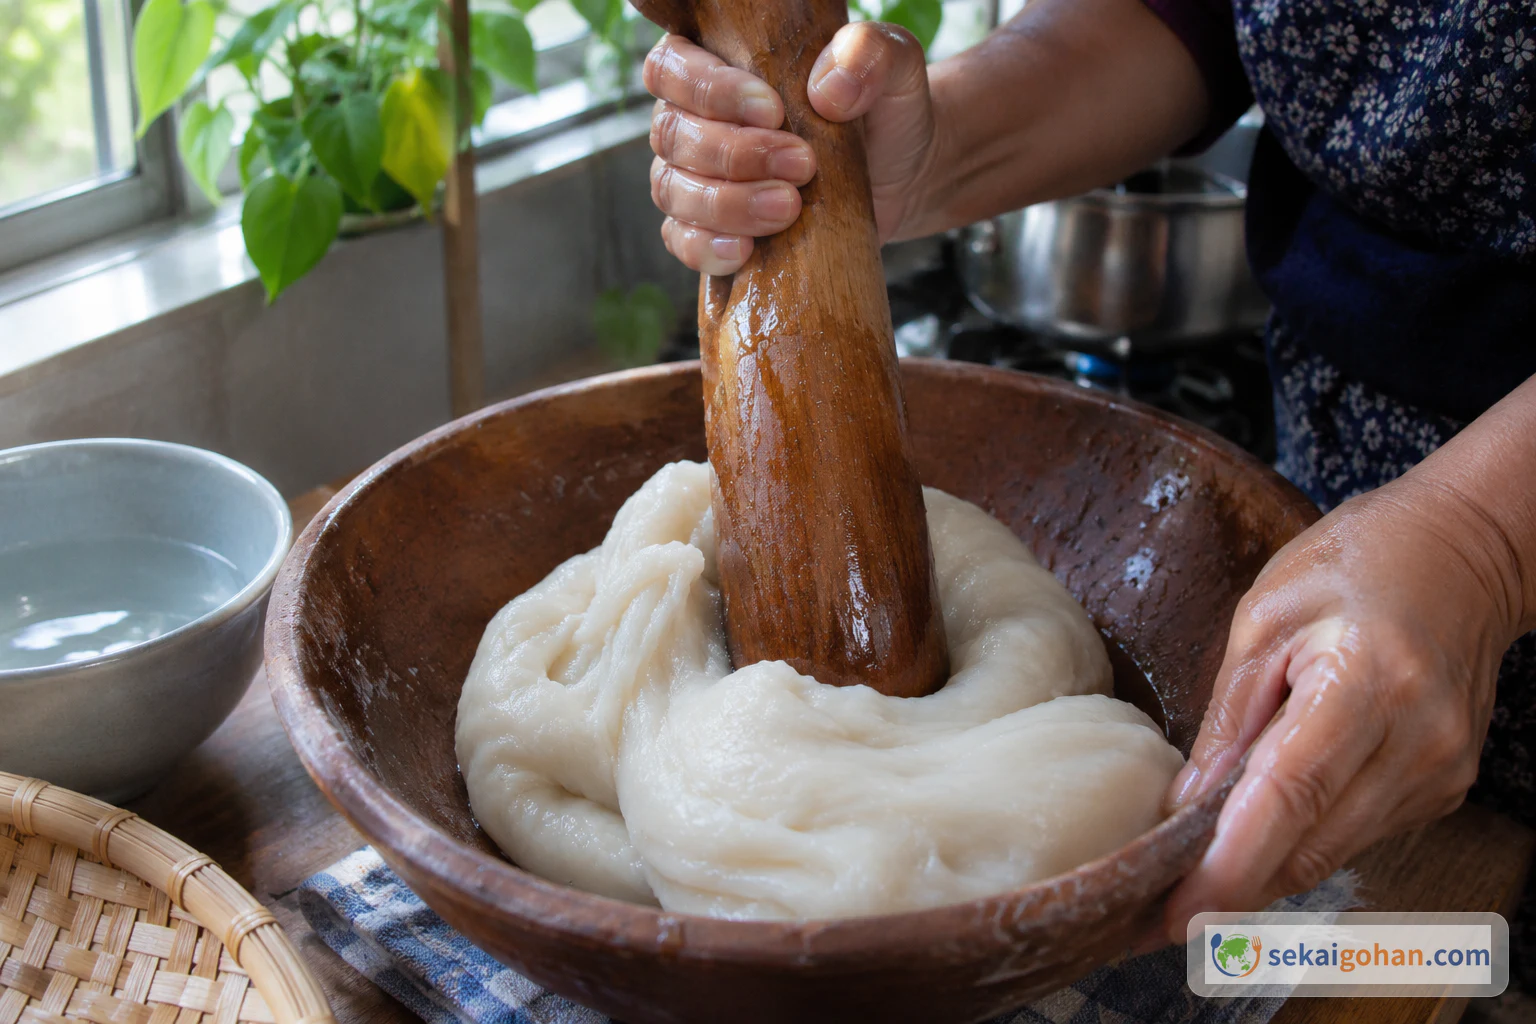
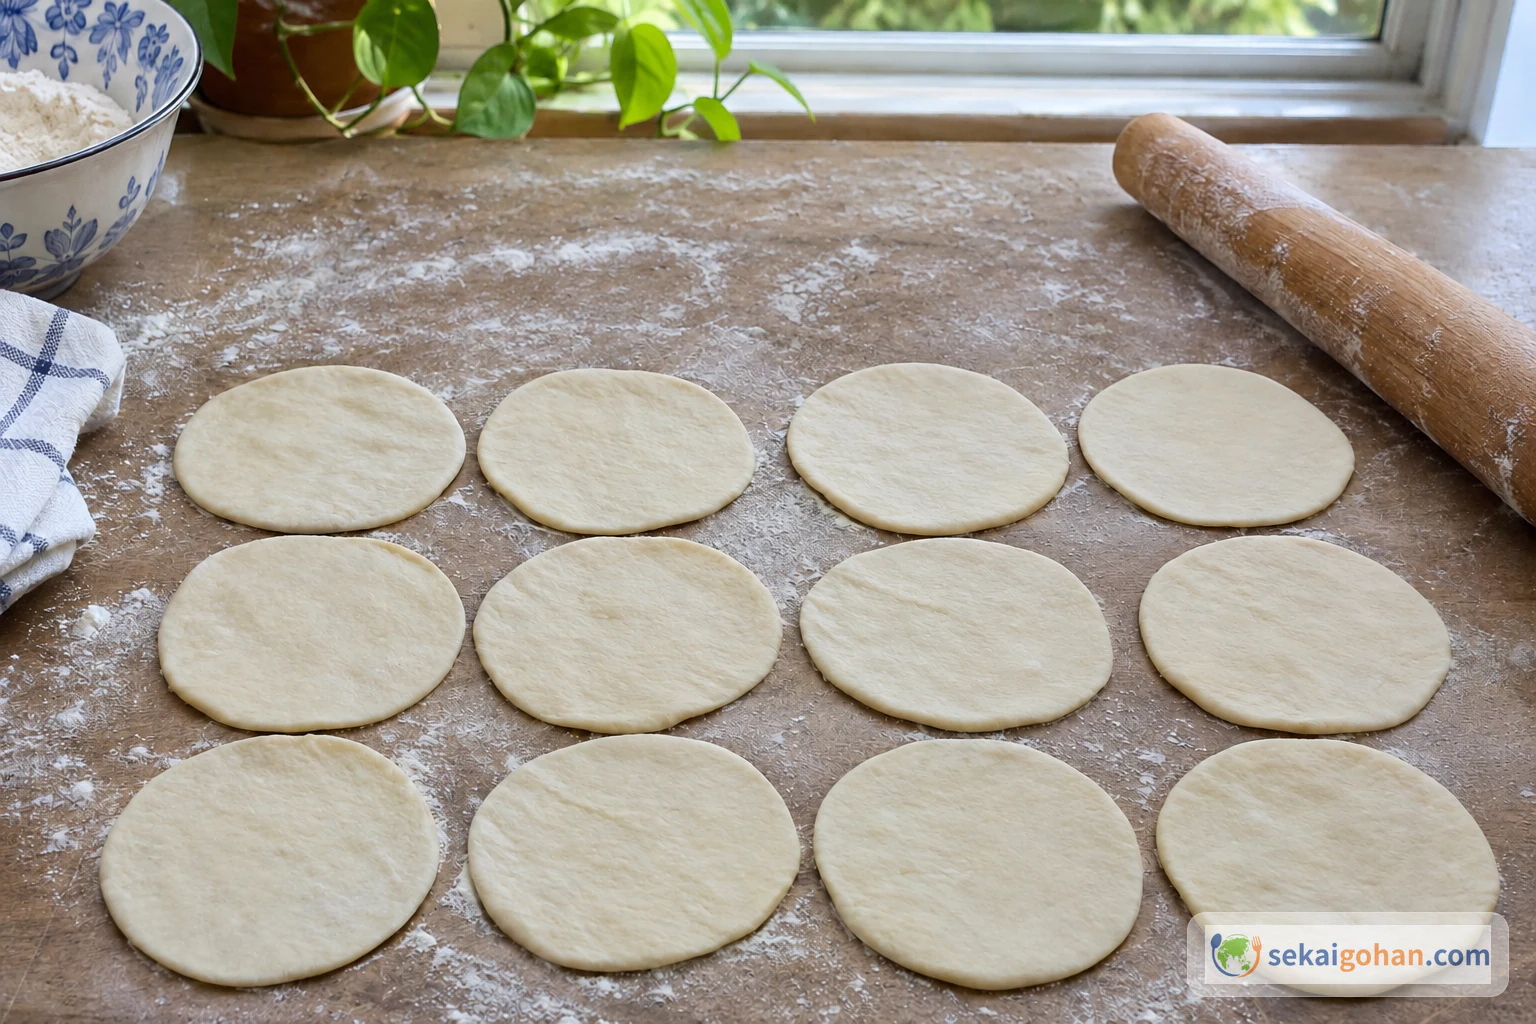
The traditional method is a long, patient chain of work. Rice is milled on a stone mill, kneaded with hot water and steamed, then pounded in a mortar with a wooden mallet. The dough is rolled out and cut into rounds, and the rounds are dried in the sun for two to three days. Then each one is grilled over a net, pressed flat, and brushed with soy sauce. The home version below follows the same order on a smaller scale: cook the rice dough, pound it smooth, dry it slowly, toast it hard and brush it with soy.
Soka has a certification for its craftsmen, the Soka traditional industry technician qualification.
Okaki, made from glutinous rice, belong to a different family of crackers. Senbei in the Soka style stay with ordinary non-glutinous rice, which gives the dense, hard bite.
Ingredients (makes 12 crackers)
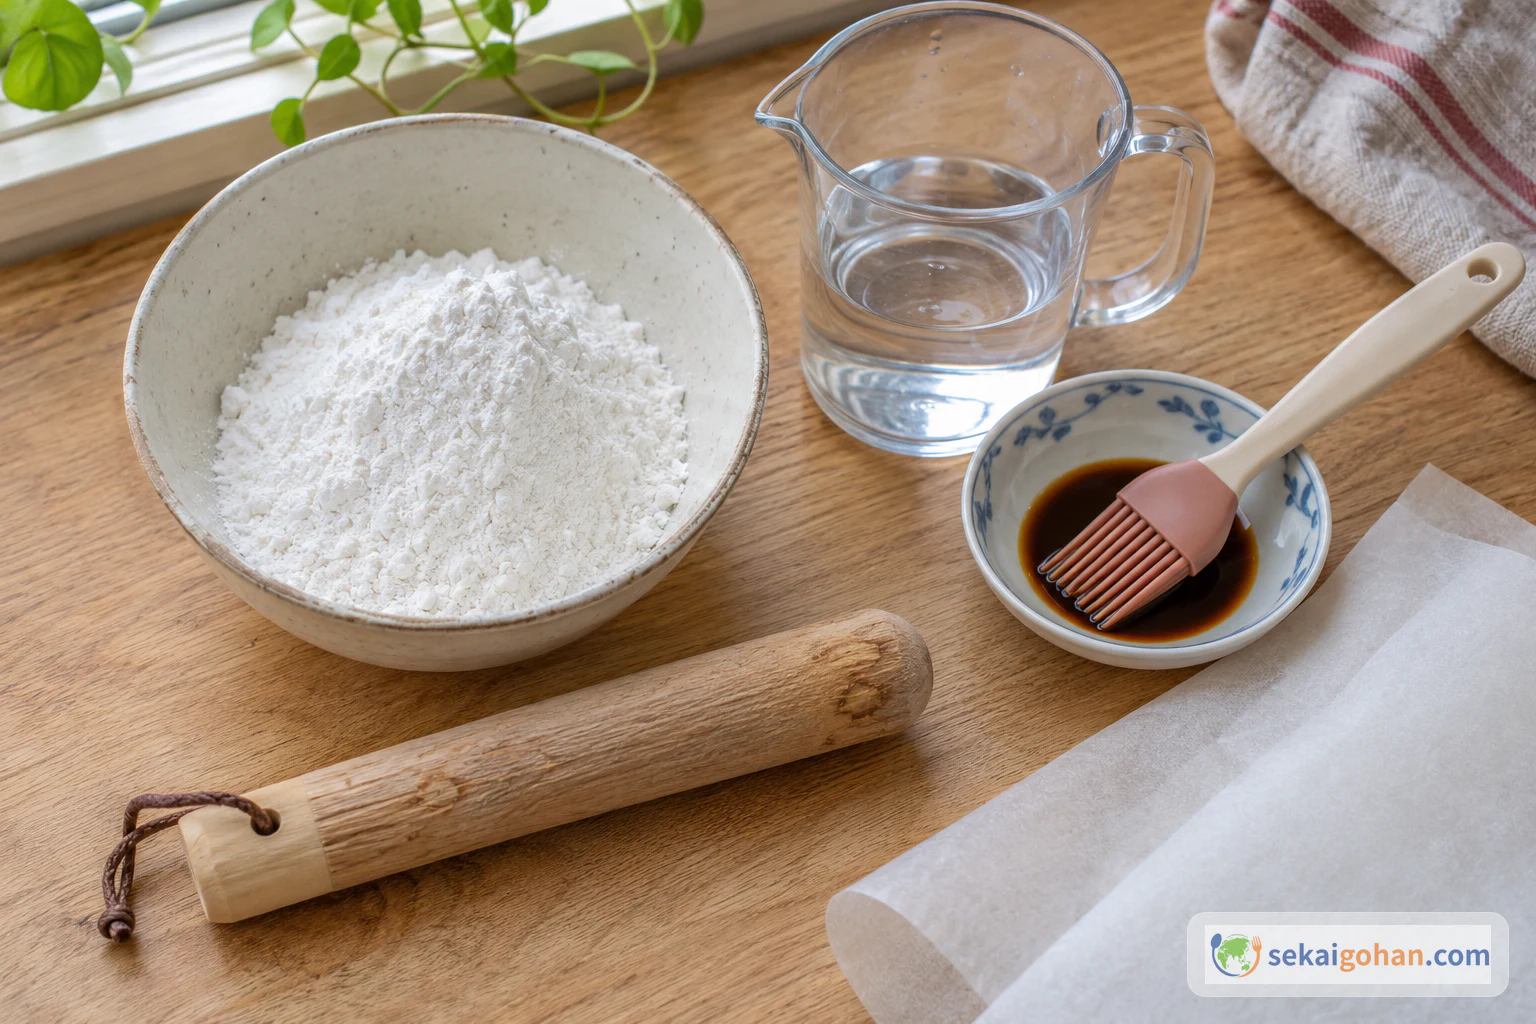
The dough contains no wheat or milk. Soy sauce contains soy, and most soy sauce also contains wheat; check the label if anyone at the table avoids wheat.
Equipment
- 2 bowls
- Large pot
- Wooden pestle (surikogi)
- Oven
- Baking sheet
- Parchment paper
- Aluminium foil
- Toaster oven
- Pastry brush
Choosing the Flour and the Soy Sauce
The flour is the one thing that must be right. Joshinko is non-glutinous rice flour, and the bag should say 上新粉 or joshinko. Shiratamako and mochiko look similar on the shelf but are made from glutinous rice; they give a soft, chewy dough and will not make senbei. Bags simply labelled "rice flour" cover many different products, so stay with joshinko rather than swapping in a general rice flour.
For the glaze, use a Japanese soy sauce. It goes on in a thin coat with a brush, so its aroma and saltiness come straight through on the finished cracker.
If the pack shows the word 白玉粉 (shiratamako) or もち粉 (mochiko), put it back. Only 上新粉 gives the hard, snapping bite.
Method
The work comes in three movements. First, mix, boil and pound the dough, which takes active hands for a short stretch. Then the rounds go into a low oven for about two hours, flipped once halfway, and that is the long hands-off part. The last stretch at the toaster oven is quick and needs your full attention, so have the foil, brush and soy sauce ready before you start.
Stay by the oven and toaster oven the whole time they are on. Toaster ovens differ a great deal in power; follow your appliance's manual for its settings and times.
When It Goes Wrong
| What you see | Why | What to do |
|---|---|---|
| The crackers don't puff and stay hard or doughy inside | The rounds were not dry enough before toasting | Return them to the 230°F (110°C) oven for another 30 minutes, then toast again |
| Edges scorch before the centre colours | Too many rounds in the toaster oven, or not turned often enough | Toast in smaller batches and turn them as they colour |
| The dough sticks to the pestle and tears | The pestle is dry | Wet the pestle again with water and keep pounding |
| Dry flour or crumbly patches in the dough | The flour and water were not mixed through | Keep mixing and kneading until no dry flour remains and the dough is earlobe-soft |
| Shiratamako or mochiko was used | They are glutinous rice flours and cannot replace joshinko here | Start again with joshinko |
Serving and Variations
At the table
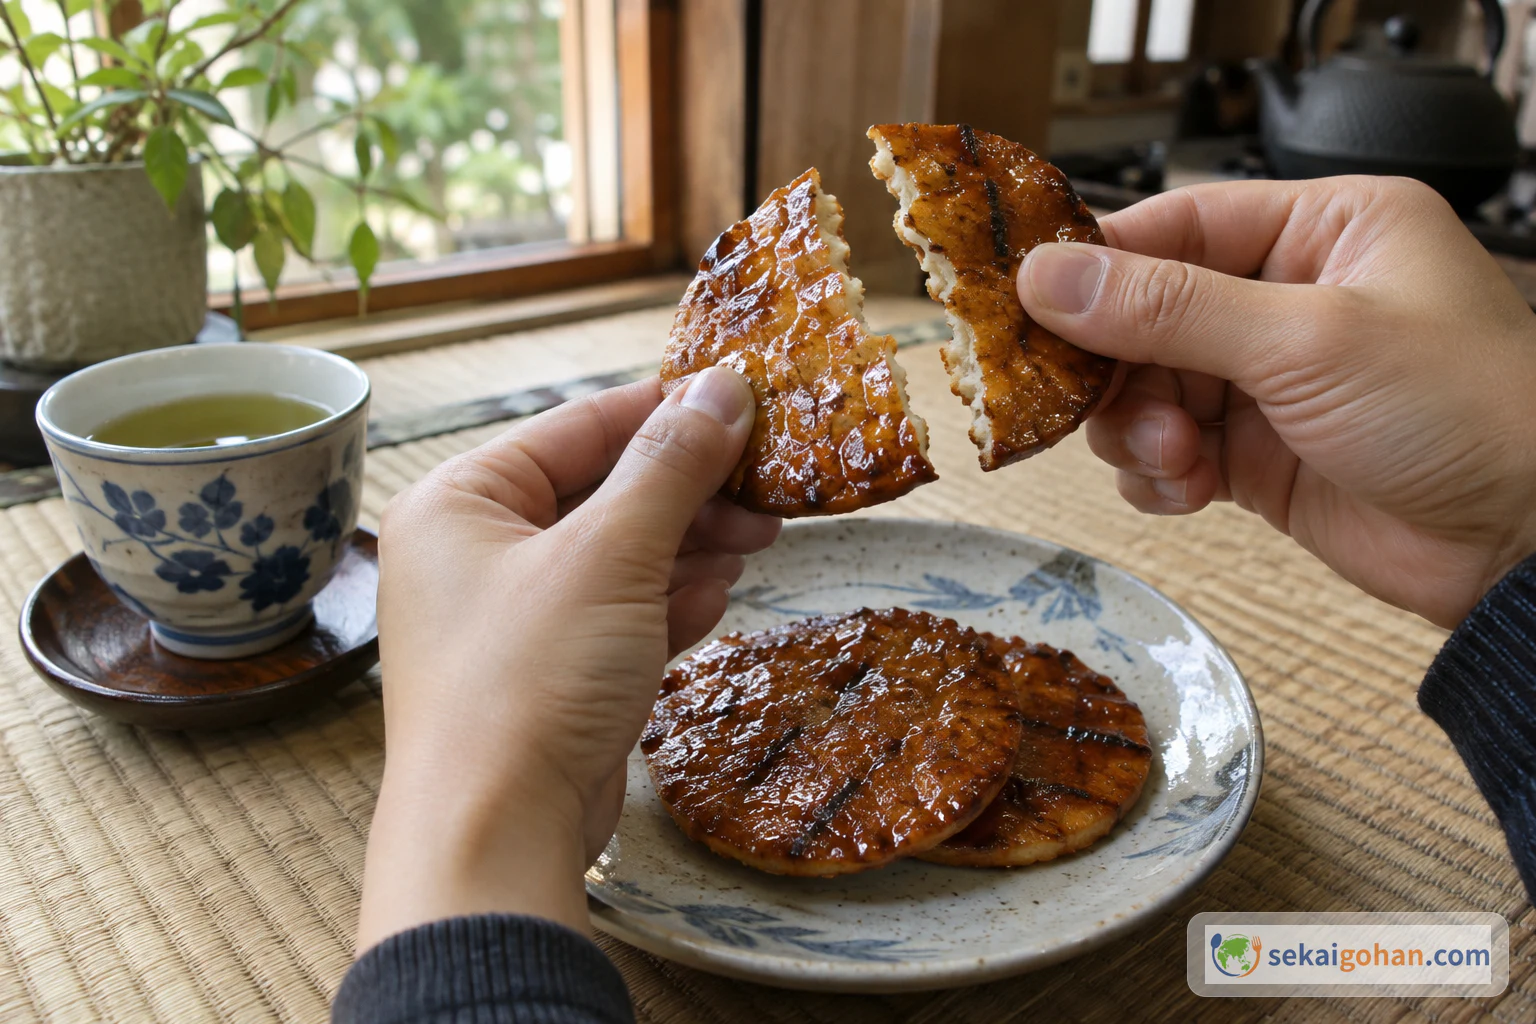
Serve the crackers fully cooled, with a pot of green tea. Break them by hand rather than biting straight through the whole round; the hard-baked style is meant to be eaten slowly, piece by piece, between sips. Once they are completely cool, keep them sealed away from damp air.
Variations
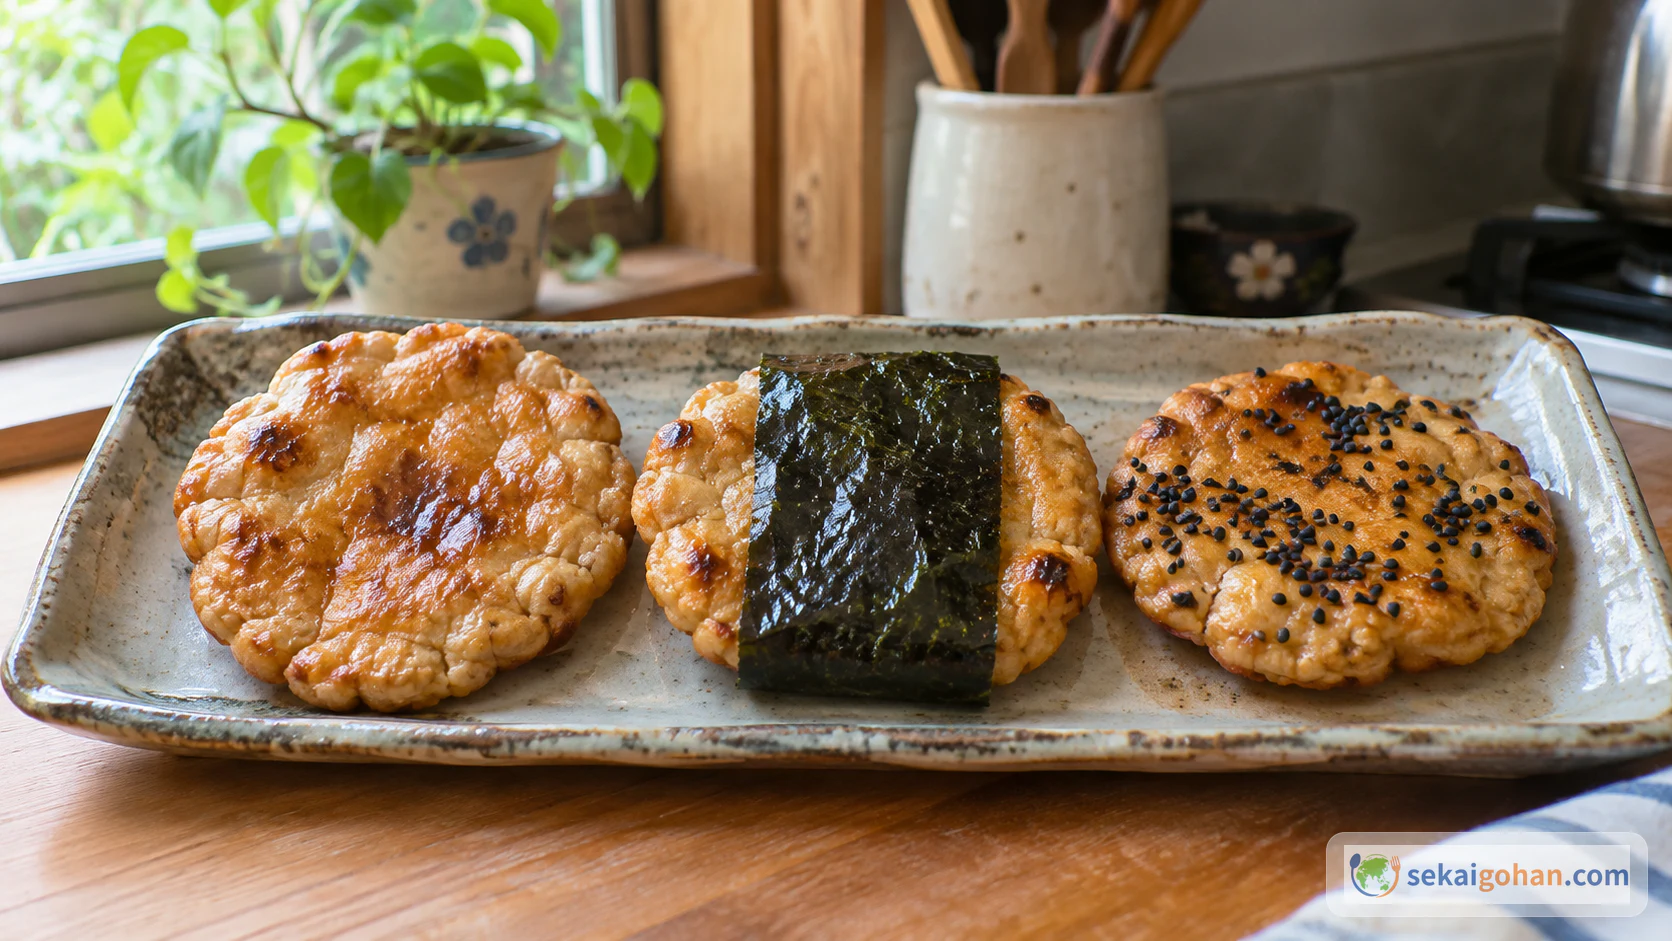
- Nori-wrapped. Wrap a strip of nori around a cracker right after the soy goes on, while the glaze is still tacky. The sea flavour of the nori sits against the toasted rice.
- Black sesame. Scatter black sesame over the freshly brushed soy before the last 1–2 minutes in the toaster oven. You get a nutty aroma and a speckled surface.
- Miso flavour. Miso is one of the classic Soka flavours alongside soy, and gives a rounder, deeper savoury taste.
- Thin milk-and-sesame crackers. A separate, thinner style uses 1¾ oz (50 g) joshinko to 80 g milk, with sesame and a little mirin, and makes 24 crackers baked at 355°F (180°C) for 10 minutes and then 300°F (150°C) for 18–23 minutes. They come out of the oven a little soft and crisp up as they cool. Make it as its own dough; don't add milk to the water dough above.
Frequently asked questions
Is this the same as Soka senbei?
It follows the same order of work: cook the rice dough, pound it, dry it, toast it and brush it with soy. Soka craftsmen mill the rice themselves, steam the dough, dry the rounds in the sun for days and grill them over a net, pressing them flat. The home version uses boiling, a low oven and a toaster oven to bring that process into an ordinary kitchen.
How much soy sauce should I use?
Use it to taste, in a thin coat brushed over each hot cracker. A thin layer dries properly in the 1–2 minutes back in the toaster oven and stays glossy instead of sticky.
Why boil the dough and then pound it?
Cooking the dough first and then pounding it is the core of senbei, and it follows the steaming and pounding of the traditional method. Small torn pieces cook through quickly in boiling water, and pounding them with a wet pestle joins them back into one smooth dough that dries and toasts evenly.